
General back story
A Ford that doesn't have a oil leak is not a real Ford.
Now don't get me wrong I am definitely not hating on them, I drive a Ford myself...Btw it doesn't have an oil leak. It would be a bad thing if I have the ability to keep my vehicle maintained and not use that to my advantage, right?
Client brought in his Ford Ranger 3.2 Diesel automatic. Client told us the vehicle had a gearbox oil leak somewhere and wanted to have it checked out. Upon further inspection the problem appeared to be the rear main seal of the gearbox it self.
It's definitely a quick and easy job, with the heaviest work being the transfer case removal and insertion, with the right tools and equipment ofcourse.
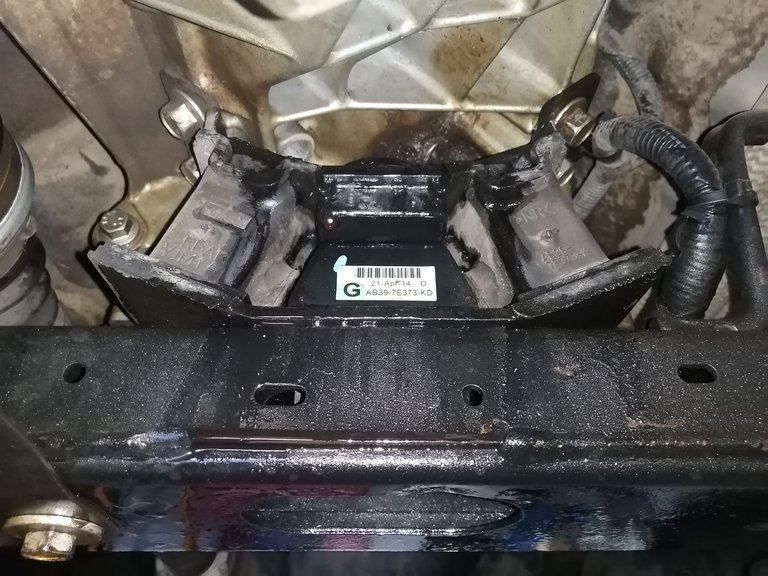
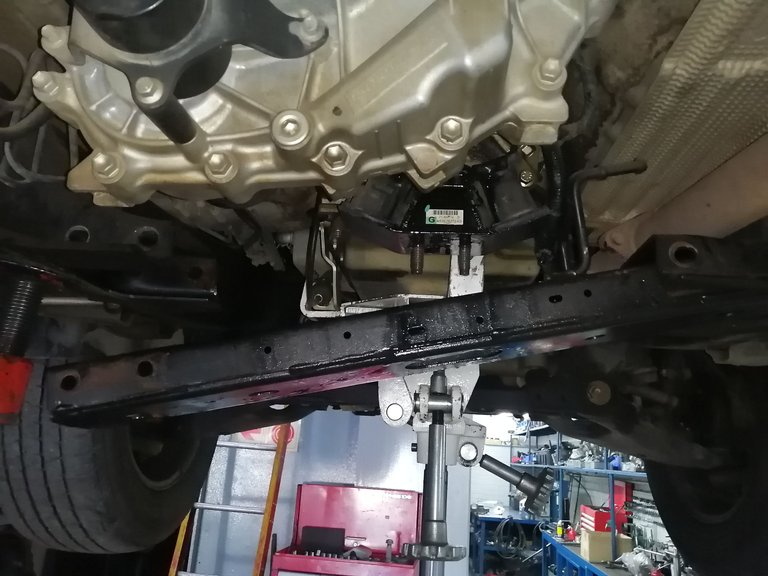
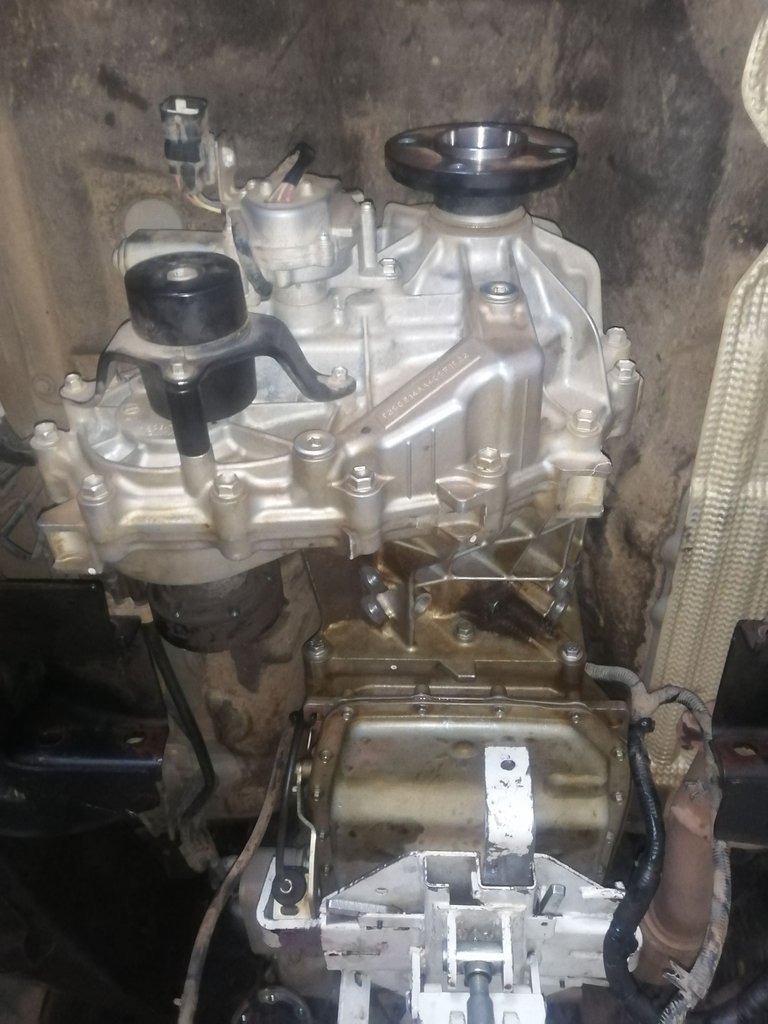
Since this vehicle is a 4x4 it obviously has a transfer case, the leak is coming from between the gearbox and transfer case, yes he 4x4 adds a few handfuls of bolts extra that you need to loosen.
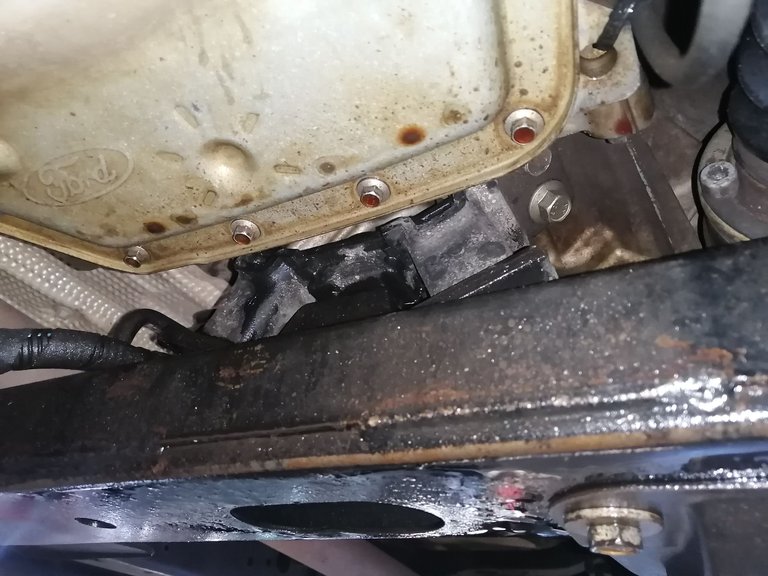
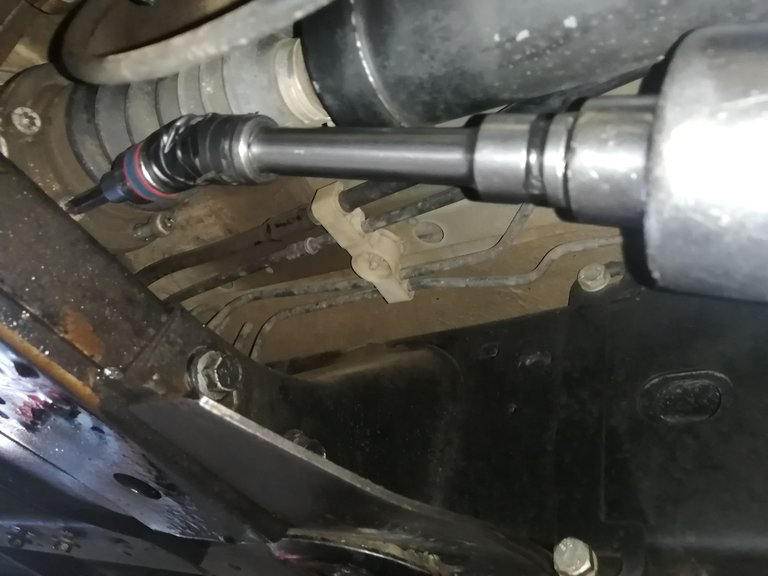
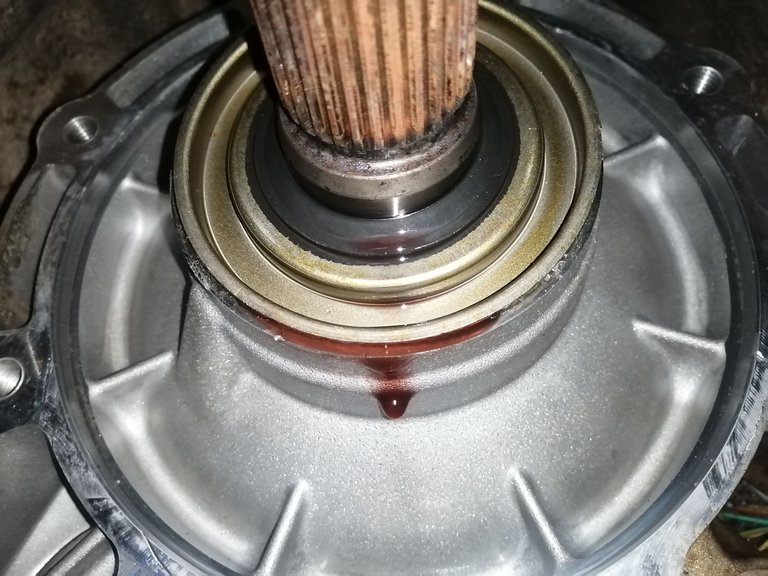
As you can see on the gearbox sump the red oil drips on the screws, definitely points to being the gearbox oil, and it leaves everything in a very messy and grimey condition. I always try and clean up a little bit of the oil before starting removal.
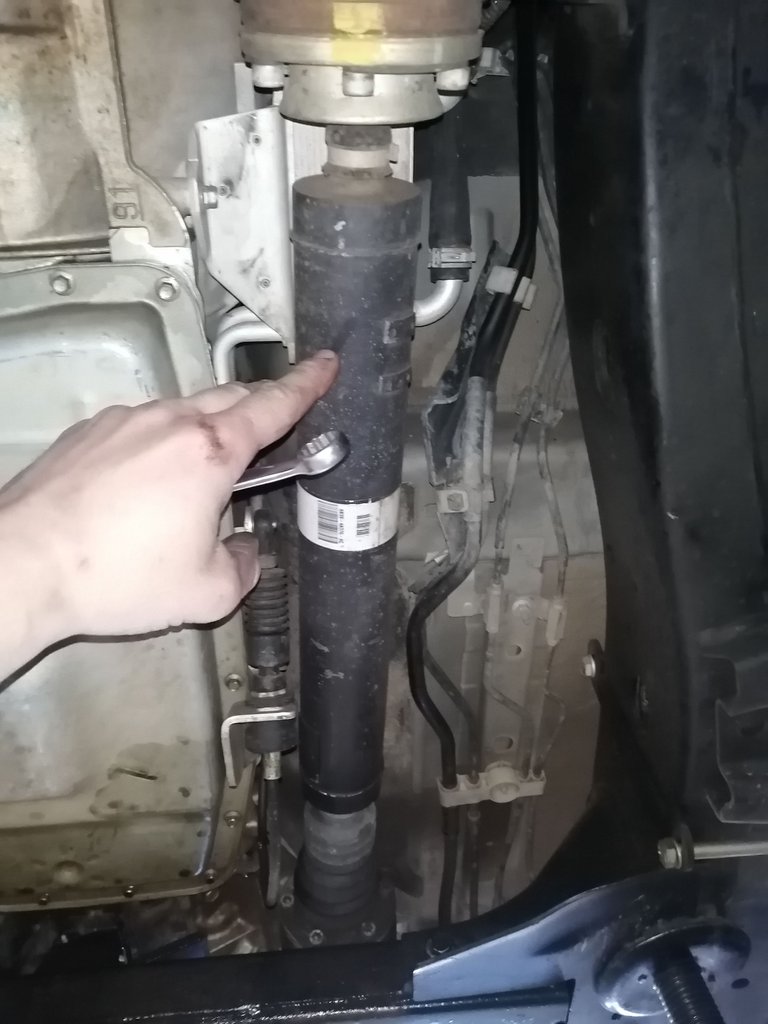
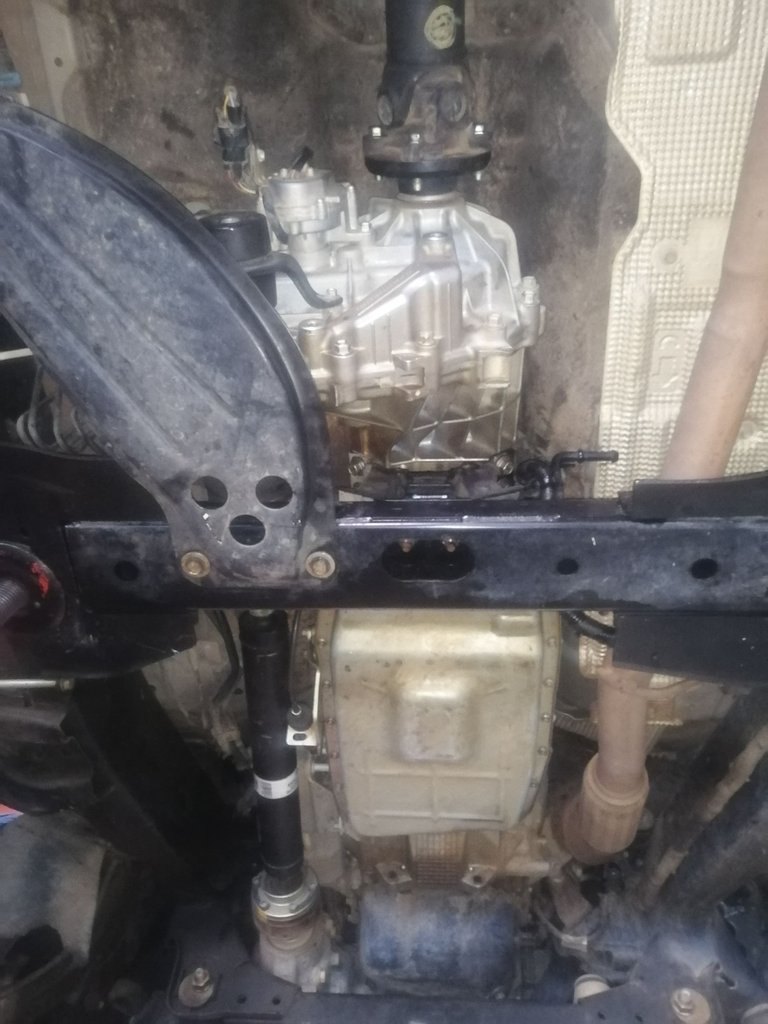
Firstly I removed the rear prop-shaft, yes as you can see I used the air tool and it made for an easy removal, sometimes the bolts have an insane amount of lock-tight on them.
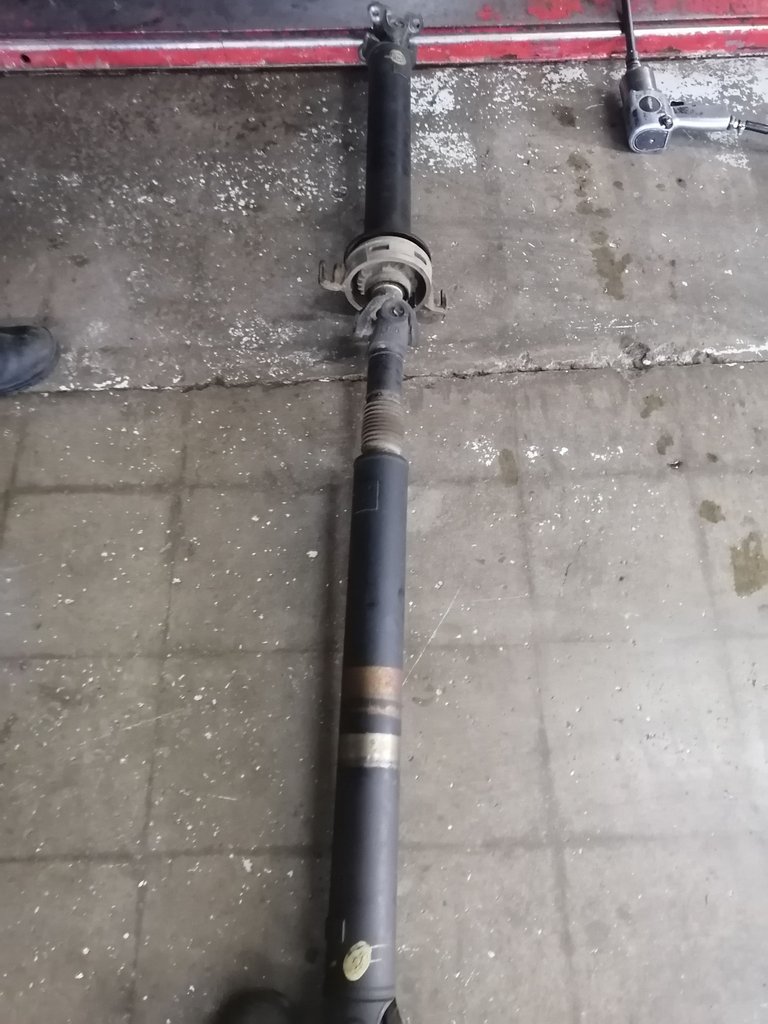
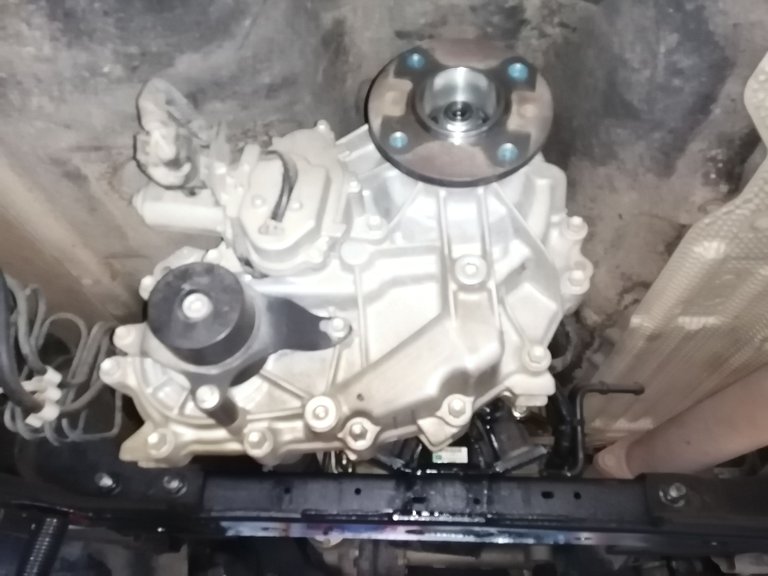
Once the prop-shaft is removed it exposed the transfer case almost completely, and now I can clearly see what I need to remove in order for me to be effective I try to get as much vision and working space over and around the object that needs removal.
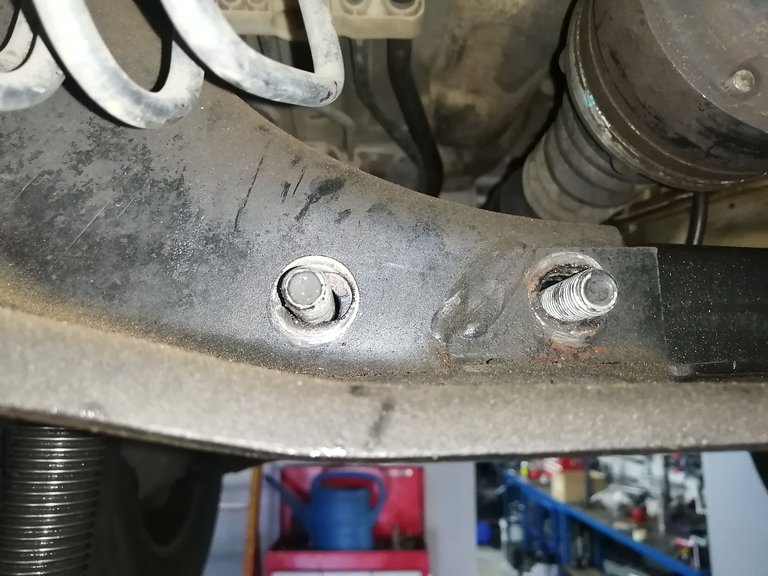
I then removed the nuts from the bolts holding the cross-member in place, I didn't remove the bolts from their slots yet, I still have some work to do.
The prop-shaft leading to the front wheels needs removal as well. Now this one can sometimes be a little B(tch, it also has an insane amount of lock tight on the bolts, the only difference is. You struggle with them from time to time.
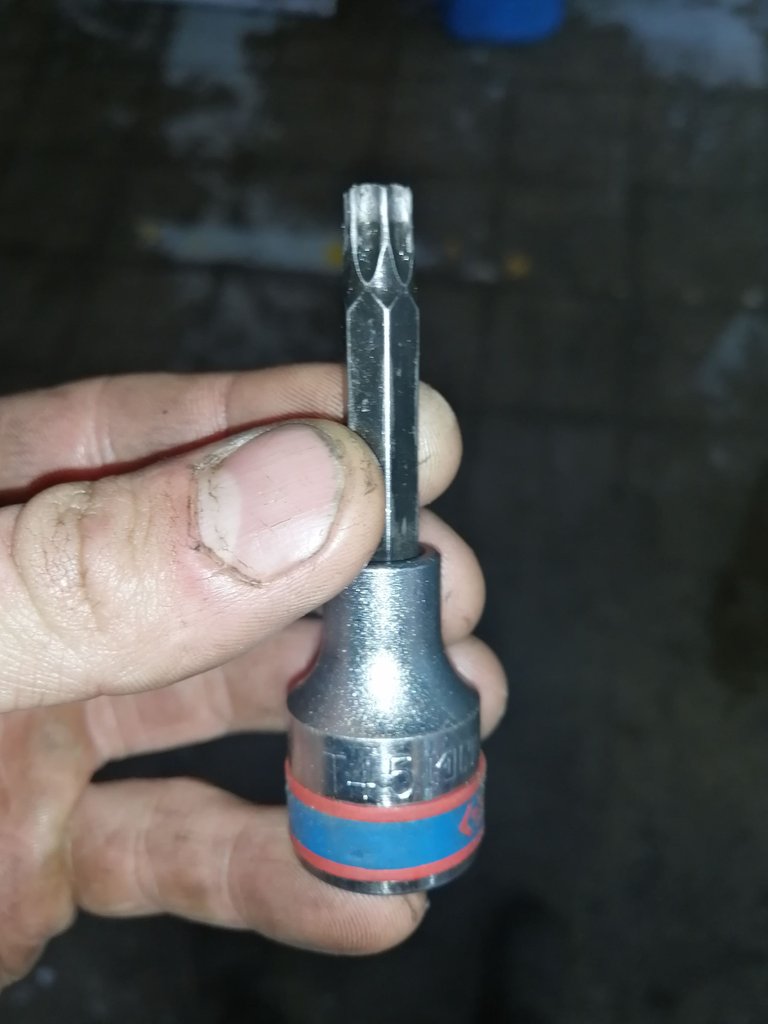
Luckily we still have an intact T45 socket which I will need to remove the bolts of the frontal prop-shaft. Certainly a very handy tool.
I used the air tool combined with what we call a "Swivel neck" its that bendy socket, Hah yes I'm not sure what is the actual name of that tools. As you can see its very handy seeing that its an uncomfortable spot to work in. Once prop-shafts were removed and safely stored out of the way I went on with the transfer case.
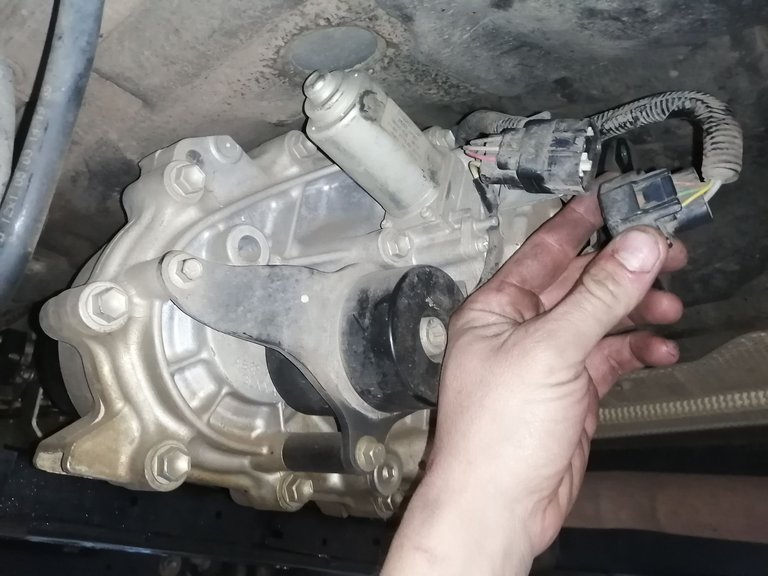
After I plugged out all of the electronic plugs and unclipped the wiring cords from the transfer case, I prefer not breaking the plug points like a lot of people do, I have a little trick but its hush hush.
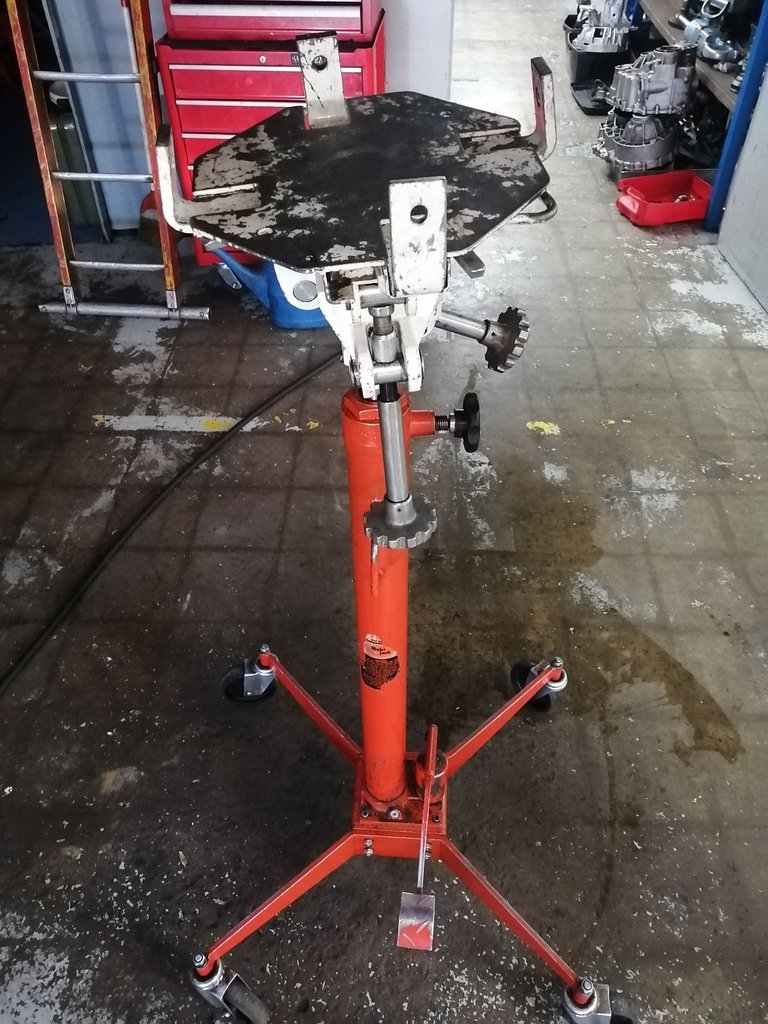
I can now get the gearbox jack to assist me in carrying the weight off the gearbox while I work on removing the transfer case.
After making sure nothing was in the way of the pegs on the platform that might cause unwanted and unasked for damage, I gently gave it a little pressure and locked it up, I still need to loosen the mounting.
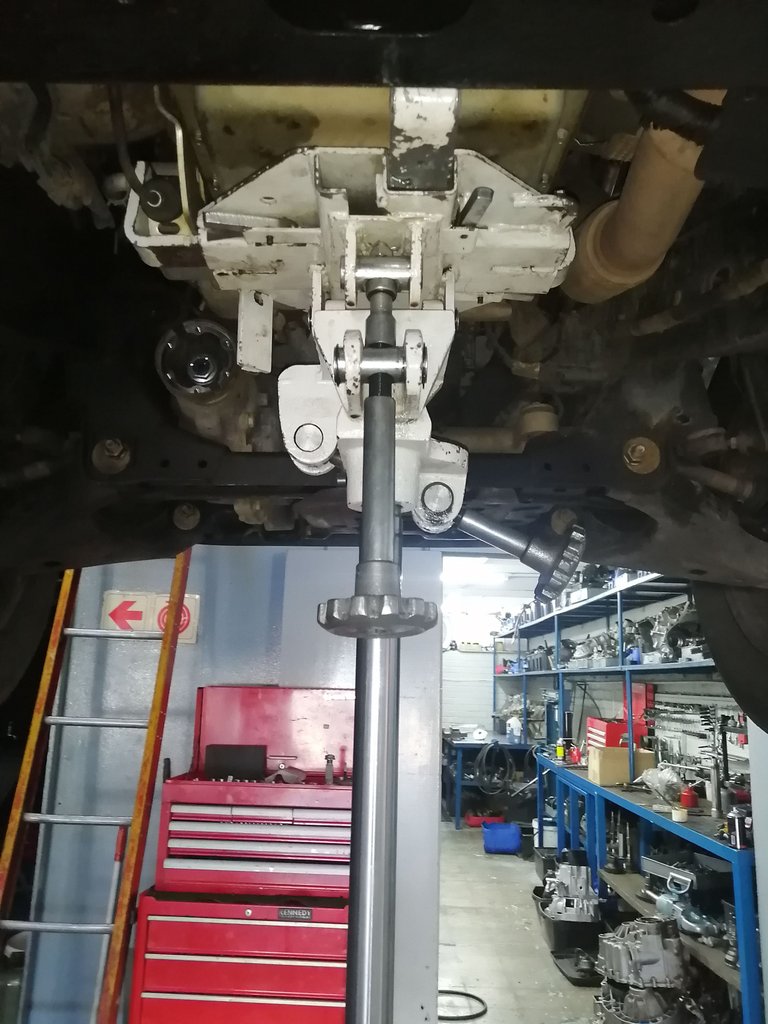
Once I unbolted the gearbox mounting I can now start to remove the cross-member from the vehicle, its sometimes a hardy task to perform, I suppose because this one was leaking oil it must have had an effect on how easily this one popped out. I still had to use a tire lever to start the process but once it moved it came out fairly easy for something that is quite stiffly packed.
All that is now left for me to unbolt around the transfer case is the gearbox mounting itself, it only has four bolts making it an easy task.
Before loosening the bolts of the transfer case itself, I generally try to dip it a little bit, meaning I lower it somewhat in order to gain access to all of the bolts around the transfer case.
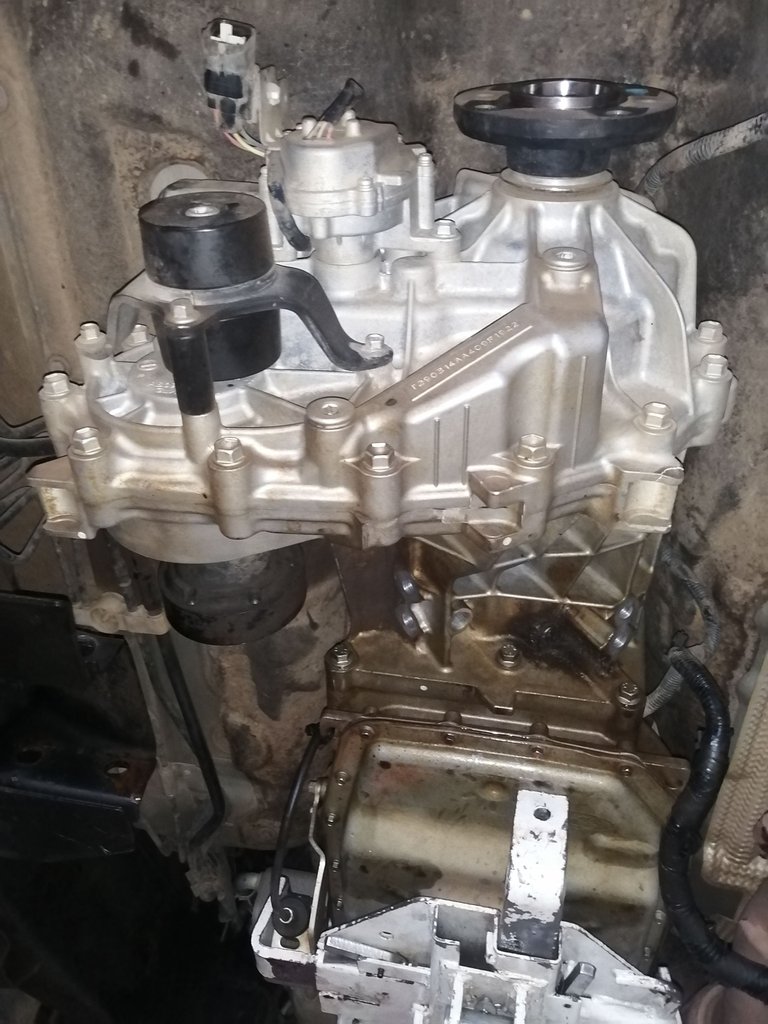
As you can see only three of the nine bolts holding the transfer case in place has easy access to them, the rest of the hidden bolts, well half of them wants the spanner and the other half wants the socket, I've found what works for me.
Once I removed the transfer case, I always try to ask someone for help removing big and heavy parts, just in case the weight of the heavy part suddenly shifts. Besides its safer to do so anyways.
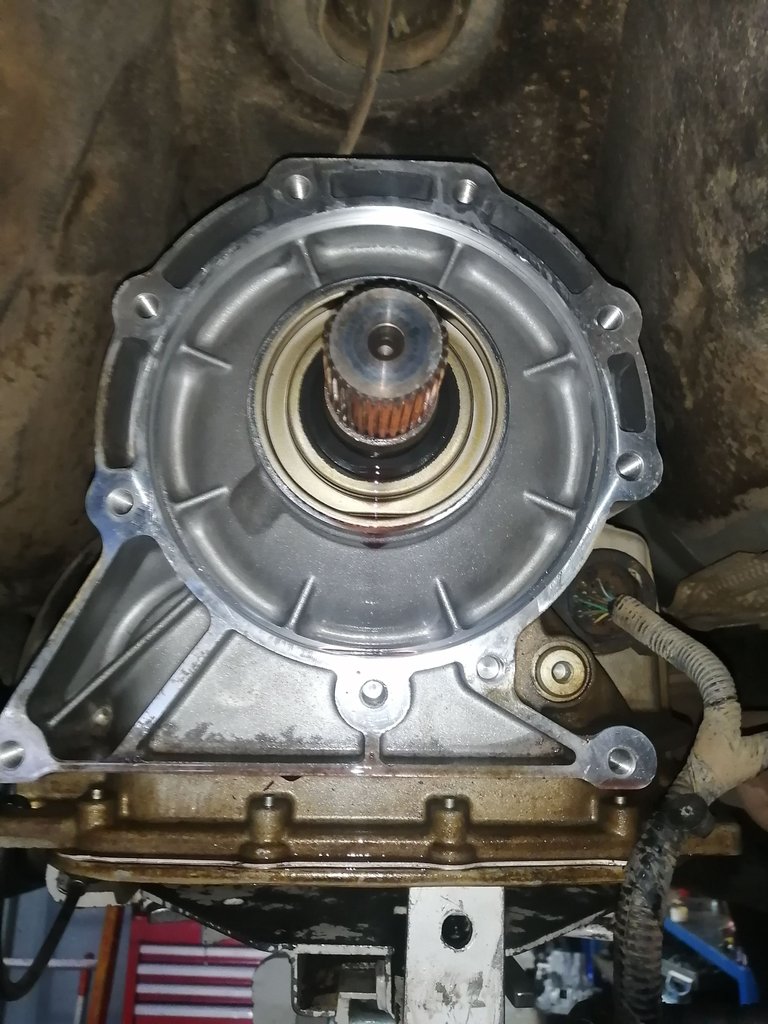
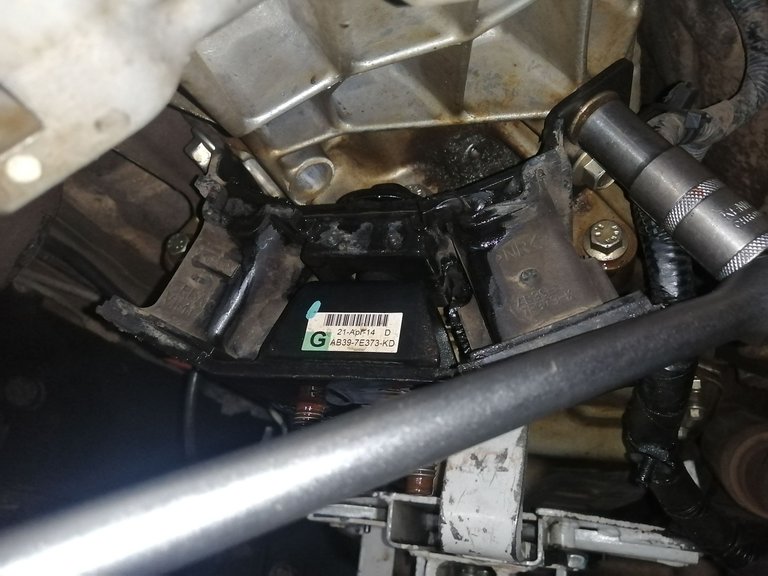
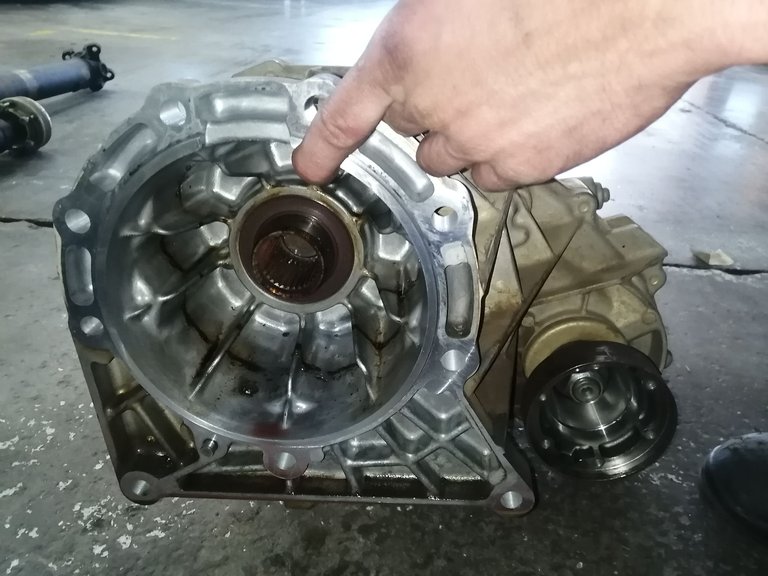
Once I removed the transfer case, it was very clear that it was indeed the rear main seal of the gearbox leaking, the only other explanation might have been a cracked casing but that's HIGHLY UNLIKELY.
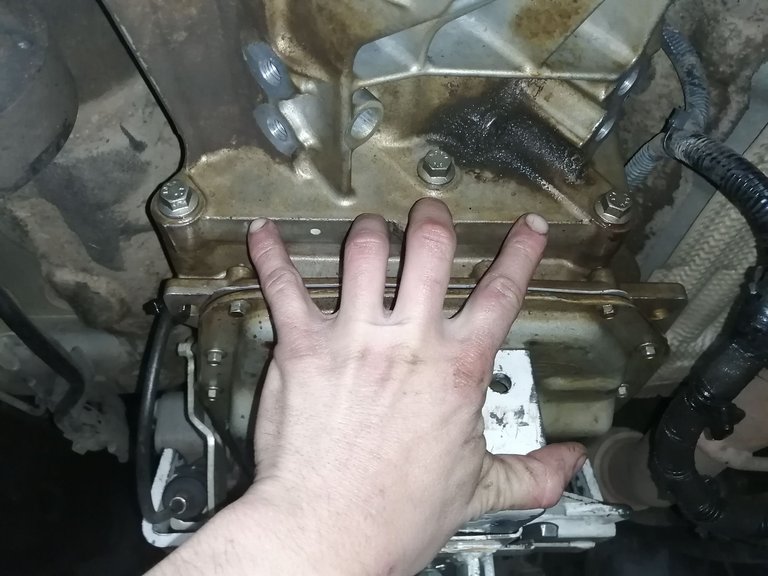
Look at that awkward finger grab, dayum. Before I rebuild everything together i wash all of the parts I removed that has oil on them. In general I try to wash everything, including the bolts, the cross-member and the gearbox mounting.
Removing the seal on this gearbox proved to be easier than I initially thought, it has a lock-tight like substance in the outer ring and seeing that the car was driven here and was still semi hot is slid right out when I levered
it out.
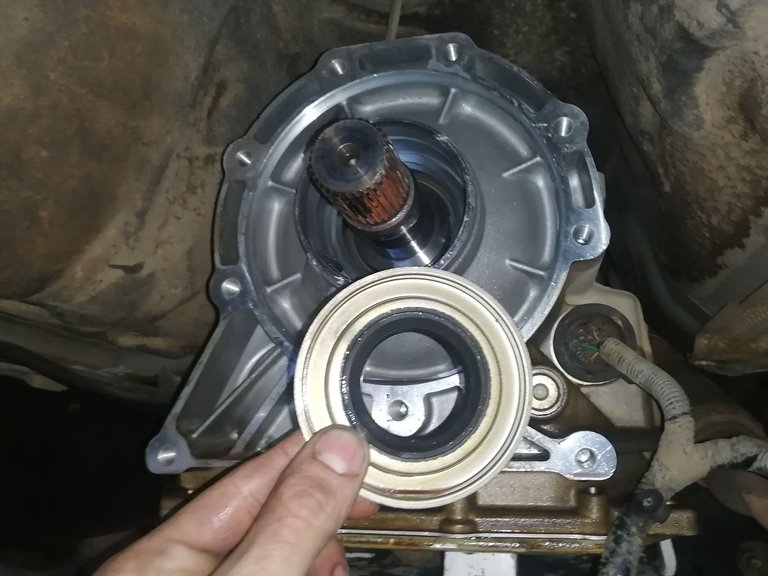
Once the seal was removed I thoroughly cleaned everything, visually and physically inspected for any blurs on the output shaft and the casing. Found none and continued on with inserting the new seal, also gave it a bit of lock tight on the outer metal ring.

After reinstalling the transfer case I gently lifted in back into the correct height and angle and was now ready to install the gearbox mounting again, along with the cross-member and the transfer case protective plating.
Once the gearbox was firmly mounted and bolted into place I reinstalled both prop-shafts back again, always double checking my prop-shafts. The vehicle is now ready to be tested, if leak still occurs, further investigation might be needed.
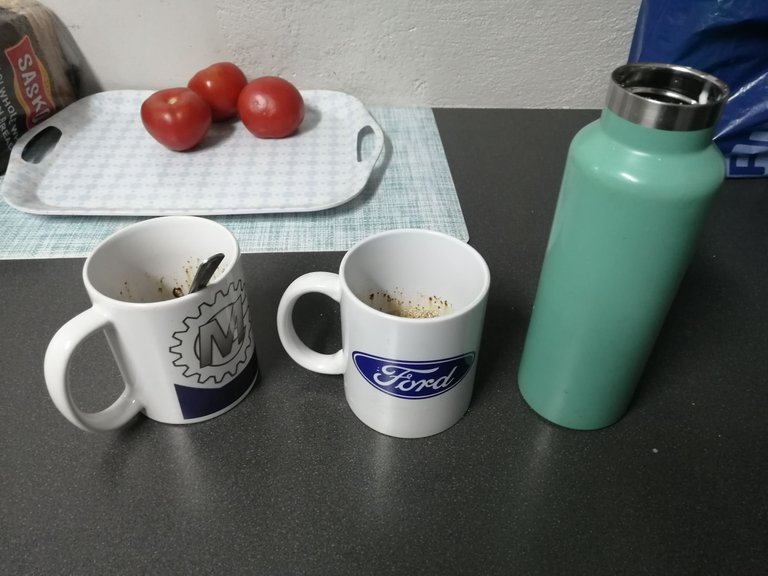
It was now due time to relax with a job done smoothly effectively and effortlessly. Enjoying a coffee before attempting the next job on the book. As always have a good one folks, Stay safe, stay blessed and keep on smiling.
To everyone who made it this far into my post, Thank you for the read and the support.
If you found this entertaining or educational please consider a re-blog and up-vote
Most of all please leave a comment


Connecting the people of #HIVE across South Africa. #hive
Yay! 🤗
Your content has been boosted with Ecency Points, by @technicalside.
Use Ecency daily to boost your growth on platform!
Support Ecency
Vote for new Proposal
Delegate HP and earn more