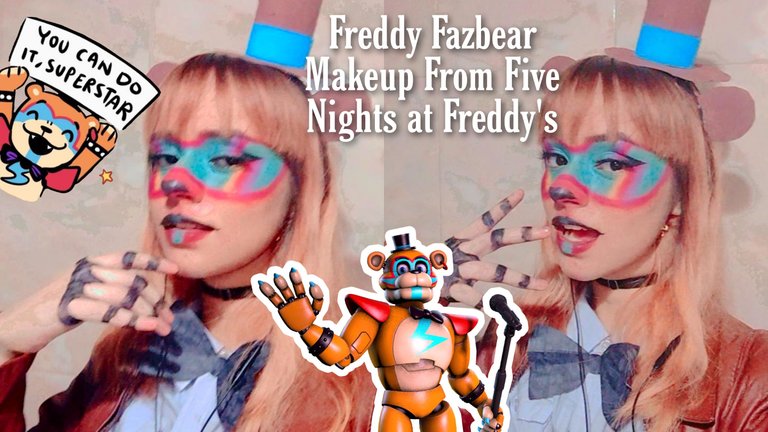

Hola a todos en la bonita comunidad de #Makeuppower ! Hoy les traigo este maquillaje que fue muy divertido y satisfactorio de hacer con sus múltiples colores y del cual trato de transformarme en uno de los personajes principales de la gran serie de videojuegos de terror Five Nights at Freddy's en su versión Security Breach. Espero les guste y los invito a leerme!💙💜✨
Hello to everyone in the beautiful community of #Makeuppower ! Today I bring you this makeup that was very fun and satisfying to do with its multiple colors and from which I try to transform myself into one of the main characters of the great horror video game series Five Nights at Freddy's in its Security Breach version. I hope you like it and I invite you to read me!💙💜✨

✨Materiales / Materials✨
Para este maquillaje emplee: Sombra de ojos en tonos azul, morado, rojo y amarillo, Corrector de ojeras, Base, esponja para base, Polvo compacto, delineador negro, Brochas de maquillaje, Sombra de cejas, Labial, Iluminador.
For this make-up use: Eyeshadow in shades of blue, purple, red and yellow, Dark Circle Concealer, Foundation, Foundation Sponge, Pressed Powder, Black Eyeliner, Make-up Brushes, Eyebrow Shadow, Lipstick, Highlighter.

✨Paso a paso/Step by Step✨
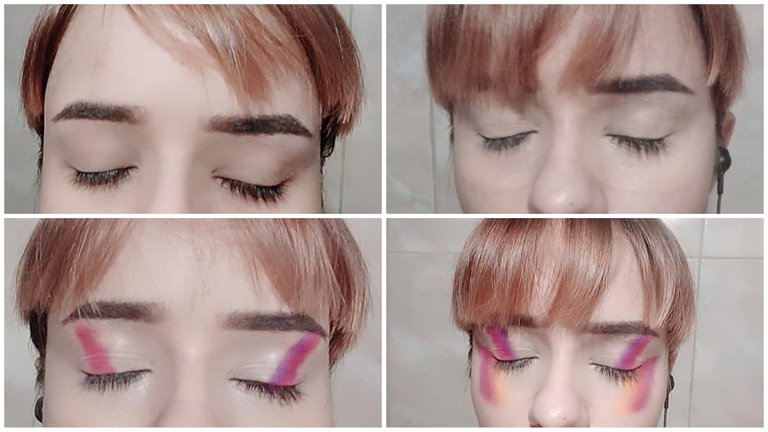
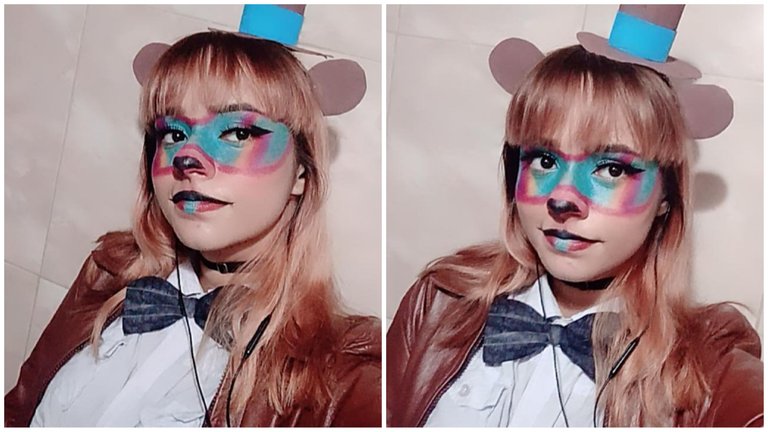
Comencé pintando mis cejas con sombra para cejas marrón y difuminandola en el inicio y limpiando con base. Luego me dibuje con base la forma de una máscara que es donde irían los colores de los ojos de Freddy y difumine bien, luego comencé a usar las sombras primero la roja para marcar el color principal dos líneas en ambos ojos, una arriba y otra abajo las cuales iba difuminando para que no se vieran tan marcadas y que luego les agregué sombra amarilla y morada y las difumine.
I started by painting my eyebrows with brown eyebrow shadow and blurring it at the beginning and wiping with foundation. Then I drew with foundation the shape of a mask which is where the colors of Freddy's eyes would go and blurred well, then I started using the shadows first the red one to mark the main color two lines in both eyes, one above and one below which I blurred so they didn't look so marked and then I added yellow and purple shadows and blurred them.
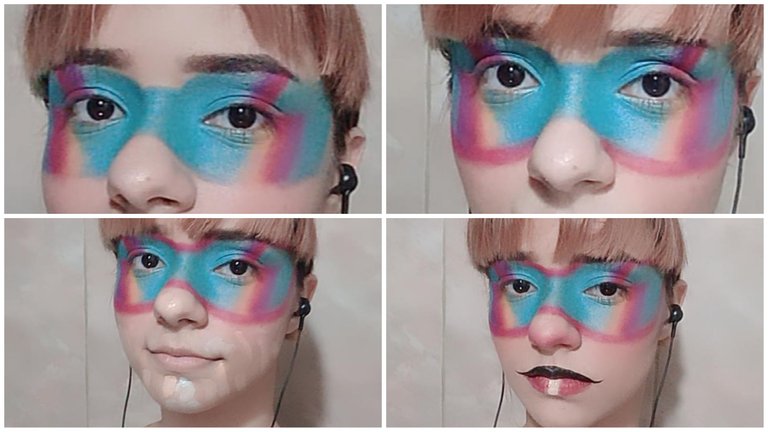
Agregué en toda la base sombra de ojos azul por todo la máscara y difuminaba en en las partes con colores. Con base hice una línea alrededor de toda la máscara y le puse sombra roja. Luego de tener lista la máscara agregué base en todas las partes descubiertas de mi rostro y corrector verde para las manchas. Difumine y sellé con polvo compacto, luego agregué rubor en la punta de mi nariz y pinte mi labio superior con negro y mi labio inferior con labial rojo dejando un espacio en el centro el cual pinte con base.
I added blue eyeshadow all over the mascara and blended in the colored parts. With foundation I made a line around the entire mascara and added red shadow. After the mascara was done I added foundation on all the bare parts of my face and green concealer for the blemishes. I blended and sealed with pressed powder, then added blush on the tip of my nose and painted my upper lip with black and my lower lip with red lipstick leaving a space in the center which I painted with foundation.
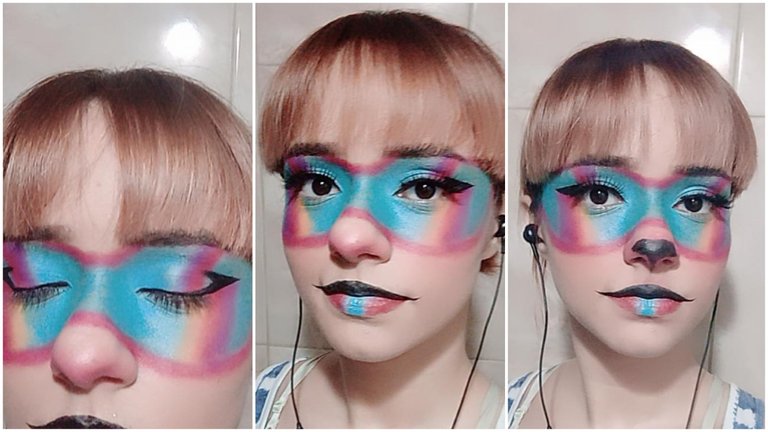
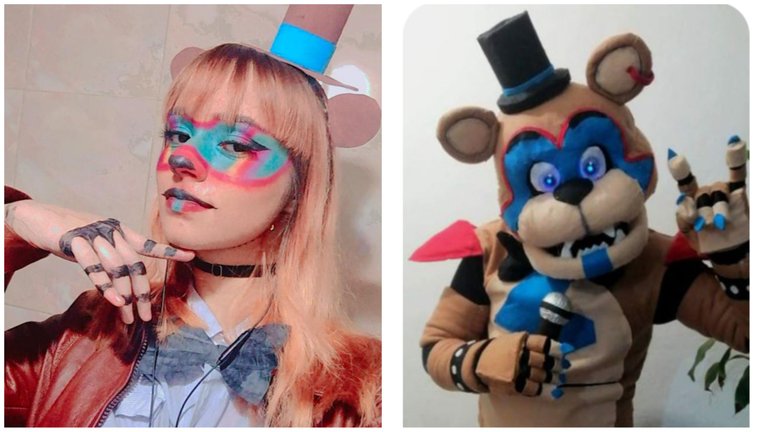
Con sombra azul pinte donde tenía la base en mis labios, luego delinee mis ojos haciendo un delineado delgado y largo. Agregué unas pestañas postizas que me compró mi mamá recientemente y por último pinte una nariz de oso en mi nariz con negro.
With blue shadow I painted where I had the base on my lips, then I lined my eyes making a thin and long eyeliner. I added some false eyelashes that my mom bought me recently and lastly I painted a bear nose on my nose with black.
Este es el resultado del maquillaje, hace tiempo que tenía la idea de maquillarme como este personaje así que había hecho con cartón las partes del sombrero y las orejas las cuales pegue con silicón caliente en un cintillo. Busque una ropa parecida y en una hoja pinte con marcador negro un lazo para la camisa. El diseño de este personaje me pareció super lindo además de que es una especie de superestrella en la versión de Security Breach y en dónde se ve más amigable que en los antiguos juegos de terror además de ser más carismático y divertido.💙💜✨
This is the result of the make-up, I had the idea to make myself up as this character so I had made with cardboard the parts of the hat and the ears which I glued with hot silicone on a headband. I looked for similar clothes and on a sheet of paper I painted with black marker a bow for the shirt. The design of this character seemed to me super cute plus he is a kind of superstar in the Security Breach version and where he looks friendlier than in the old horror games besides being more charismatic and fun.💙💜✨
Realicé la traducción en:
https://www.deepl.com/es/translator
Todas las imágenes son de mi autoría. | All the photos are my property.
Imágenes editadas con PicsArt y Polarr. | Images edited by PicsArt and Polarr.
The rewards earned on this comment will go directly to the people sharing the post on Twitter as long as they are registered with @poshtoken. Sign up at https://hiveposh.com.
Thank you for sharing this post on HIVE!
Your content got selected by our fellow curator hafizullah & you received a little thank you upvote from our non-profit curation initiative. Your post will be featured in one of our recurring curation compilations which is aiming to offer you a stage to widen your audience within the DIY scene of Hive.
Next time make sure to post / cross-post your creation within the DIYHub community on HIVE and you will receive a higher upvote!
Stay creative & hive on!
This is amazing! Very creative and the look came out great!
Thanks for sharing all the step by step pics :)
Thanks!