I did my mom's nails this time because i did them for the wedding and she wanted to do them again. I choose the colours and the designs mostly but she has the last word of what i will do in the end. I just give her 2 options usually of colours and then i give her the ideas for the nail art. For exaple, what nail arts i can do and how much time i will need.
Even though the weather is still warm we are officially into Autumn. The colours that we choose for this season are mostly nude, grey, many shades of brown. If you want you could use darker shade of any colour but we have the winter for those colours.
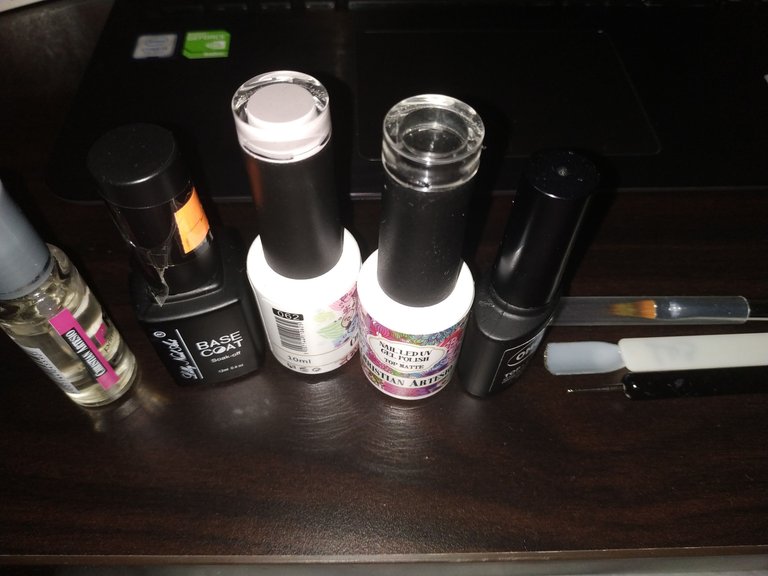
So, the products that i used are:
- base/top coat/matte top coat
- primer
- nude gel polish
- glitter
- a brush for the ombre technique
- palette
- the smallest dotting tool
- a nail tip
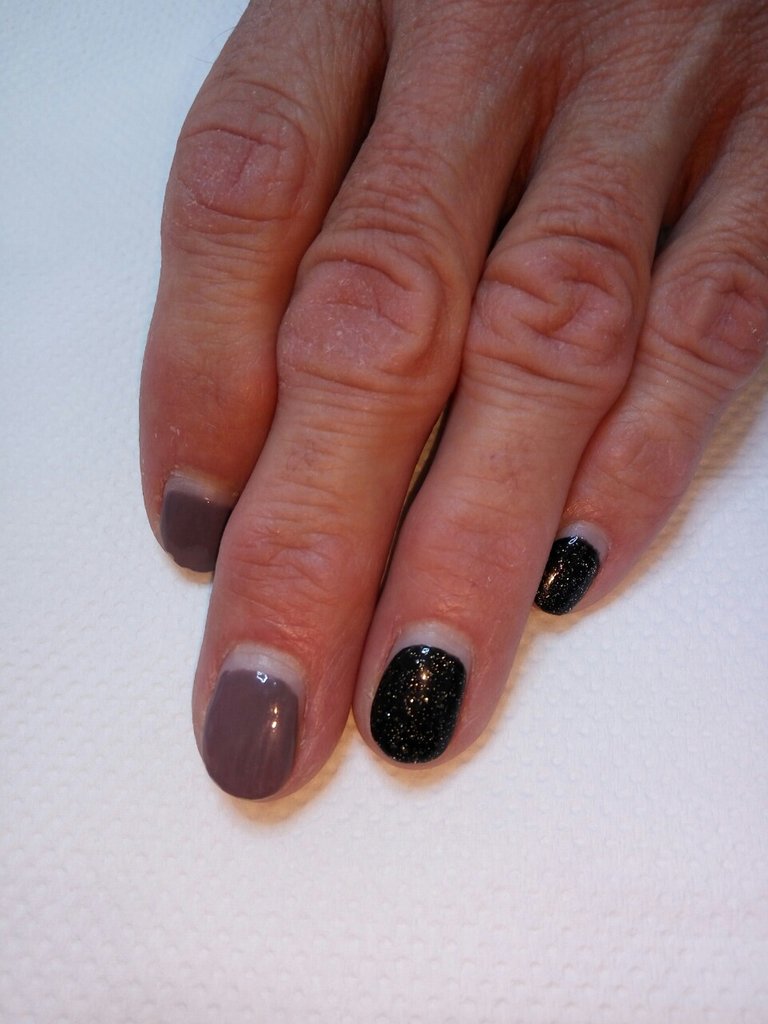
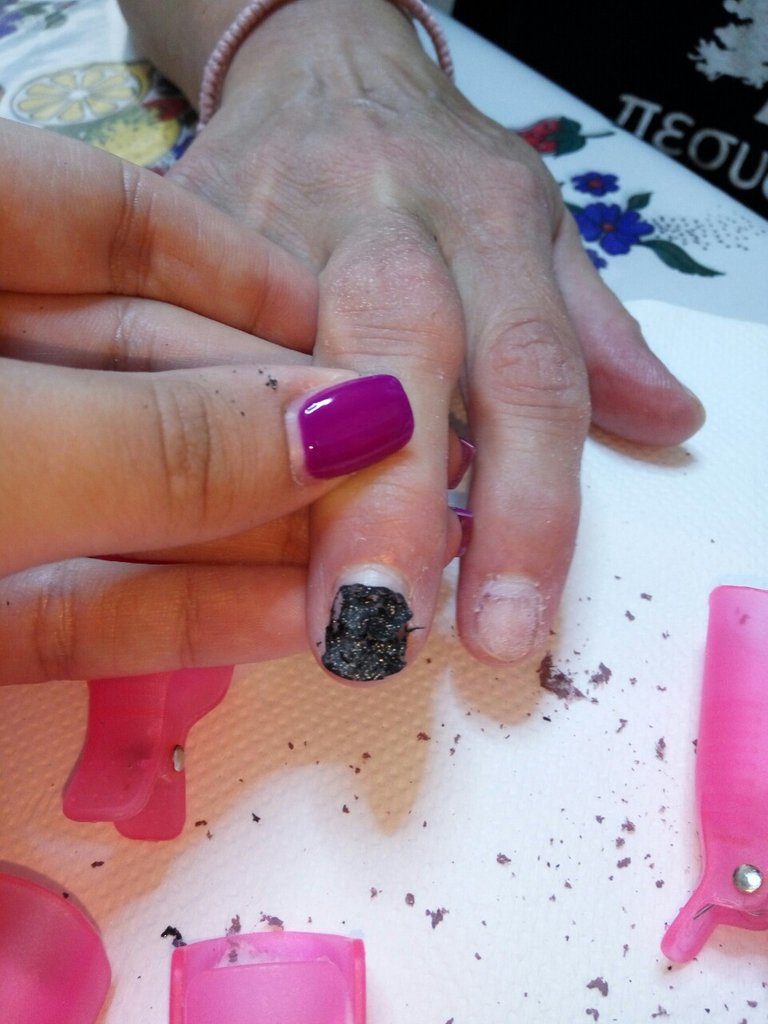
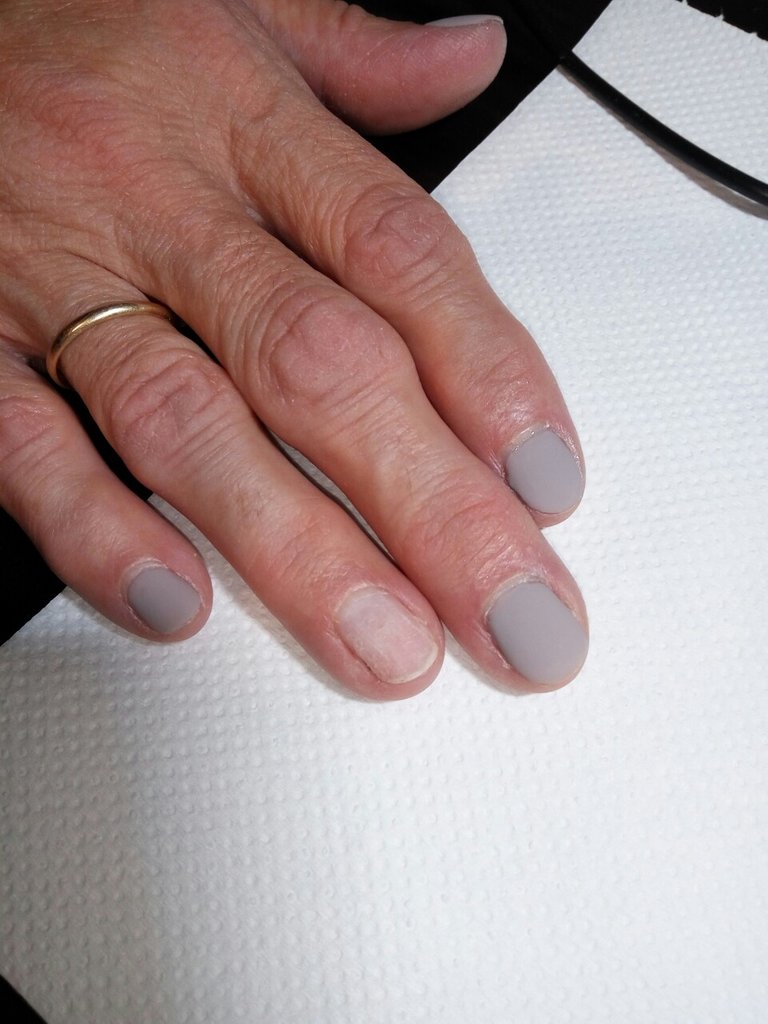
These are my mom's nails after 2 weeks. Even though i'm not a pro and my mom does all of the housework usually, her nails are great with no damage.
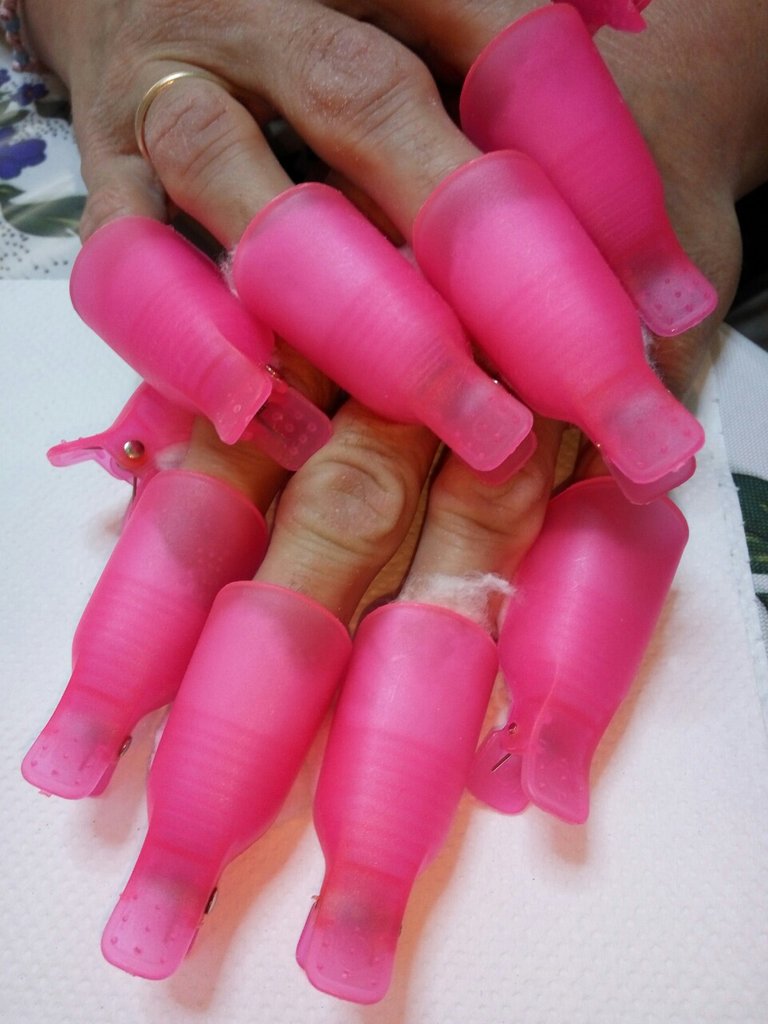
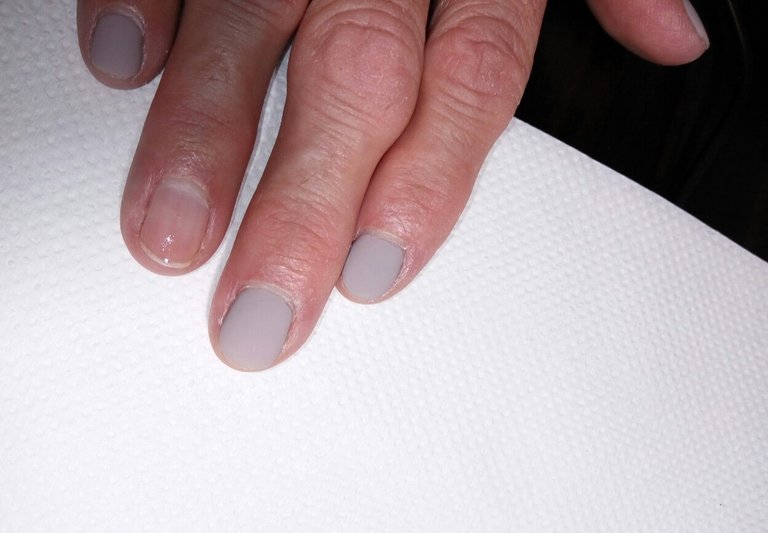
The first step is to remove the previous colour, so i filed only the top coat in every nail and then i used those plastics to let them soak for 10-15 minutes with acetone.
They are ready when the colour seems like this. At that moment you can use the pusher or wooden sticks without causing any damage to the natural nail.
Before i even start to do her nails i decided in which nail i will do the nail art and i left those nails for the end. I skipped those steps and i will show you directly the steps for the design because i showed you many times the steps for the gel polishes.
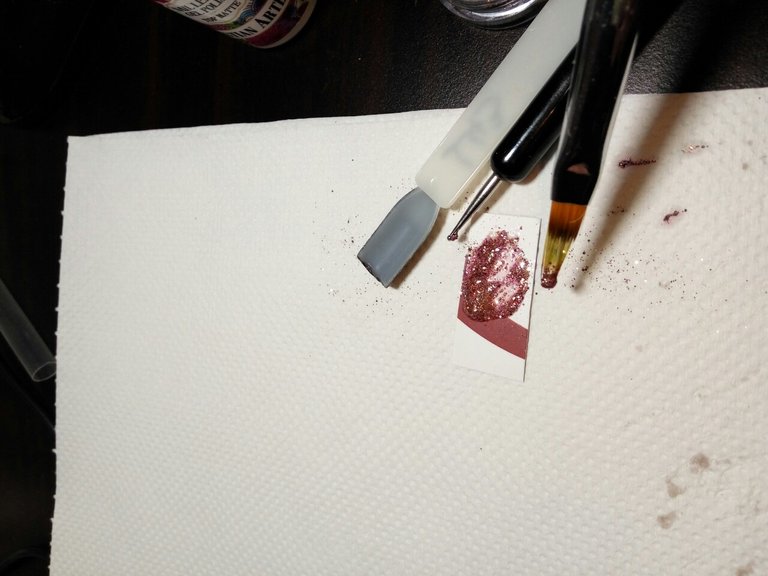
First i got my palette, which is a piece of hard paper.
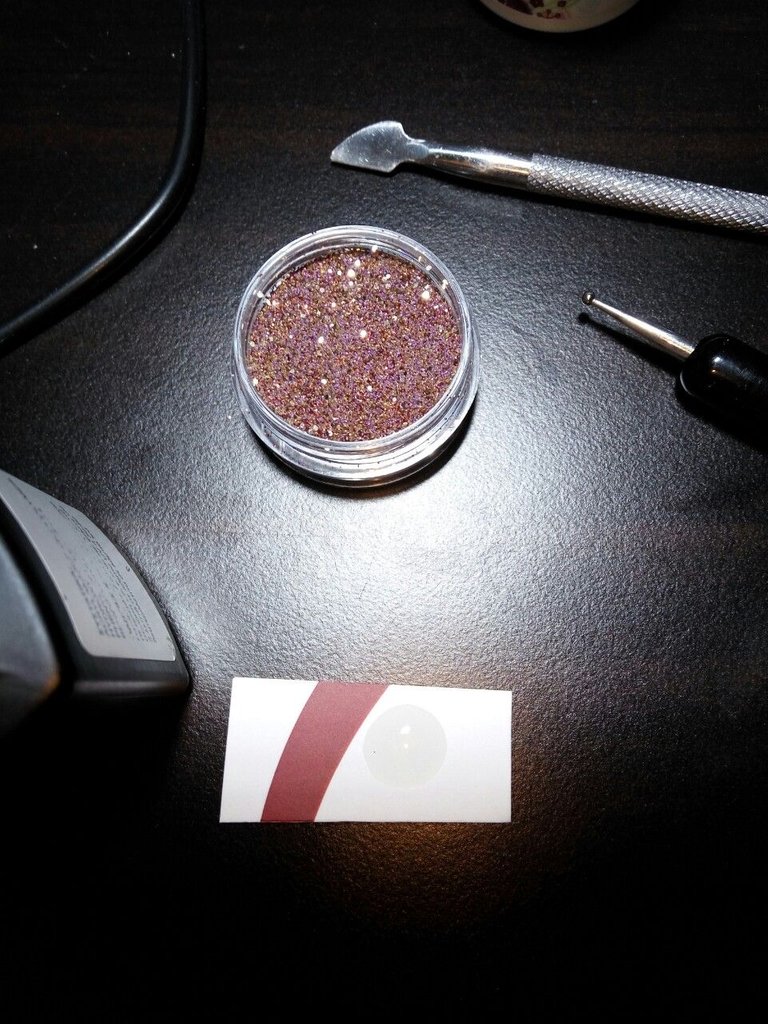
And i put a drop of base coat and i used the nail tip as spoon to put the glitter on top.
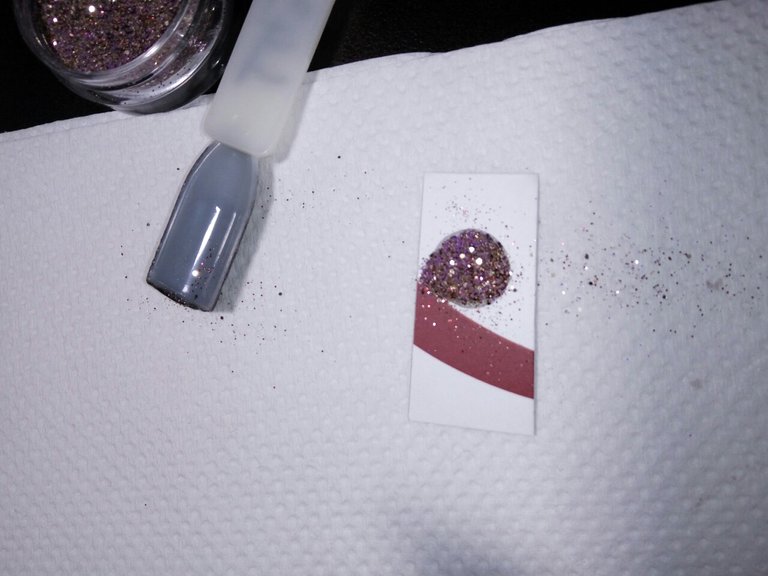
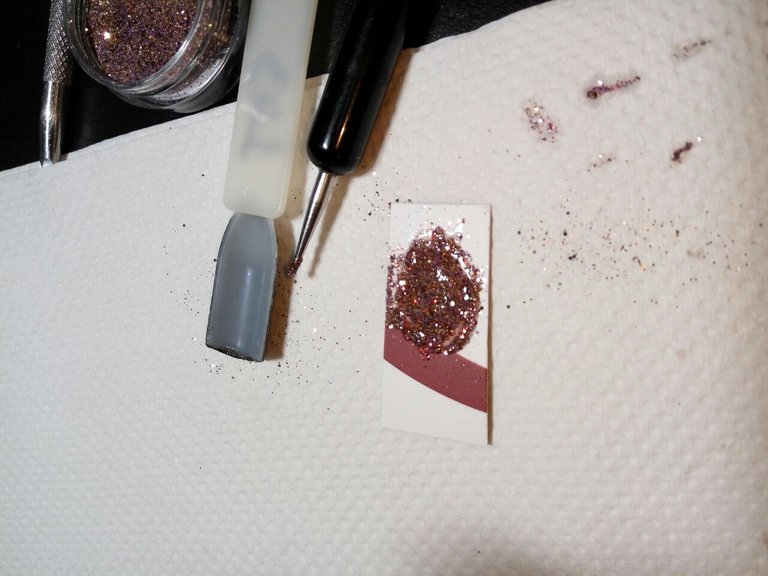
I mixed it very well with my dotting tool. The new product that i made, has to be like a regular gel polish with glitter inside, without too much glitter in it because i couldn't apply as i wish, so that will make the work harder.
When my glitter was ready i moved on with the nail. First i applied the primer and i was waiting until it was completely dry.
Then i applied the base coat and i cured it in the lamp for 30 seconds (the time depends of the product every time).
Then i applied a coat of the nude gel polish.
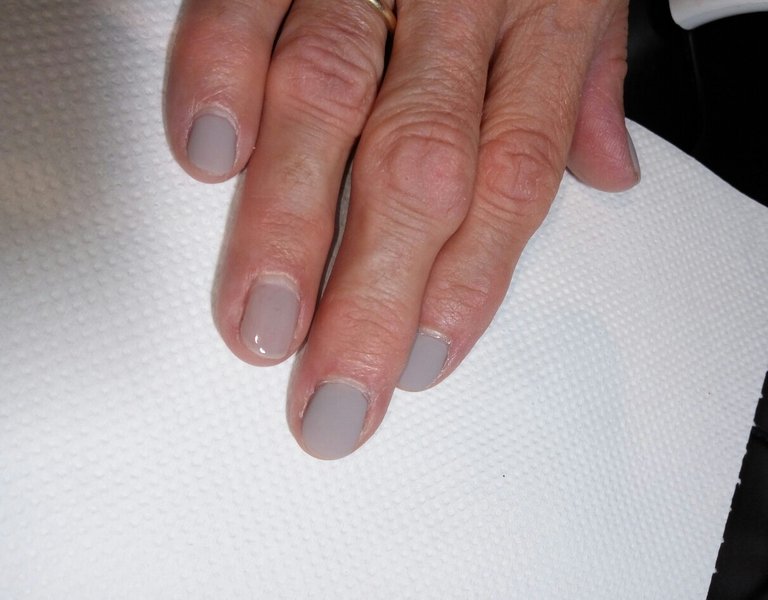
And then a second layer of the nude gel polish.
Then with my brush i took a small amount of the glitter that i made. You don't need too much product on the nail because if it's not enough you can add some more, but if it's already too much it's posible to wipe off all of the product in the end.
I applied the glitter as ombre. Ombre technique is one of the eassiest nail arts that you can do, but of course you need to practice. For example, it took me 2 years to create an ombre design that i really like.
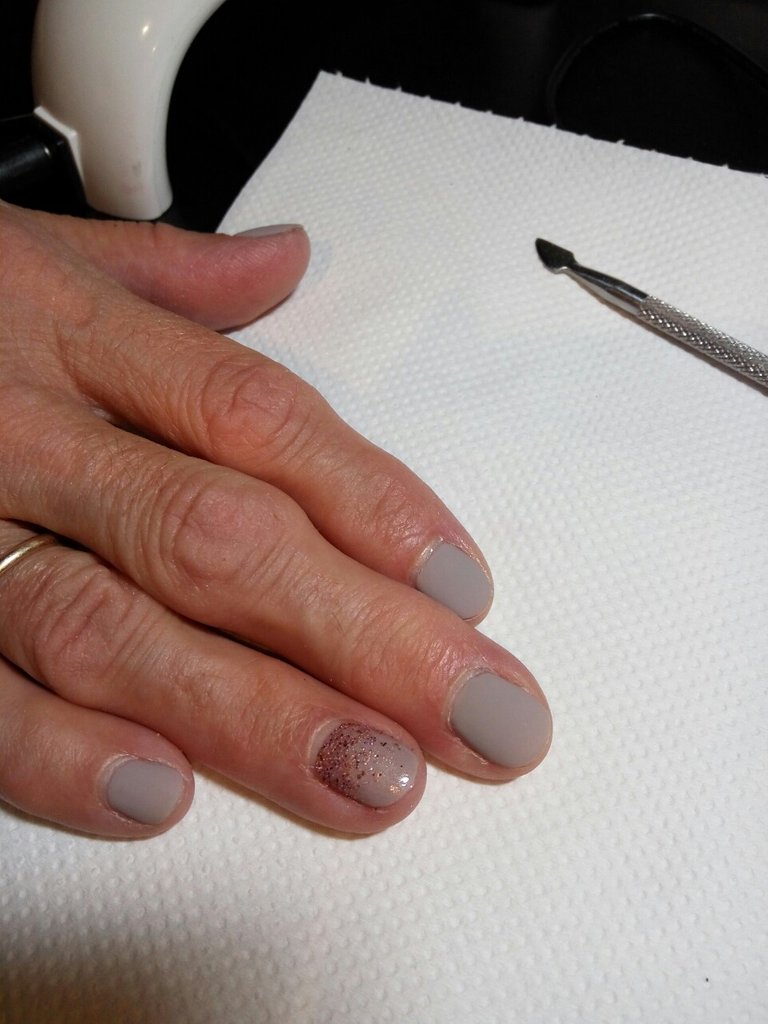
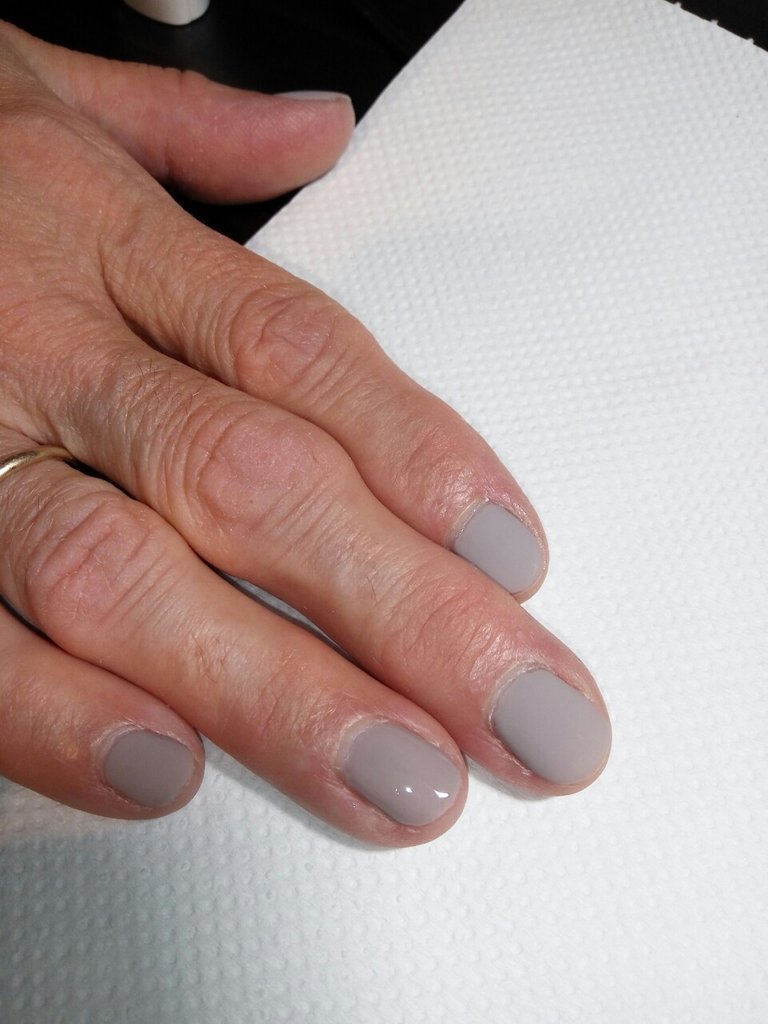
I saw that one coat wasn't enough so applied and a second layer. In this picture i had apply top coat already.
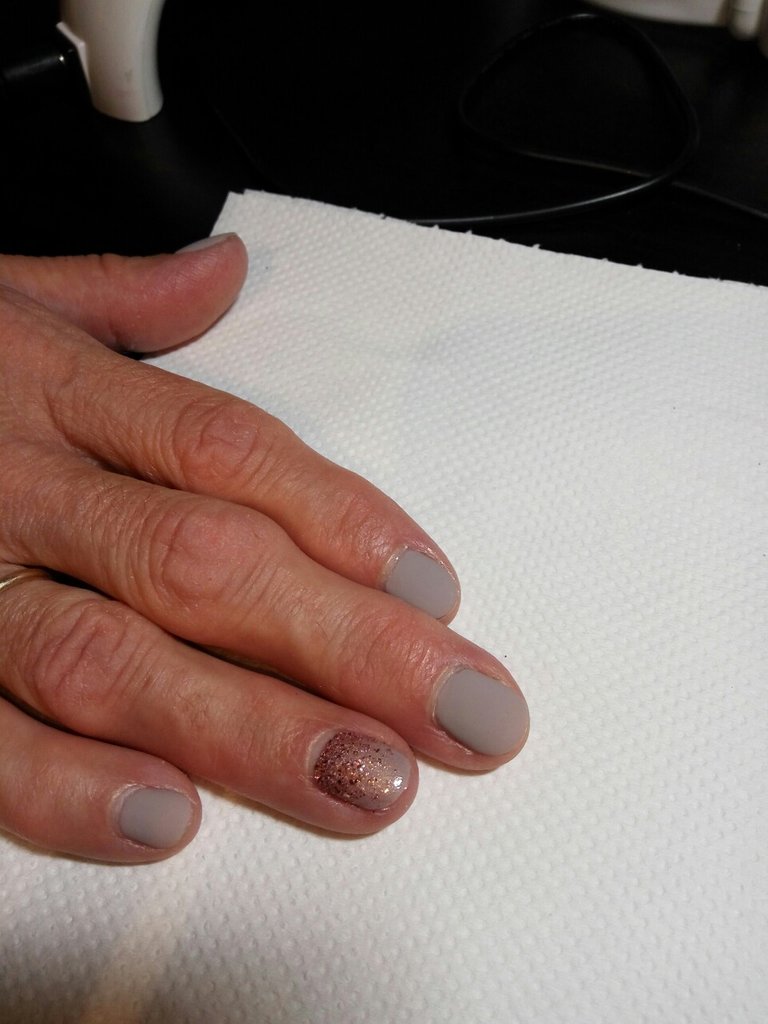
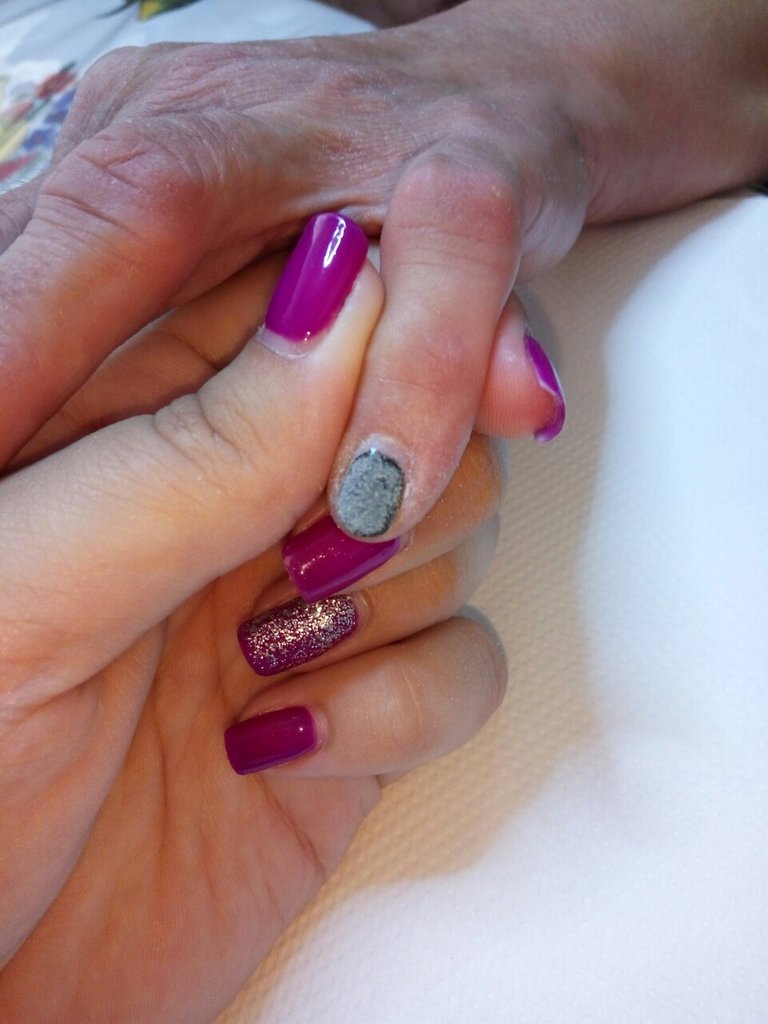
And this is the final product. I hope you like it!
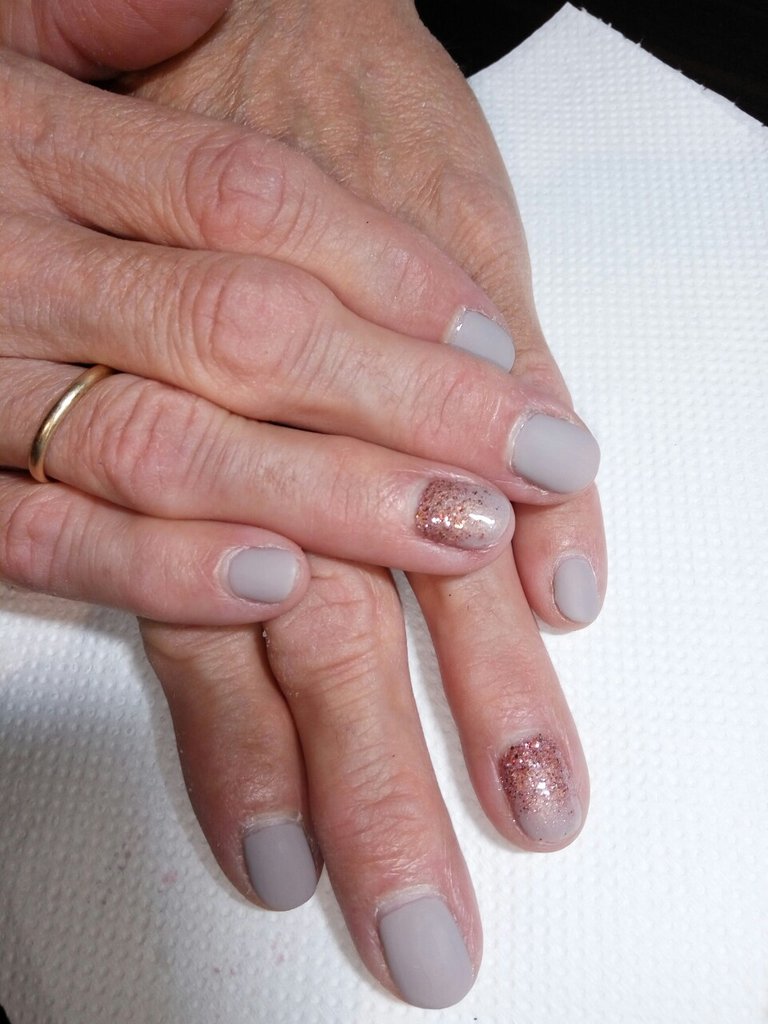
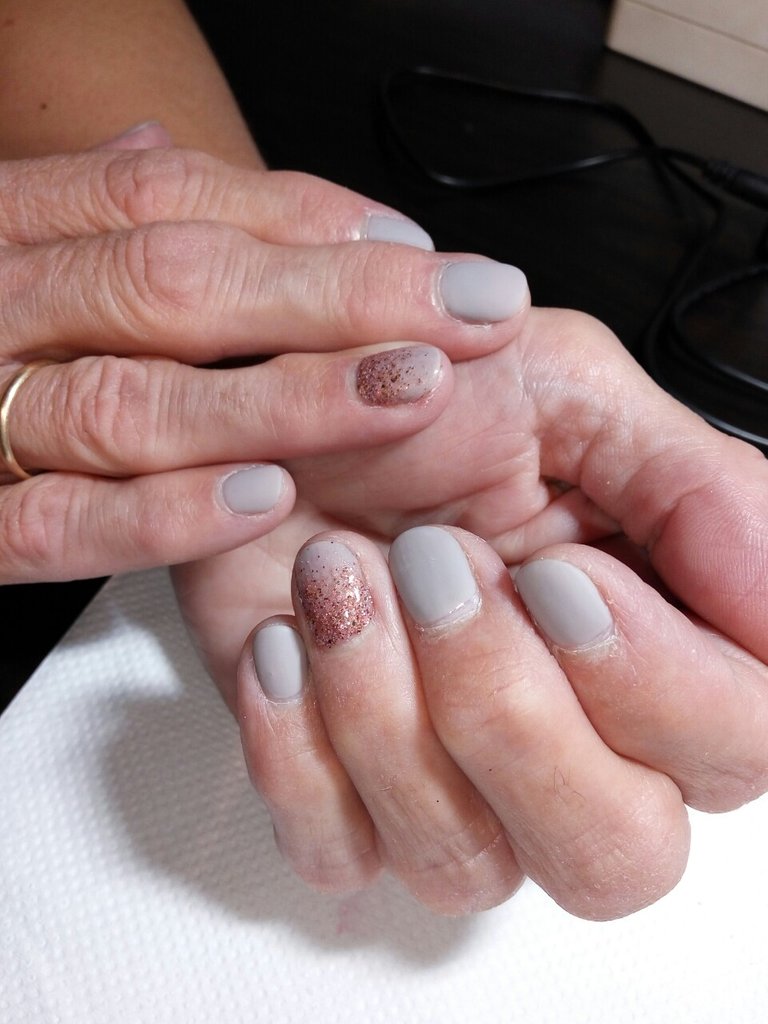
Photos by @georgia11