Hello, dear readers
It’s woodworking time!
Buen día, estimados lectores.
¡Es hora de trabajar!
At the moment I'm posting this, the pieces of the cuatro are now ready for assembly.
Al momento de la publicación de este post, ya las piezas del cuatro están listas para emsamblar.
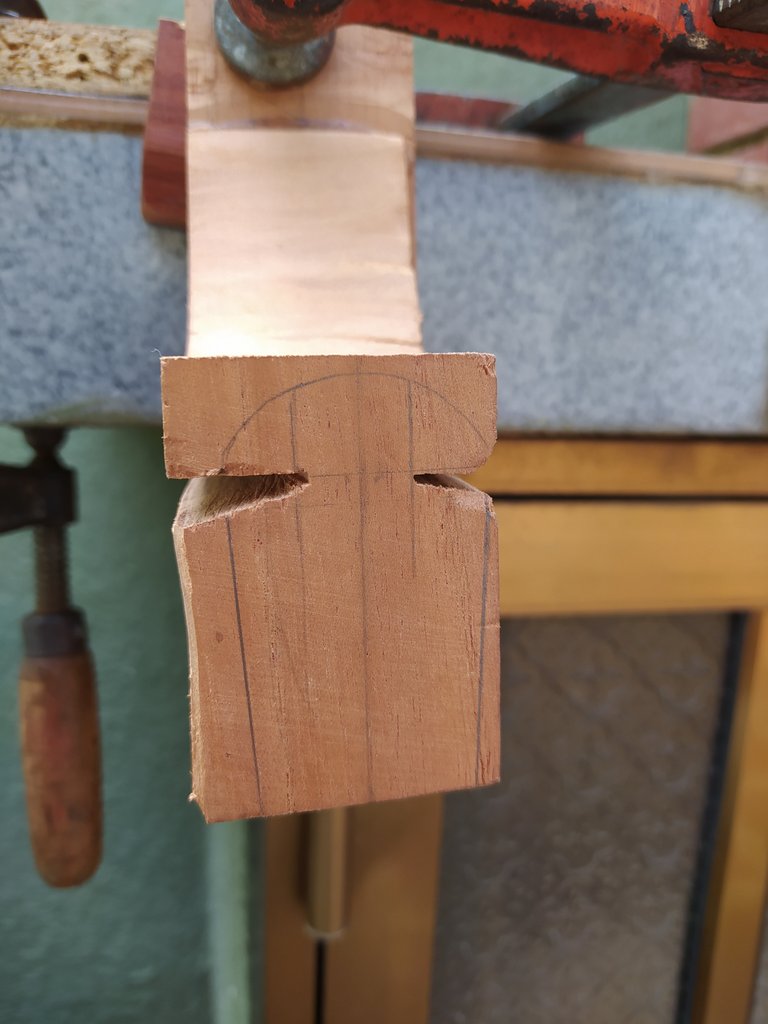
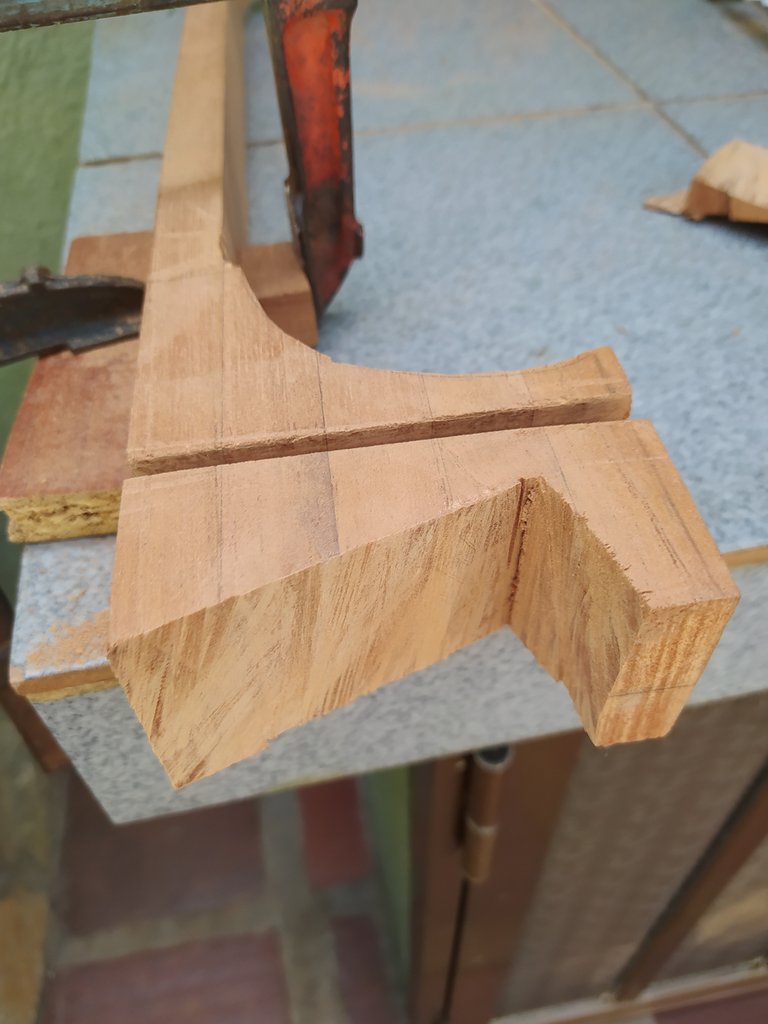
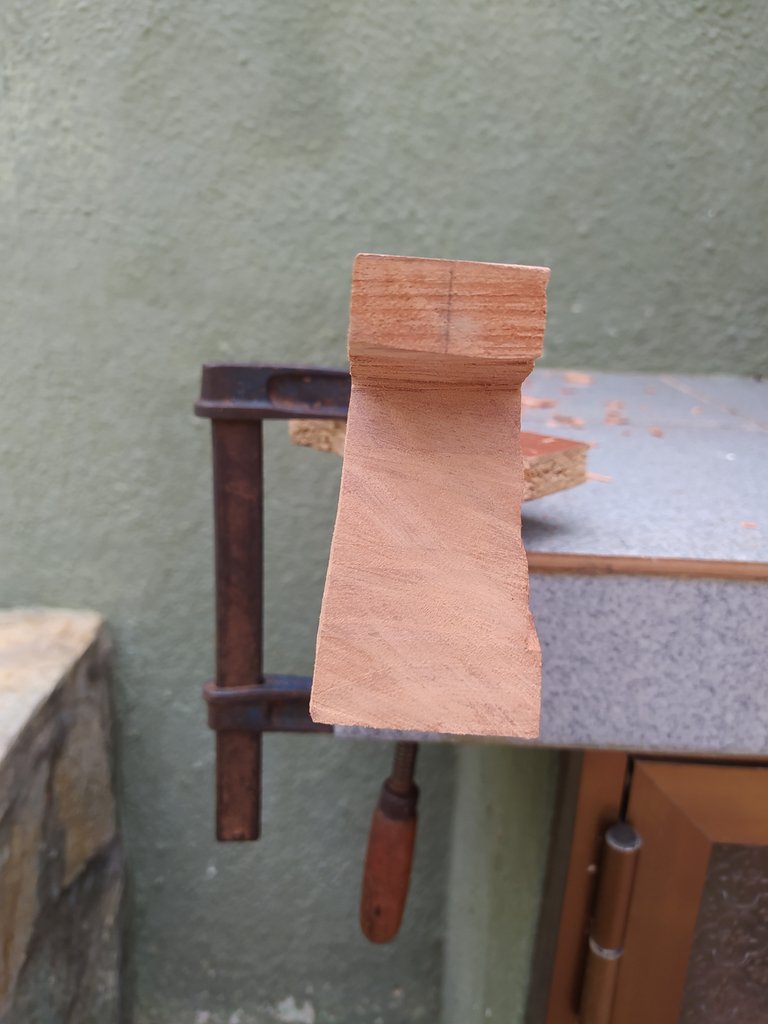
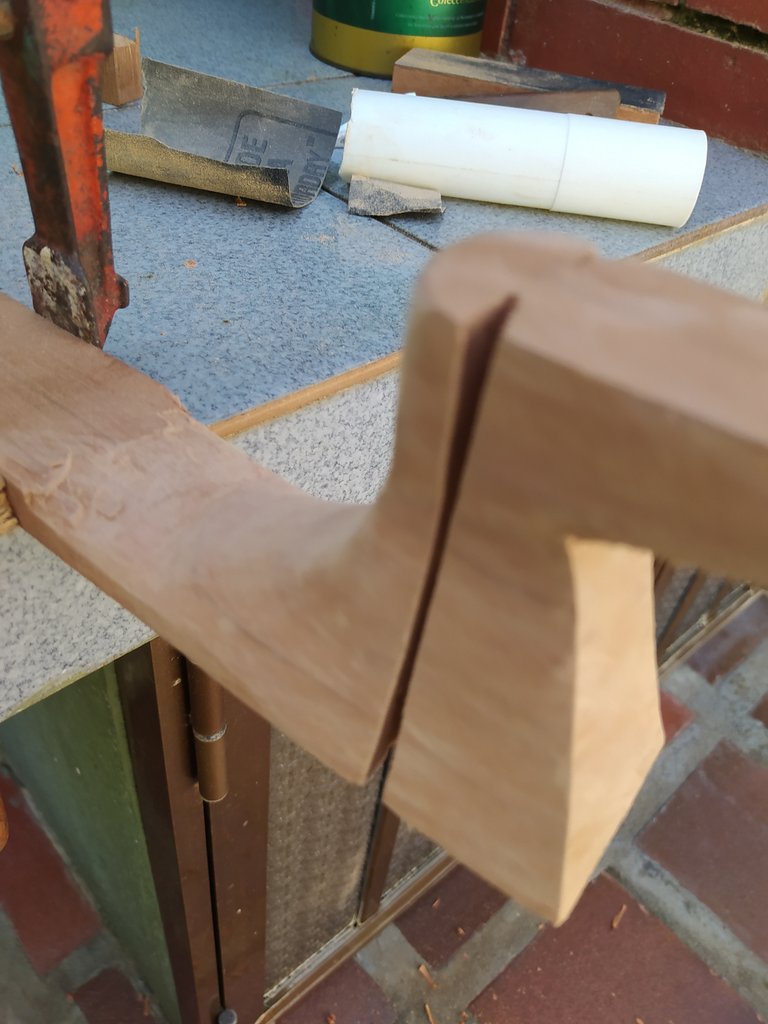
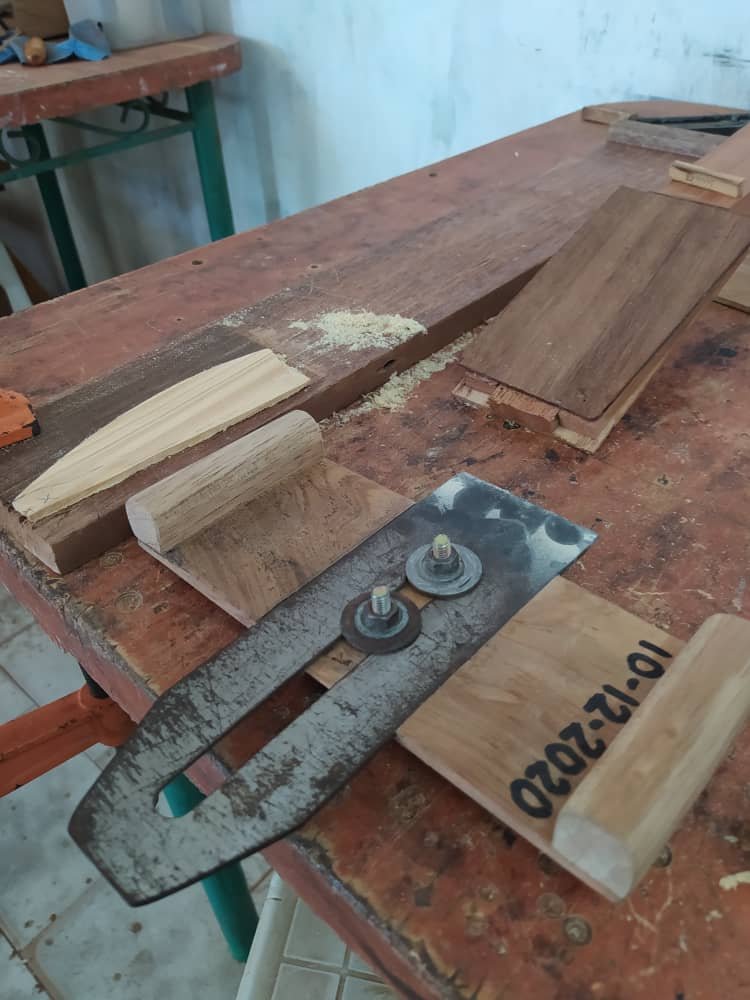
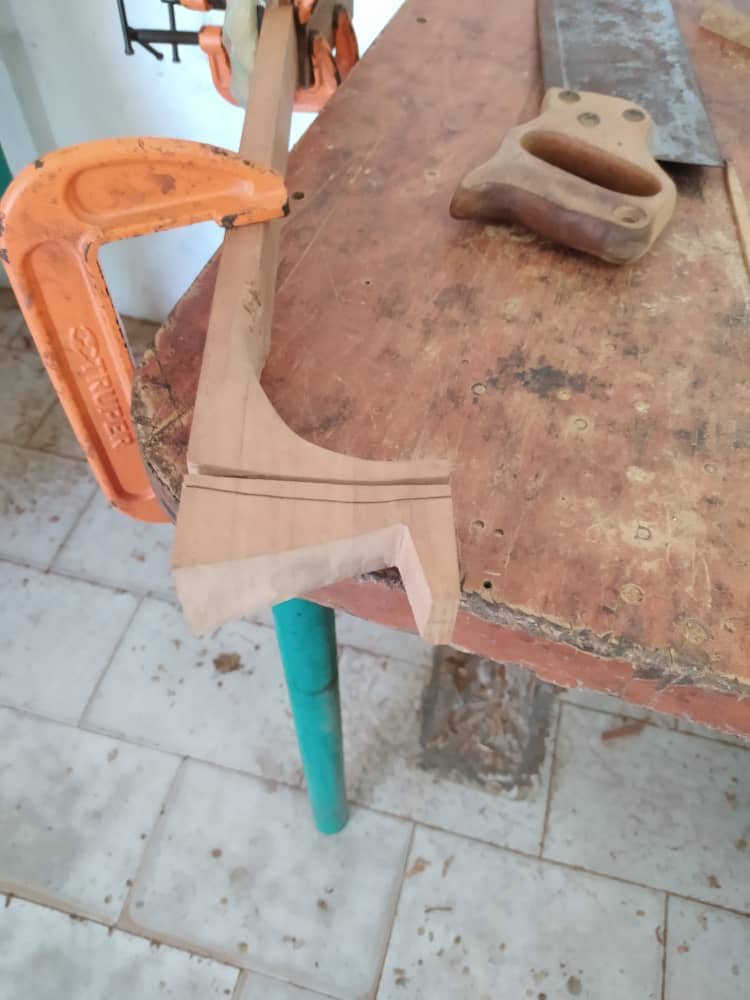
Some things have gotten more shape. Let's start with the heel with I carved out to give better looks.
Varios puntos tiene más forma. Como es el caso del tacón que ahora tiene una apariencia mejor.
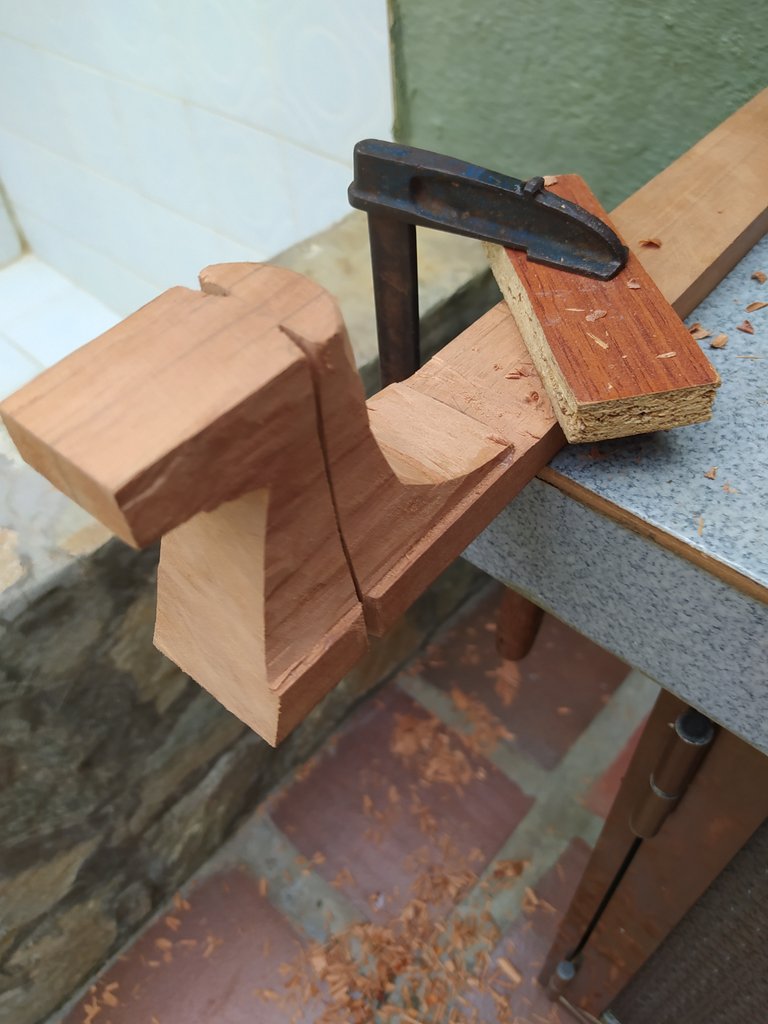
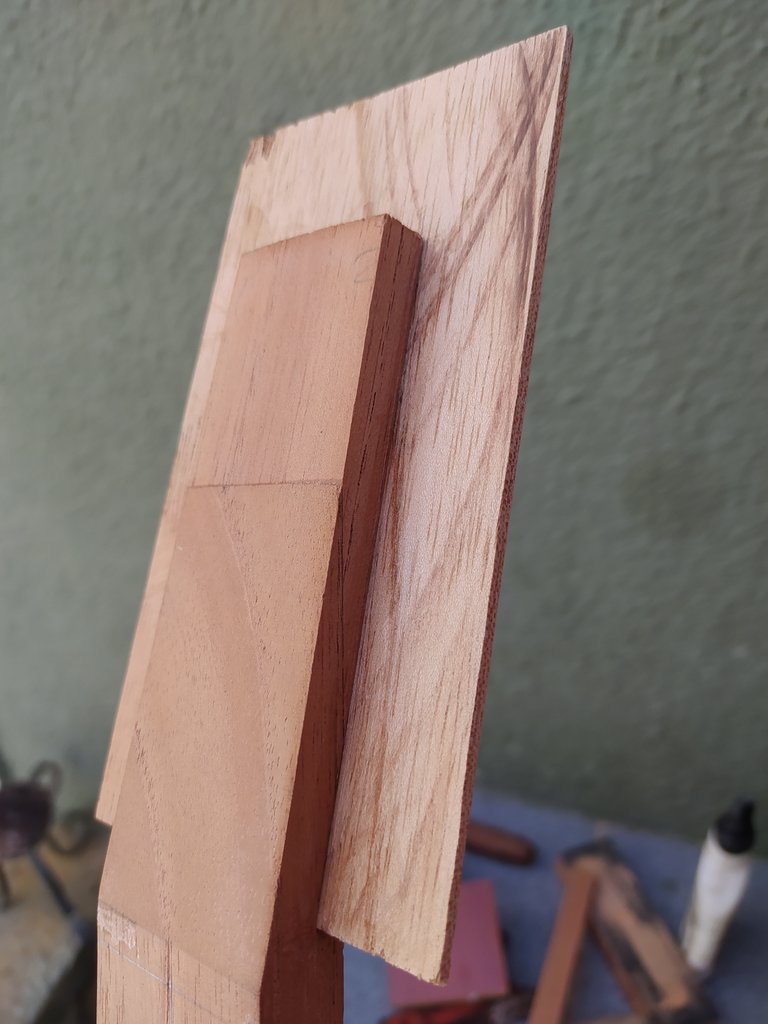
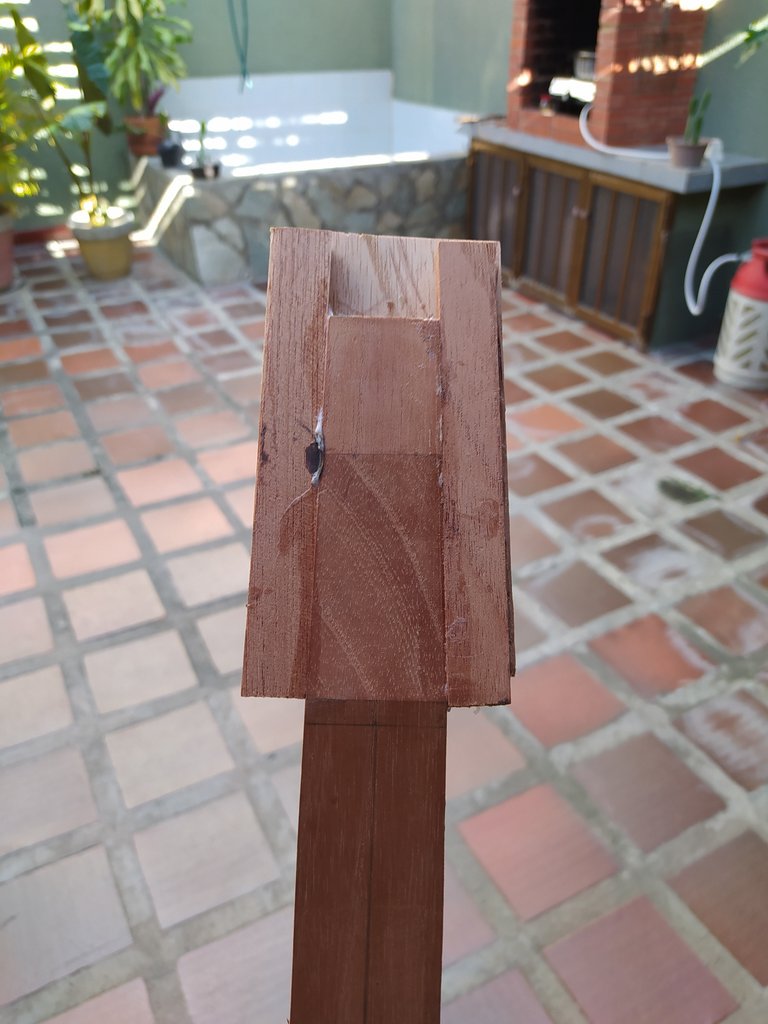
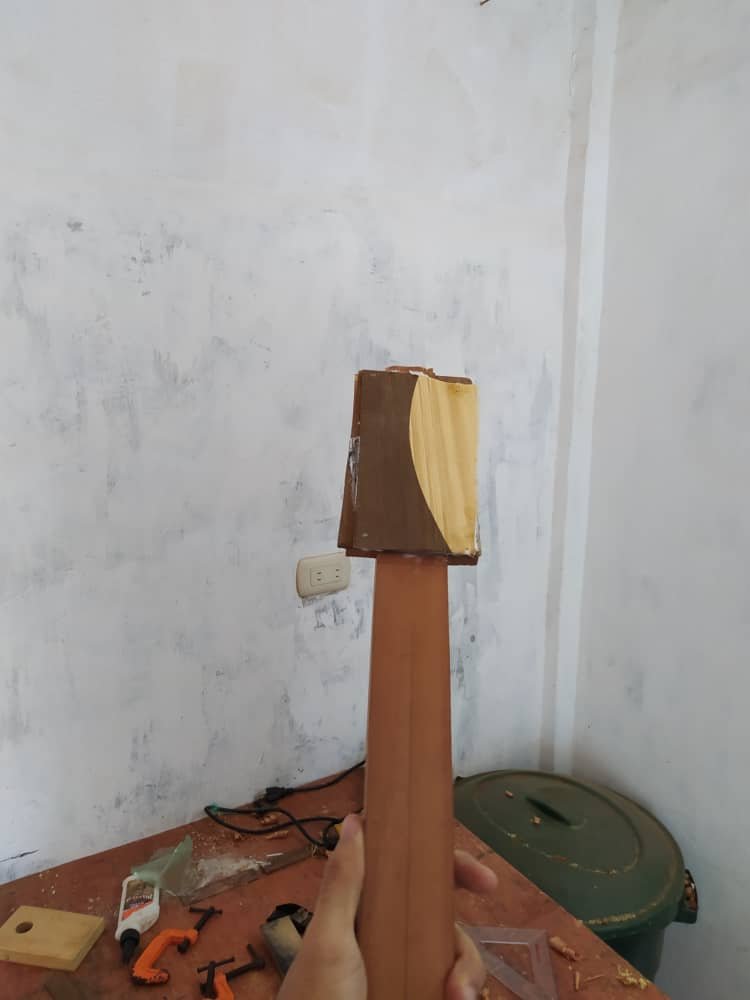
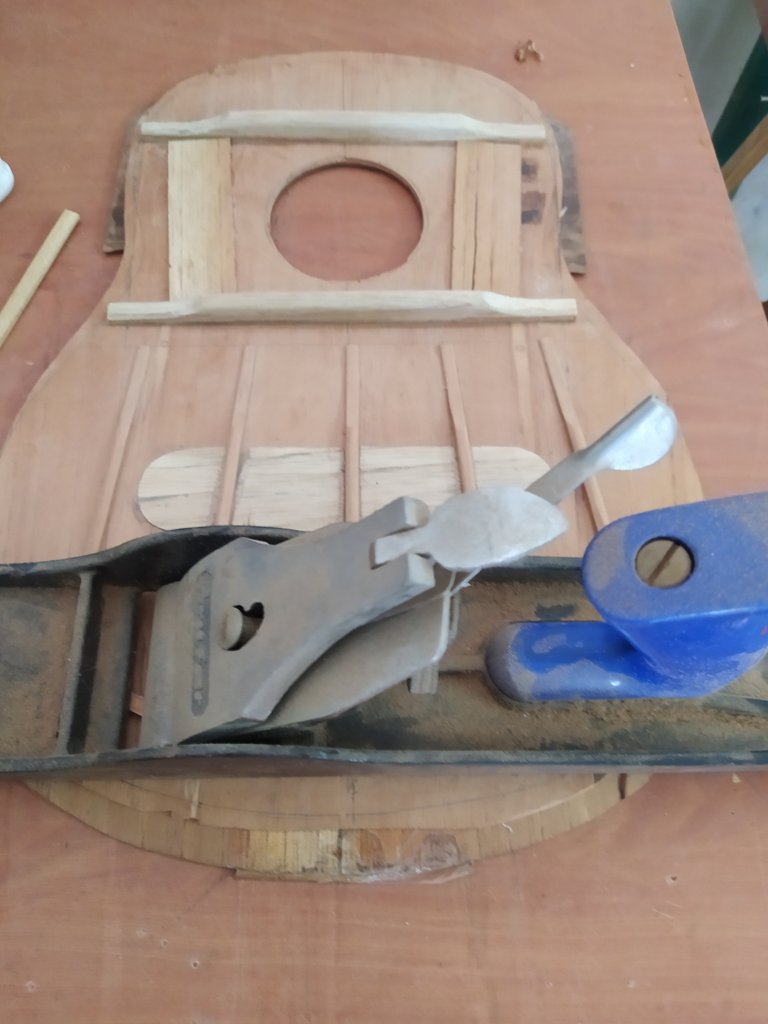
Stepping aside from the heel, we move headwards and onto the head stock. I had a think piece here, so I got some pieces to add and go back to a workable width. I also needed to flatten a little part. That's why so can see the plane. Also, there are two work places between the pictures. As I got the chance to work at home and go to the workshop a few times as well. I got the pieces from my design in place to be cut. Also, I fixed a problem that occurred when a piece of wood moved because of the glue.
Yendo hacia arriba, llegamos al clavijero. Esta pieza había quedado un poco delgada, así que busqué otras maderas para darle el grosor adecuado. También tenía que enderar una parte. Por eso pueden ver el cepillo. También se puede apreciar un cambio de escenario. Pude trabajar en casa e ir un par de veces al taller en el transcurso de la semana. Con esto, coloqué las piezas para mi diseño en su lugar y puedo corregir un defecto ocurrido cuando una de las piezas se movió de lugar mientras se pegaba.

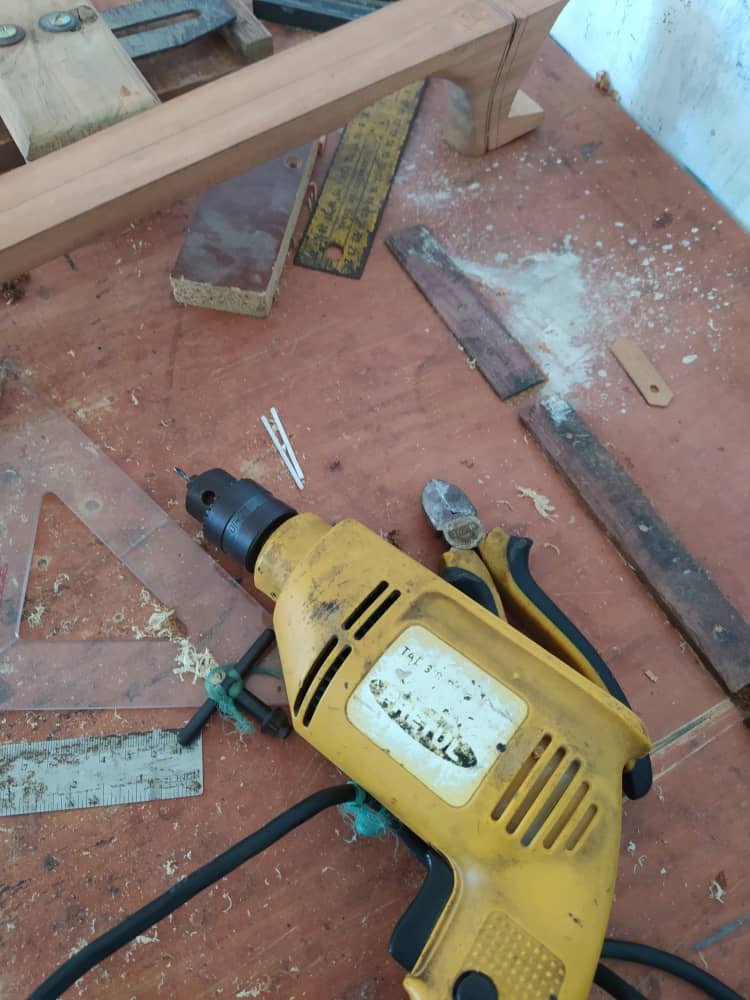

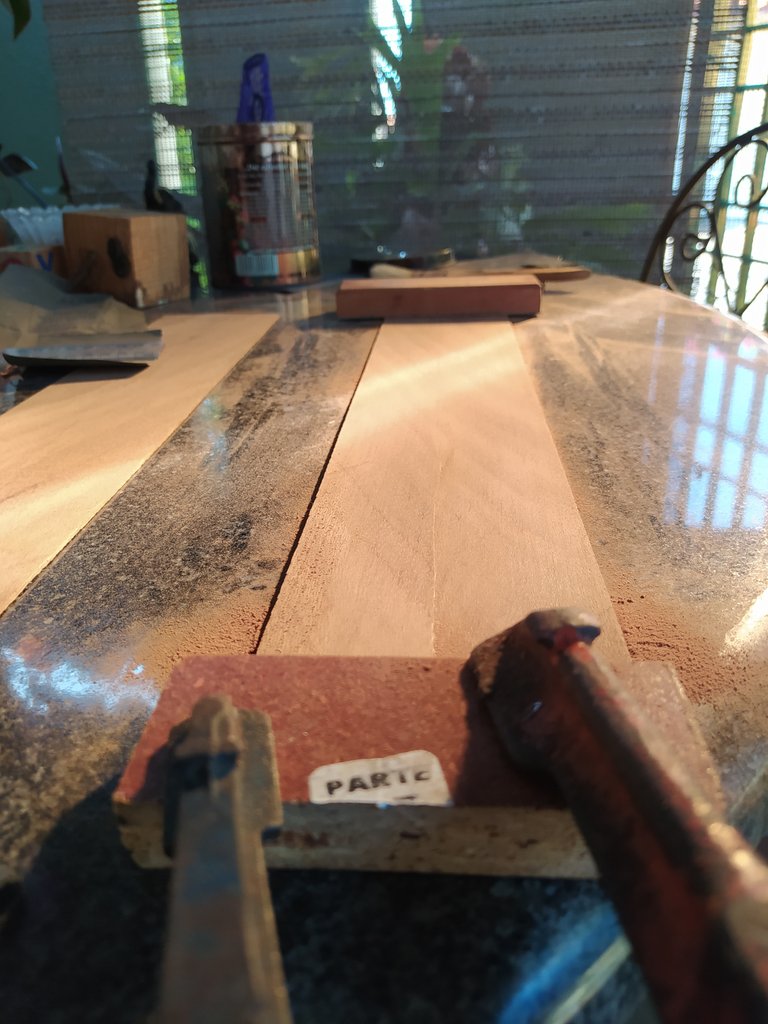
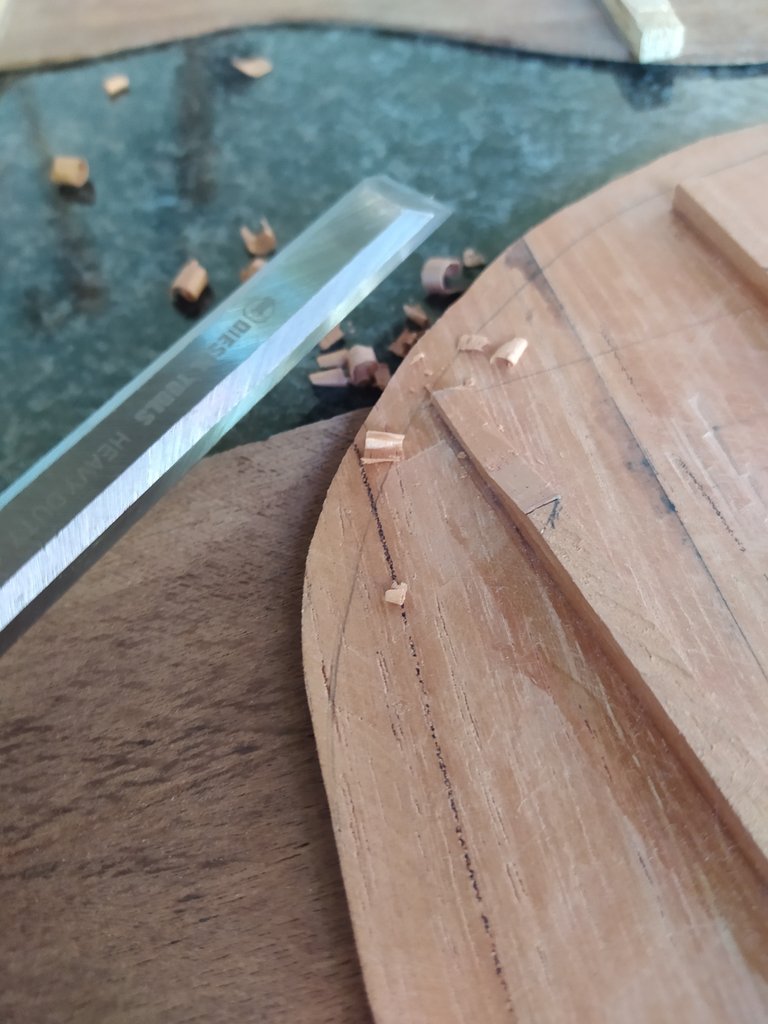
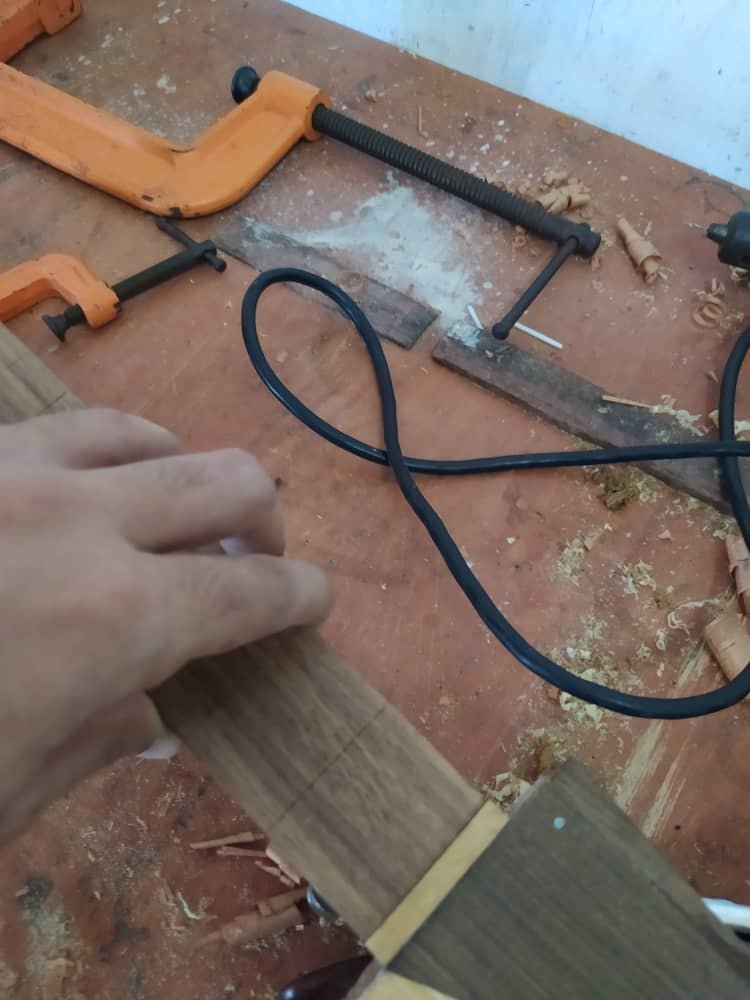
Another important step as we get near the assembly portion is to reduce the width of the ribs. This is done with a scrapper and sandpaper to remove any uneven surface and boost the wood's flexibility.
Otro detalle important ya que se acerca la hora de ensamblar todo el instrumento es rebajar los aros. Esto se hace con una cuchilla y un taco de lija. Esto es para remover cualquier superficie irregular y darle flexibilidad a la madera.
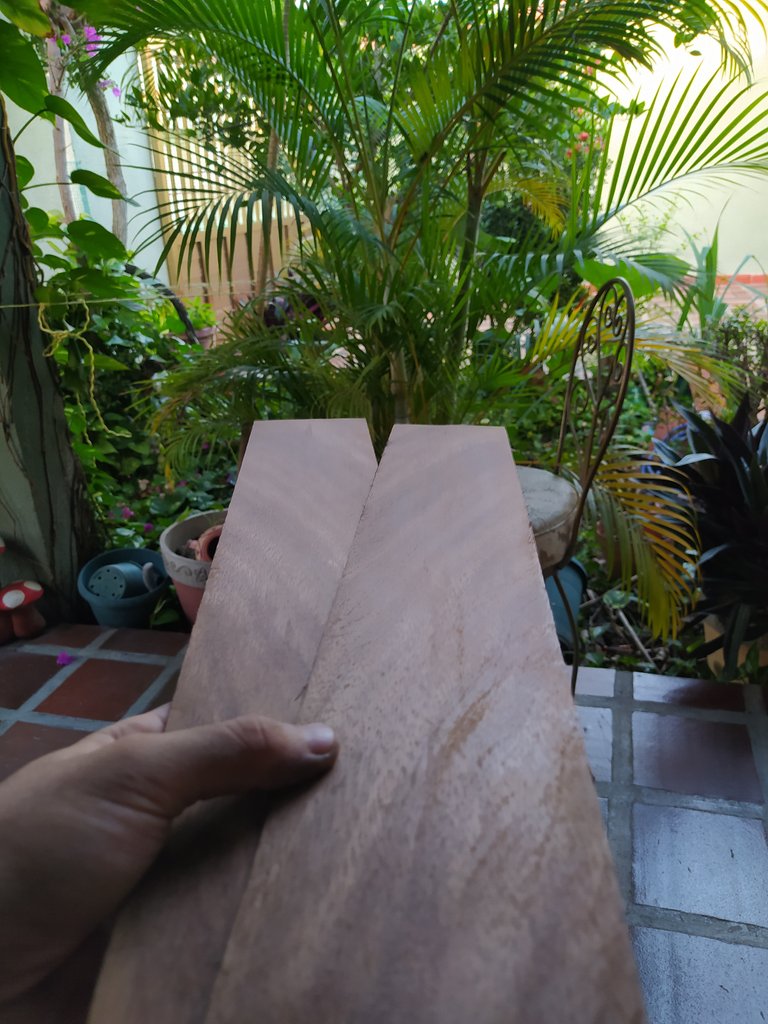
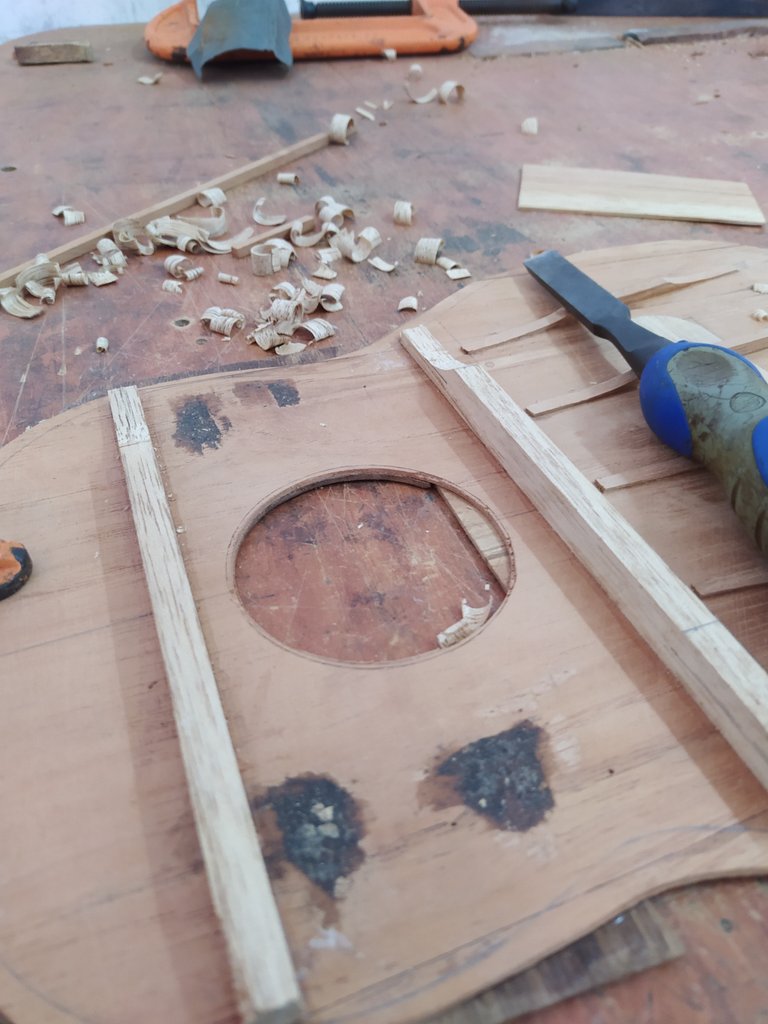
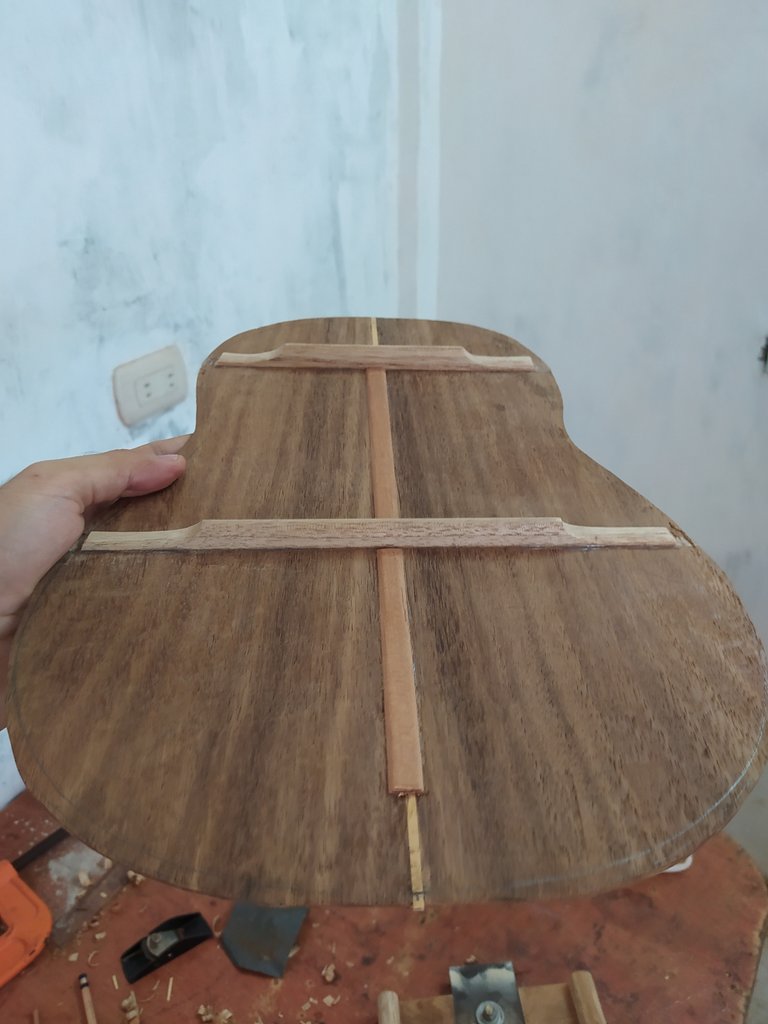
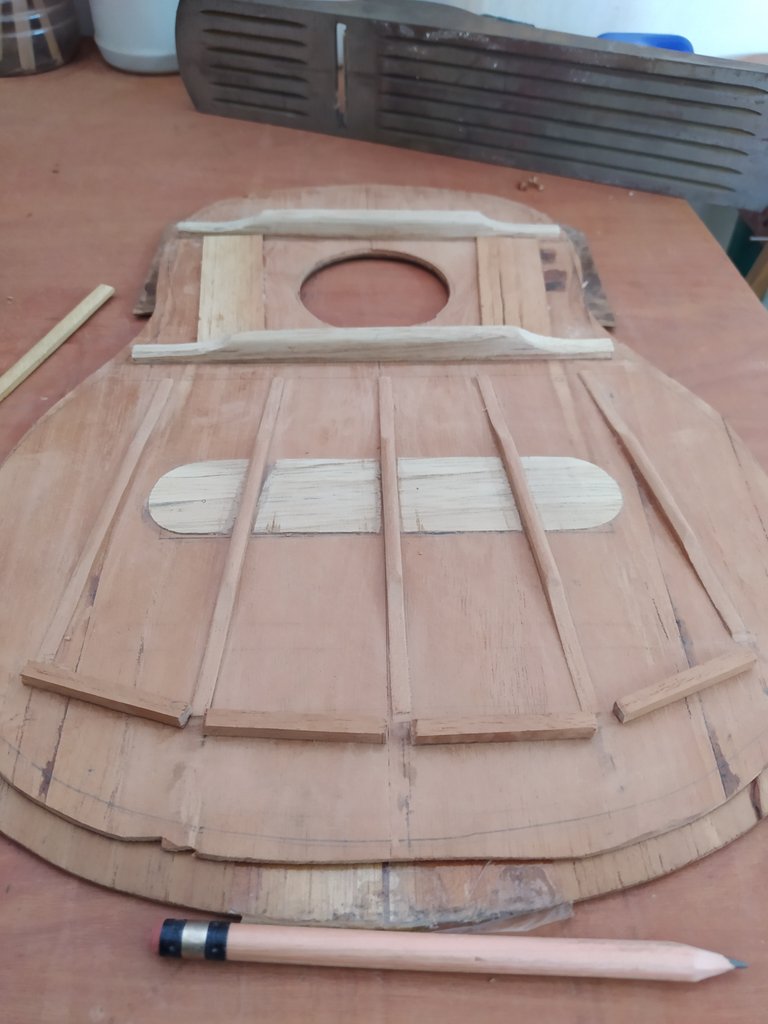
We move to the body and go on carving some details in the top and back. Here you can see some stages in the harmonic fan as well as how some details were fixed in both pieces. At this moment, they are both ready for assembly.
Se puede apreciar el labrado de algunos detalles de la tapa y el fondo. Espcialmente, se trabajó sobre el abanico armónico de la tapa. Ambas piezas se encuentran listas para ensamblar.
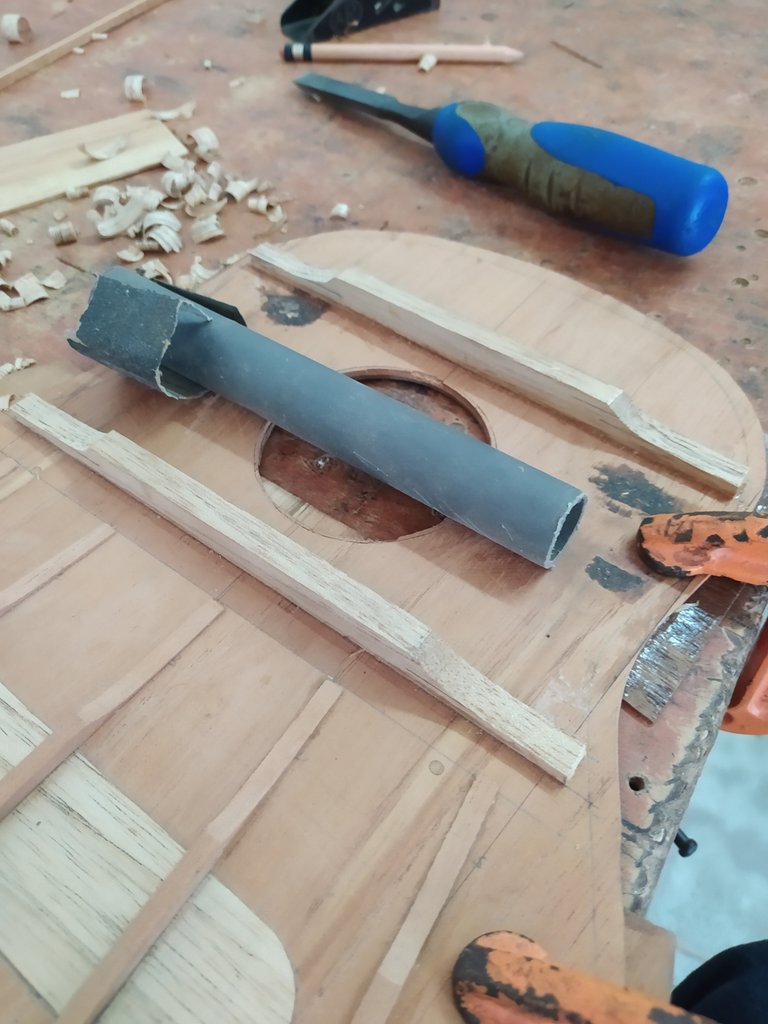
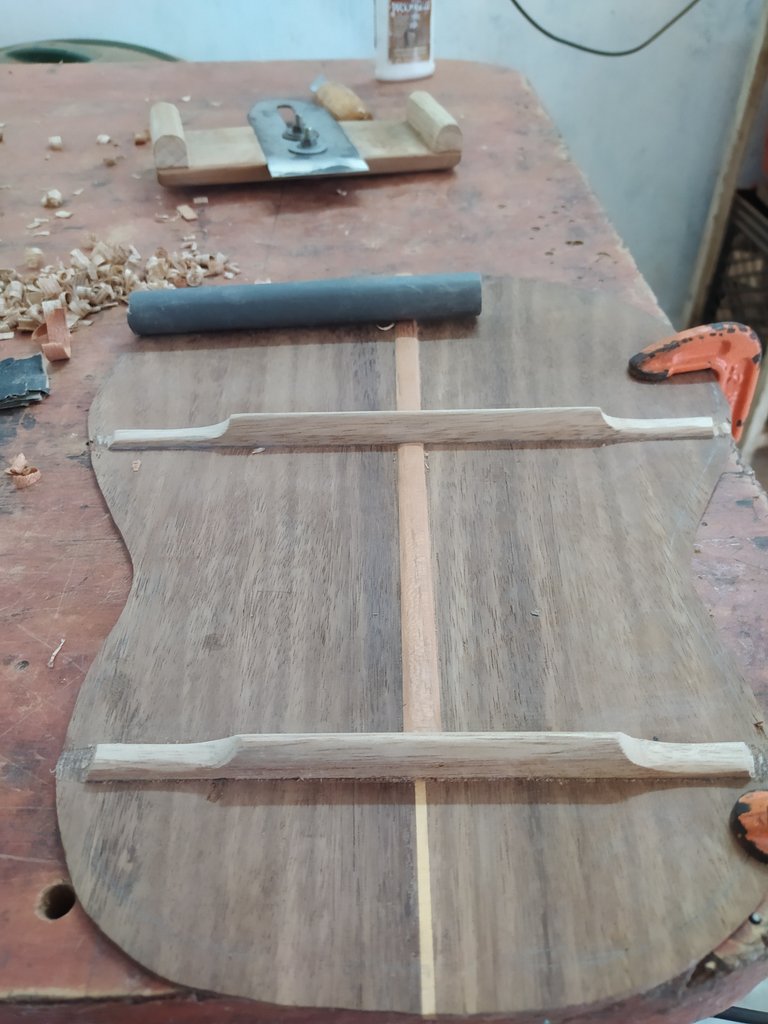
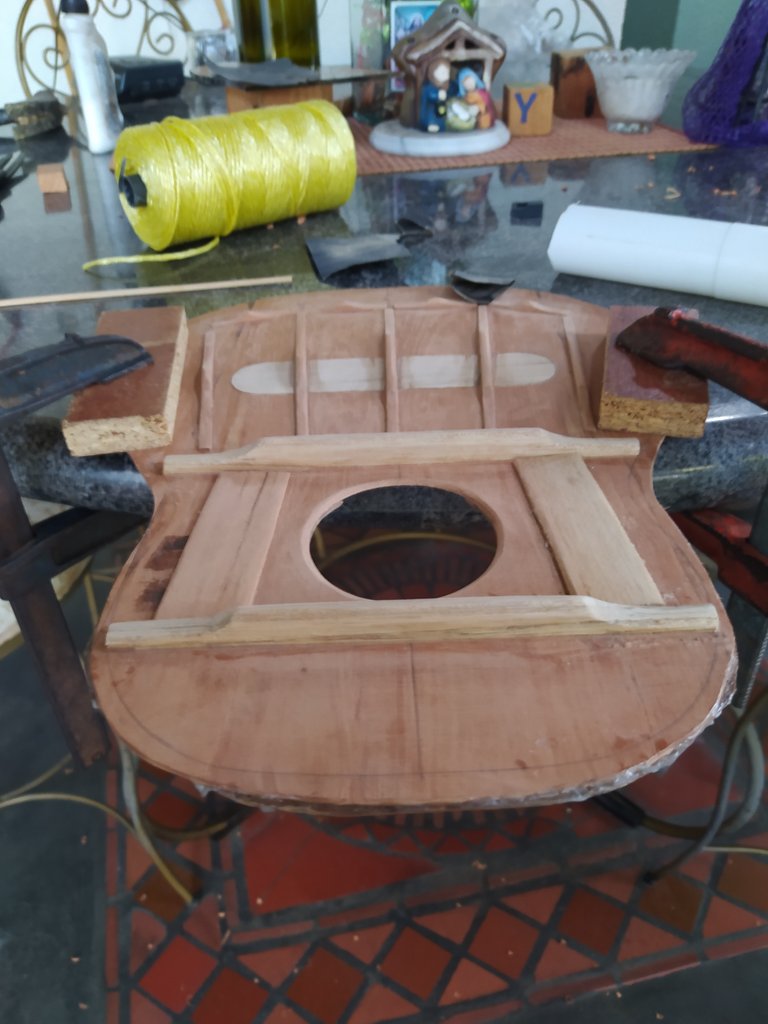
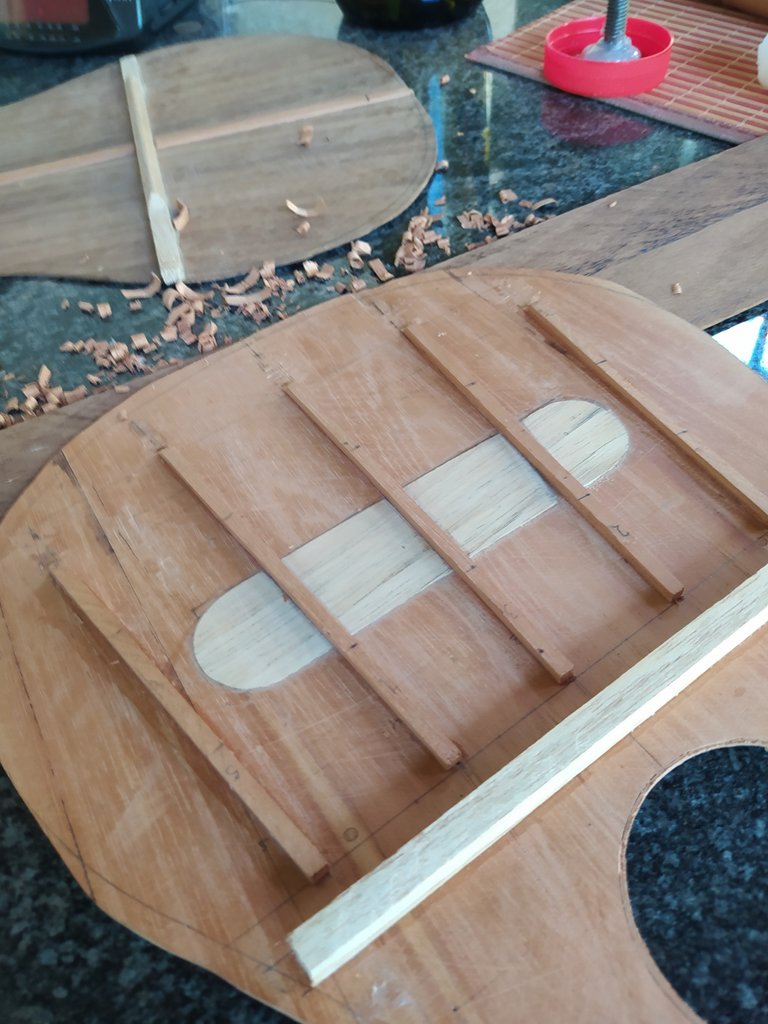

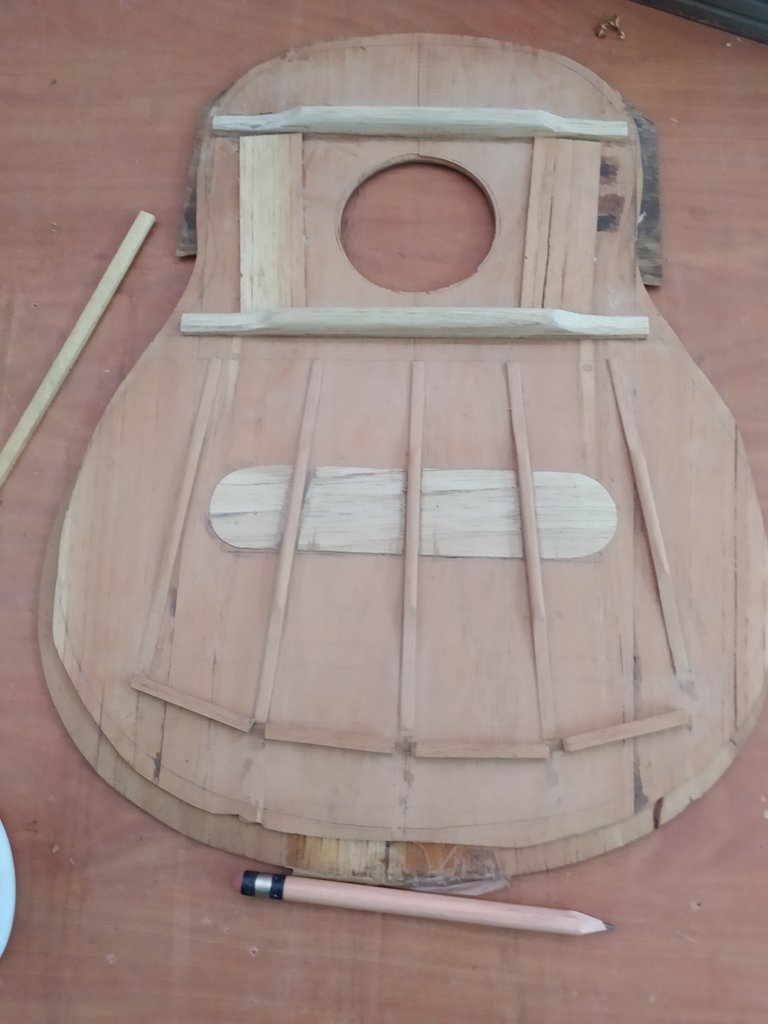
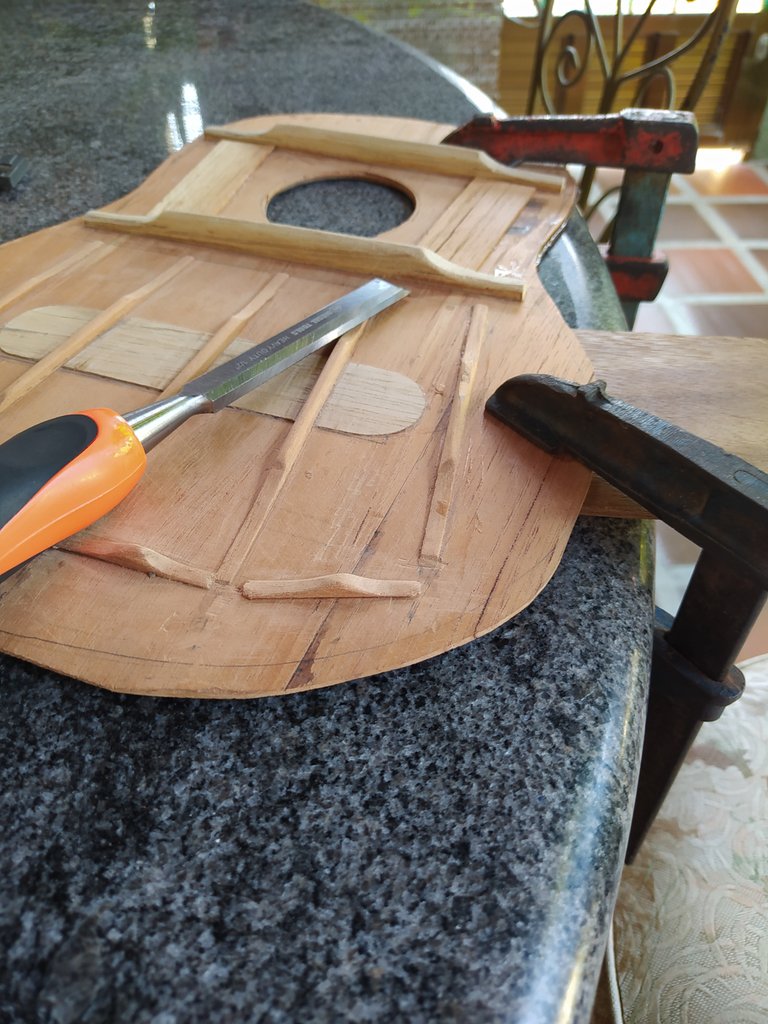
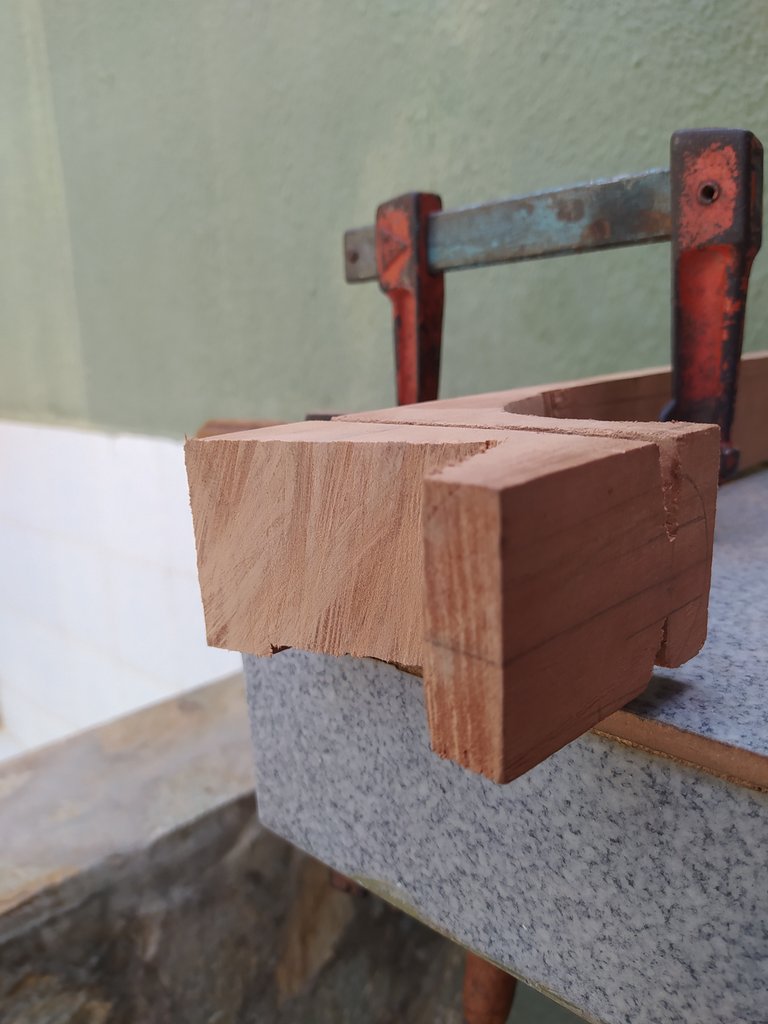
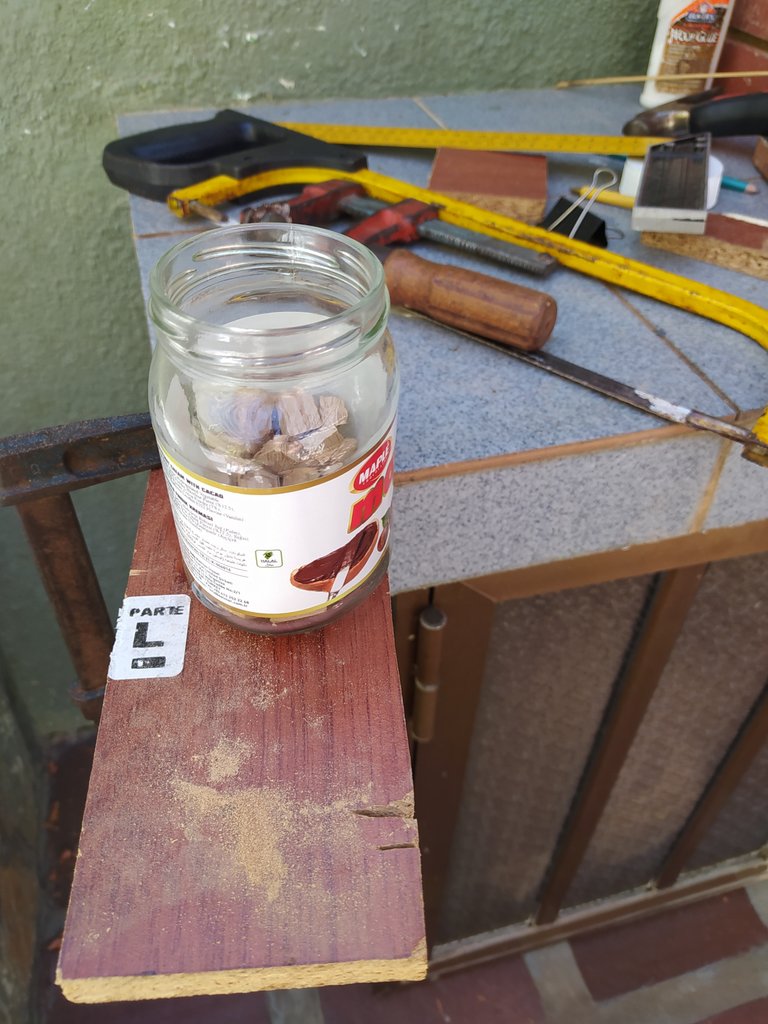
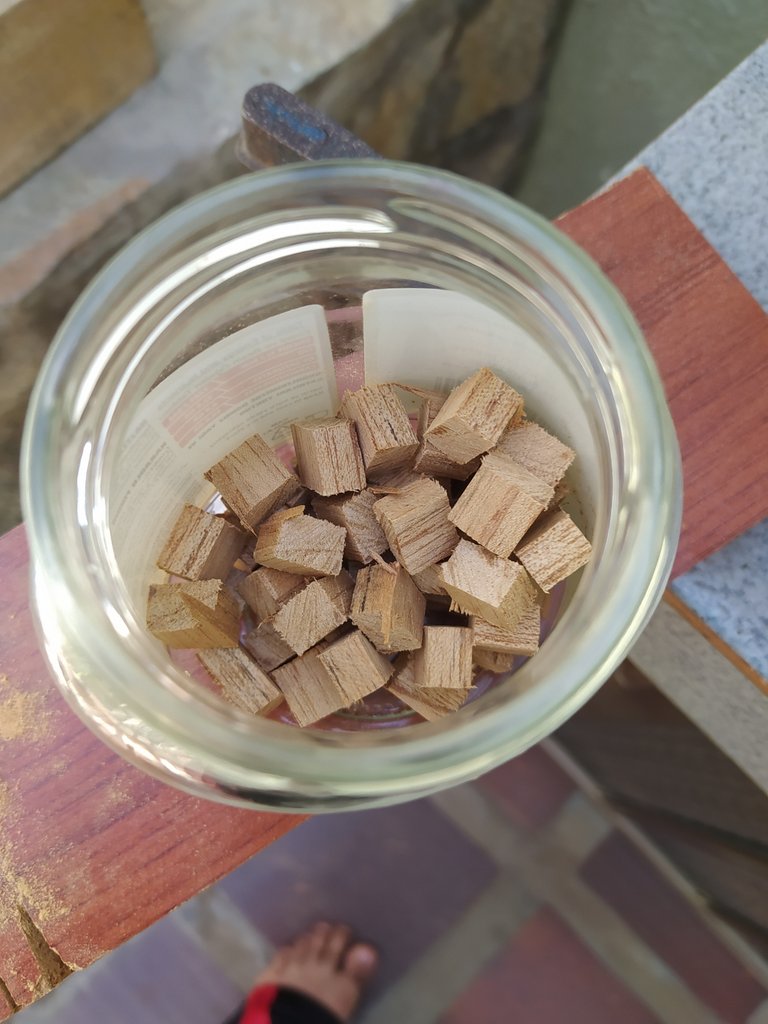
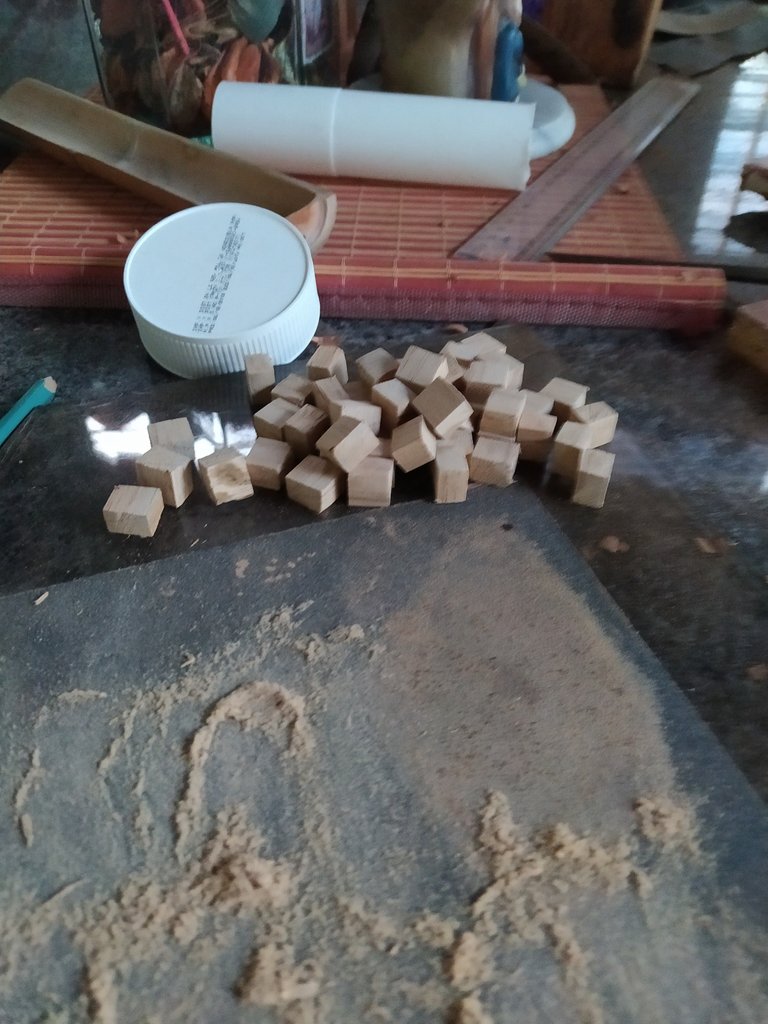
These little pieces you see here are responsible of holding top and reinforcing the front structure of the cuatro. I still need to make wedges out of them, but cutting them was quite a challenge.
Estas piezas son las encargas de reforzar la estructura frontal del cuatro. Todavía hace falta cortarlas a la mitad, pero hacer este corta ya fue todo un reto.
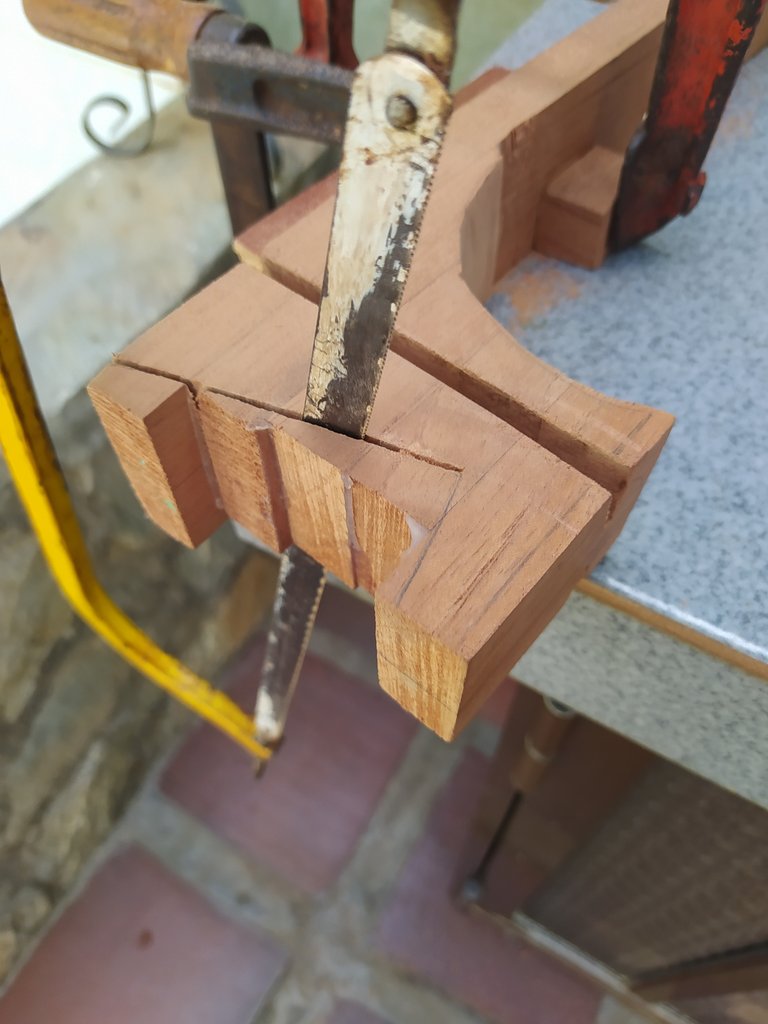
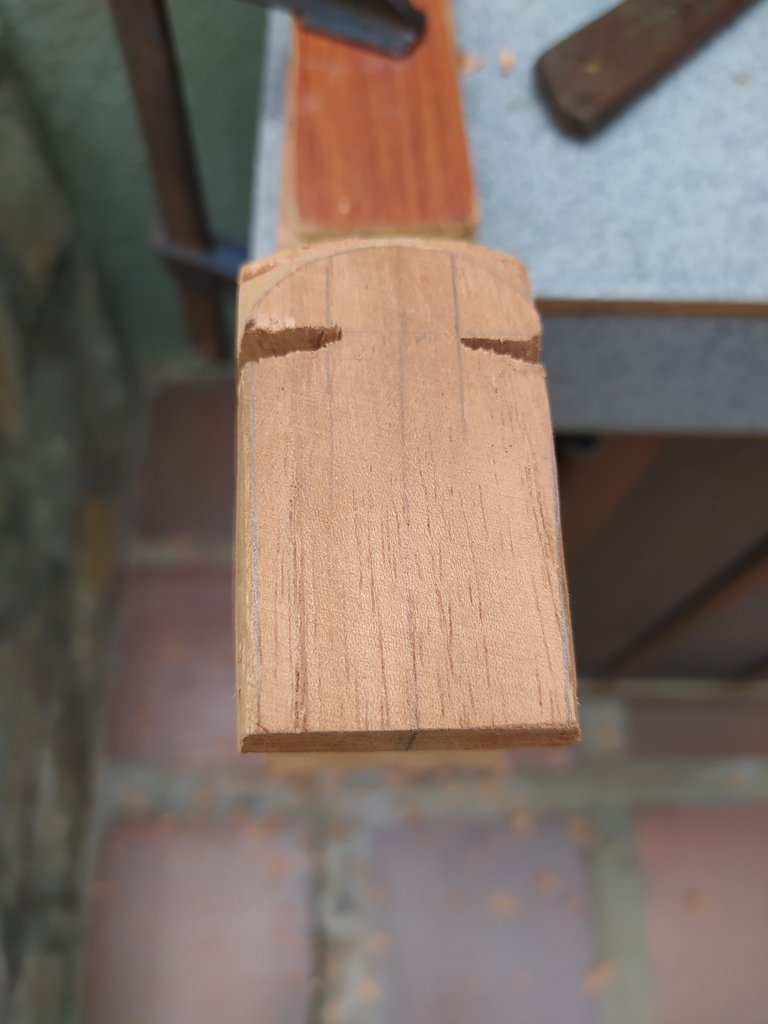
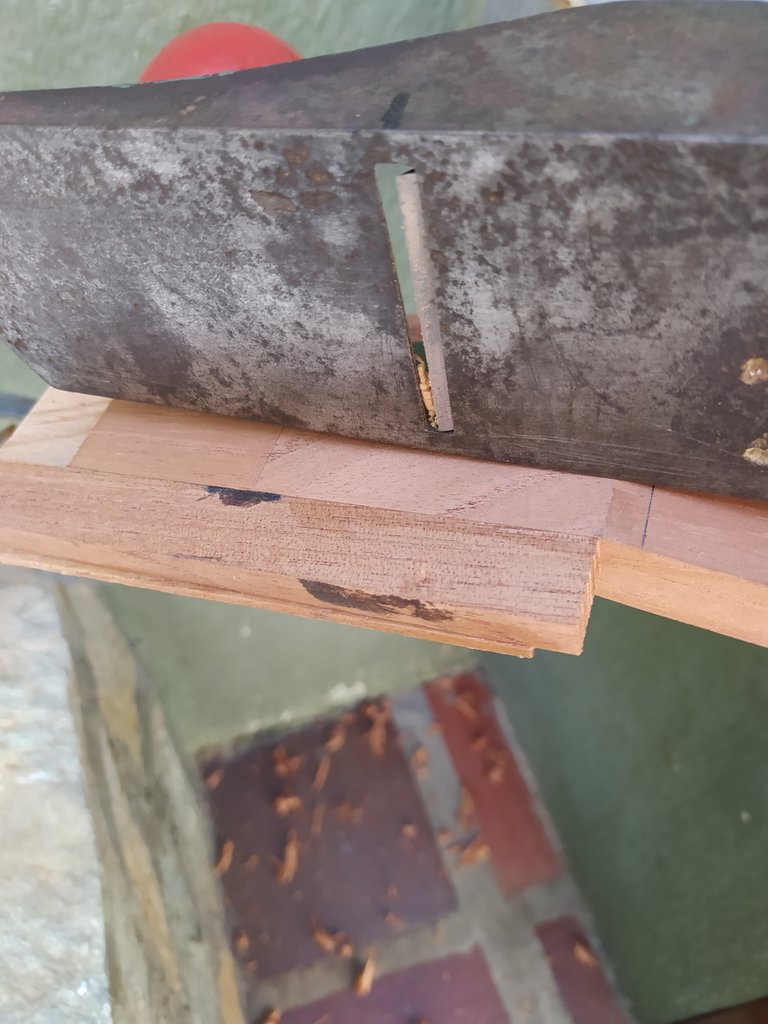
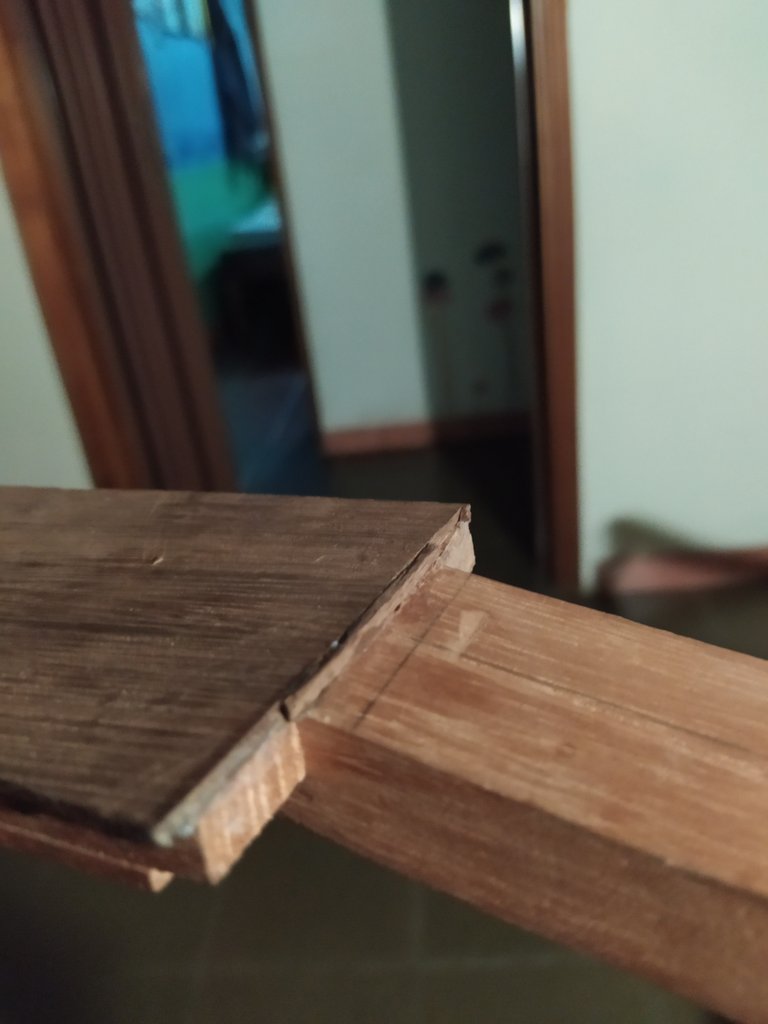
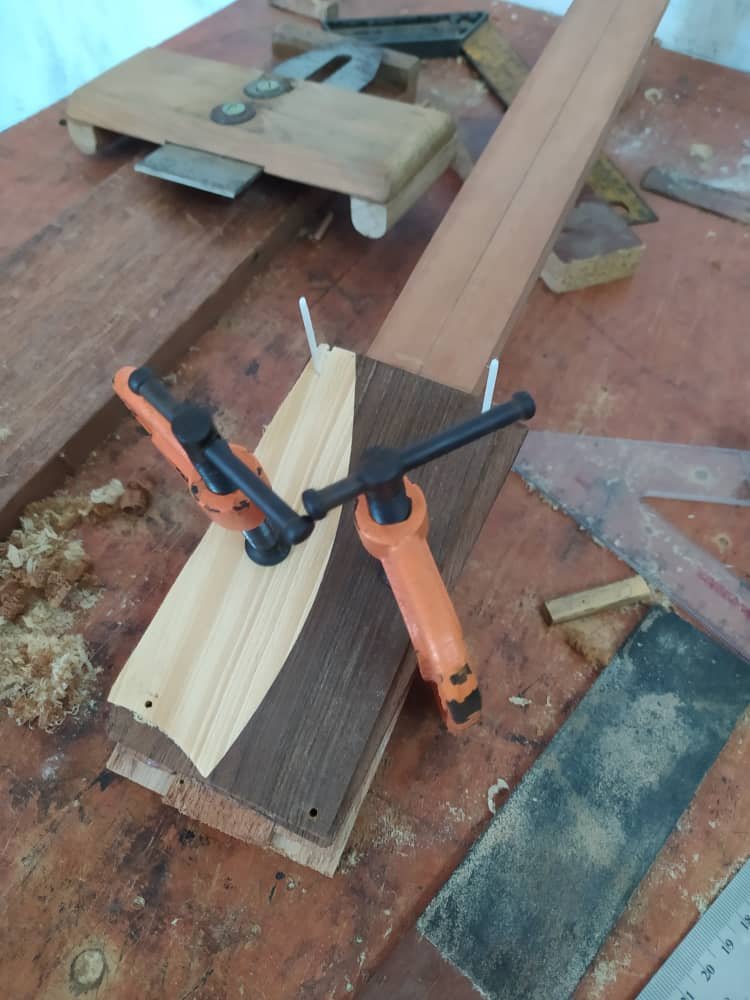
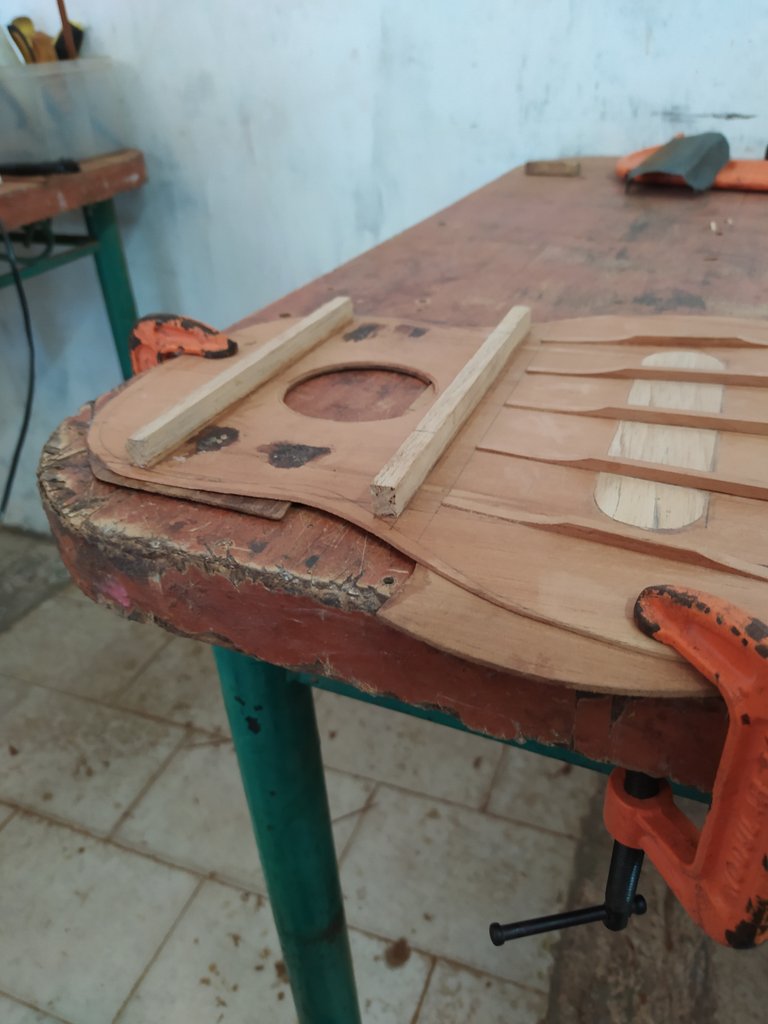
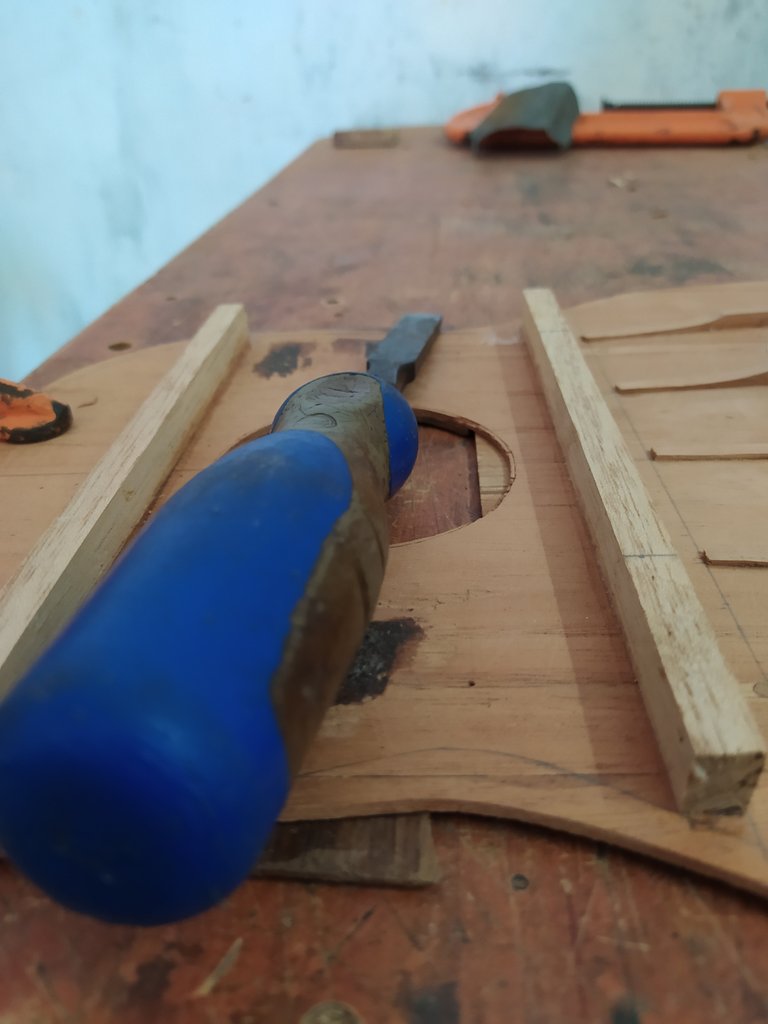
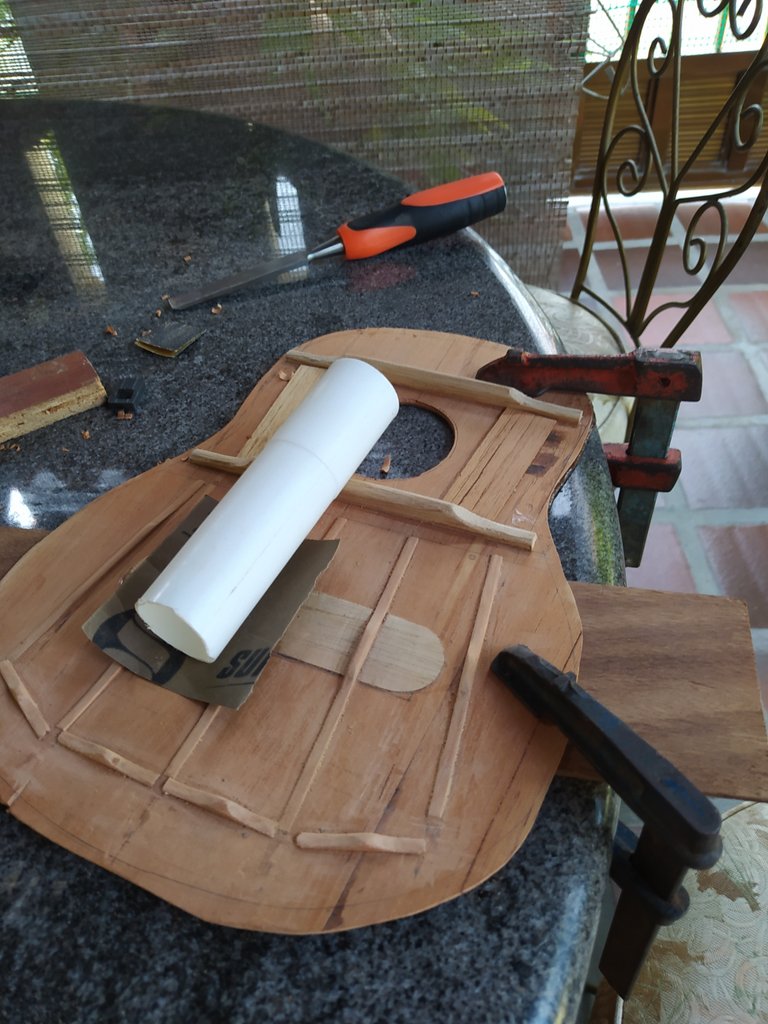
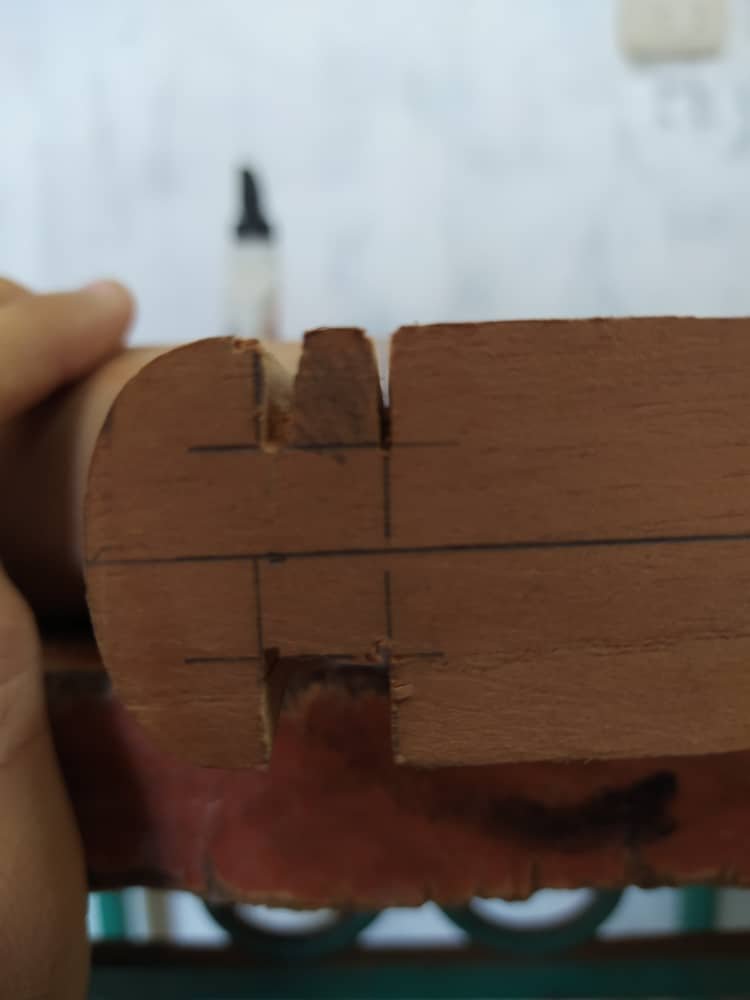
Here is the fix that was pending from the previous post. The rib slots needed some fixing as they were not with the same shape. This particular technique is common in guitar making. Basically, both slots were cut to a wider length and I made other pieces of wood that will keep the ribs in places only by pressure.
Esta es una corrección pendiente del post anterior. Las ranuras para los aros no habían quedado parejas. Esta técnica e particular es común en la construcción de guitarras. Se abren ranuras más anchas y se preparan cuñas de madera que sujetarán los aros a presión.

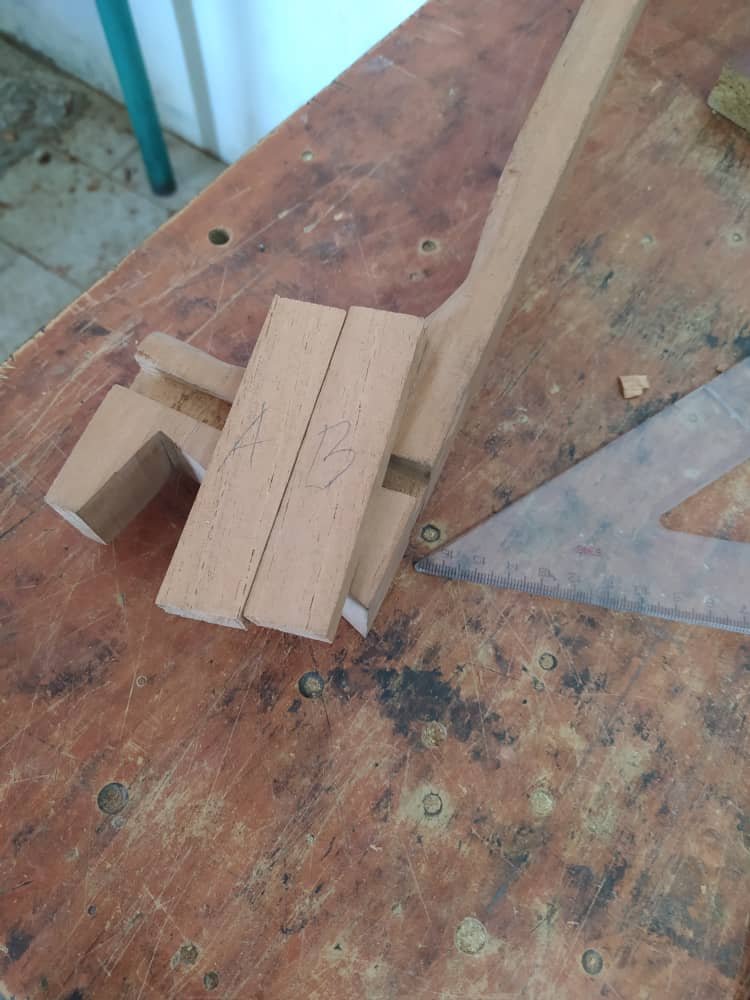
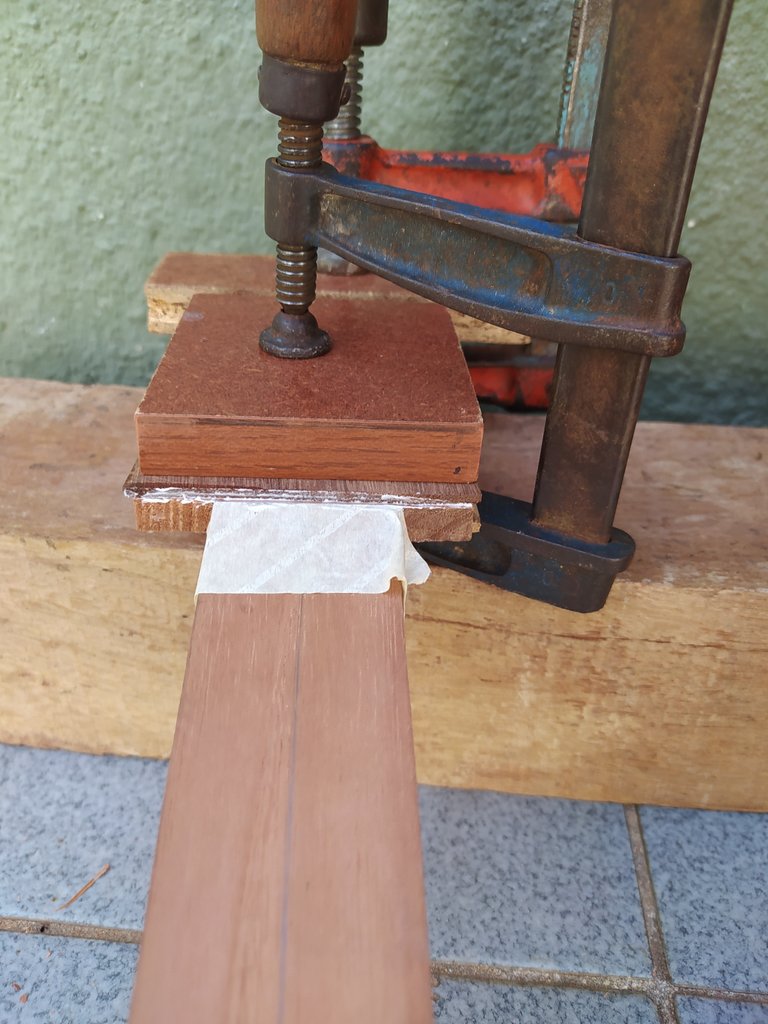
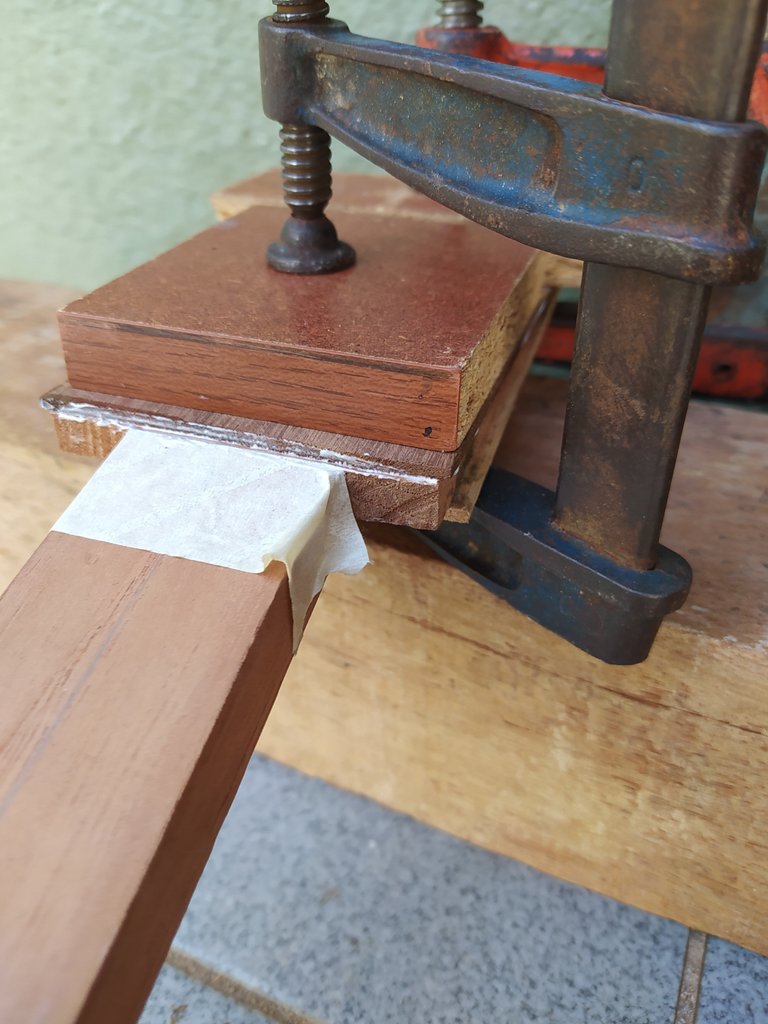
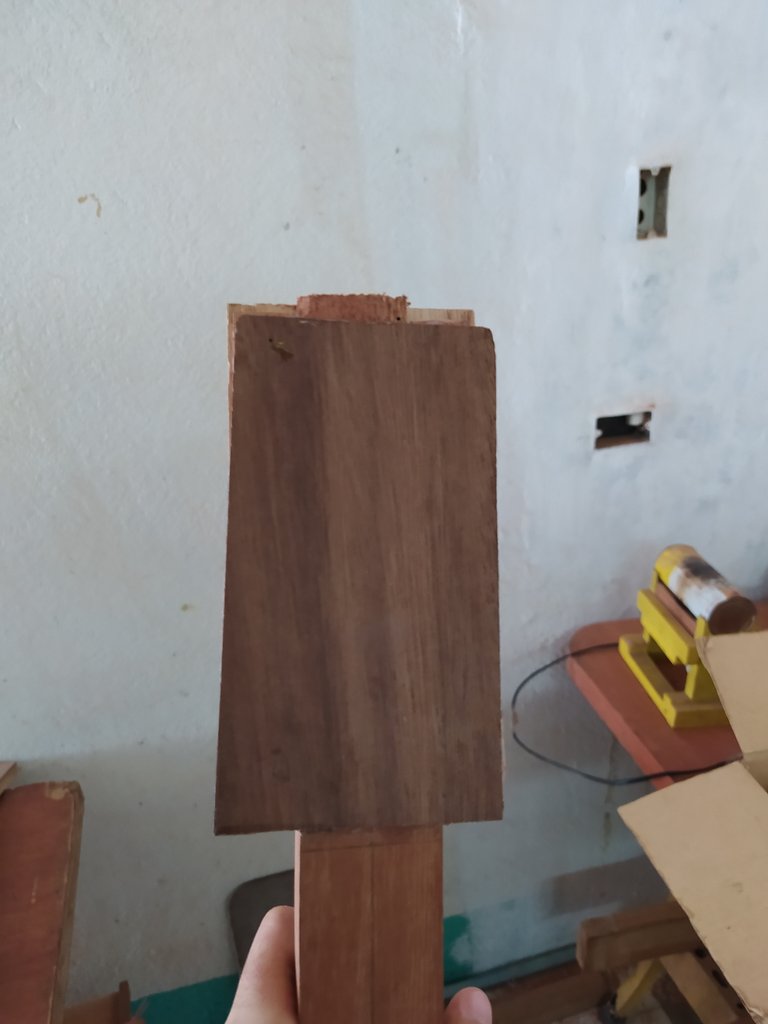
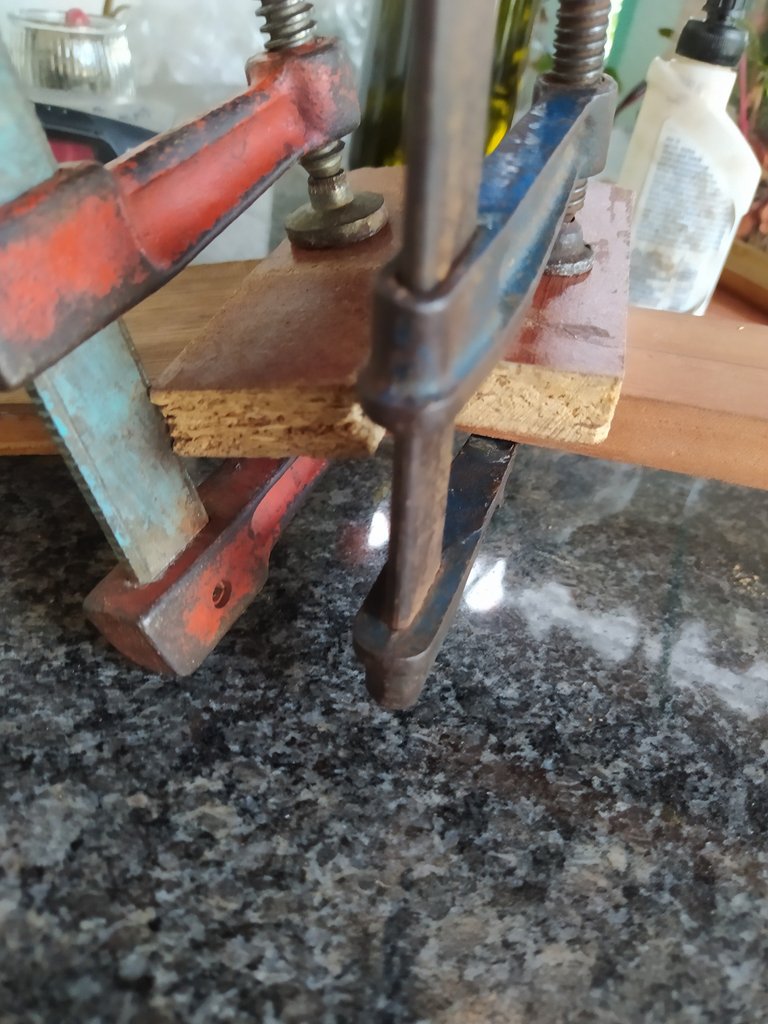
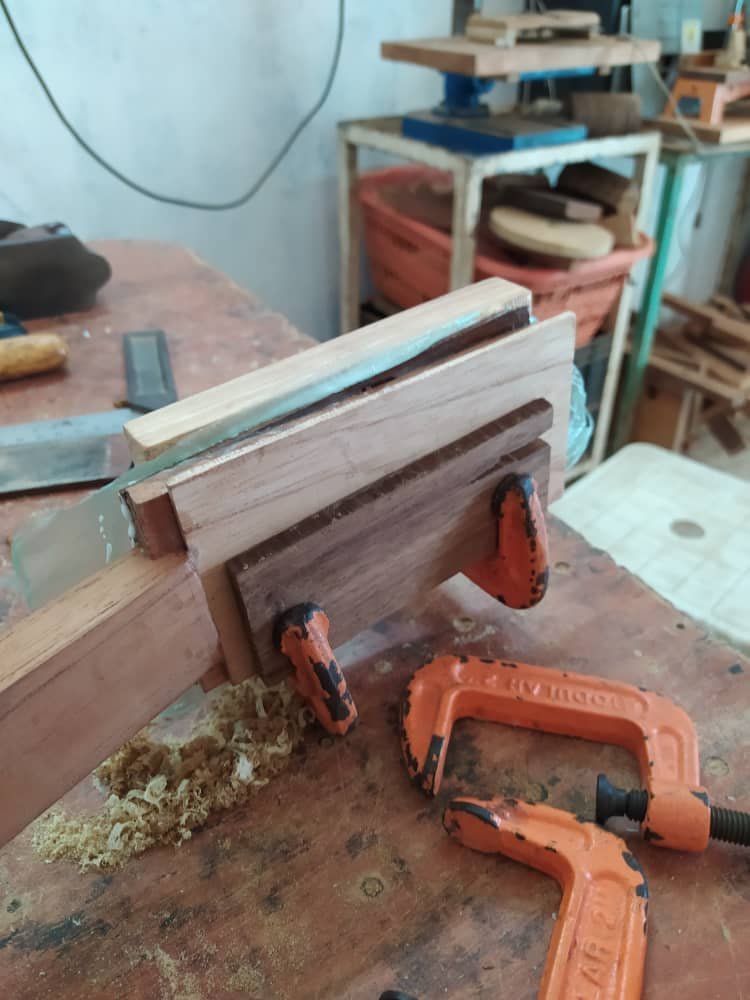
This is a delicate step. My teacher helped me prepare some pieces to keep the fretboard in place when it is time to glue it to the neck. Taking into consideration that this is were the tuning of the instrument can go wrong, it is a good idea to have something that works as an anchor to prevent the piece from moving during the gluing process.
Esto es un paso delicado. Mi profesor me ayudó a prepar estas piezas para mantener el diapasón en su lugar cuando lo pegue al mástil. Tomando en cuenta que es aquí donde la afinación del instrumento puede terminar como un desastre, es importante tener un anclaje que evite que la pieza se deslize mientras se pega.

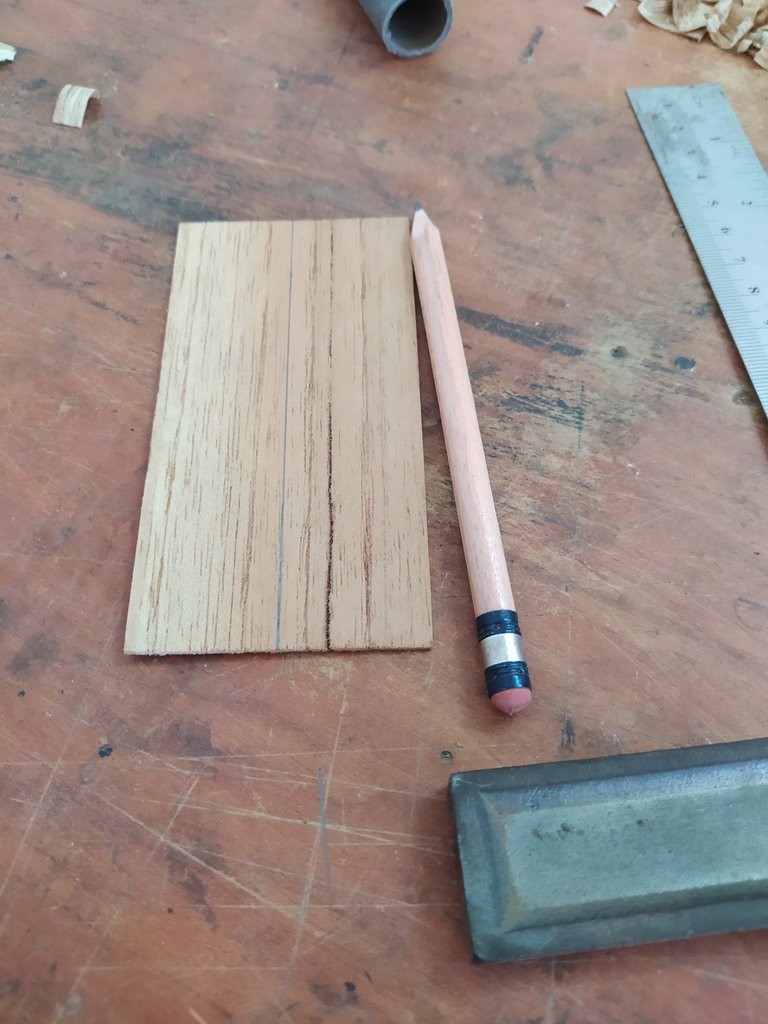
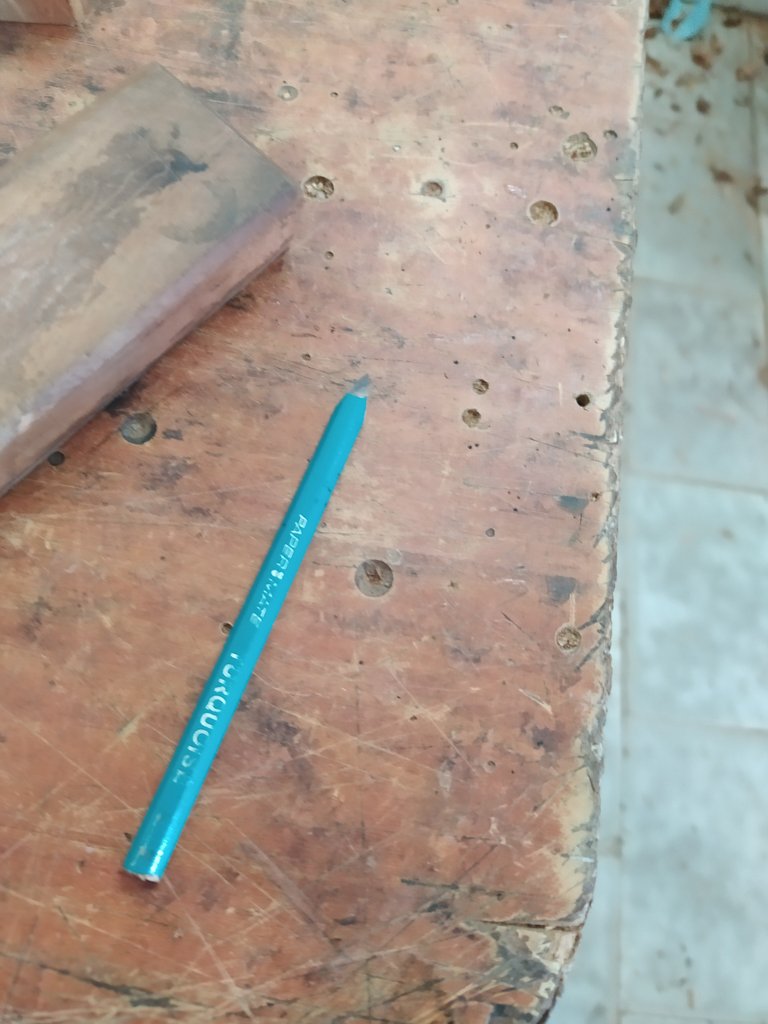
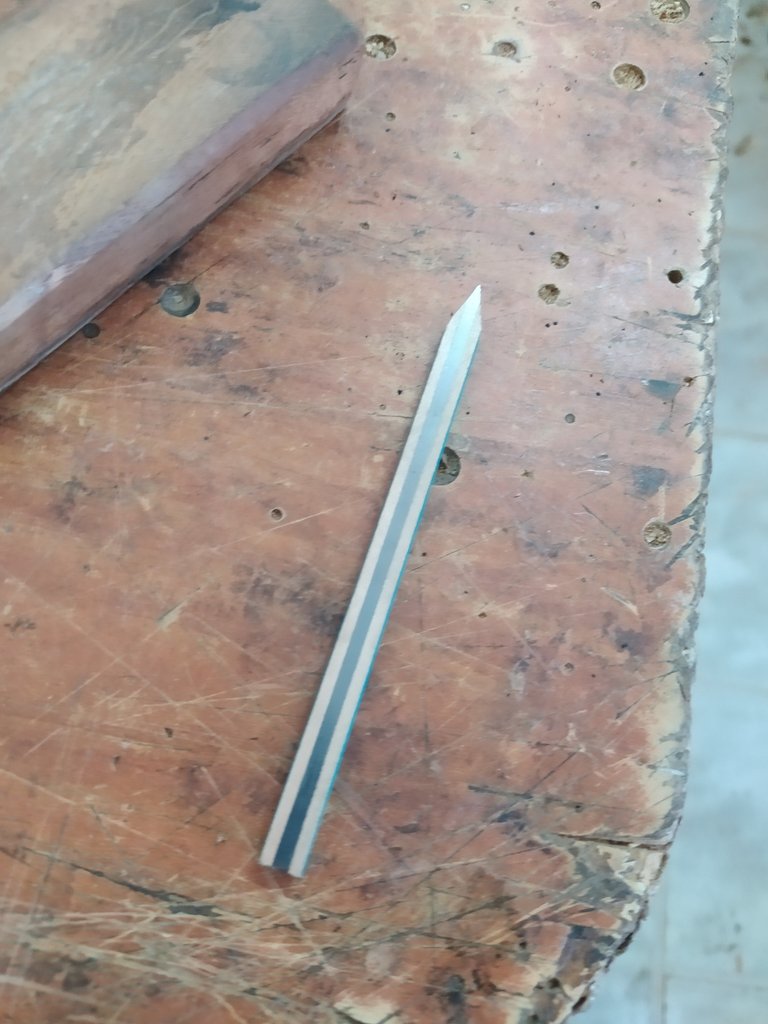
I couldn't finish without a a gift. I got another one. This time the pencil I had with me was turned into another tool. This flat pencil is great to draw guiding lines at 0 level - that means as close as possible to the wood. This will help when it's time to calculate the height of the nut.
No podía terminar el post sin un un regalo. Sí, me dieron otro. En esta ocasión el lápiz que cargaba fue transformado en esta herramienta. Un lado de lápiz es plano. Esto es útil para trazar líneas a nivel 0 - es decir, tan cerca commo sea posible del nivel de la madera donde se apoya. Esto será de gran utilidad a la hora de calcular la altura de la cejuela.
That is all for this entry. Thanks a lot for reading. See you in the next chapter.
Eso es todo por esta ocasión. Gracias por leer. Nos vemos en el próximo post.
All the pictures used in these post were taken with my phone.
Todas las fotos en este post fueron tomadas con mi teléfono.
Muchas gracias! 😄
De nada cariño.
😘
Congratulations @bertrayo! You have completed the following achievement on the Hive blockchain and have been rewarded with new badge(s) :
You can view your badges on your board and compare yourself to others in the Ranking
If you no longer want to receive notifications, reply to this comment with the word
STOPThank you for sharing this amazing post on HIVE!
Your content got selected by our fellow curator @stevenson7 & you just received a little thank you via an upvote from our non-profit curation initiative!
You will be featured in one of our recurring curation compilations and on our pinterest boards! Both are aiming to offer you a stage to widen your audience within and outside of the DIY scene of hive.
Join the official DIYHub community on HIVE and show us more of your amazing work and feel free to connect with us and other DIYers via our discord server: https://discord.gg/mY5uCfQ !
If you want to support our goal to motivate other DIY/art/music/homesteading/... creators just delegate to us and earn 100% of your curation rewards!
Stay creative & hive on!
Thanks a lot and thanks to @stevenson7 for keeping an eye on my posts! Your support means the world to me. 🤗
Bud 🤝🏽
🤗
Muchas gracias por su apoyo!