Gifts will always be part of our lives, whether they are small or big, they will always have a special place in our hearts. For me a gift means a lot, the truth is that they fill me with joy, happiness, tenderness, they are fascinating. Just as we like to receive gifts, we also like to give gifts to our loved ones, friends, family, it is a way to love and cherish those who brighten our lives. So today my beautiful family of Hive, I want to share with you, a small tutorial to make a small gift, I hope you like it very much.
.png)
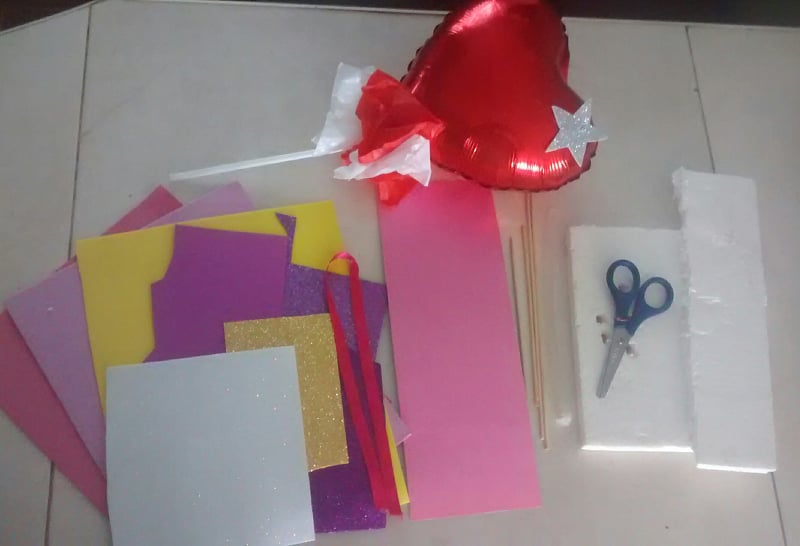
Below you will find the materials and the step-by-step to make this beautiful gift.
.png)
.jpg)
- Los Materiales que vamos a necesitar son:
- 1- Anime.
- 2- Tijeras.
- 3- Silicón al frío, o de barra.
- 4- Palitos de altura.
- 5-Cartulina del color de su preferencia.
- 6- Foami, de distintos colores.
- 7- Cinta.
- 8- Un globo para decorar.
- 9- Dulces variados ( Chucherías )
- 10- Papel crepe.
- The materials we will need are:
- 1- Anime.
- 2- Scissors.
- 3- Cold glue, or glue stick.
- 4- Sticks of height.
- 5- Cardboard of the color of your preference.
- 6- Foami, of different colors.
- 7- Ribbon.
- 8- A balloon to decorate.
- 9- Assorted candies (sweets).
- 10- Crepe paper.
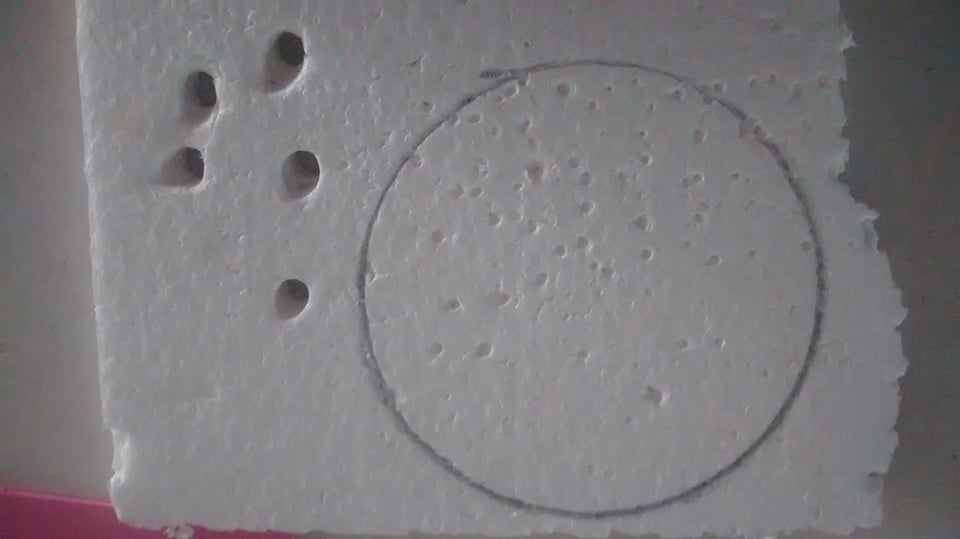
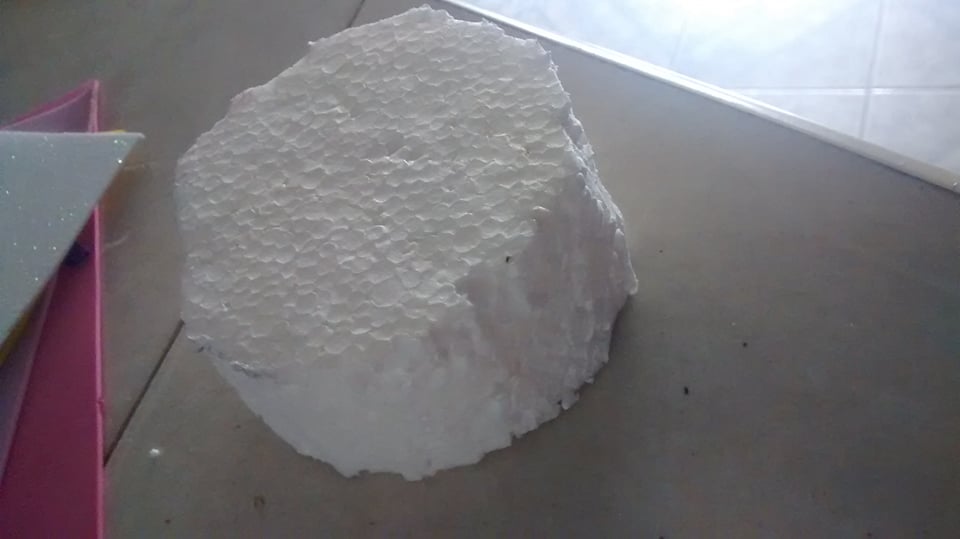
- Paso 1: Marcamos el tamaño del círculo que queremos, en al anime y lo recortamos.
- Step 1: We mark the size of the circle we want, in the anime and cut it out.
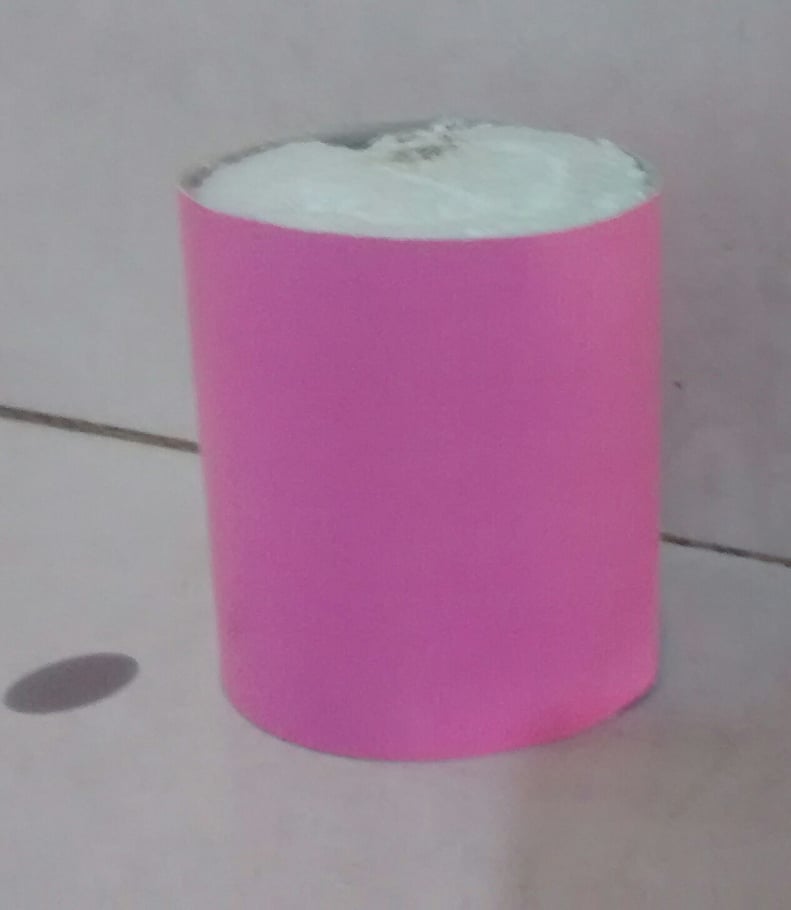
- Paso 2: Con el silicón pegamos la cartulina al anime, lo cual quedara de esta manera.
- Step 2: With the silicone we glue the cardboard to the anime, which will look like this.
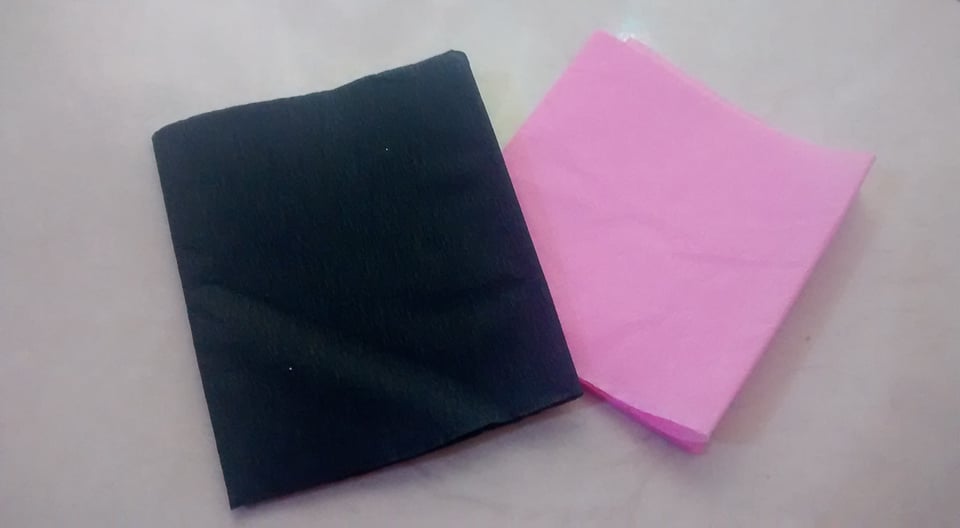

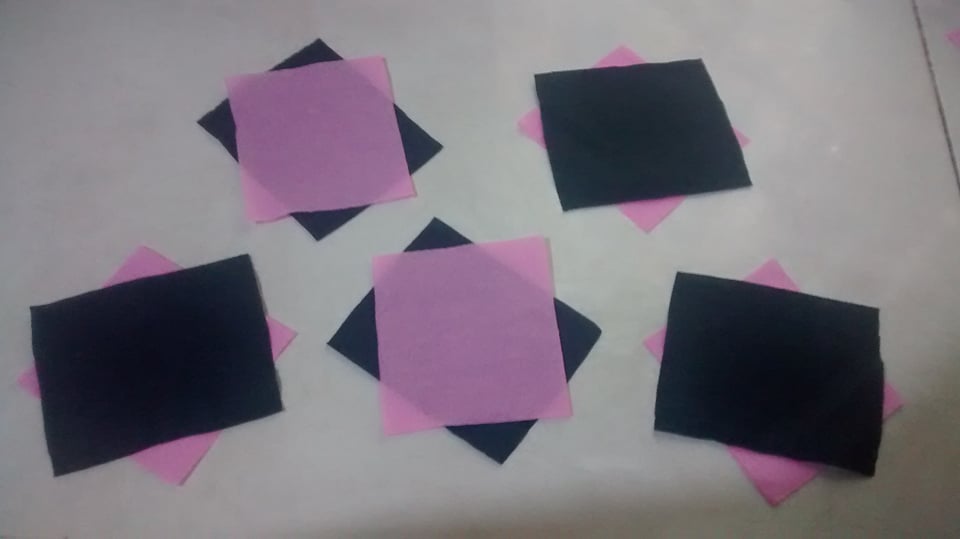
- Paso 3: Para decorar la superficie del arreglo, cortamos el papel crepe del color deseado en cuadros de 5cm aproximadamente. Luego los colocamos uno encima del otro, en forma cruzada, y los pegamos en el centro.
- Step 3: To decorate the surface of the arrangement, cut the crepe paper of the desired color into squares of approximately 5cm. Then place them one on top of the other, crosswise, and glue them in the center.
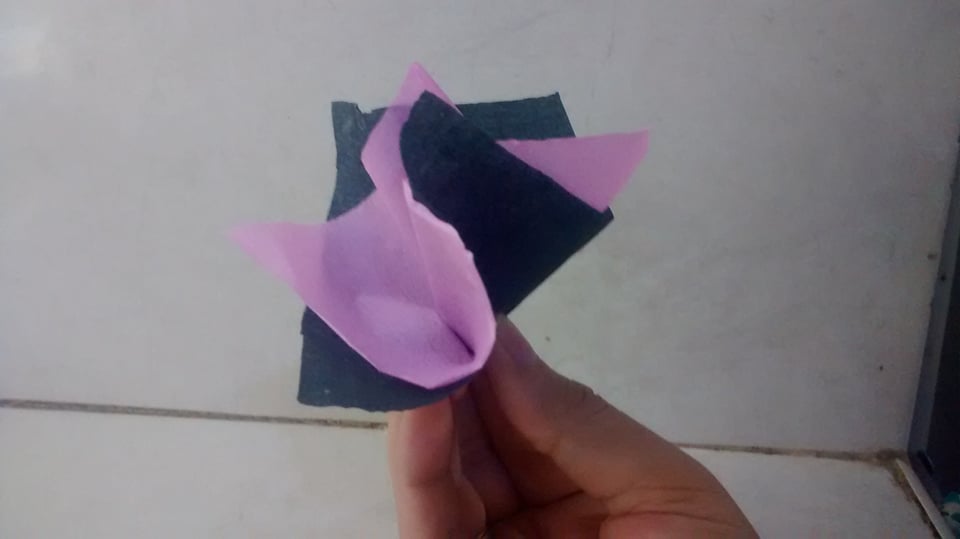
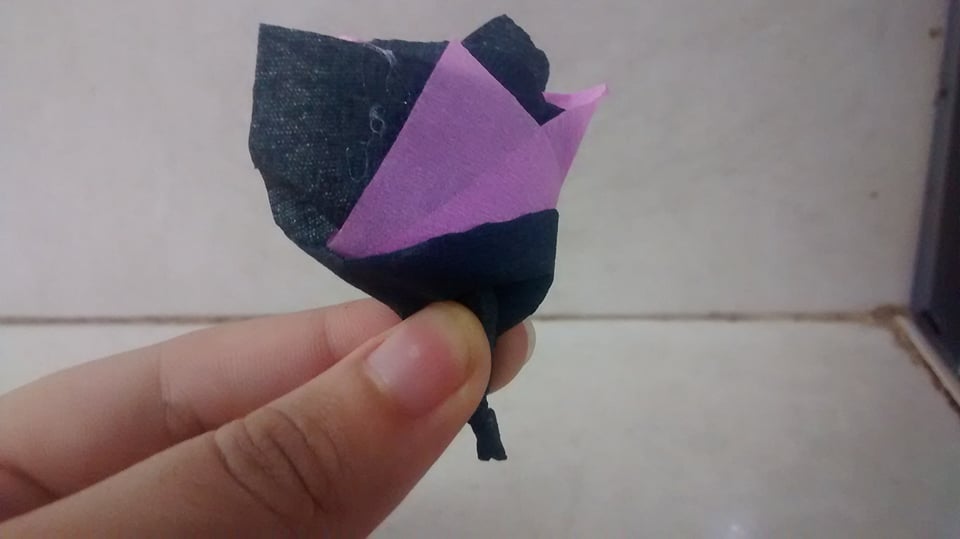
- Paso 4: Ya unidos los cuadros de papel crepe, lo tomamos del centro y le damos vuelta, hasta obtener esta forma.
- Step 4: Once the squares of crepe paper are joined together, we take it from the center and turn it over, until we obtain this shape.

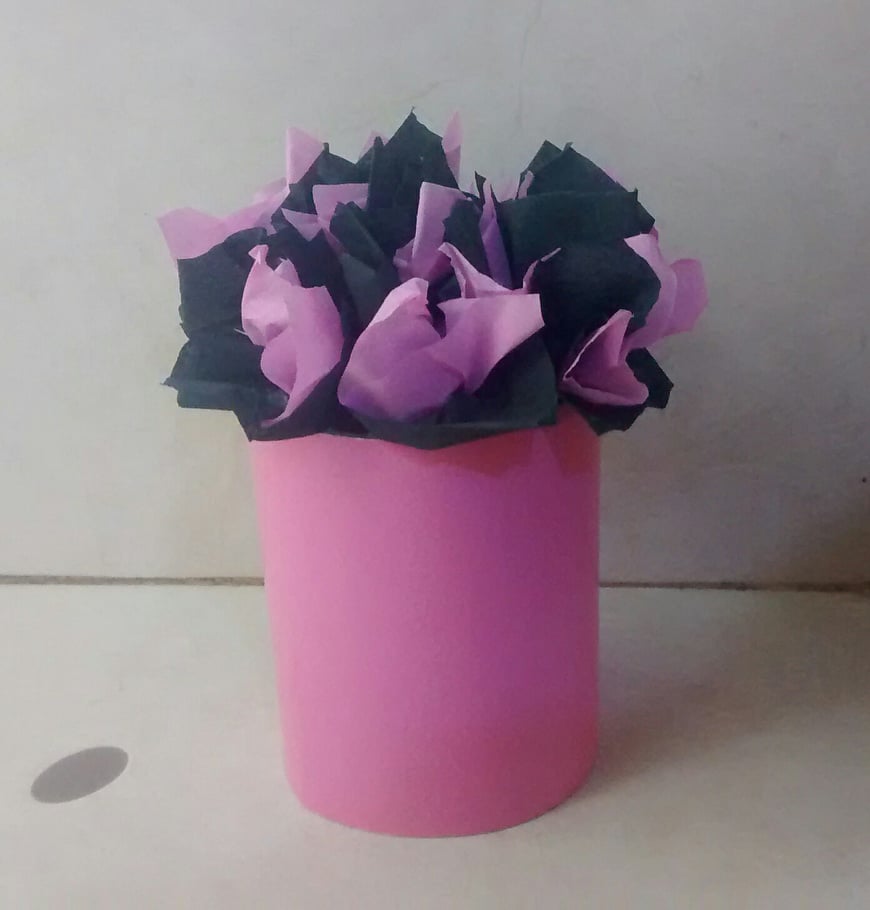
- Paso 5: Comenzamos a pegar el papel crepe ya armado, a la superficie del arreglo, lo cual quedará de esta manera.
- Step 5: We start gluing the already assembled crepe paper to the surface of the arrangement, which will look like this.
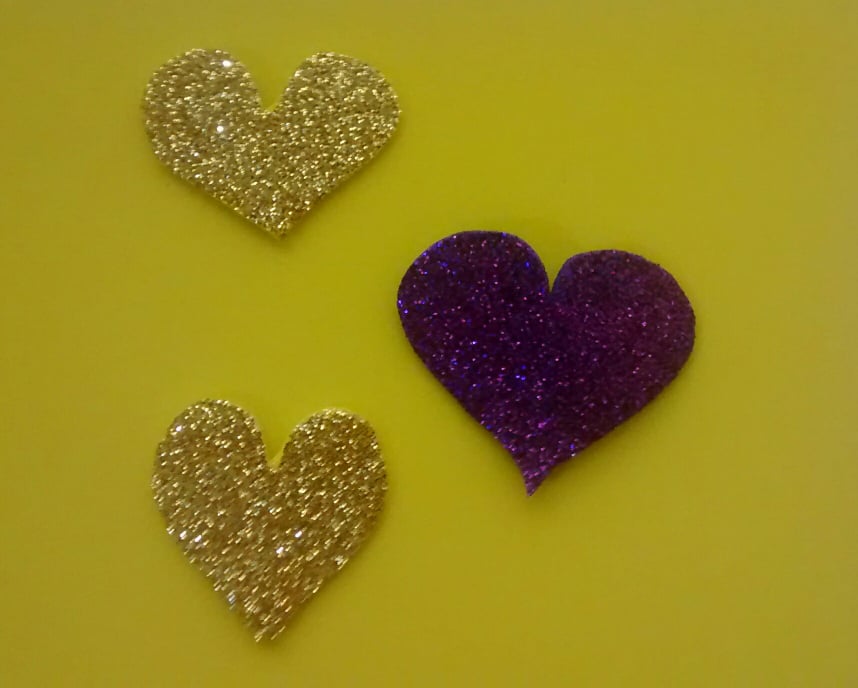
- Paso 6: Para colocar mas decoración, cortaremos unos corazones, y la cinta se la colocaremos en la parte inferior del arreglo.
- Step 6: To add more decoration, cut some hearts, and place the ribbon at the bottom of the arrangement.

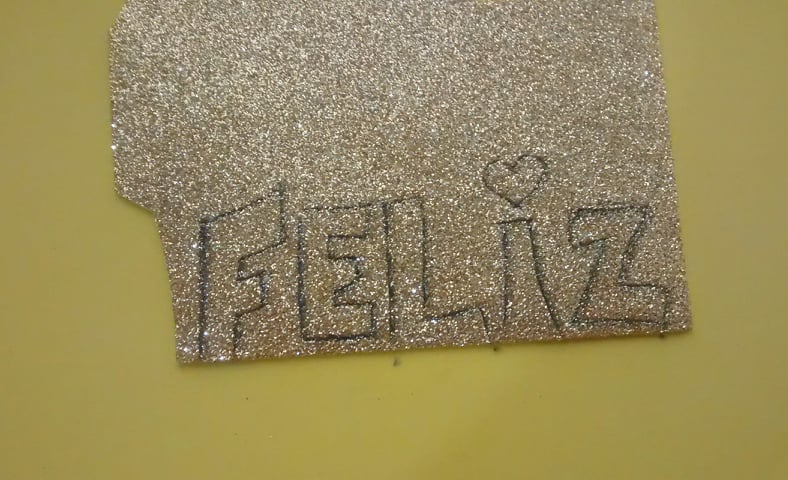
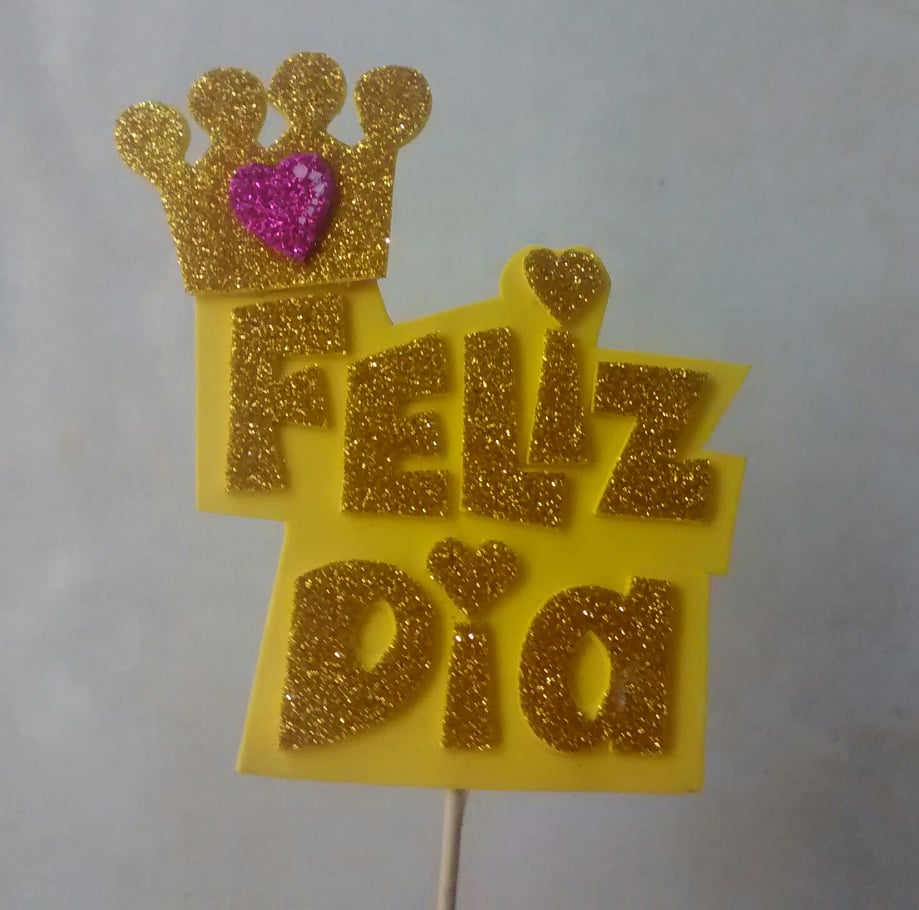
- Paso 7: Vamos a realizar un pequeño topper para resaltar este lindo obsequio. Los colores de los foamis son preferenciales, marcamos las letras en el foami a resaltar, luego pegamos las letras en el otro foami, y recortamos a la forma de las letras, en este caso le agregue una pequeña corona para combinar, luego pegamos el palito de altura en la parte de atrás para sostener el topper.
- Step 7: We are going to make a small topper to highlight this nice gift. The colors of the foamis are preferential, we mark the letters on the foami to highlight, then paste the letters on the other foami, and cut to the shape of the letters, in this case I added a small crown to match, then paste the height stick on the back to hold the topper.
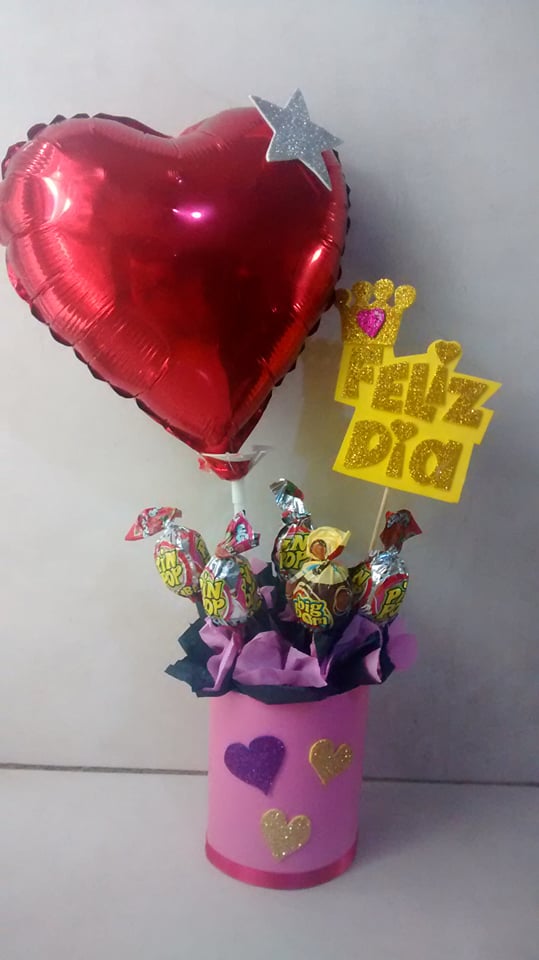
- Paso 8: Agregamos el globo, el topper, y algunos dulces a nuestro arreglo.
- Step 8: Add the balloon, topper, and some candies to our arrangement.
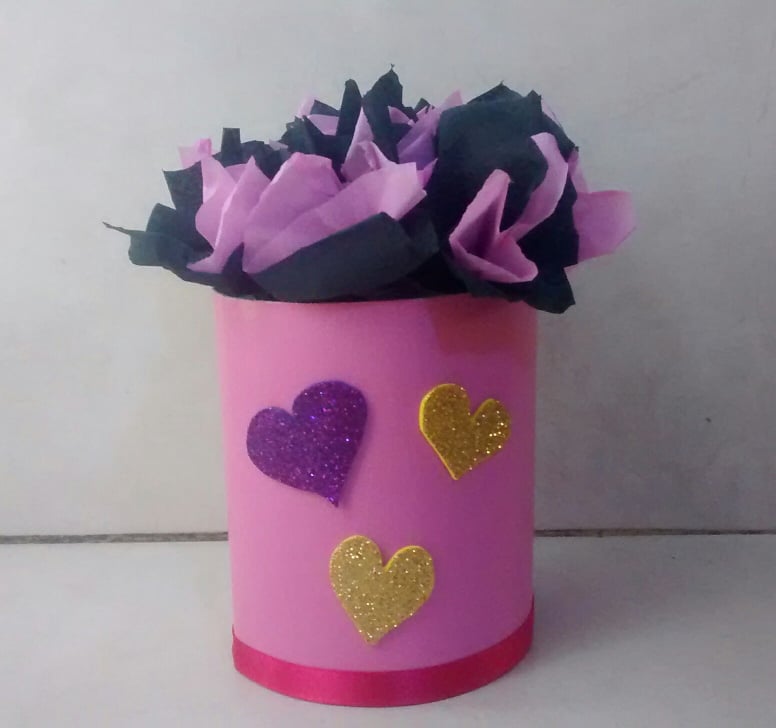
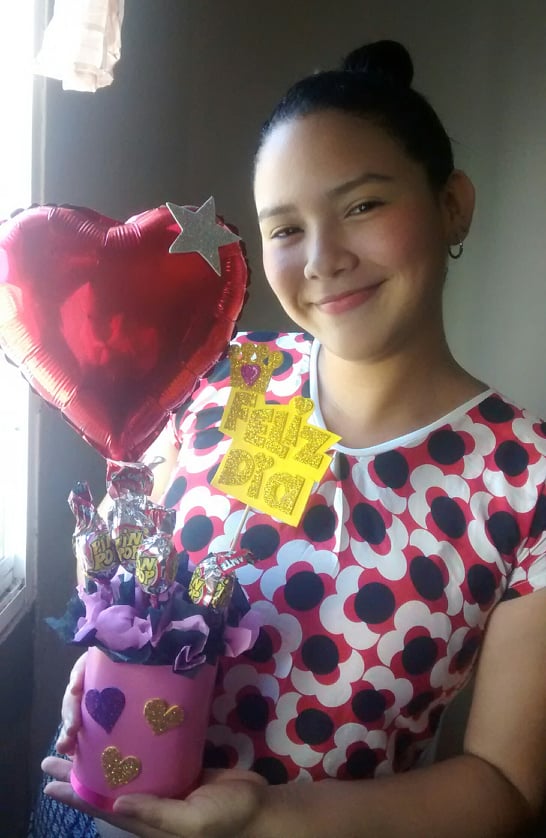
Este es el resultado final, espero que les guste mucho, saludos y bendiciones para todos.
This is the final result, I hope you like it very much, greetings and blessings to all.
All photos are my authorship.
.png)
Congratulations @eribetzi! You have completed the following achievement on the Hive blockchain and have been rewarded with new badge(s) :
You can view your badges on your board and compare yourself to others in the Ranking
If you no longer want to receive notifications, reply to this comment with the word
STOPTo support your work, I also upvoted your post!
Support the HiveBuzz project. Vote for our proposal!
Congratulations, your post has been upvoted by @dsc-r2cornell, which is the curating account for @R2cornell's Discord Community.
Enhorabuena, su "post" ha sido "up-voted" por @dsc-r2cornell, que es la "cuenta curating" de la Comunidad de la Discordia de @R2cornell.