Hola comunidad de Hive, ya les comenté que soy fanática de las manualidades y hoy les traigo una que hice hace un par de años atrás y que me sirvió como regalo para varias personitas especiales en mi vida y sobre todo porque es una época donde queremos hacer detalles a quienes queremos, esa época es la navidad y sí, aunque aún falta para la próxima, podemos comenzar desde ya e ir preparando esos detallitos.
Hello Hive community, I already told you that I am a fan of crafts and today I bring you one that I made a couple of years ago and that served me as a gift for several special people in my life and especially because it is a time where we want to make details to those we love, that time is Christmas and yes, although there is still time for the next one, we can start now and go preparing those little details.
La idea original por supuesto no es mía, me la crucé por ahí en una página de internet, más abajo se las dejo.
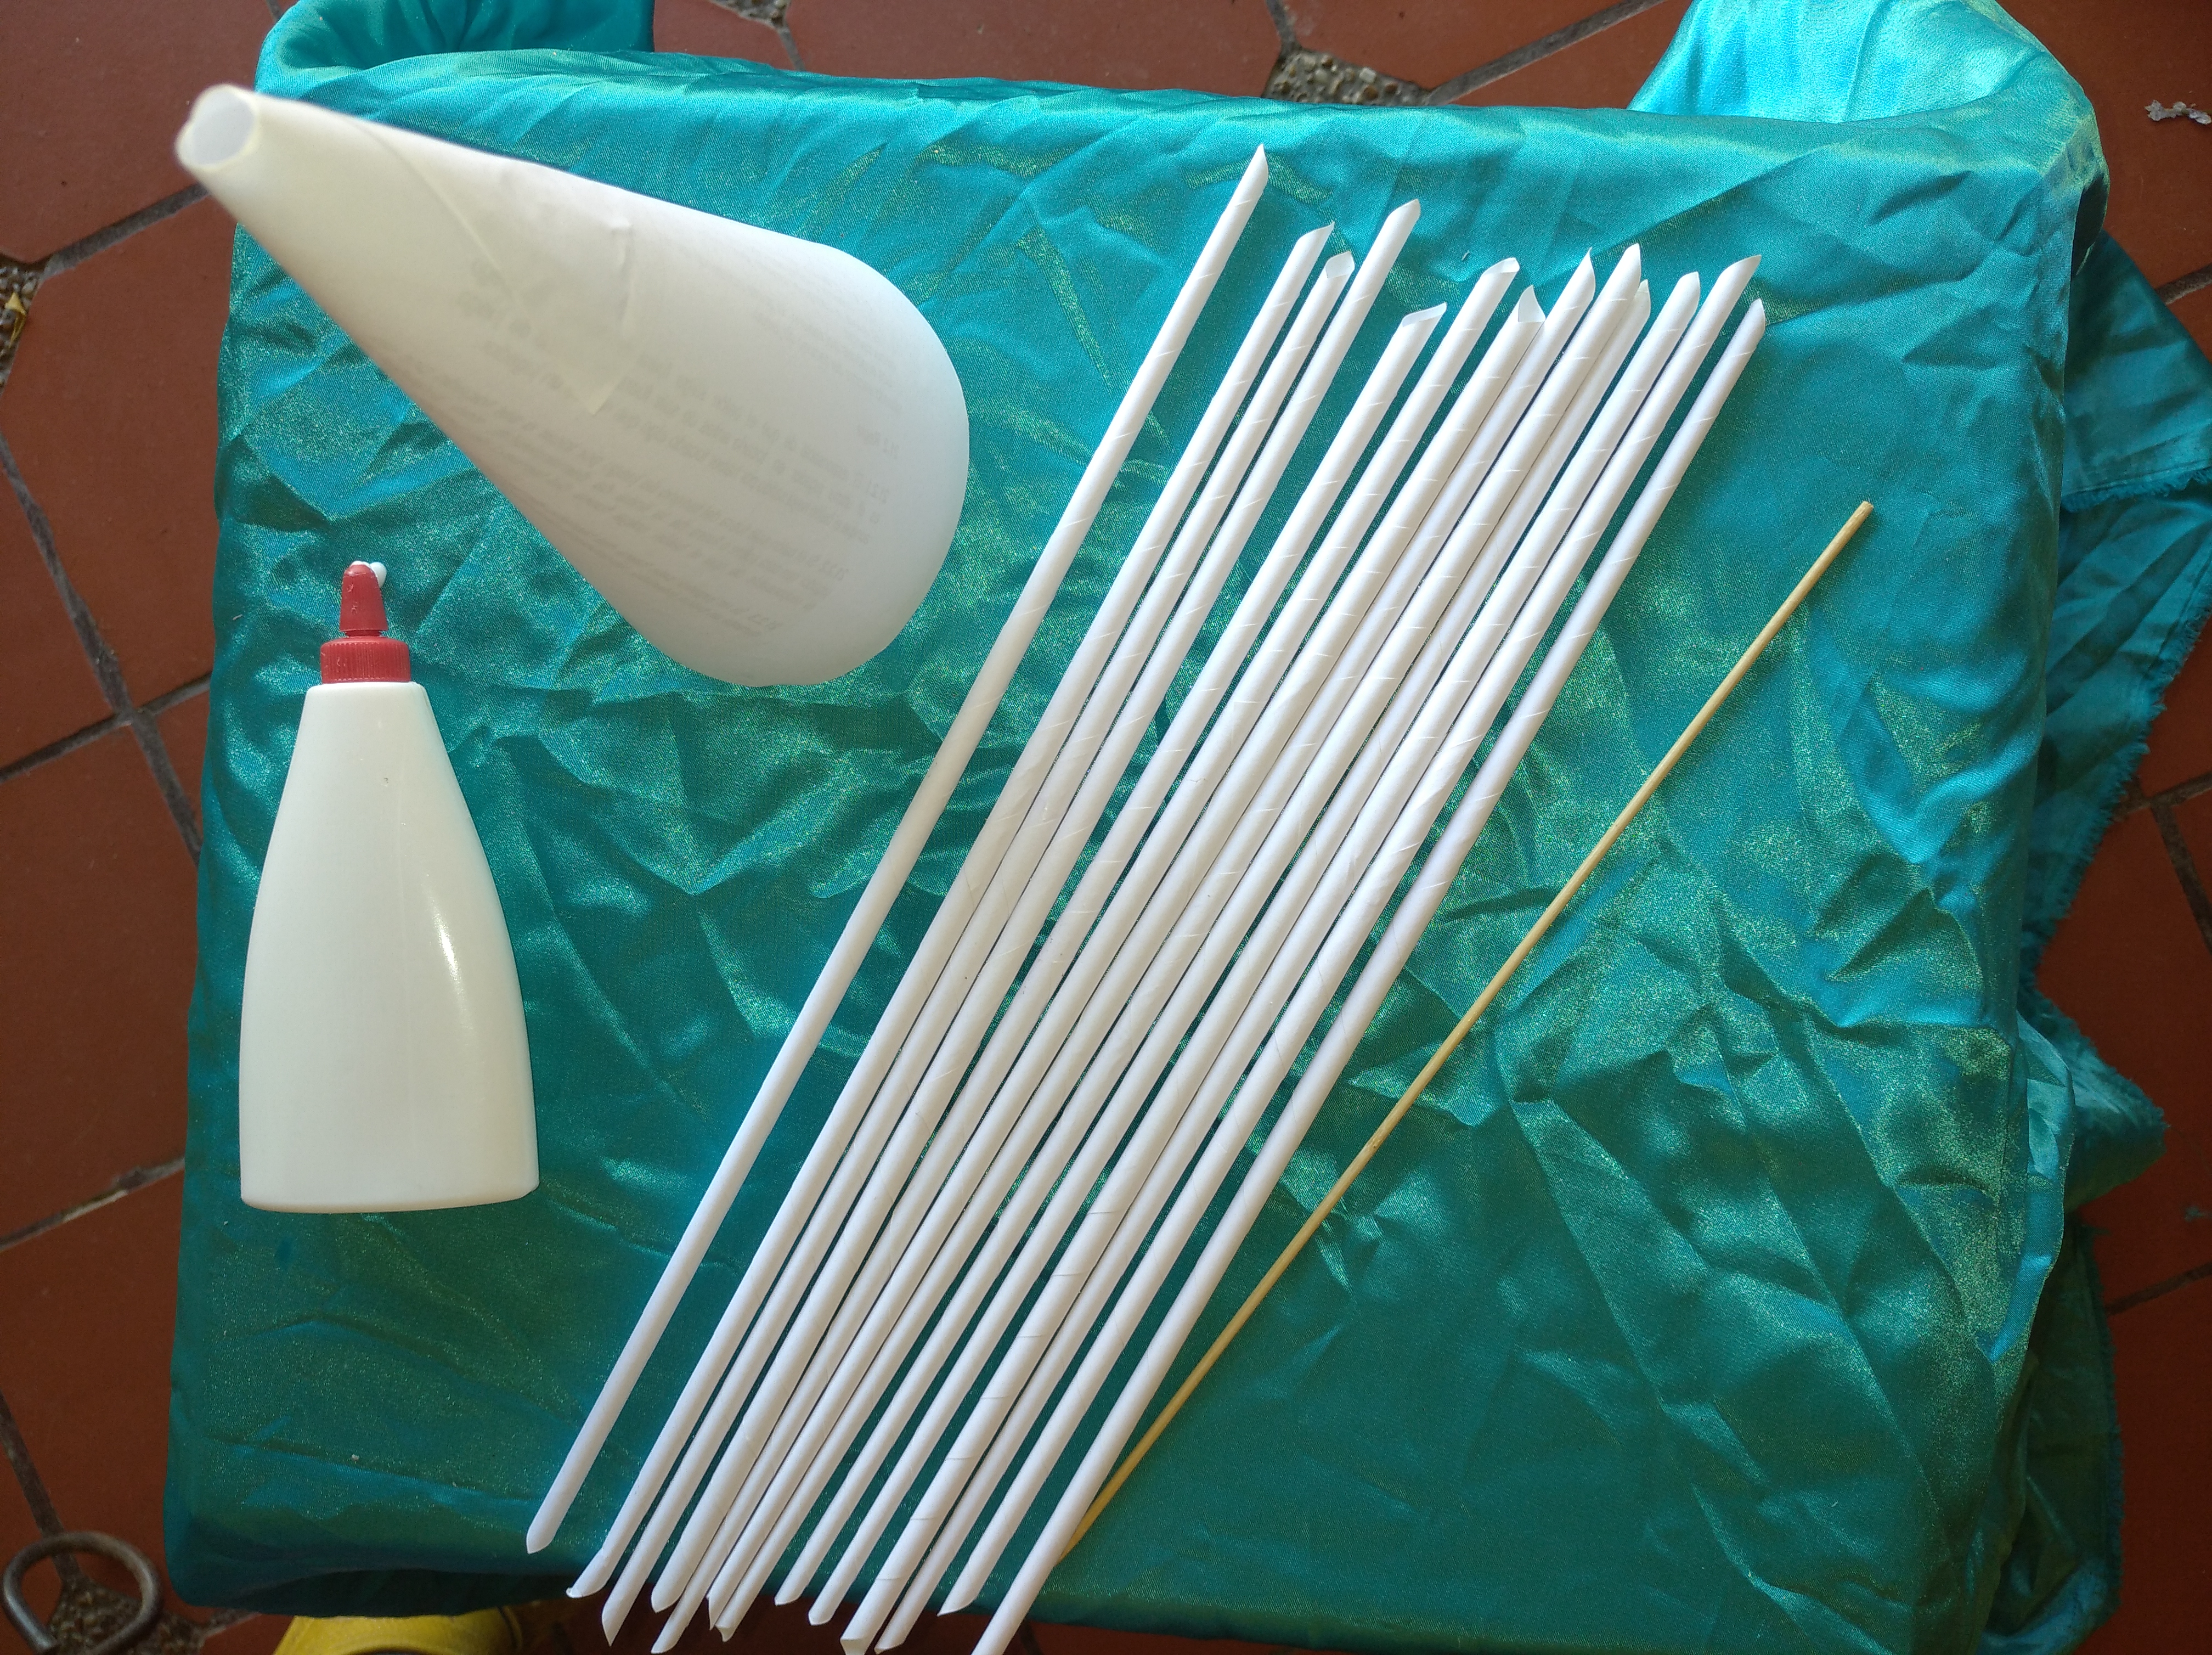
Los materiales que vamos a utilizar son:
- Hojas reciclables o papel de periódico
- Pega blanca
- Un palito de altura
- Tijera
The original idea is of course not mine, I came across it on a web page, below I leave it for you.
The materials we are going to use are:
- Recyclable sheets or newspaper
- White glue
- A stick of height
- Scissors

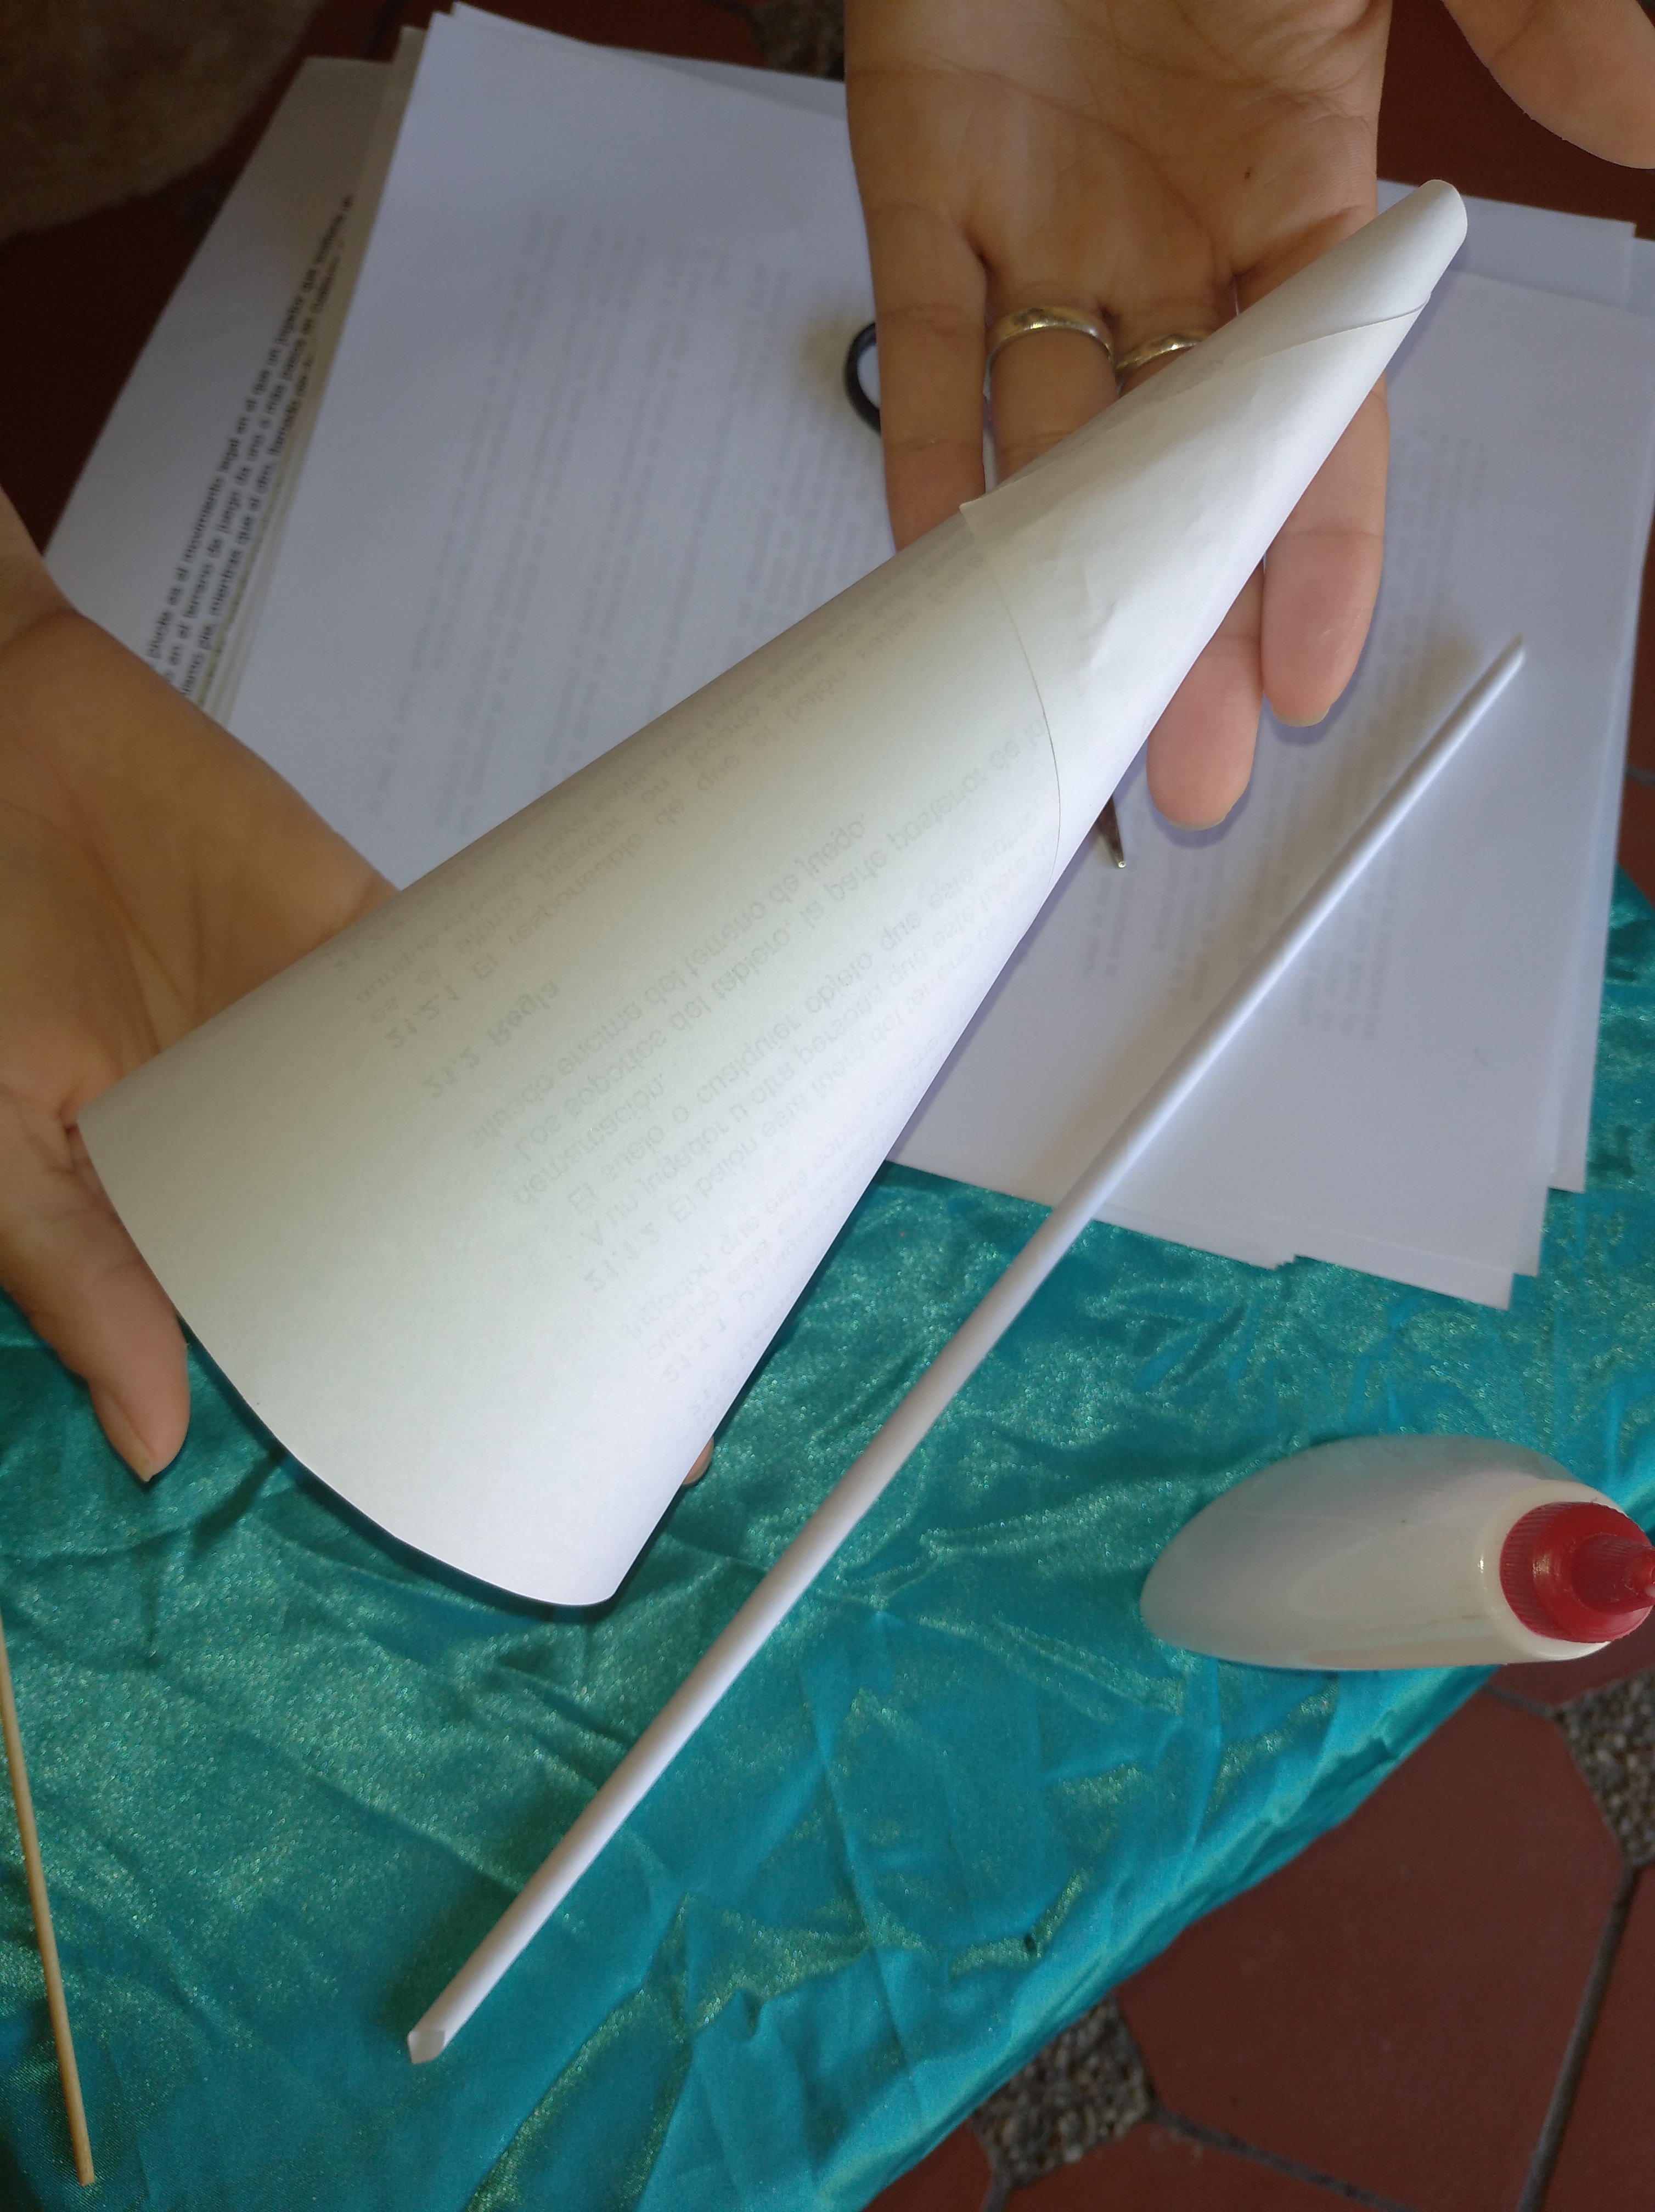
Para comenzar, lo primero que haremos será formar un cono con papel o cartulina, mi recomendación es hacerlo con cartulina para que el cono no se vaya deformando durante la elaboración del proyecto, yo no tenía cartulina así que lo hice con una hoja.
To begin, the first thing we will do is to form a cone with paper or cardboard, my recommendation is to do it with cardboard so that the cone does not deform during the elaboration of the project, I did not have cardboard so I did it with a sheet.
Vamos a hacer tubitos con el papel, ayudandonos con el palito de altura comenzamos a enrrollar desde una esquina del papel hasta enrrollarlo todo y formar el tubito.
We are going to make little tubes with the paper, helping us with the height stick we start to roll from one corner of the paper until we roll it all up and form the little tube.
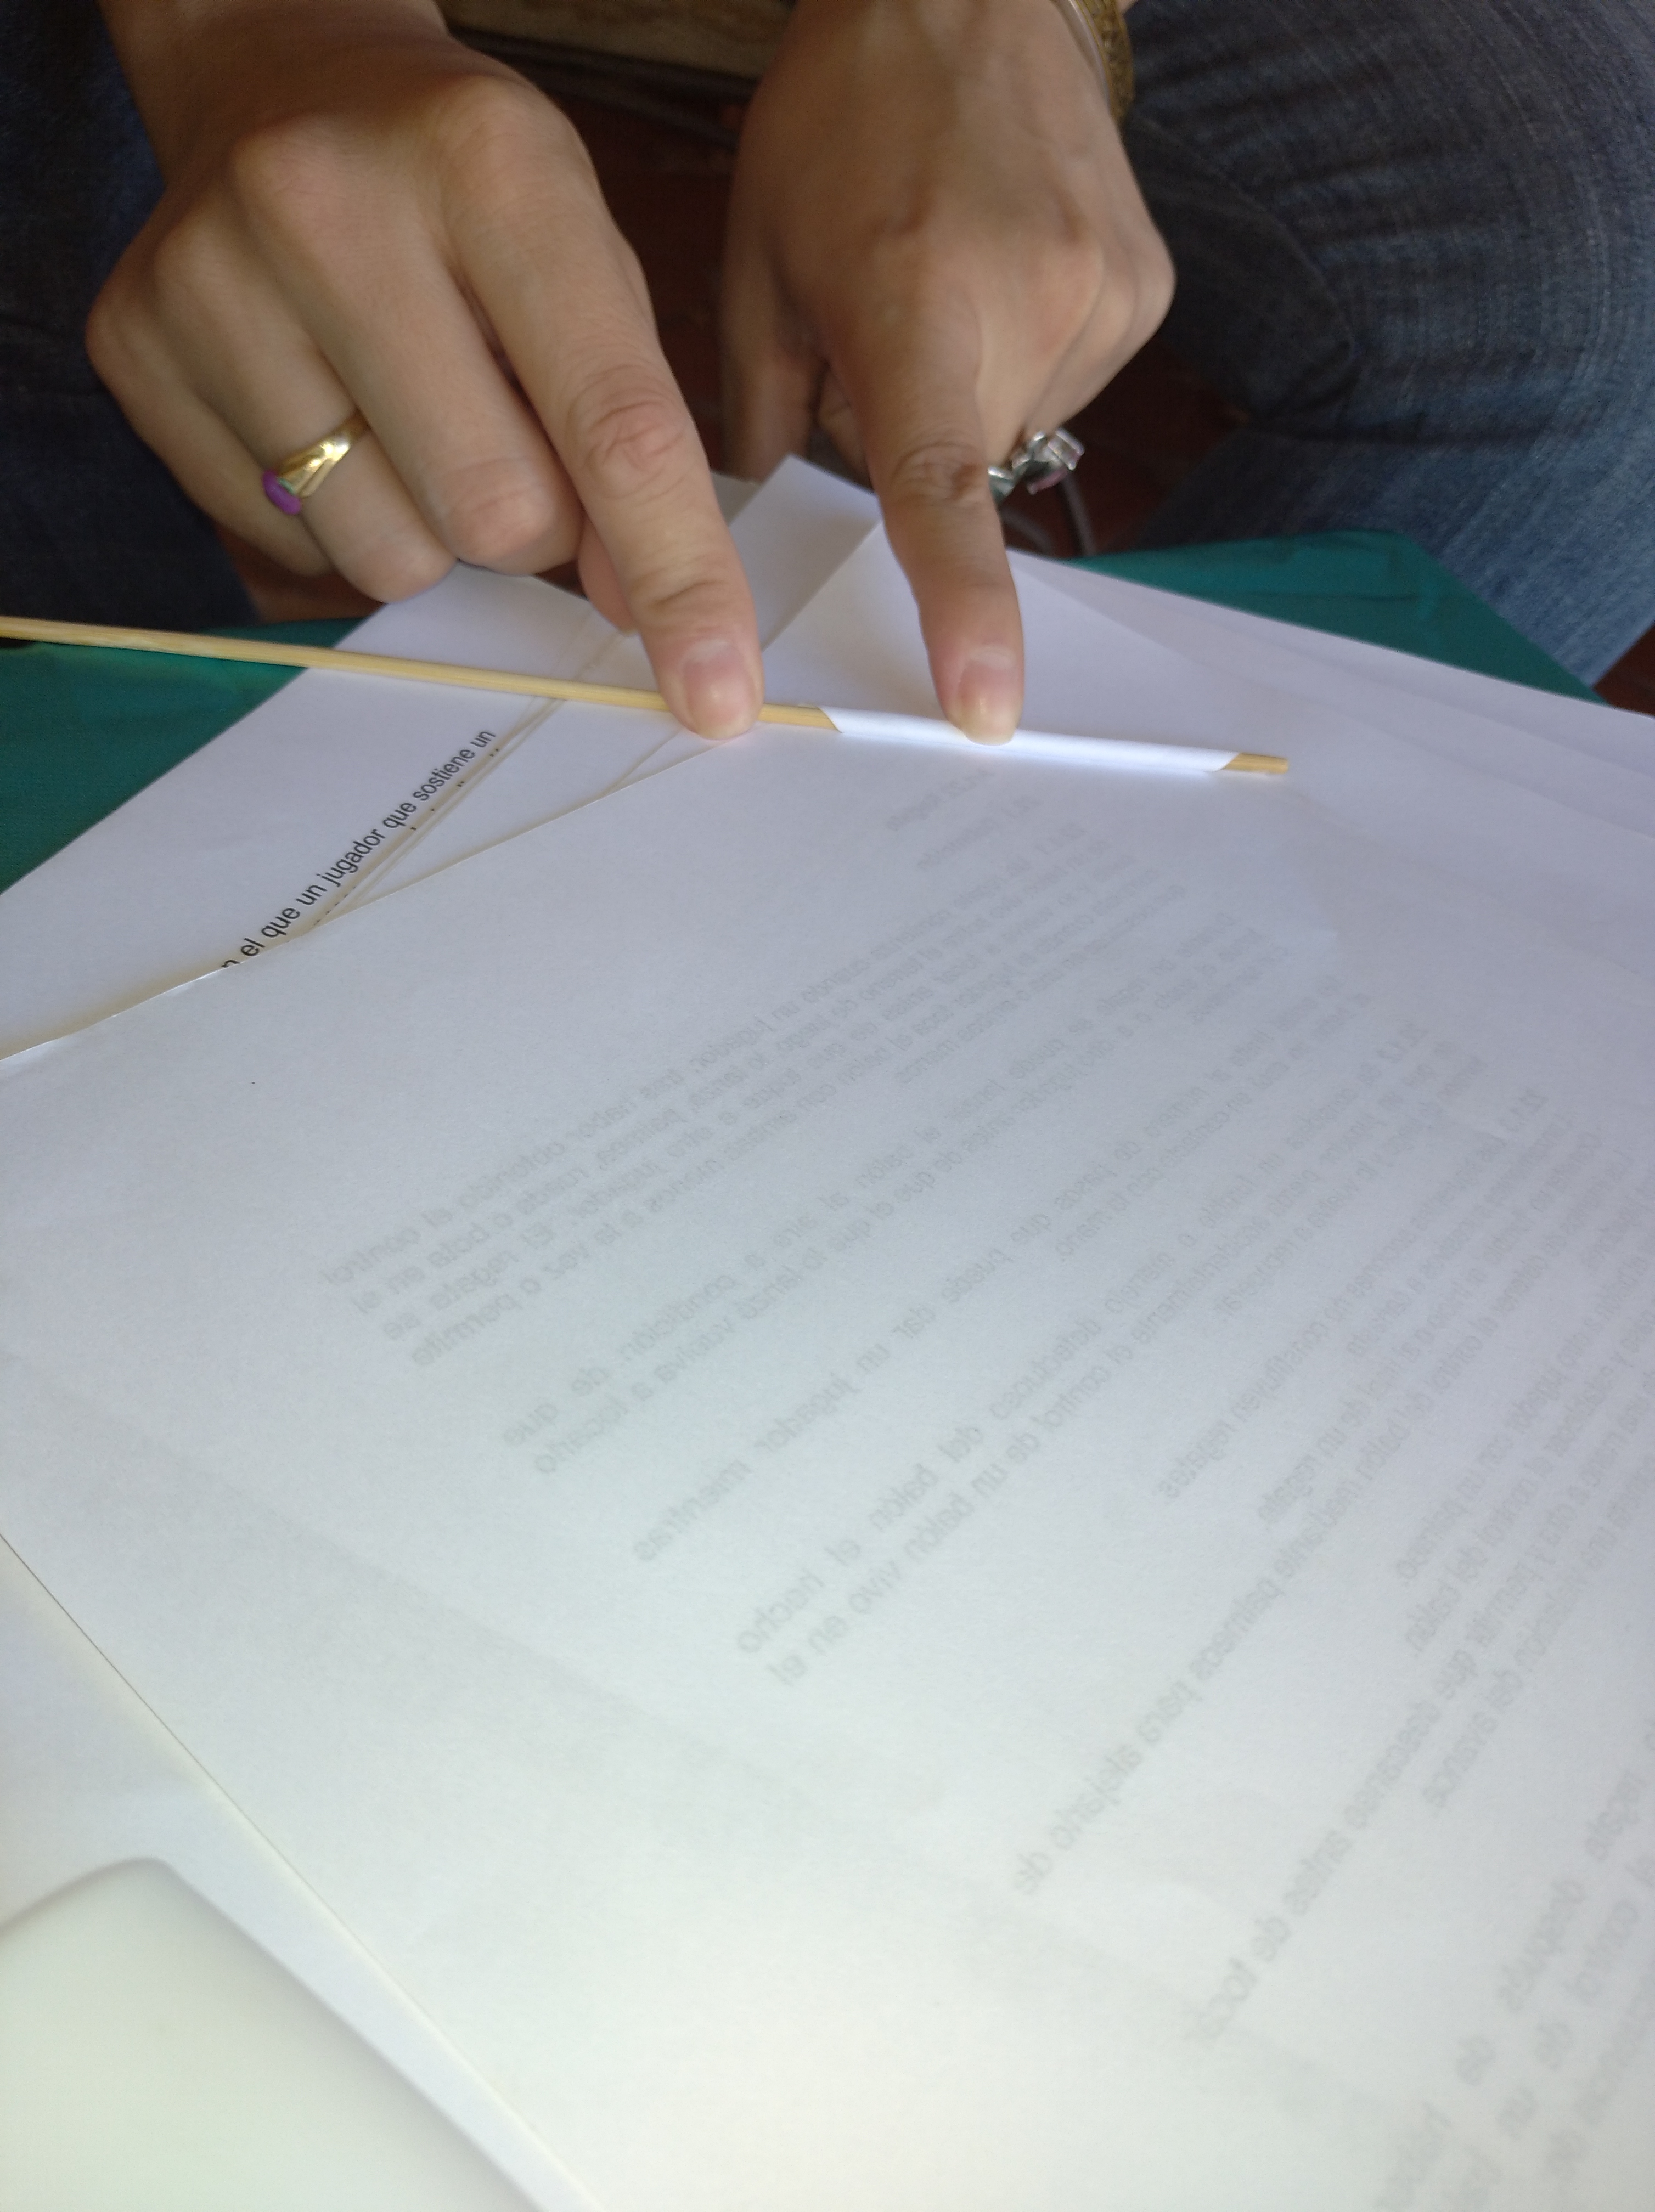
Utilizamos un poco de pega blanca para pegar el tubito de papel y que no se nos desenrrolle. Hacemos tantos tubitos de papel como podamos.
We use a little white glue to glue the paper tube so that it does not unroll. We make as many paper tubes as we can.

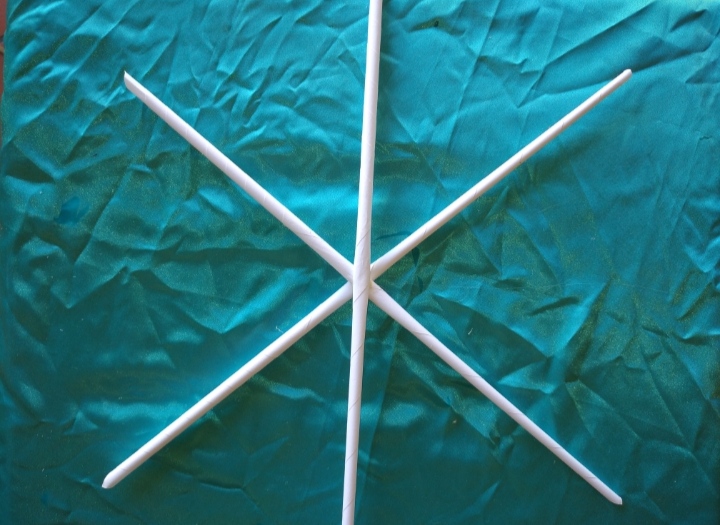
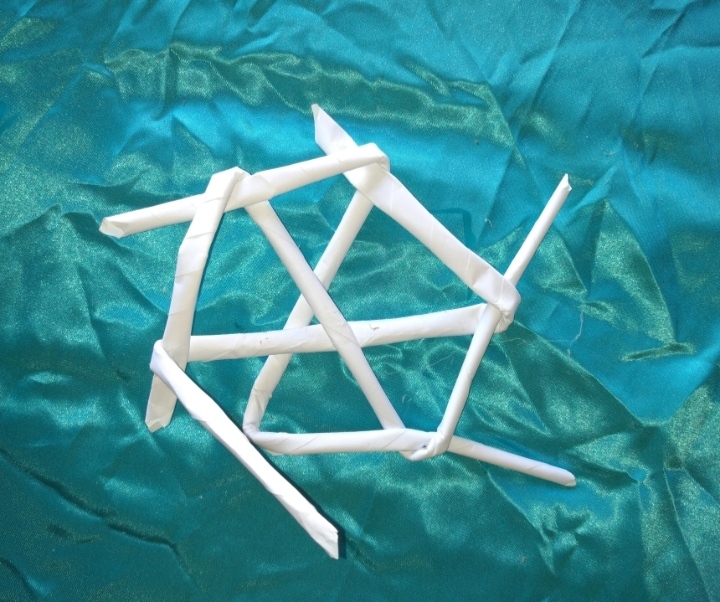
Agarramos tres de esos tubitos y los colocamos como si fueramos a formar un asterísco, si quieres puedes pegarlos en el centro para que no se te muevan mientras vas armando la base.
We take three of these tubes and place them as if we were going to form an asterisk, if you want you can glue them in the center so that they do not move while you are assembling the base.
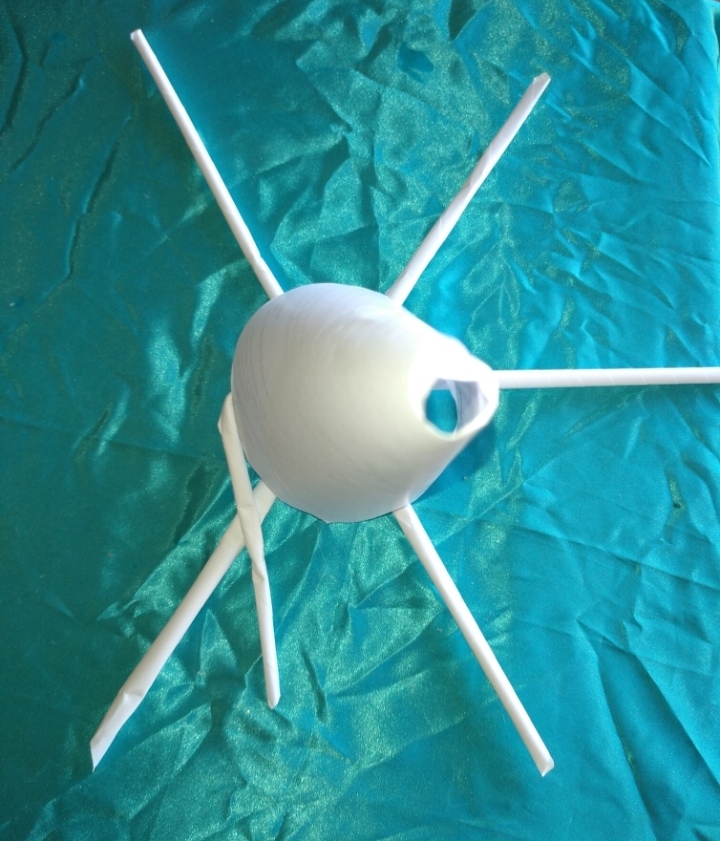
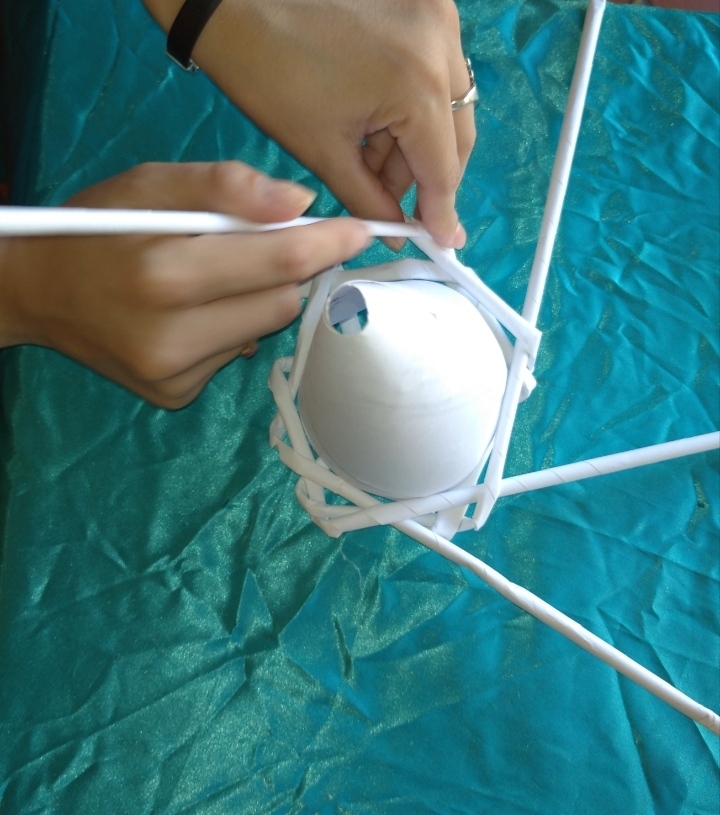
Colocamos el cono en el centro como se observa en la imagen.
Place the cone in the center as shown in the image.

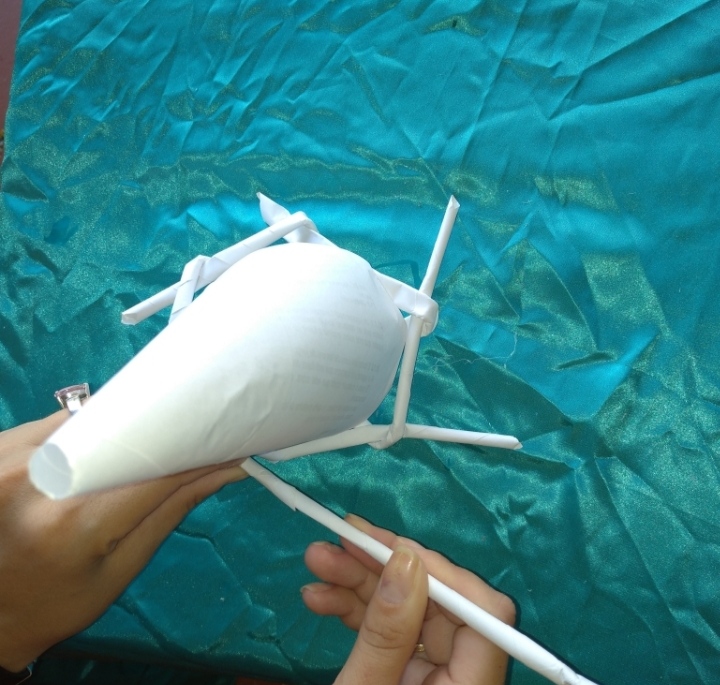
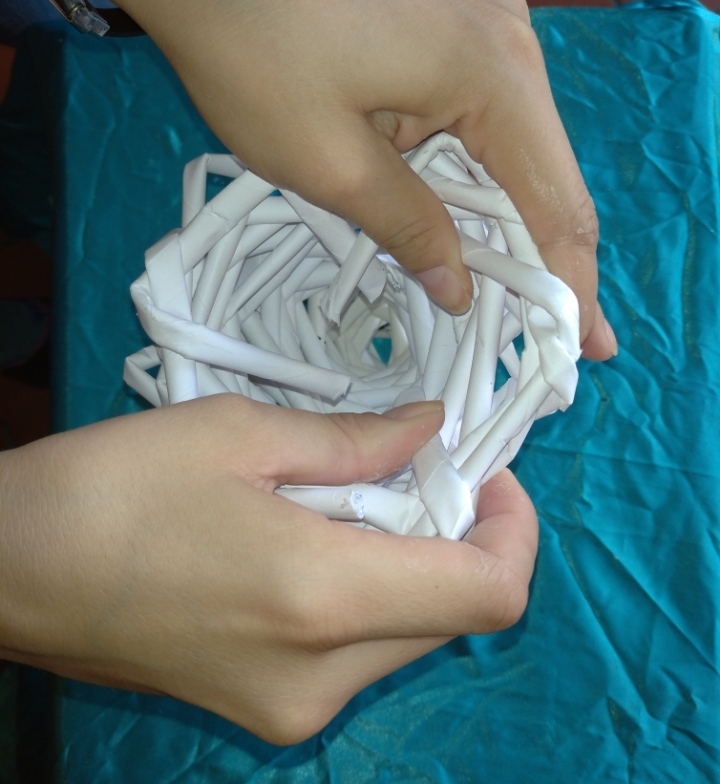
Tomamos un tubito y lo doblamos rodeando el cono y que quede por encima del siguiente tubito, hacemos lo mismo con el siguiente tubito y así sucesivamente con cada uno hasta que formamos la base del arbolito.
We take a small tube and bend it around the cone so that it is above the next tube, we do the same with the next tube and so on with each one until we form the base of the tree.
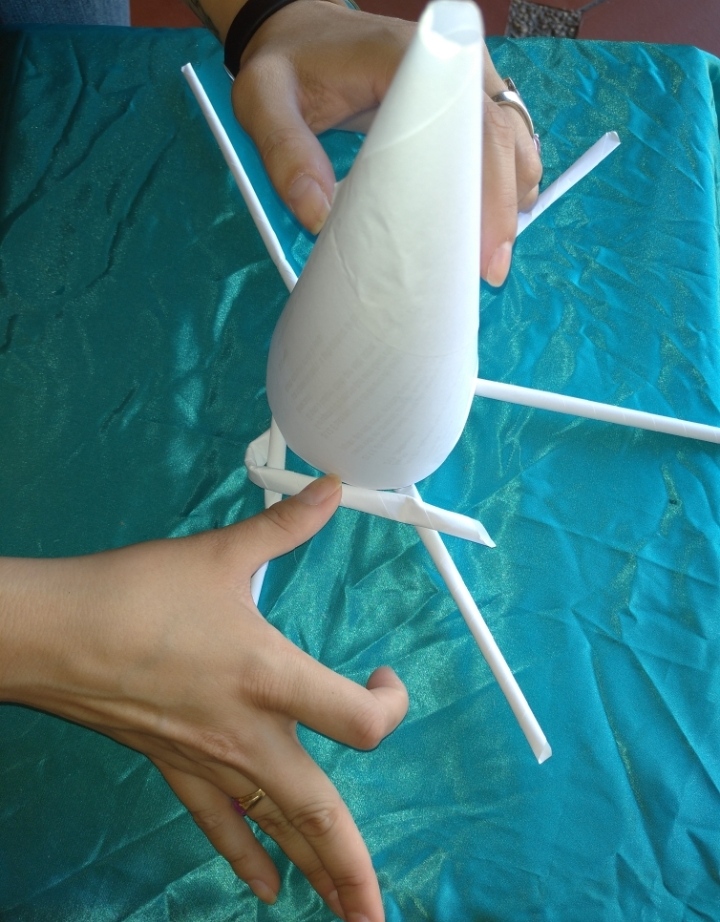
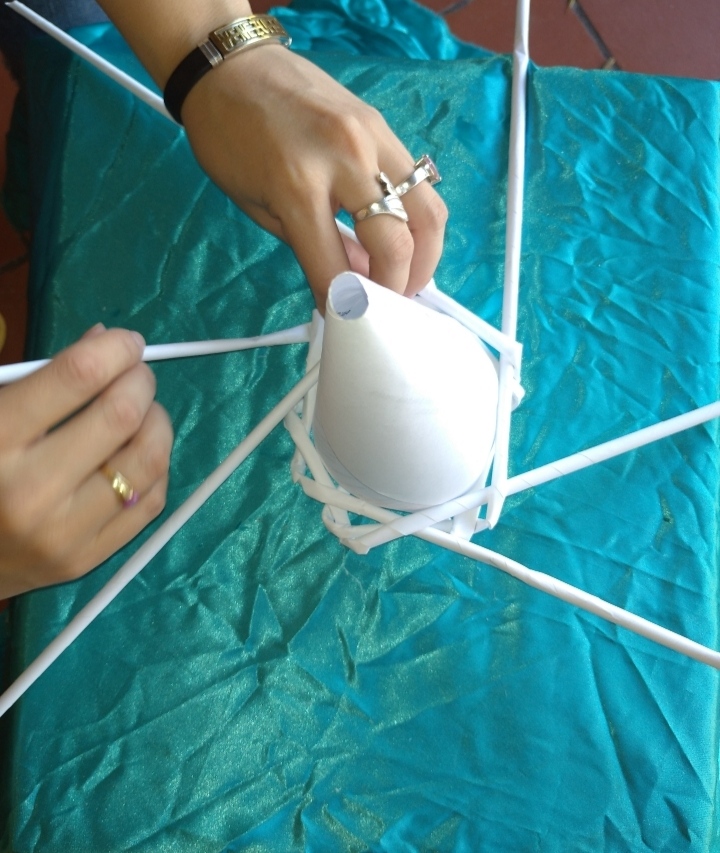
Una vez formada la base, vamos insertando un tubito dentro de otro y seguimos con la misma técnica, doblando alrededor del cono.
Once the base is formed, we insert one tube inside the other and continue with the same technique, folding around the cone.
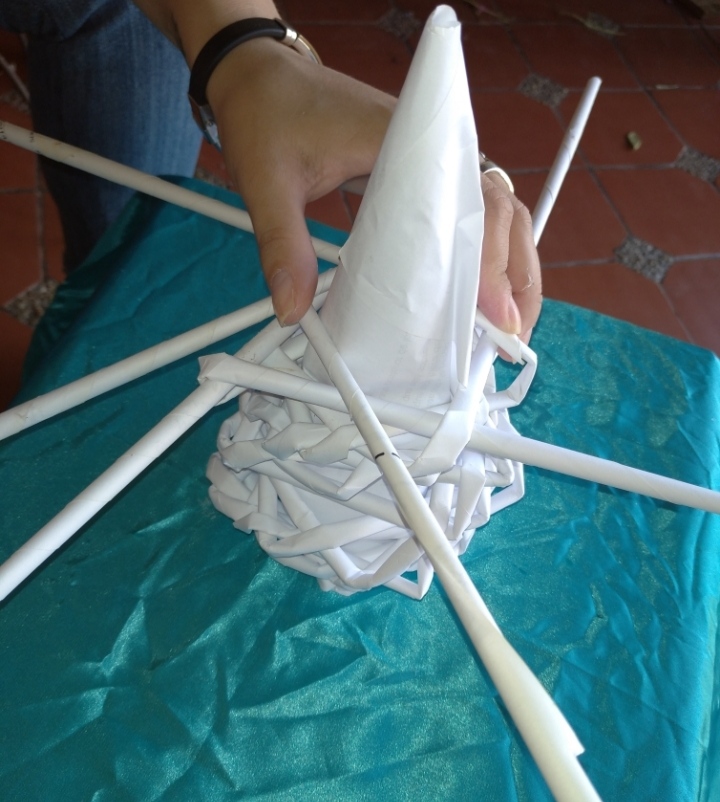
A medida que vamos doblando, vamos viendo que se forma como un tejido y como tenemos el cono de guía, vemos como va tomando la forma de arbolito de navidad.
As we are folding, we will see that it is formed as a fabric and as we have the cone as a guide, we see how it takes the shape of a Christmas tree.
Hacemos esto hasta llegar al final, a la punta del cono, cortamos el sobrante de los tubitos y pegamos la punta para que no se nos abra.
We do this until we reach the end, the tip of the cone, cut the excess of the tubes and glue the tip so that it does not open.
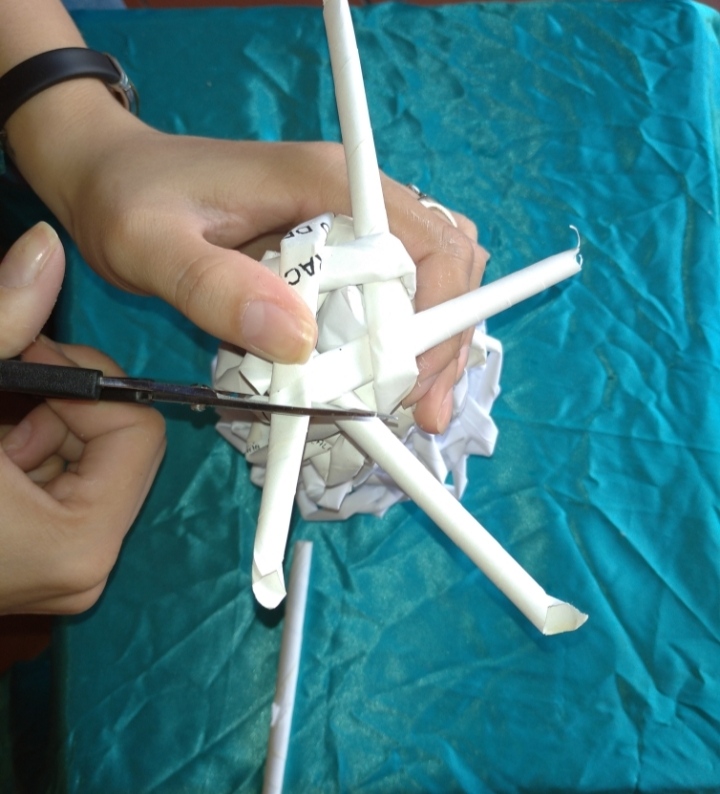
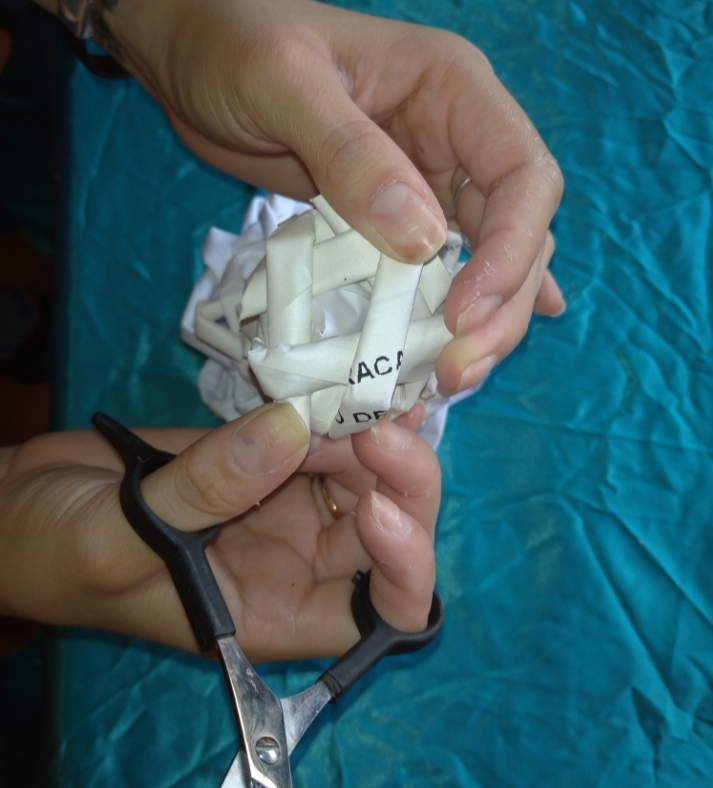
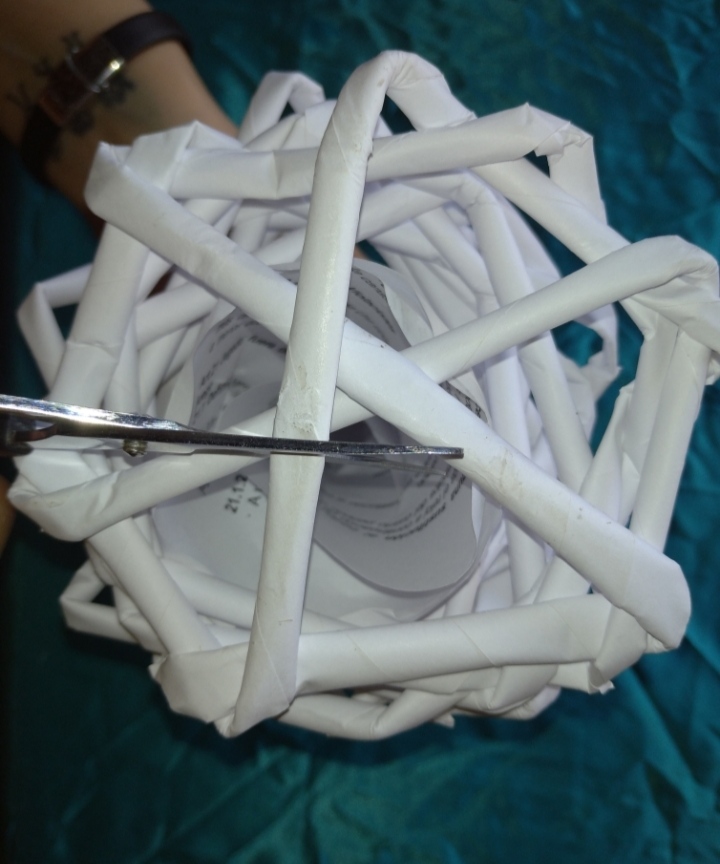
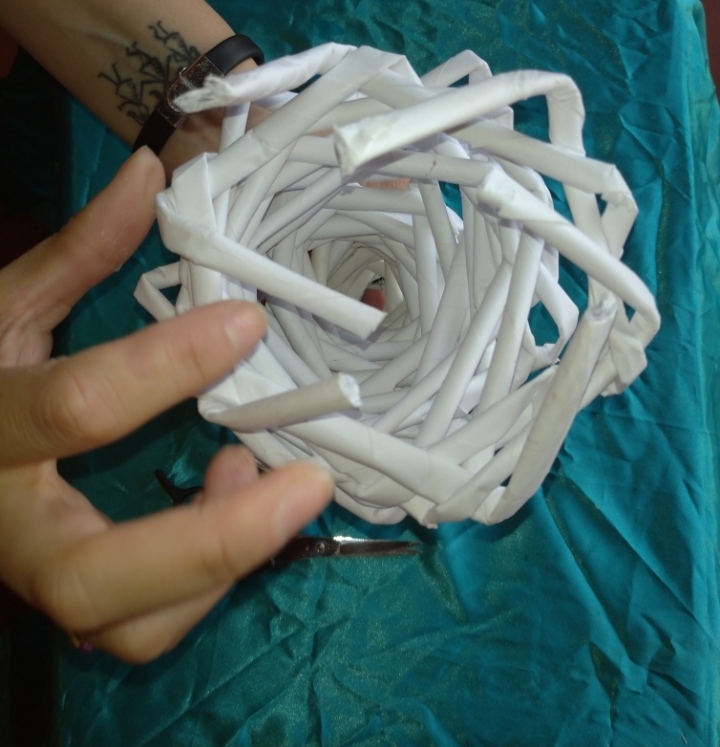
Cortamos los tubitos de la base y sacamos el cono que nos sirvió de guía, pegamos los tubitos de la base hacia adentro para que no se nos abra la base.
Cut the base tubes and remove the cone that served as a guide, glue the base tubes inwards so that the base does not open.
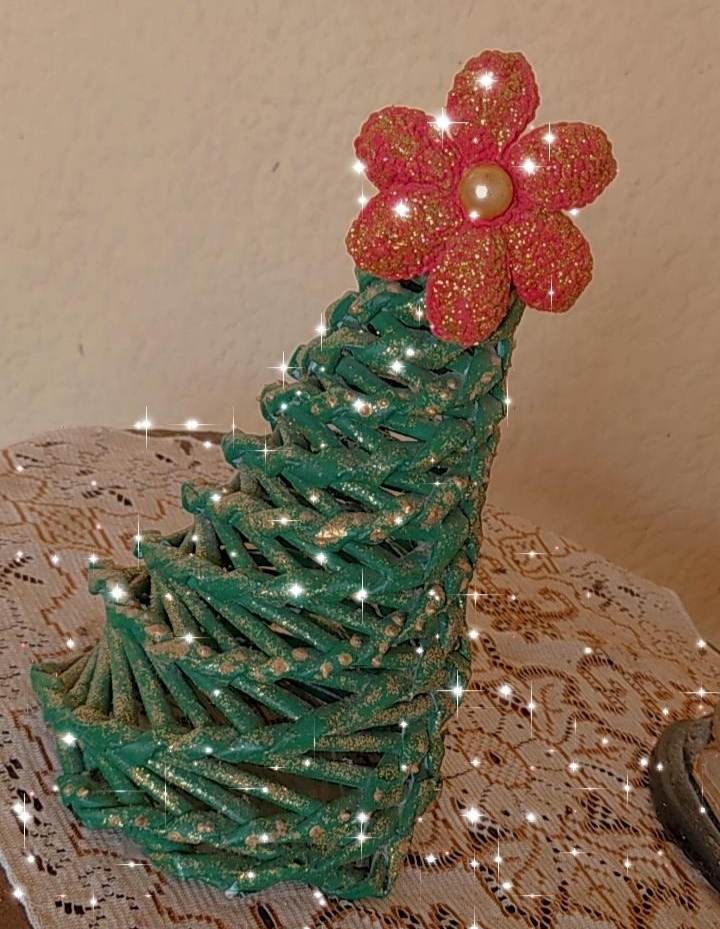
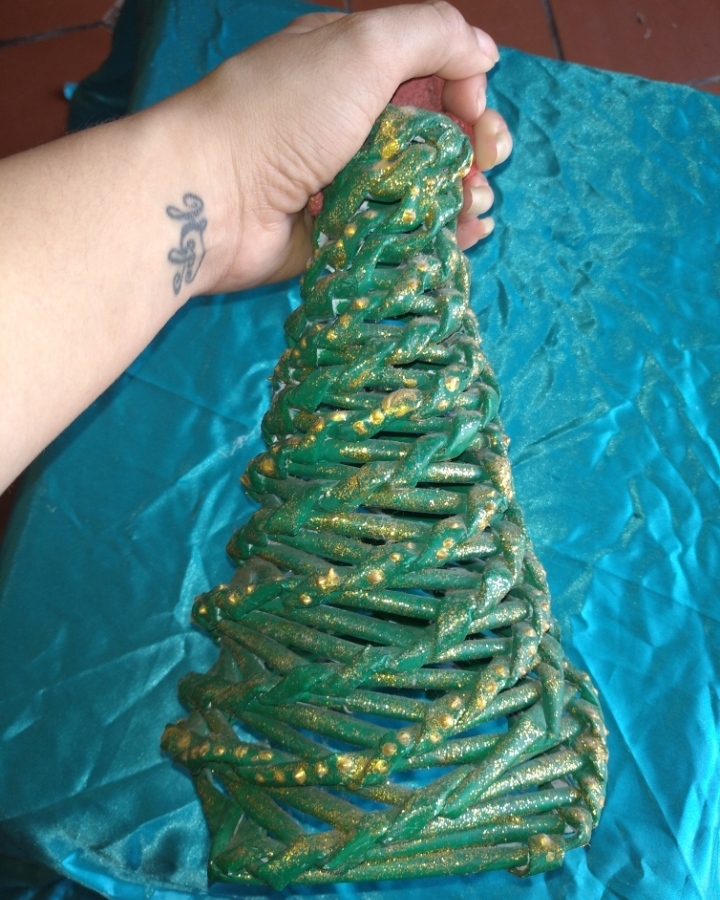
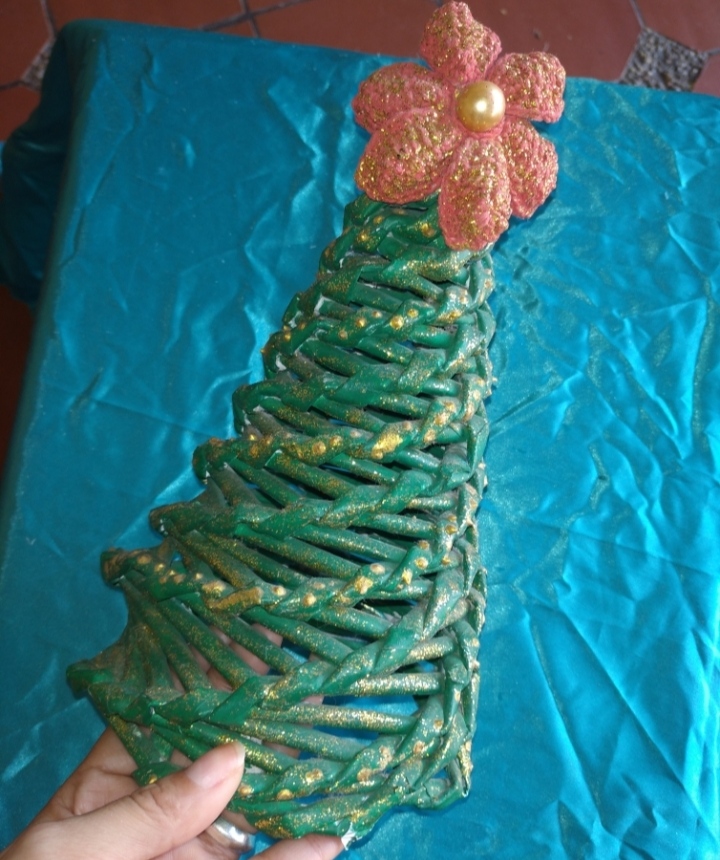
Ya que terminamos de armar, podemos pintar nuestro arbolito del color que queramos, colocarle un lazo en la punta, una estrella o lo que sea de nuestro agrado. Yo lo pinté de verde por supuesto, algo tradicional, le coloqué escarcha y para la punta le hice una flor tejida y la bañé en escarcha también.
Once we have finished assembling, we can paint our tree in the color we want, put a bow on the top, a star or whatever we like. I painted it green of course, something traditional, I put frost and for the tip I made a woven flower and bathed it in frost as well.

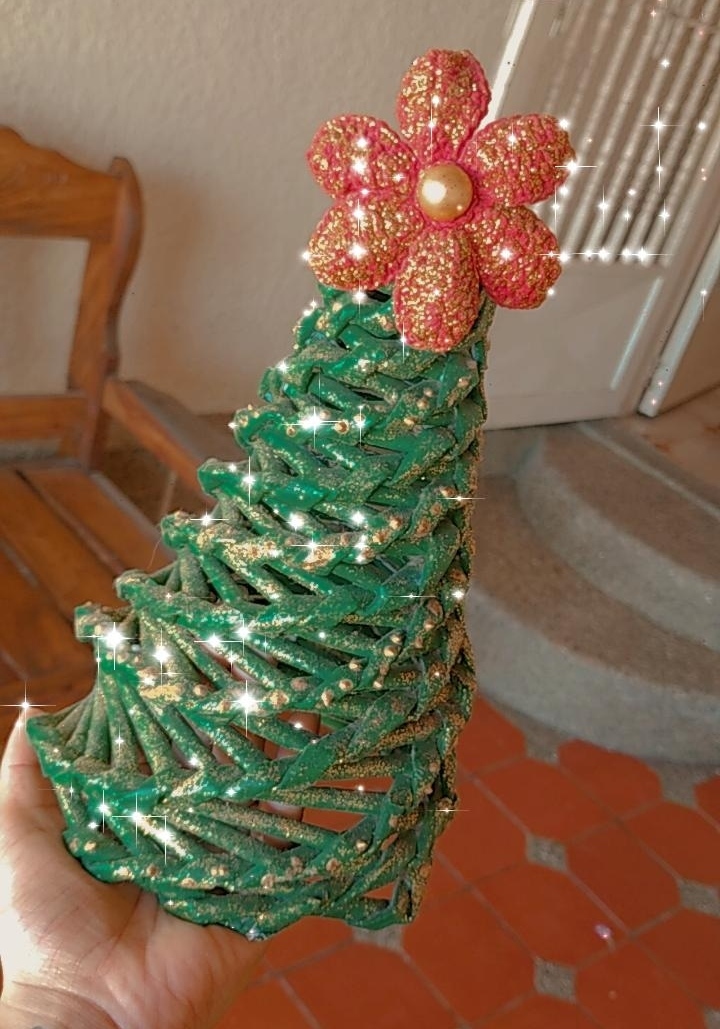
Este fué el resultado y como les dije, hice unos cuantos para regalar. Ahora los veo en algunas mesitas adornando en esa época tan bonita del año. Espero que lo intenten y por acá les dejo el Enlace de la página que me animó a realizar este arte tan bonito.
This was the result and as I told you, I made a few to give as gifts. Now I see them on some tables decorating at this beautiful time of the year. I hope you try it and here is the Link of the page that encouraged me to make this beautiful art.
Las fotos fueron tomadas con teléfono Redmi 8
La traducción fué hecha con Deepl
The photos were taken with Redmi 8 phone.
Translation was done with Deepl
Congratulations @kisbeilyt! You have completed the following achievement on the Hive blockchain and have been rewarded with new badge(s) :
Your next target is to reach 50 upvotes.
You can view your badges on your board and compare yourself to others in the Ranking
If you no longer want to receive notifications, reply to this comment with the word
STOPCheck out the last post from @hivebuzz: