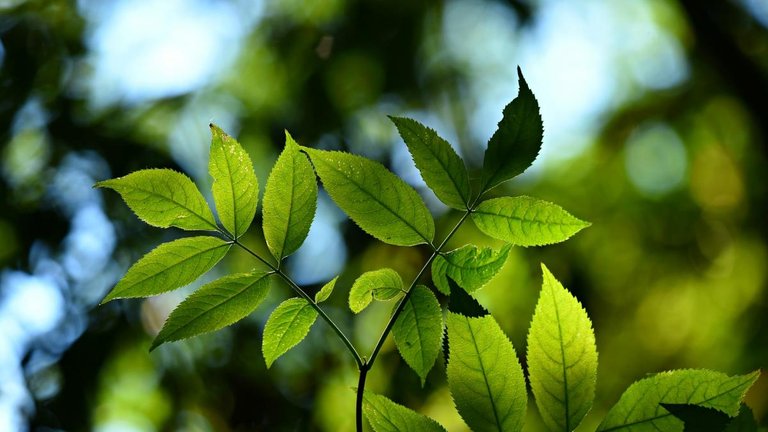
¡Hola a Todos! Si son amantes de la naturaleza como yo, se habrán hecho con alguna hoja de algún árbol que les haya llamado la atención. Me encantan las formas que pueden llegar a presentar las hojas, así que cuando encuentro alguna que me parezca bonita, suelo tomarla y guardarla en algún libro. Con el pasar del tiempo debido a la presión, las hojas se secan quedando como una linda impresión. ¿Y qué hacer con ellas?
Hoy les mostraré algo que se puede hacer con las hojas una vez que estas estén secas.
Hello everybody! If you are nature lovers like me, you may have picked up a leaf from a tree that caught your attention. I love the shapes that leaves can present, so when I find one that looks pretty to me, I usually take it and put it in a book. With the passage of time due to the pressure, the leaves dry out as a nice impression. And what to do with them?
Today I will show you something that can be done with the leaves once they are dry.
Para esta manualidad necesitaremos:
🍂 Una pieza de madera MDF
🍃 Lija para madera
🍀 Pintura al frío
🍁 Hojas secas
🍂 Pega blanca o en barra
🍃 Craquelador
🍀 Secador para cabello
🍁 Resina artística
Lo primero que vamos a hacer es internarnos en el bosque más cercano a nuestra comunidad para recolectar hojas... nah, mentira ja ja bastará con que admiremos las plantas que se encuentren en el camino de nuestro lugar del destino diario.
For this craft we will need:
🍂 One piece of MDF wood
🍃 Sandpaper for wood
🍀 Cold painting
🍁 Dried leaves
🍂 White glue or stick
🍃 Cracker
🍀 Hair dryer
🍁 Art resin
The first thing we are going to do is go into the forest closest to our community to collect leaves ... nah, lie ha ha it will be enough for us to admire the plants that are on the way to our place of daily destination.
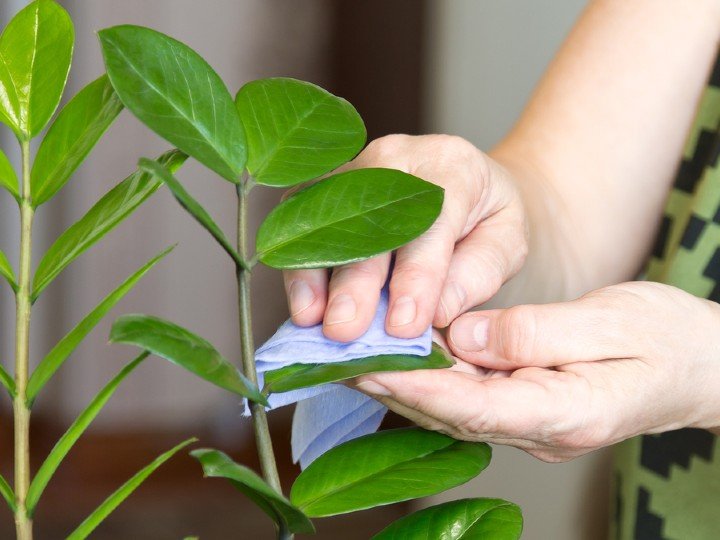
Para que sea más personal y mágico, pueden recoger estas hojitas como recuerdos de lugares a los que hayan ido. Eso hago yo. Y si vamos a arrancar la hoja directamente de la planta, no olvidemos pedir permiso primero, hacerlo con mucho cuidado y agradecer después. Recordemos que es un ser vivo y merece respeto 😘.
To make it more personal and magical, you can collect these leaves as souvenirs of places you have been. That's what I do. And if we are going to tear the leaf directly from the plant, let's not forget to ask permission first, do it very carefully and thank later. Let's remember that it is a living being and deserves respect 😘.
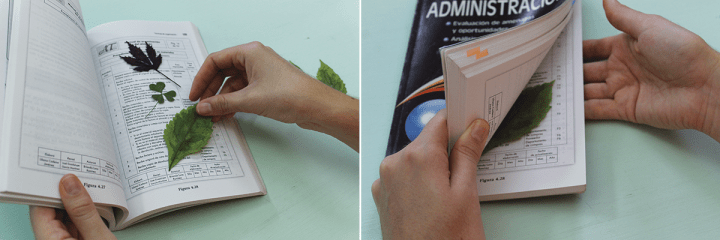
Colocamos nuestras hojitas entre las hojas de un libro y dejamos pasar el tiempo. Ya luego de un par de días o una semana, tendremos nuestras hermosas impresiones de de hojas.
We place our leaves between the pages of a book and let time pass. Already after a couple of days or a week, we will have our beautiful leaf prints.
Procedemos a tomar nuestra pieza de madera MDF y la lijamos. La pintamos con el color de nuestra preferencia y dejamos secar. Así tenemos nuestro fondo base (yo usé el azul claro), pero ¿Cómo obtenemos ese efecto de grietas? Eso lo hace nuestro amigo el craquelador.
We proceed to take our piece of MDF wood and sand it. We paint it with the color of our preference and let it dry. So we have our base background (I used light blue), but how do we get that cracking effect? That is what our friend the cracker does.
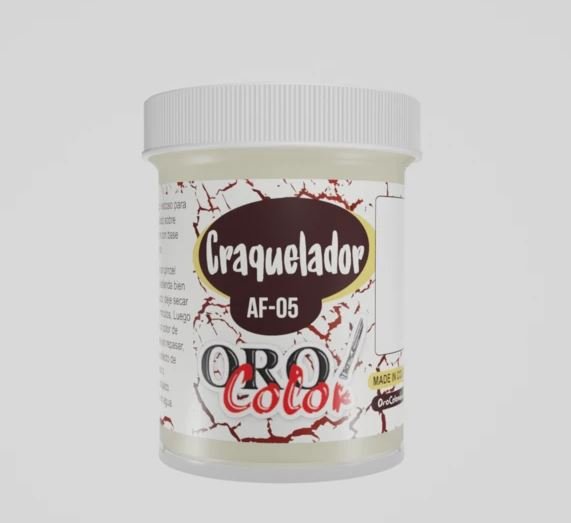
Es una pintura o más bien un gel, que genera éste efecto. Para utilizarlo, vamos a colocar una capa algo gruesa sobre la superficie de nuestra pieza, dejamos secar un poco, pero no por completo. La consistencia que tiene que tener es la suficiente para que no se te pegue en los dedos el gel, pero si la llegas a presionar, se siente que por dentro está aguado. Cuidadosamente, pasamos un color diferente de pintura sobre la pieza, en éste caso, usé un color crema.
¡Ahora se viene lo bueno! Con el secador de cabello en medio, pasamos por cada zona detenidamente hasta que la pintura de arriba (crema) se agriete y deje ver la pintura de abajo (la azul). El aire caliente es el que activa éste efecto de resquebrajamiento. Si no les gusta ese efecto, pueden decorar el fondo de otra manera o simplemente dejarlo unicolor, es a su preferencia 😉.
It is a paint or rather a gel, which generates this effect. To use it, we are going to place a somewhat thick layer on the surface of our piece, let it dry a little, but not completely. The consistency that it has to have is enough so that the gel does not stick to your fingers, but if you press it, it feels like it is watery on the inside. Carefully, we passed a different color of paint over the piece, in this case, I used a cream color.
Now comes the good! With the hair dryer in the middle, we go through each area carefully until the top paint (cream) cracks and reveals the bottom paint (the blue one). It is the hot air that activates this cracking effect. If you don't like that effect, you can decorate the background in another way or just leave it unicolor, it's up to you 😉.
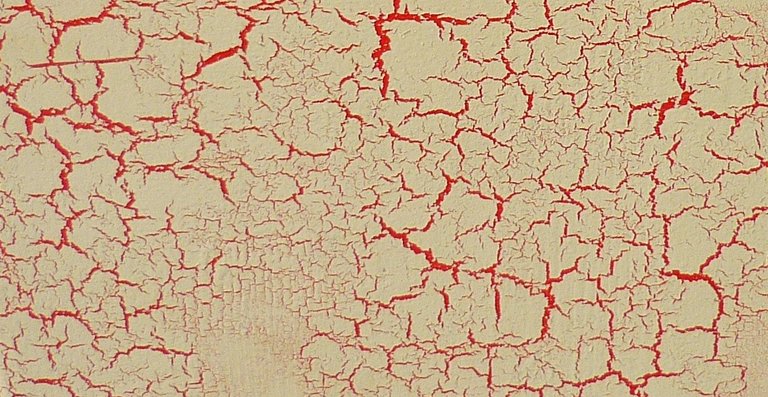
(Ese es el resultado que ofrece el craquelador / That is the result that the cracker offers )
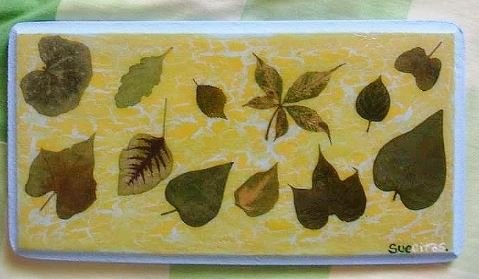
Ya teniendo nuestra base lista, procedemos a colocar con cuidado nuestras hojitas en el lugar que queremos que ocupen en nuestra pieza de arte. Una vez ubicados los sitios donde irán, le colocamos un poquito de pega para que no se muevan. De nuevo, podemos poner a volar nuestra imaginación y añadir con pintura detalles a nuestras hojas. Por ejemplo, en la pequeña que hice, le pinté a las hojas unas ramitas con una pintura marrón claro, para dar la sensación que son parte de las hojas.
Having our base ready, we proceed to carefully place our leaves in the place we want them to occupy in our piece of art. Once the places where they will go are located, we put a little glue on them so that they do not move. Again, we can let our imagination run wild and add details to our sheets with paint. For example, in the small one I made, I painted some twigs with a light brown paint on the leaves, to give the feeling that they are part of the leaves.
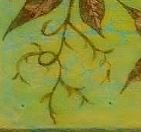
(Esas ramitas las hice con pintura / I made those twigs with paint)
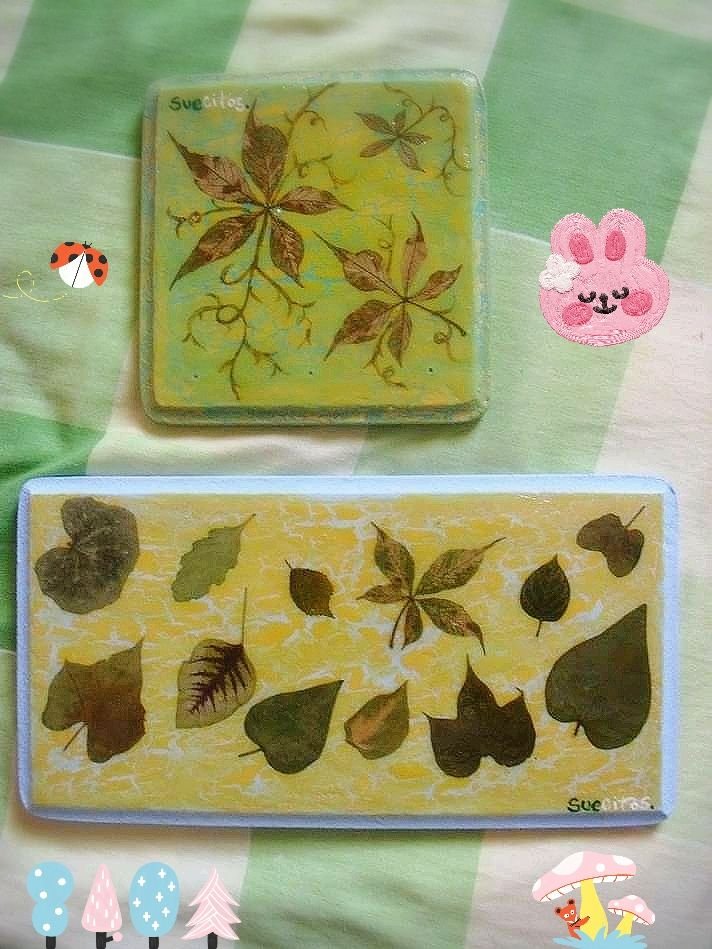
Con la resina artística o cualquier otro sellador, procedemos a cubrir nuestro trabajo para protegerlo y listo. Ya tenemos nuestro hermoso cuadro o portallaves si le colocamos unos clavitos. Pero de ser así, les recomiendo hacer los hoyos primero donde irán los clavos antes de empezar la parte de pintura.
With the artistic resin or any other sealant, we proceed to cover our work to protect it and that's it. We already have our beautiful box or key holder if we put some brads on it. But if so, I recommend that you drill the holes first where the nails will go before starting the painting part.
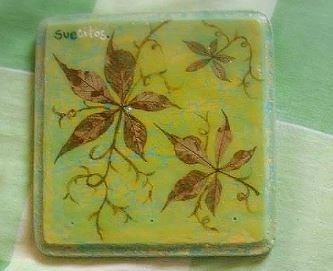
(Ahí se ven los huequitos donde irán las piezas para colocar las llaves / There you can see the little holes where the pieces will go to place the keys)
Es hermoso como la naturaleza crea tan bellas figuras en cada una de sus hojas, sin duda, es la artista madre.
Espero que les haya gustado la idea y que se animen a implementarla. Muchas gracias por llegar hasta acá.
¡Hasta una próxima oportunidad!
It is beautiful how nature creates such beautiful figures in each of its leaves, without a doubt, it is the mother artist.
I hope you liked the idea and that you are encouraged to implement it. Thank you very much for getting here.
Until next time!
Que preciosa ha quedado tu manualidad, sin duda tienes el talento de de crear piezas muy hermosas! <3
ains tan linda! muchas gracias amiga. Me encanta hacer manualidades :) <3