Hello friends of Hivee. Receive my greetings and admiration for all the work you do every day. I'm a little new in this Hive world and it's the first time I publish in holozing. I hope to learn little by little and also show my skills as a creator.
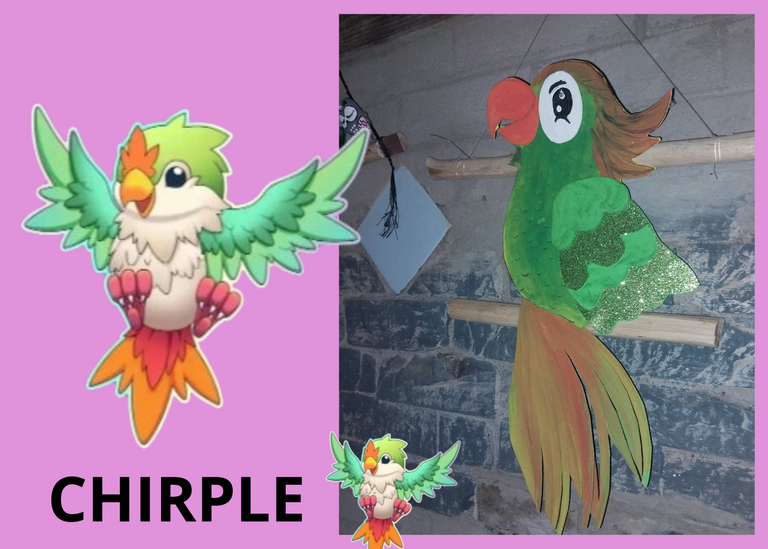
As well Holozing has many wonderful characters, this first time for me, I have made a nice bird in foami inspired by chirple.
I hope you like it.
Materials
- Foami
- Cold paints
- PAINTBRUSHES
- Silicon
- Scissors
Step by Step
1
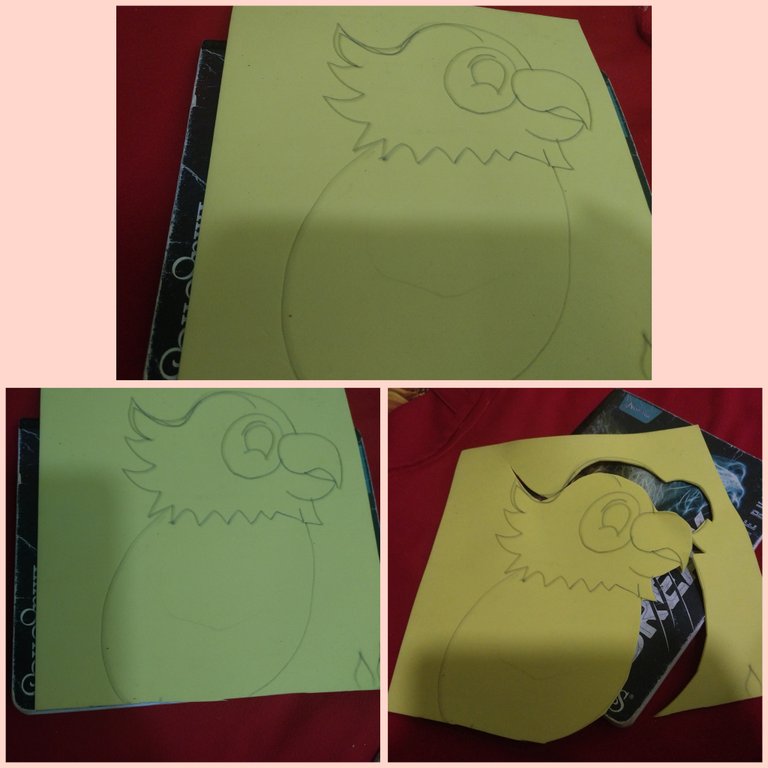
We draw the chirple shape, only it's face and body. Then we proceed to cut out.
2
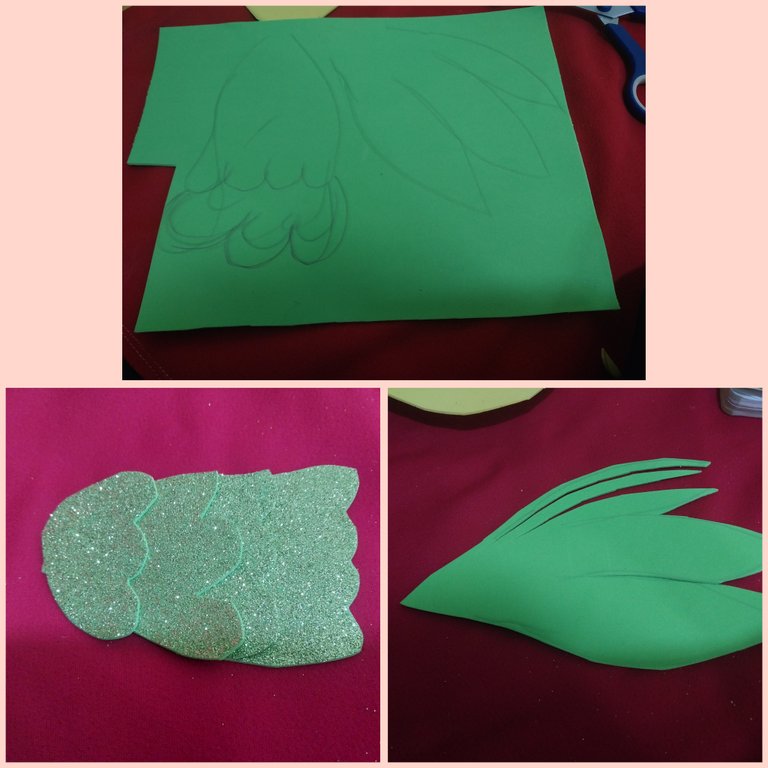
Then we make the wings and also the tail of the Parrot.
3
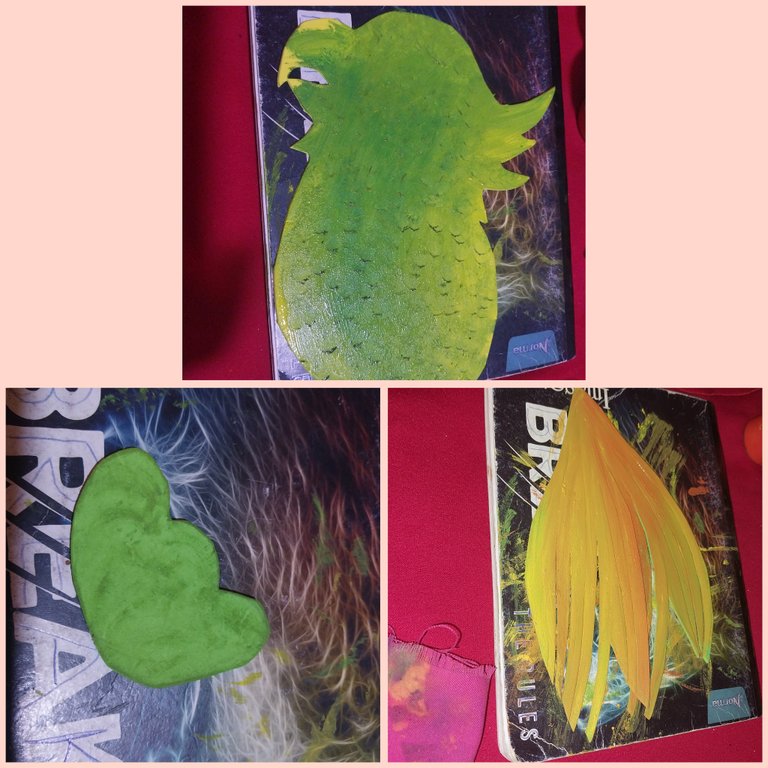
Then we proceed to cut out and paint in green and yellow the face and body area. Also some areas of the wings we bordered them of green color.
We paint the tail in orange and yellow.
4
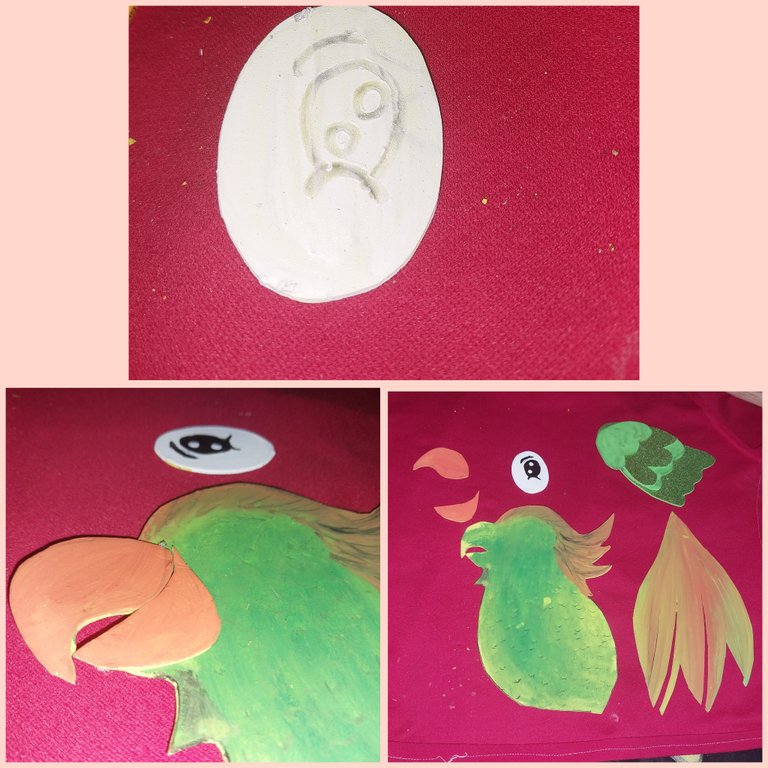
Then we draw on the foami the two beaks and paint them with orange. Then we paint the eye in white and in the center we make the iris of the bird.
5
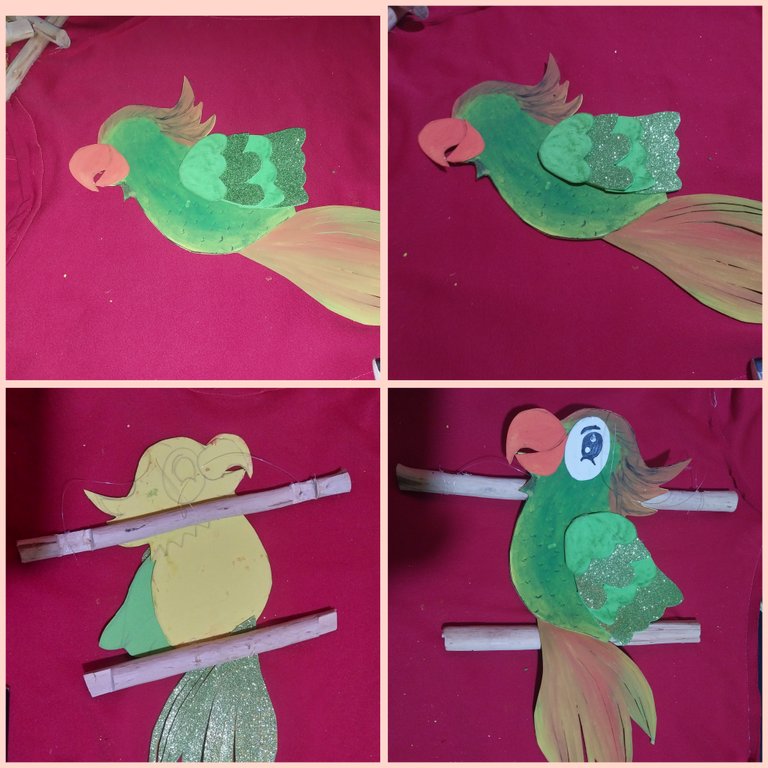
Then we take two sticks, one we glue it behind the other side of the bird and in the top area and the other in the lower part of the bird.
Then we glue all the pieces together and make the Parrot.
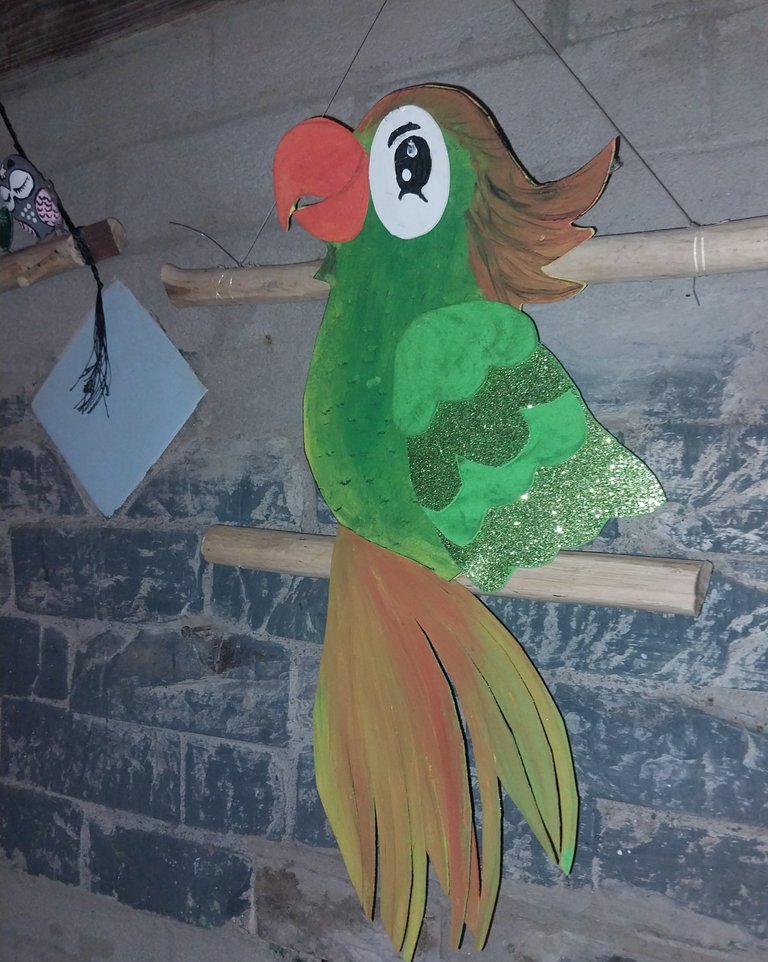
This is the final result.
Que tal amigos se Hivee. Reciban mis saludos y admiración por todo el trabajo que hacen día a día. Soy un poco nueva en este mundo Hive y es la primera vez que publico en holozing. Espero poco a poco aprender e ir también mostrándonos mis habilidades como creadora.
Como bien Holozing tiene muchos personajes maravillosos, esta primera vez para mí, he realizado un bonito pájaro en foami inspirado en chirple.
Espero les guste.
Materiales
- Foami
- Pinturas al frío
- PINCELES
- Silicon
- Tijeras
Paso a Paso
1
Dibujamos la forma de chirple, solo que es el rostro y el cuerpo. Luego procedemos a recortar.
2
Luego hacemos las alas y también la cola del Loro.
3
Luego procedemos a recortar, y a pintar de color verde y amarillo la zona del rostro y el cuerpo. También algunas zonas de las alas las bordeamos de color verde.
Pintamos la cola de color naranja y amarillo.
4
Luego Dibujamos en el foami los dos picos y los pintamos con naranja. Después pintamos el ojo de blanco y en el centro hacemos el iris del pájaro.
5
Después tomamos dos palos, uno lo .
pegamos detrás de la otra cara del pájaro y en la zona de arriba y el otro en la parte inferior del pájaro.
Luego pegamos todas las piezas y hacemos el Loro.
Este es el resultado final.
Congratulations @crismar26! You have completed the following achievement on the Hive blockchain And have been rewarded with New badge(s)
Your next payout target is 100 HP.
The unit is Hive Power equivalent because post and comment rewards can be split into HP and HBD
You can view your badges on your board and compare yourself to others in the Ranking
If you no longer want to receive notifications, reply to this comment with the word
STOP