Que tal amigos de #gems, le traigo este #tutorial paso a paso como hacer este hermoso porta lápices. Es algo sumamente fácil y con poco material. Lo importante es el cariño que le dediques, es muy práctico porque me permite tener mis lápices y colores ubicados en un solo lugar. Espero que puedas seguirme en este paso a paso. Feliz día.
How about #gems friends, I bring you this #tutorial step by step how to make this beautiful pencil holder. It is something extremely easy and with little material. The important thing is the love you give it, it is very practical because it allows me to have my pencils and colors located in one place. I hope you can follow me in this step by step. Happy day.
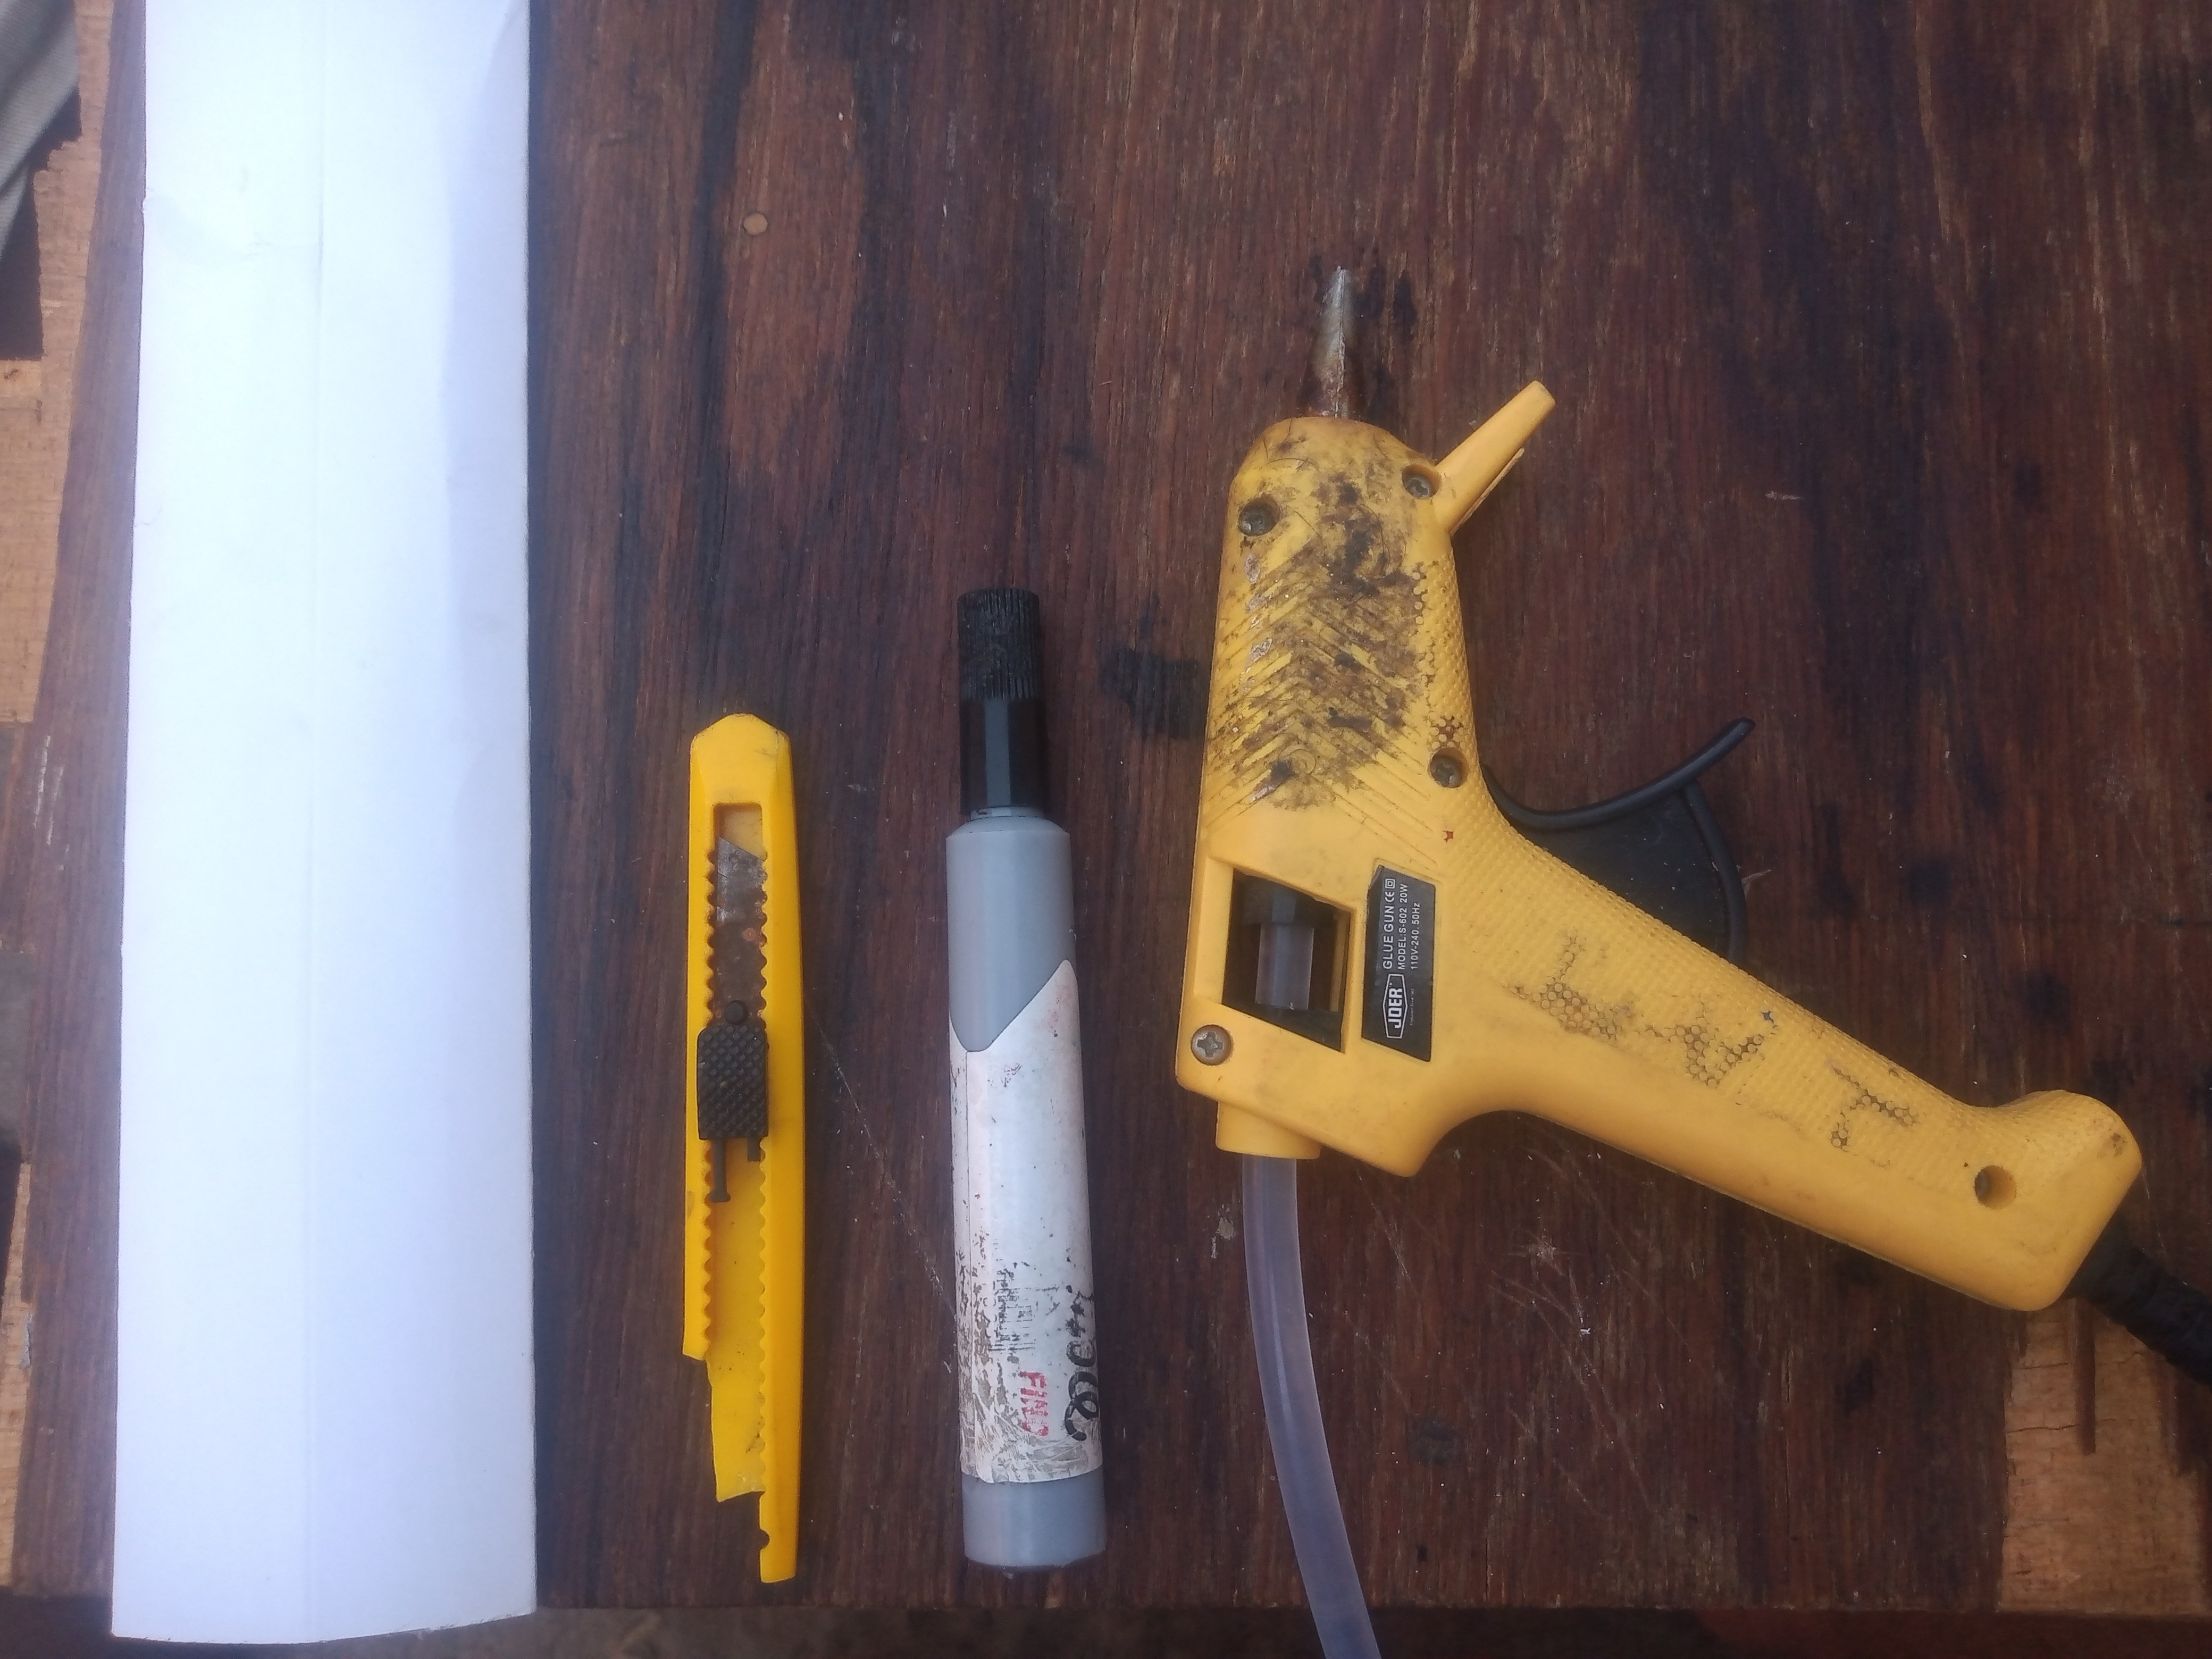
🖌Materiales✂️
- bobina de papel color blanco cortada a la altura que desees.
- cutter
- marcador negro
- silicon caliente.
🖌Materials✂️
- roll of white paper cut to the height you want.
- cutter
- black marker
- hot silicone.
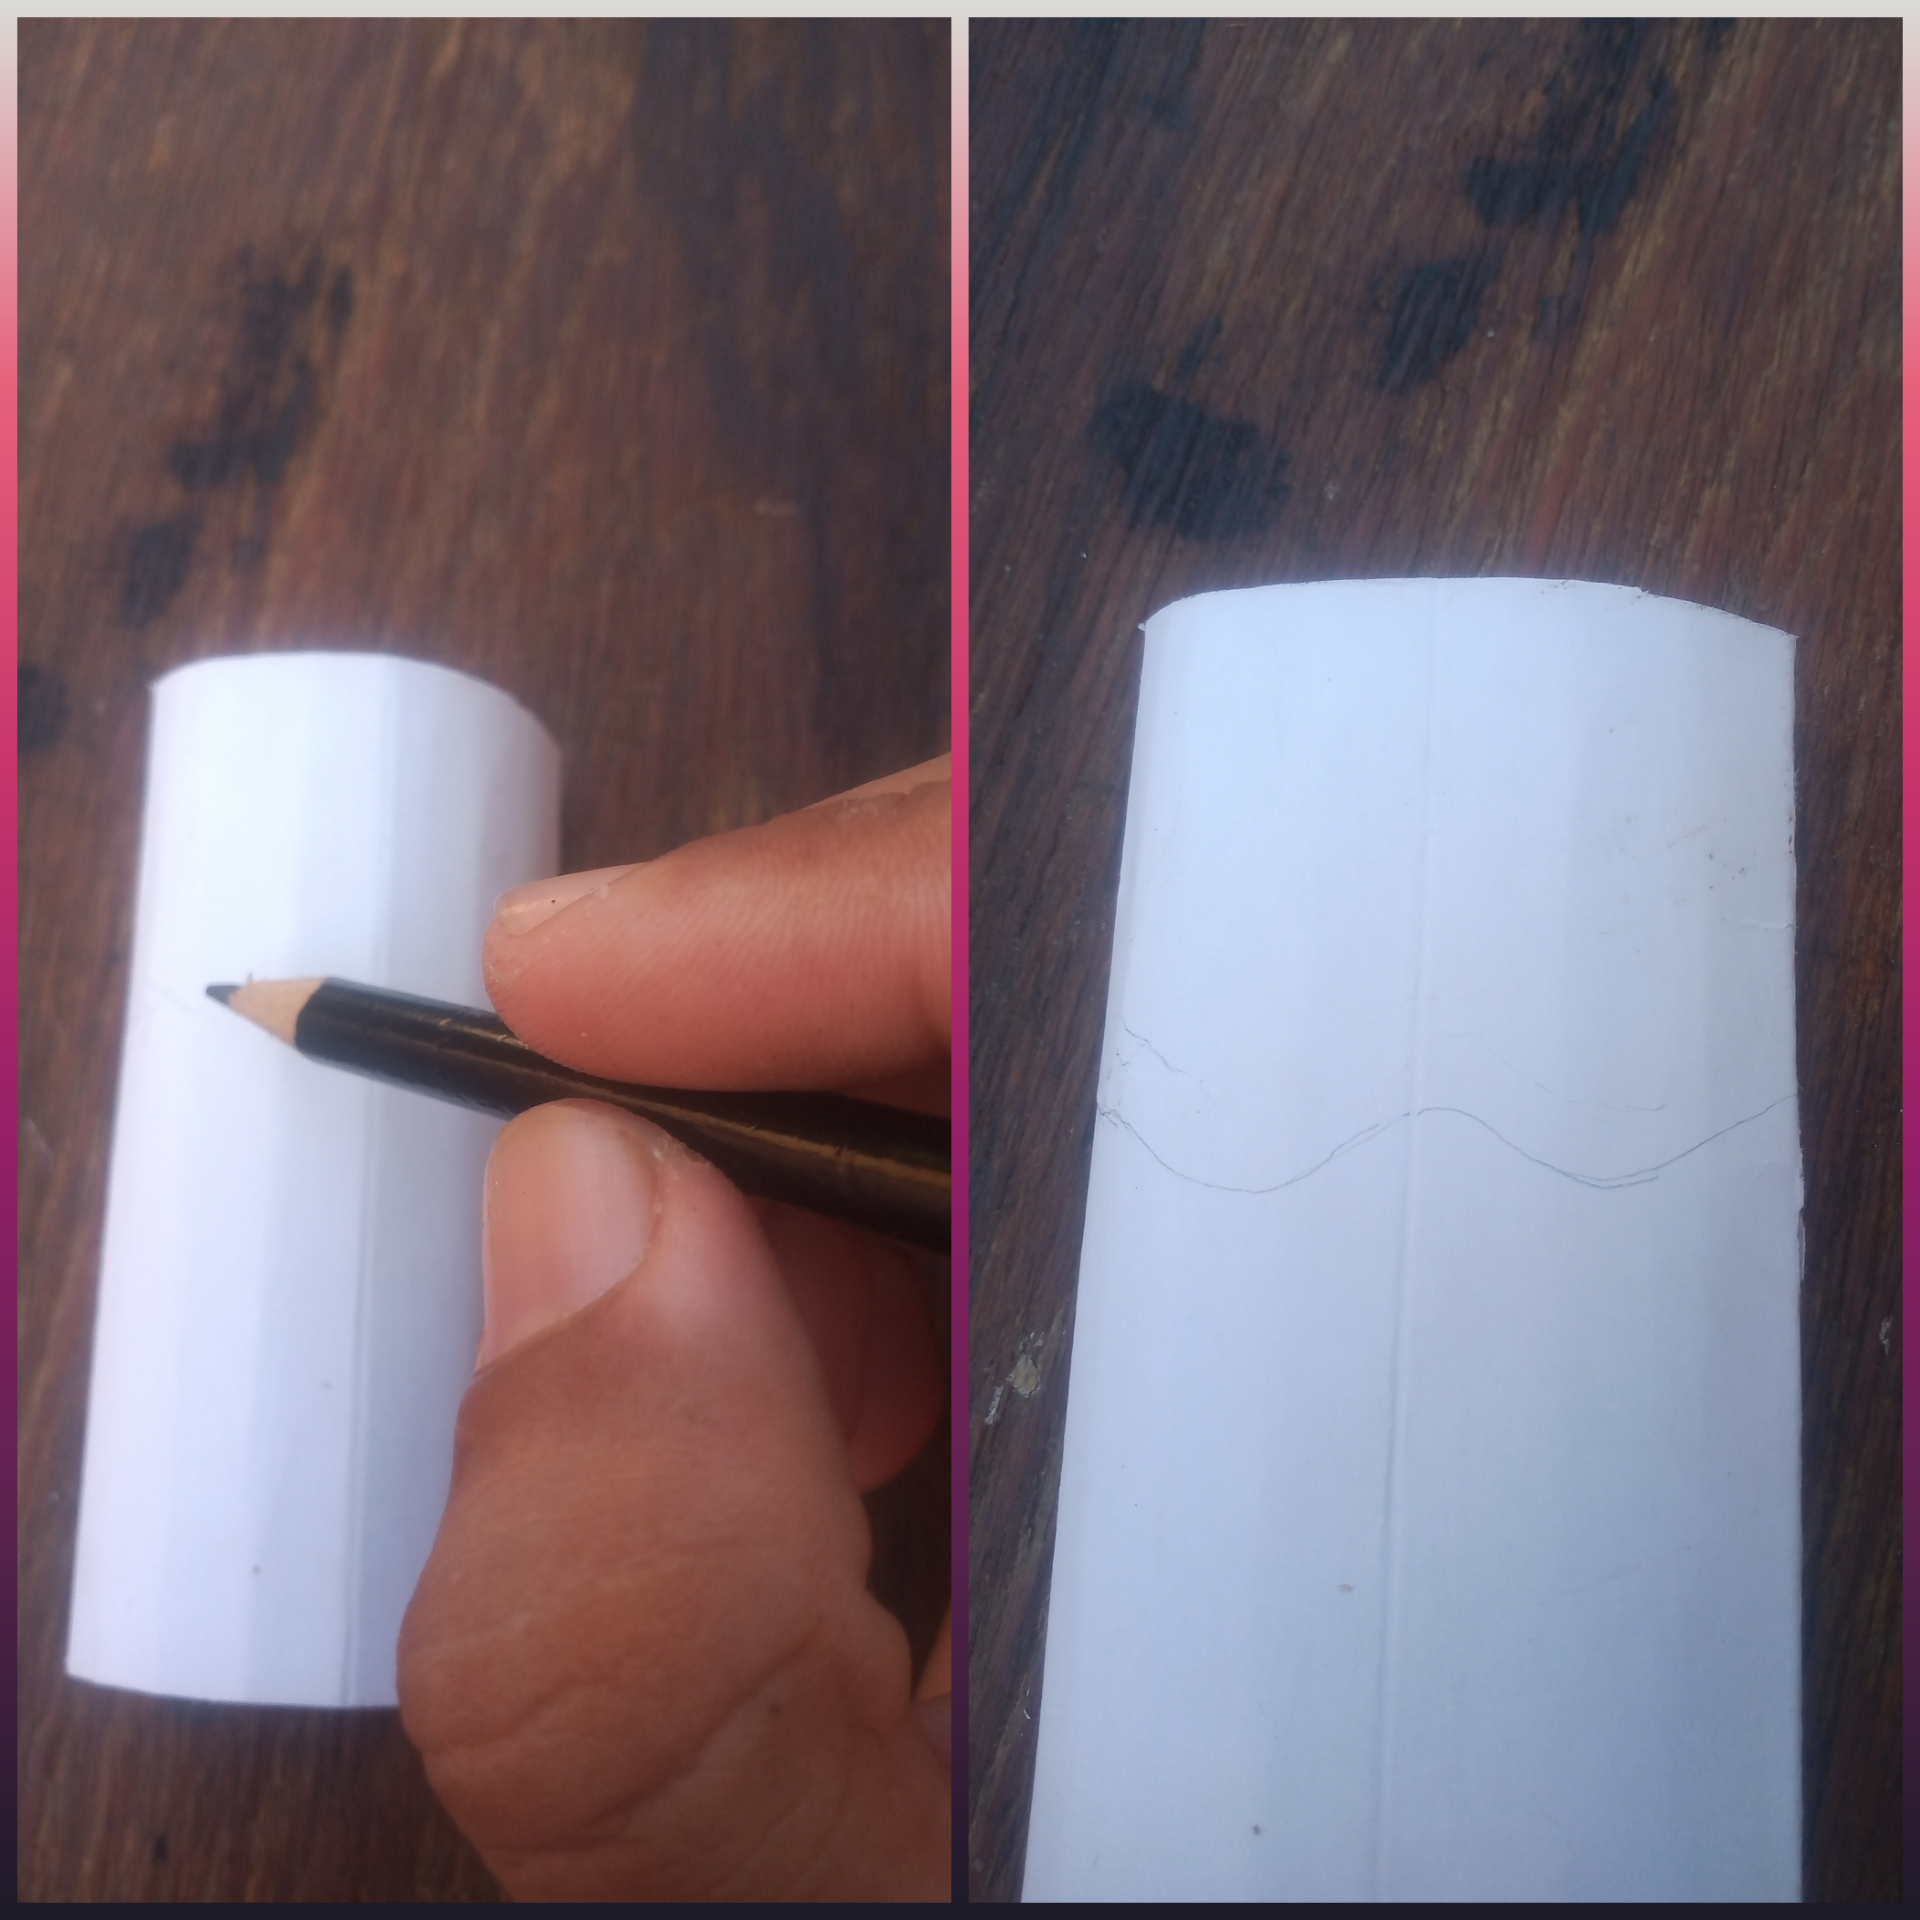
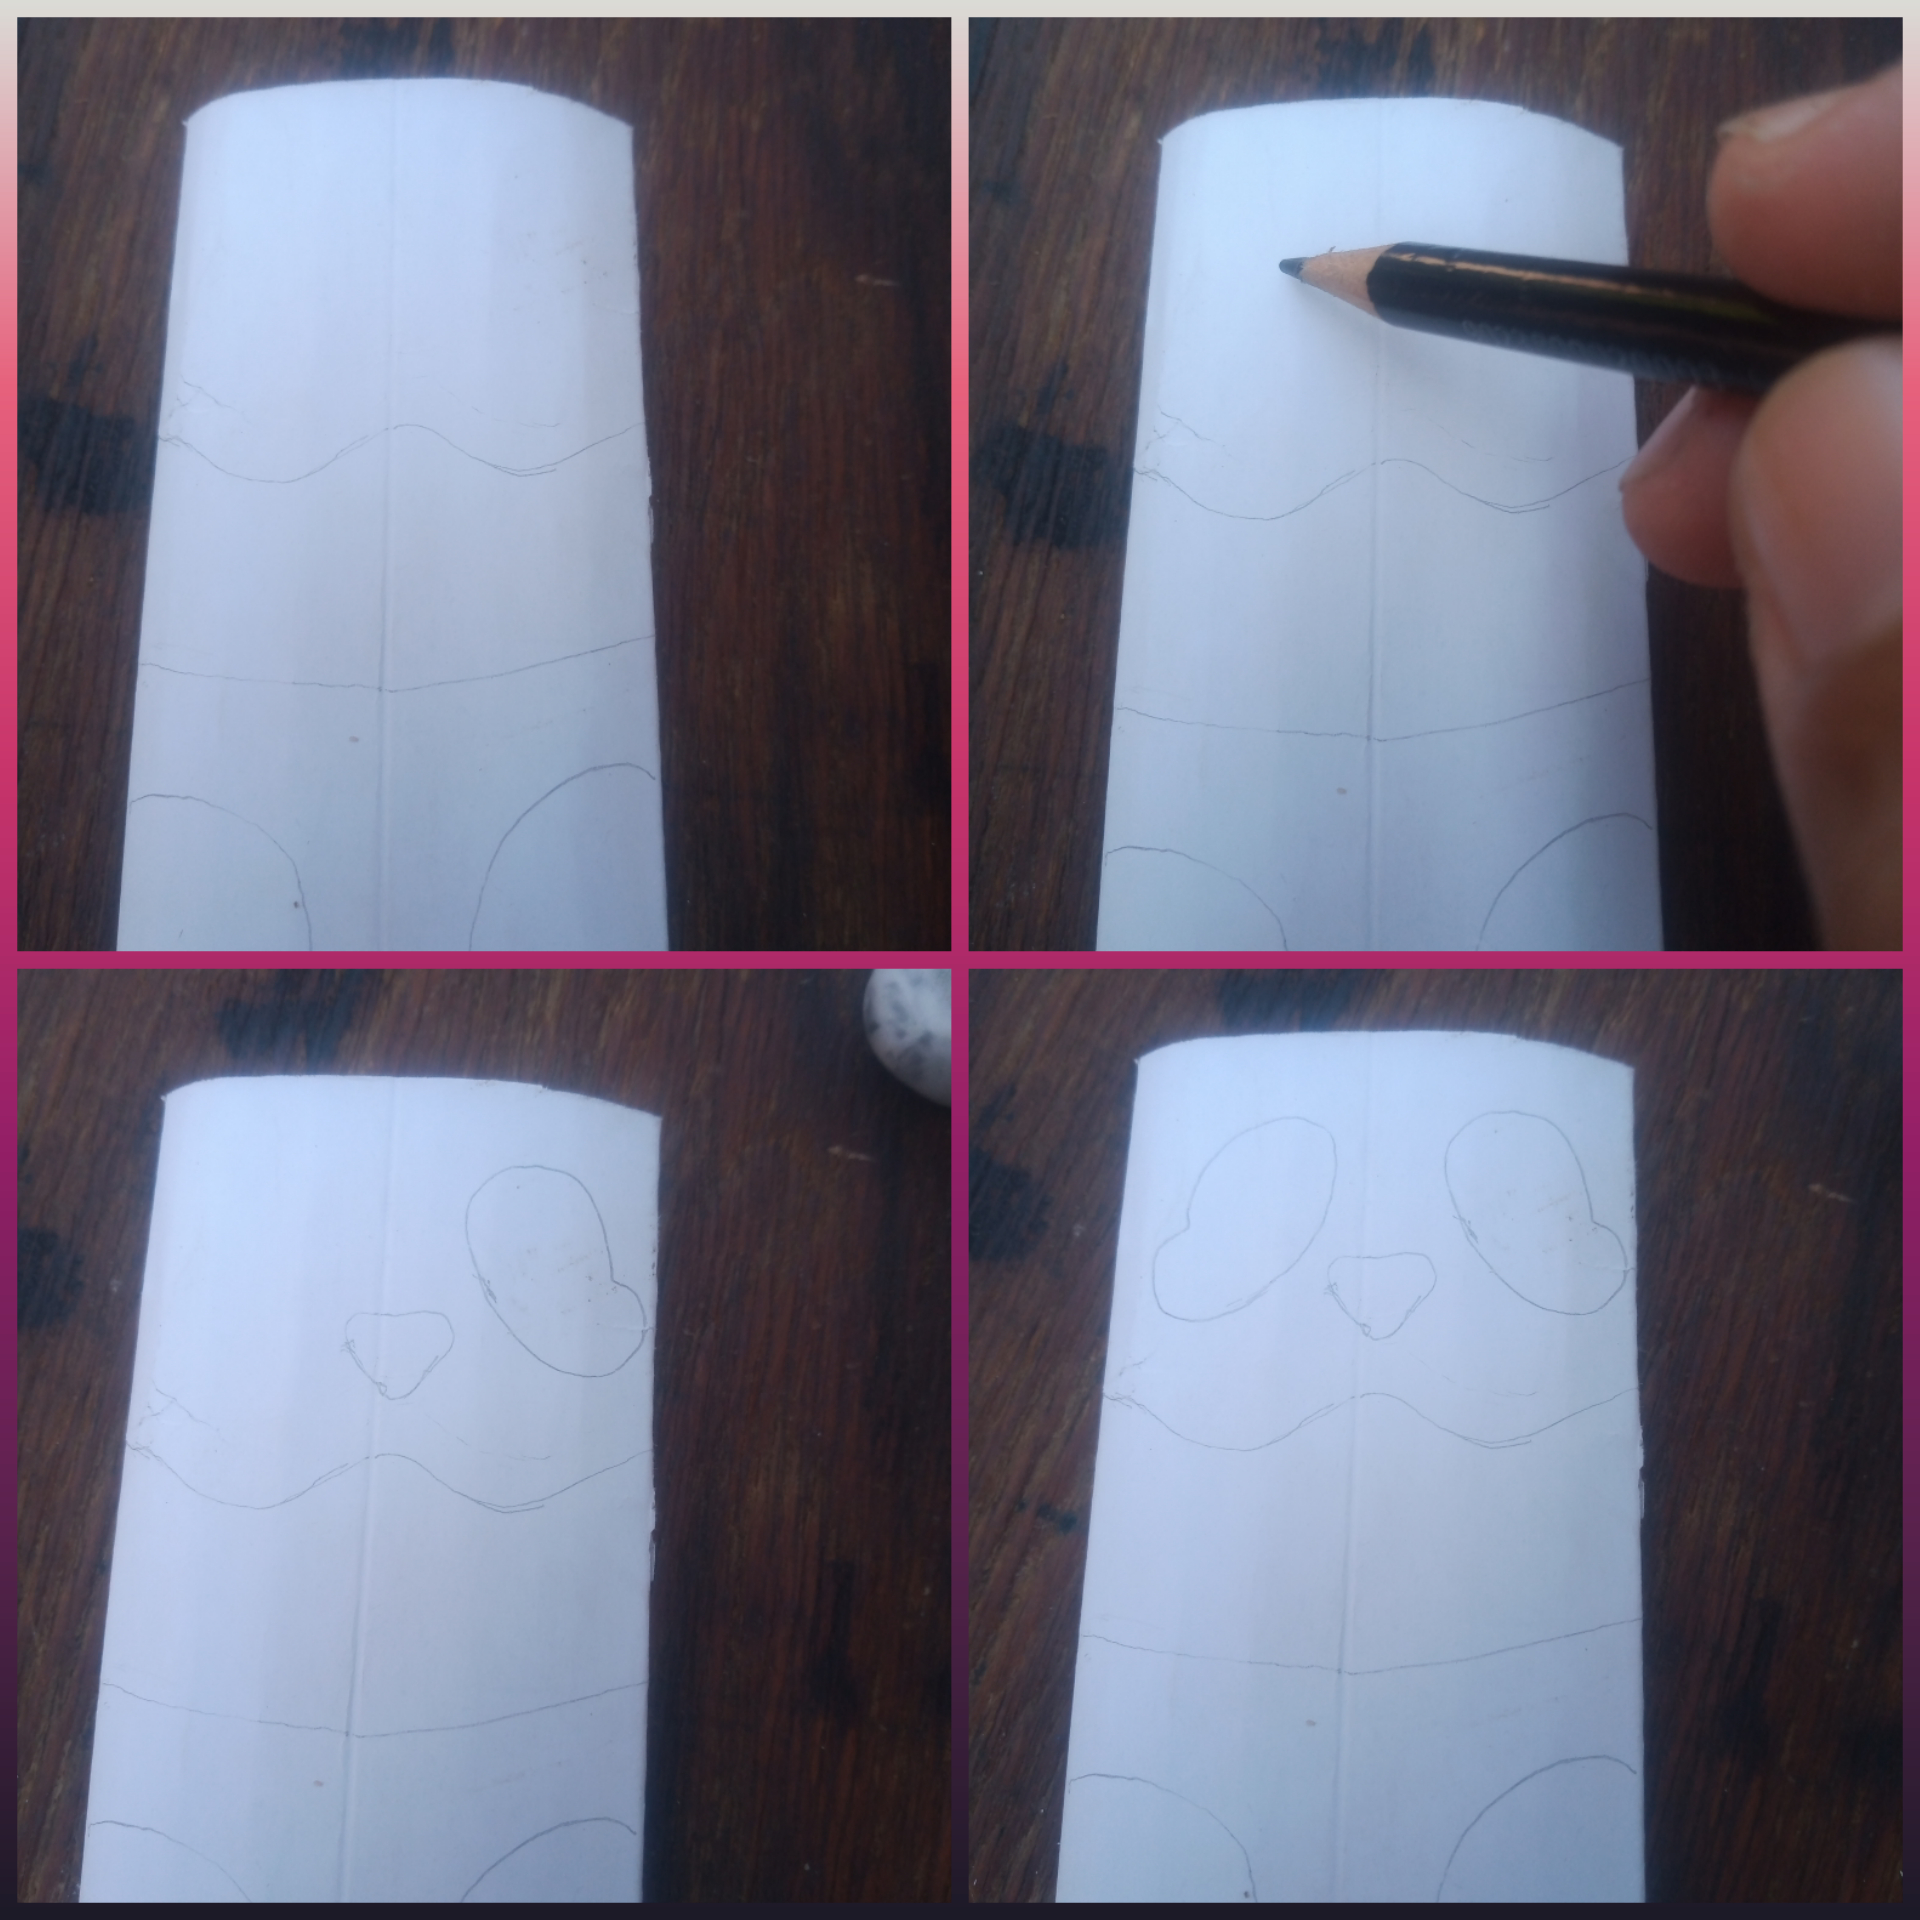
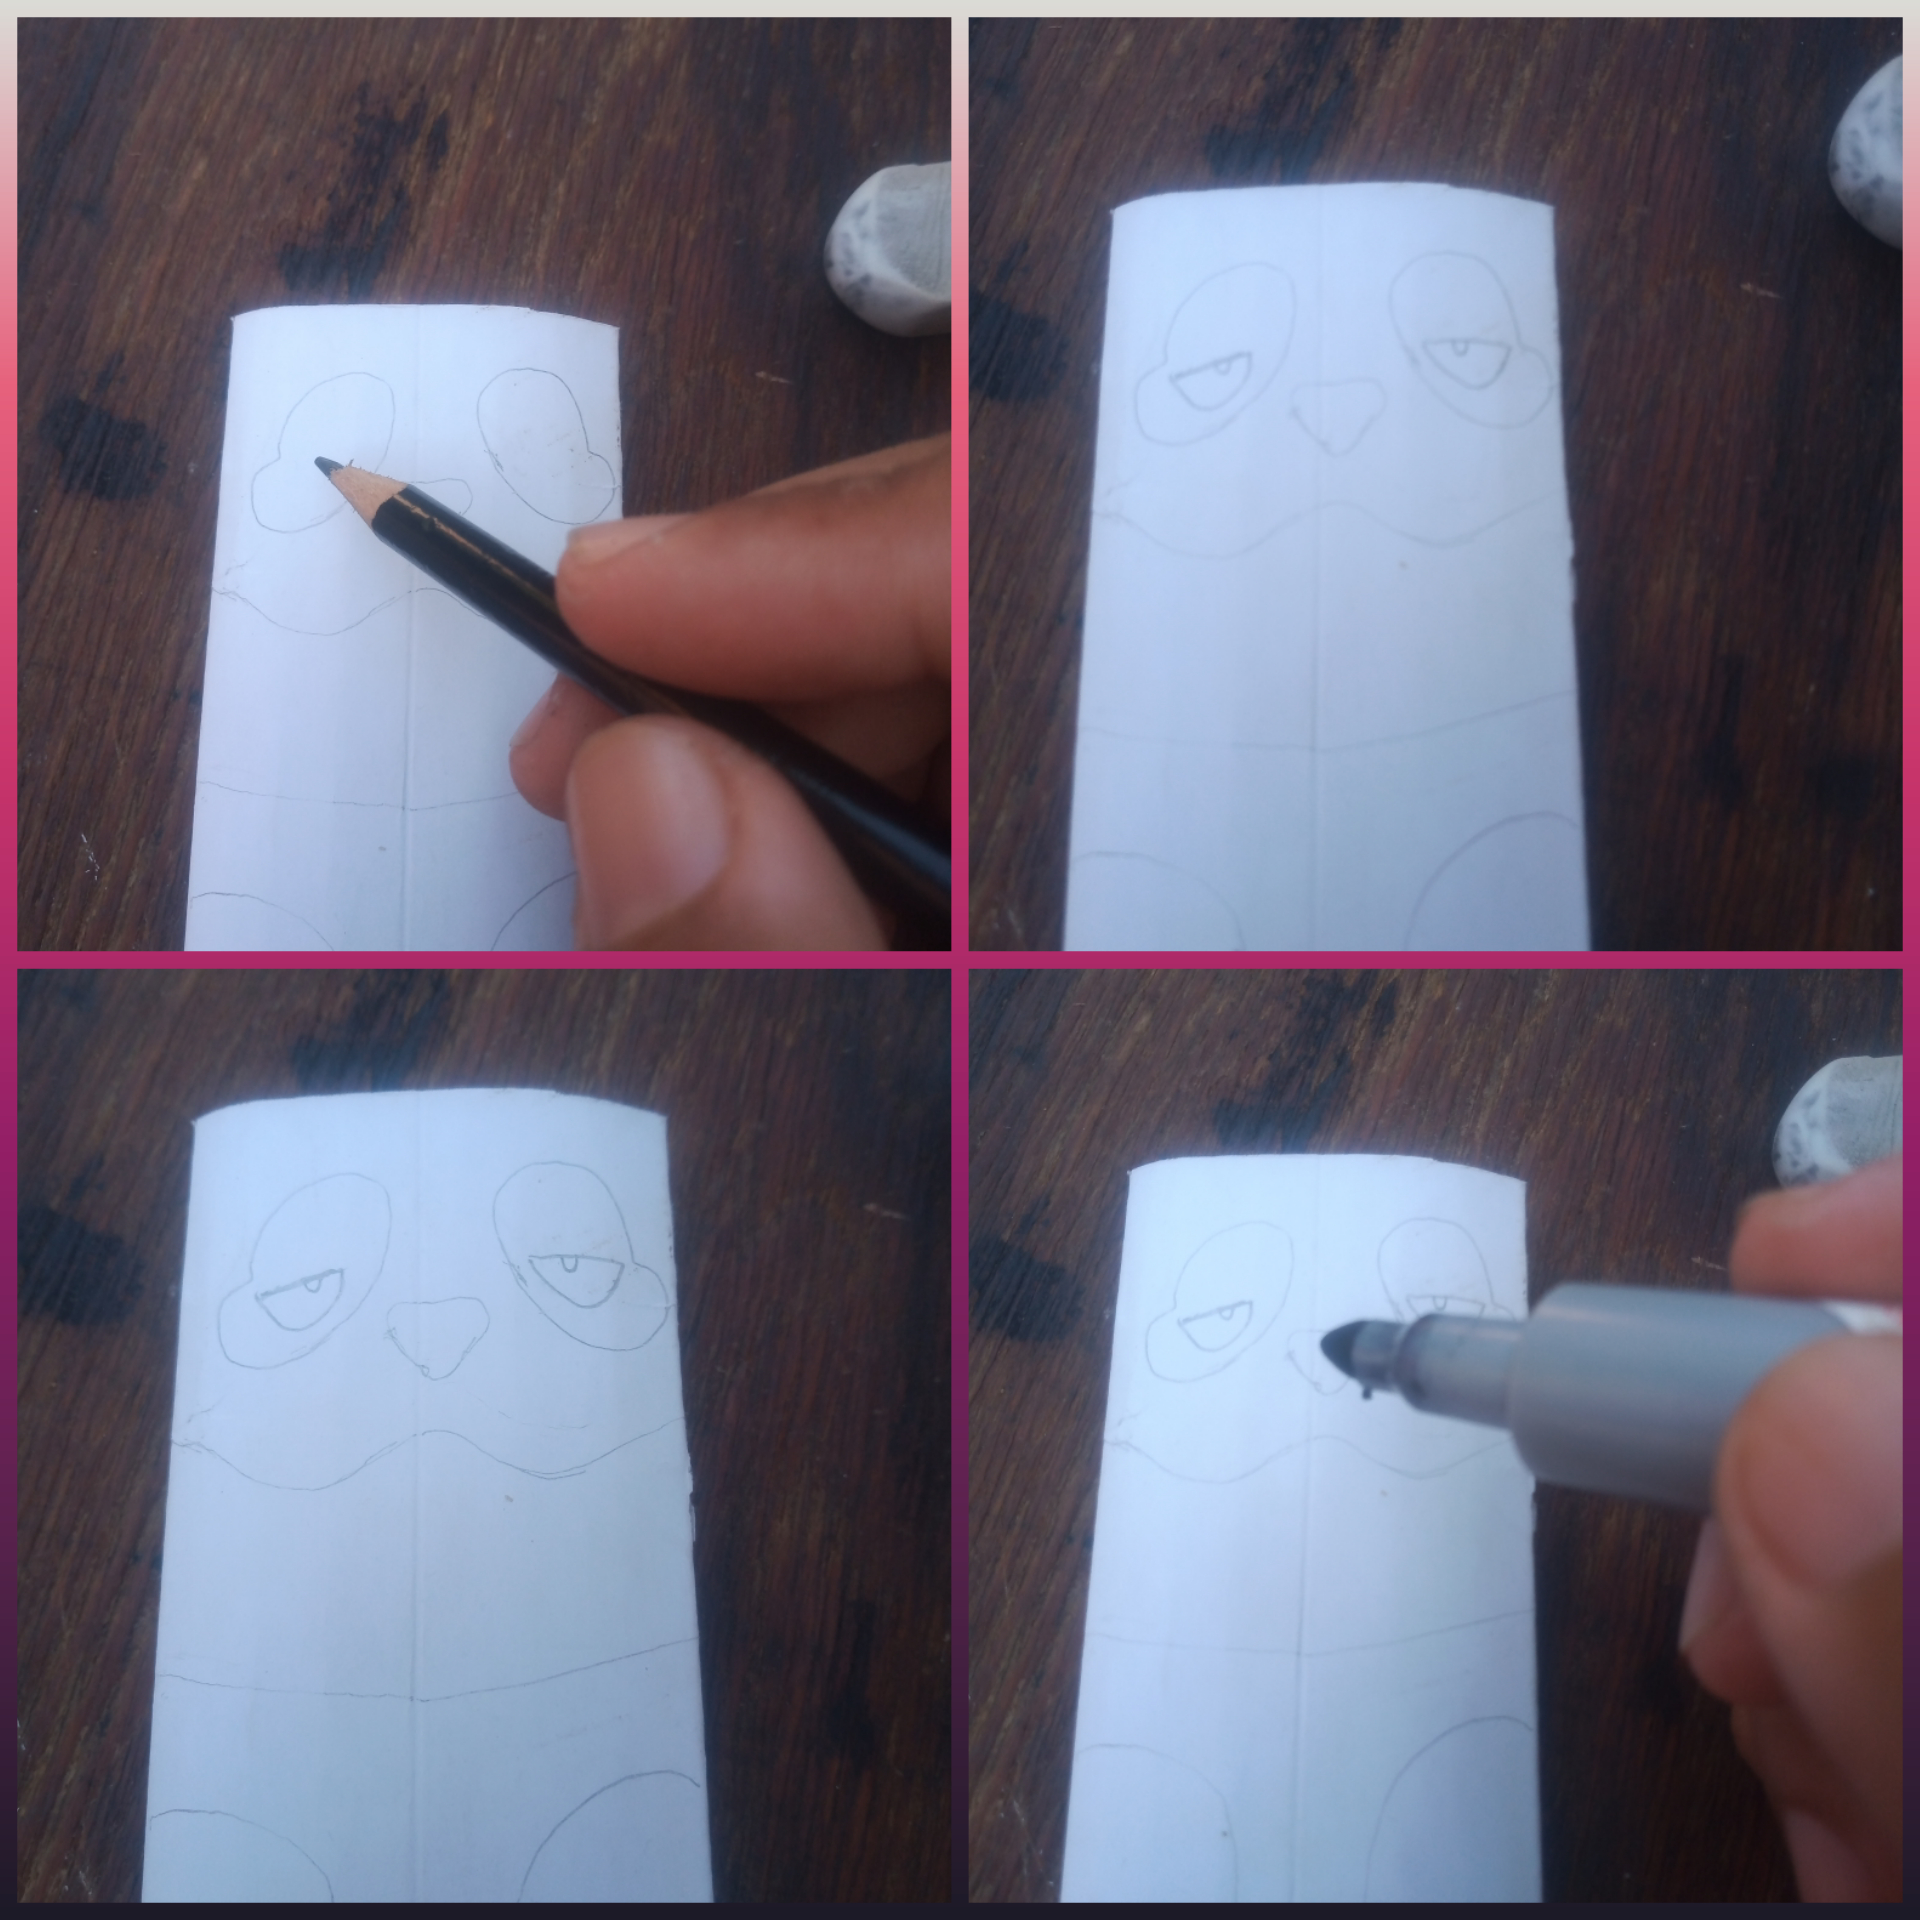
Marcamos cuidadosamente con un lápiz nuestra primeras zonas, dándole una forma al rostro de nuestro panda. Hacemos su nariz, ojos y cuerpo poco a poco.
We carefully mark our first areas with a pencil, giving a shape to the face of our panda. We make your nose, eyes and body little by little.
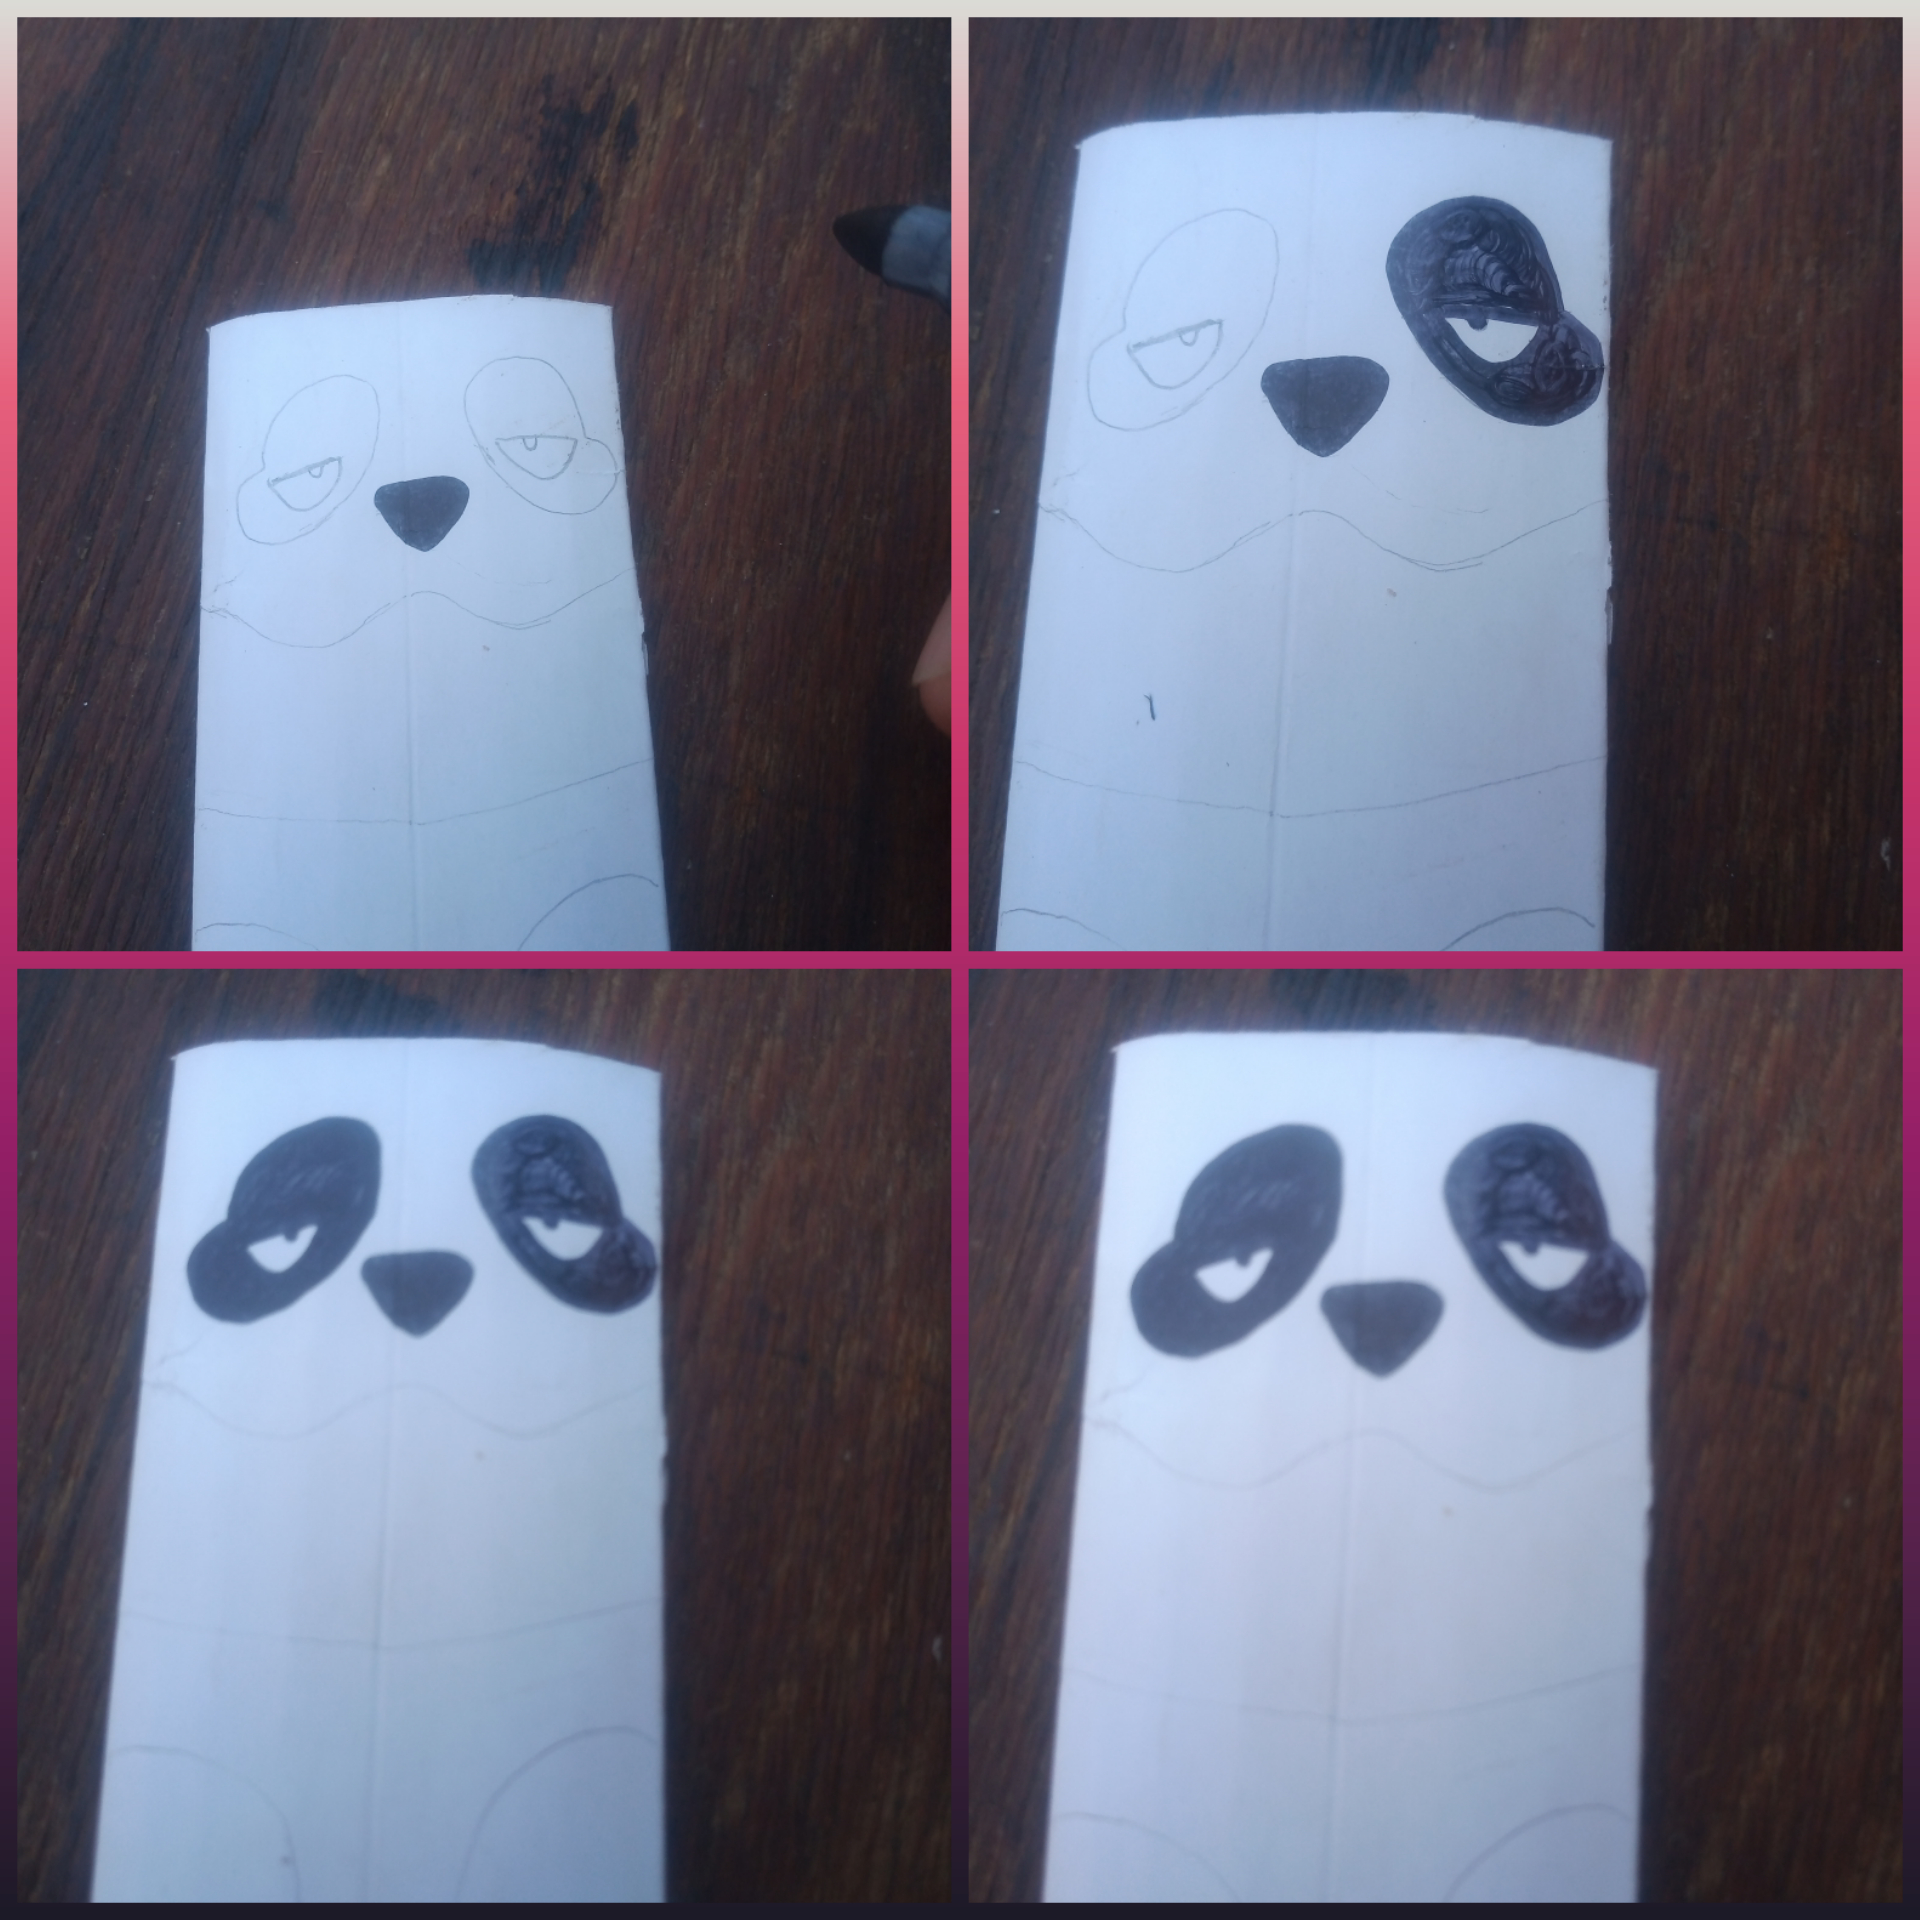
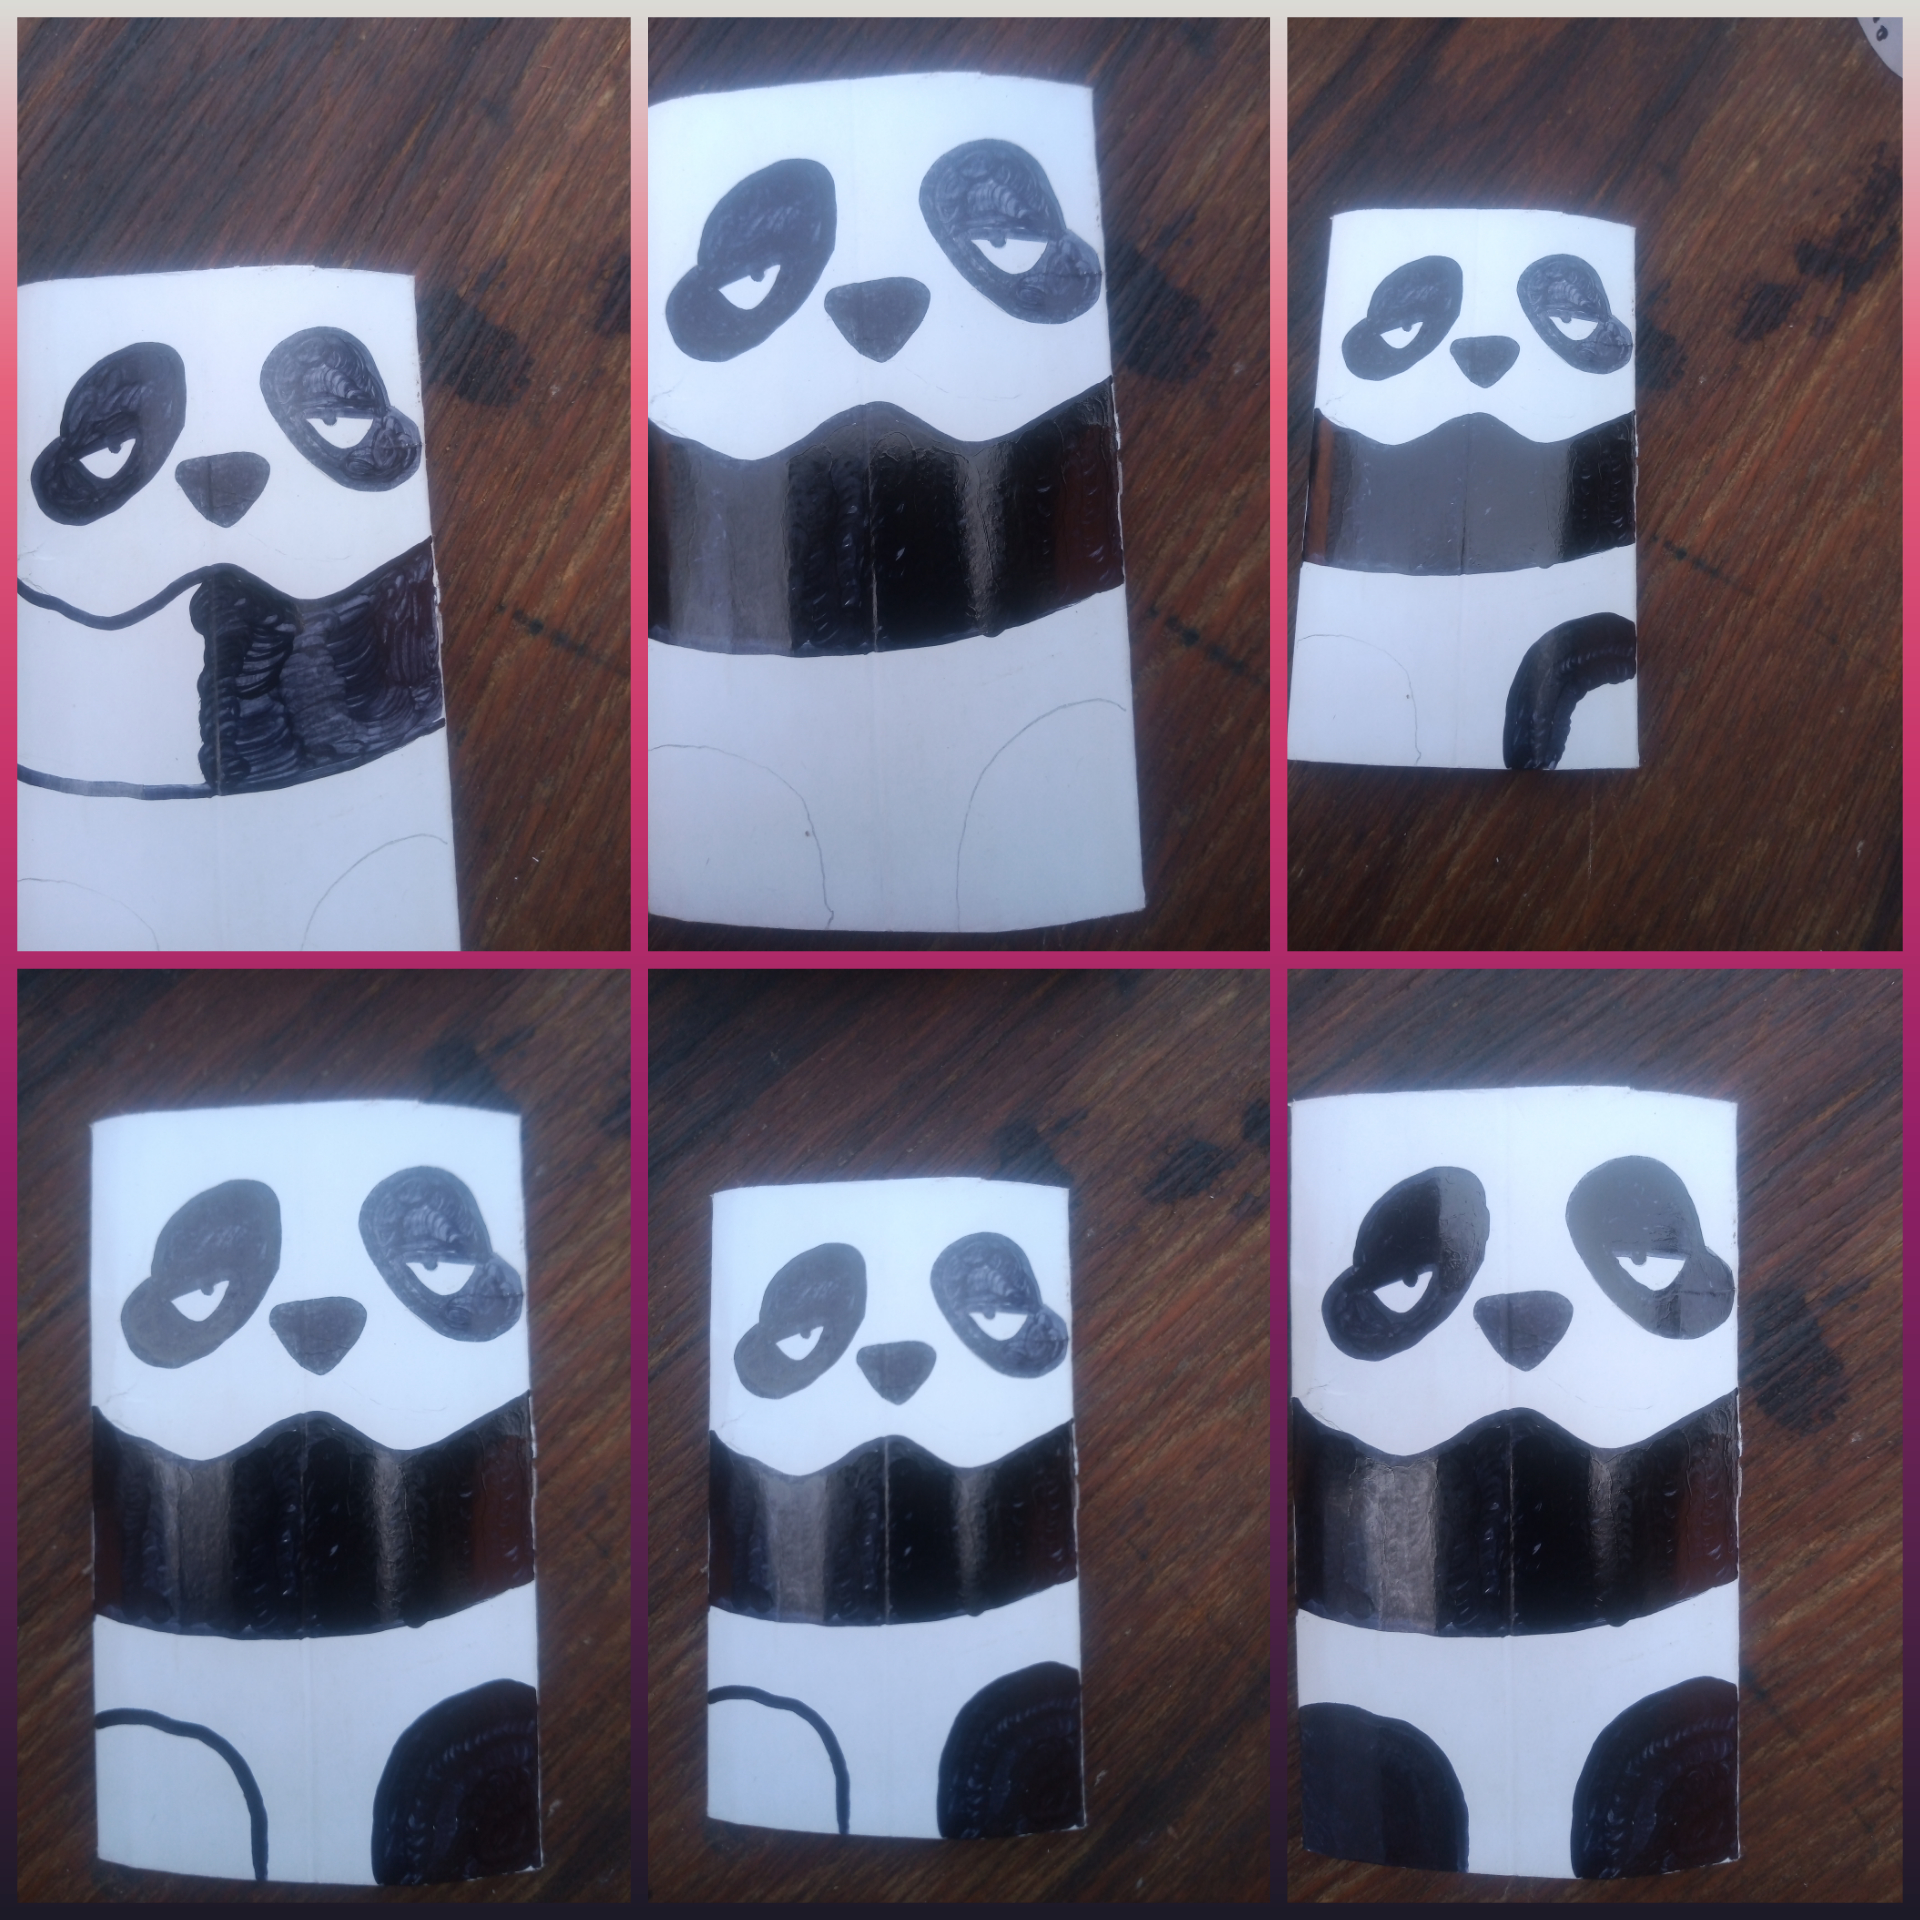
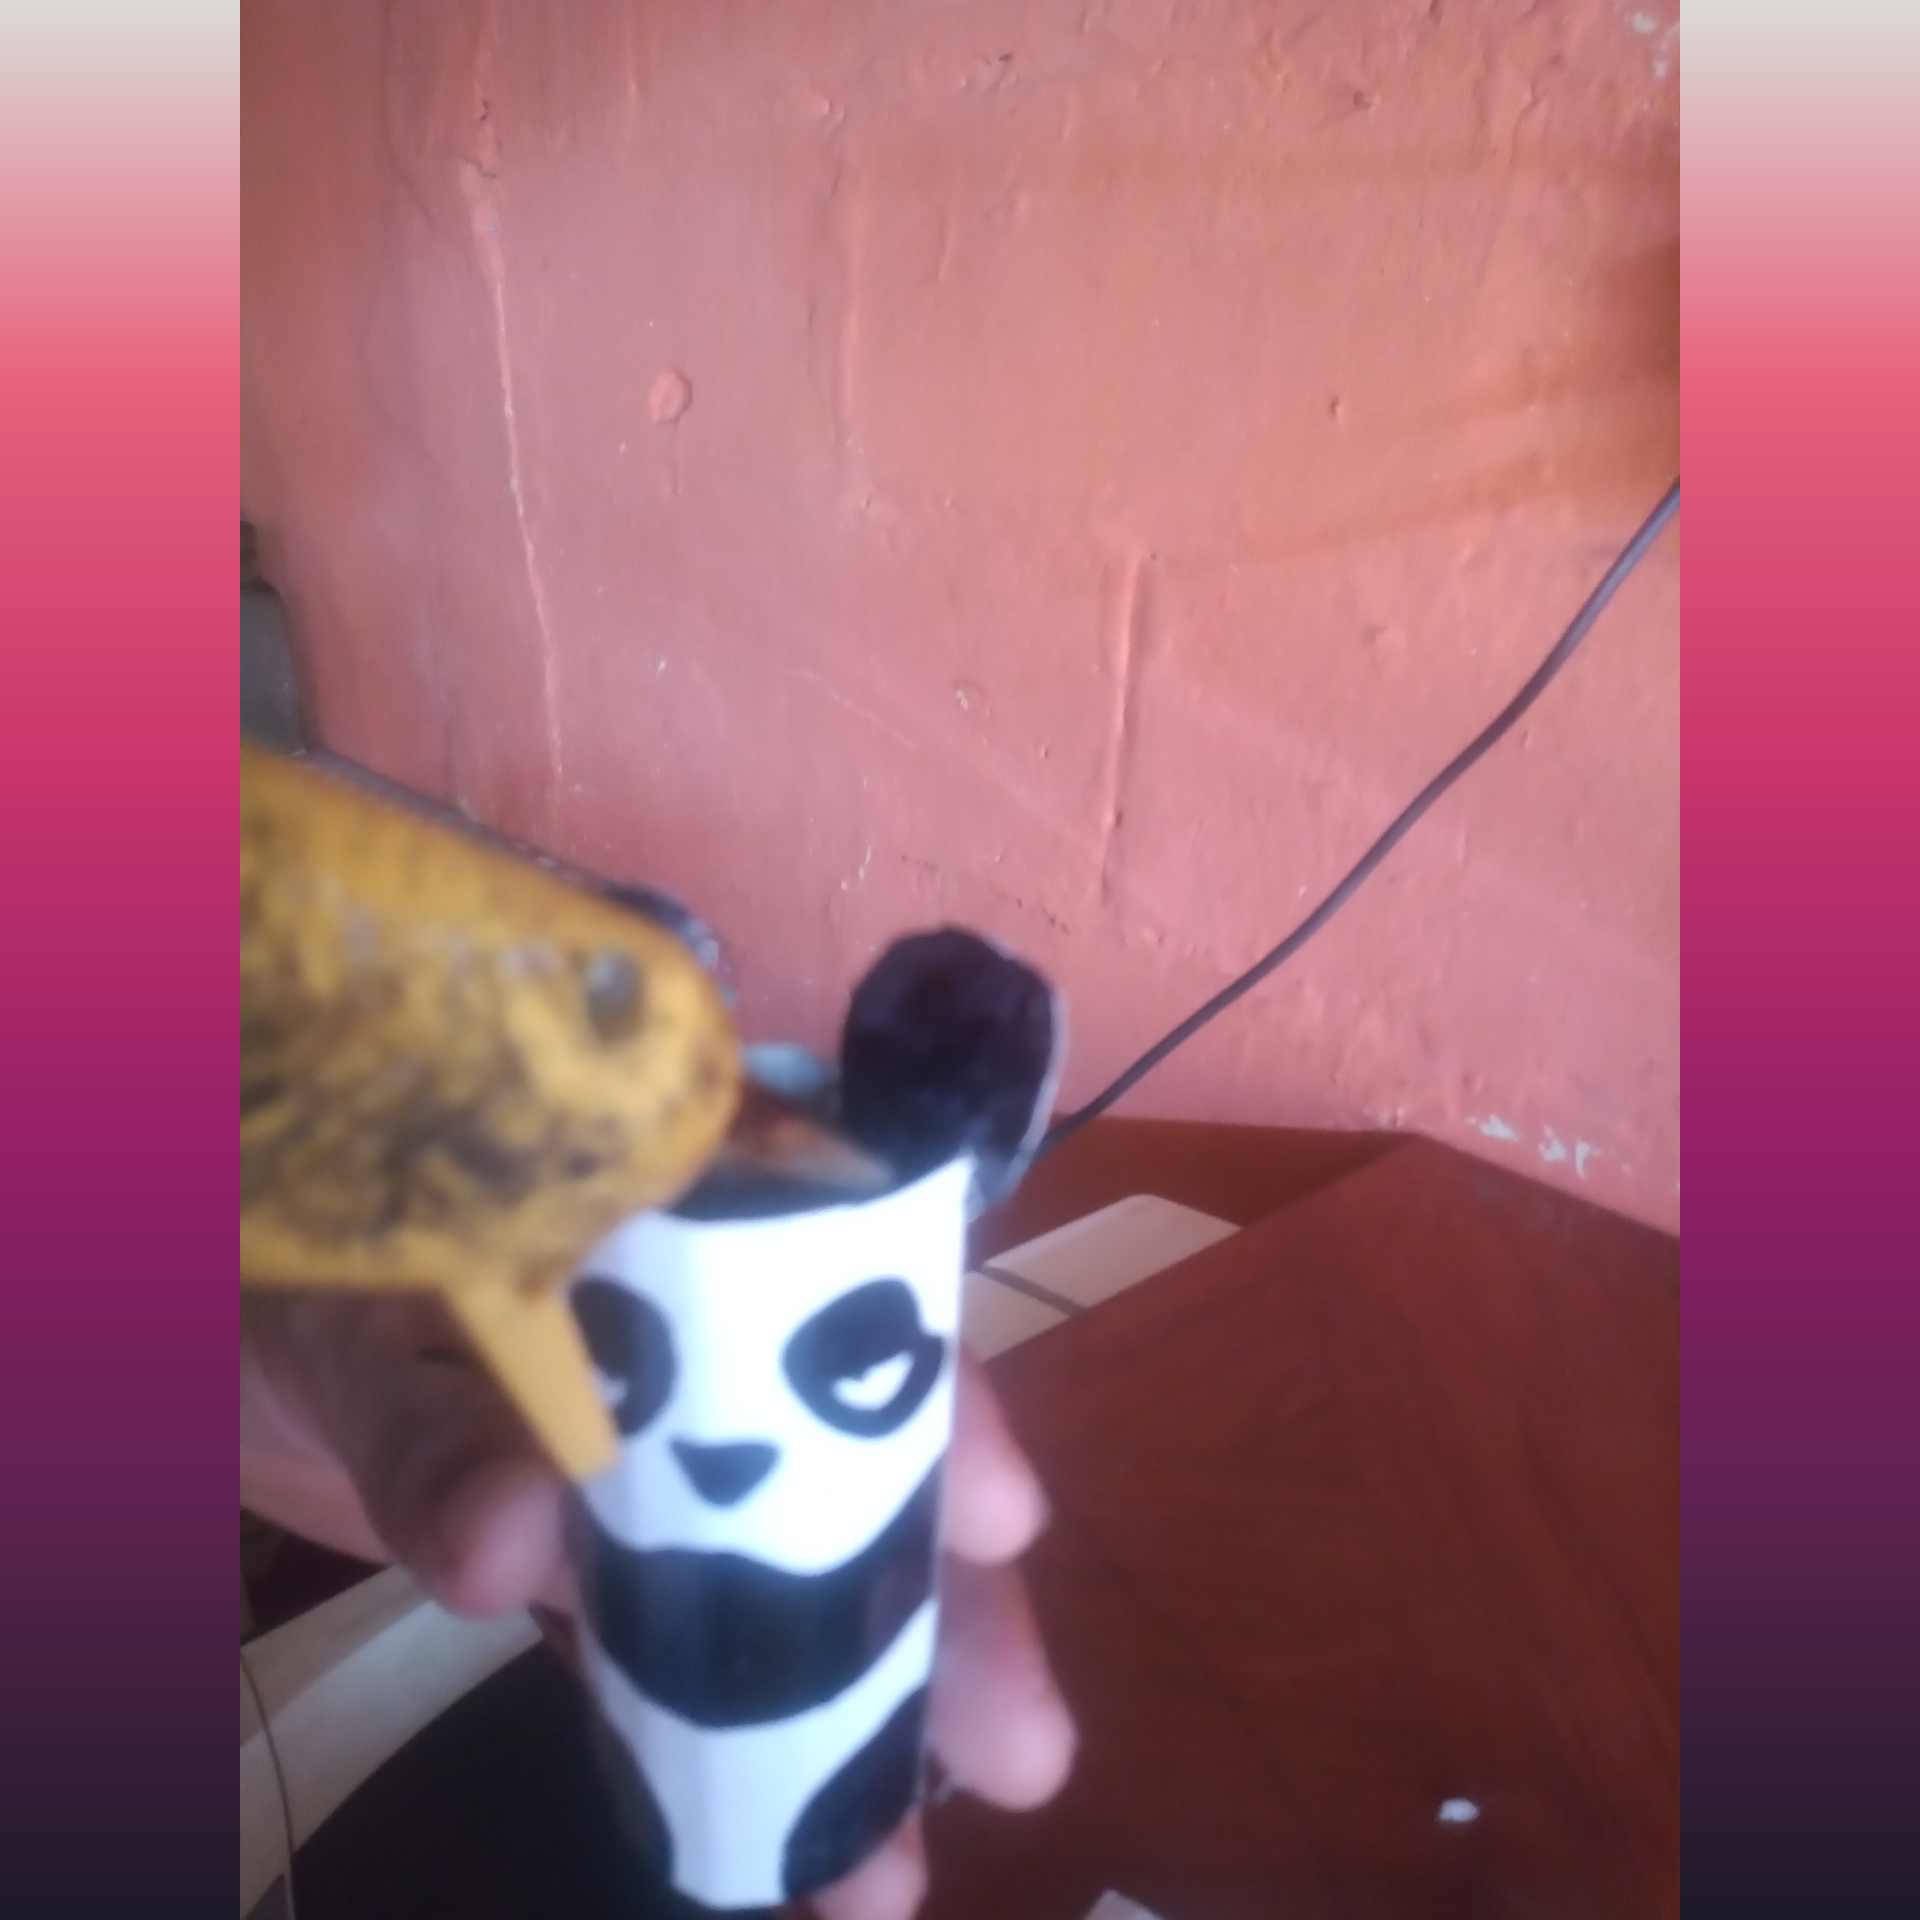
Luegos procedemos a marcar en negro las zonas del cuerpo y cabeza. Obteniendo de forma rápida una visión de este porta lápices tipo panda.
Then we proceed to mark the areas of the body and head in black. Quickly getting a glimpse of this panda pencil holder.
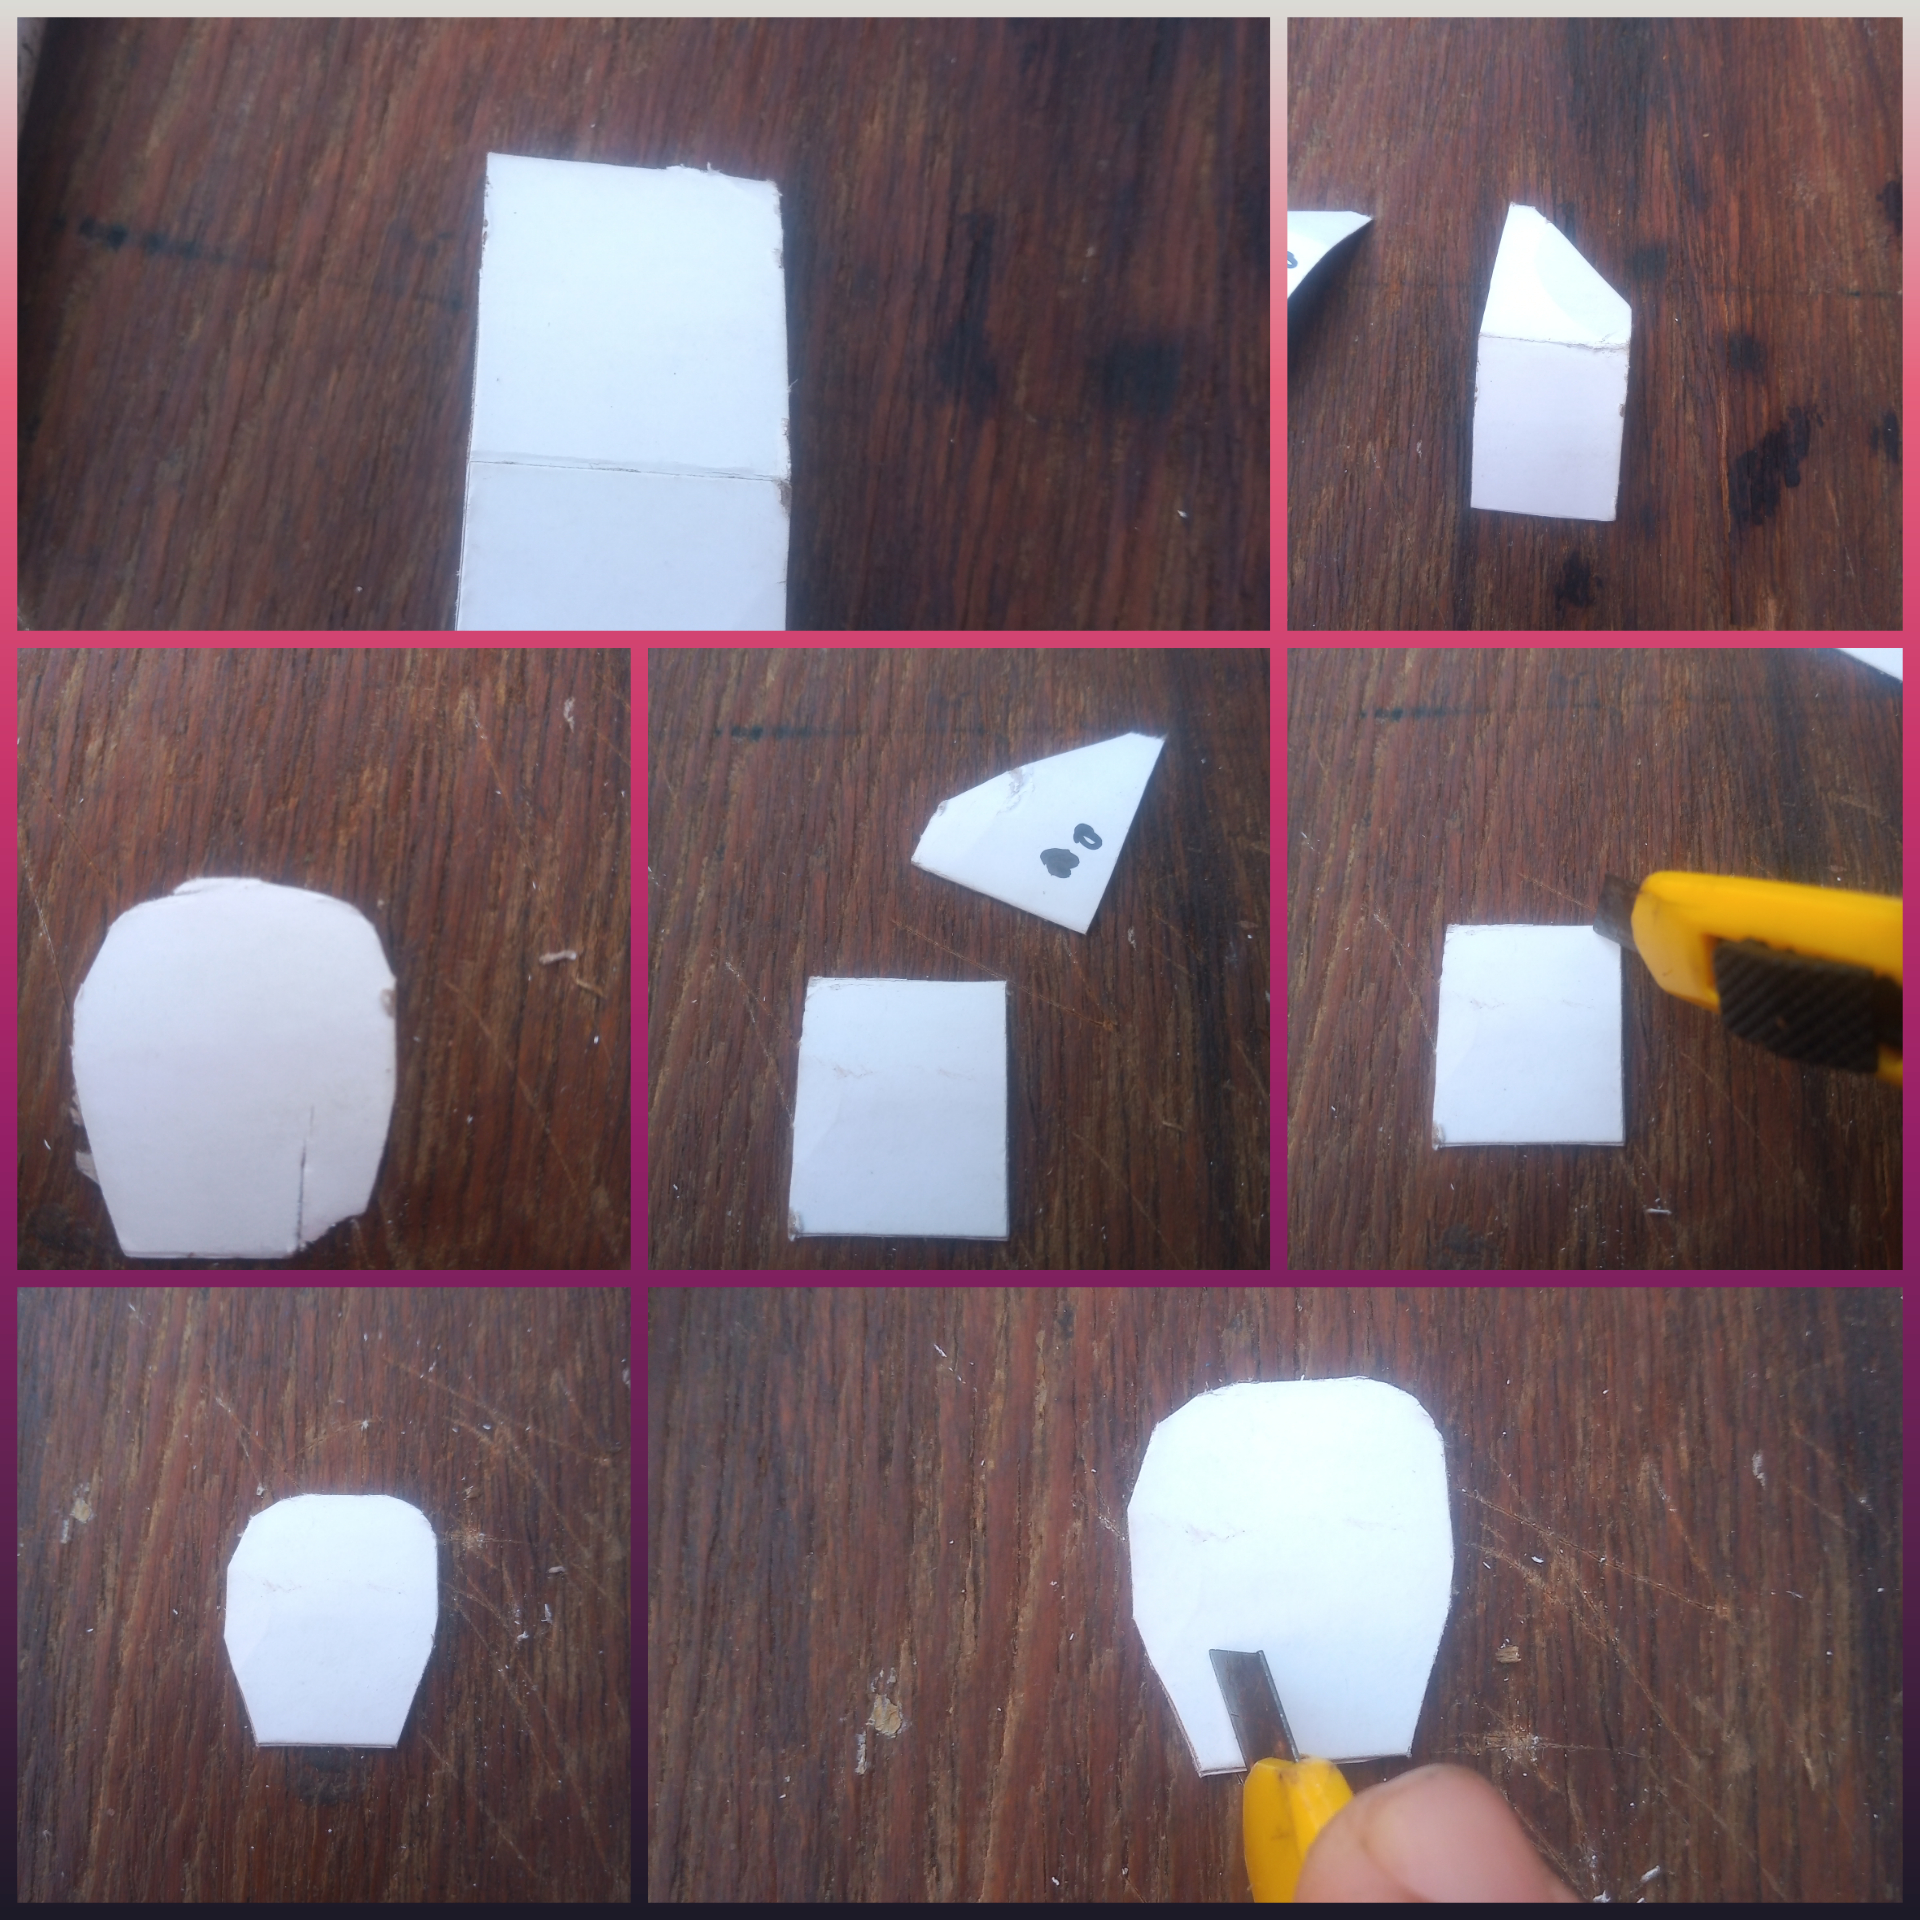
Después vamos a cortar dos pequeños segmentos en forma de oreja que formarán sus dos orejas. En su parte inferior hacemos una ranura de manera que estás queden insertadas en la parte superior de la bobina de papel. Pintar previamente ambas de color negro.
Then we are going to cut two small ear-shaped segments that will form its two ears. In its lower part we make a slot so that you are inserted in the upper part of the paper roll. Pre-paint both black.
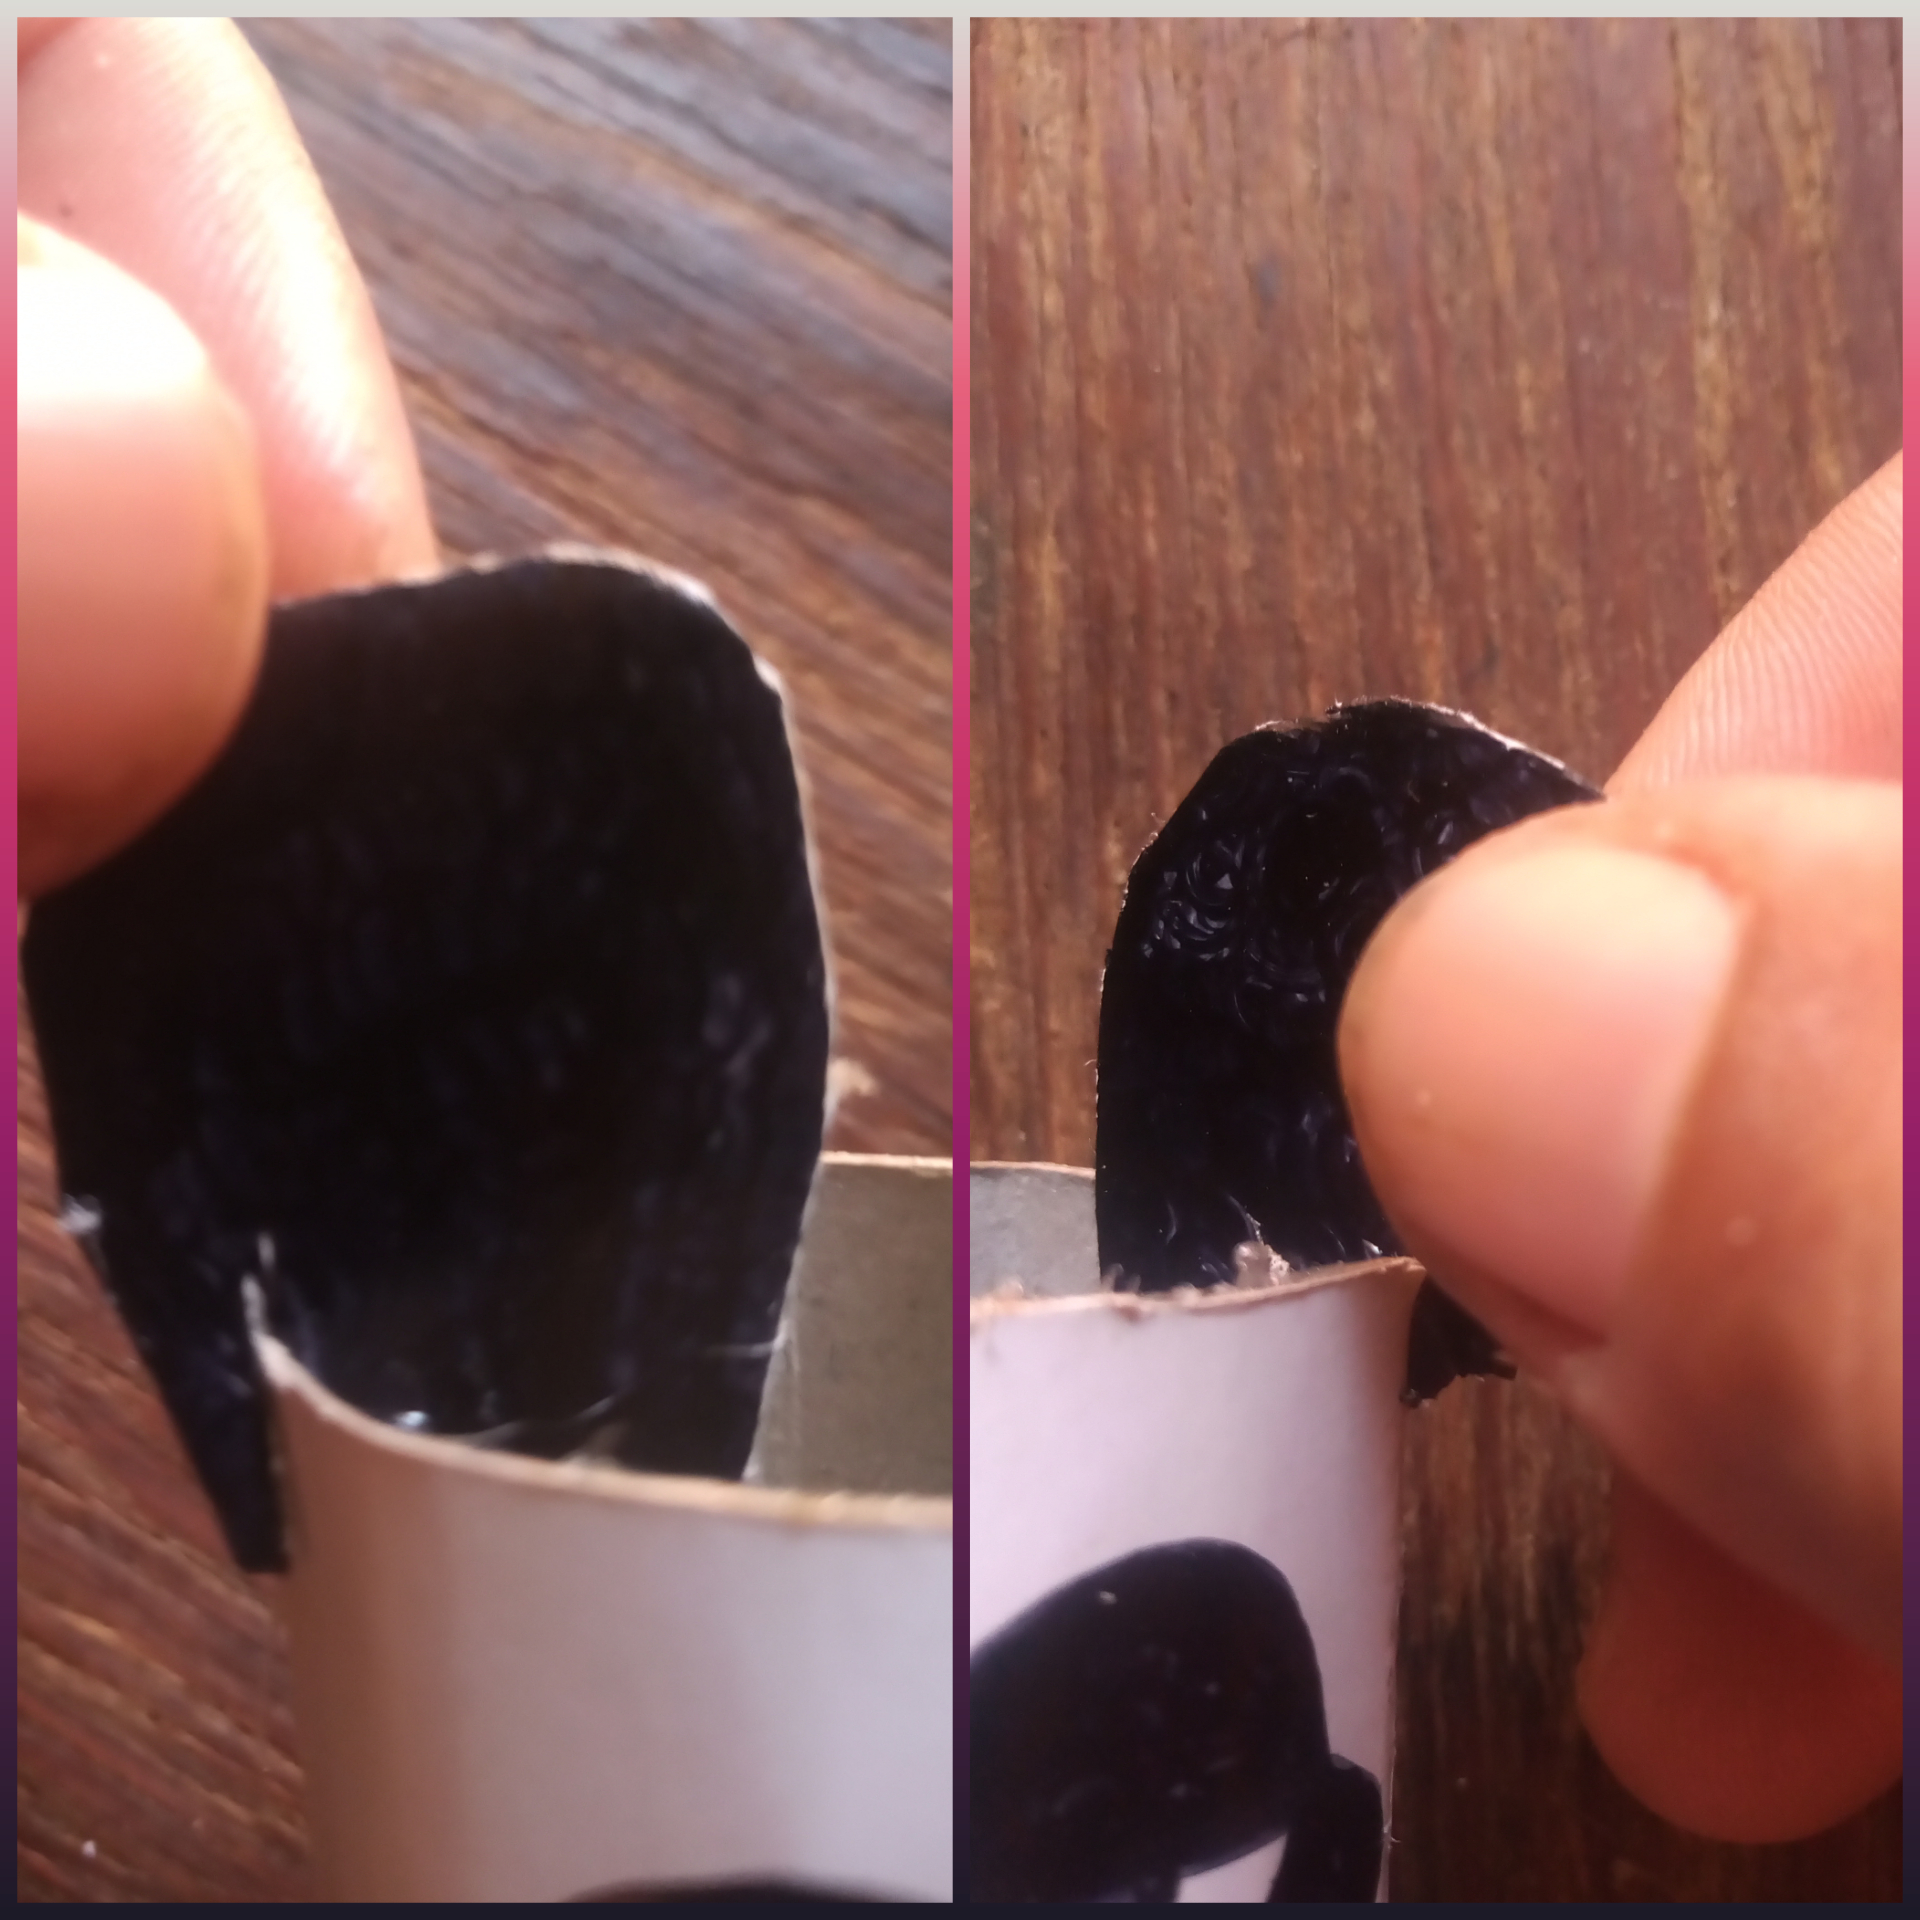
Usar el Silicon caliente para evitar que se suelten ambas.
Use the hot silicone to prevent both from loosening.
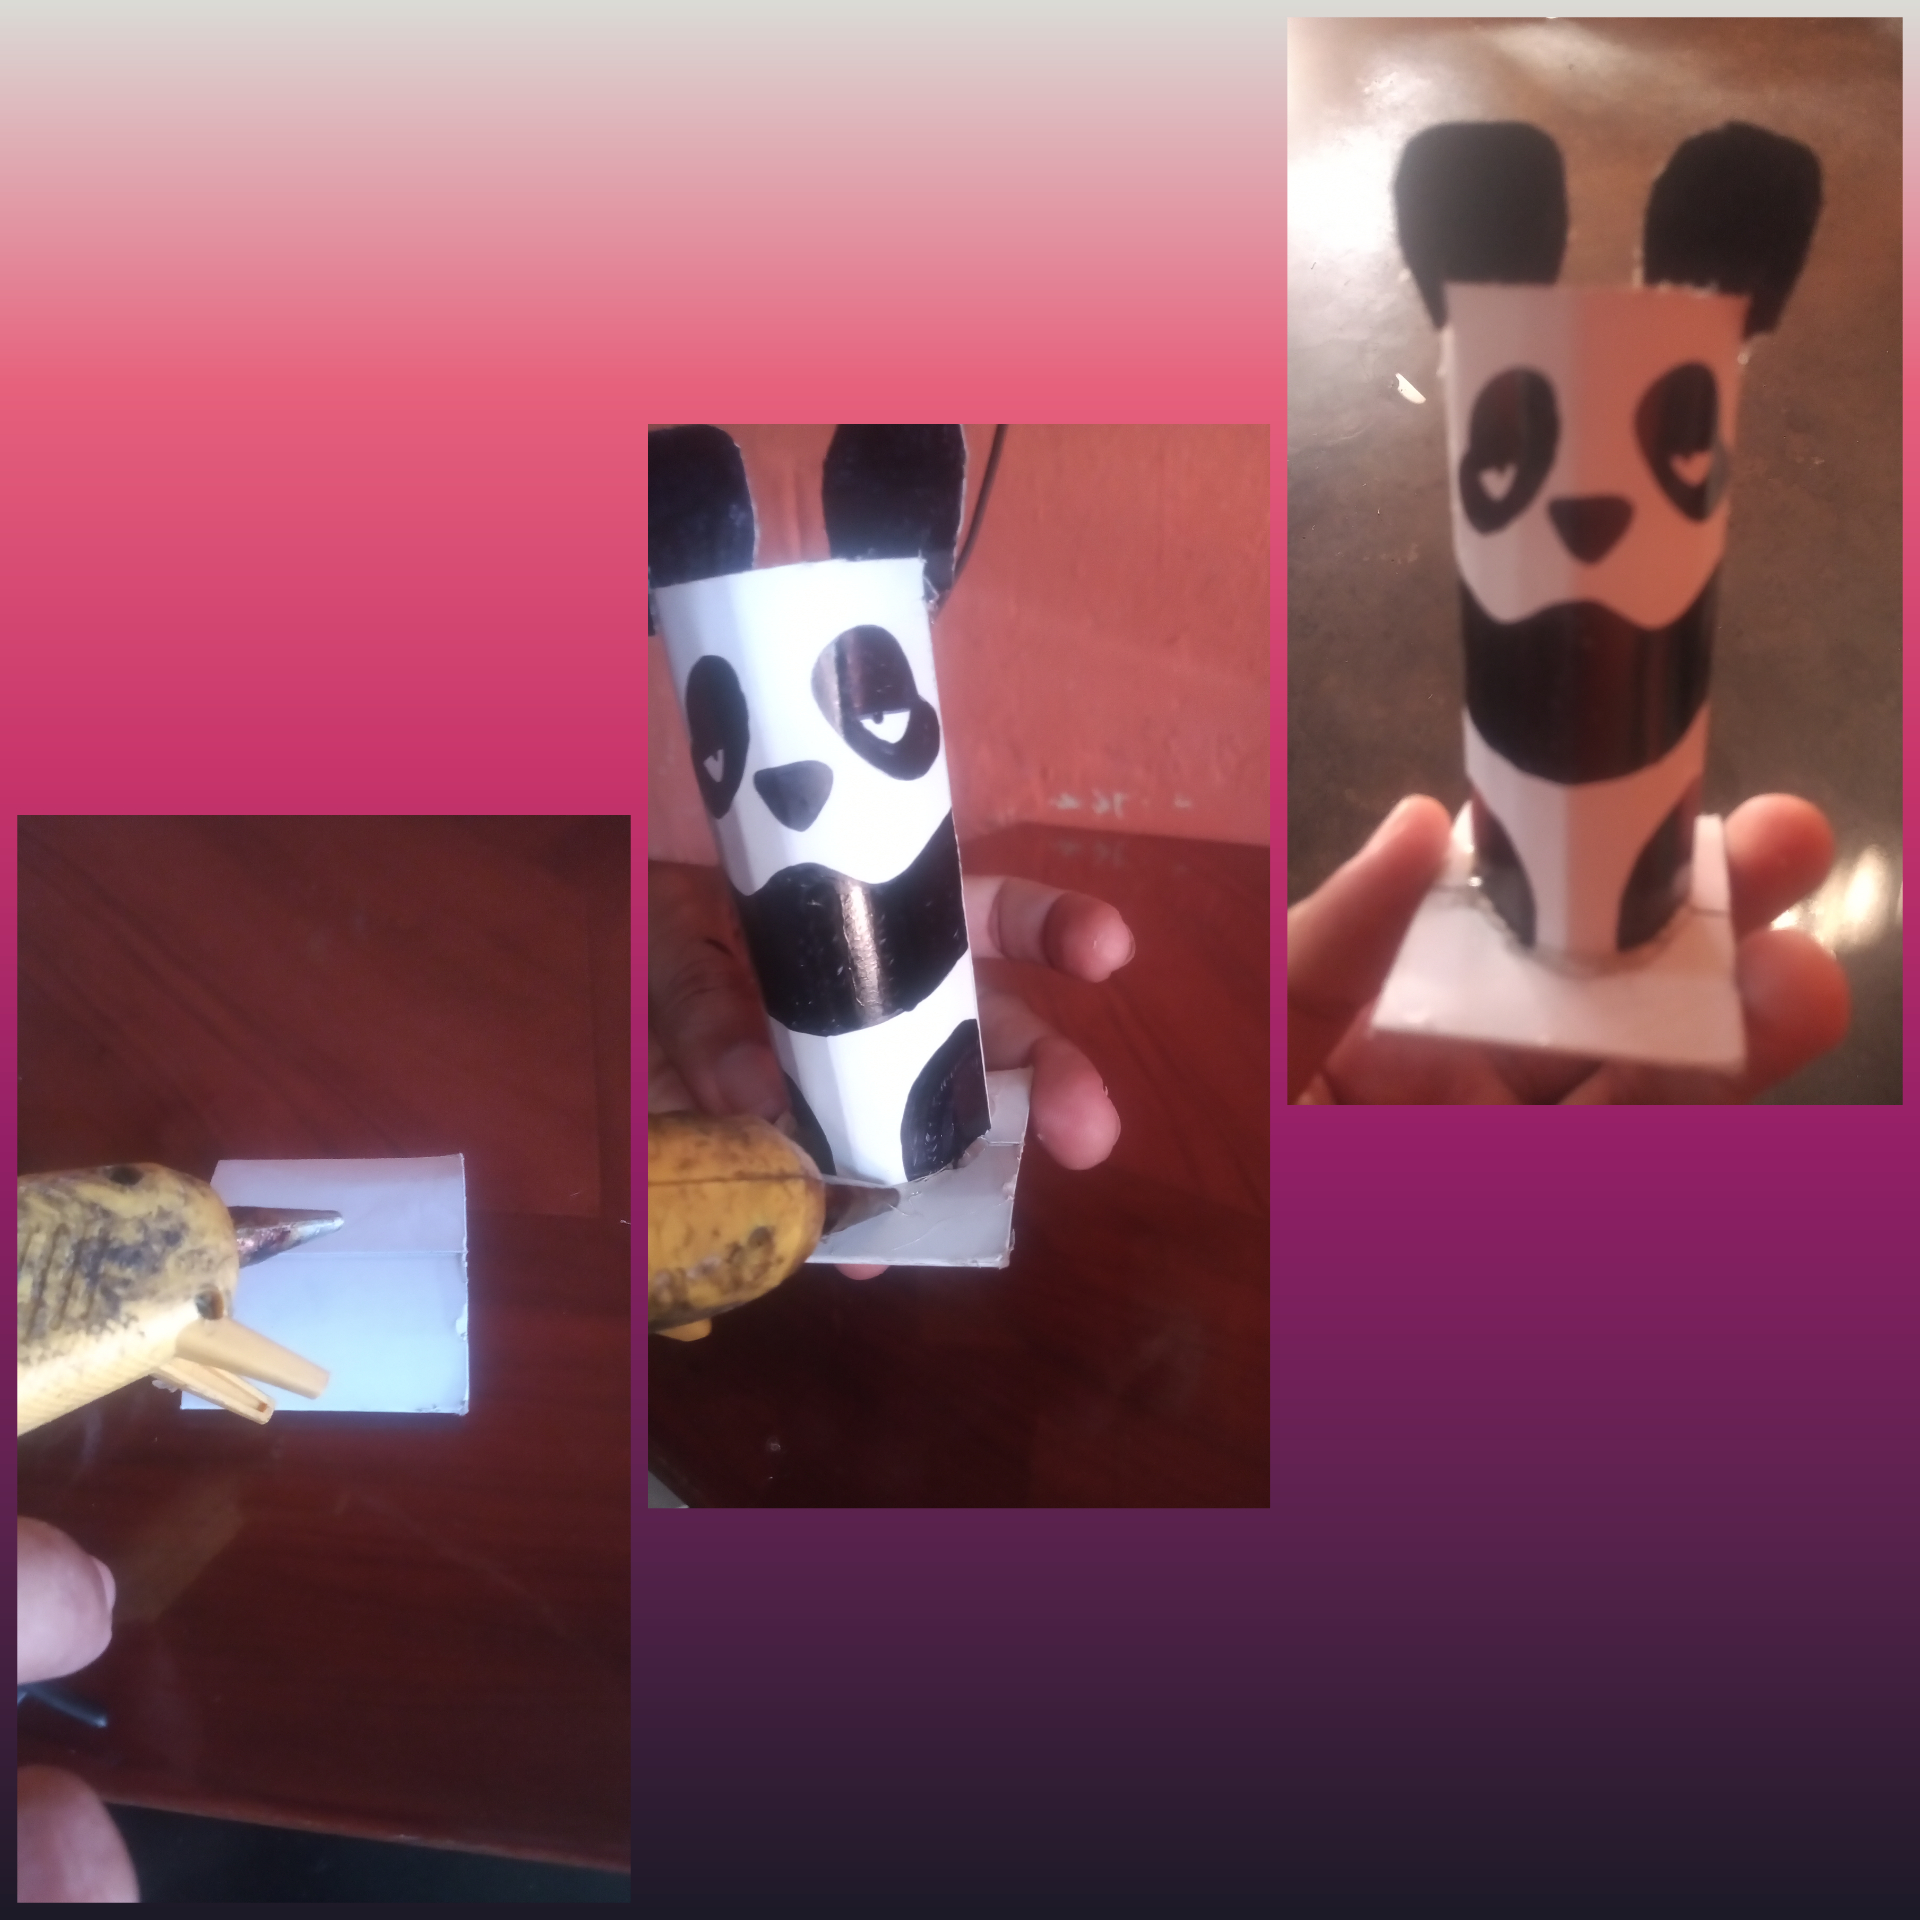
Buscamos o cortamos un pequeño cuadrado para pegar nuestro panda. El papel cuadrado cumplirá función de base.
We look for or cut a small square to glue our panda. The square paper will serve as the base.
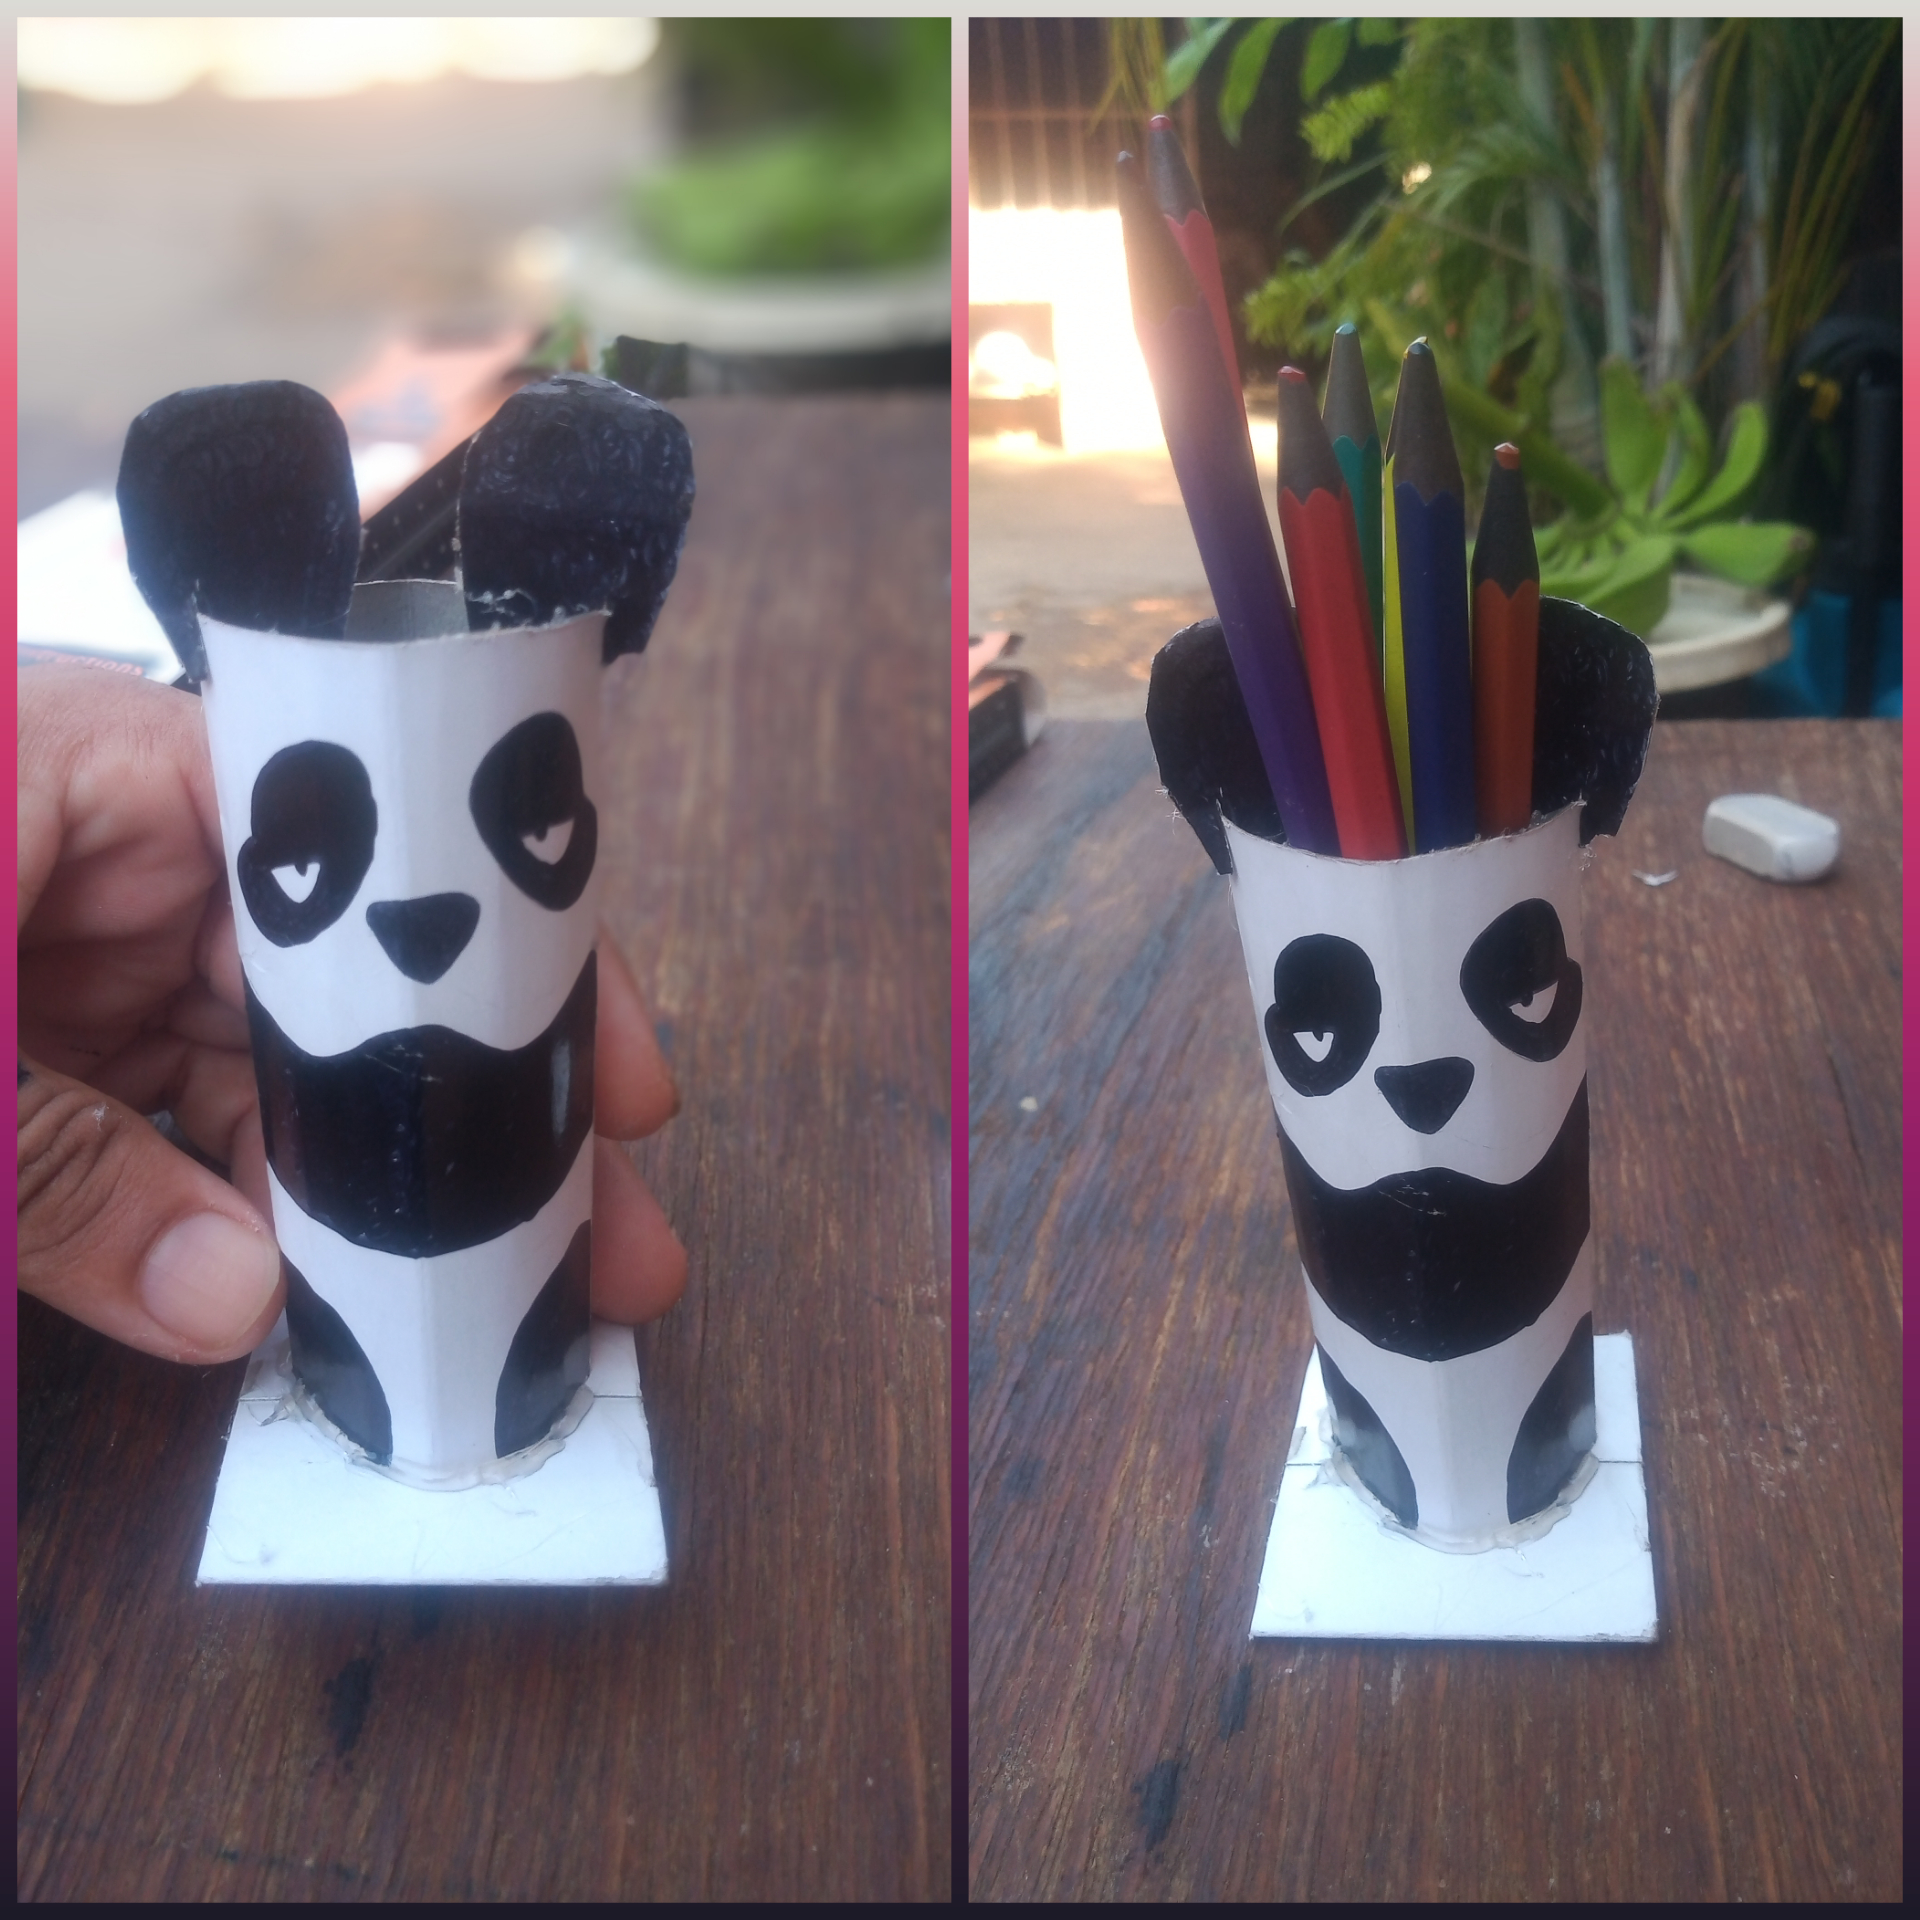
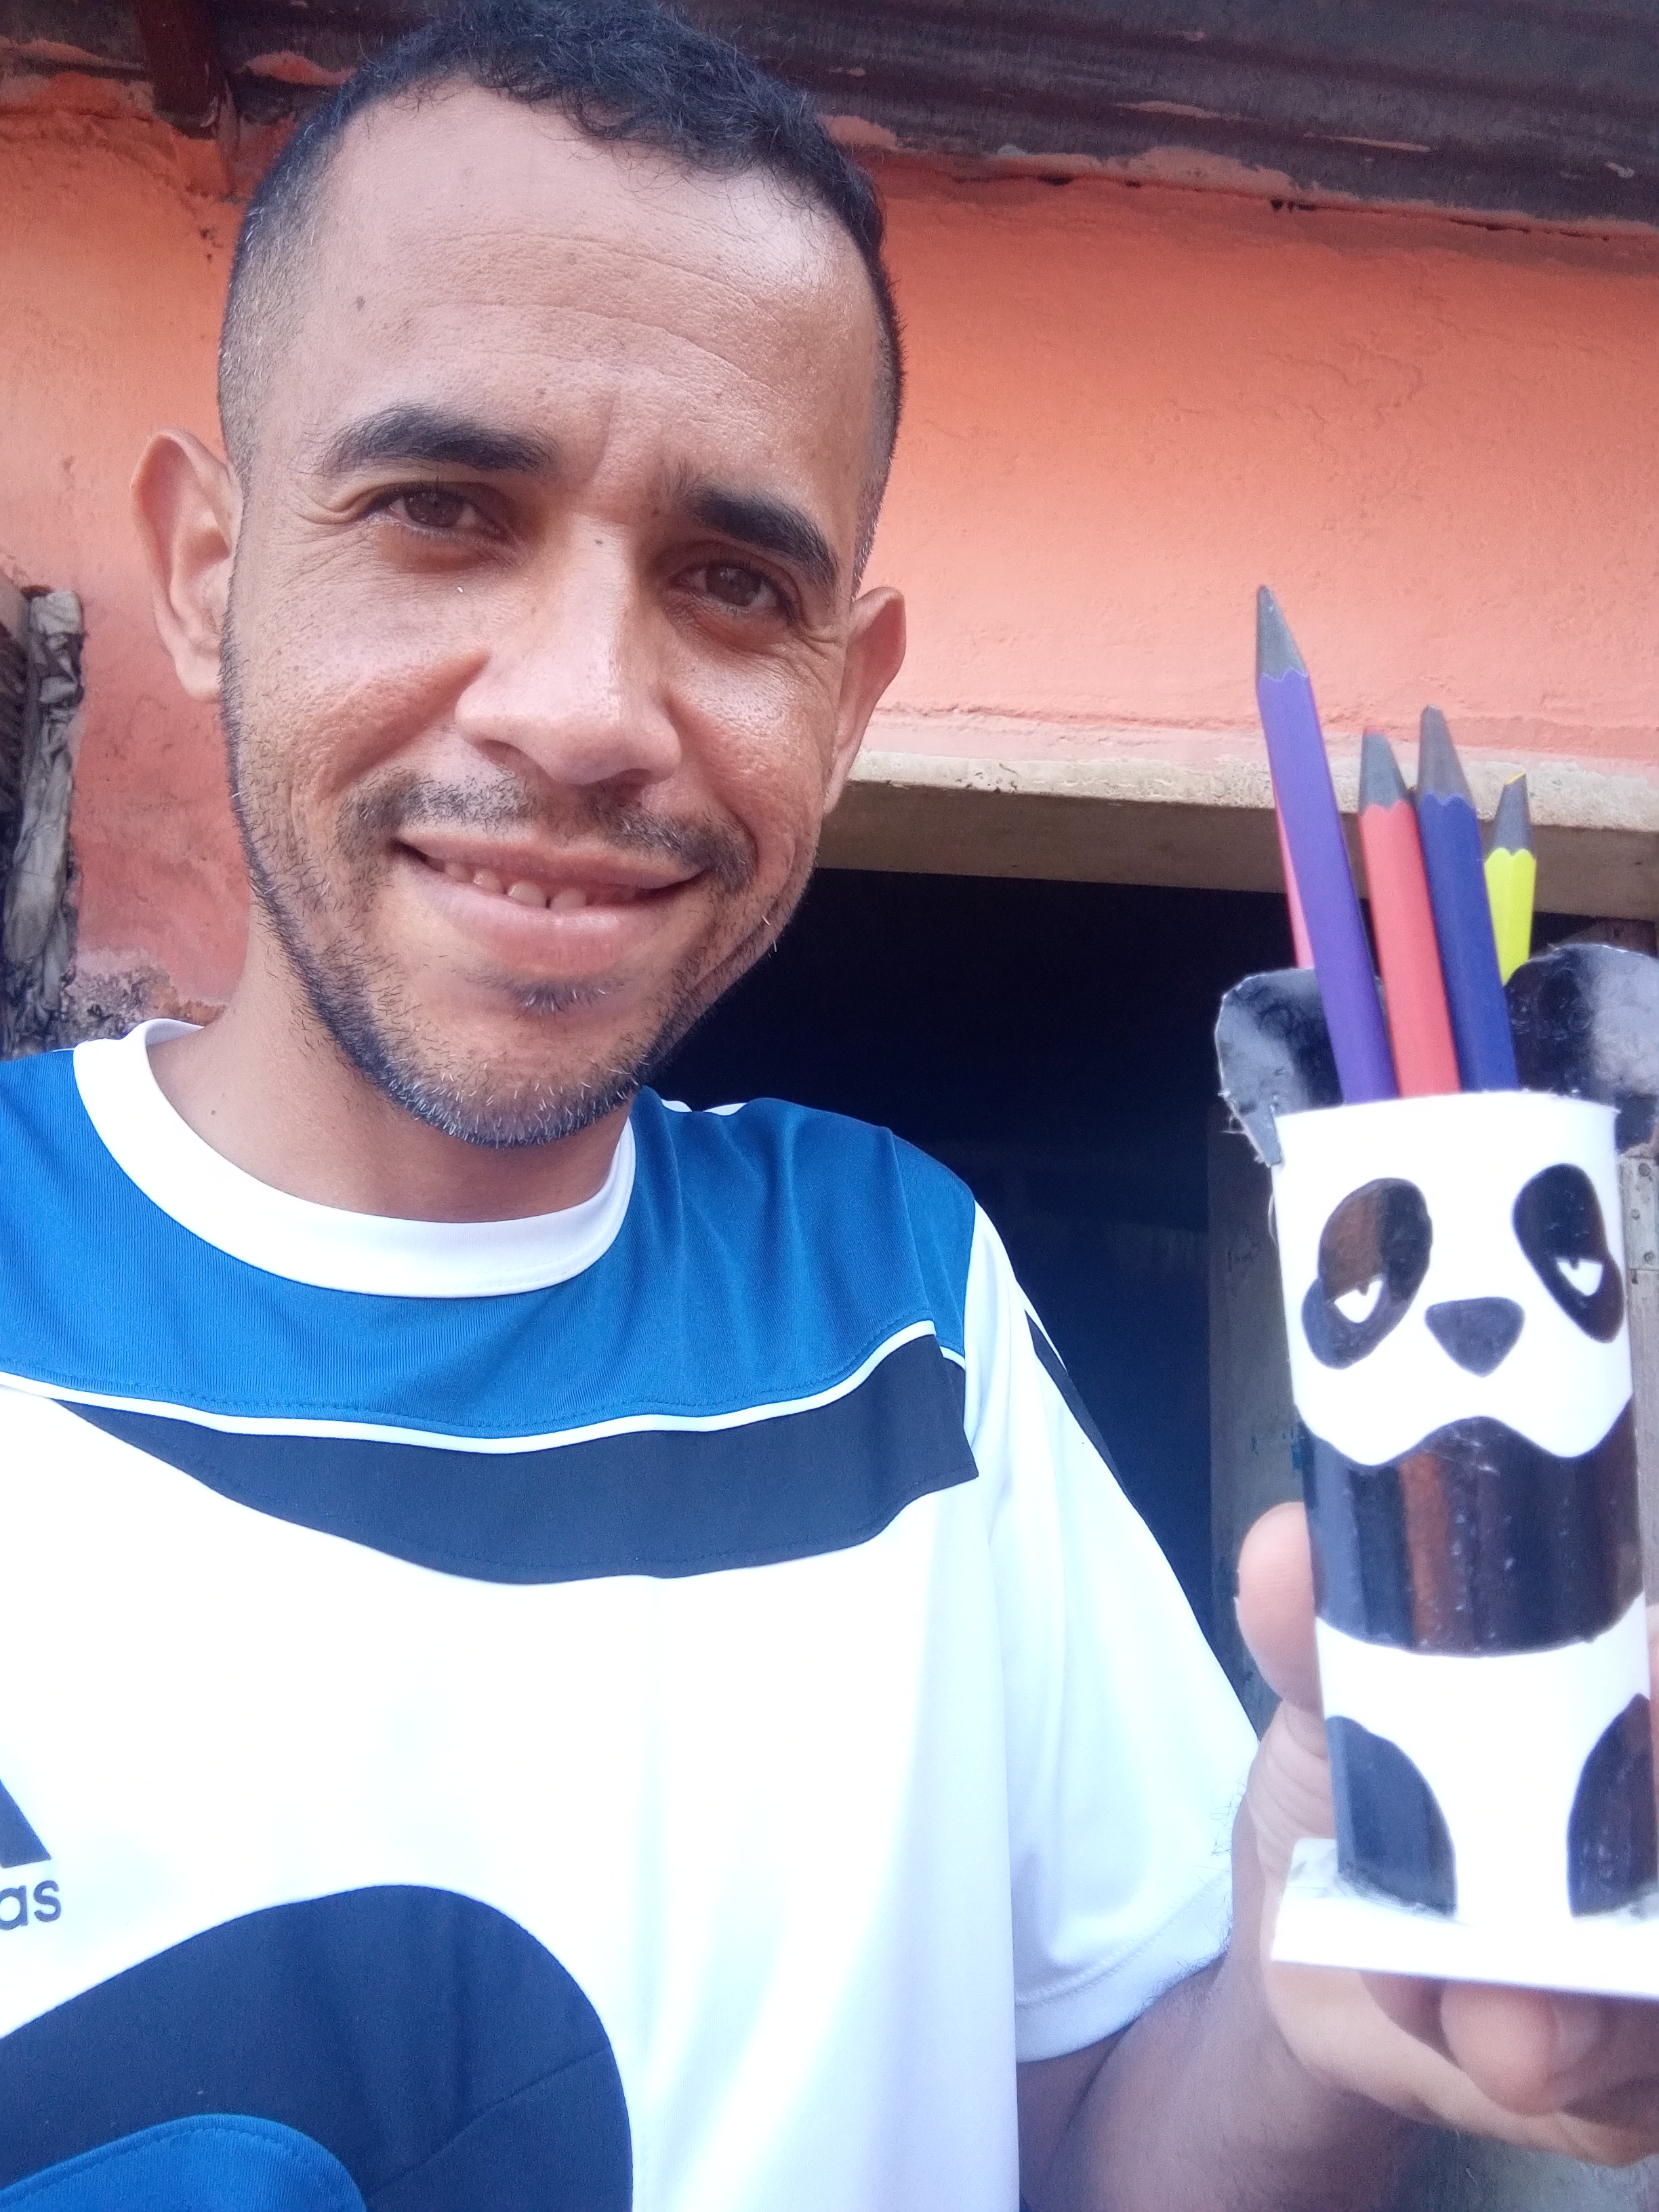
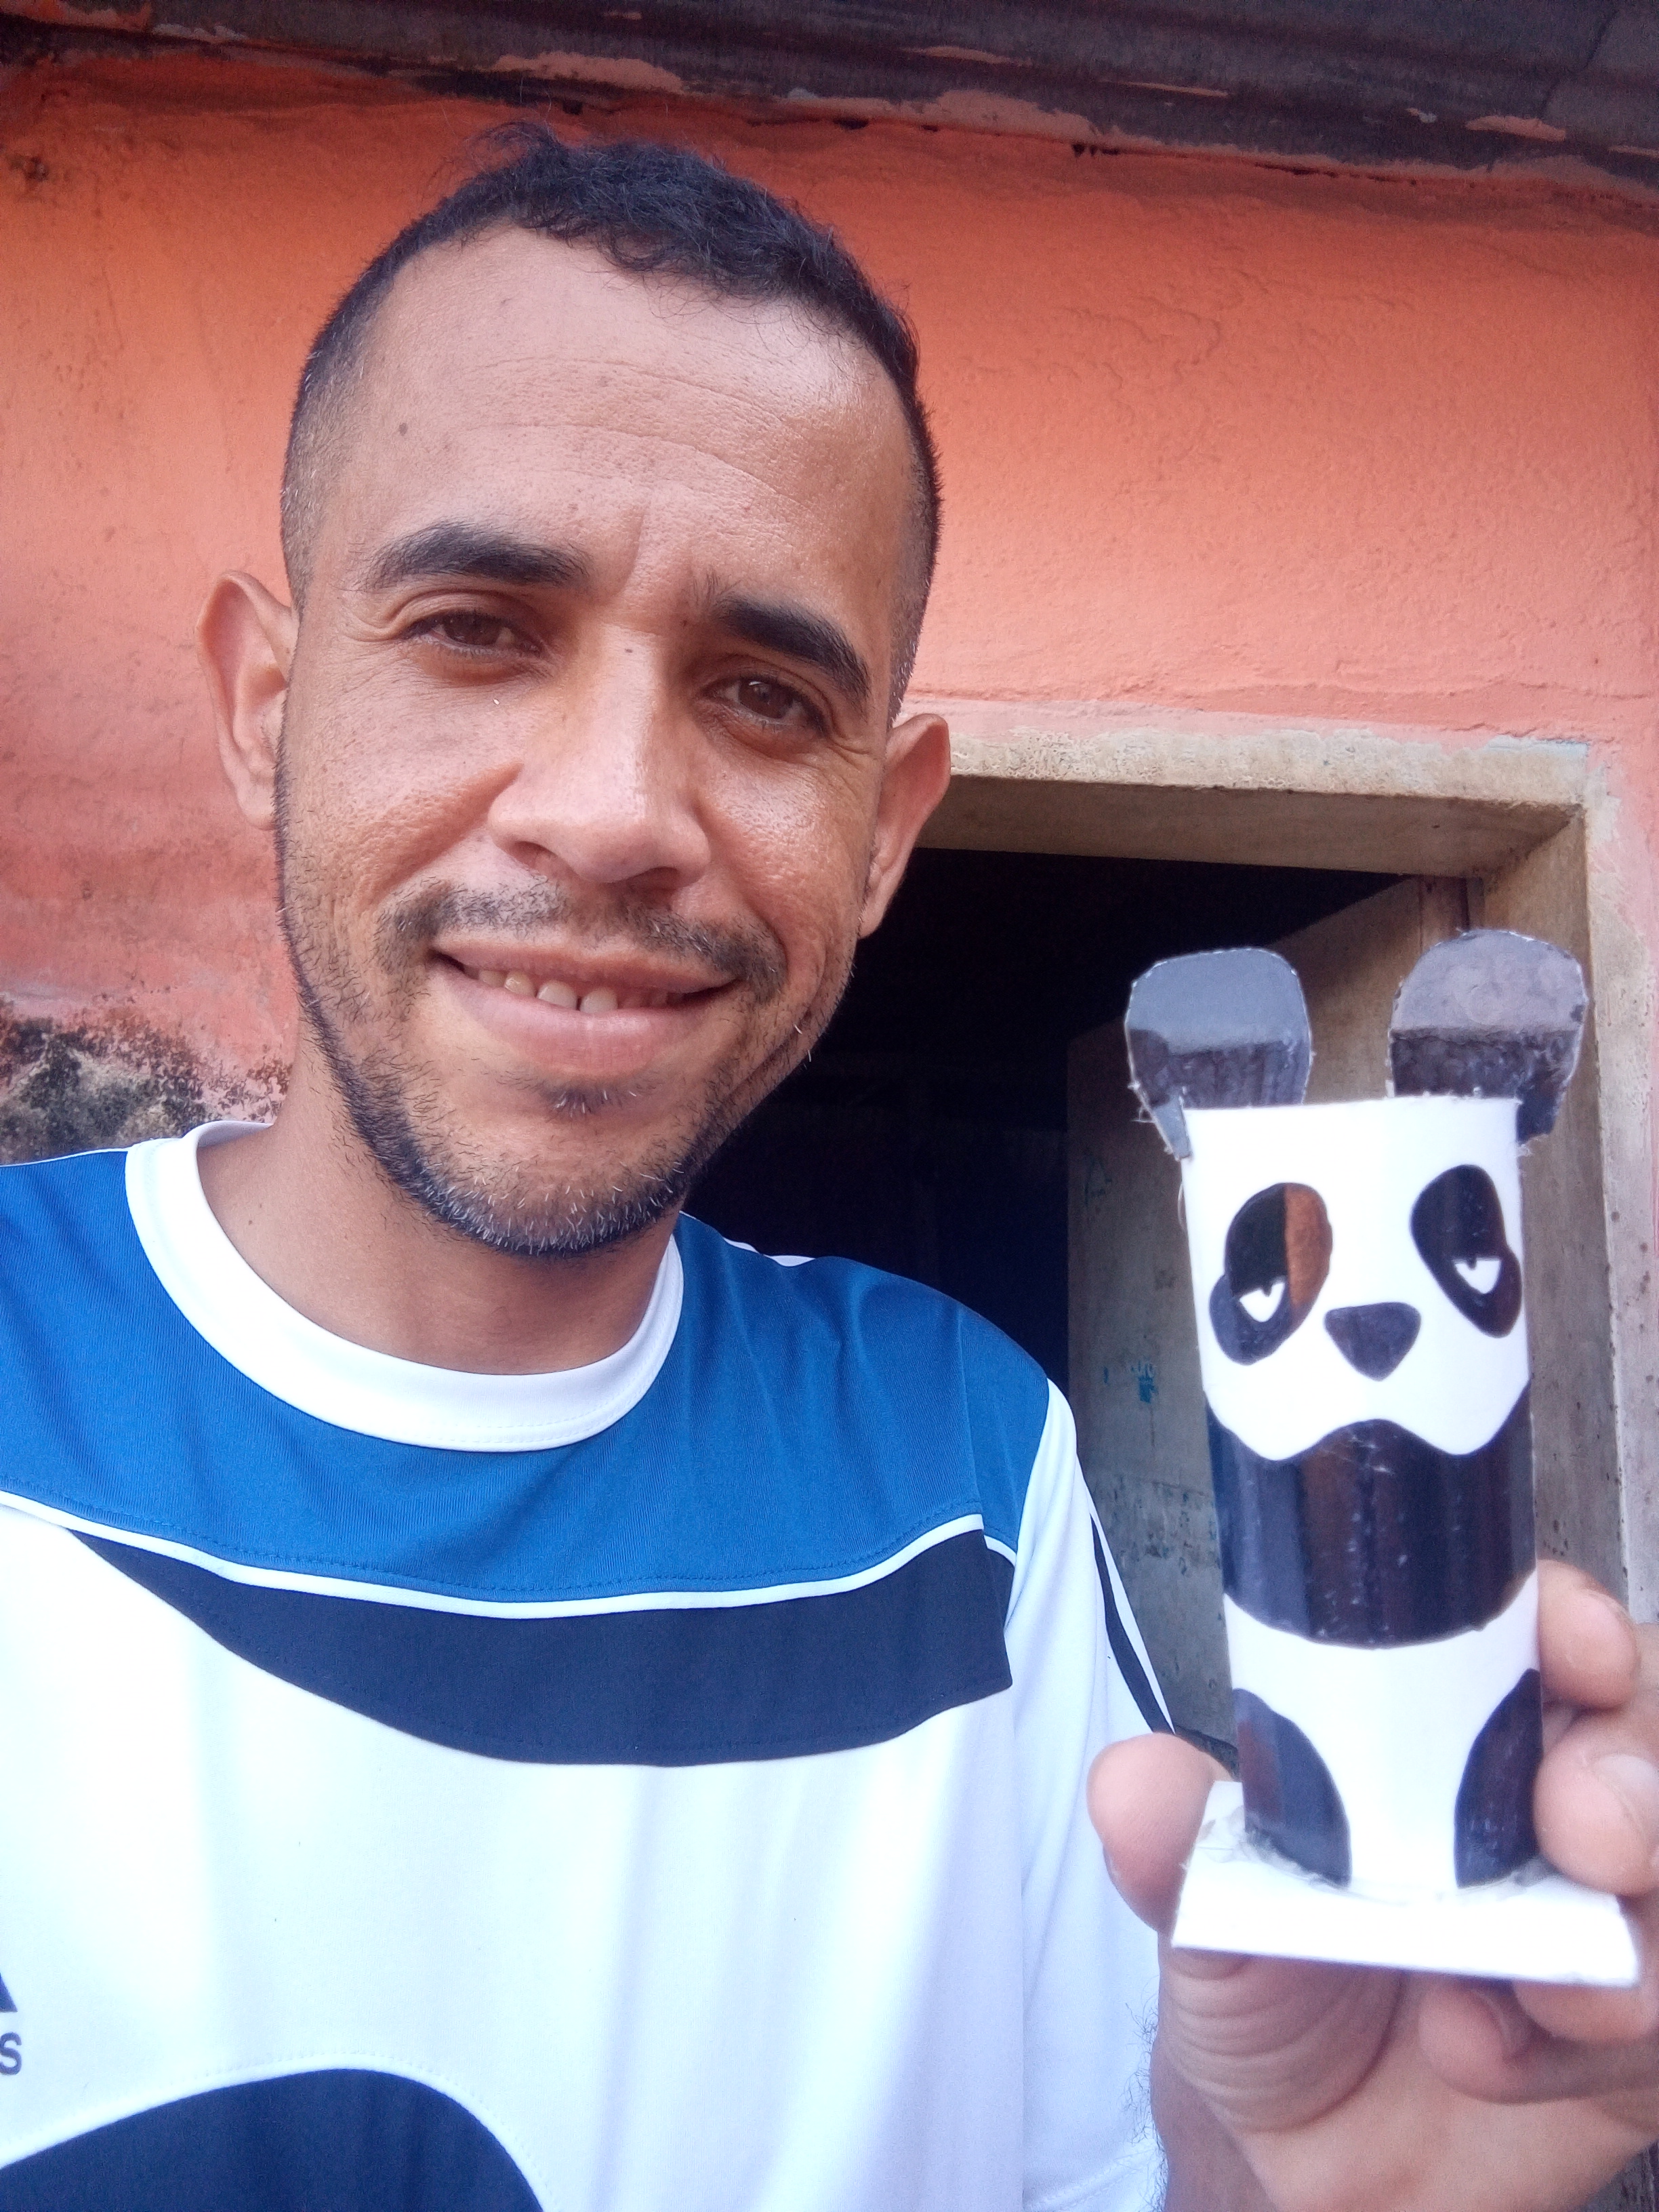
Listo aquí podemos ver nuestro portalapices tipo panda ya terminado.
Ready here we can see our finished panda pencil holder.
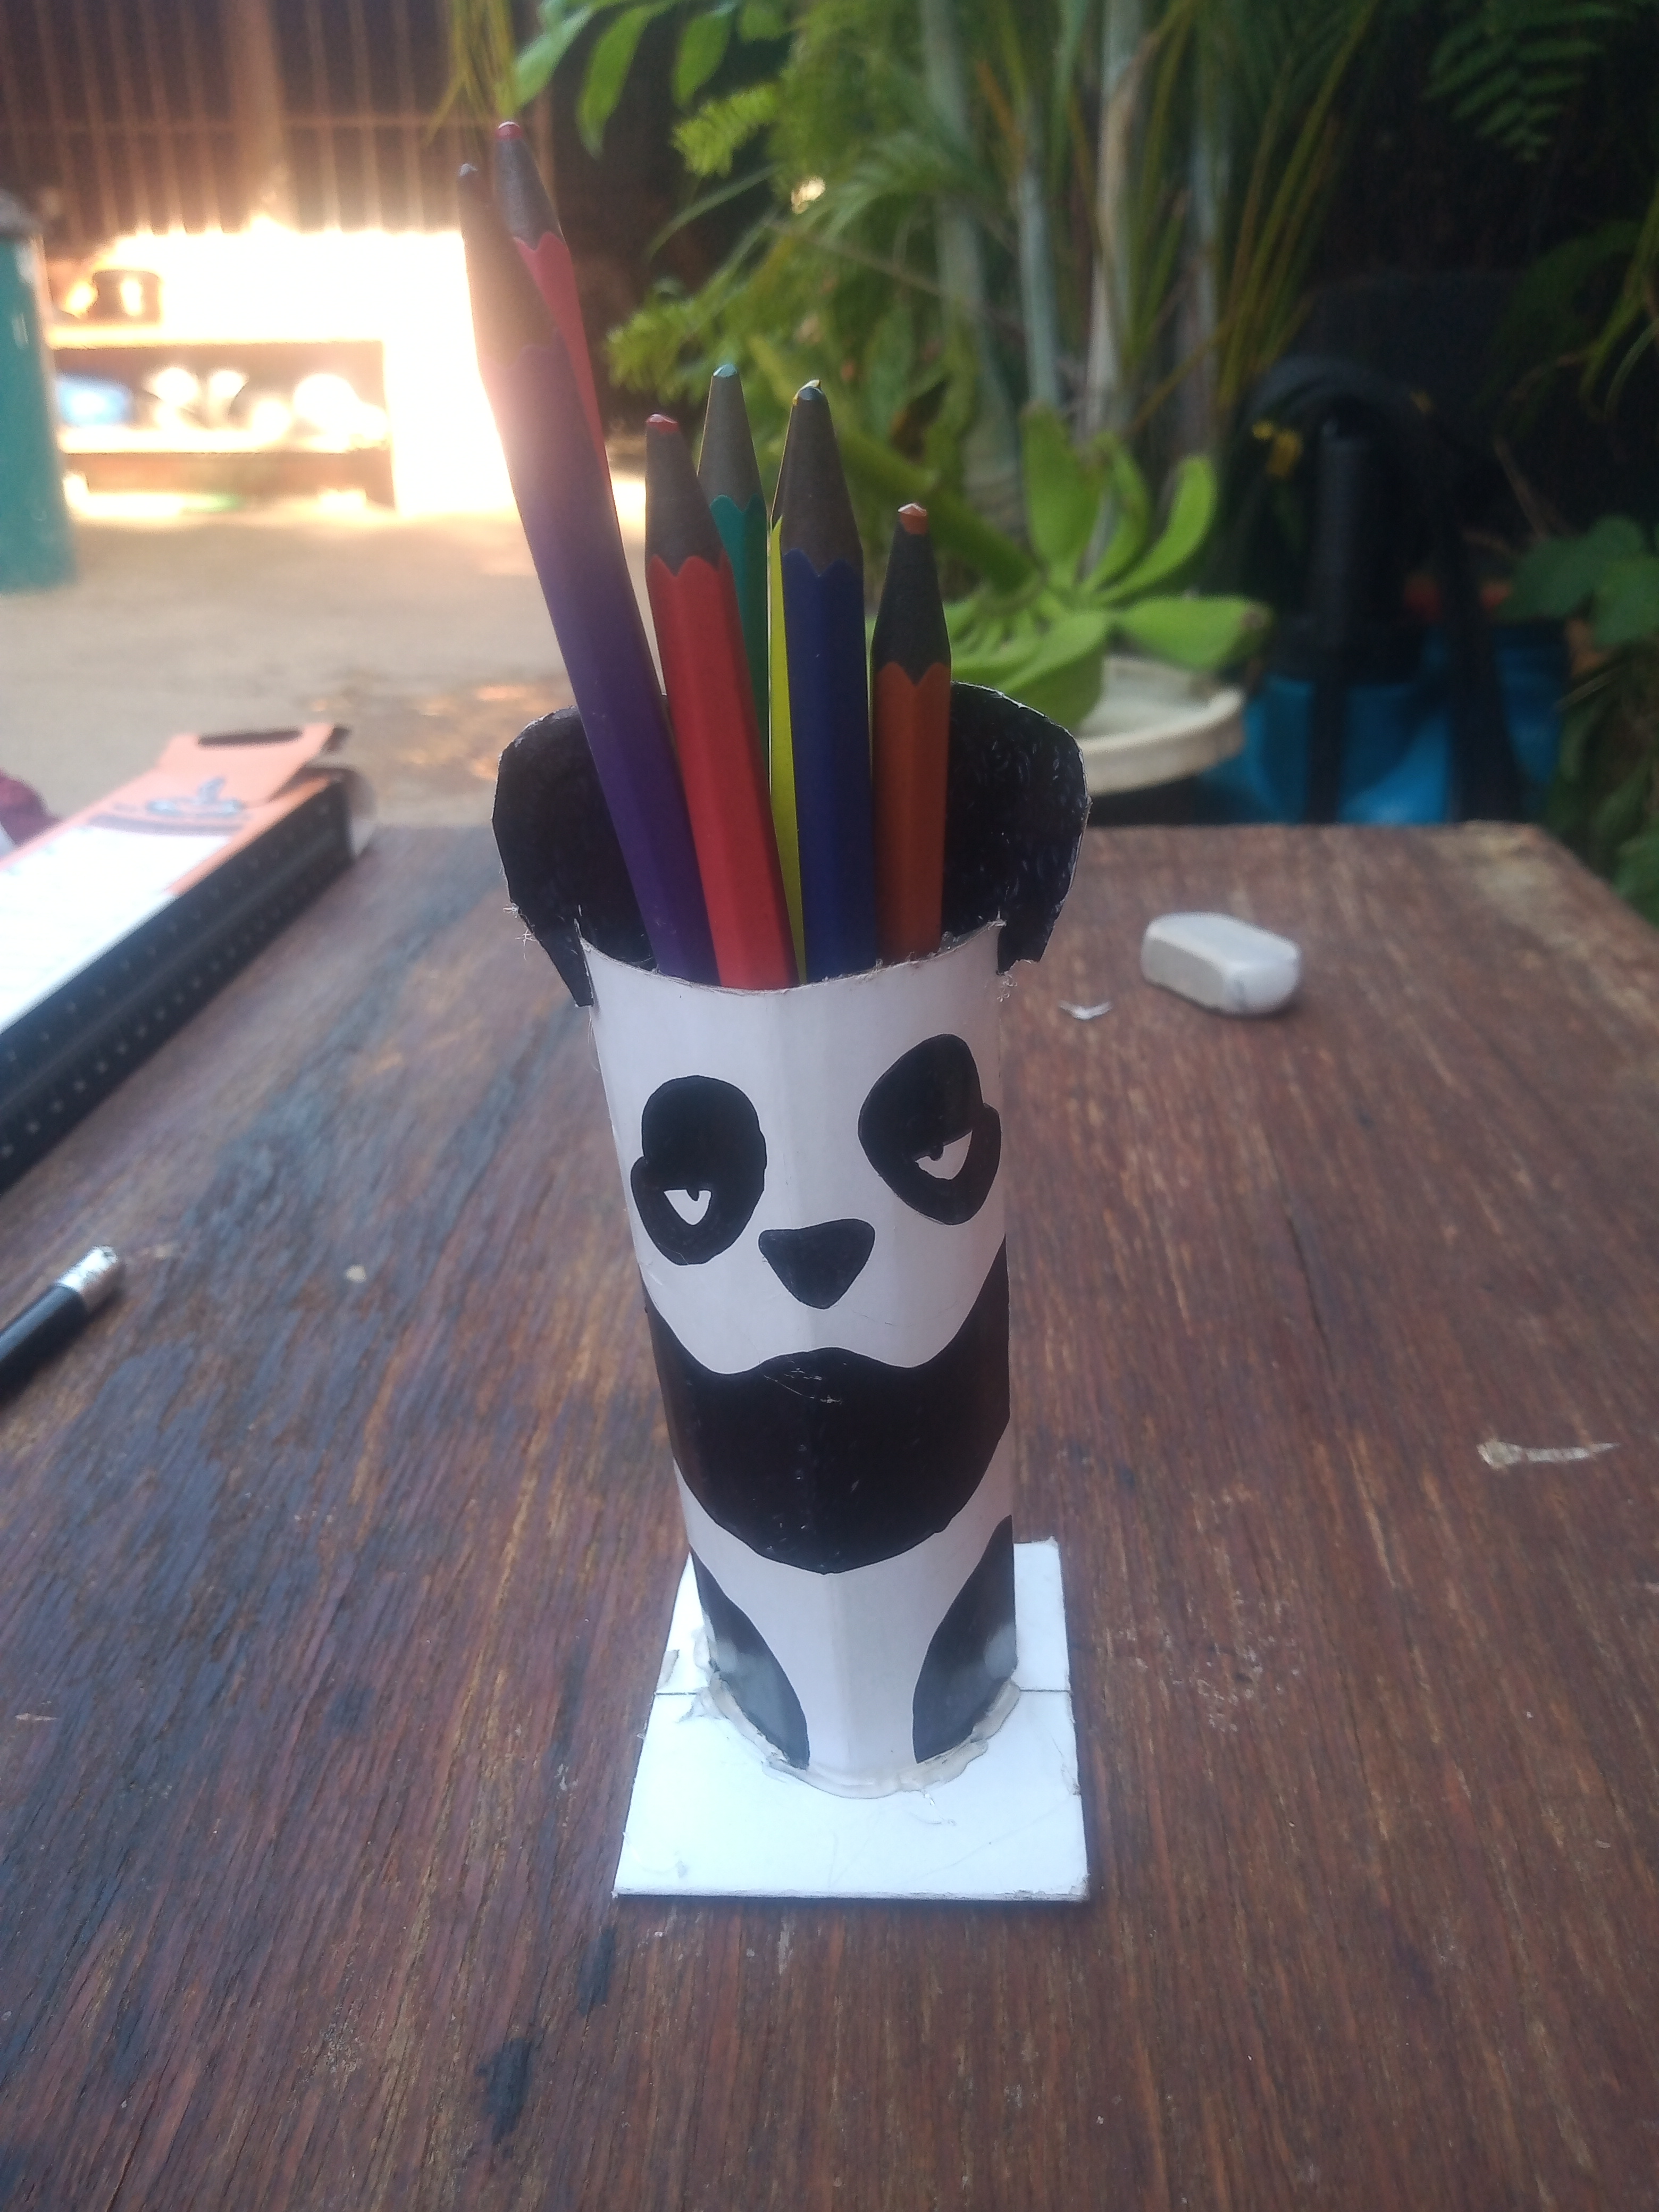
Espero y puedas hacer el tuyo.
I hope and you can do yours.