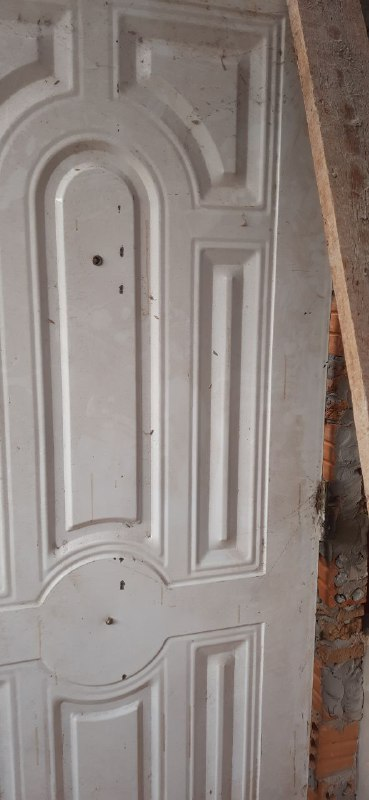
Hola a todos, siempre en mis comentarios al efectuar mis publicaciones, cuando estoy efectuando algún trabajo como lo es este el de armar el marco de una puerta para colocar la misma en el baño diario, el que construí en la parte de afuera de la casa, para empezar la presente donde la colocaría, luego comencé con el armado del marco, para lo cual utilice un ángulo del ancho de dicha puerta, lo presente y comencé en el armado, la verdad me salió muy bien, utilizo las siguientes palabras, si todo lo que hacemos lo hacemos con amor y perseverancia, todo sale muy bien.

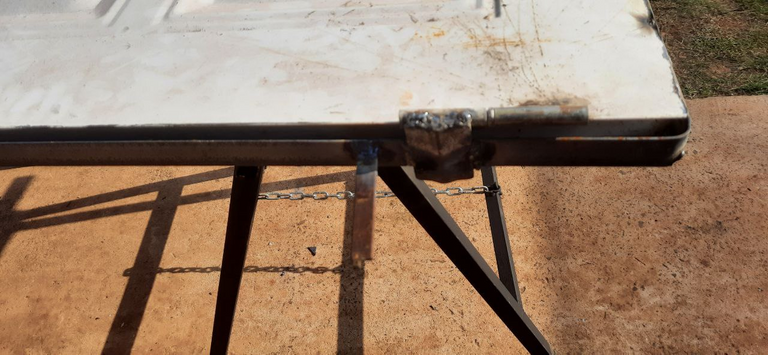
Luego de presentar la puerta, notando que la misma quedaría muy bien, como se ve en la foto, la coloque sobre dos caballetes, los mismos que efectué en otro post, estando en esa posición, empecé a soldar lo que seria el marco de dicho ángulo.
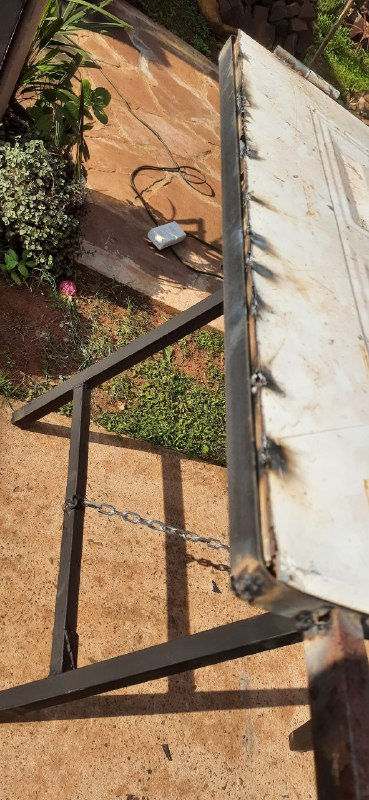
Contando ya con lo principal de la puerta que es dicho ángulo, a este le soldé pequeños pedazos de hiero, los cuales cumplen la función de que el marco propiamente dicho quede bien firme, cundo levante la pared alrededor del mismo.

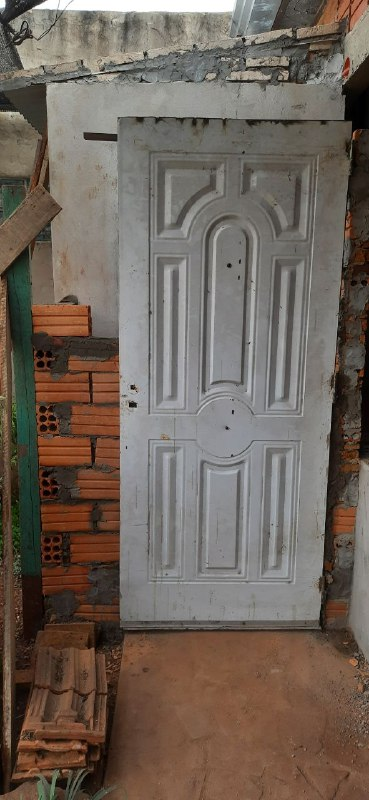
Bueno amigos como se ve en esta foto la parte del marco con la puerta colocada, lo que hice fue amurar bien dicha puerta, dejándola bien a nivel el día de ayer, entonces en el día de hoy como ven ya abrí la misma en forma muy despacio, para que no se salga del nivel, por suerte quedo todo muy bien.
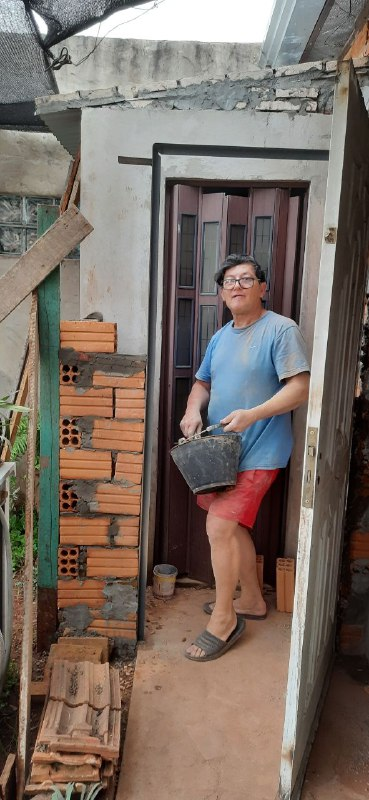
Esta seria ya la puerta cerrada, por supuesto que falta todavía paredes en sus costado o sea alrededor del marco, lo importante en estos casos es que la abertura que coloquemos mantenga bien el nivel, de lo contrario al quedar revirada, a futuro siempre tendremos problema para abrir o cerrar, el siguiente paso seria después revocar toda la pared que construí con dicha puerta, por supuesto que tengo que demoler la parte de la otra puerta, todo esto es por la ampliación de dicho baño, su finalidad es para tener una ducha cómoda también en su interior, porque en el verano al armar la picina, los niños cuando quieran pasar al baño lo harán en este y no en el que se encuentra en la parte de adentro de la casa, de esta forma también se mantiene la limpieza en el interior.
Así que amigos en un futuro cercano les hare saber en otra publicación de como quedaría terminado este baño y ducha, también si todo esto fue de sus agrados, no dejen de efectuar sus valiosos comentarios.
MUCHAS GRACIA POR SEGUIRME Y LEERME, QUE PASEN UN HERMOSO DIA.
TRANSLATED INTO ENGLISH
Hello everyone, always in my comments to make my publications, when I am doing some work as this is to assemble the frame of a door to place it in the daily bathroom, which I built on the outside of the house, to start the present where I would place it, then I started with the assembly of the frame, for which I used an angle of the width of the door, I presented it and started in the armed, the truth came out very well, I use the following words, if everything we do we do it with love and perseverance, everything goes very well.
After presenting the door, noting that it would be very well, as seen in the photo, I placed it on two trestles, the same that I made in another post, being in that position, I began to weld what would be the frame of the angle.
Now that I had the main part of the door which is the angle, I welded small pieces of iron to it, which serve the function of making the frame itself firm, when I lift the wall around it.
Well friends as you can see in this picture the part of the frame with the door in place, what I did was to fasten the door well, leaving it well level yesterday, then today as you can see I opened it very slowly, so it does not get out of level, luckily everything was very well.
This would be already the closed door, of course there are still missing walls on its sides or around the frame, the important thing in these cases is that the opening that we place keeps the level well, otherwise to be twisted, in the future we will always have problem to open or close, the next step would be after plastering the entire wall that I built with the door, of course I have to demolish the part of the other door, all this is for the expansion of the bathroom, its purpose is to have a comfortable shower also inside, because in the summer to assemble the pool, the children when they want to go to the bathroom will do it in this and not in the one that is in the inside of the house, this way also maintains the cleanliness inside.
So friends in the near future I will let you know in another publication of how this bathroom and shower would be finished, also if all this was to your liking, do not fail to make your valuable comments.
THANK YOU VERY MUCH FOR FOLLOWING AND READING ME, HAVE A NICE DAY.