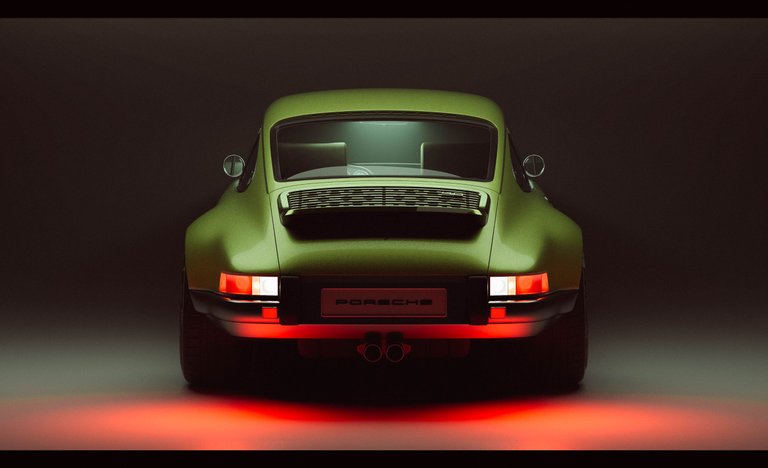
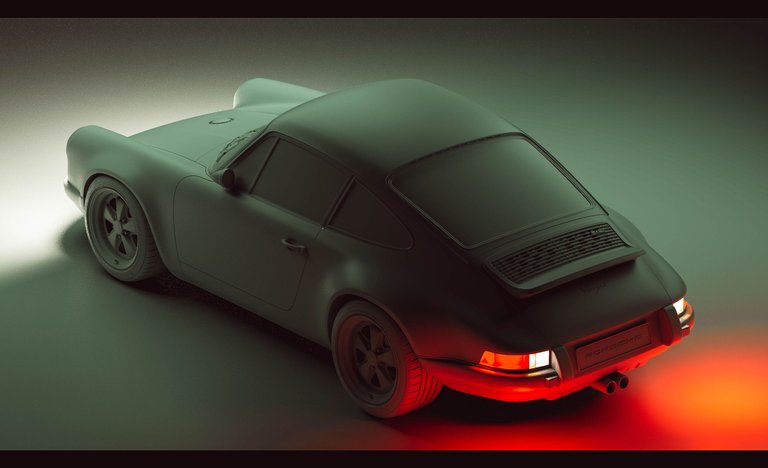
Hi #hive @onchainart , Today I am making something for cars enthusiasts, A classic Singer Porsche 911 with some sexy CGI vibes.
I wanted to create some nice car renders for a while now, And since I got lucky with a bit of free time from work I decided to go a head and create something, I started my scene with just one car and camera view, I finished setting up my lighting first and then I created the metallic paint shader using Arnold Surface Shader, And linking it with AiFlakes for more realistic car paint look.
I went through online to find a matching material to what i have in mind, Get the real car feel and reflections.
Reference
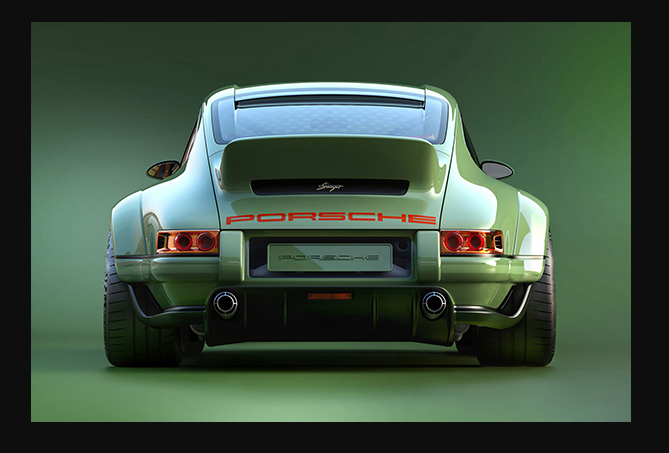
Photo source
https://www.thedrive.com/article/16082/singers-500-horsepower-porsche-911-is-a-dream-come-true
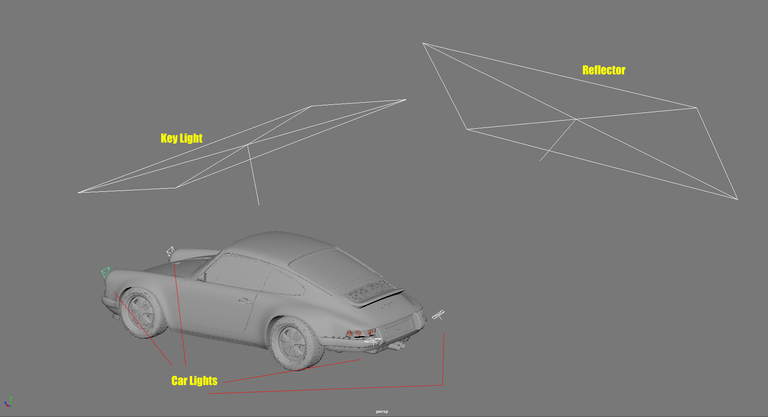
Lighting
I started setting up the lights first, I wanted to make sure I got the right mood for the renders before moving forward with the materials and textures.
I set up 1 area light on top as my key light, As few point lights in front and back as the car front and back lights
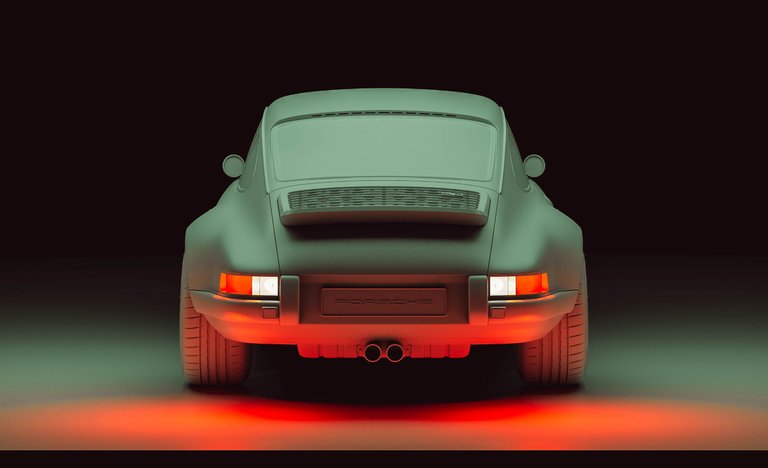
from the right side I have added extra area light to play the reflector role and bring a bit of highlight and brightness over the dark areas in the back, I will show more lighting breaking during the scene setup stage !
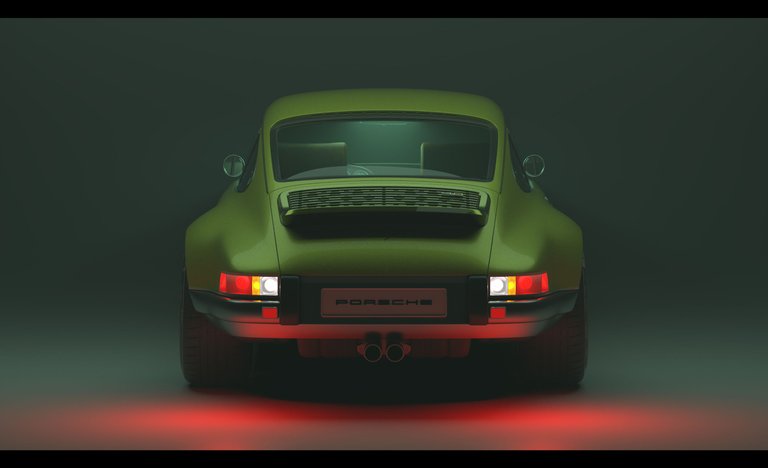
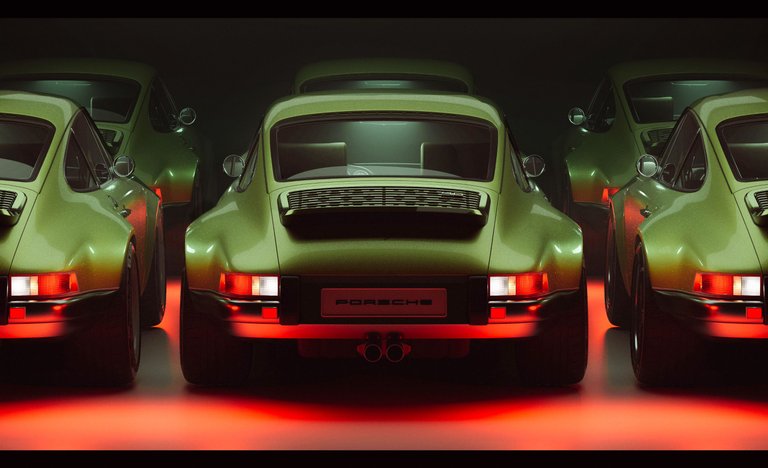
Raw Renders
As a role of mine, I try to get as close as possible to the final look in my raw renders so my editing and grading stage I just add few contrast and color correction nodes to lift up the final look.
If you are familiar with lighting and how it works you will enjoy this process as you can do anything you want with the lights, And create any kind of mood you want, But keep in mind that Arnold is a very powerful render engine and sure you can get super nice results !

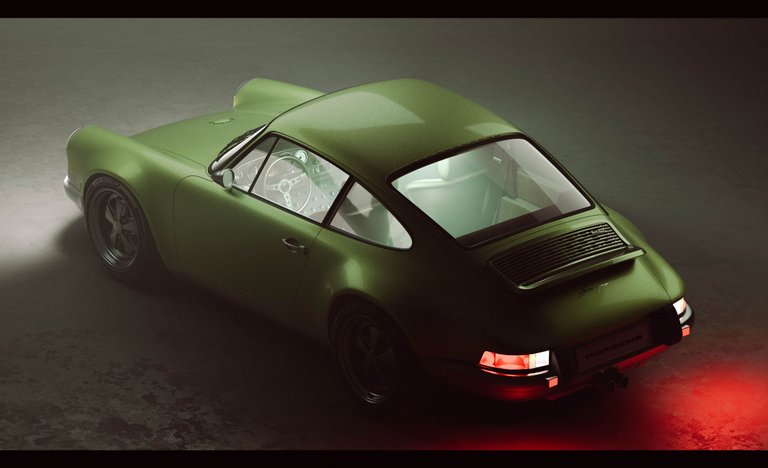
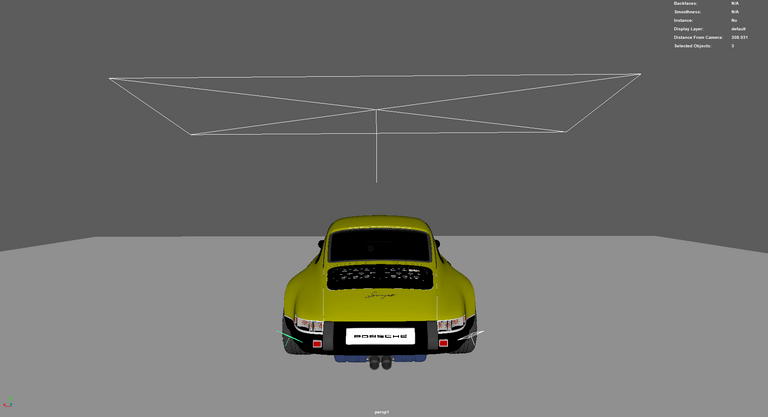
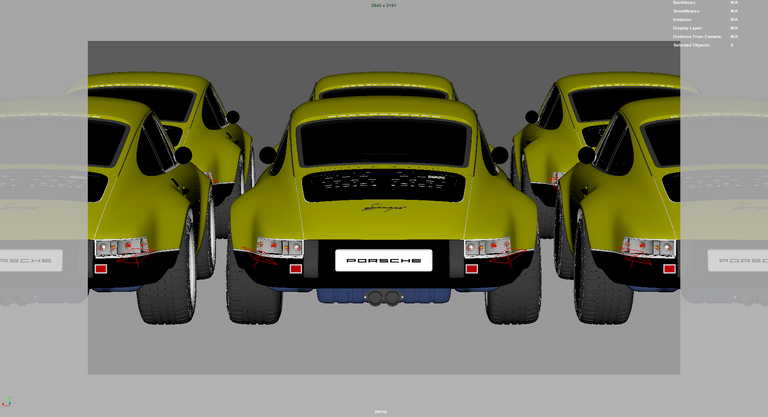
Scene Setup
So building up the scene was simple, I put the Porsche in the middle and my key light was on top, I did not want to make a busy background so a plan would do the job, And as for the light spread I made sure it only effects the back sides and keep the front area in the dark.
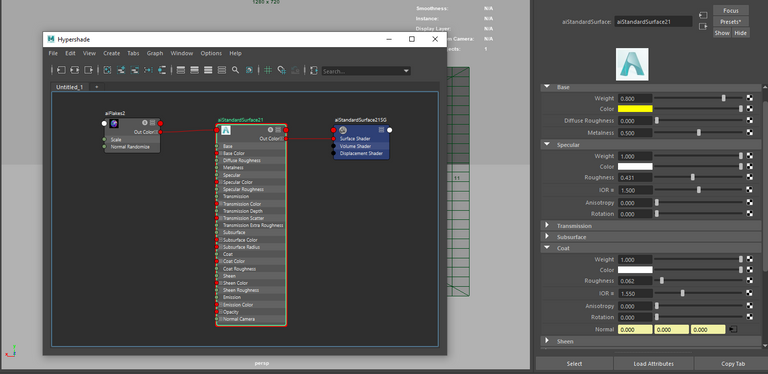
Once my lighting was ready I moved on to the next step which is creating my car material, This time I wanted to create something more detailed so I used the Aiflakes node to bring me more details and create a nice flaky feel just like the real car paint would do.
As for the lights I have broken down the steps right here, Could help you out in your next render !
Are you into sport cars as well ?

For more work's Feel free to go through my works on Vimeo
https://vimeo.com/ahmadturki
artstation
https://www.artstation.com/ahmadturki
For more work's Feel free to go through my works on Vimeo
https://vimeo.com/ahmadturki
artstation
https://www.artstation.com/ahmadturki
https://vimeo.com/ahmadturki
artstation
https://www.artstation.com/ahmadturki
Thanks!
Posted using Dapplr