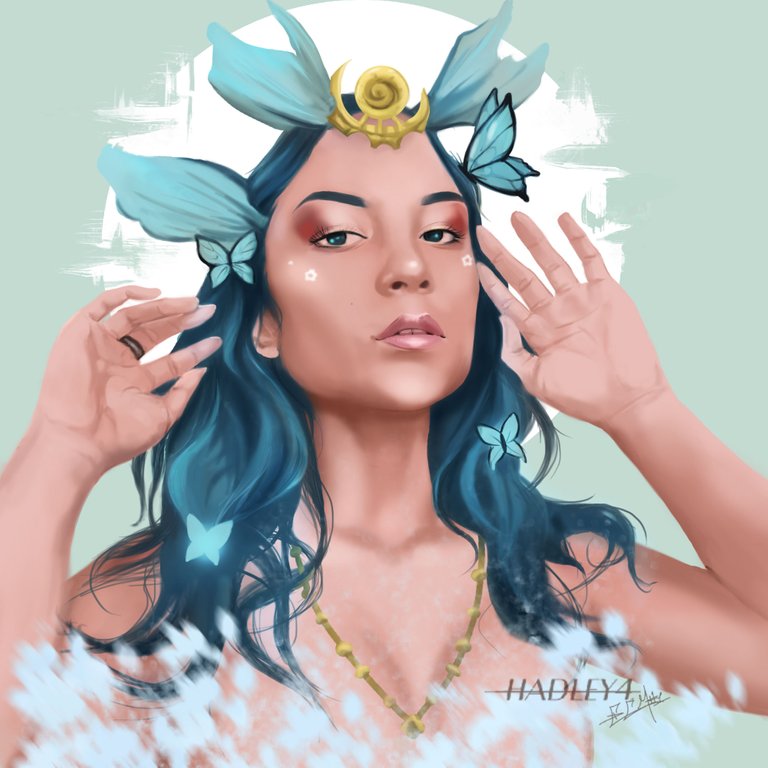
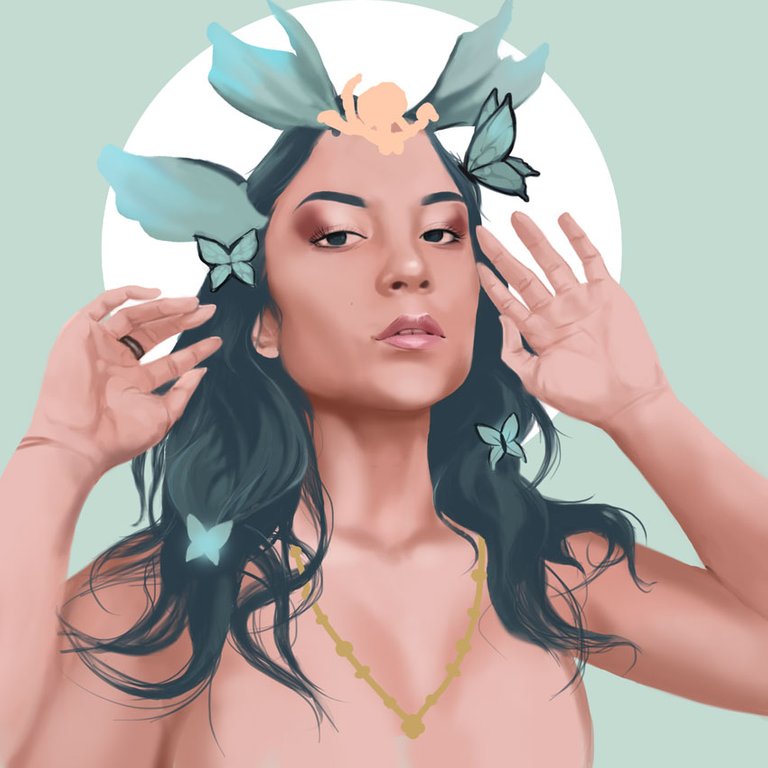
Hold on to your seats because today I'll change a little bit of the routine, this time I bring you my participation in a very popular challenge among artists on Instagram, it's called "Draw this in your style". I've participated in this challenge a couple of times, but now there's something new and important, I have a model and I've portrayed her digitally!
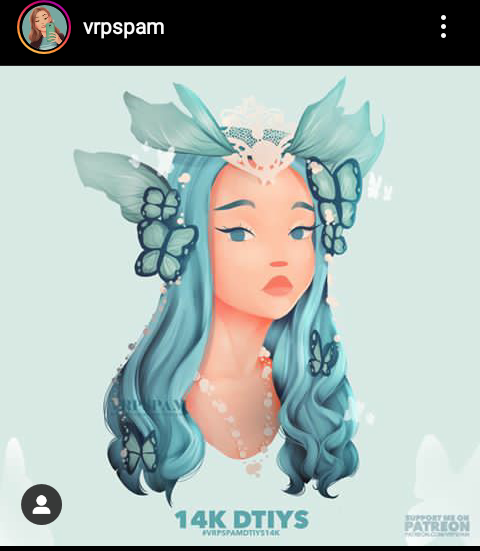
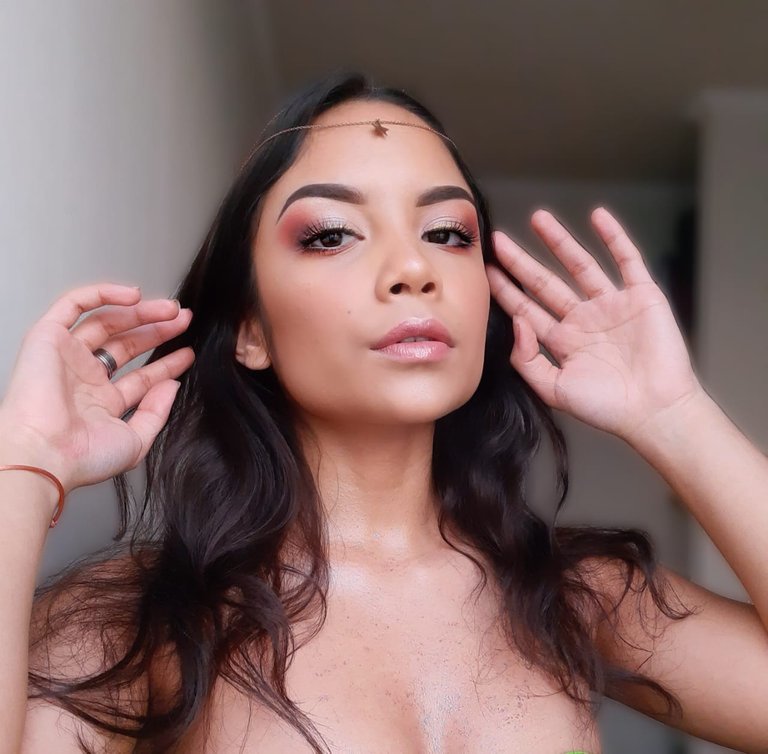
The challenge was launched by a great artist called @vrpspam on Instagram, the reason is to celebrate the very enviable figure of 14 thousand followers (I hope one day to reach that amount), the rules are simple, reproduce her character in your own drawing style. In my case I'm a lover of realism, so I've asked the beautiful and very talented @mkup_klusm (you can follow her on Instagram, she does amazing make-ups) to lend me her beauty to portray her and adapt her as the blue girl of the challenge.

Tools:
- Wacom Intuos 4
- Photoshop
References:
 |  |
|---|---|
| @vrpspam | @mkup_klusm |
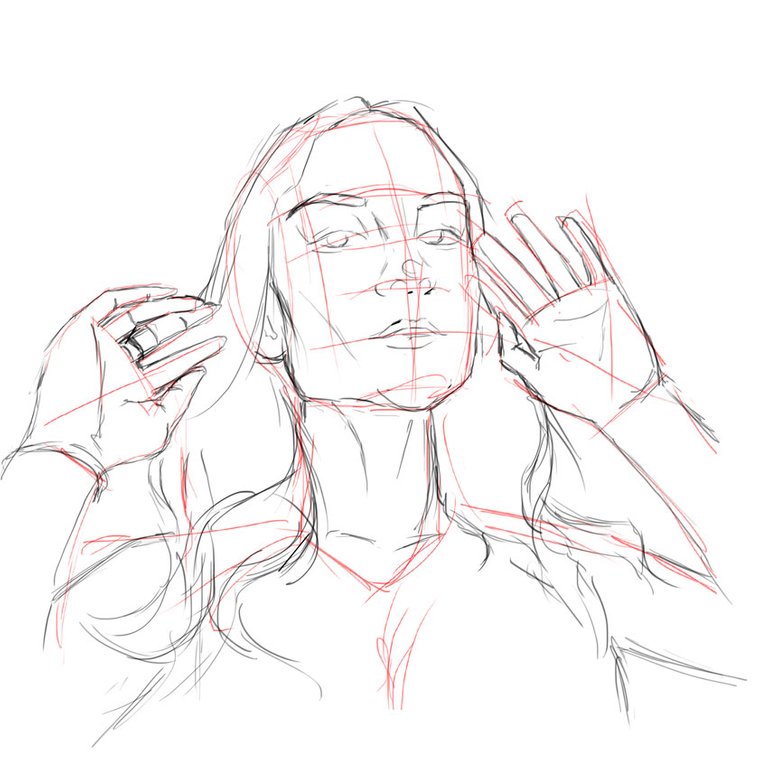
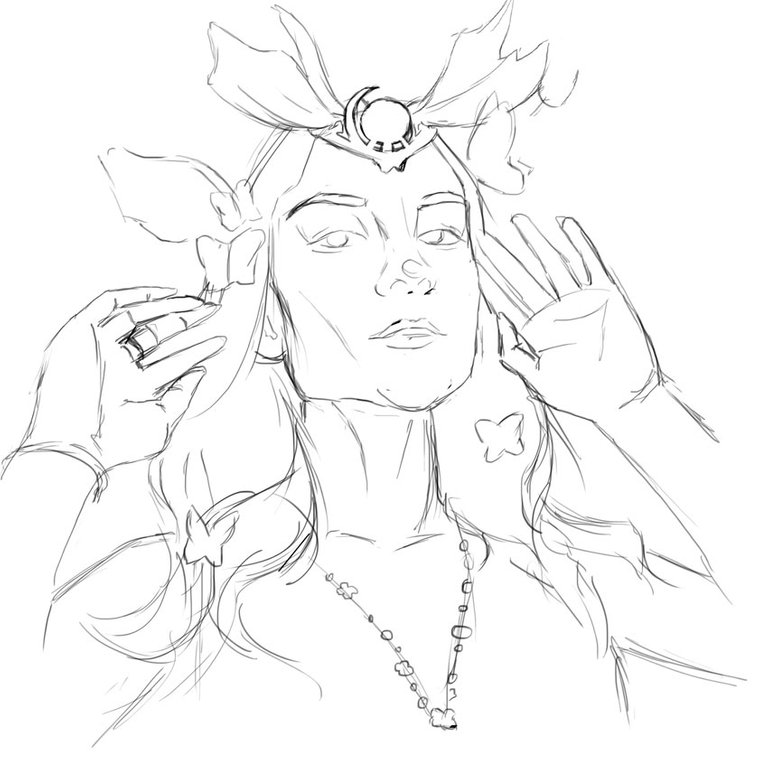
-Step 1:
I started as in any other hand made portrait, establishing the posture and structure of the model, I made some outstanding strokes in red color to correctly locate the elements of the face, always looking to capture the features from the beginning, although this time I had the help of the wonderful tools "liquefy" and "transform" with which I could correct the flaws in the proportions of mkup_klusm's face.
 |  |
|---|
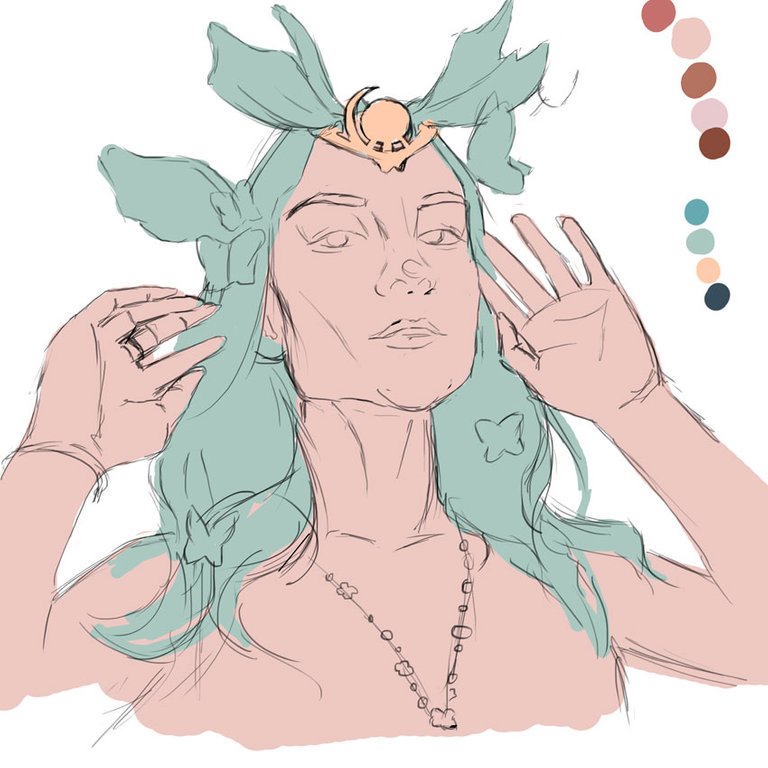
-Step 2:
With the eyedropper, I took the tones of the reference photographs and was able to build the color palette that I would use for the illustration. Therefore, in separate layers I painted the flat colors of the skin, hair and tiara. Once this was ready, I took the airbrush, increased its size a lot and started applying the skin shading, trying to copy the illumination of the original photograph.
 |  |
|---|
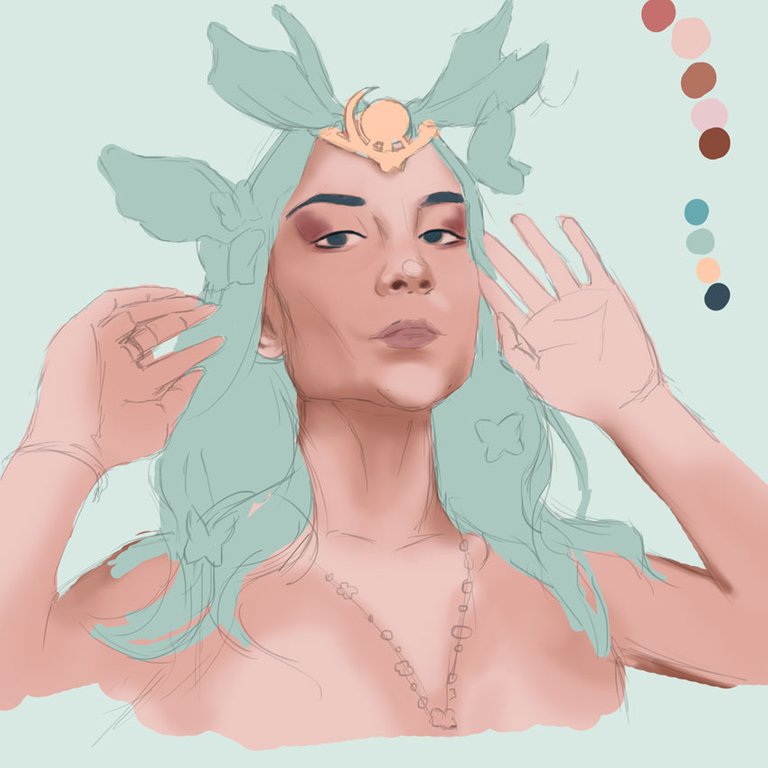
-Step 3:
I disappeared the sketch, I wanted to achieve a portrait without strong lines, although sometimes I had to resort again to the initial lines as they are the structure of the face and so on. In this step I focused mostly on the hair, I wanted to work in a general way to be able to appreciate the changes, so I took her hair to a dark blue tone, to then add the highlights in the previous tone, it is important to emphasize that the correct coloring of the hair is treating it by locks, you don't have to focus on drawing hair by hair because it would be a tedious and endless task.
 |  |
|---|
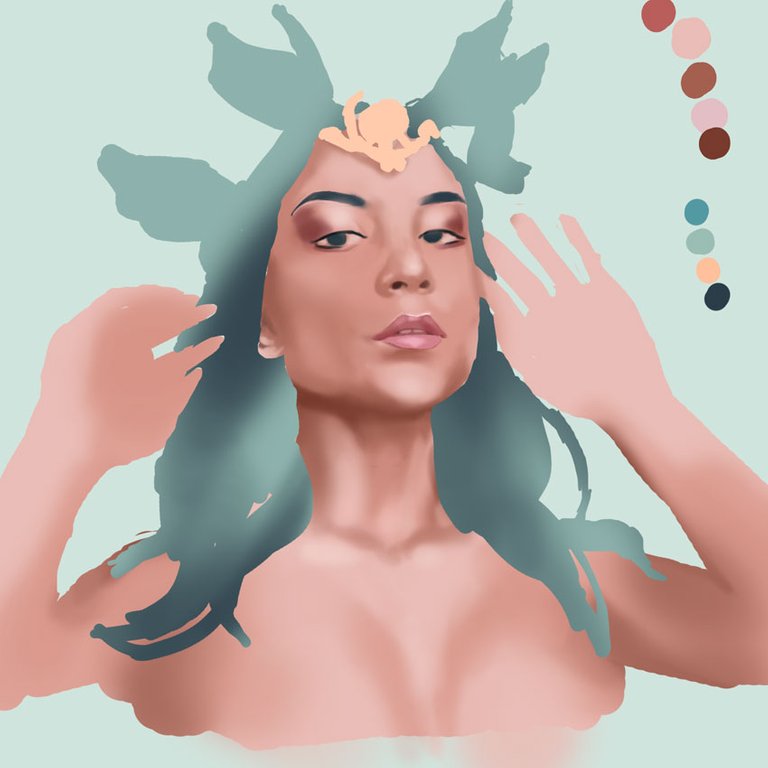
-Step 4:
The torment of every artist arrived, the moment to paint the hands, this took me quite a while, but the truth was not so bad, it was very helpful to have a direct reference of what I had to do, therefore the magic was in the airbrush, since with it I could establish the shadows and lights of each finger and of the arms.
Very nice everything, but I'm sure you're wondering how I achieved the final shades, well, for that I used the fusion modes "overlay", "Dodge color" and "soft light", with them I tried to illuminate some elements of the face and give a more saturated and striking tone in the hair, and I admit, the finish was not very good, now that I see it more carefully and calmly, the fingertips were blue.😂😂
Tell me in the comments that you imagine when you see this illustration.
 | |
|---|
I'll leave you a little gif with the whole process in it, so you can better appreciate the step by step.


See you in a future post!
Thank You for Supporting My Artwork

@hadley4rt
Hello, yes, it's me again.
I come to you to light my way by recommending me discord servers, communities or tags that help my art go far and have a greater visualization.
Thank you and have a great day.
Gracias por compartir tu contenido con la comunidad de El Arca (@elarca), el mismo ha sido votado por nuestra iniciativa de curación artística @stellae. Si deseas puedes delegar HP al proyecto: Delegate 25 HP Delegate 50 HP Delegate 100 HP Delegate 250HP Delegate 500HP
Wow, de verdad que tienes un talento hermoso!!
Gracias @gatolector :D
Realmente sin palabras
Me encanto mucho tu dibujoy tu creatividad
Muchas gracias @elvlogdedany :D
:D
Congratulations @hadley4! You have completed the following achievement on the Hive blockchain and have been rewarded with new badge(s) :
You can view your badges on your board And compare to others on the Ranking
If you no longer want to receive notifications, reply to this comment with the word
STOPDo not miss the last post from @hivebuzz:
Your level lowered and you are now a Red Fish!
Do not miss the last post from @hivebuzz: