
Español
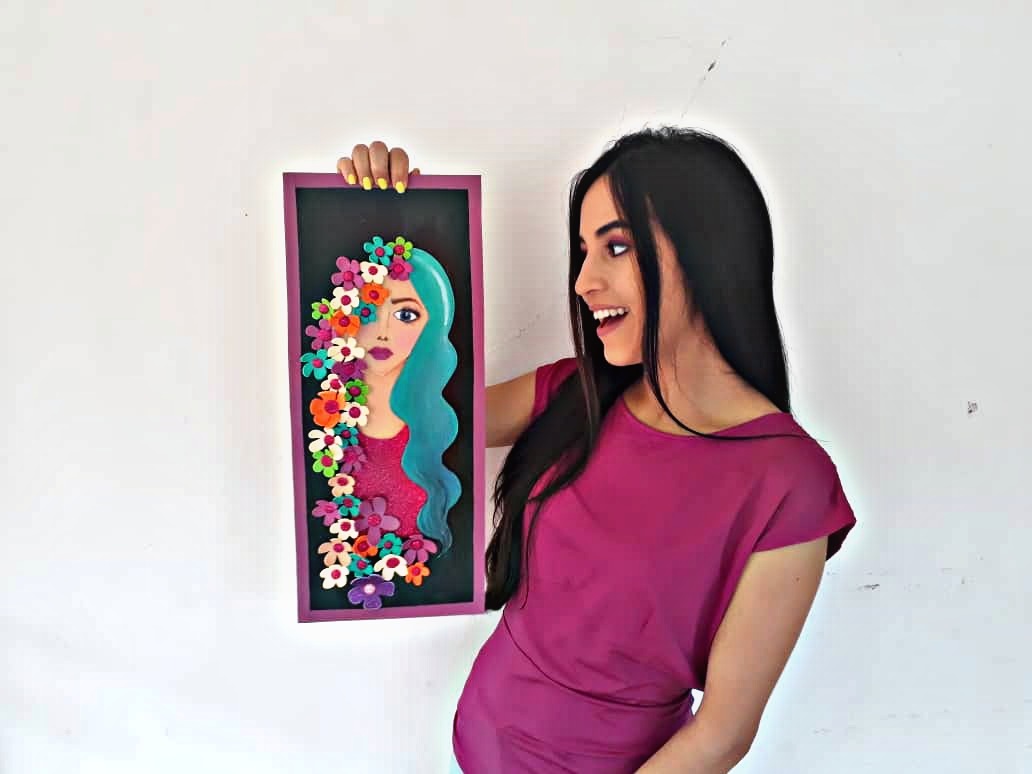
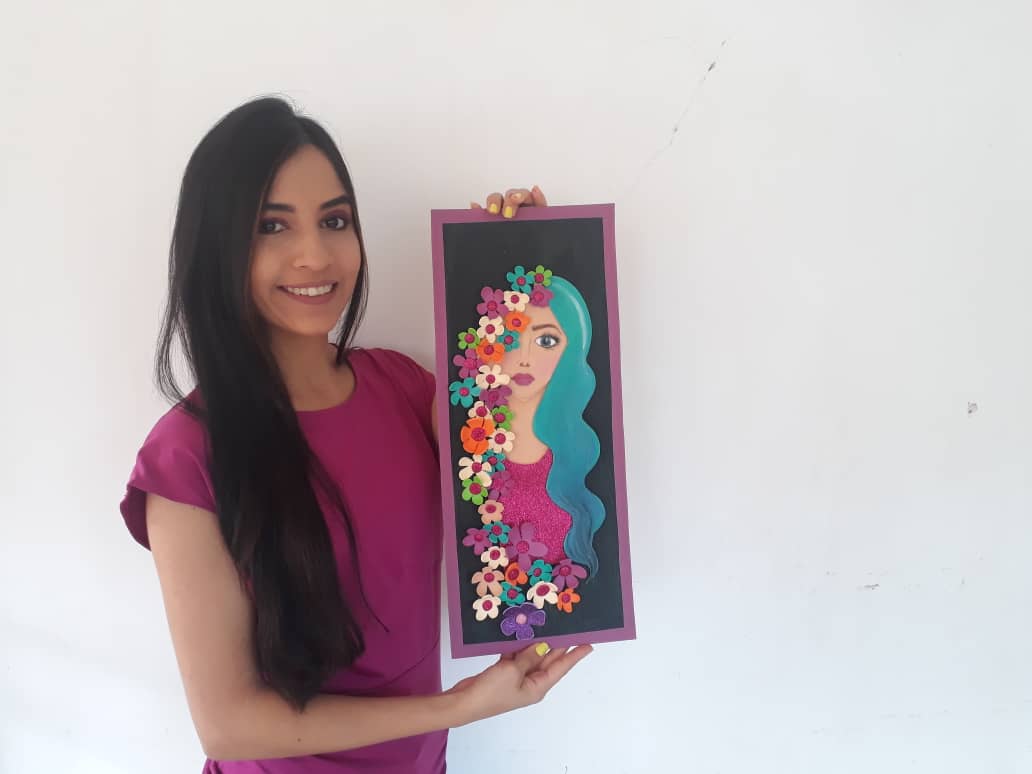
Hola querida familia de HIVE 💋 En la actualidad podemos recurrir a muchísimas formas y maneras de decorar nuestras paredes para darle un estilo original y personal, haciendo que luzcan muy atractivas. A continuación les traigo un nuevo paso a paso en donde aprenderemos como realizar un creativo y precioso cuadro llamado “la dama de las flores” hecho de foami y otros materiales muy económicos y fáciles de conseguir. Así que, los invito a disfrutar de este divertido momento, ideal y perfecto para el desarrollo de la creatividad tanto de niños como adultos. Además es una idea perfecta para pasar un rato agradable con nuestros pequeños en casa e incentivarlos, ya que, pueden ir, de a poco, desarrollando su ingenio y acercándose un poco más al trabajo artístico.
English
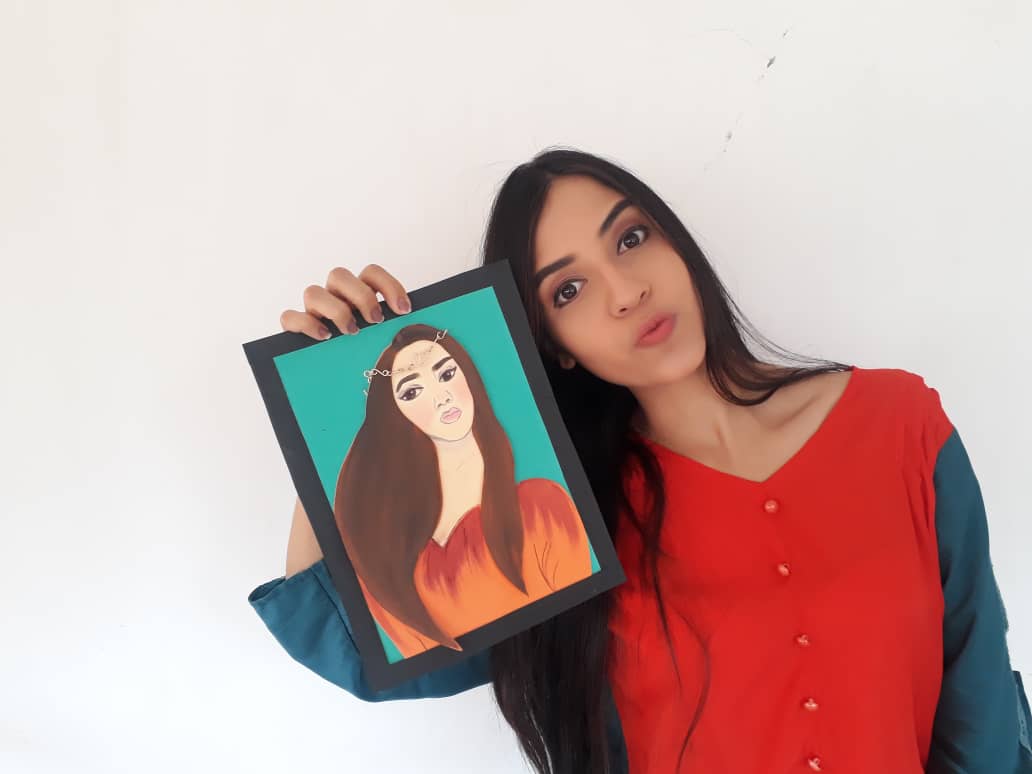
Hello, Dear HIVE family 👄 Currently, we can use many ways and ways to decorate our walls to give it an original and personal style, making them look very attractive. Then I bring you a new step by step where we will learn how to make a creative and beautiful painting called "the flower lady" made of foamy and other very cheap and easy to get materials. So, I invite you to enjoy this fun moment, ideal, and perfect for the development of creativity for both children and adults. It is also a perfect idea to spend a pleasant time with our little ones at home and encourage them, since they can, little by little, develop their ingenuity and get a little closer to artistic work.
¿Qué están esperando?
Utilizar estos hermosos materiales para transformarlos en un hermoso cuadro es una idea muy original y económica para decorar nuestras paredes favoritas. Antes de comenzar no olvidemos lavarnos nuestras manos.
What are they waiting for?
Using these beautiful materials to transform them into a beautiful painting is a very original and economical idea to decorate our favorite walls. Before we start, let's not forget to wash our hands.
[Materiales | Materials]
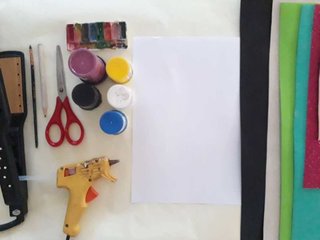
Para hacer esta hermosa dama necesitaremos:
- Moldes.
- Foami o goma eva.
- Papel vegetal o calco.
- Cartulina negra.
- Regla.
- Lápiz.
- Tijera.
- Pincel o brocha.
- Pintura de acuarela.
- Cartón o Madera MDF.
- Silicona caliente o Pegamento.
To make this beautiful lady we will need:
- Molds
- Foamy or eva foam.
- Vegetable paper or tracing.
- Black cardboard.
- Rule.
- Pencil.
- Scissors.
- Brush or paintbrush.
- Watercolor paint.
- Cardboard or MDF Wood.
- Hot silicone or glue.
Procedimiento (paso a paso)
Process (step by step)
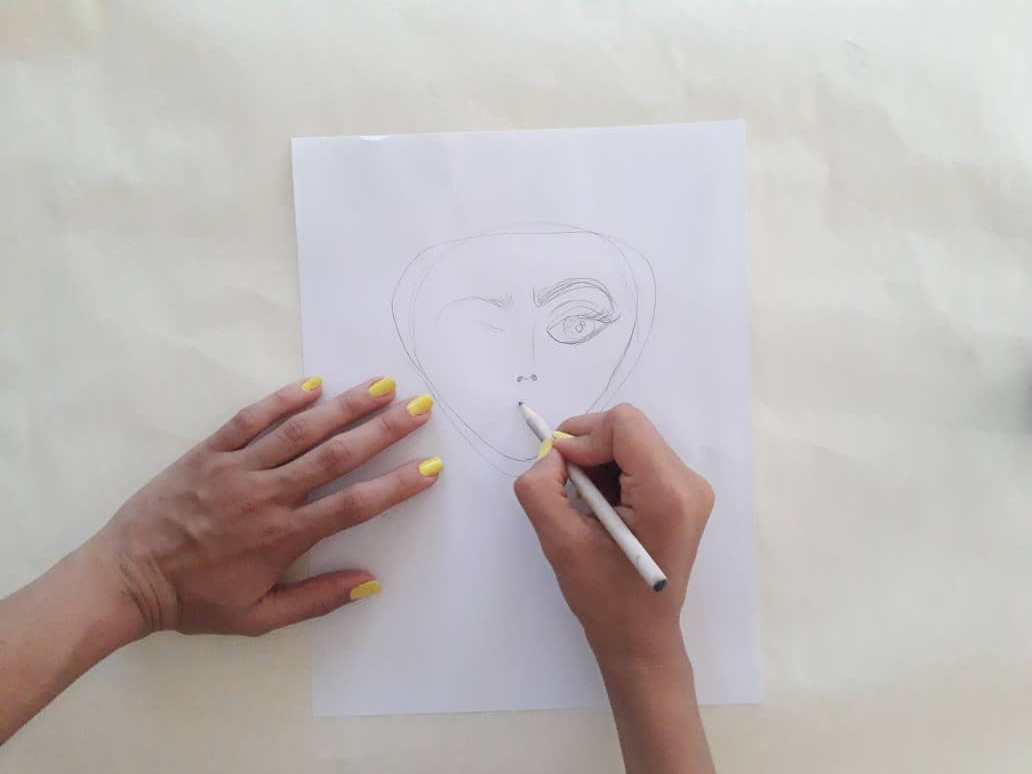
Primero, dibujamos una hermosa mujer de cabello ondulado, también dibujamos hermosas y abundantes flores que cubra la mitad de cabello de nuestra modelo.
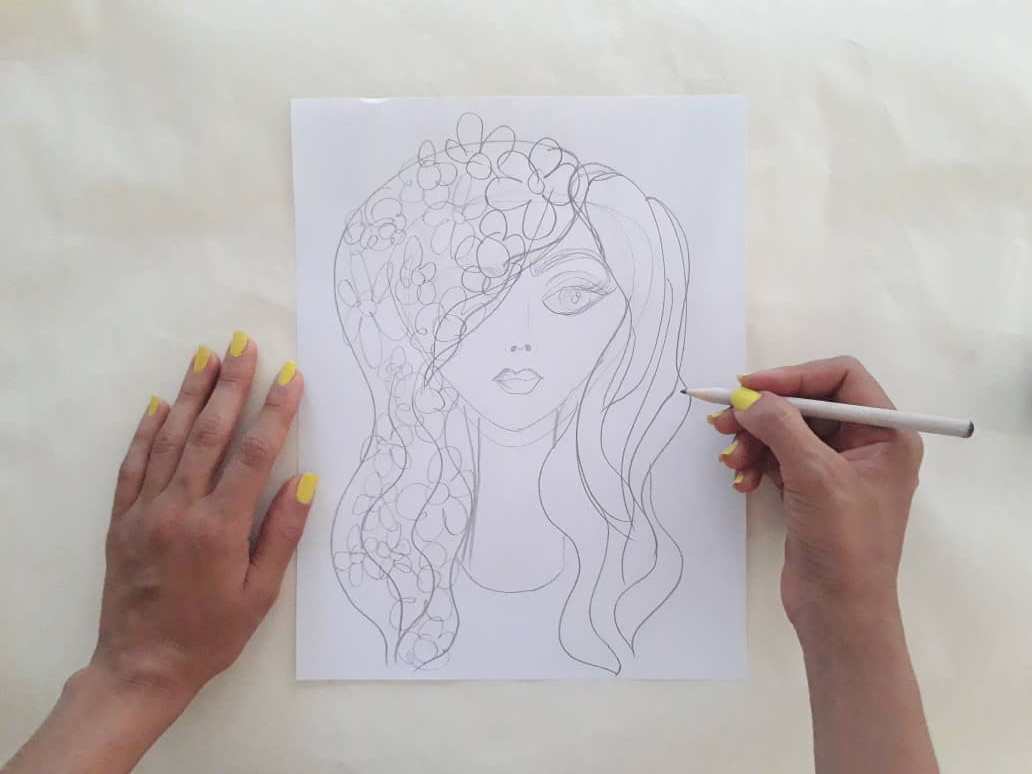
First, we draw a beautiful woman with wavy hair, we also draw beautiful and abundant flowers that cover half of our model's hair.
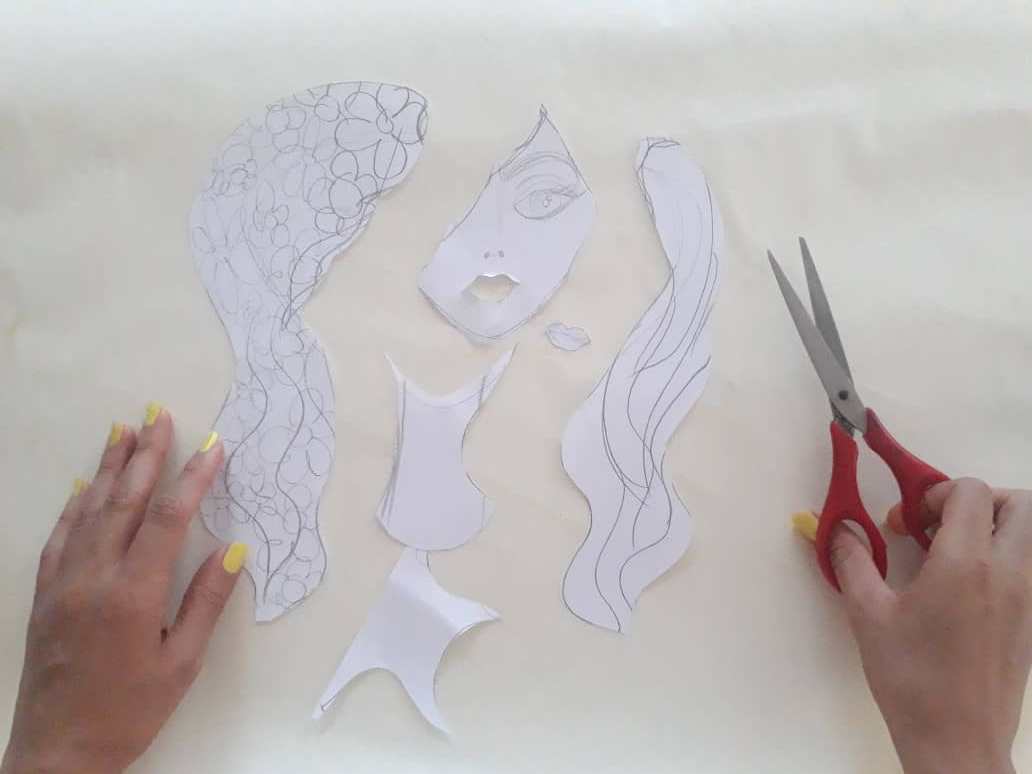
Ahora, recortamos nuestro hermoso dibujo con mucho cuidado separando el cabello, rostro, cuello, boca, y vestido. Una vez obtenidos los moldes transferimos al foami cada parte de la hermosa dama, incluyendo las flores de distintos tamañas para adornar su cabello. Este paso es súper divertido, aunque un poco complejo, pero no debemos rendirnos, recuerden que todas las cosas que se hacen con amor, nos dan buenos resultados.
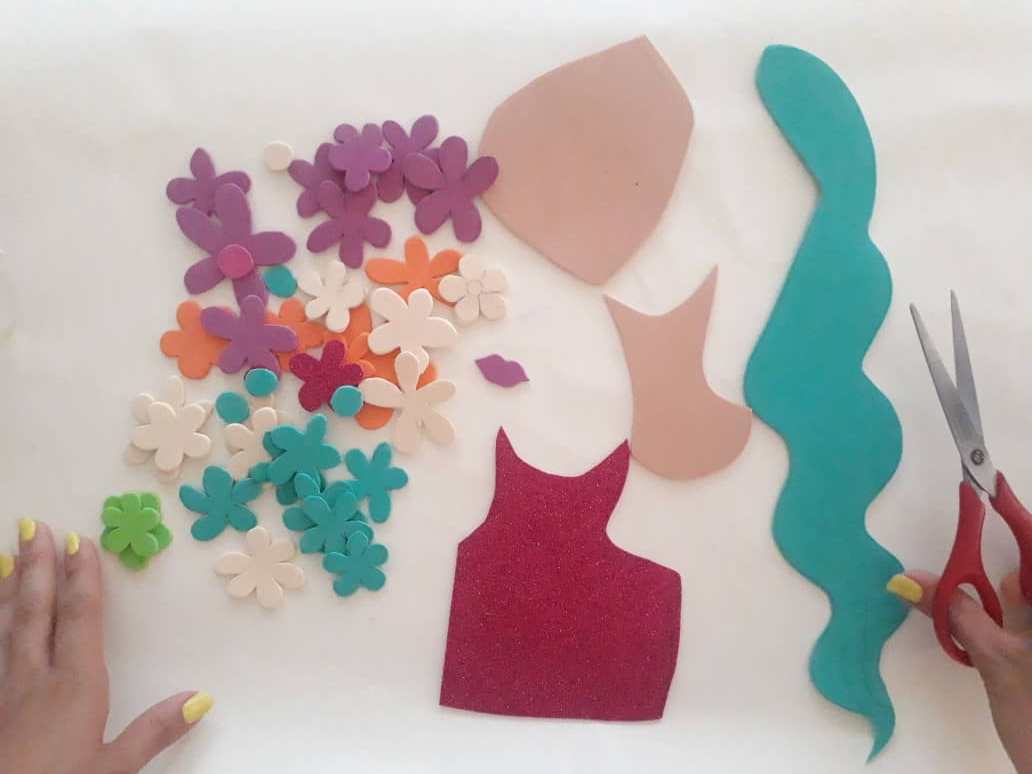
Now, we cut our beautiful drawing very carefully separating the hair, face, neck, mouth, and dress. Once the molds are obtained, we transfer to the foamy each part of the beautiful lady, including the flowers of different sizes to decorate her hair. This step is super fun, although a little complex, we must not give up, remember that all the things that are done with love, give us good results.
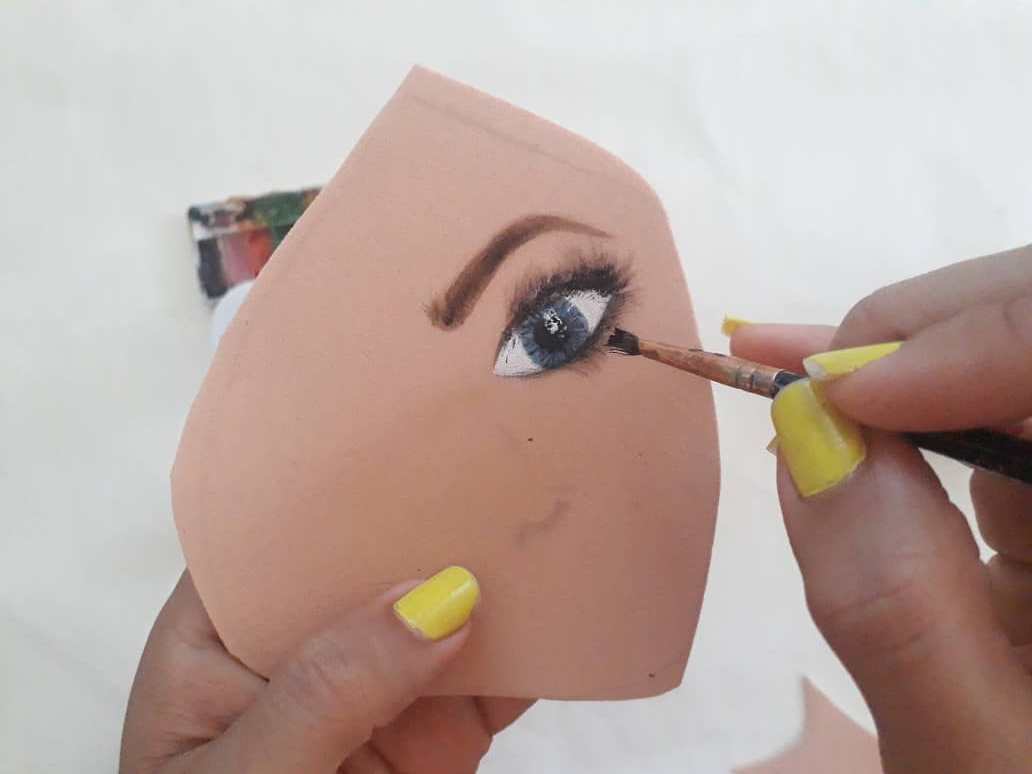
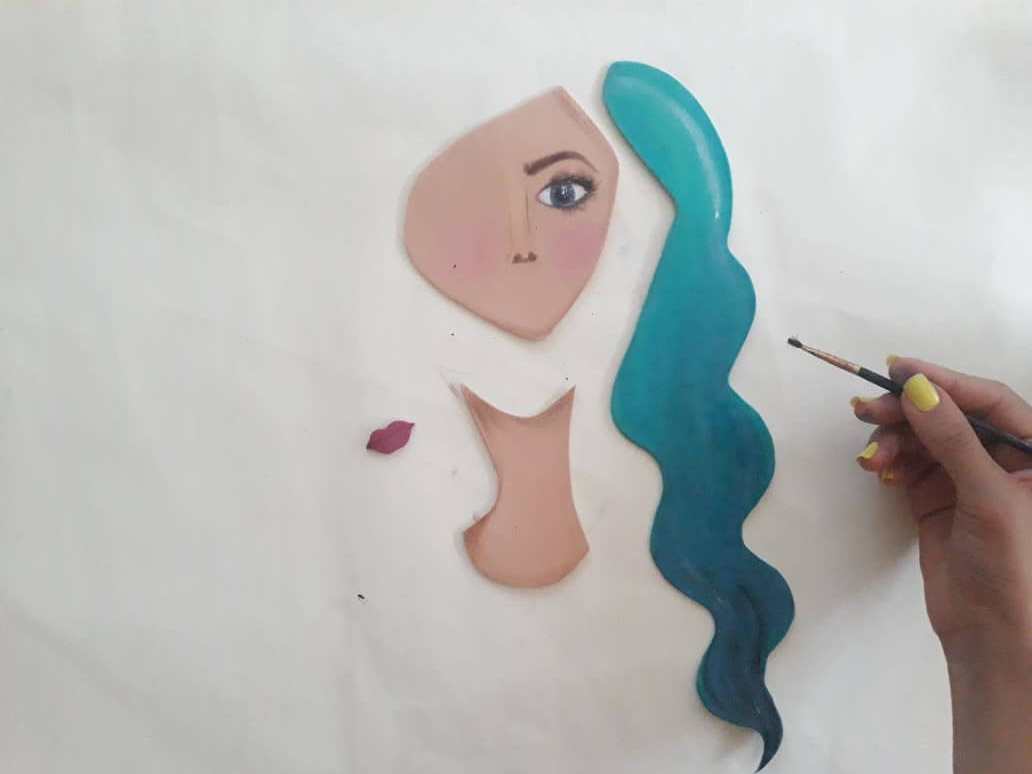
Con la ayuda de un marcador de punta fina, pincel y pintura de acuarela, definimos es el ojo, boca, y cuello de nuestra bella dama.
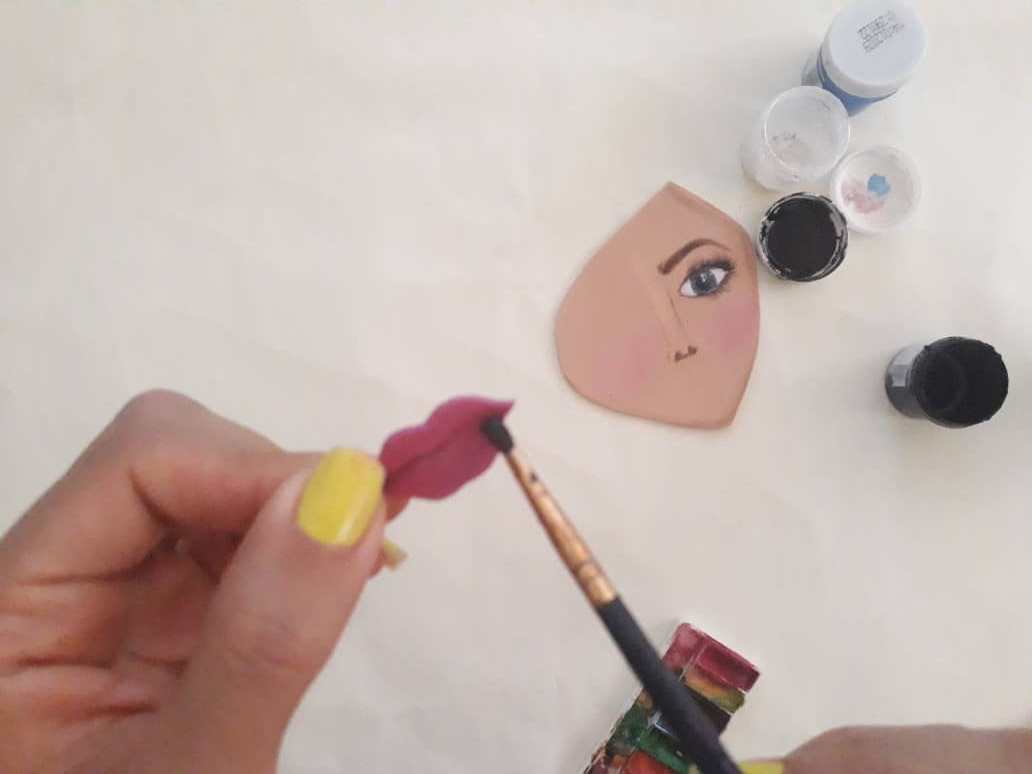
With the help of a fine tip marker, brush, and watercolor paint, we define is the eye, mouth, and neck of our beautiful lady.
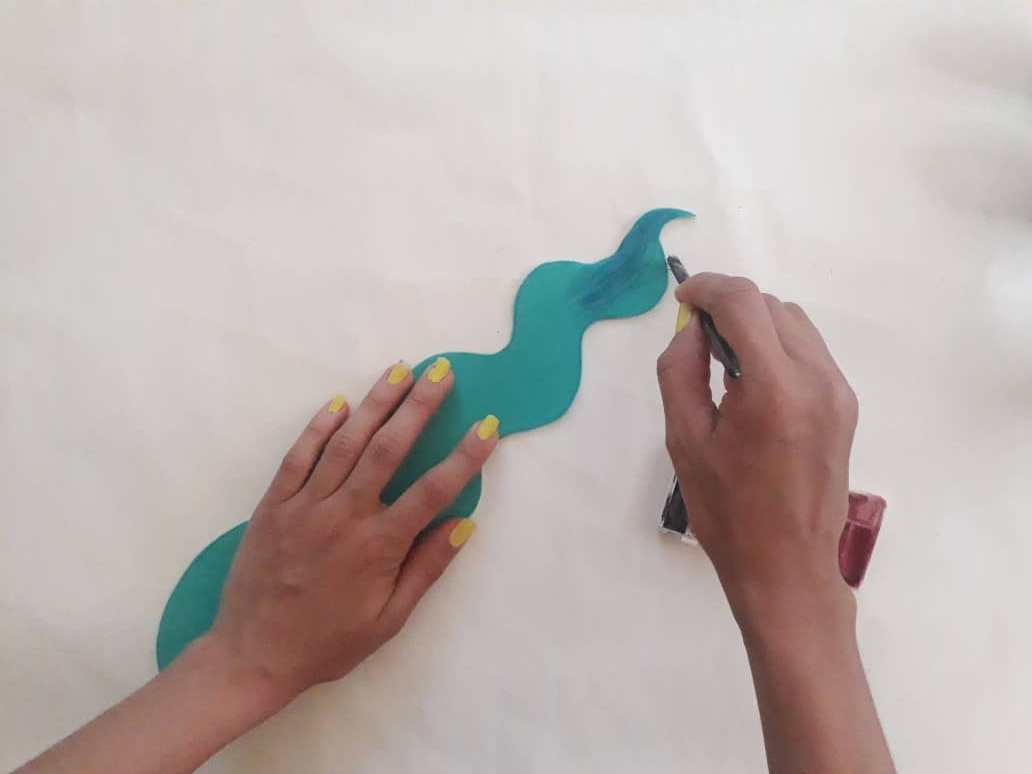
Ahora, pintamos un hermoso y llamativo cabello, utilizando bellos tonos de color turquesa y azul. Hermoso no?
Now, we paint a beautiful and striking hair, using beautiful shades of turquoise and blue. Beautiful isn't it?
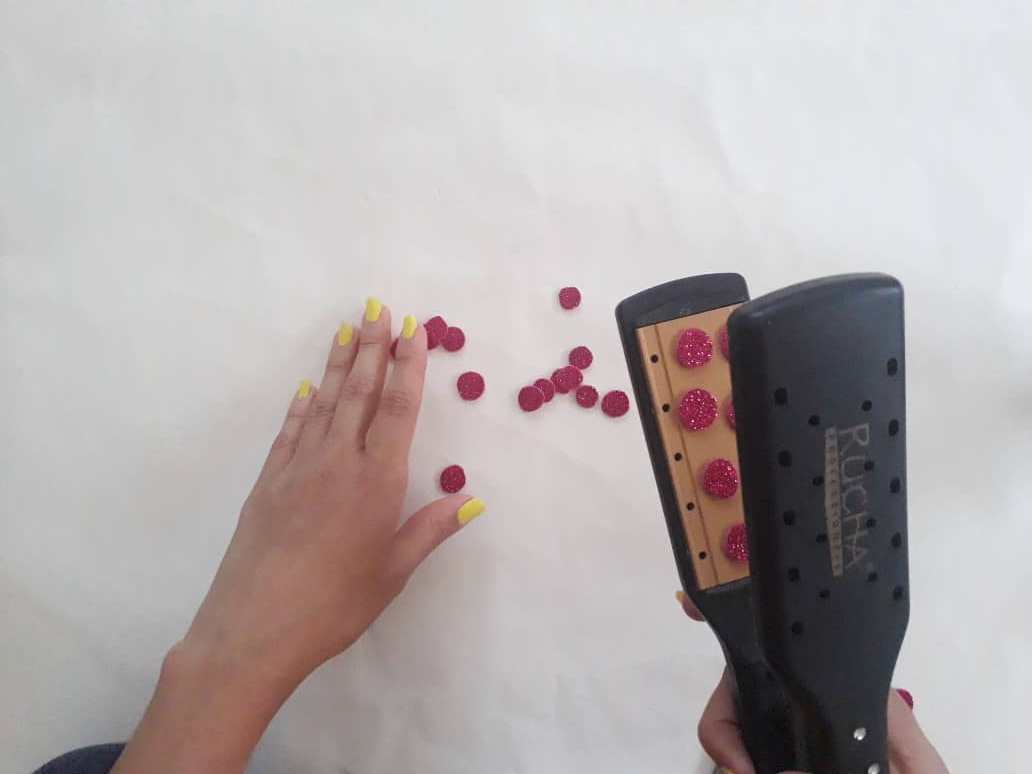
Seguidamente, aplicamos la técnica del termo formado a todas las flores y sus centros, con la ayuda de una plancha para cabellos. Esta técnica le dará un mejor acabado a nuestras florecitas.
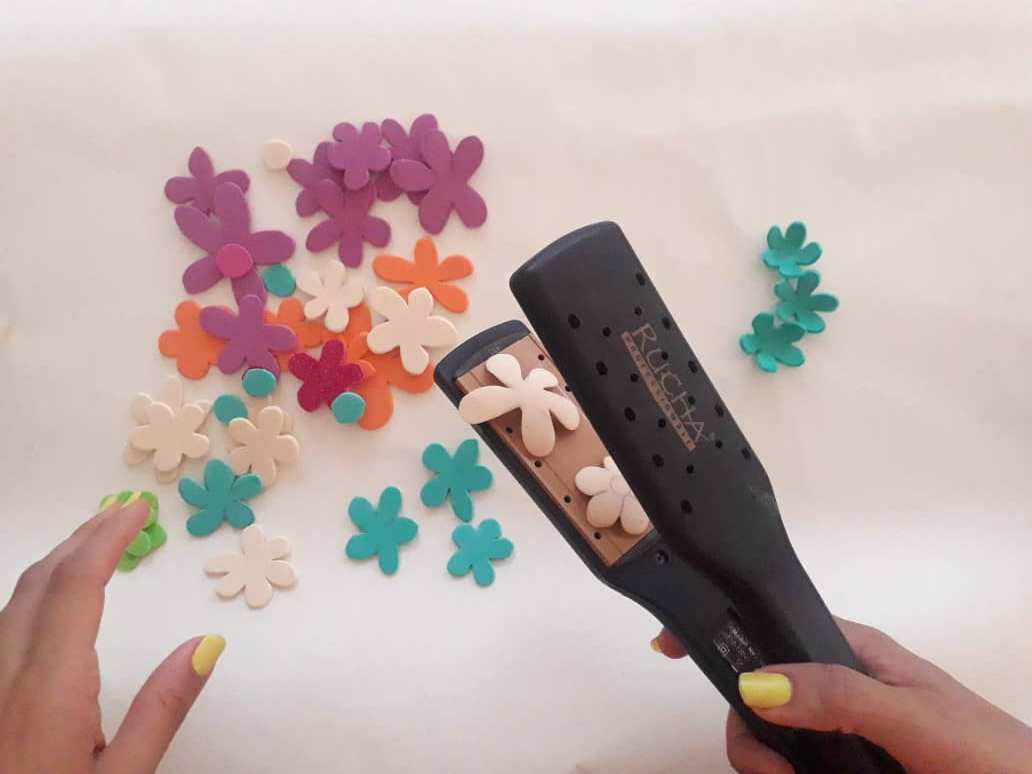
Next, we apply the thermoforming technique to all the flowers and their centers, with the help of a hair straightener. This technique will give a better finish to our flowers.
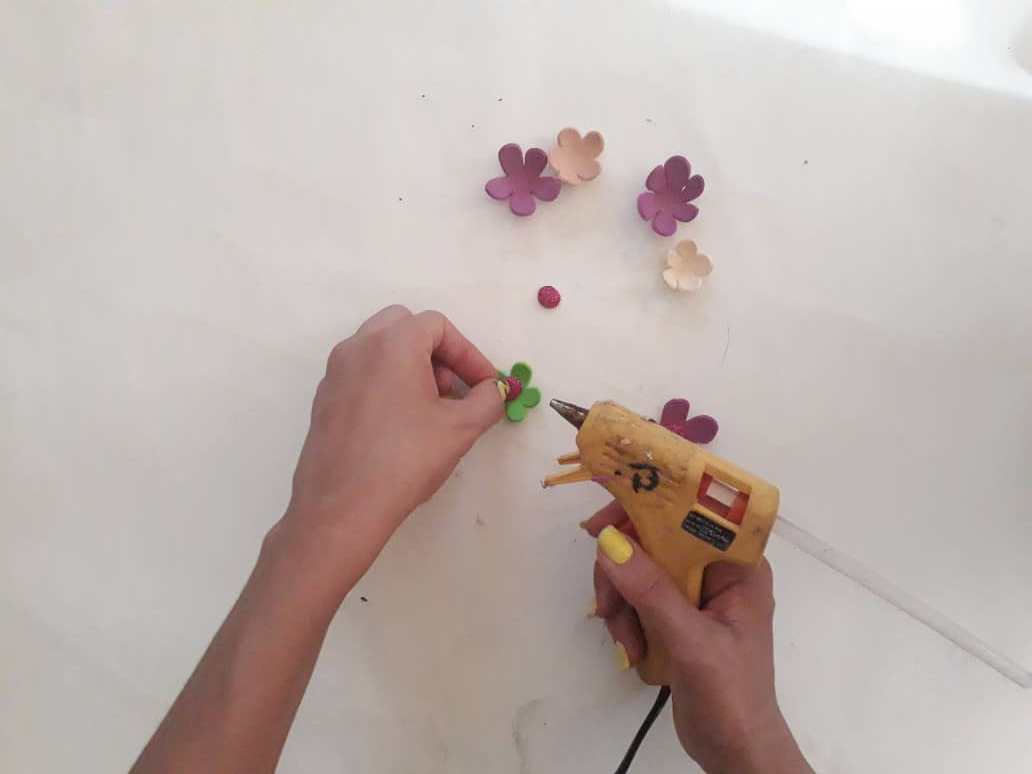
Luego, unimos cada flor con su centro, utilizando silicona caliente o pegamento. Debemos tener mucho cuidado al utilizar la aplicadora de silicona caliente, y así, evitar accidentes o quemaduras. Estas hermosas flores nos ayudaran a simular la parte del cabello restante.
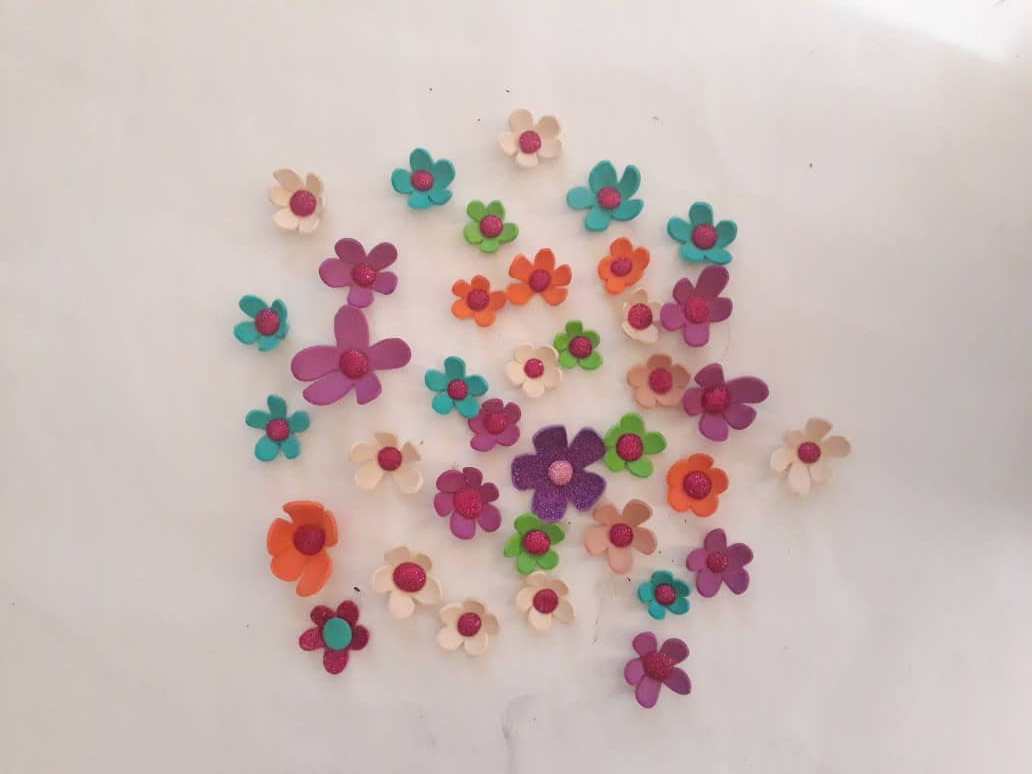
Then, we join each flower with its center, using hot silicone or glue. We must be very careful when using the hot silicone applicator, and thus avoid accidents or burns. These beautiful flowers will help us simulate the part of the remaining hair.
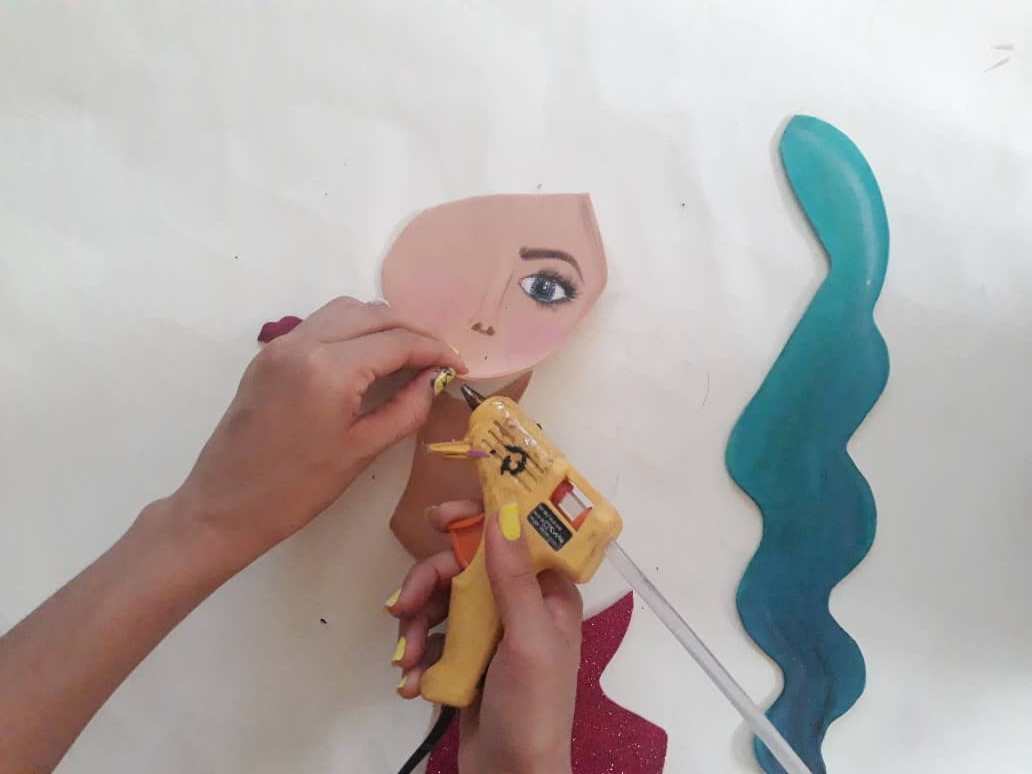
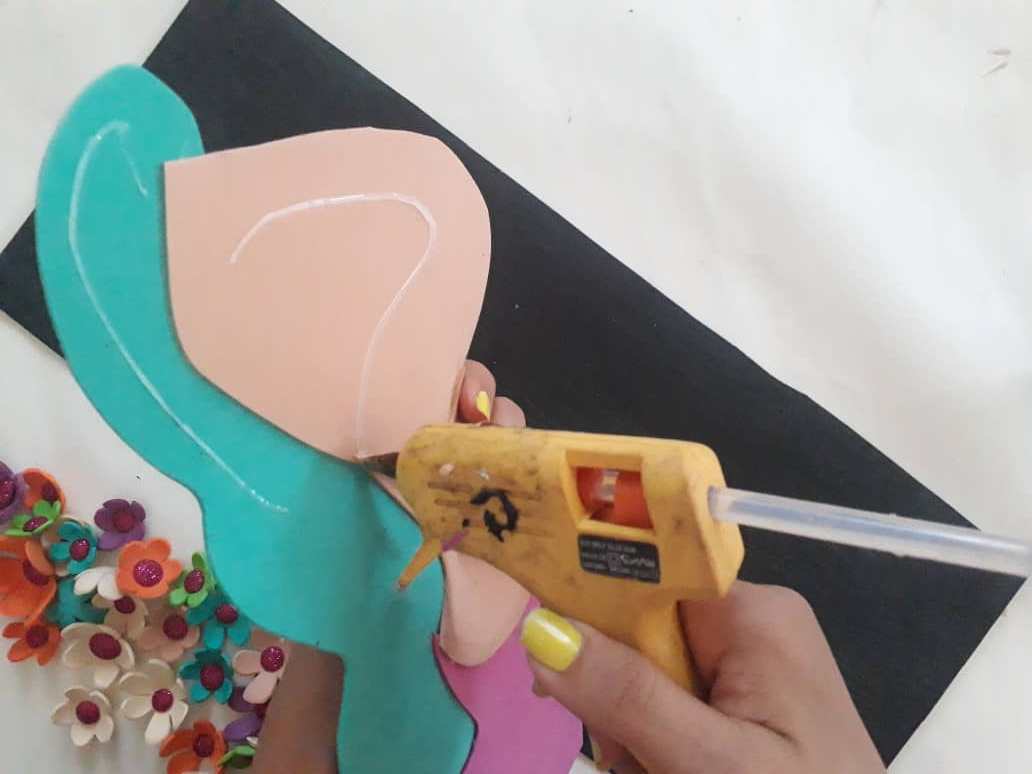
Ahora, armamos nuestra bella dama pegando la camisa, cuello, rostro, cabello y boca. No olviden tener cuidado para evitar accidentes o quemaduras al utilizar la pistola de silicona. Si no queremos correr ningún riesgo es mejor reemplazar la silicona caliente por pegamento o silicón frio.
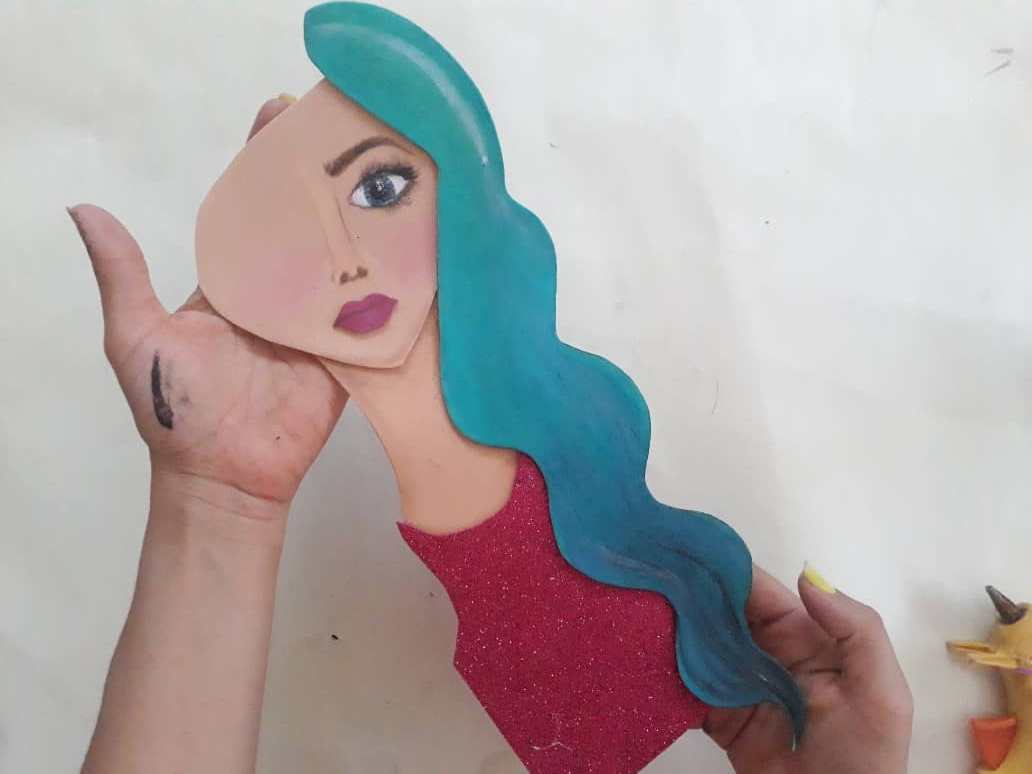
Now, we assemble our beautiful lady by gluing the shirt, neck, face, hair, and mouth. Do not forget to be careful to avoid accidents or burns when using the silicone gun. If we do not want to take any risk, it is better to replace the hot silicone with glue or cold silicone.
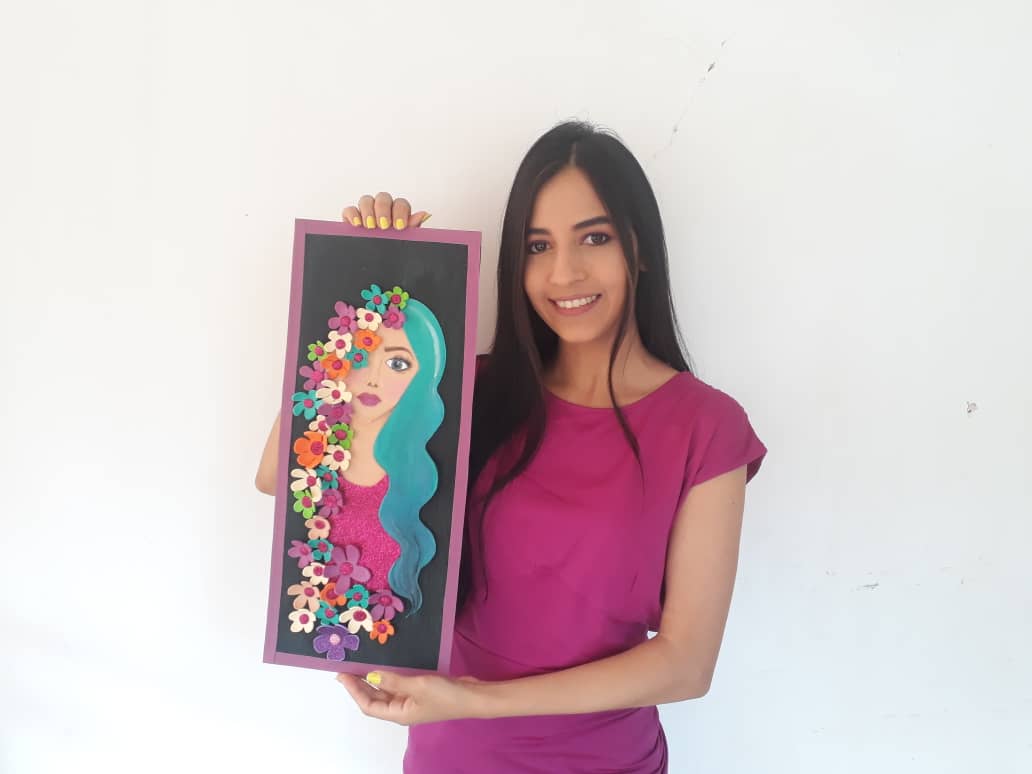
Luego, recortamos un rectángulo en cartulina negra de 45cm x 16cm para que sea la base y fondo del cuadro. Inmediatamente, pegamos nuestra dama ya armado al fondo negro utilizando pegamento o silicona caliente. Debemos hacer un poco de presión para asegurarnos que queden bien pegados.
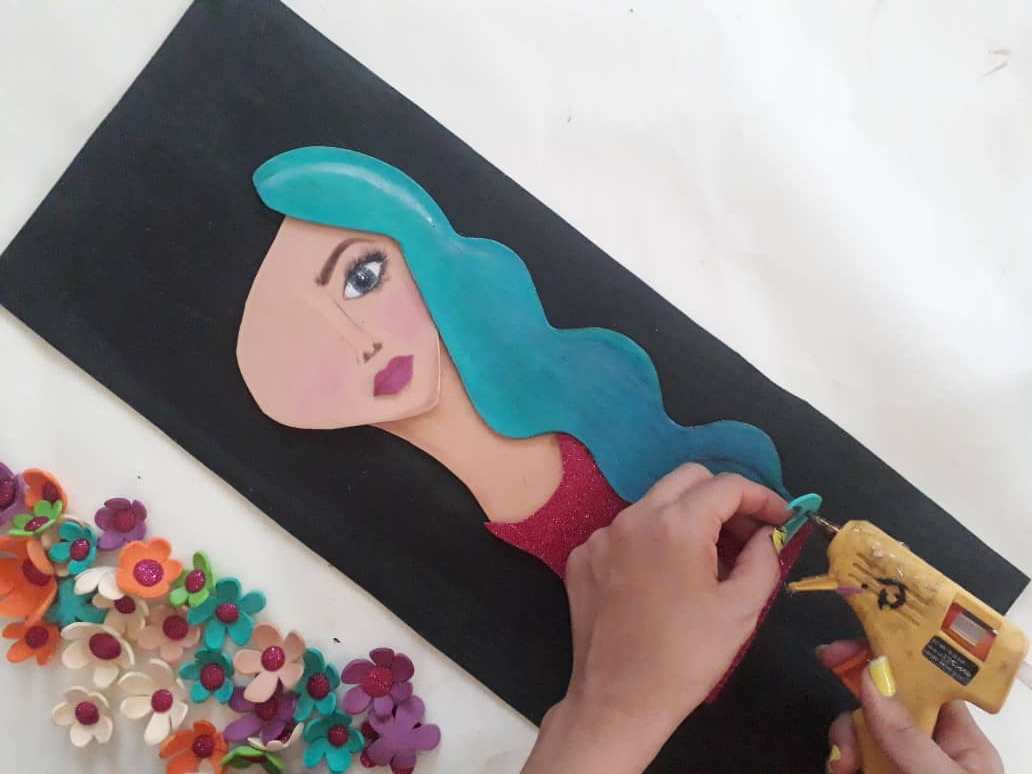
Then we cut a rectangle out of 45cm x 16cm black cardboard to make it the base and bottom of the painting. Immediately, we glue our lady already armed to the black background using glue or hot silicone. We need to do a little bit of pressure to make sure they stick together.
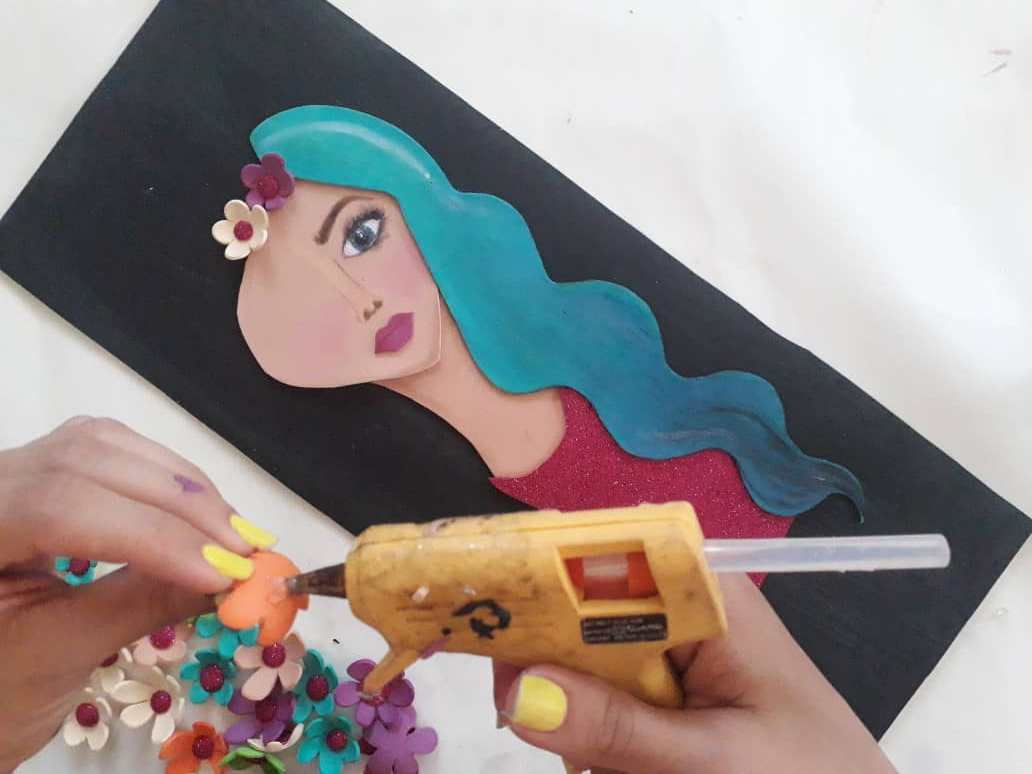
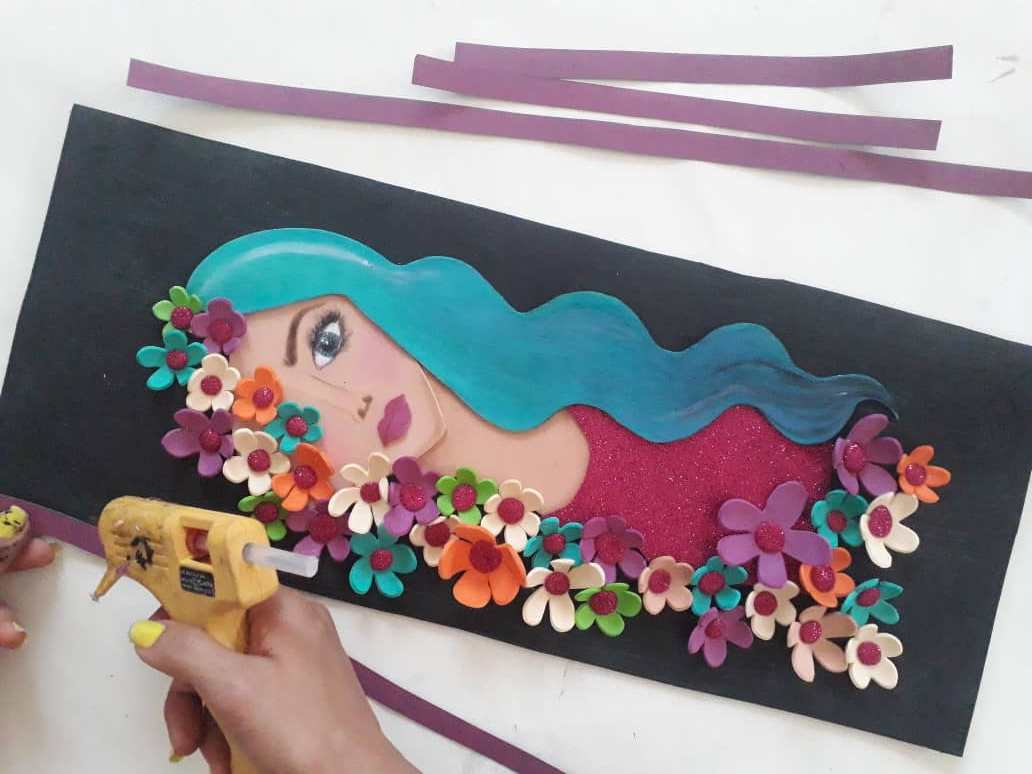
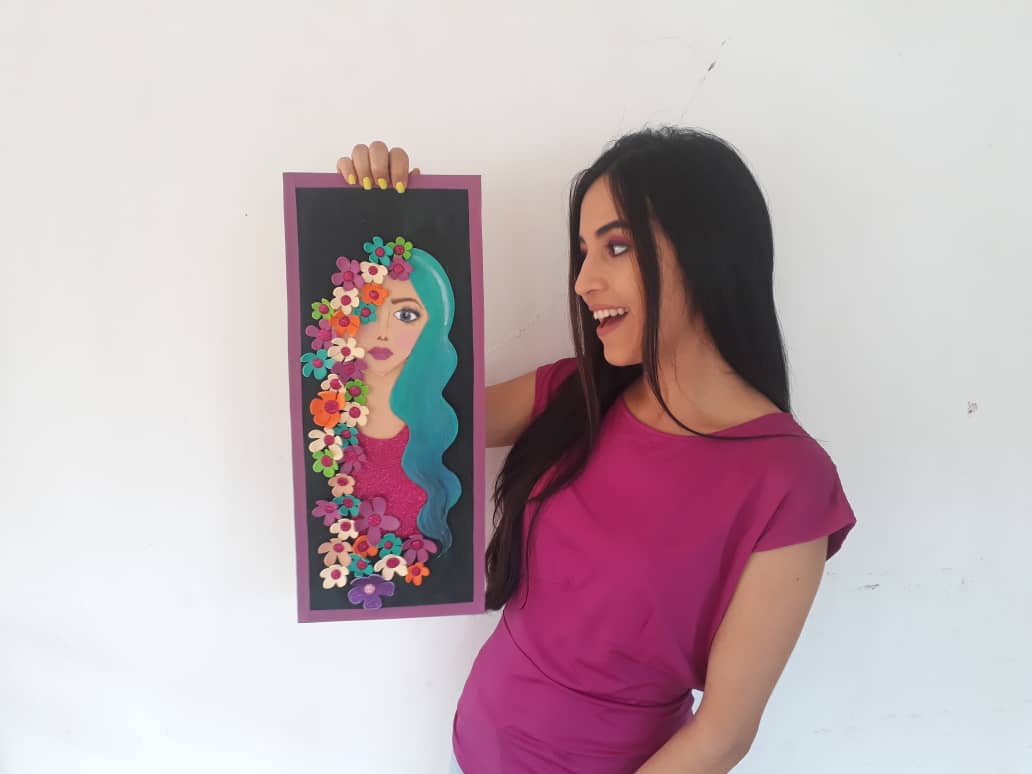
Seguidamente, pegamos las flores (una x una) para simular la parte restante del cabello de nuestra reina. Asegurándonos de que queden bien pegadas. Hermoso este rio de flores no?
Next, we glue the flowers (one x one) to simulate the remaining part of our queen's hair. Making sure they are well glued together. Beautiful this river of flowers, right?
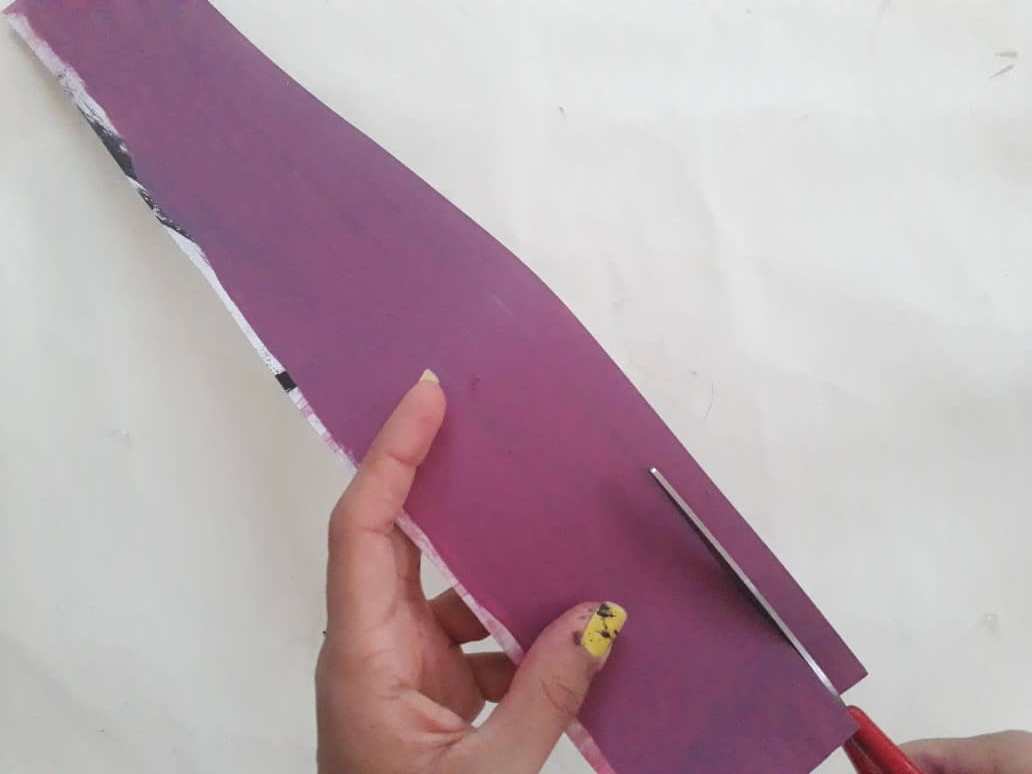
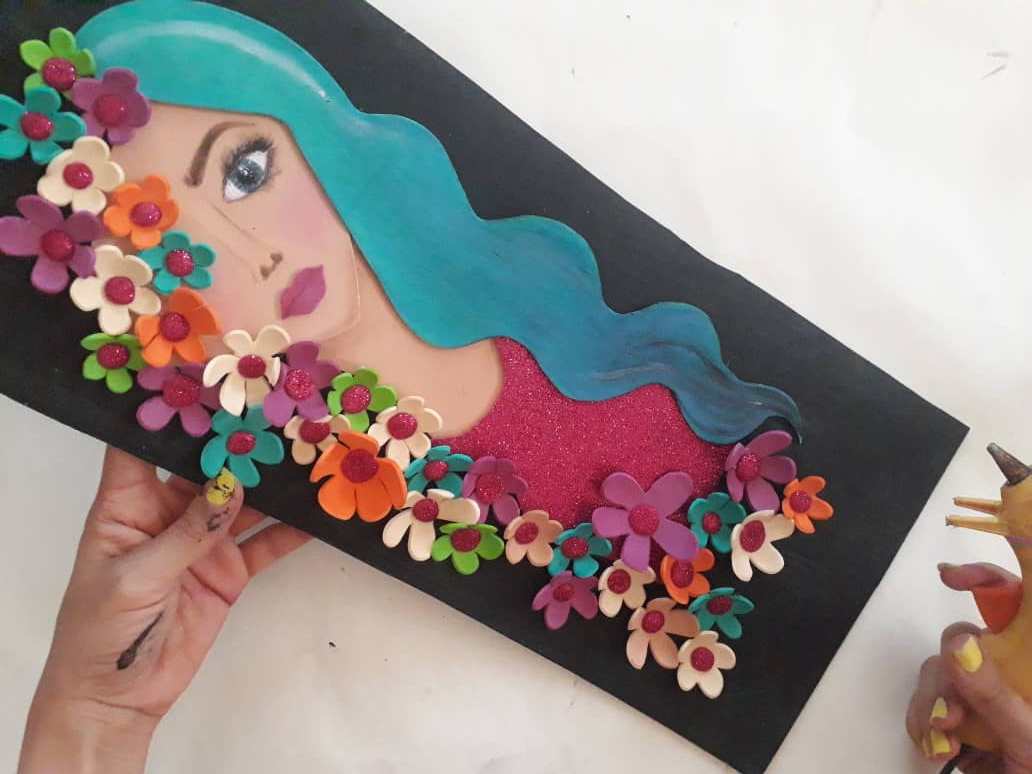
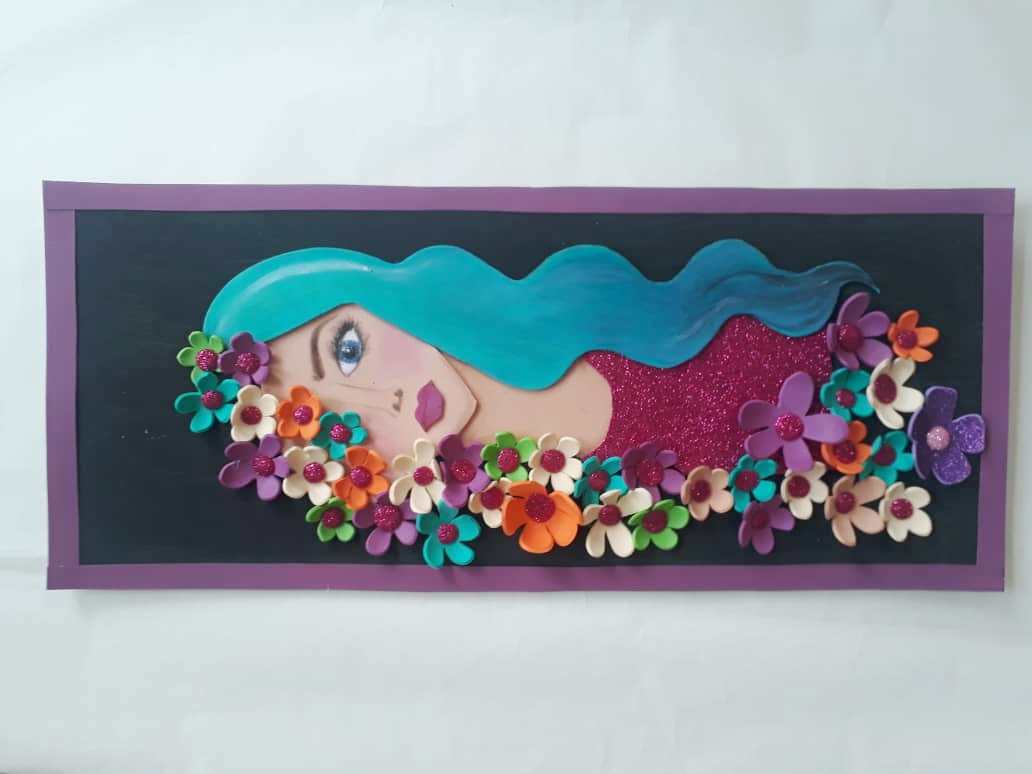
Finalmente, fabricamos un lindo marco con tiras de foami del color que más nos guste o combine, y seguidamente lo pegamos en al borde para decorar nuestro hermoso cuadro.
Finally, we make a nice frame with foamy strips in the color that we like or combine the most and then glue it to the edge to decorate our beautiful painting.
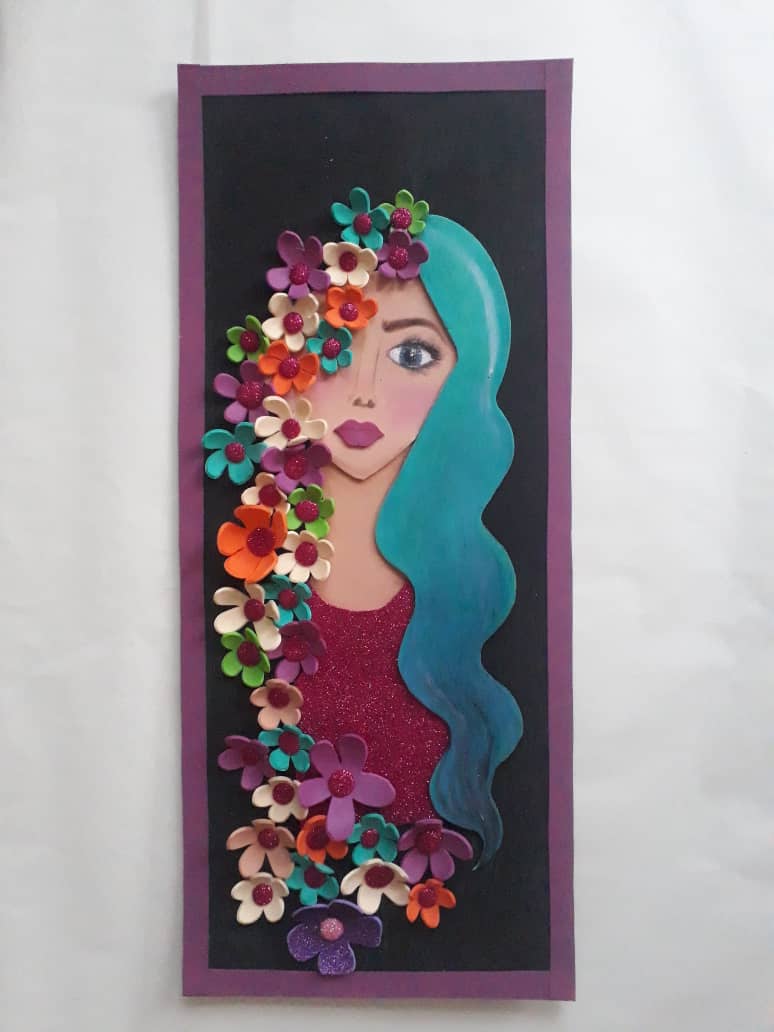
Gracias por acompañarme y espero que lo hayan disfrutado. ❤️
Thanks for joining and I hope you enjoyed it.❤️

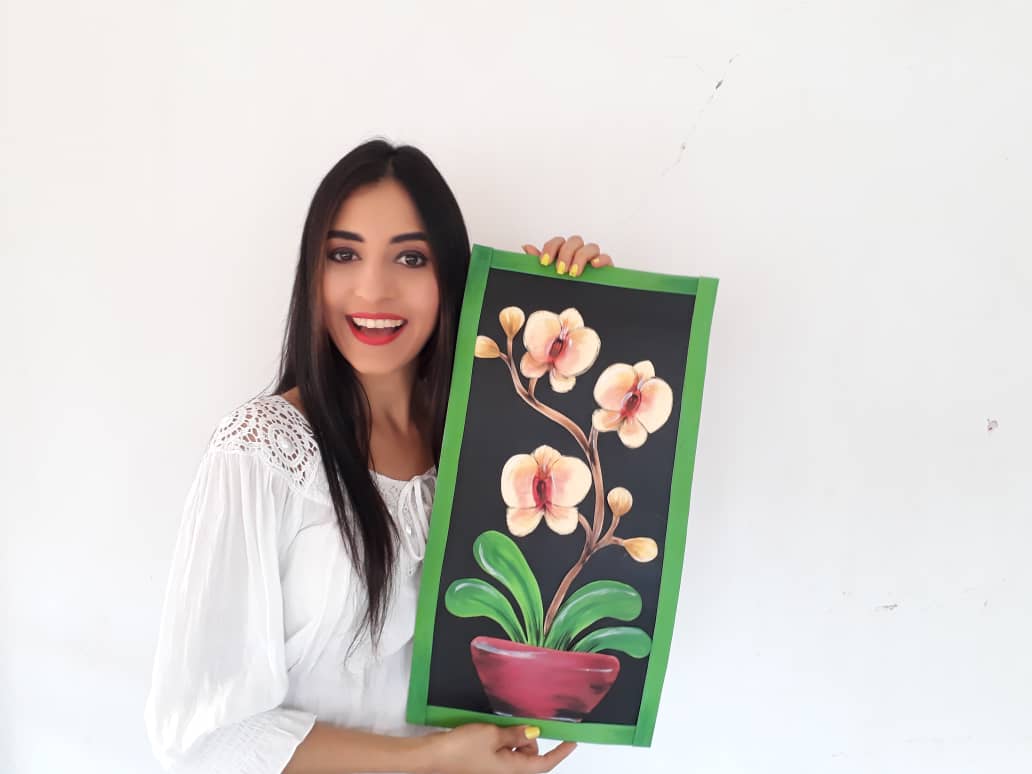
Clic para ver trabajos anteriores | Click to see previous works
.jpeg)

.jpeg)


My twt #posh
Really cool painting, Sara. Keep up with the good work. 🤗
Thanks dear friends!! <3 XOXOX
Congratulations, your post has been upvoted by @dsc-r2cornell, which is the curating account for @R2cornell's Discord Community.
Very much <3
So beautiful my friend! So creative you are
Thank you dear, I am very happy that you like what I do. Greetings <3
Esta todo genial, eres una artista, me encanta tus post.
Eres una maestra. Felicitaciones
Gracias por venir y dejar tu lindo comentario, me alegra que te haya gustado. Saludos y bendiciones para ti.
Very beautiful your work @saracampero, I would love to make one of your paintings and give it to a special person!
Good that you like what I do dear. Thank you for coming to see my humble work. Animate are easy to do.
No pensaba que el foami puede ser tan versátil. Que gran idea y Genial cuadro 💪
Así como lo ves querida. 😊 Gracias por venir y comentar.
Muy hermoso trabajo, fácil de realizar muy creativa, saludos
wonderful, just saying wonderful. Superbly decorated. Keep it up.
Que belleza mi amiga...
This post earned a total payout of 38.290$ and 19.145$ worth of author reward that was liquified using @likwid.
Learn more.