Yeelllooowww guys! Just kidding, hey guys! How are you? Is everything going great? I hope so.
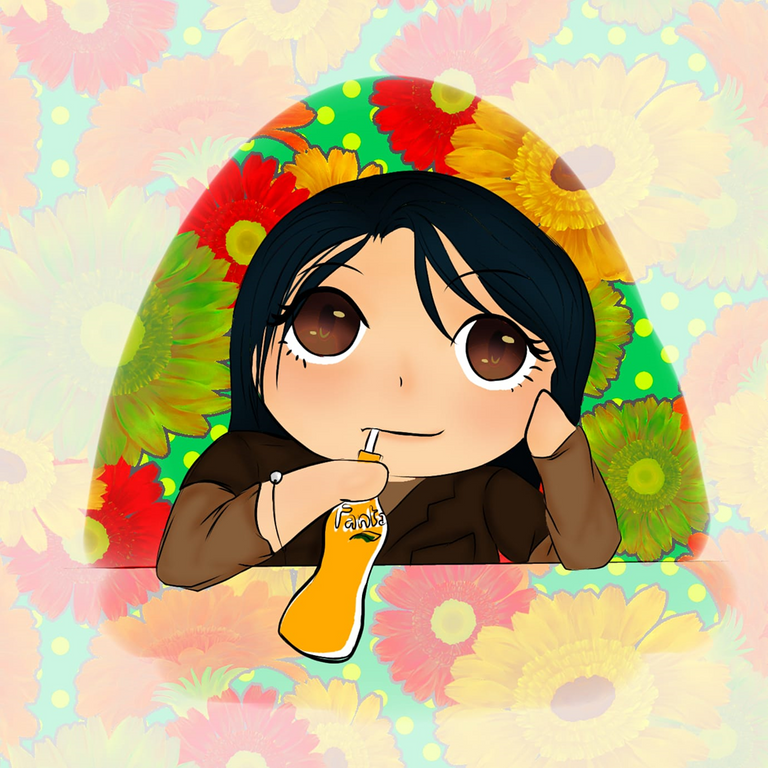
Today, my illustration is of a cutie enjoying her favorite drink while I was enjoying mine which is tea. Now the reference image of this illustration is of my bestie whose favorite drink is Fanta. And therefore, here I am trying to draw her in chibi form. Let me warn you, I am not an expert hence her face doesn’t look that round. She is more like a skinny sexy lady. Oops! Hehe! Anyways let’s begin. Also, guys, this illustration has been done in ibispaint x. Now first I start with the sketch.
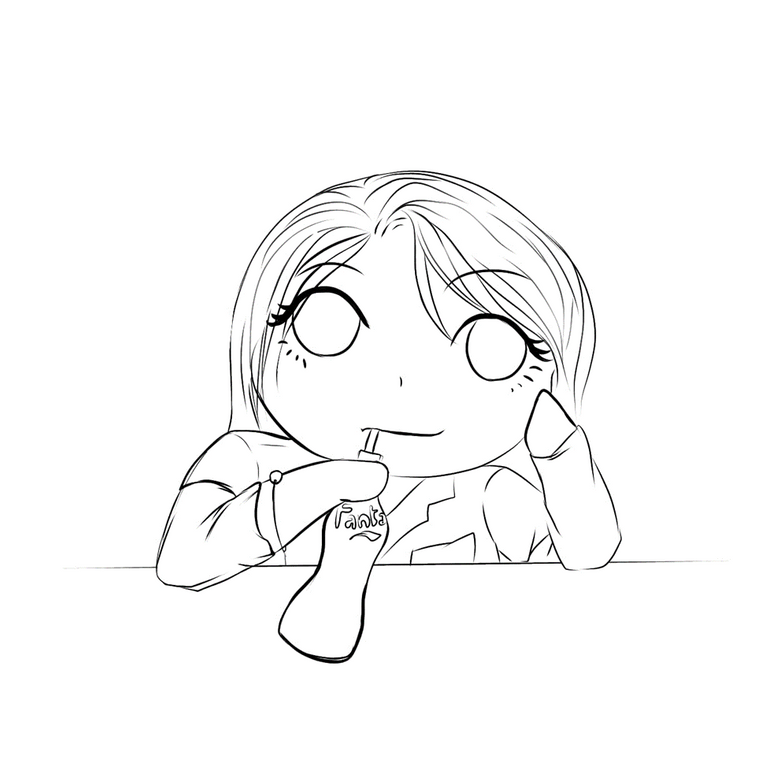
It’s cute, isn’t it? So let’s begin the coloring.

First I color the shirt with a paint bucket and then used the ‘airbrush (normal)’ tool to shade.
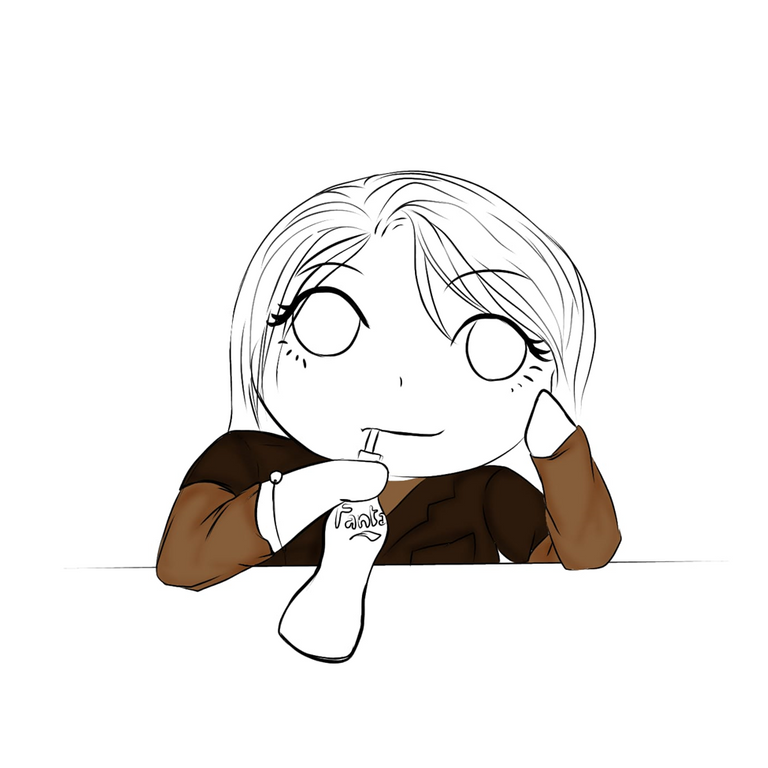
Repeat the same process.
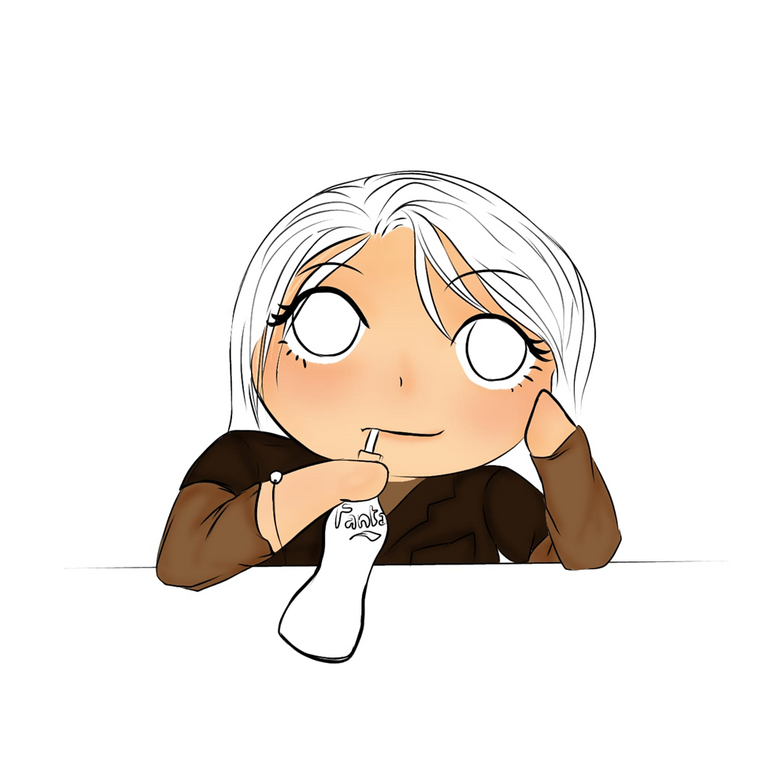
Here I colored the skin and then used the ‘airbrush (normal)’ tool to shade and add some blush.
Next is her hair. Same here again, I first colored and then shaded with the same airbrush tool.
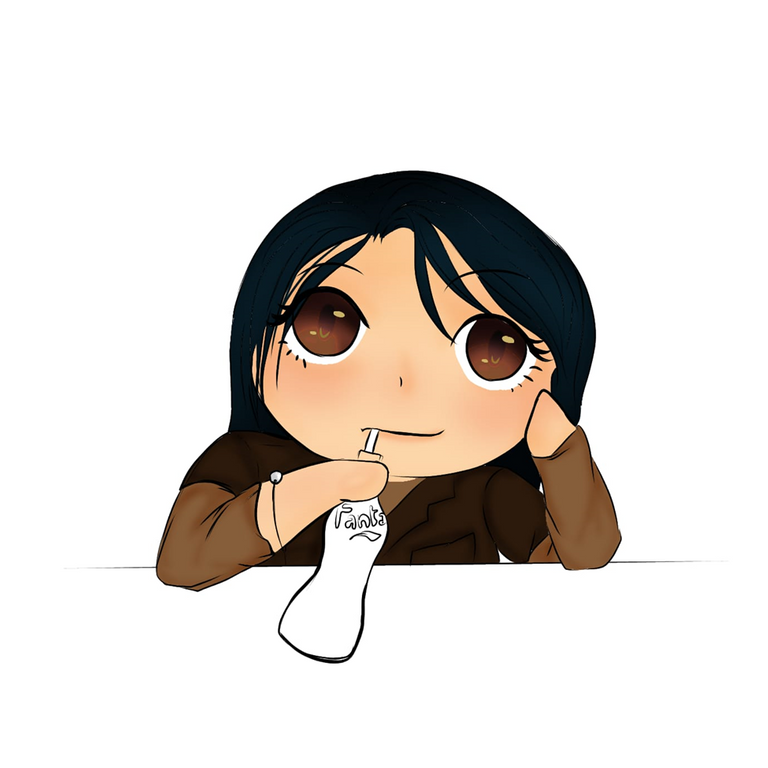
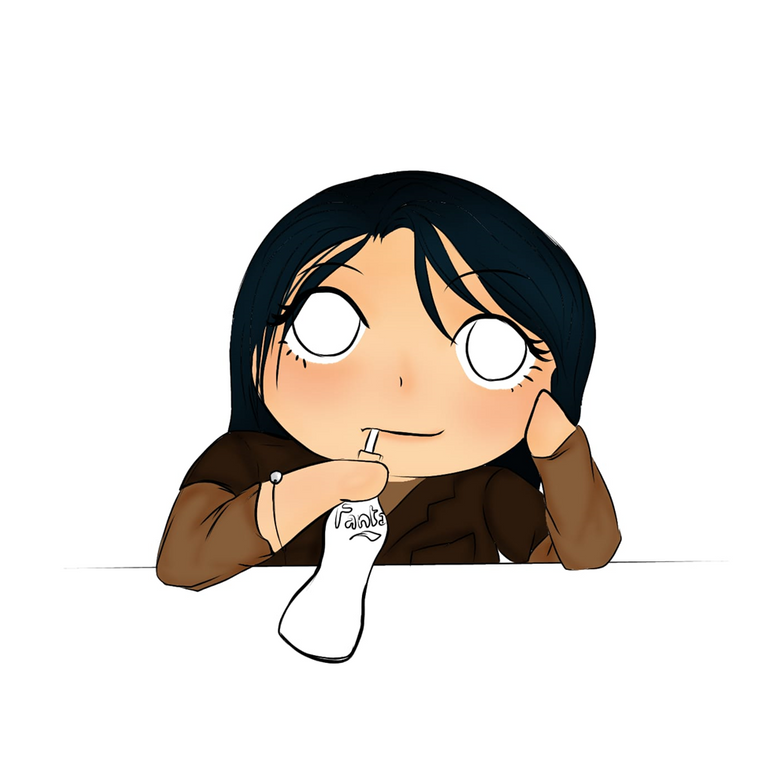
Here is her eyes part. Okay, I guess I have mentioned to you guys before in my last post that anime eyes are the complicated part. So let me have the privilege to tell you how I did the eyes. First in one layer just simply color the eyes. Then add two new layers. Put one layer in multiplied effect and the other one in screen effect. Then in the multiplied layer use the same airbrush tool to shade the upper part of the eyes. In the screened layer use the airbrush tool to shade the eyes lighter in the lower part of the eyes. Then in another new layer, draw two black oval shapes in the center of both eyes and put that layer in multiplied effect too. Next, draw a small circle of white the lightest color of the eyes to show the reflection of the eyes. Make sure to keep them close around the black oval shape which is represented by the iris.
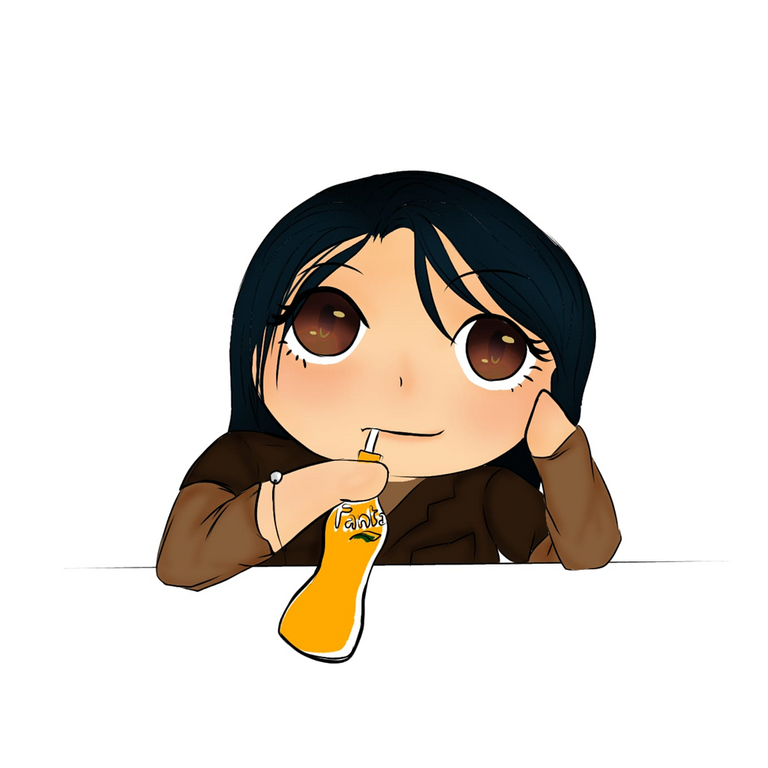
Then to color her favorite drink which isn’t much.
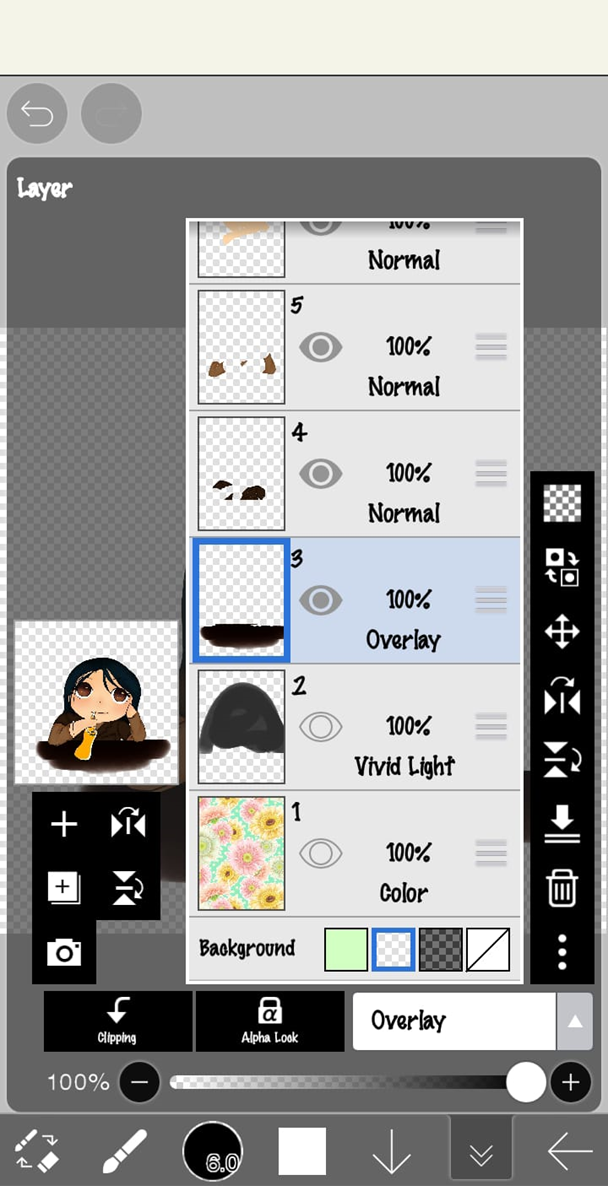
As you can see above ‘layer 3’ is put in overlay effect and ‘layer 2’ in vivid light effect. I put these two layers to create shadow which you guys will understand in the next image below.
And that’s the end of today’s post. I hope you guys have enjoyed the post and my illustration. For now, bye guys until the next post. Take care!