![]()
Welcome to May ..Hopefully it will be a month full of grace for the taurus zodiac and this is a the month this I was born .
In the last week, before entering may month. I had the opportunity to work on small projects using wood waste as a material for household furniture that is often used in everyday life.
The idea of wood waste treatment has been in my mind for a long time but this is the first time I have the opportunity to work on this project ..
![]()
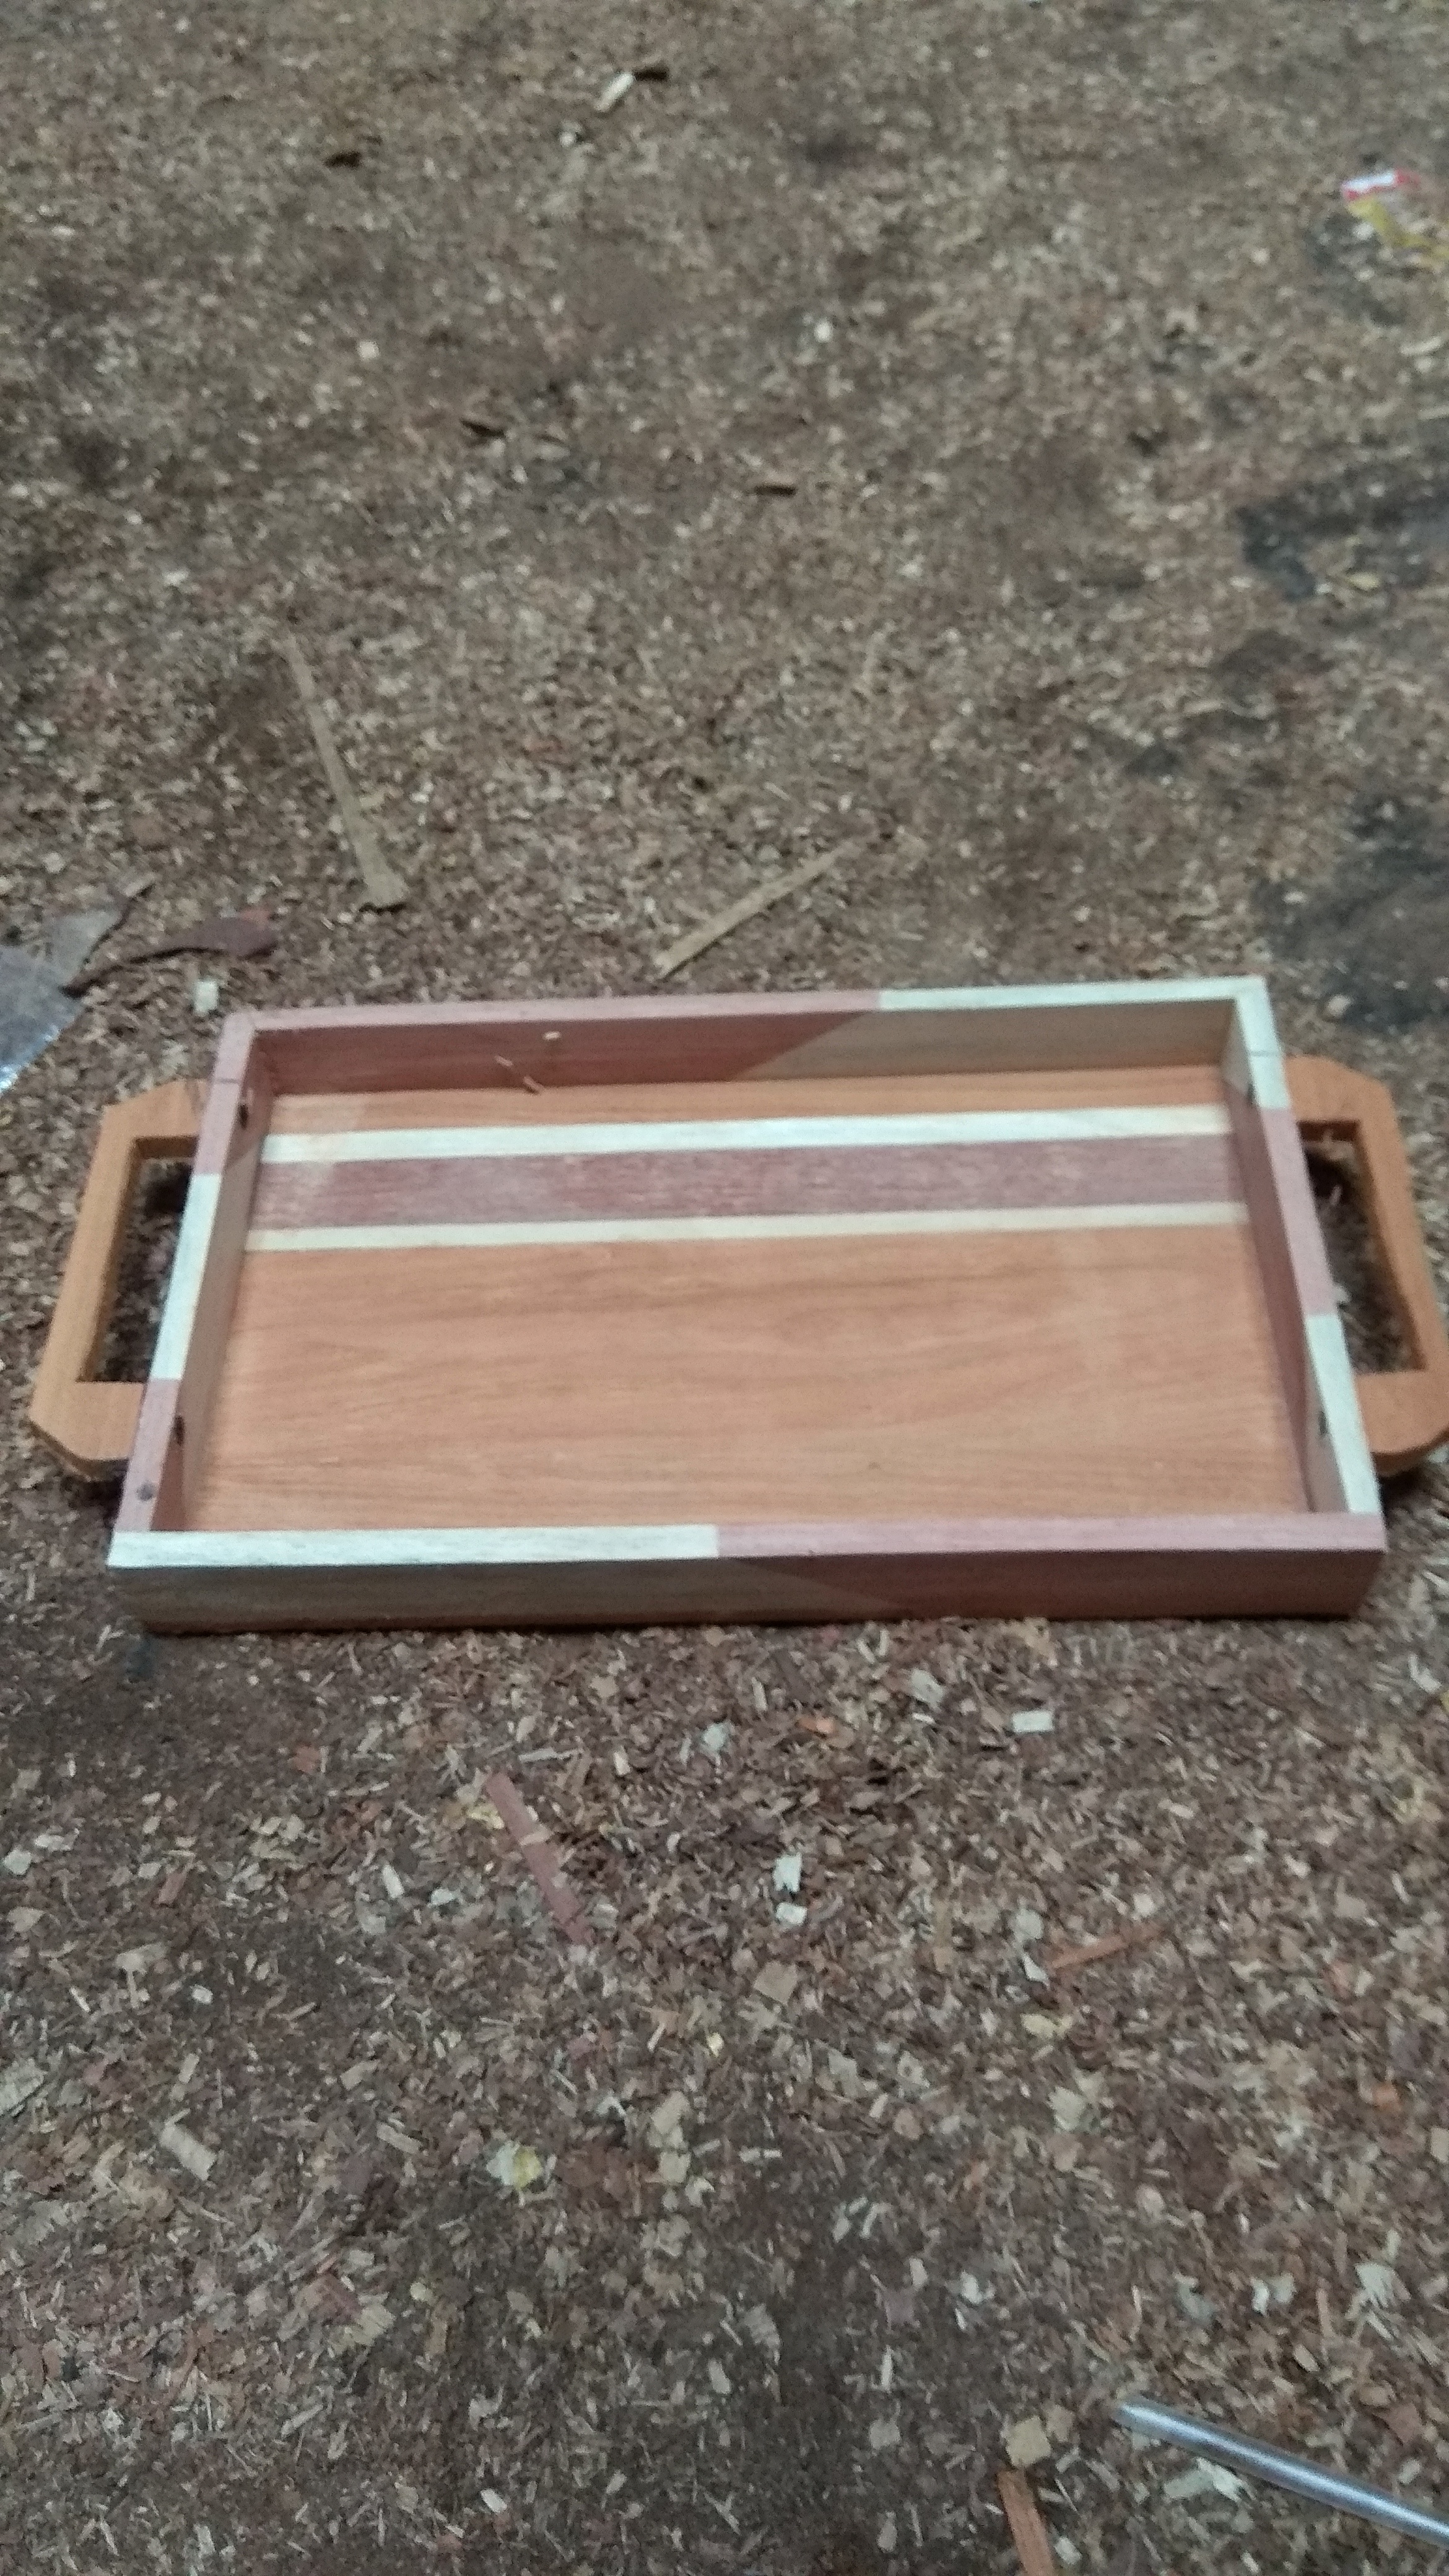
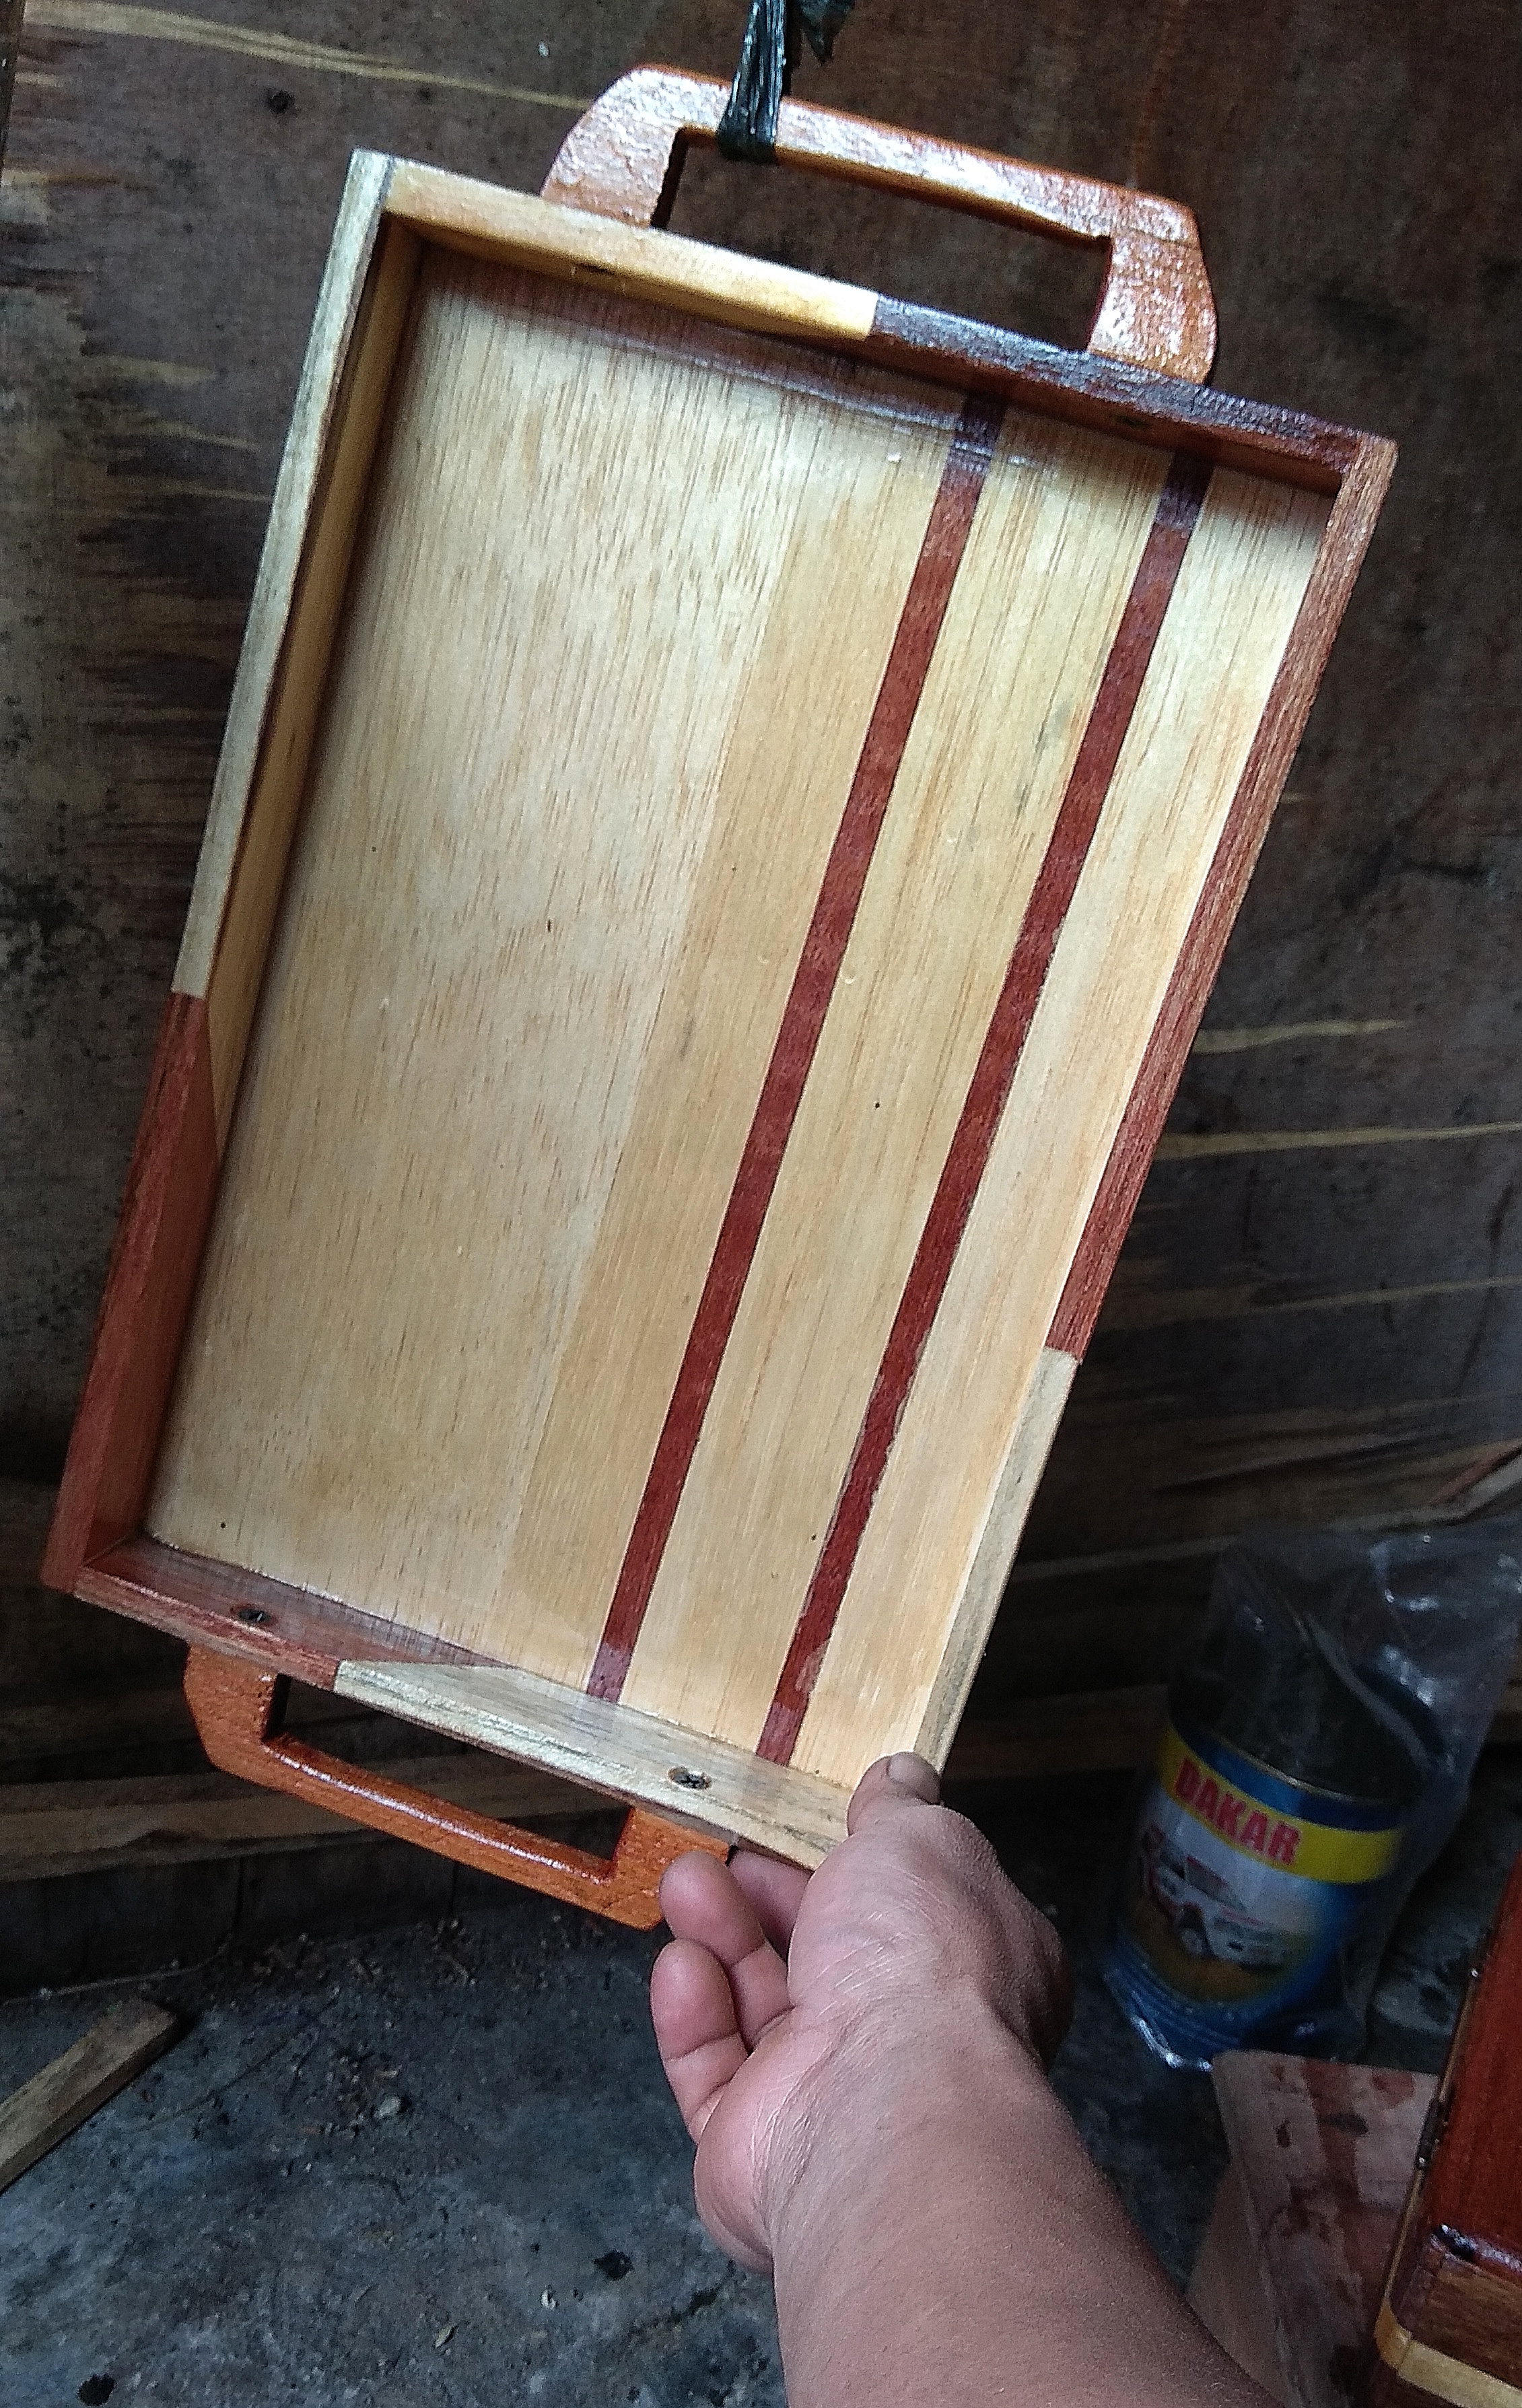
This is it trays are one type of household material that is often used for everyday purposes and the trays that you can easily get on the market are made of plastic with a very attractive design.
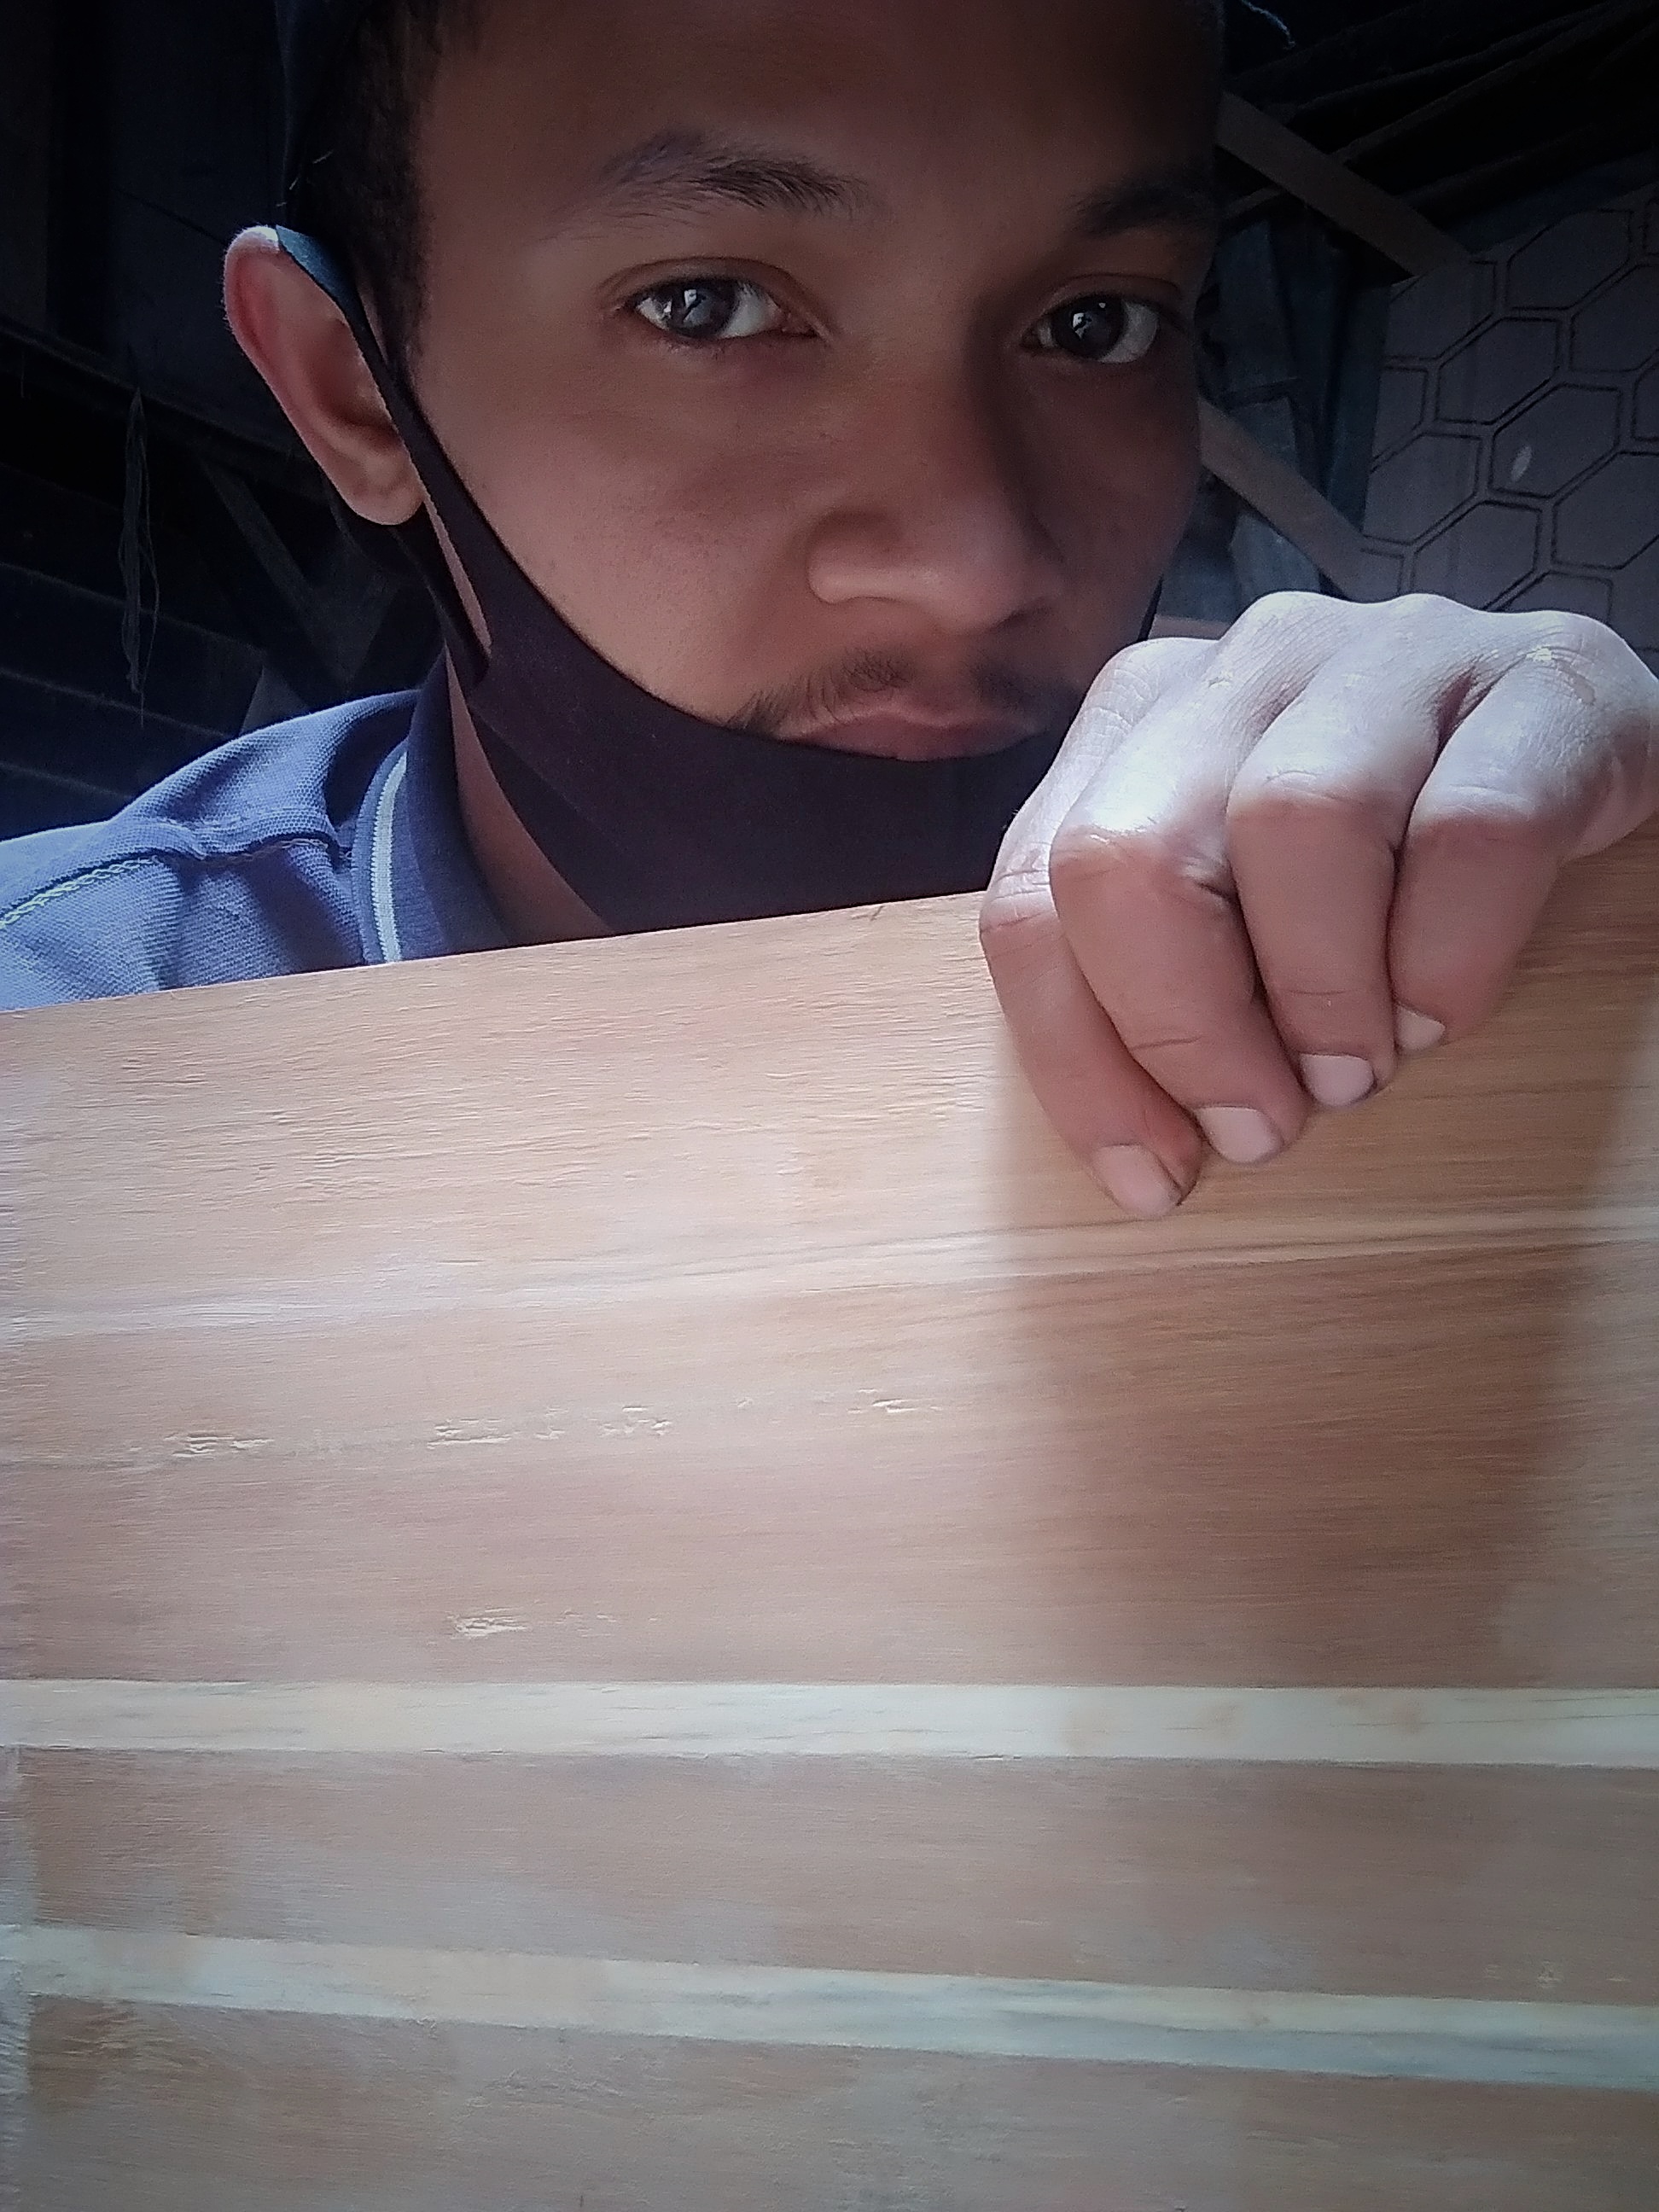
I am @deltasteem from aceh the province of Indonesia .
![]()
I work as a furniture architecture and I will share how I take advantage of wood waste and I decided to try out some natural color trays / patterns using basic materials from wood waste CV. Furniture where I am working in several natural wood color collaborations to produce a unique talam color that attracts the attention of housewife.
![]()
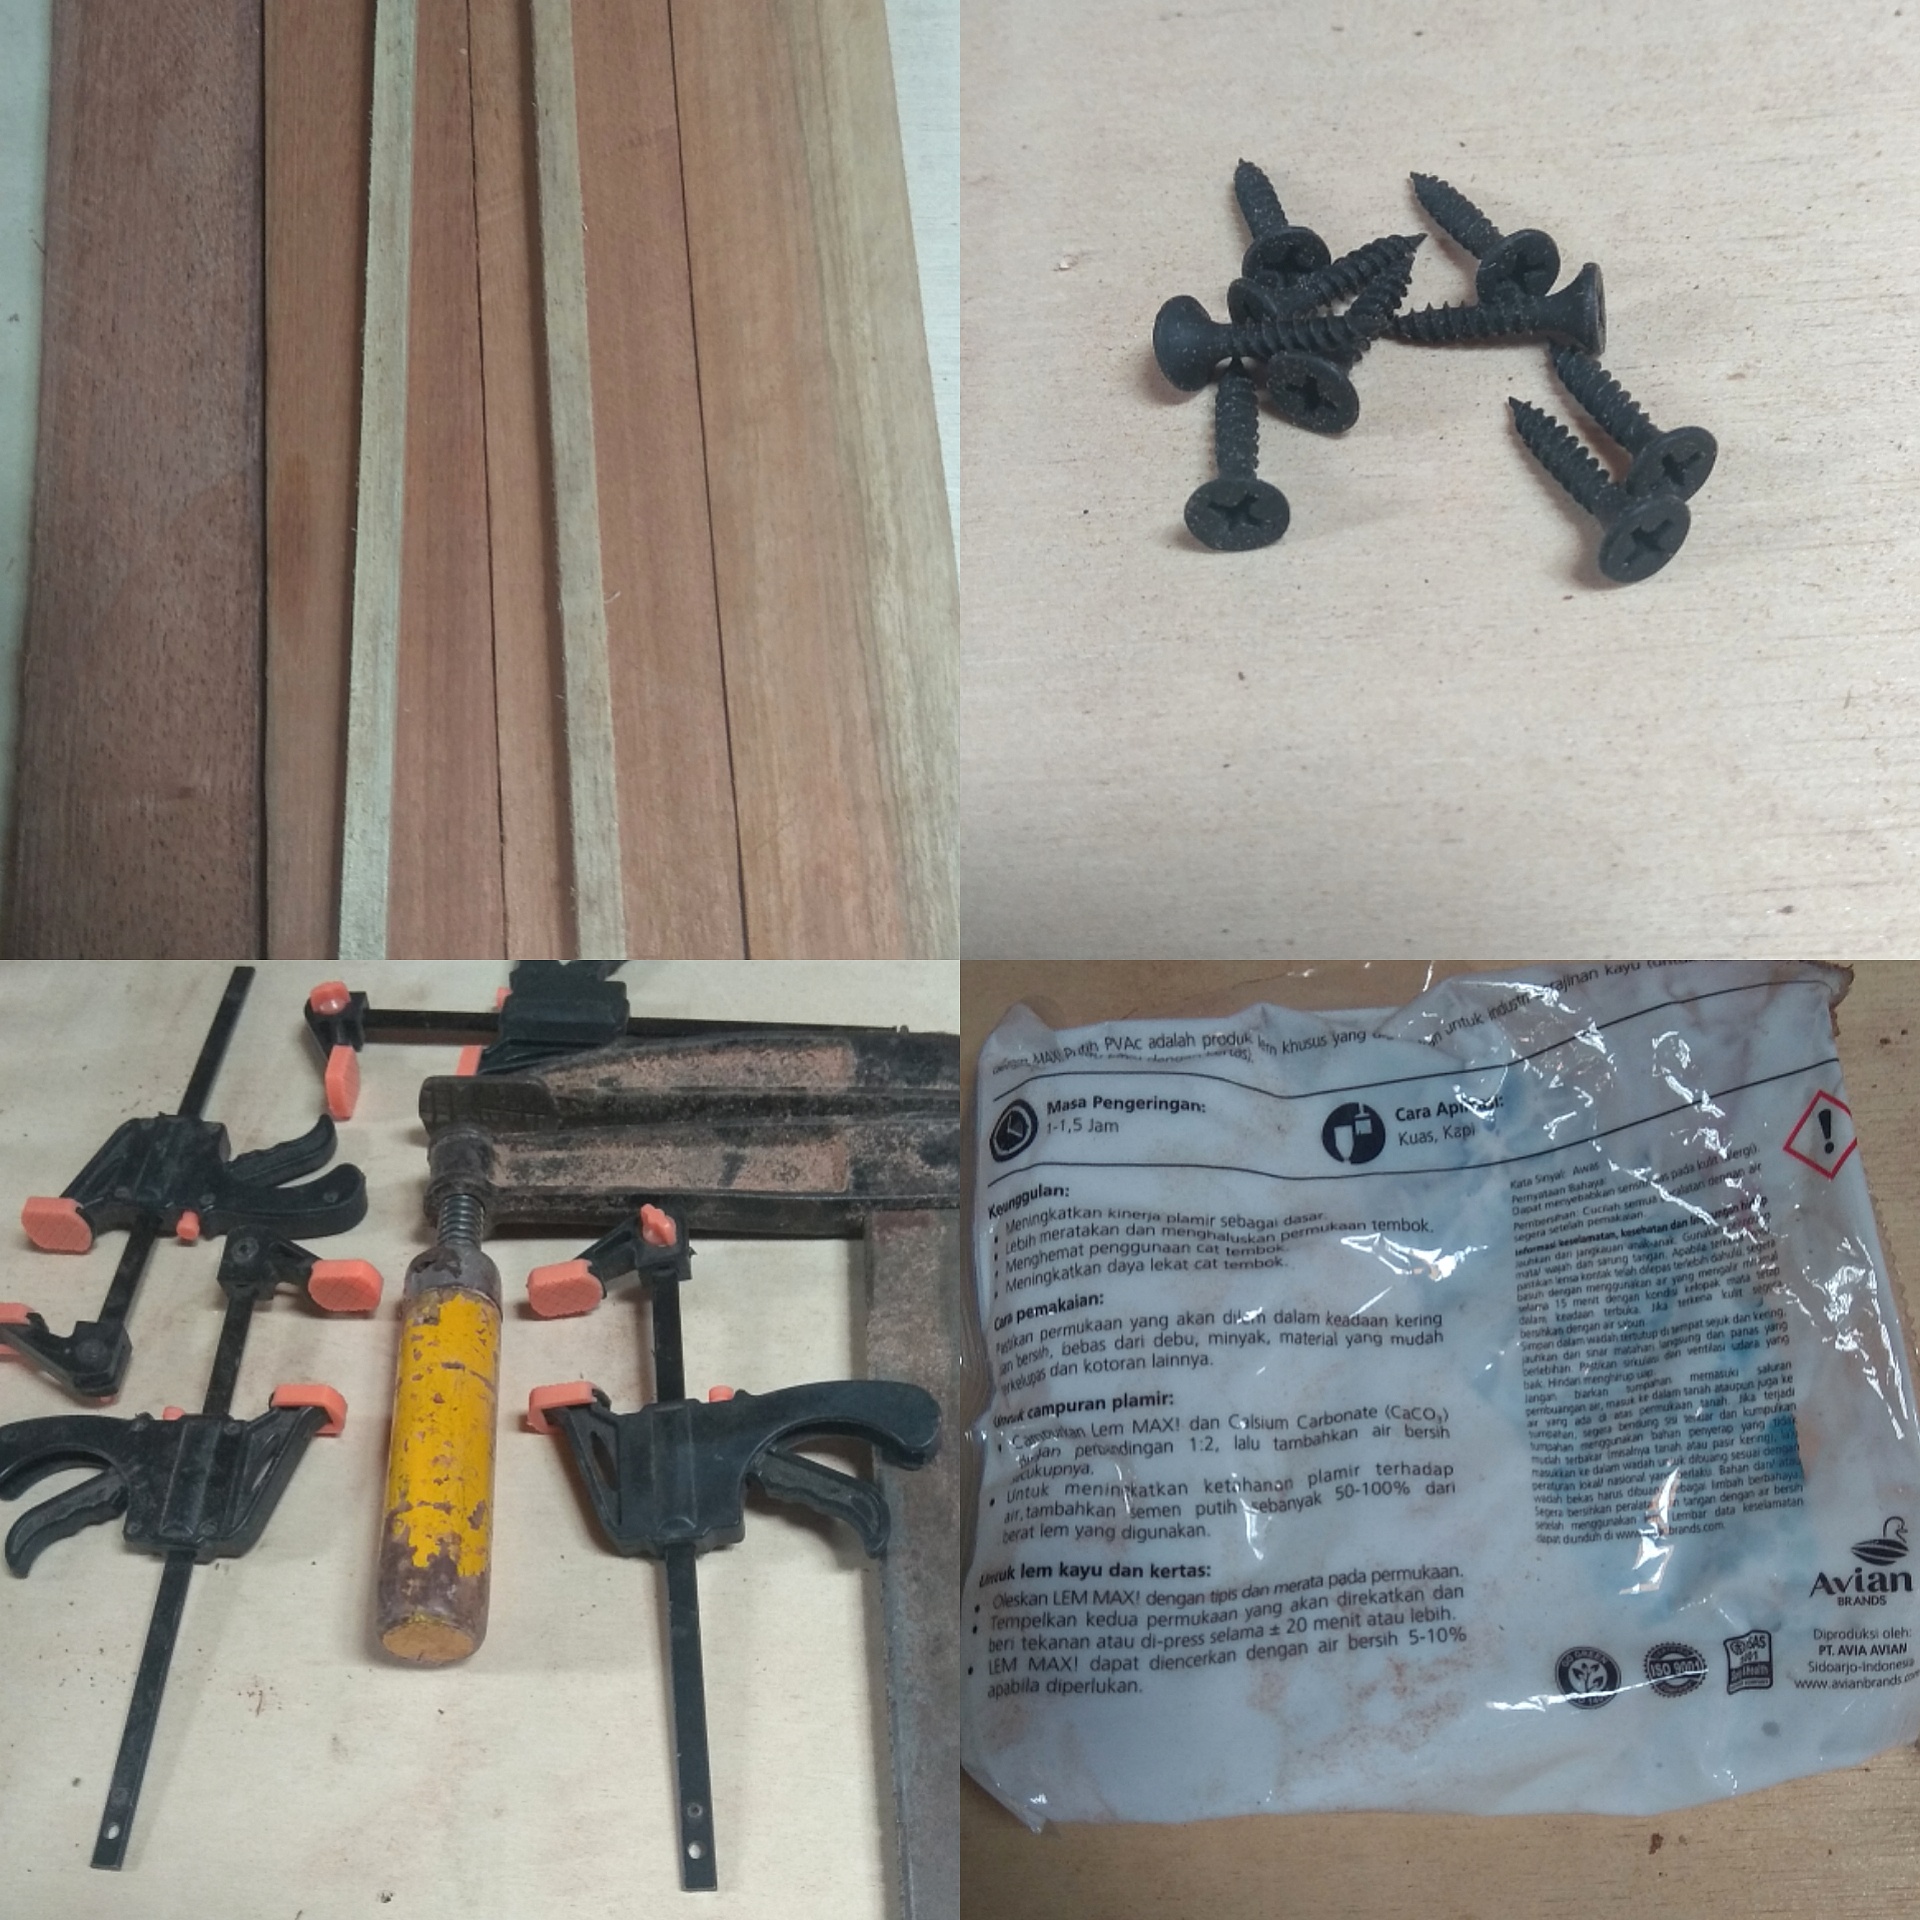
I made this tray for my own use and I made it in several different sizes depending on the size of the wood waste I got and for the process of making this tray a little complicated, if you want to try it you need to provide some equipment including;
![]()
![]()
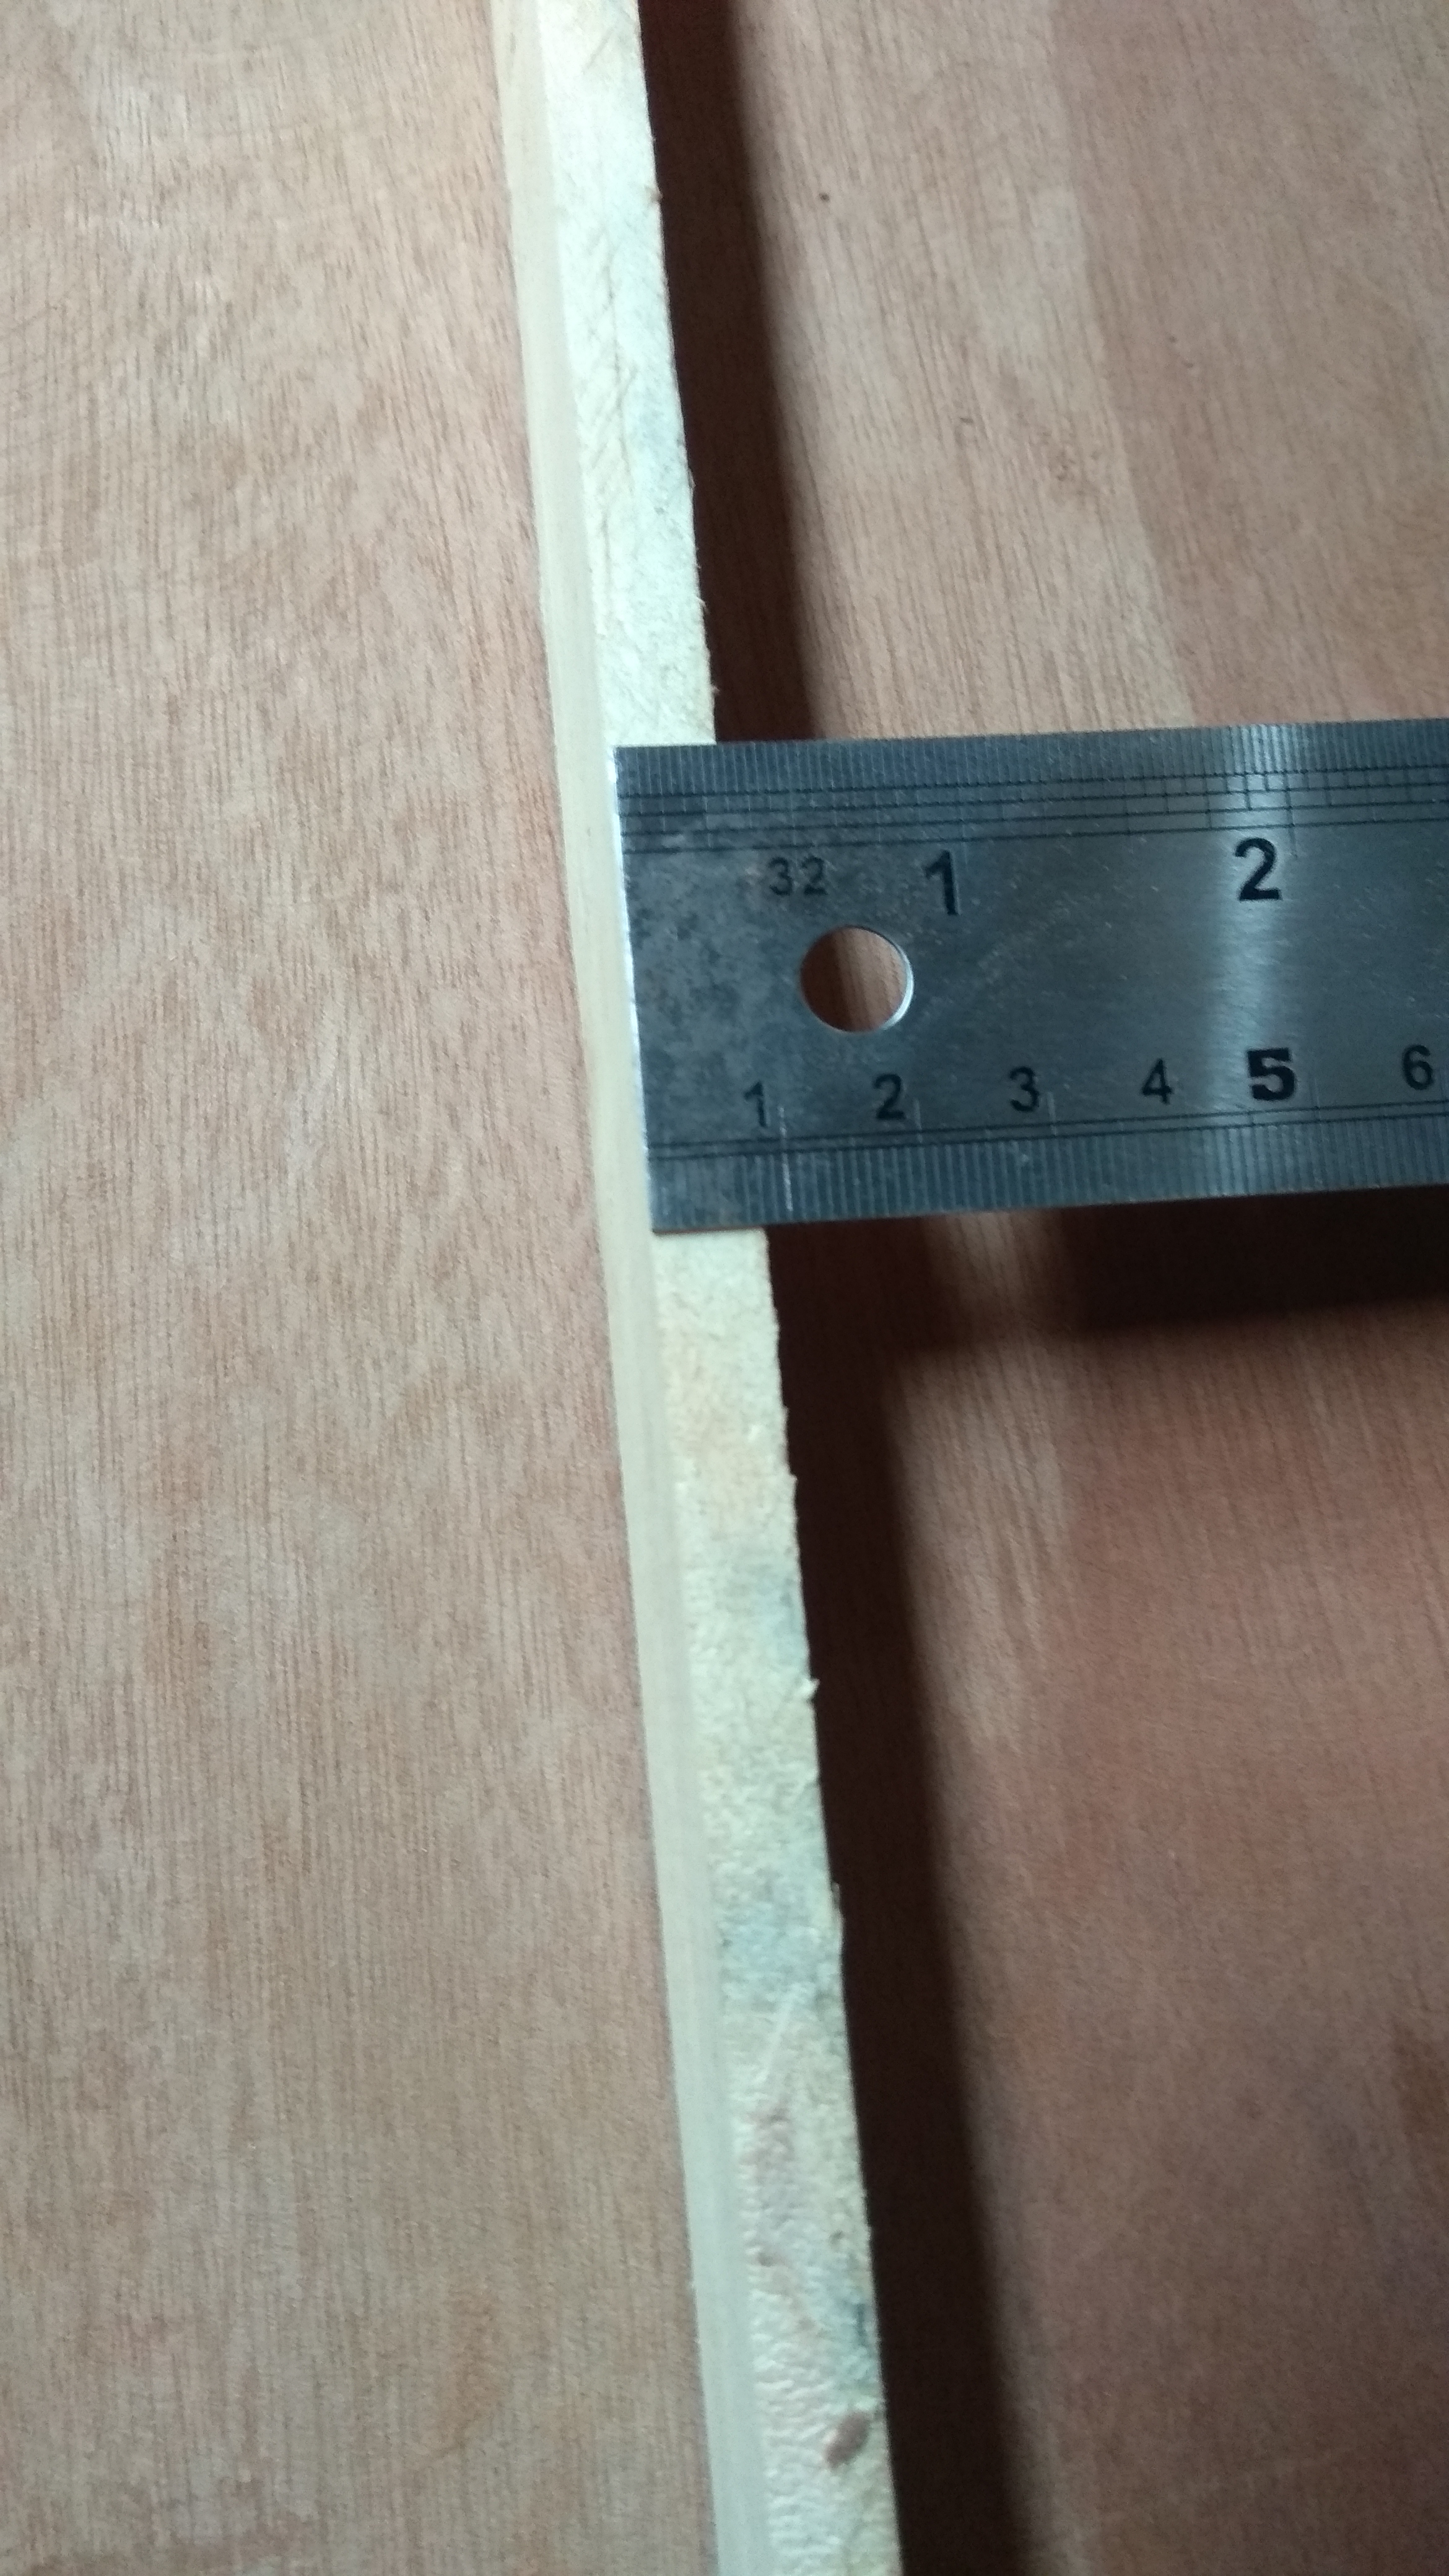
For the thickness of the wood as a floor, I made wood with a thickness of 1 / 8mm and an area of 30x40 or 25x35 for the floor size and for the thickness of the walls I used wood measuring 1x3.5cm or 1x3cm.
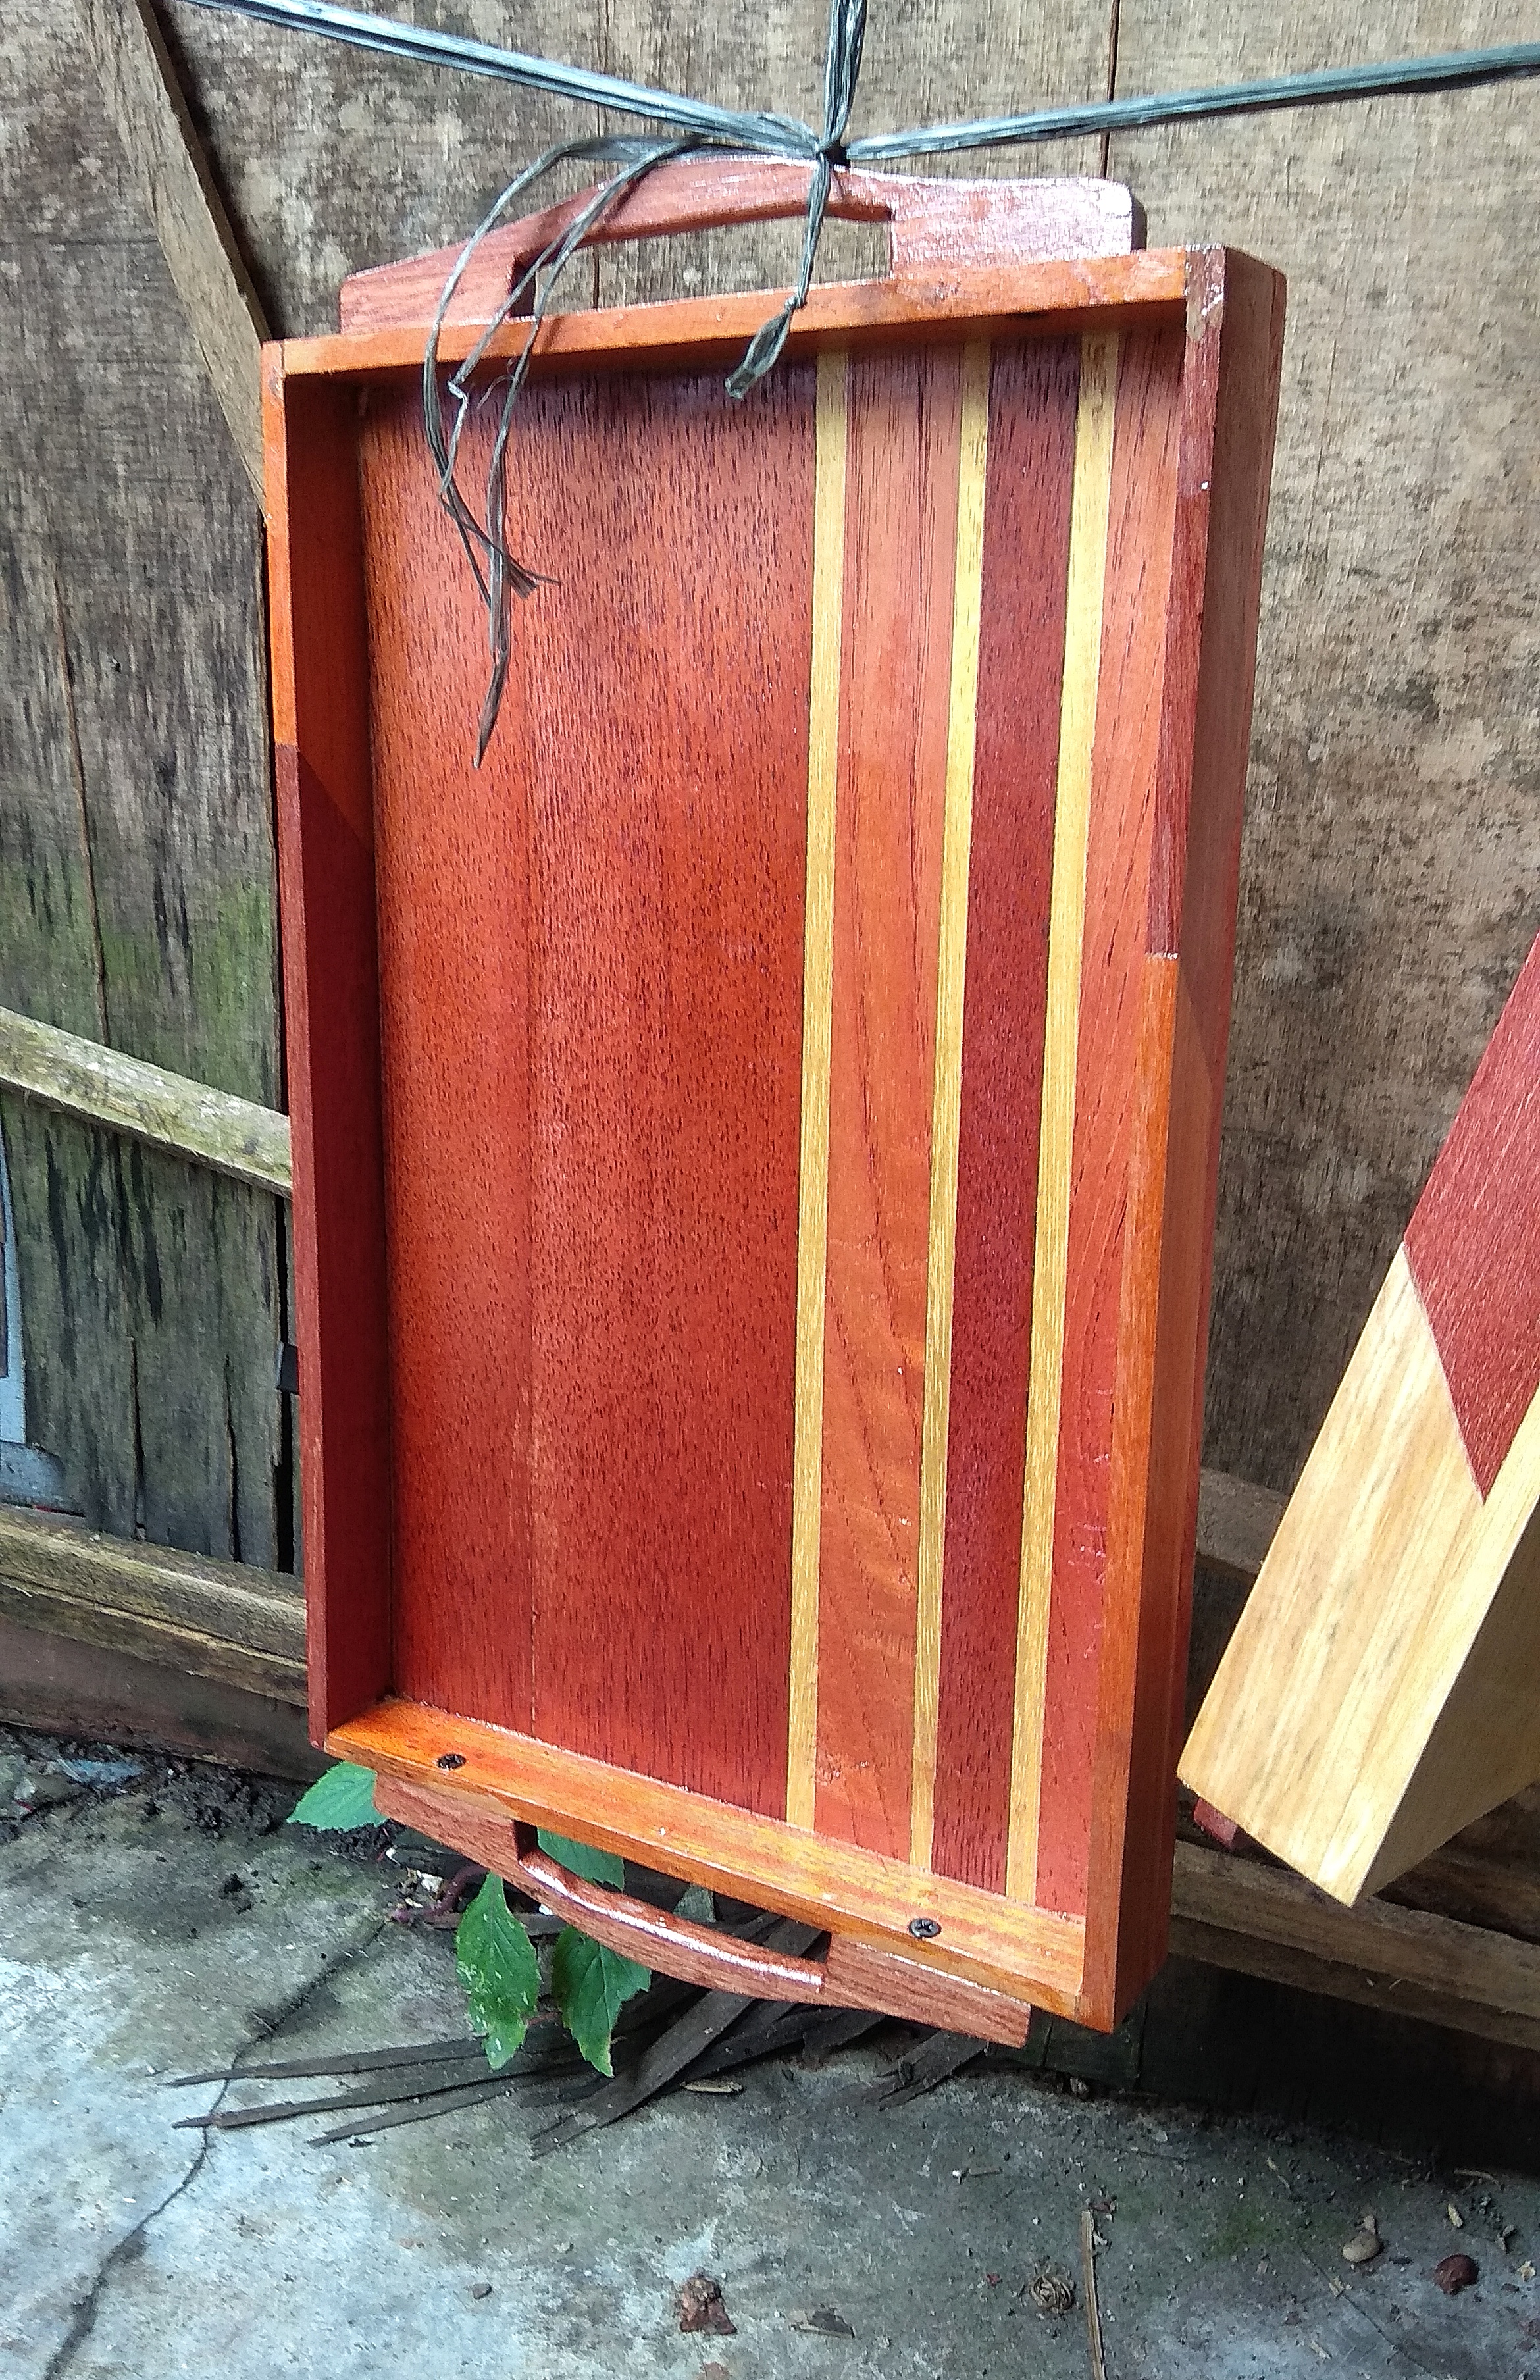
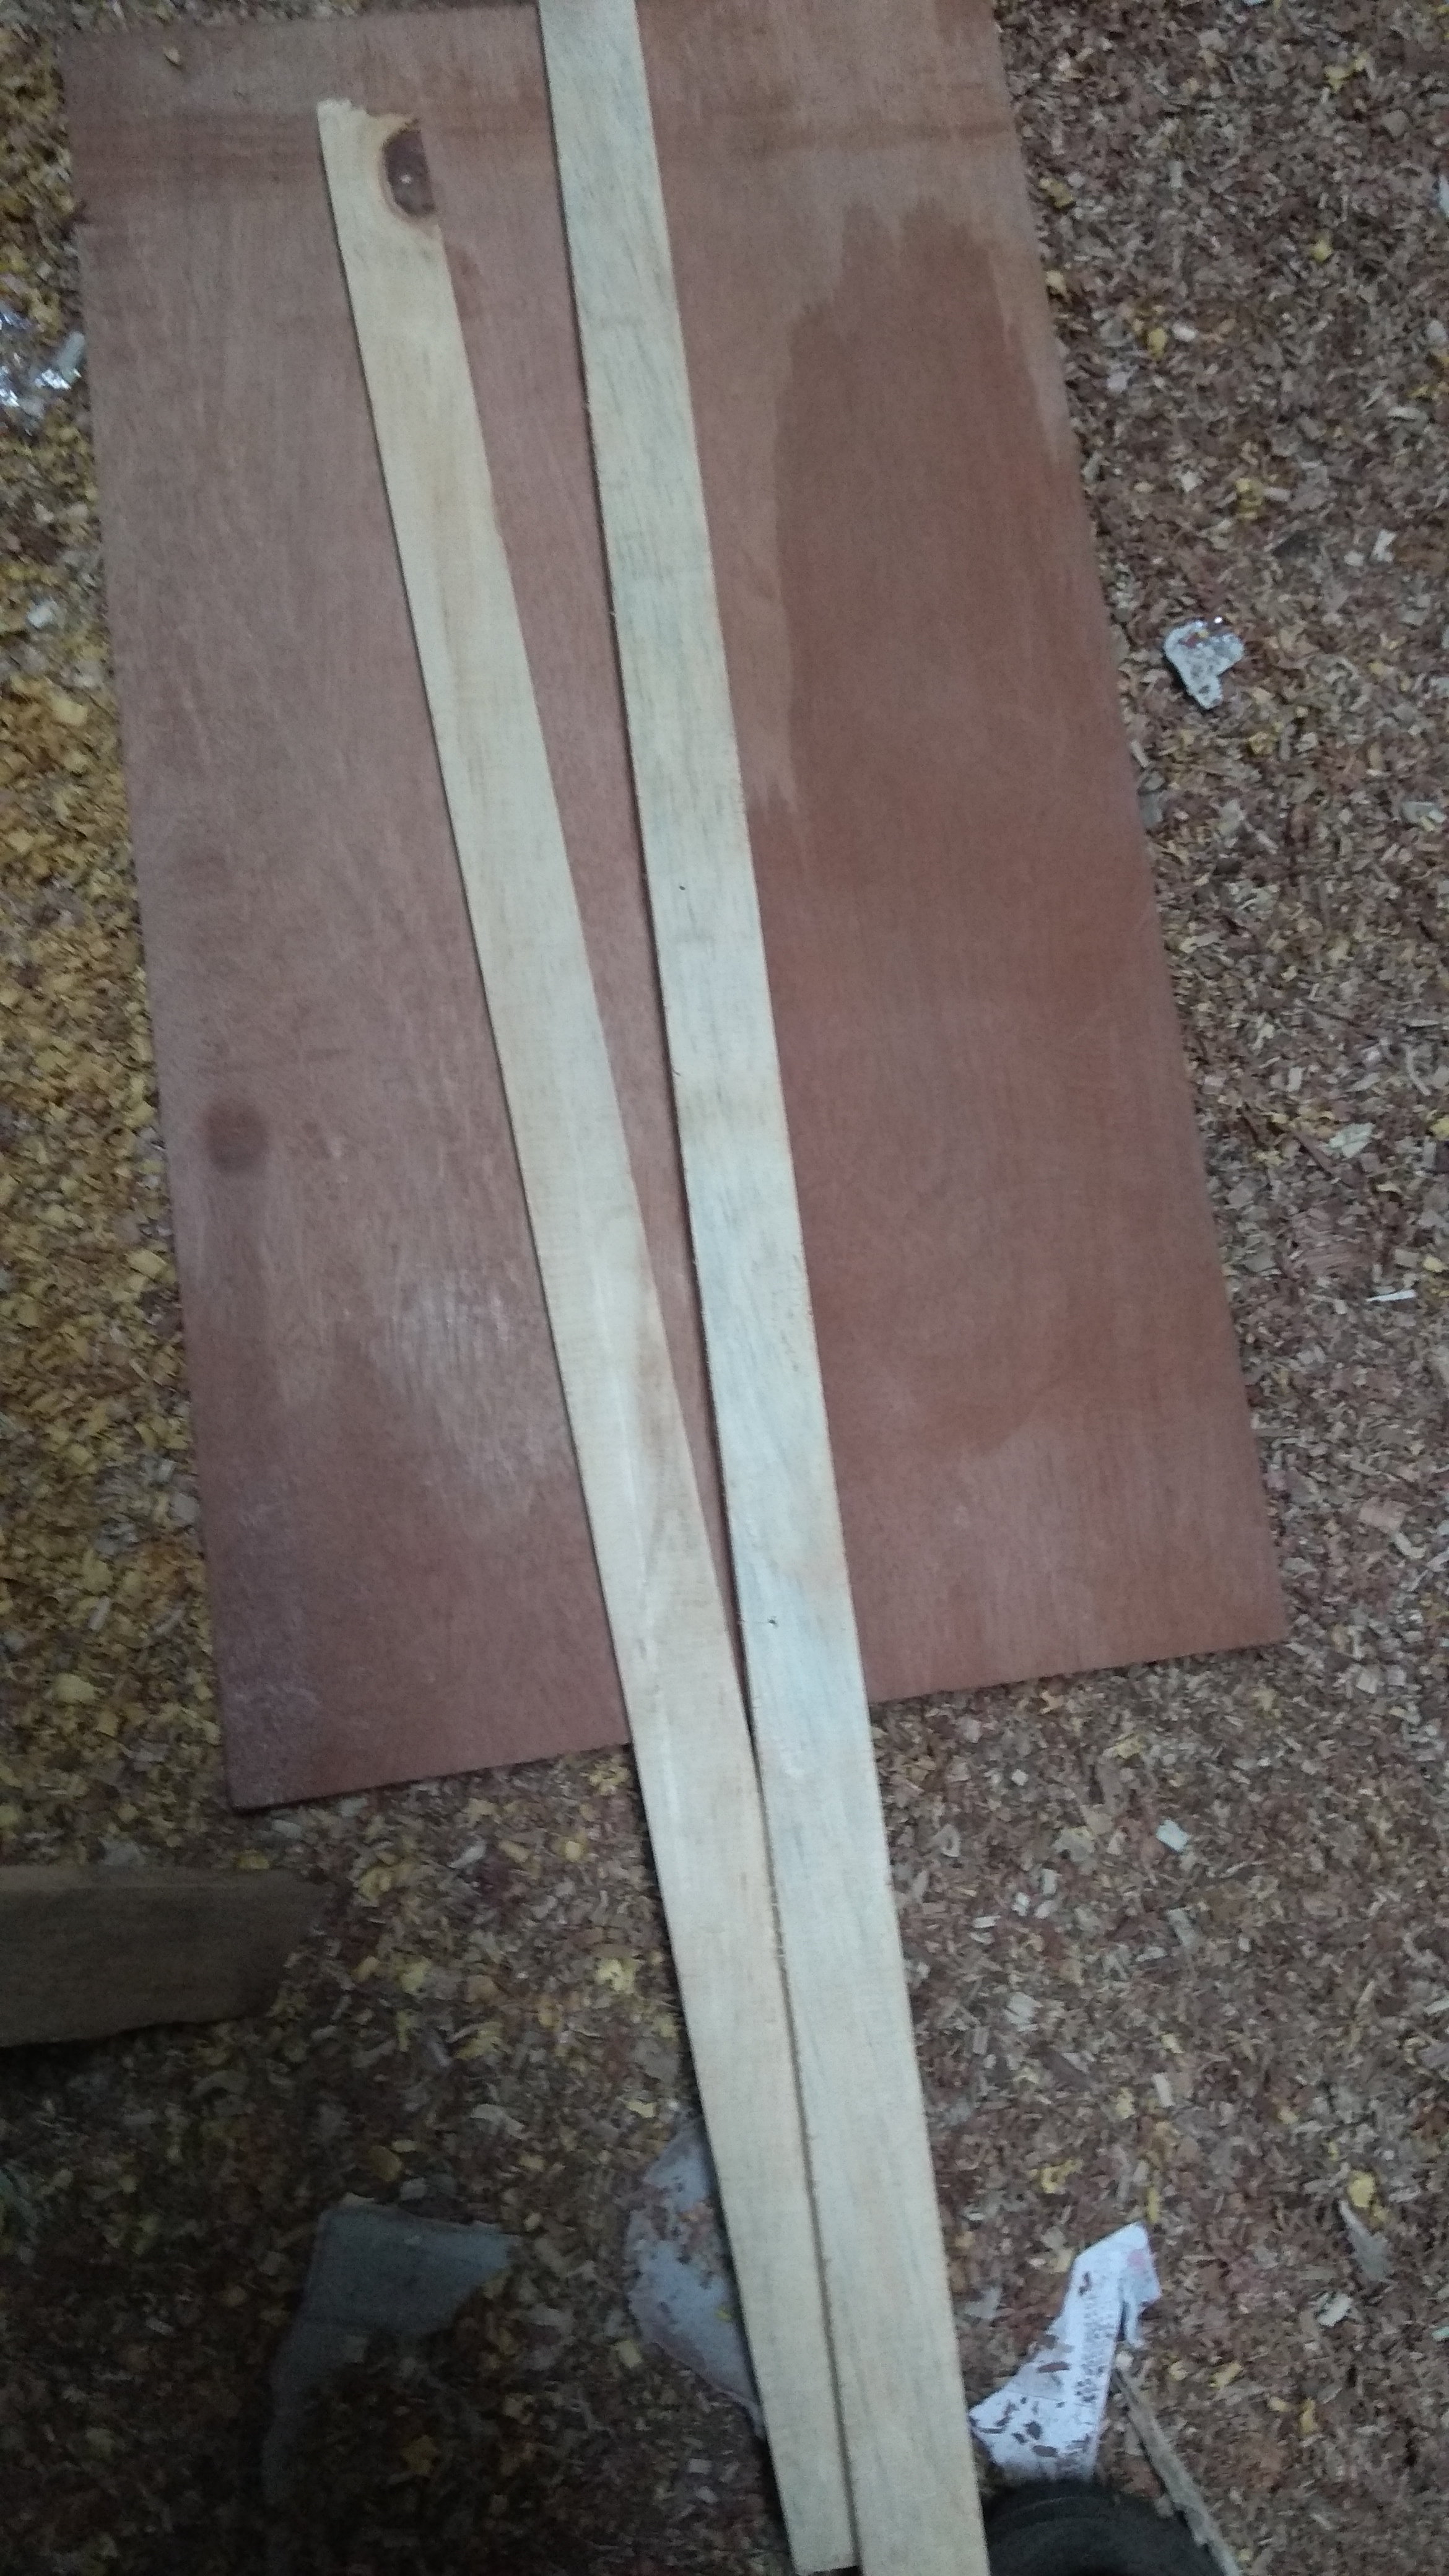
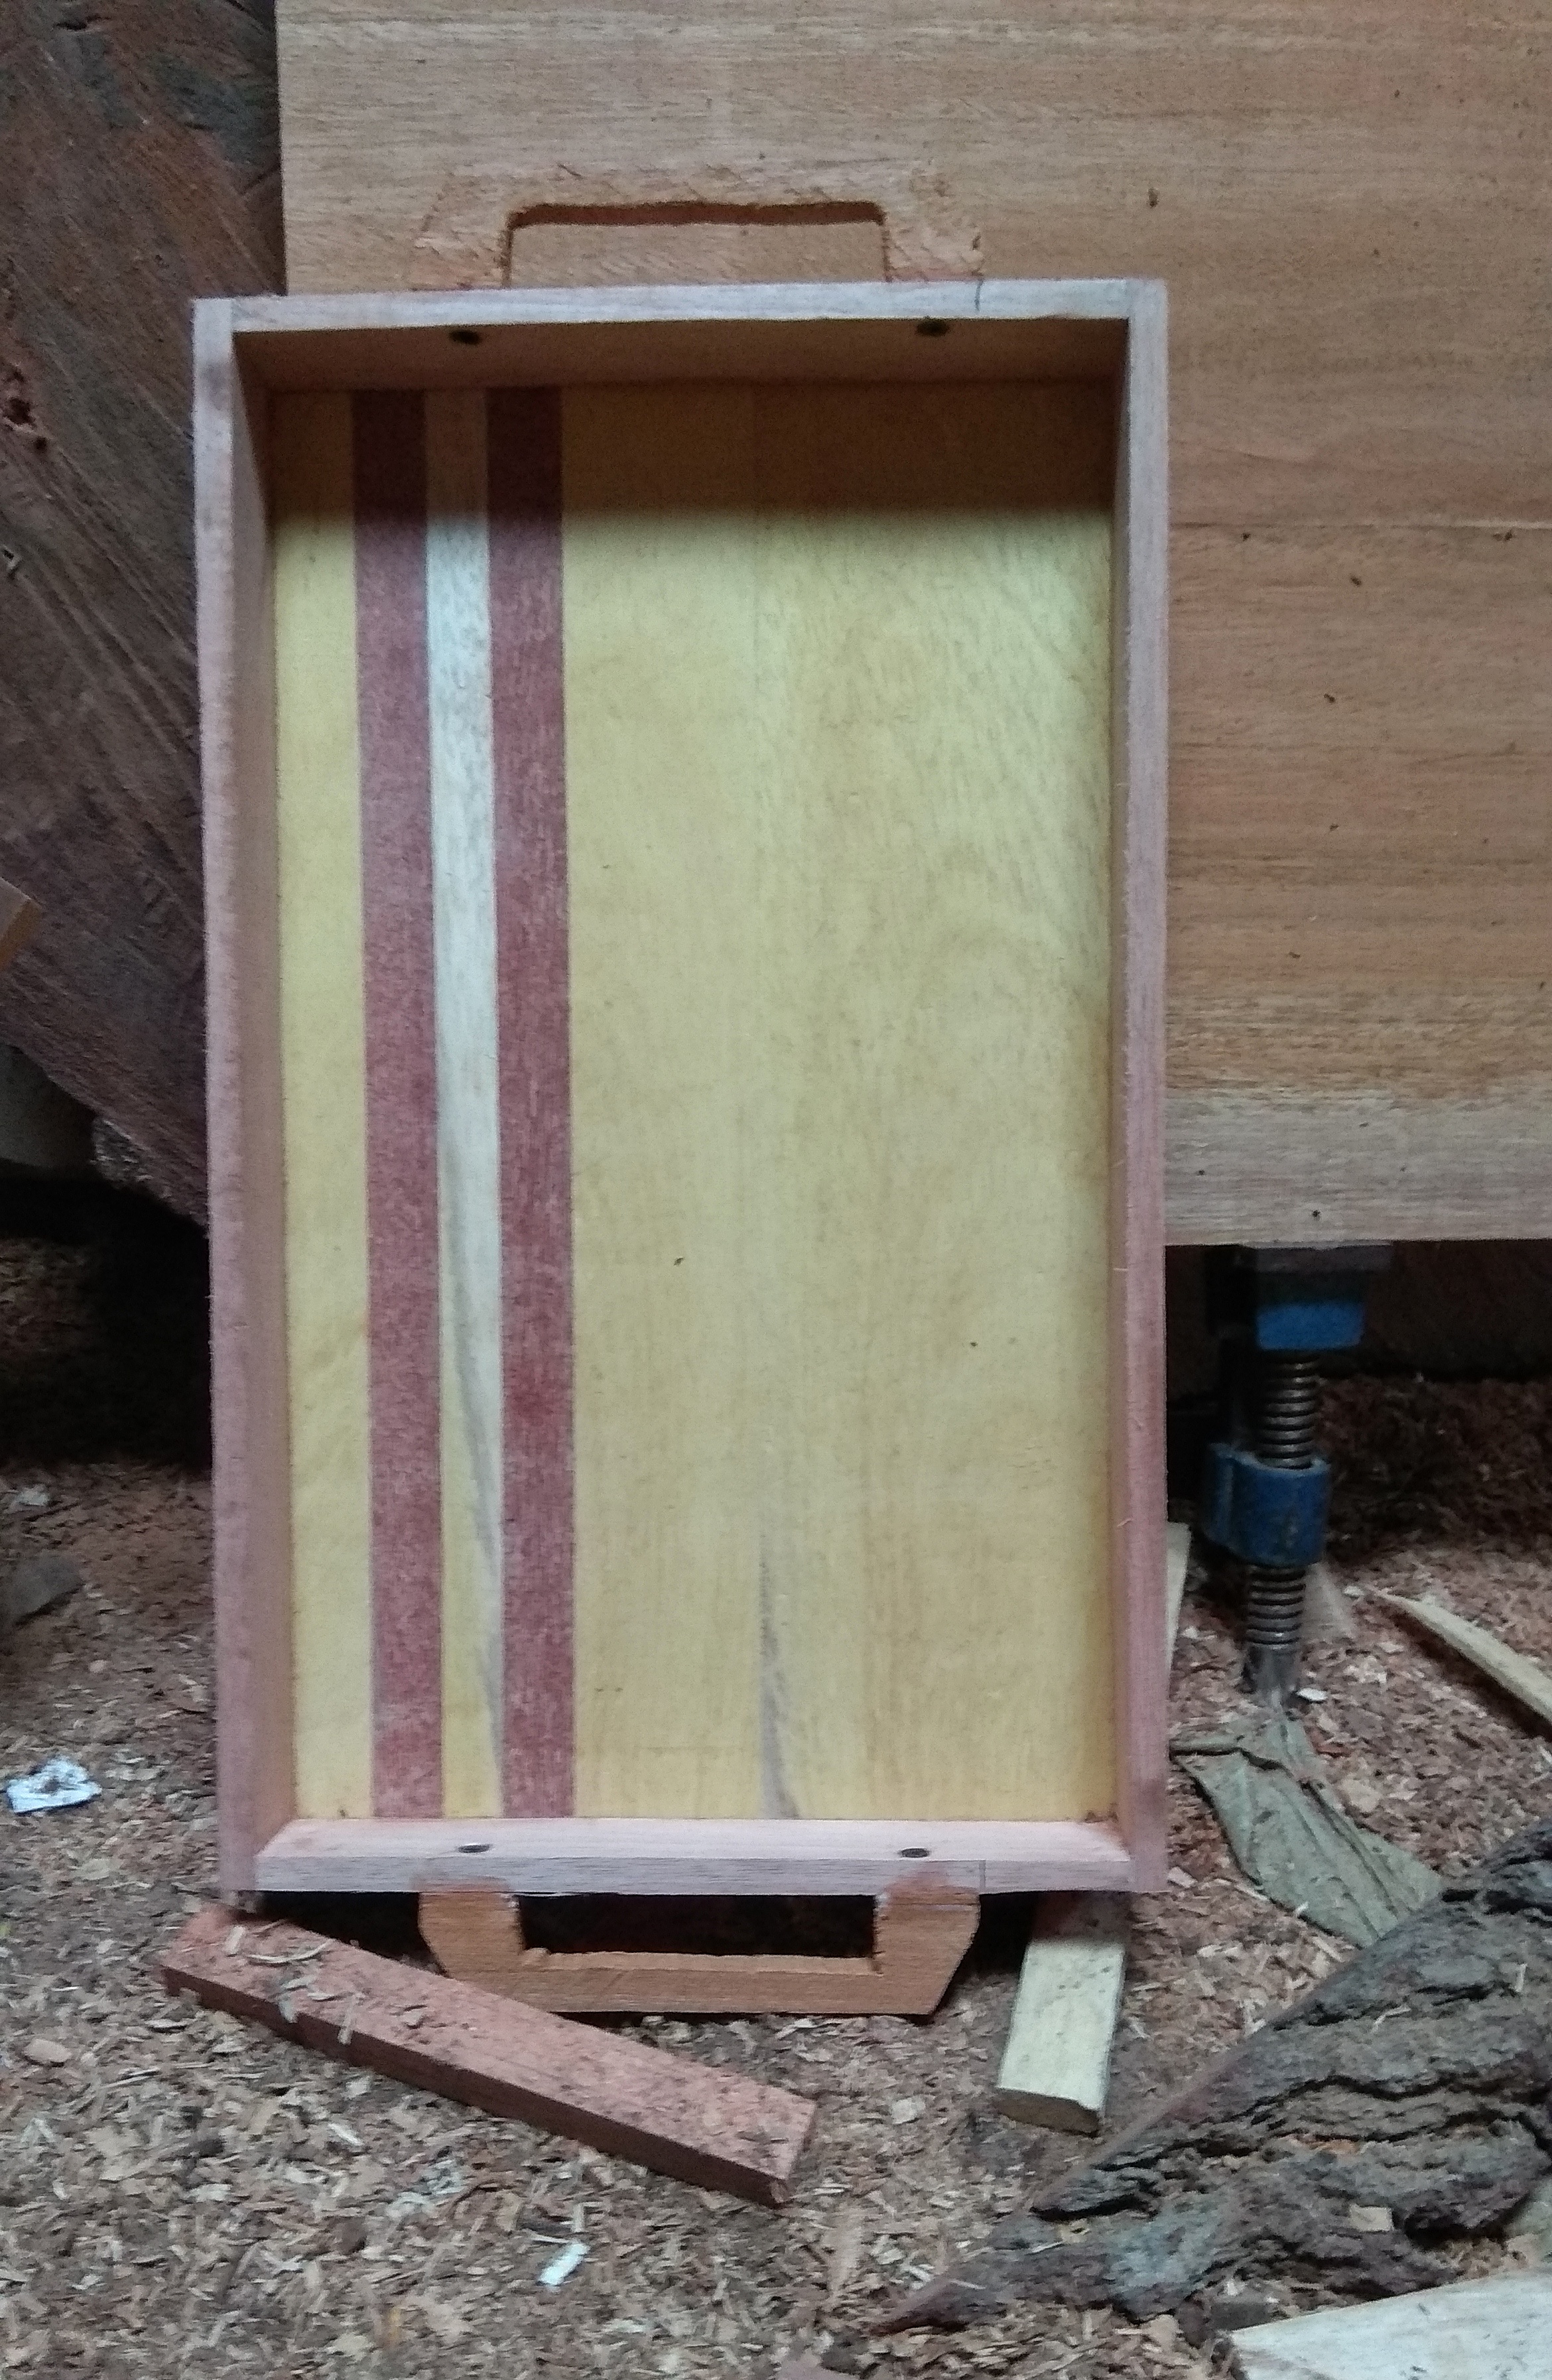
After all the materials are available and to produce a unique color on the napan, you need to choose two or three wood with a different color to bring the attractive color to the of the tray and the tray will look luxurious natural wood colors ,the results of a mixture of different wood colors and you can adjust according to your taste.
For example, you want white with a variety of brown or other colors, you just need to find the ingredients.
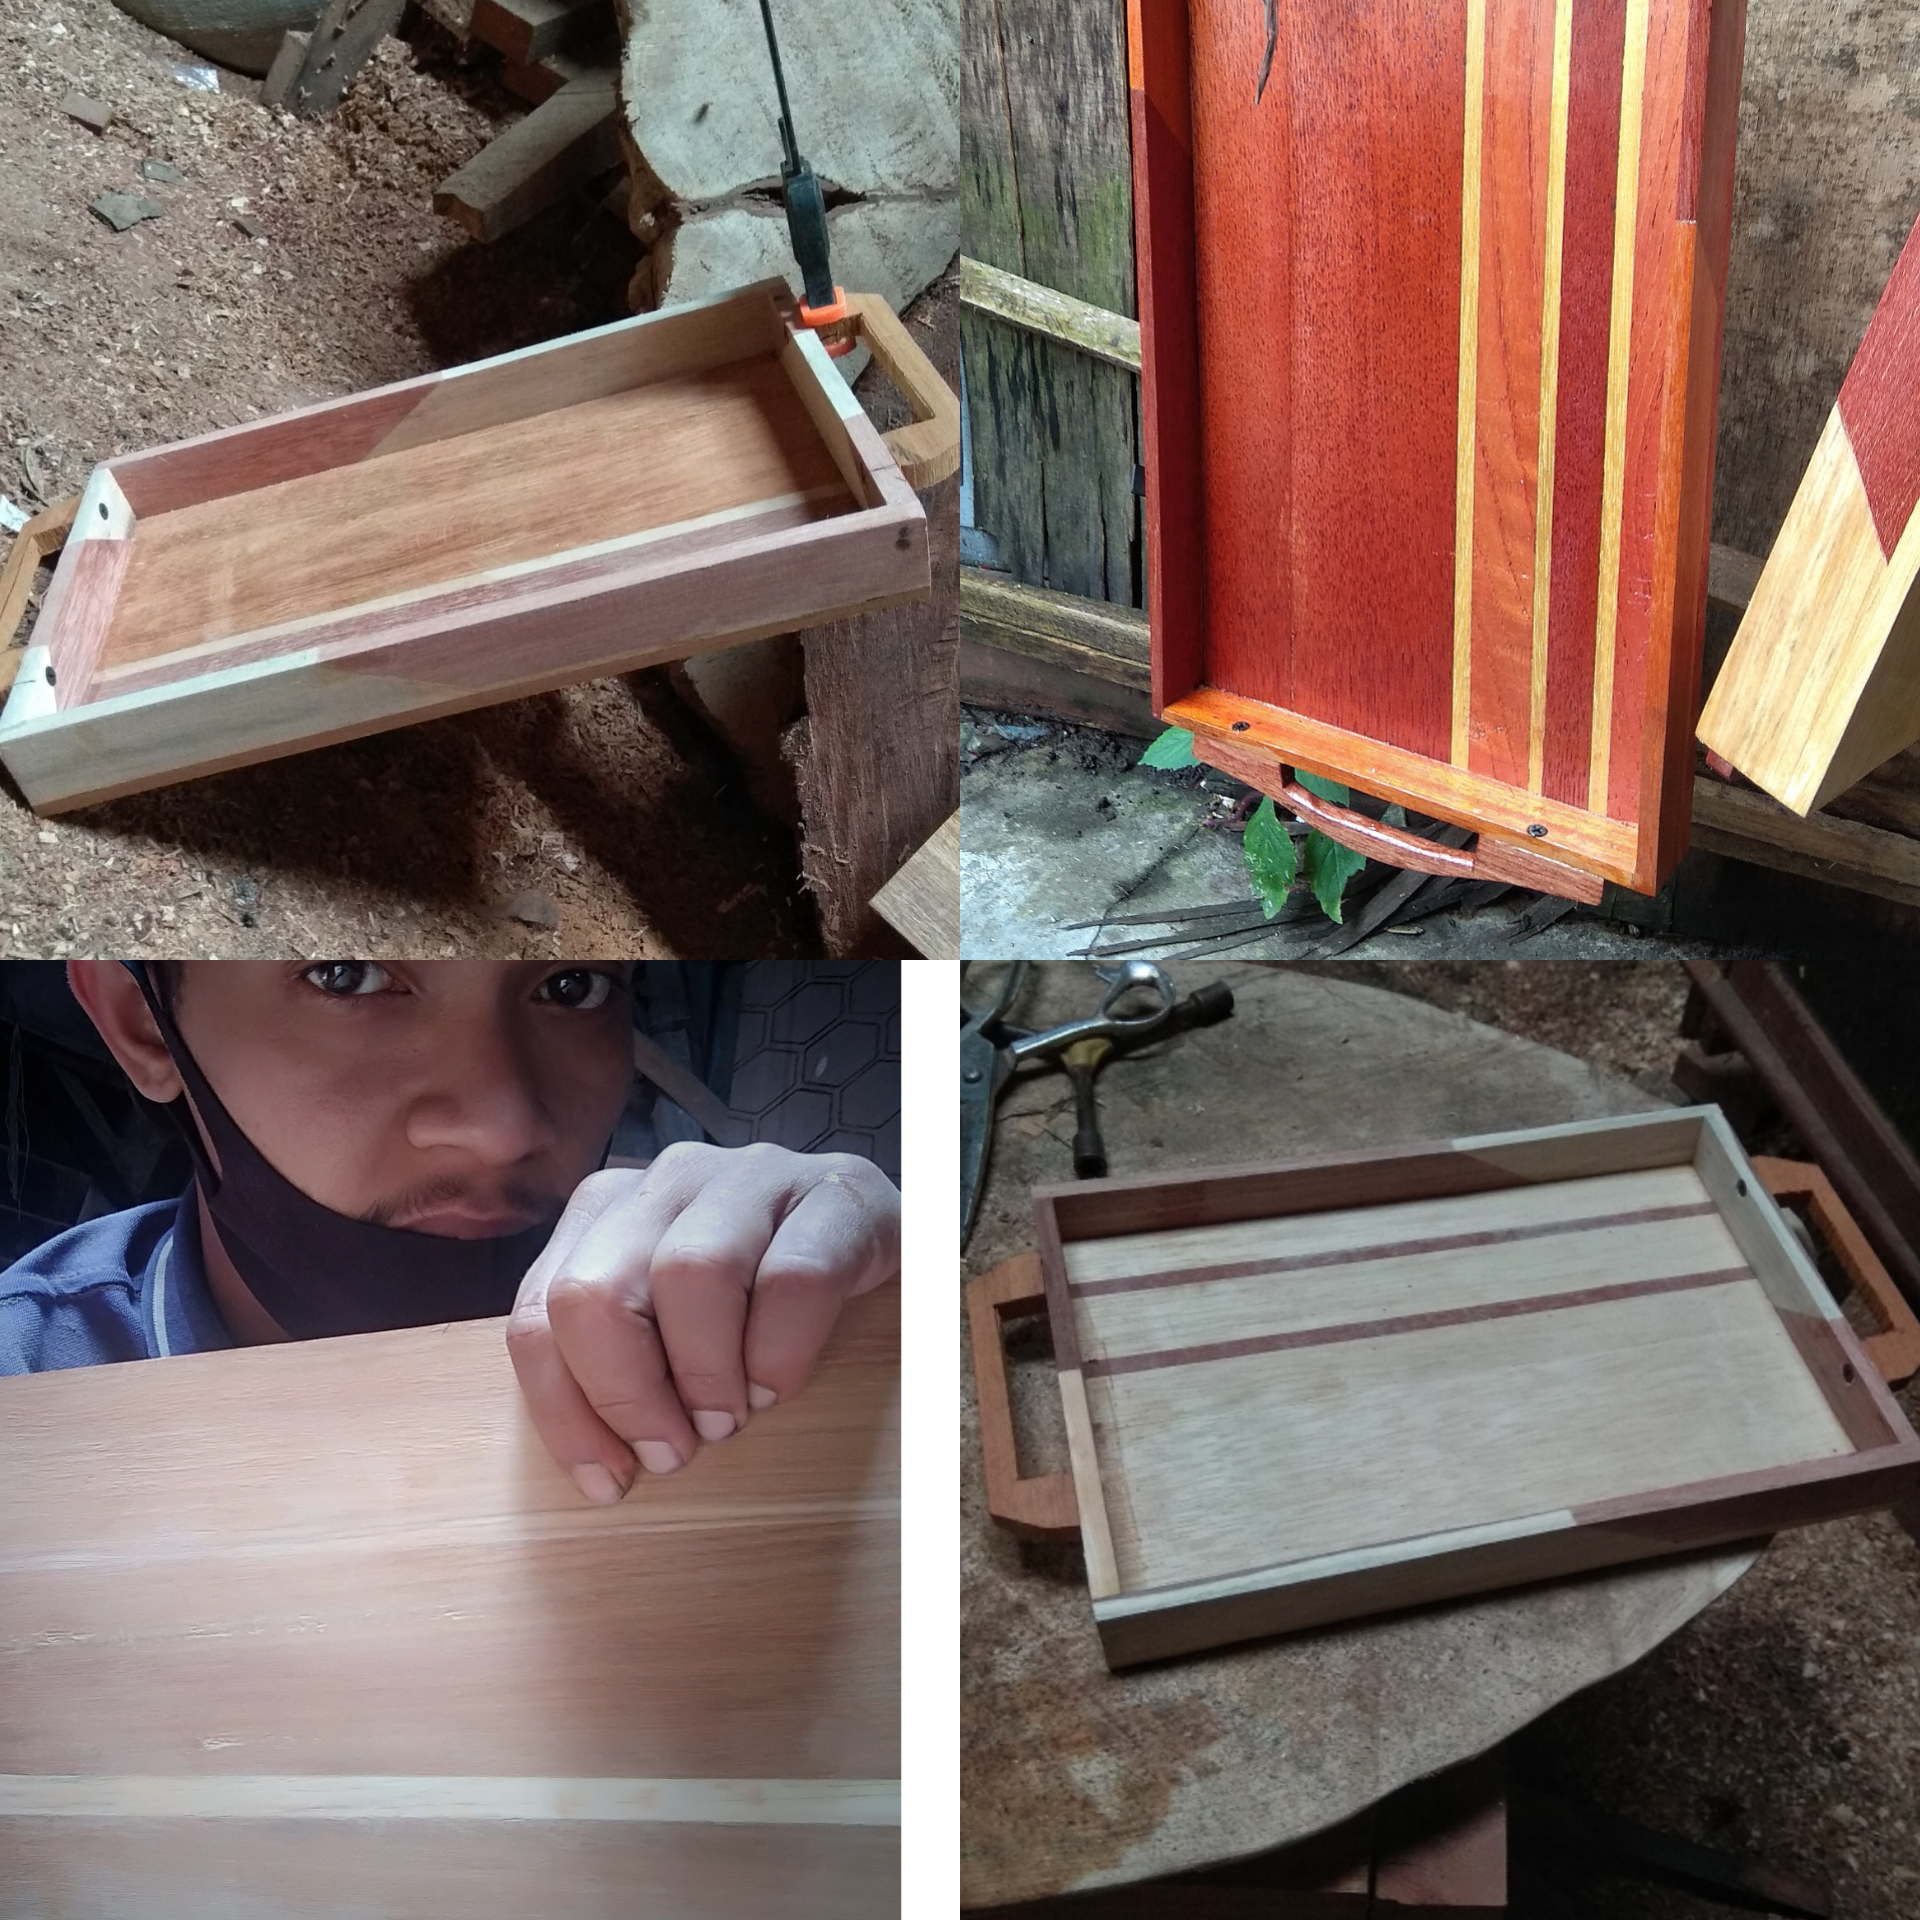
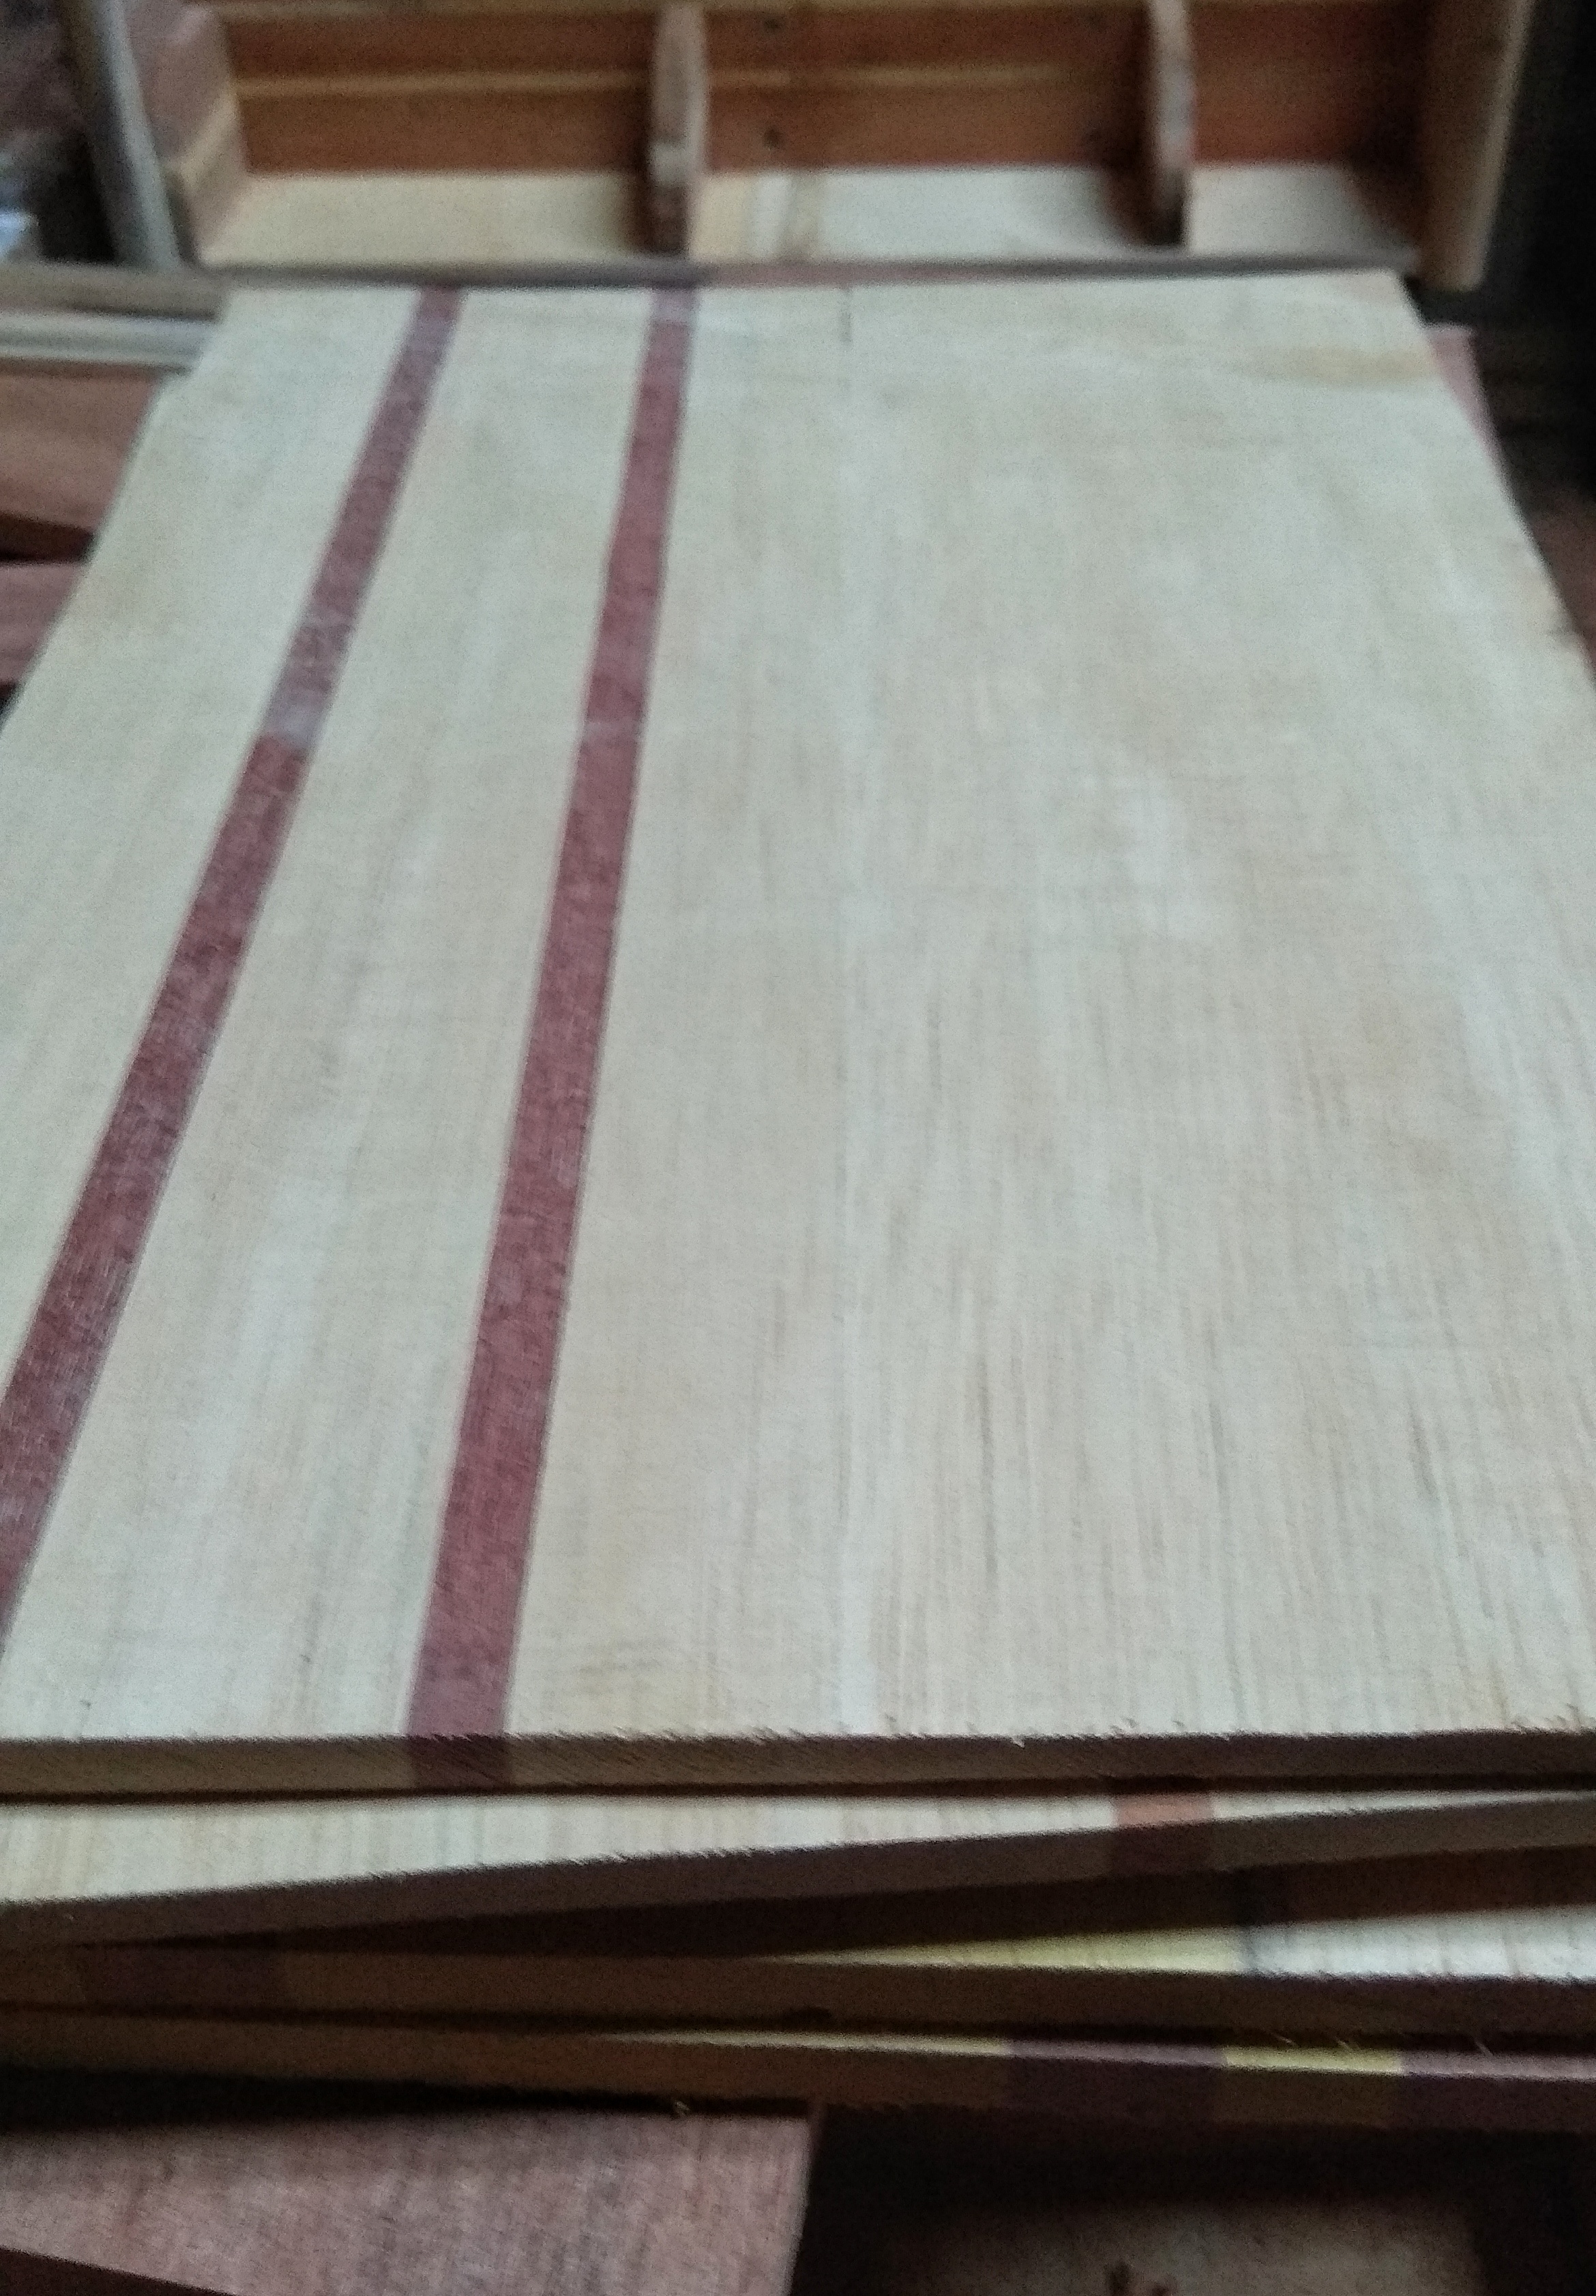
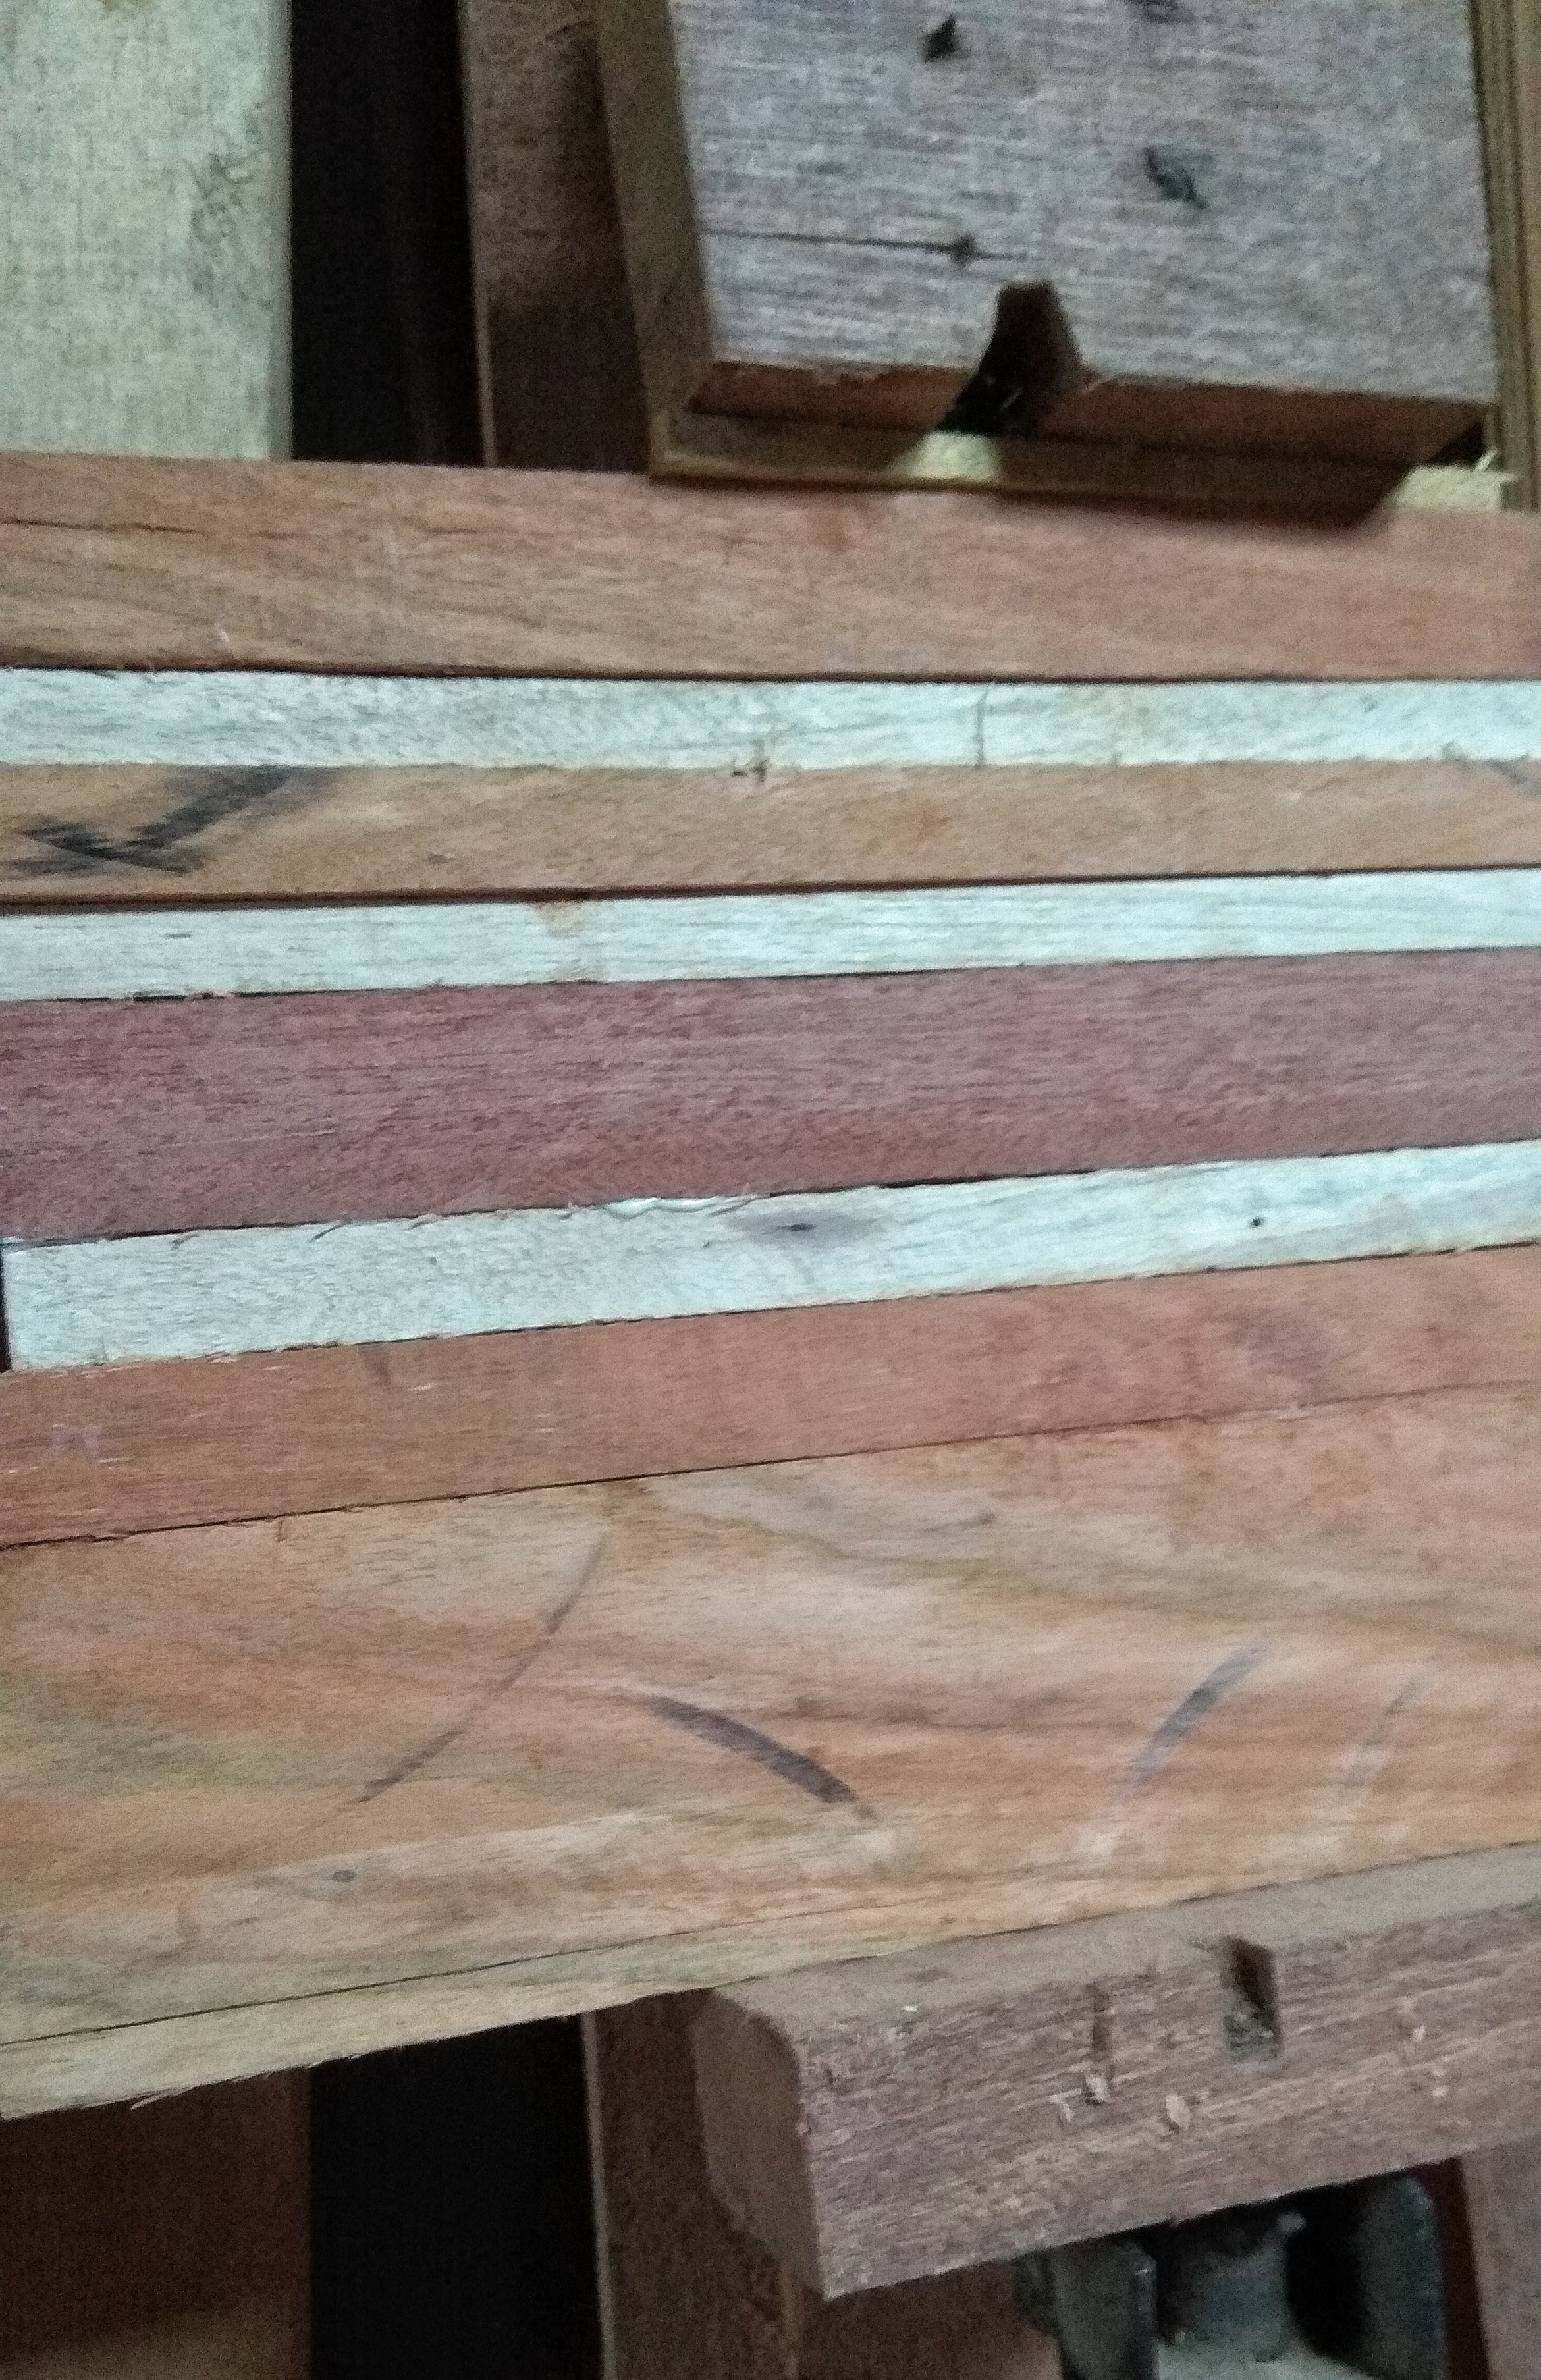
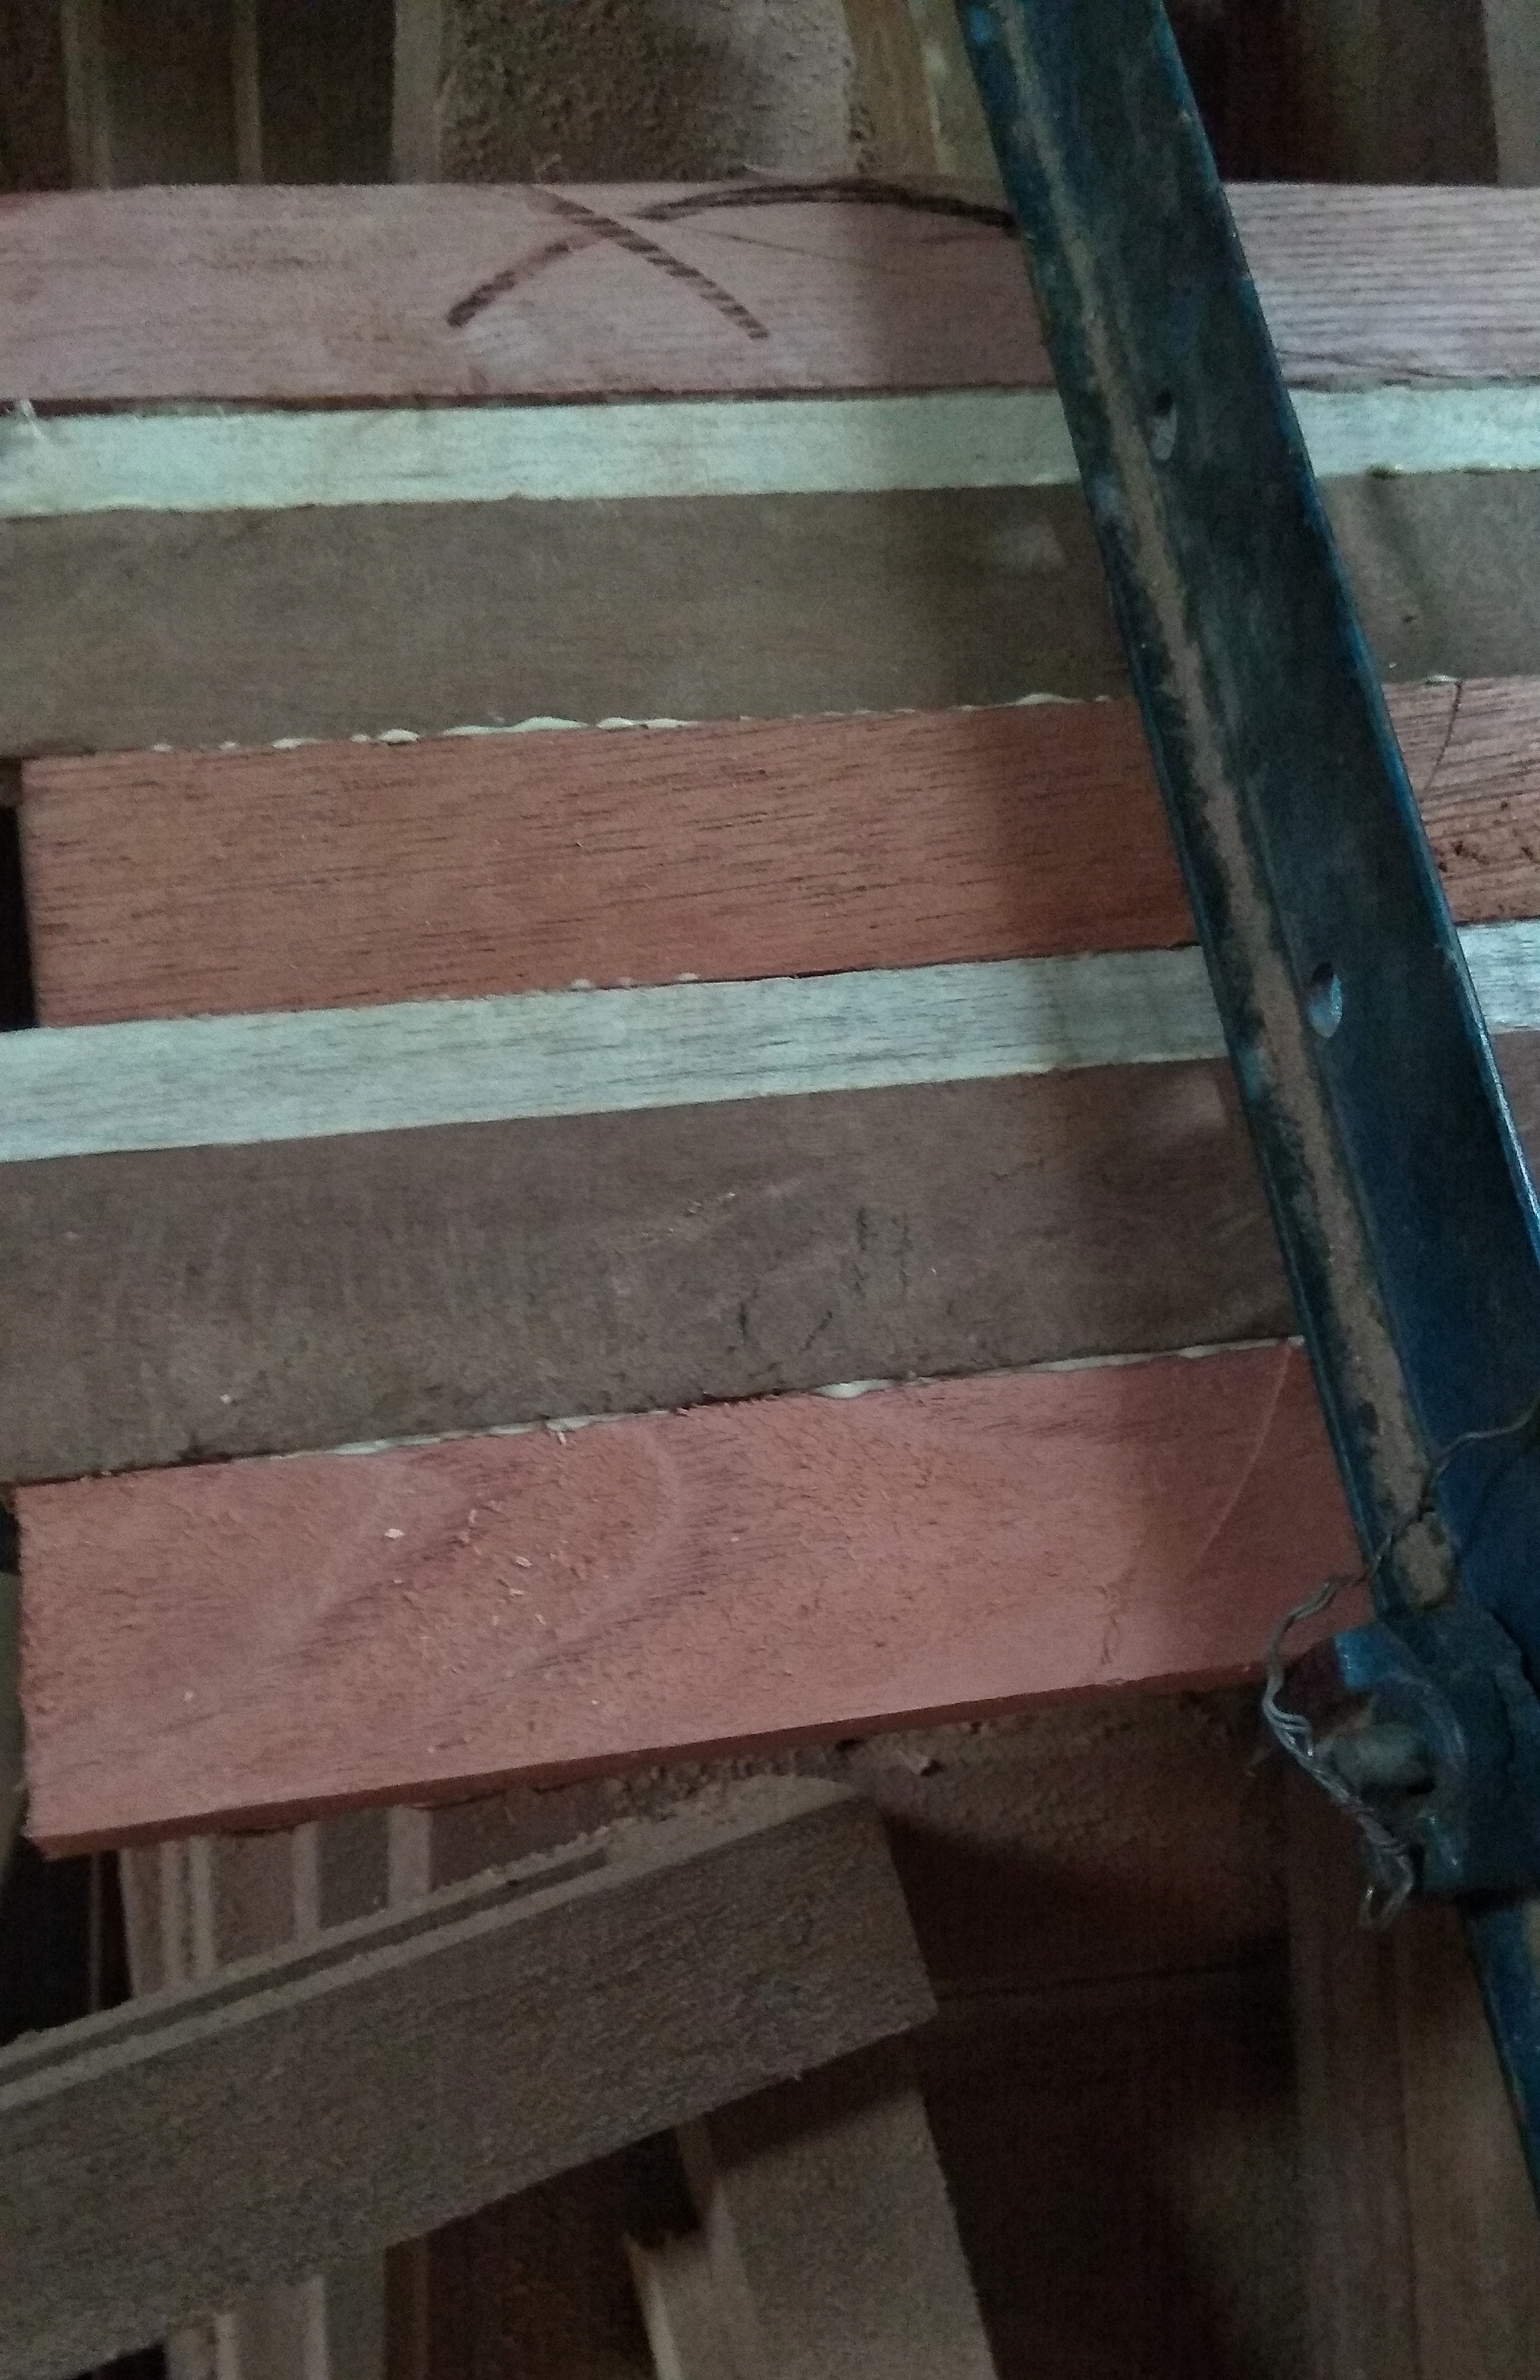
Here you can see some of my work the results in part the floor of a tray that I have tidied up in several different colors.
![]()

![]()

![]()
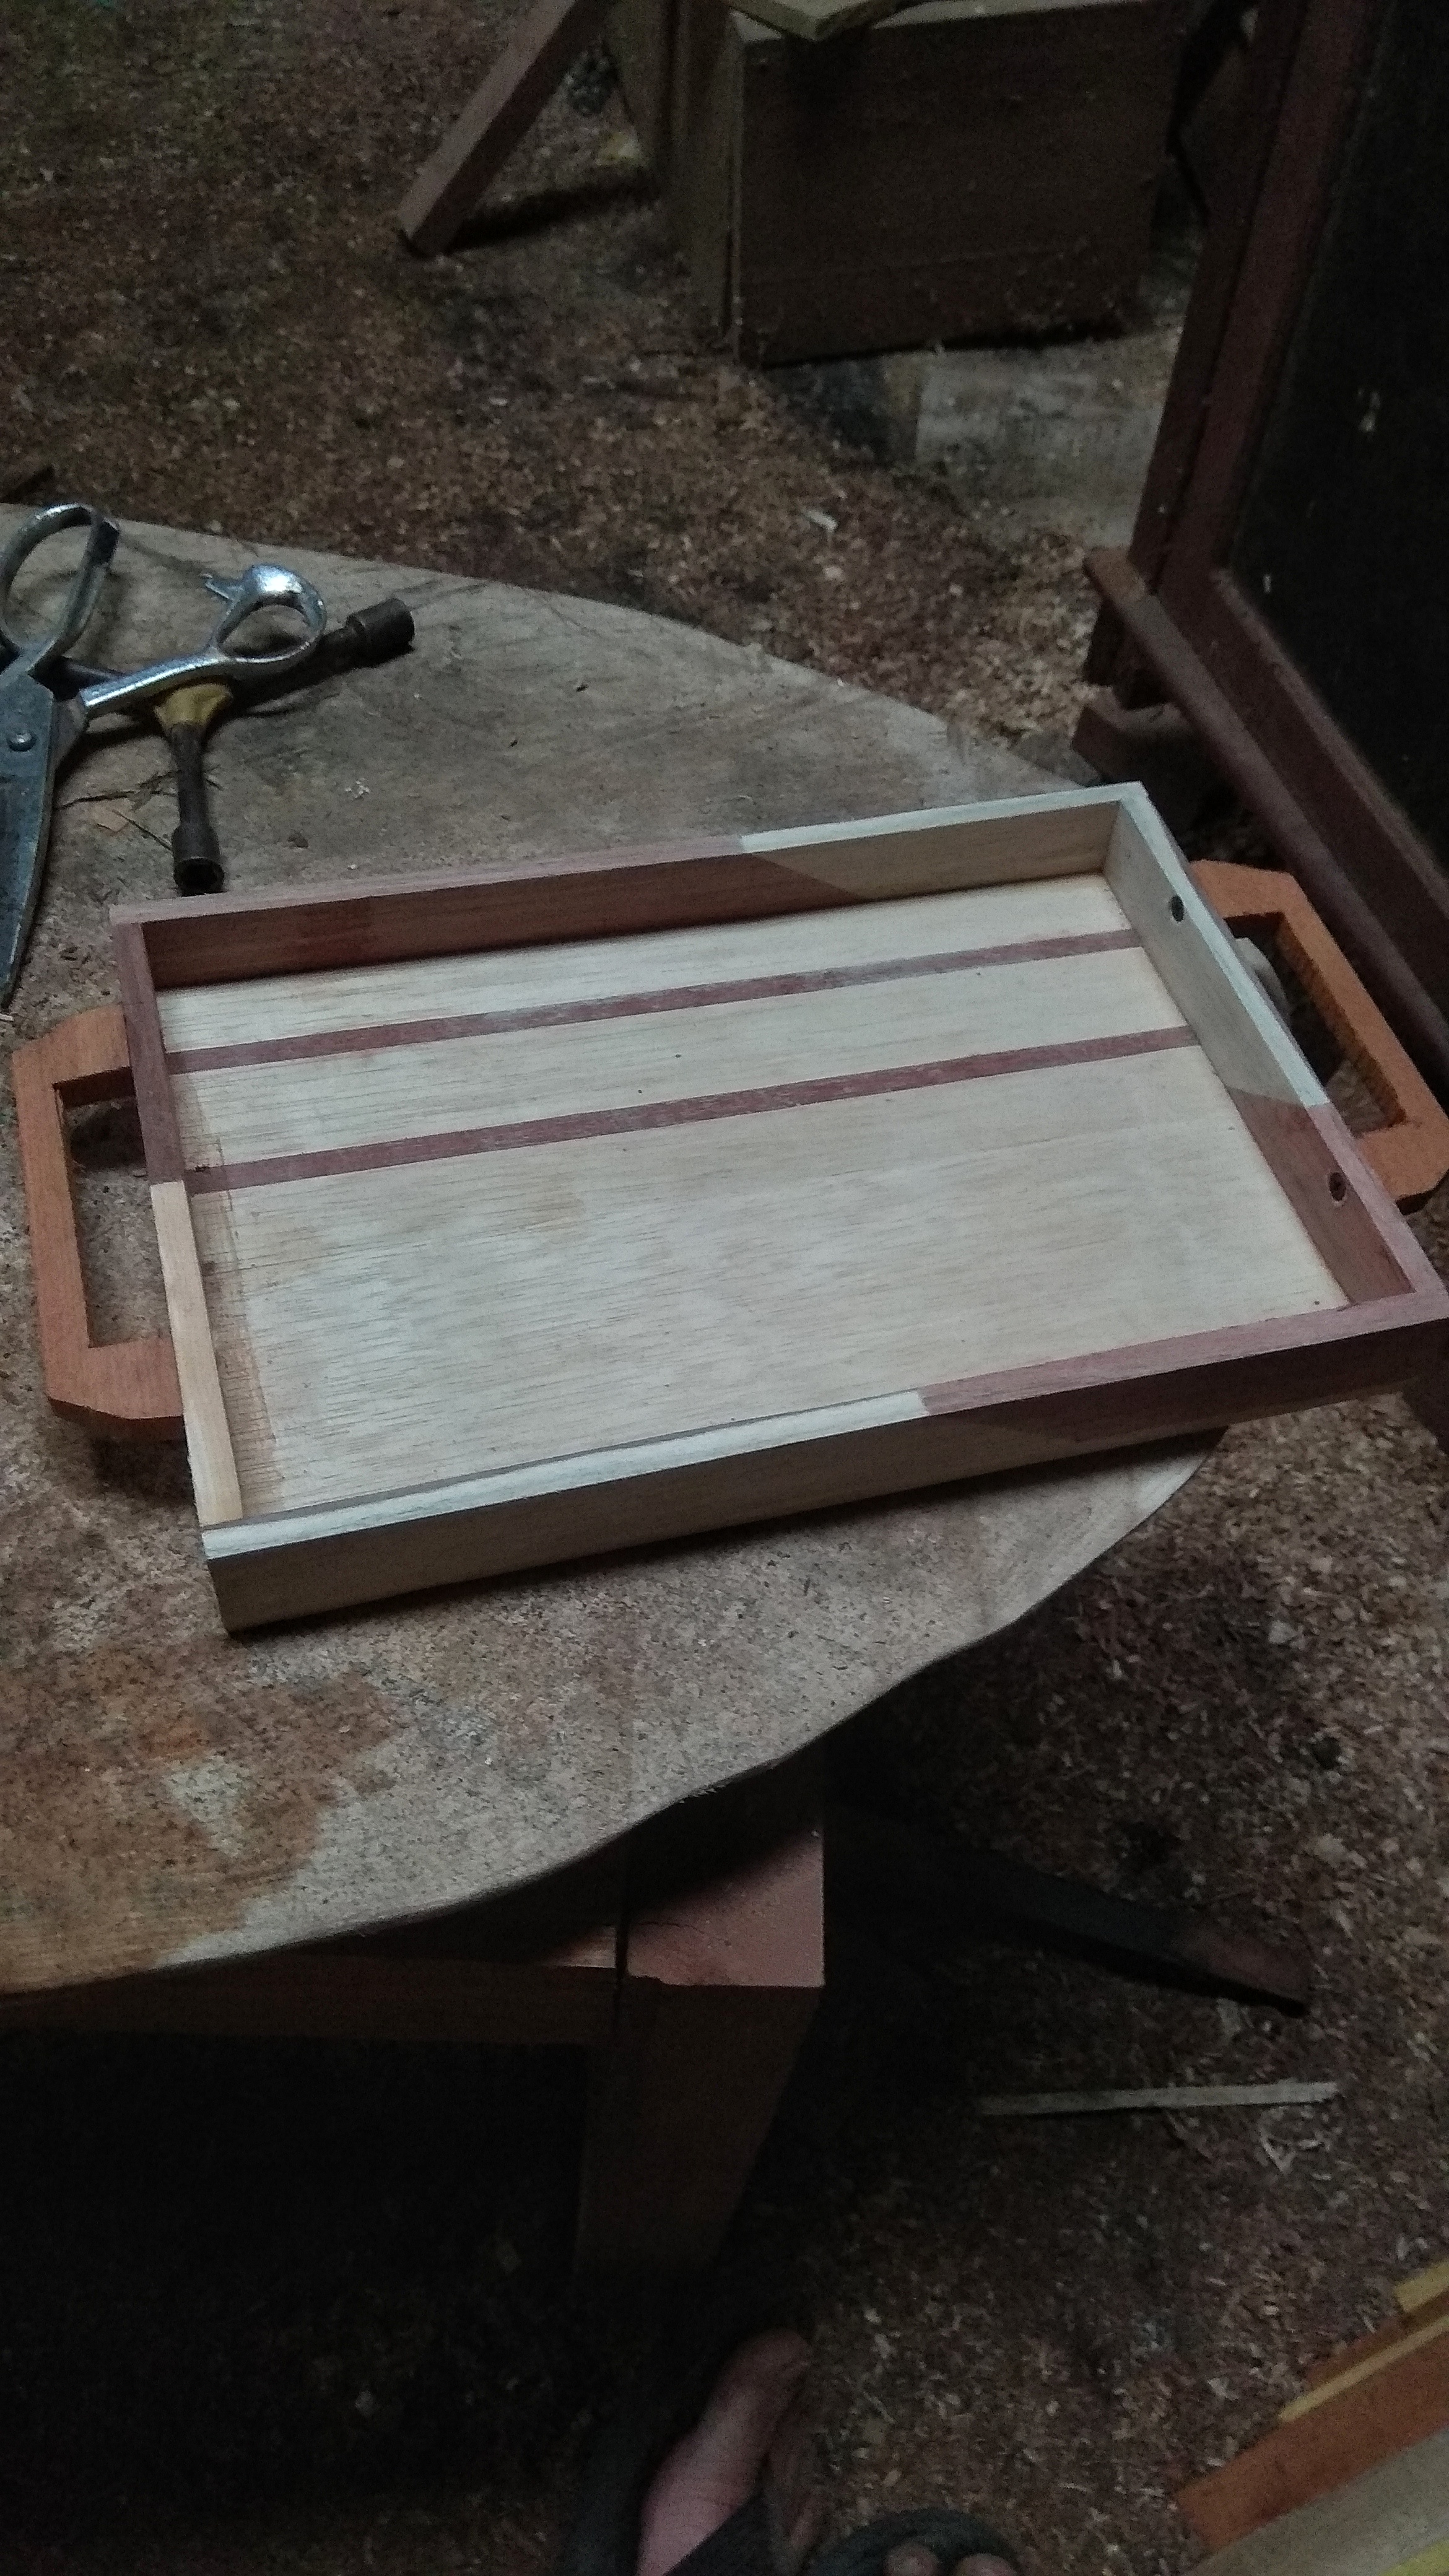
This is the result of the collaboration of natural wood colors and Obviously looks very unique, right?
For the process of making it a little complicated,If I add more wood color maybe the process gets even more complicated because I need to apply glue on each side of the wood which I will combine with the other wood so that I can get attractive colors.
To get further explanation, you can see some of the pictures below.
![]()

![]()
![]()
![]()
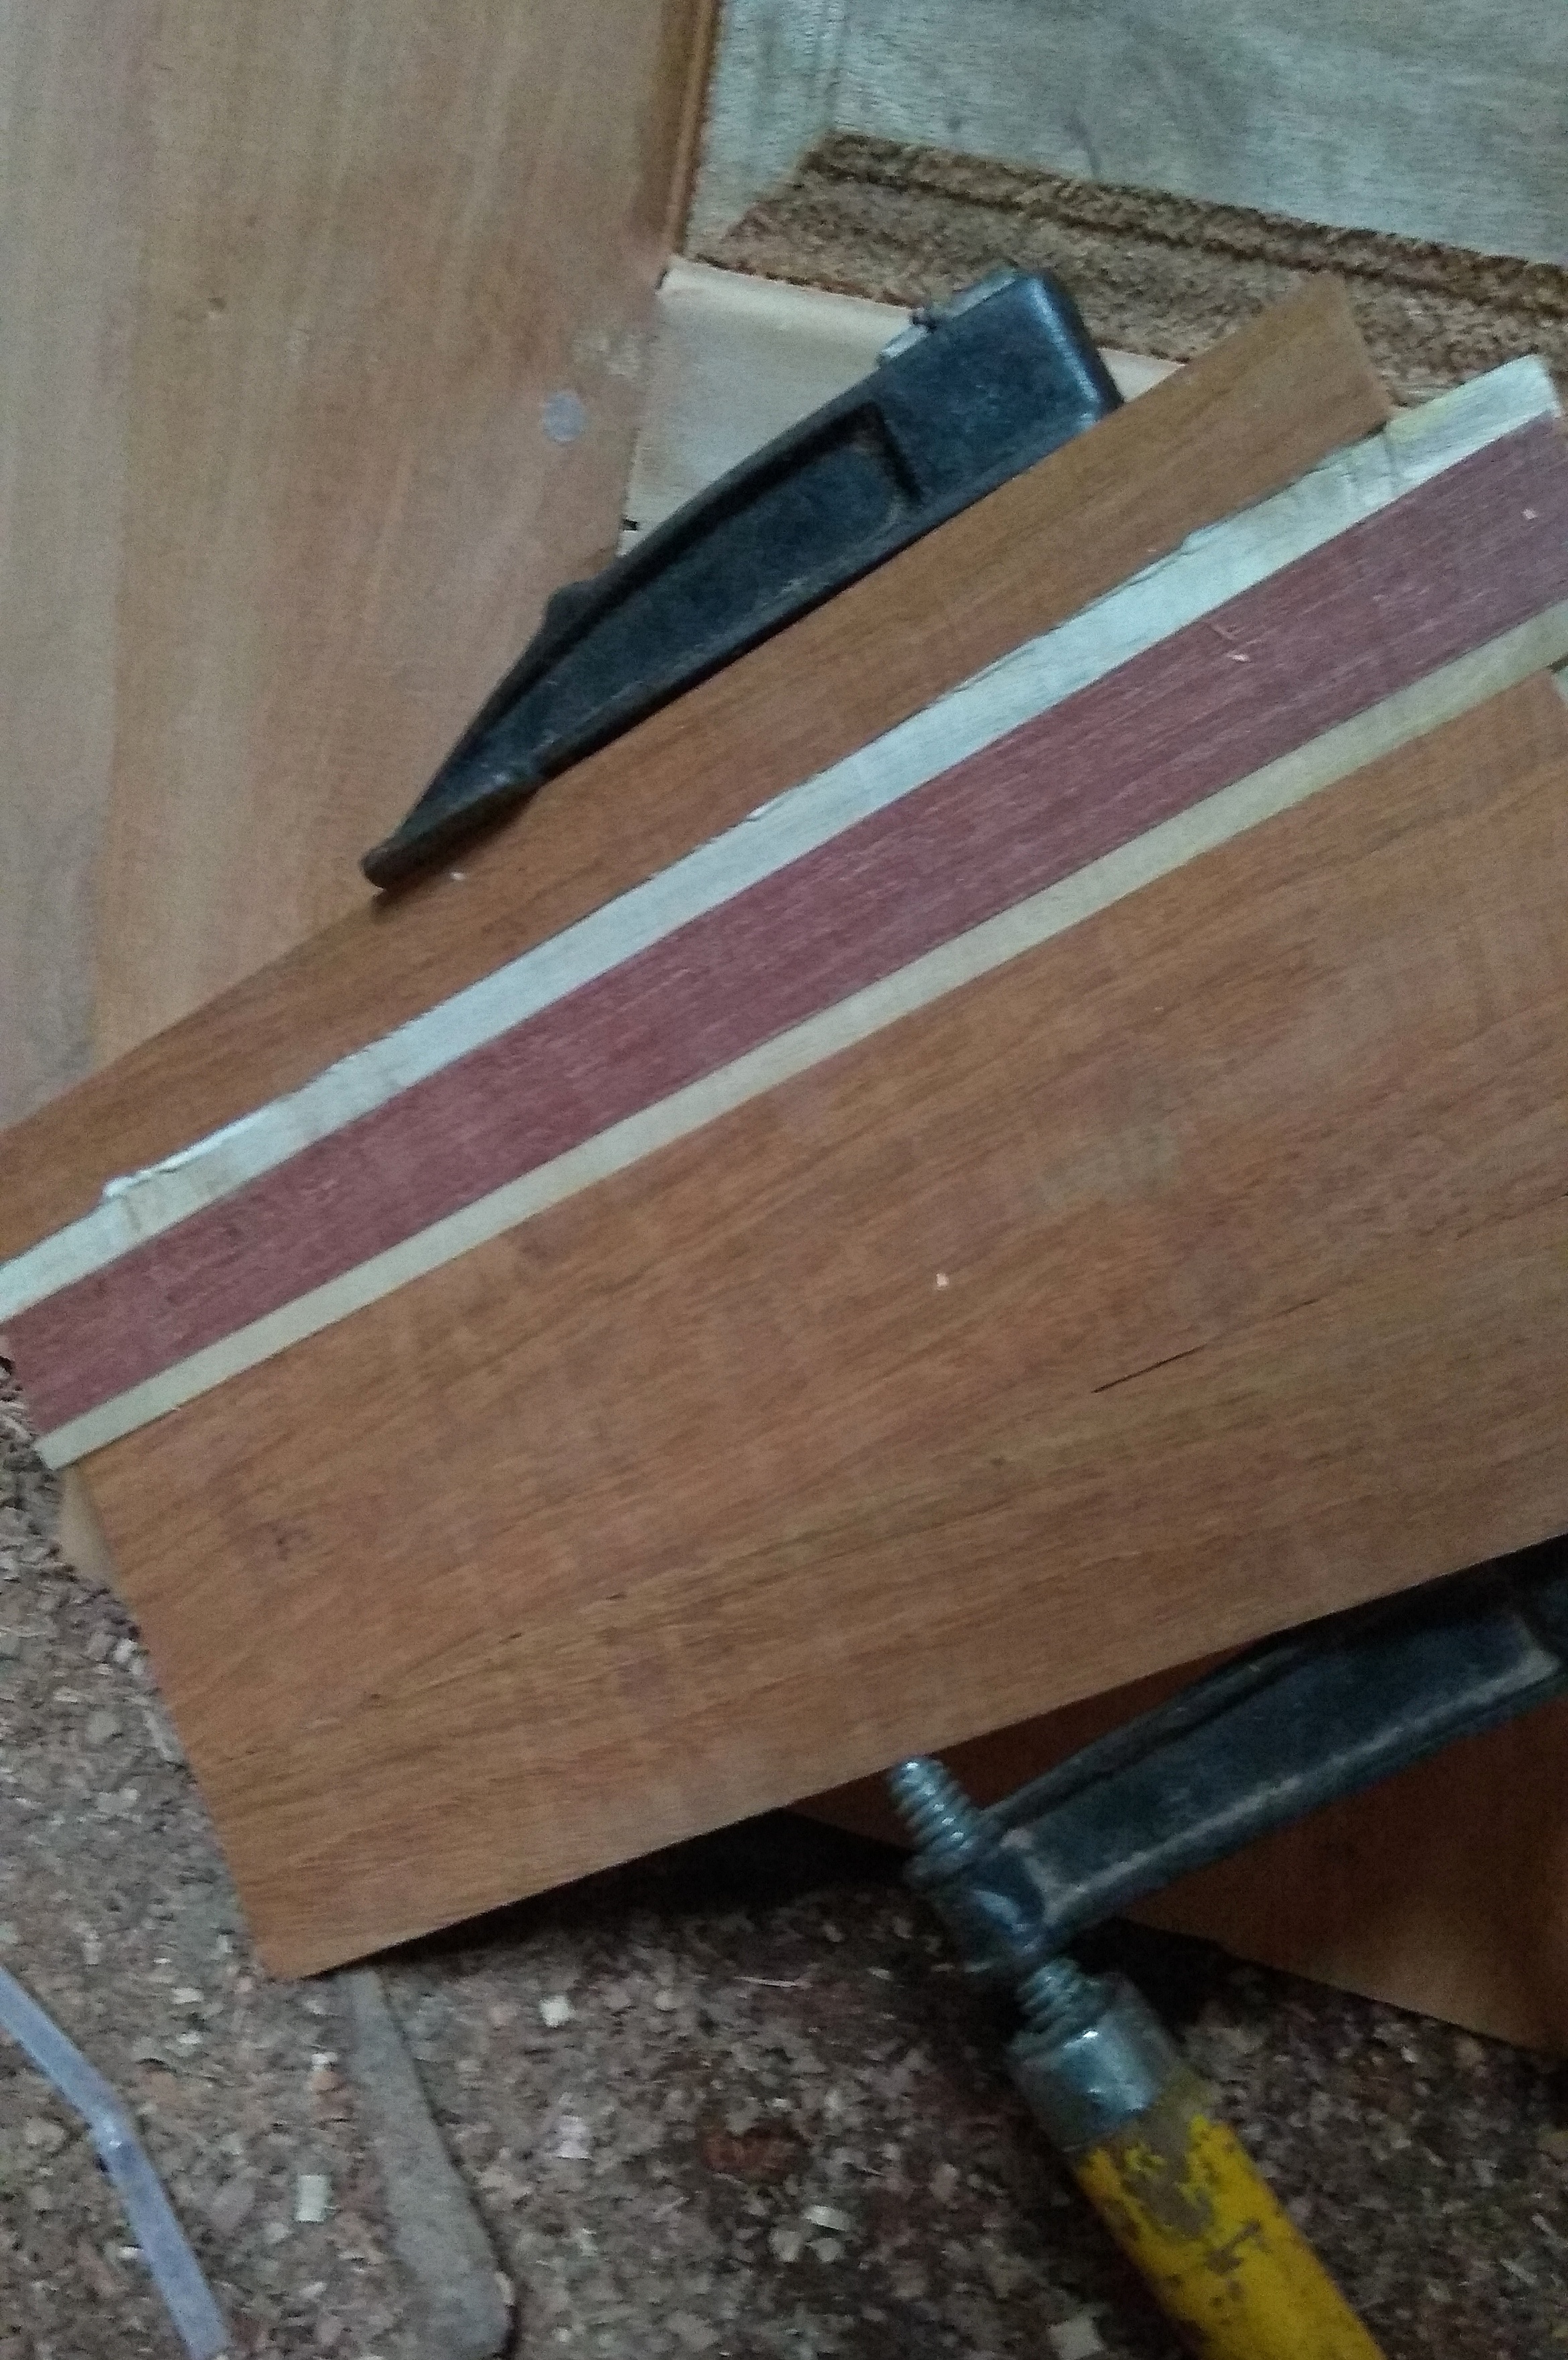
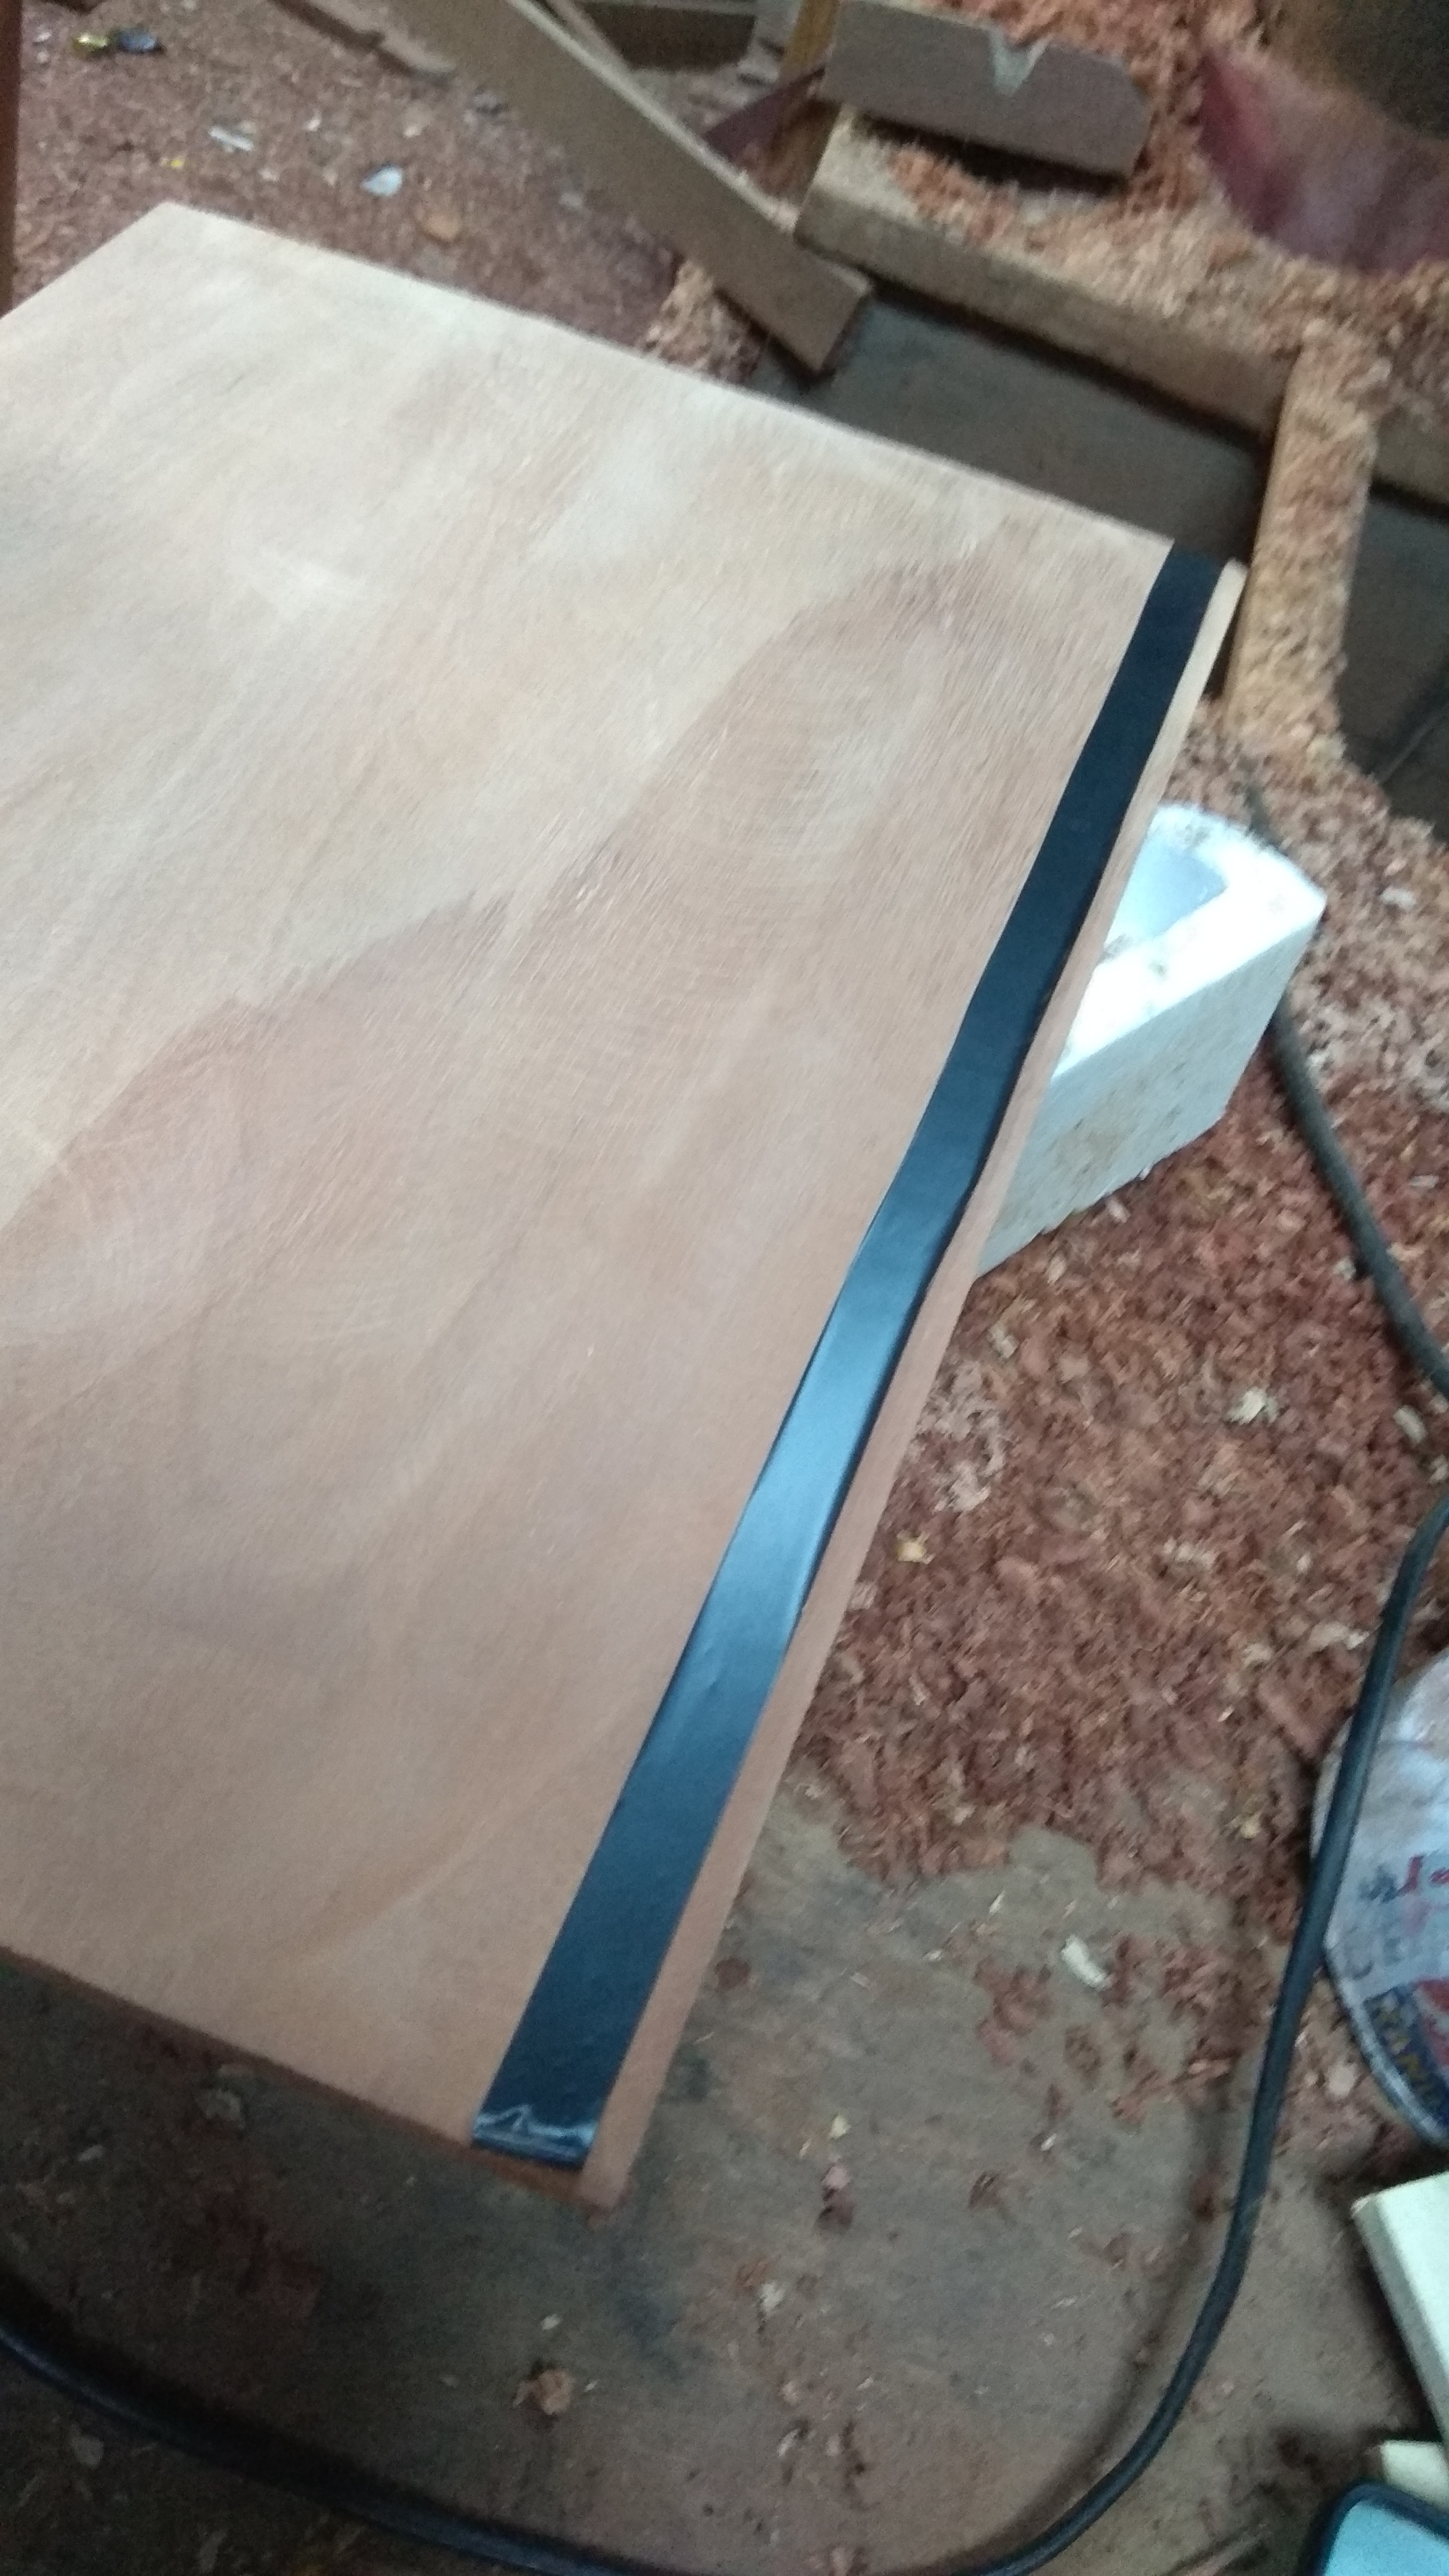
After all the floor-making processes are finished, then I continue to tidy up all the wood parts until they are completely smooth.
Then I proceed to the next process, which is to make the retaining walls of the trays and for the wall, I provide wood measuring 1x3.5cm or 1x3cm and in this section if you want to get unique results.
You can also collaborate colors with other wood colors(with the same process as connecting the trays part floor) but I myself often use one color wood so the process is easy.
![]()
![]()
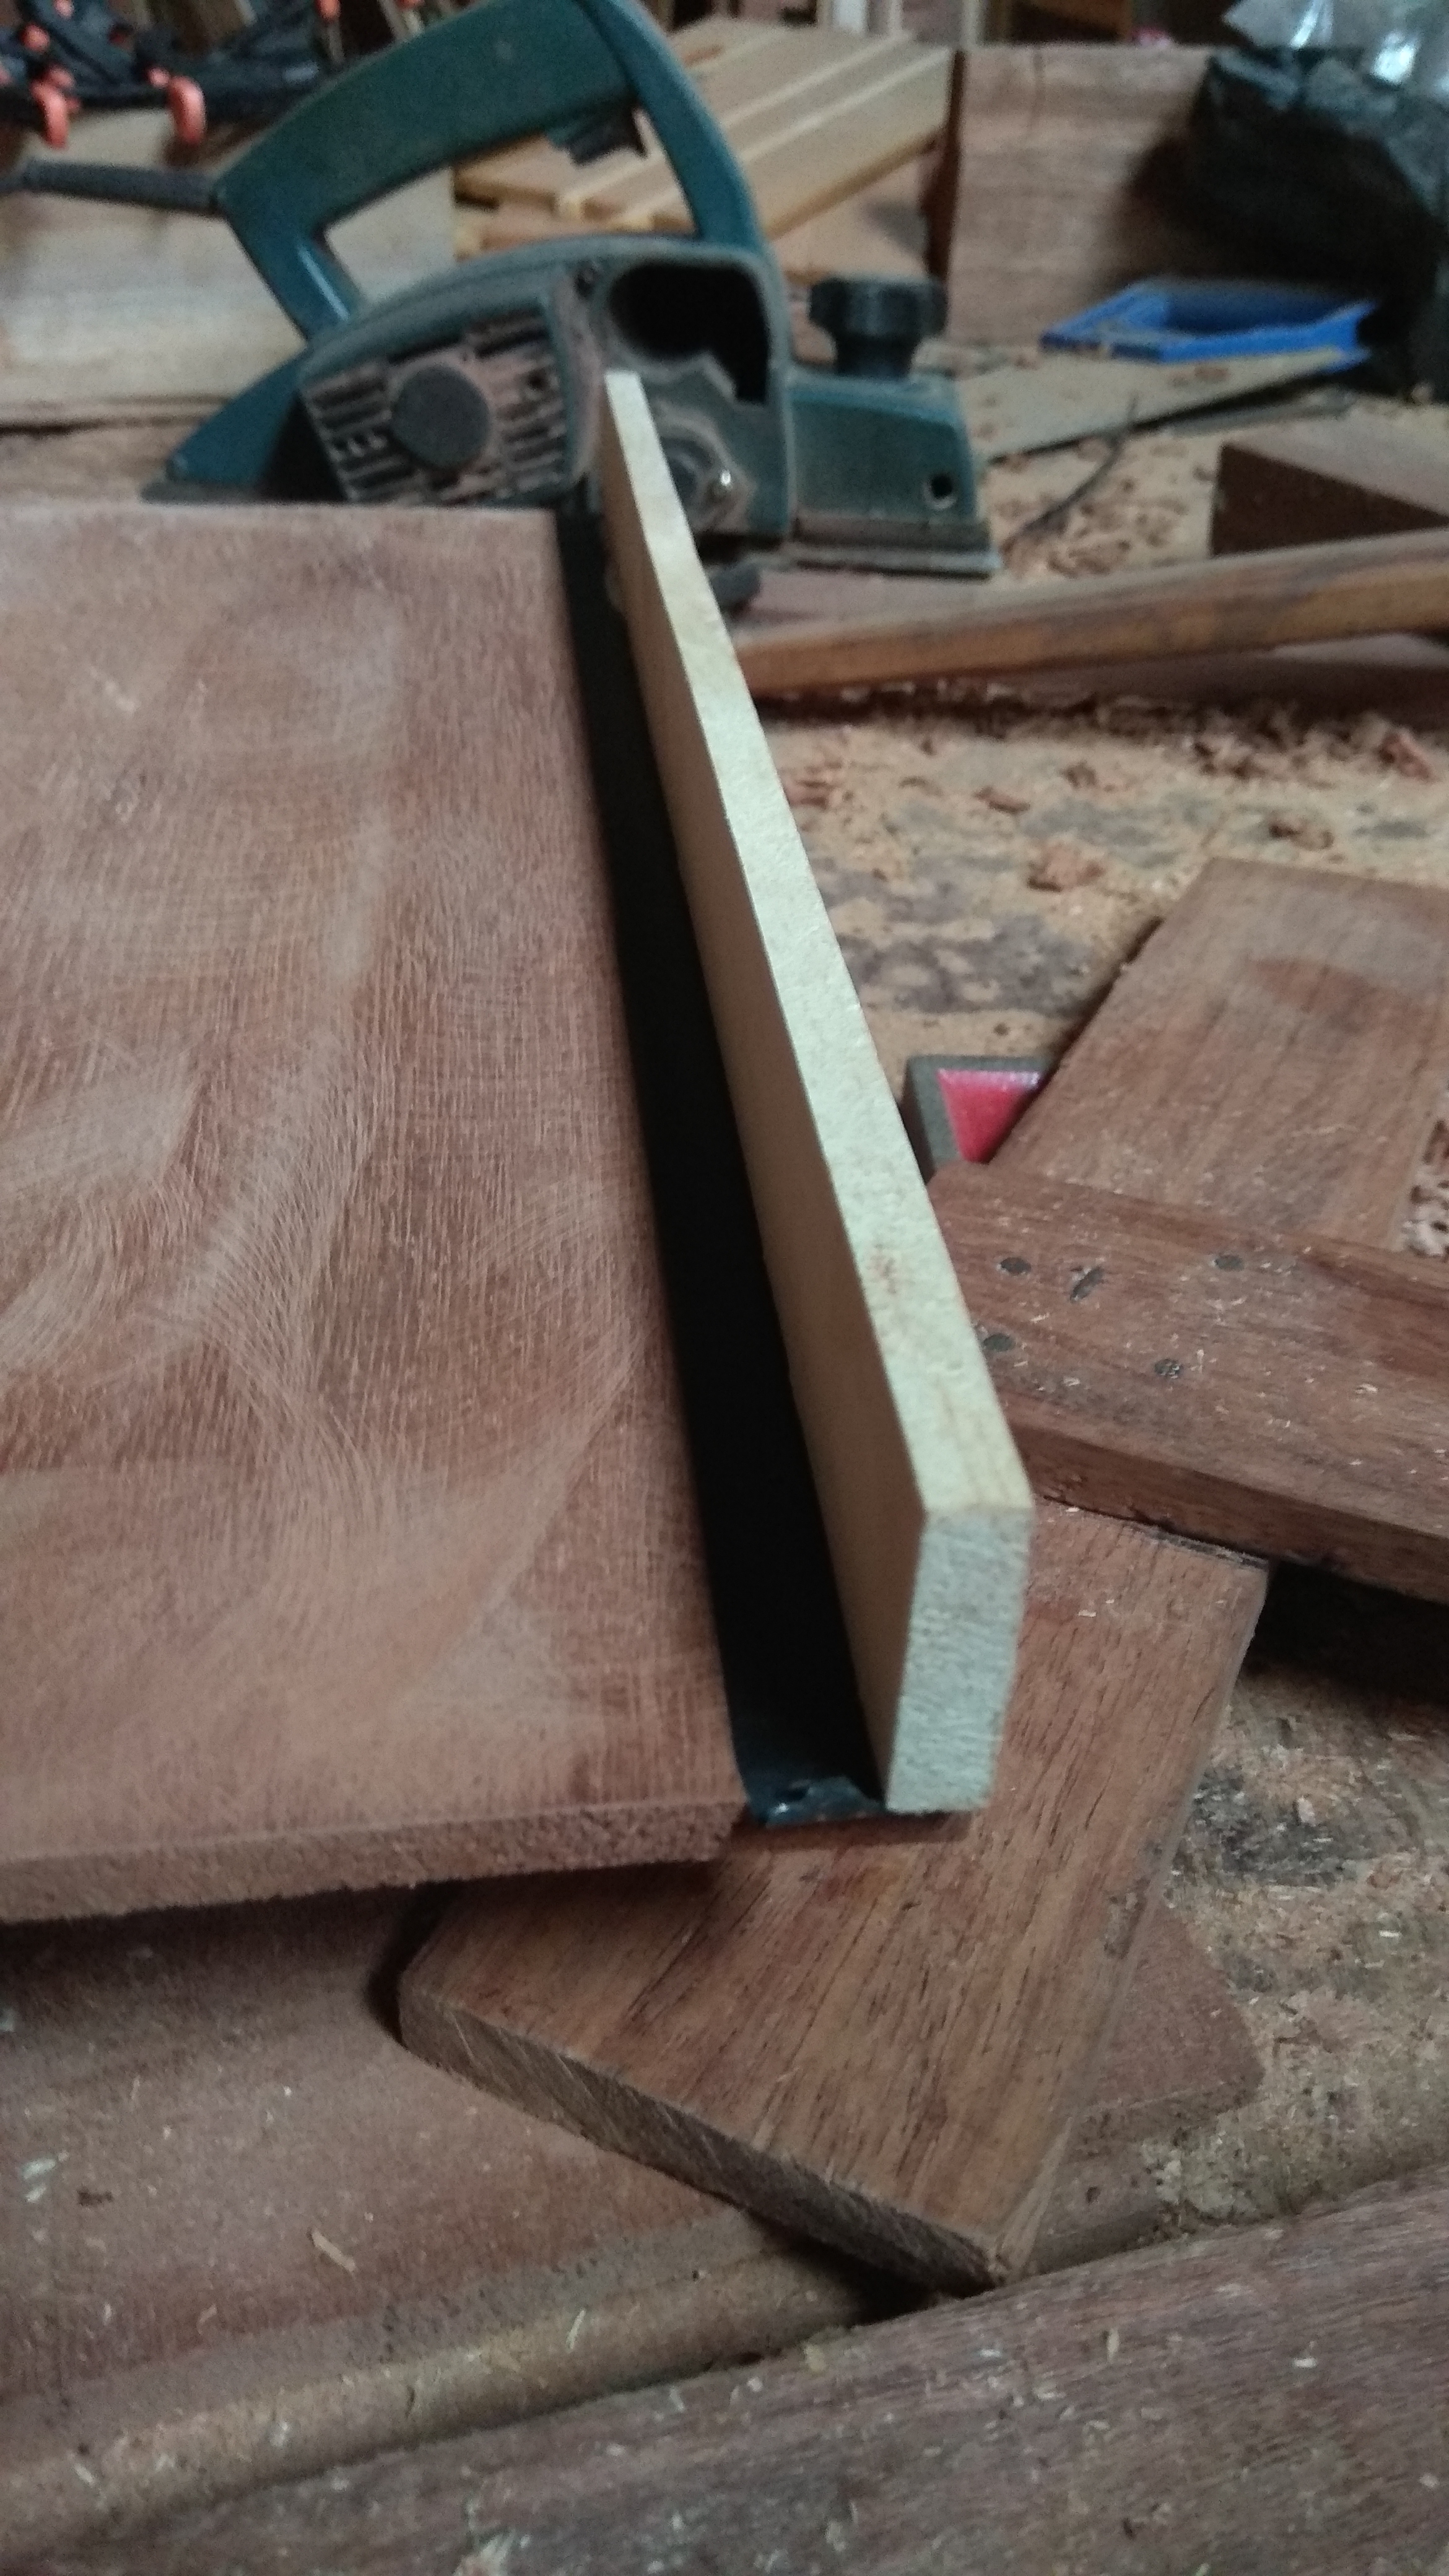
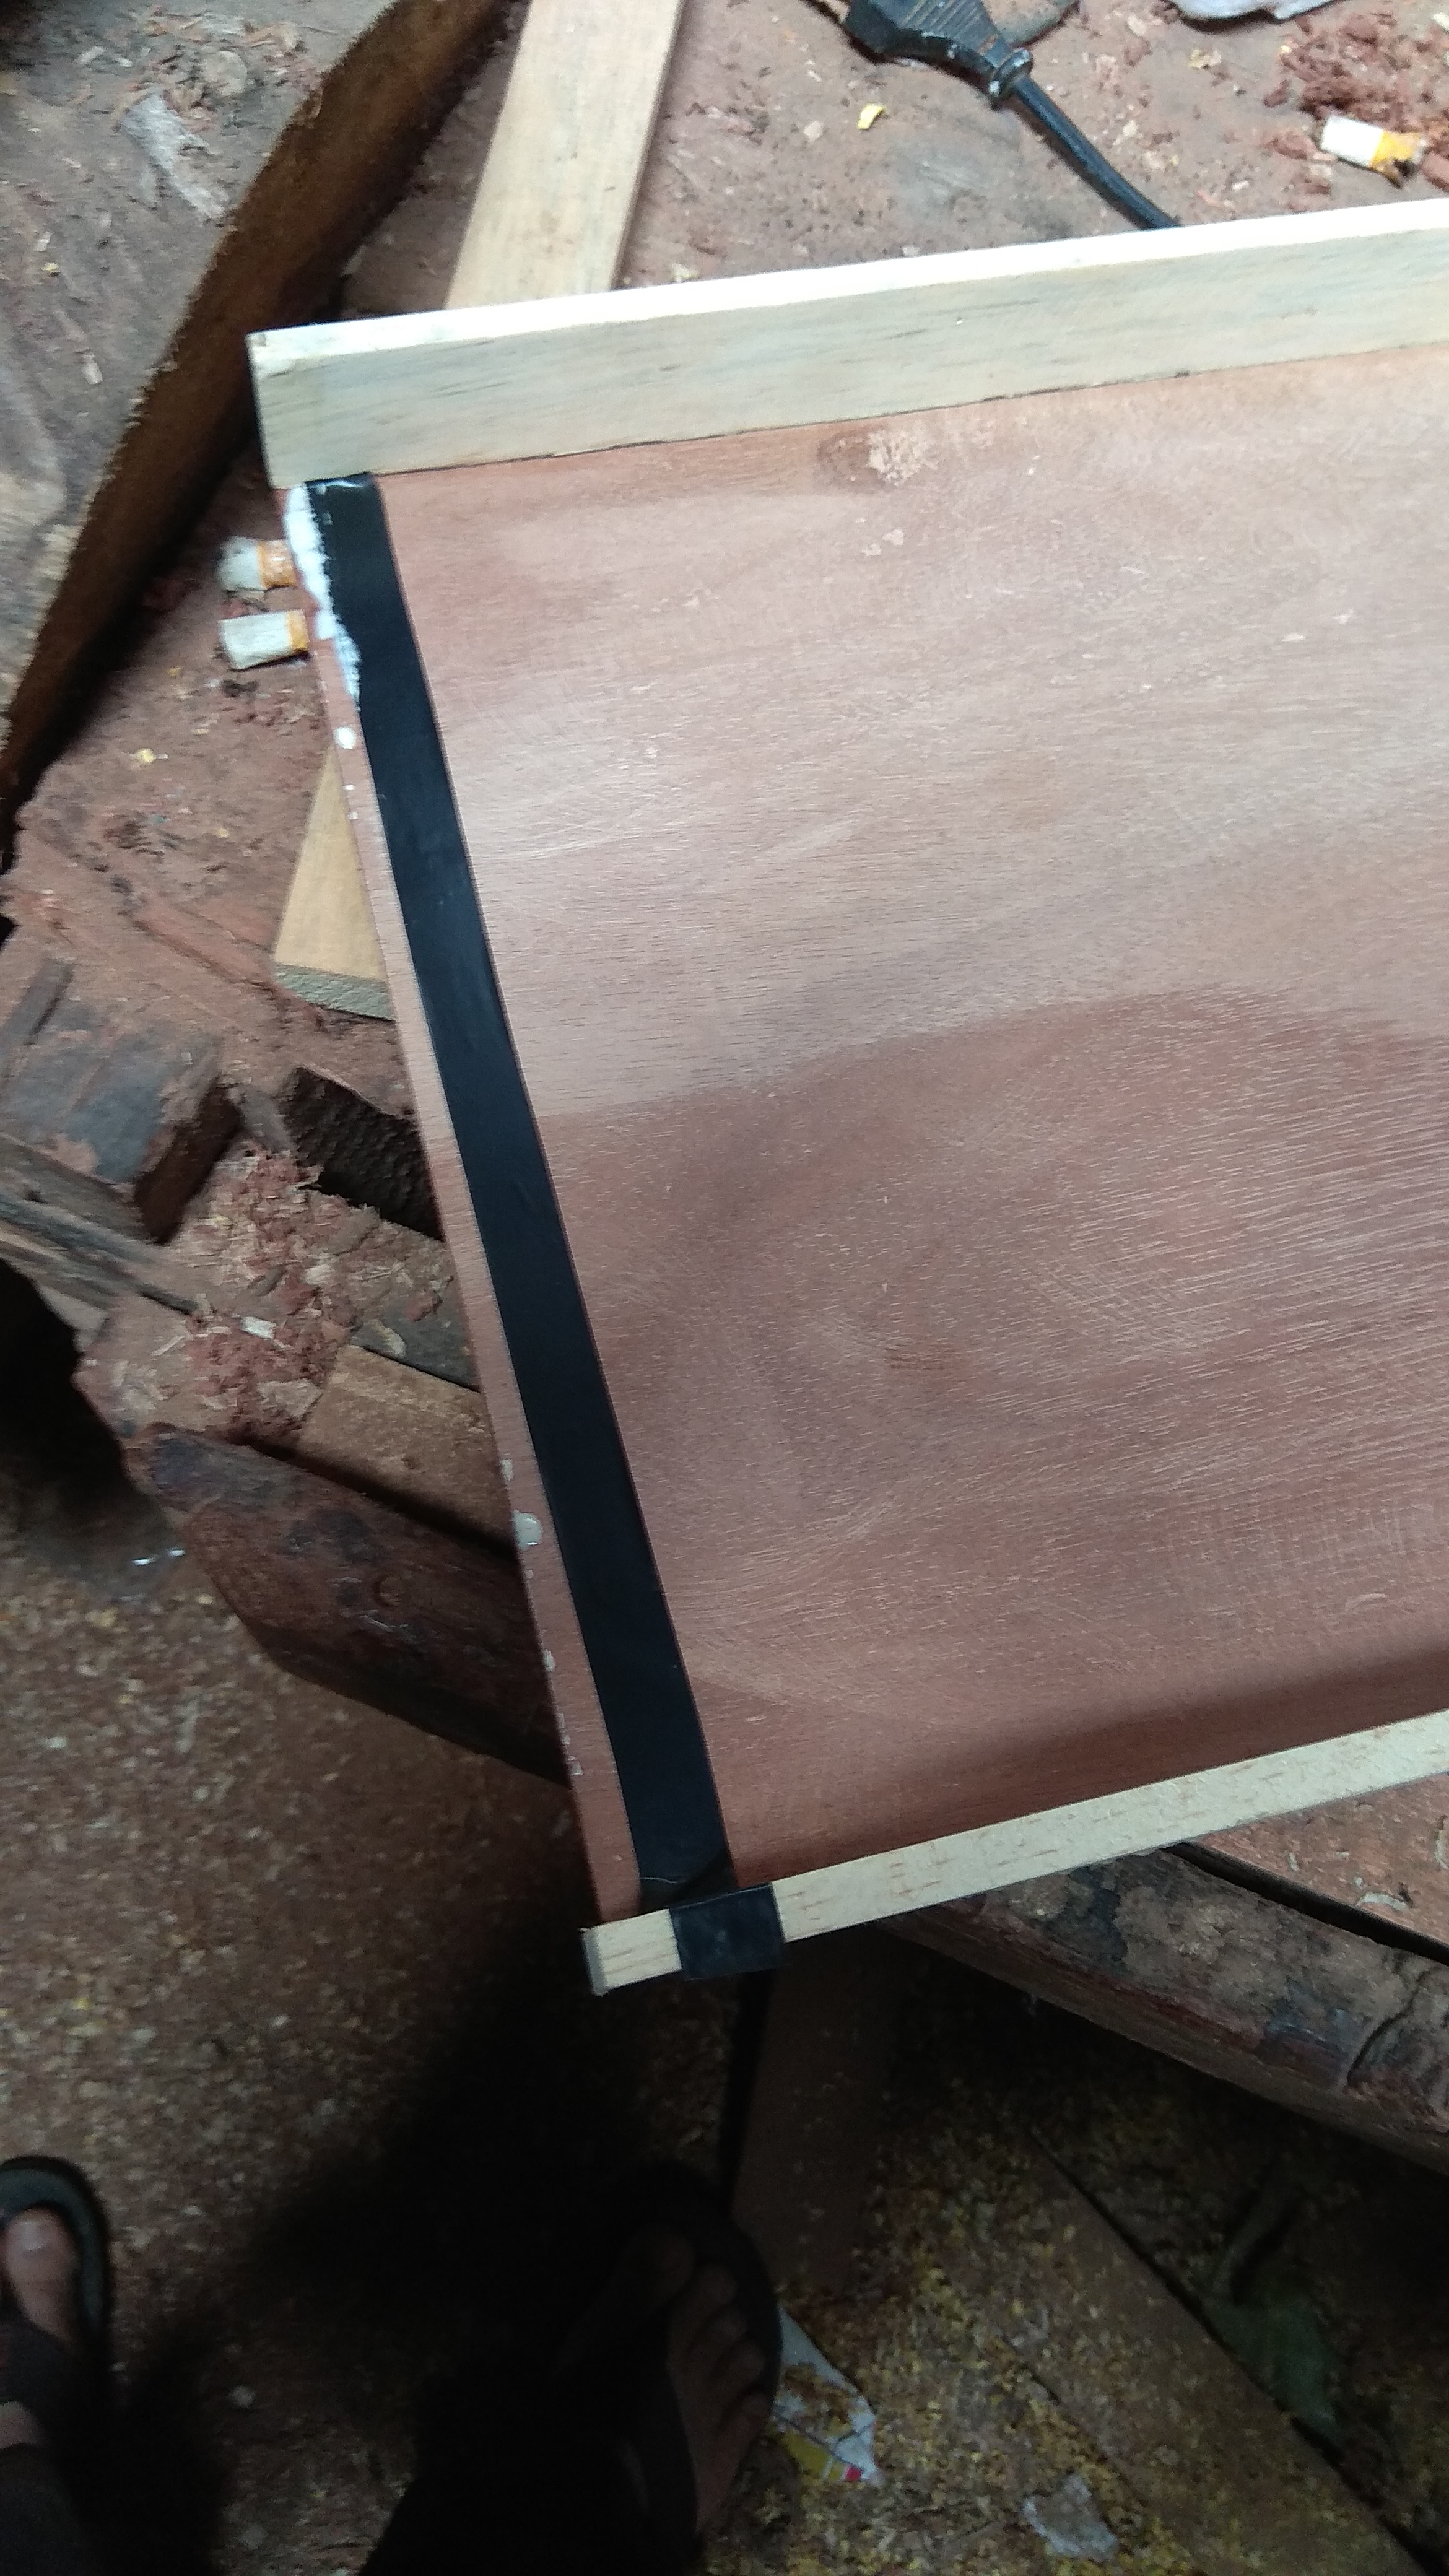
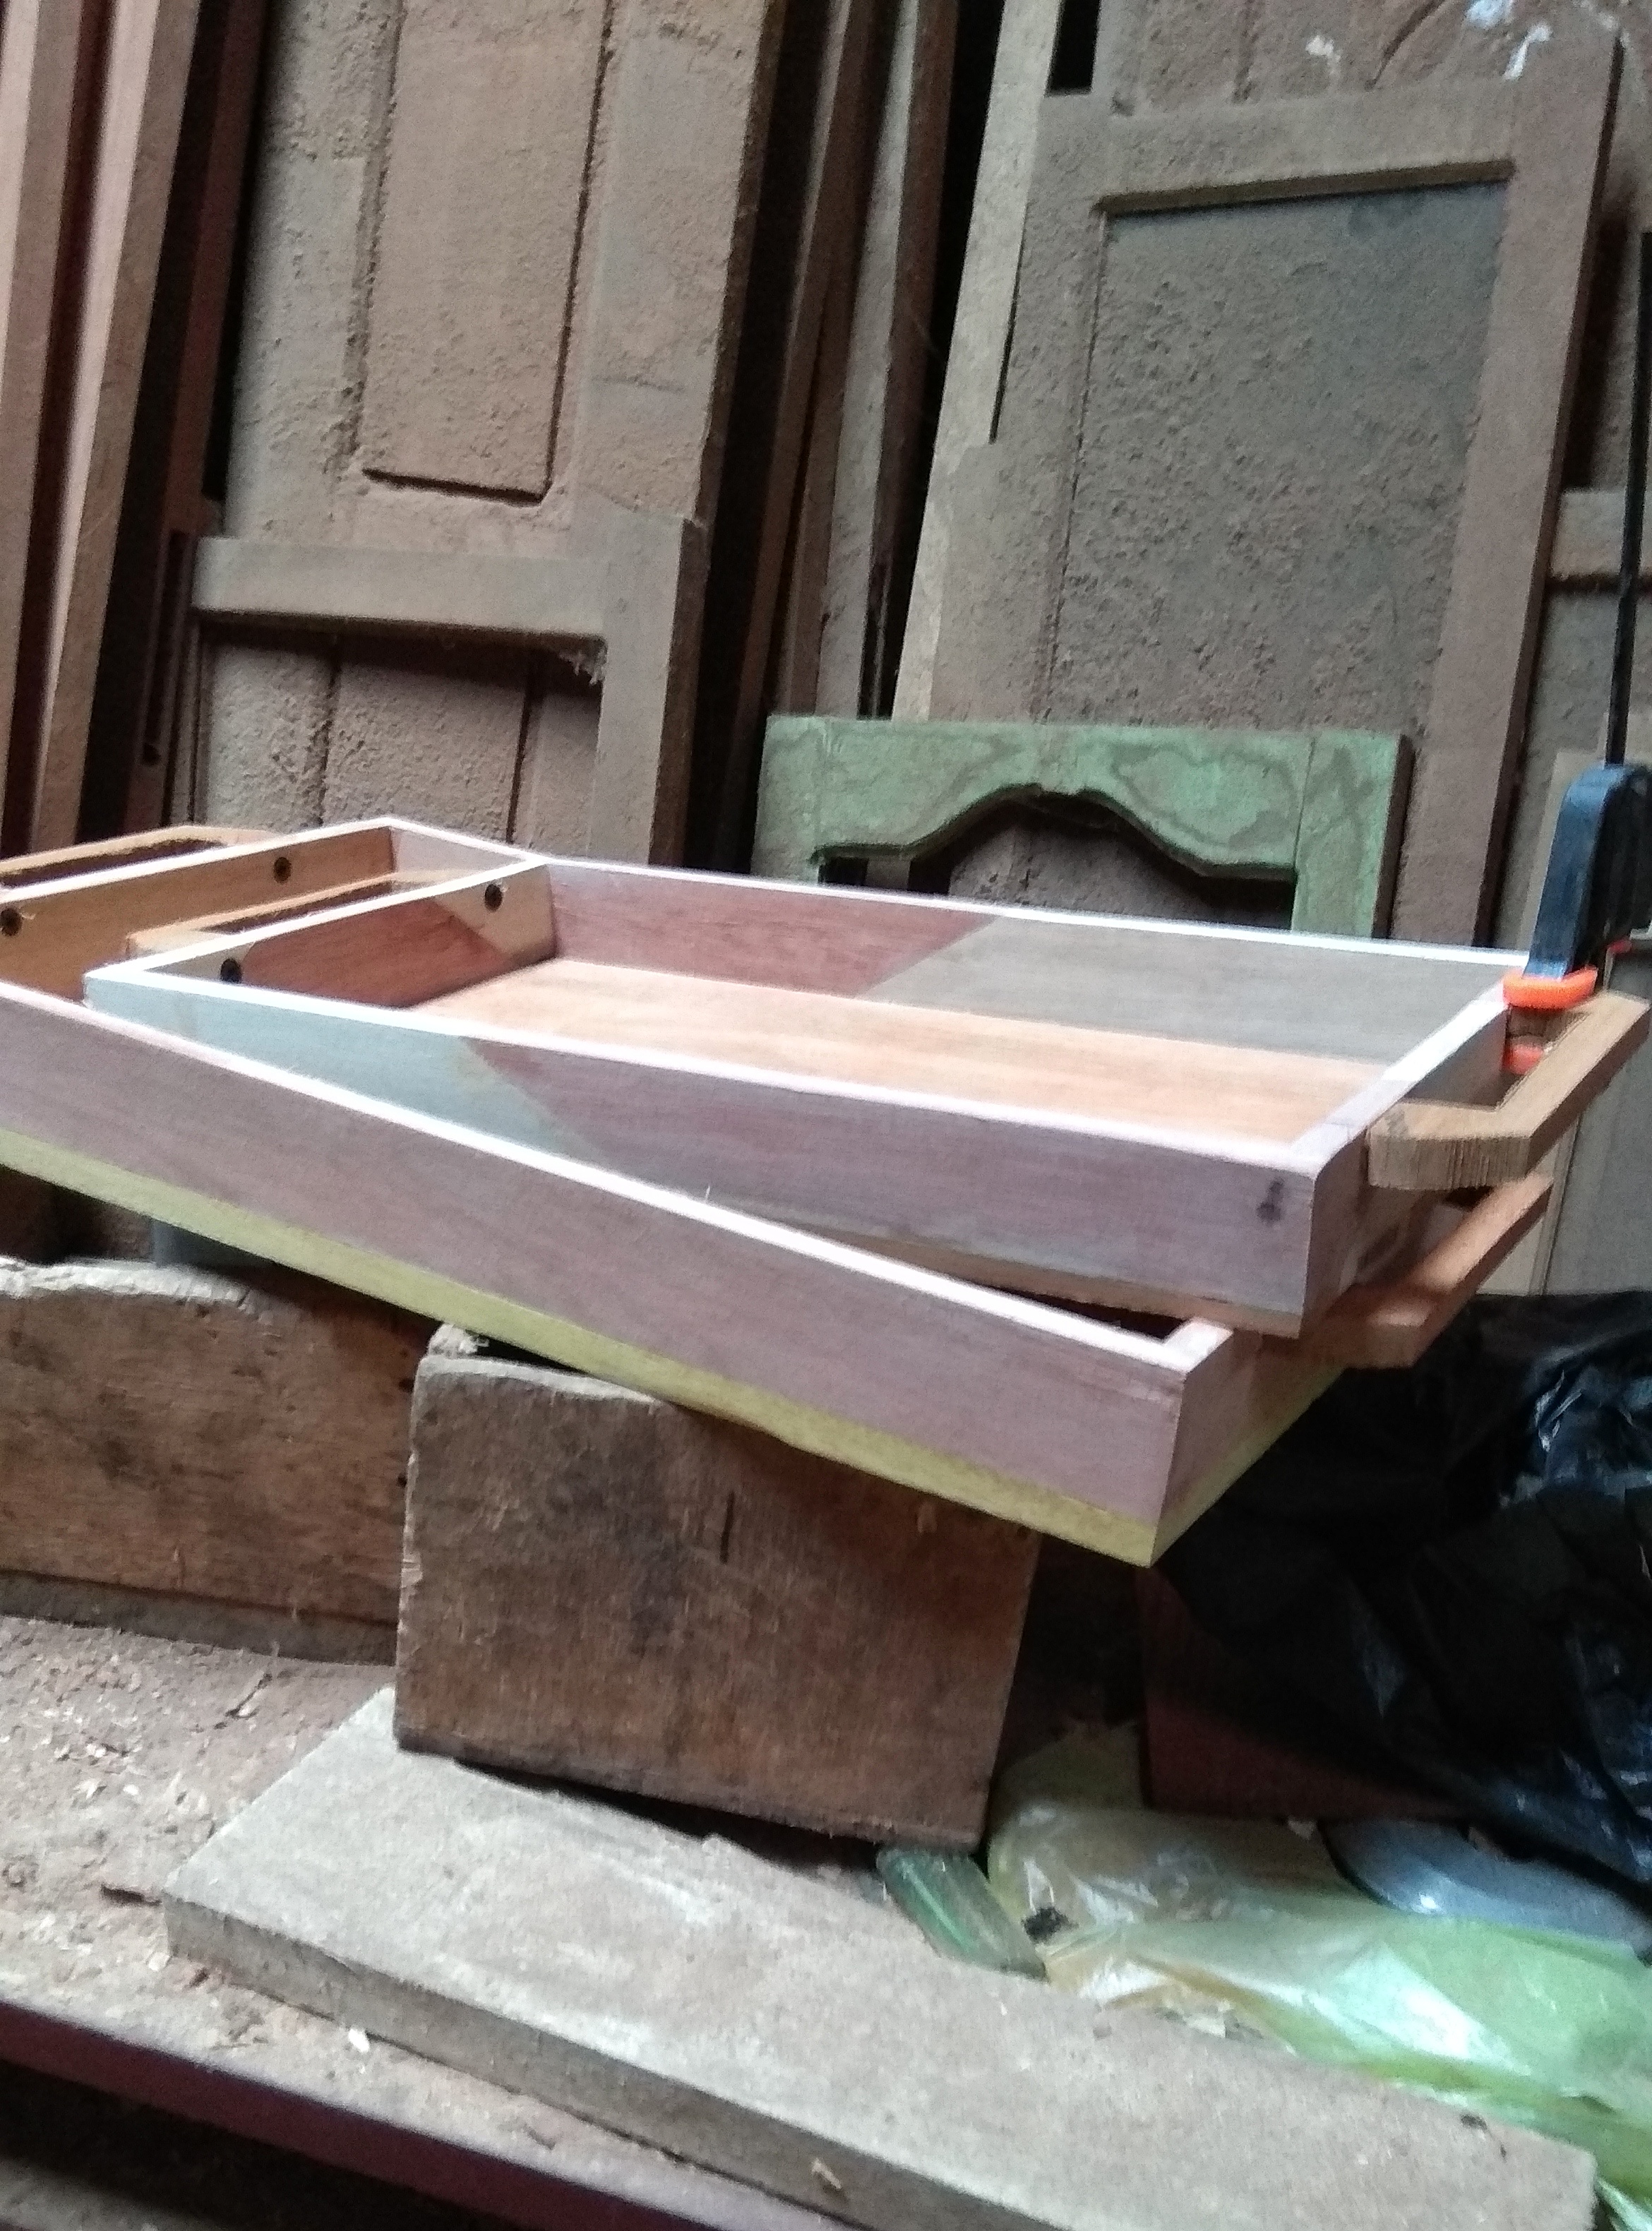
For the stage of attaching the wall to the floor, I applied glue and (insulation) a cover for the connection of the electric cable on the floor as boundary for the glue area to make it easier for me to clean the remaining glue that was left on the corners of the floor a trays.
In that process you can see some of the pictures below.
![]()
![]()
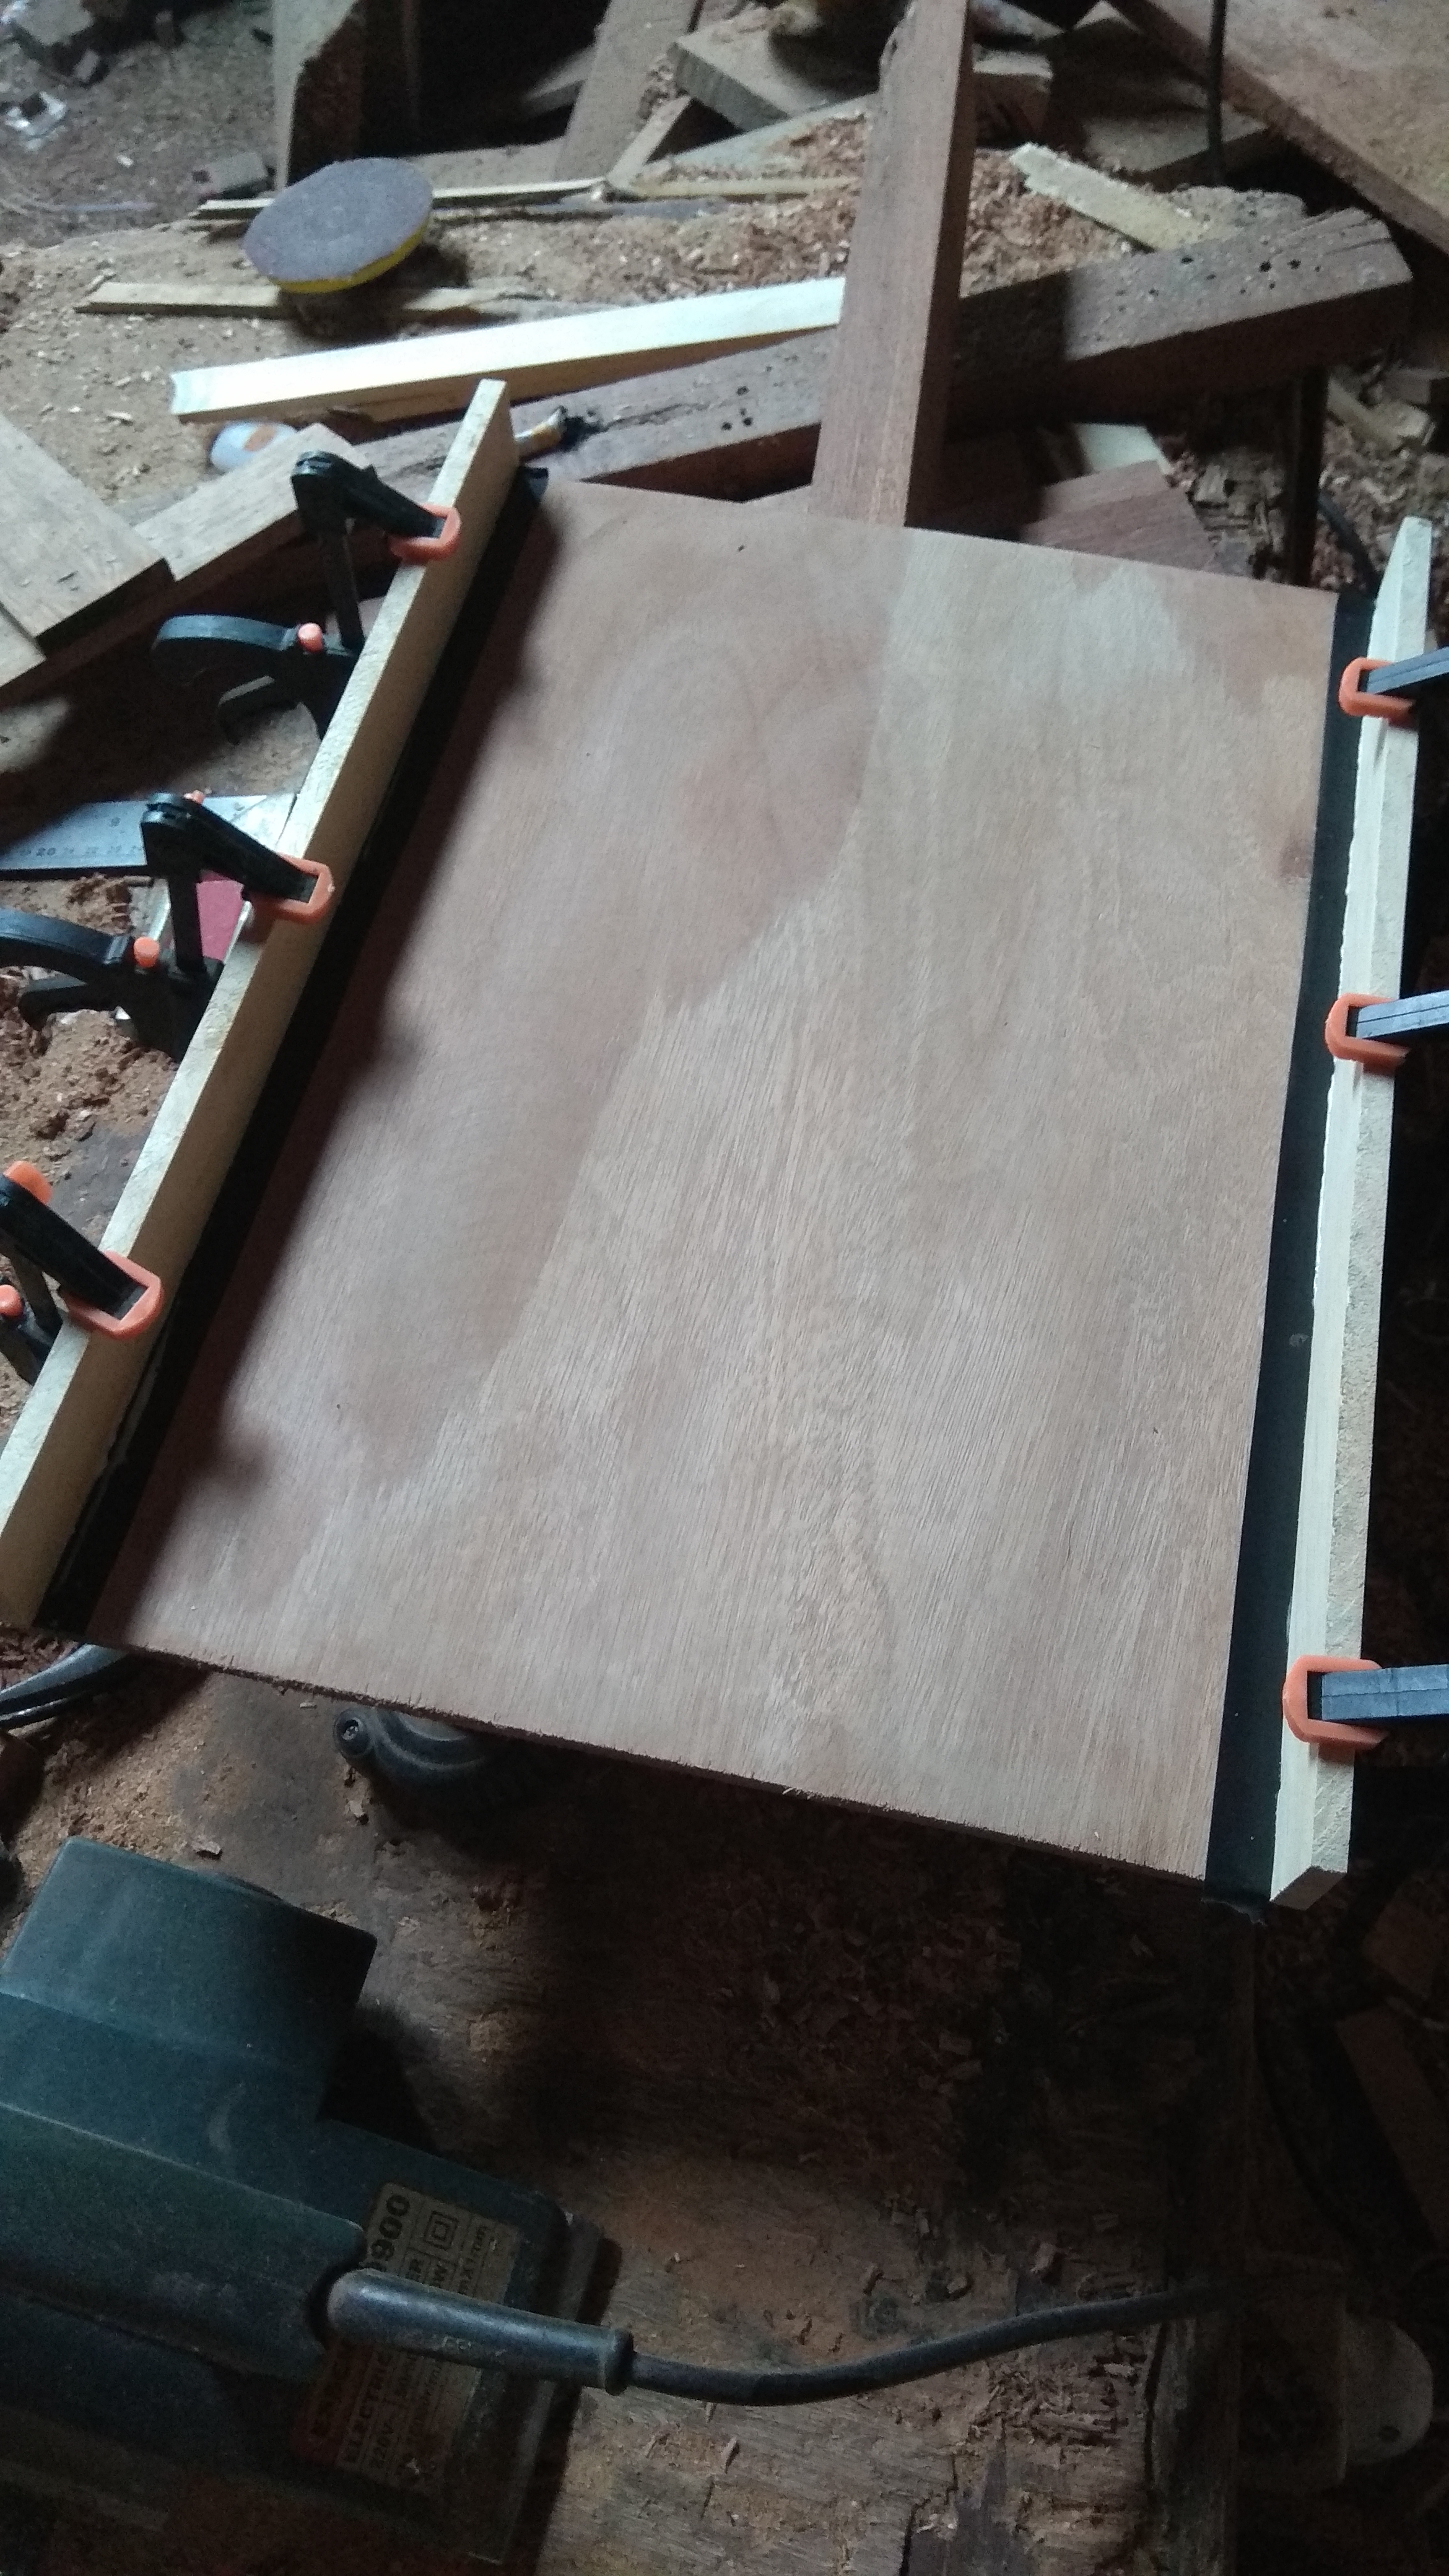
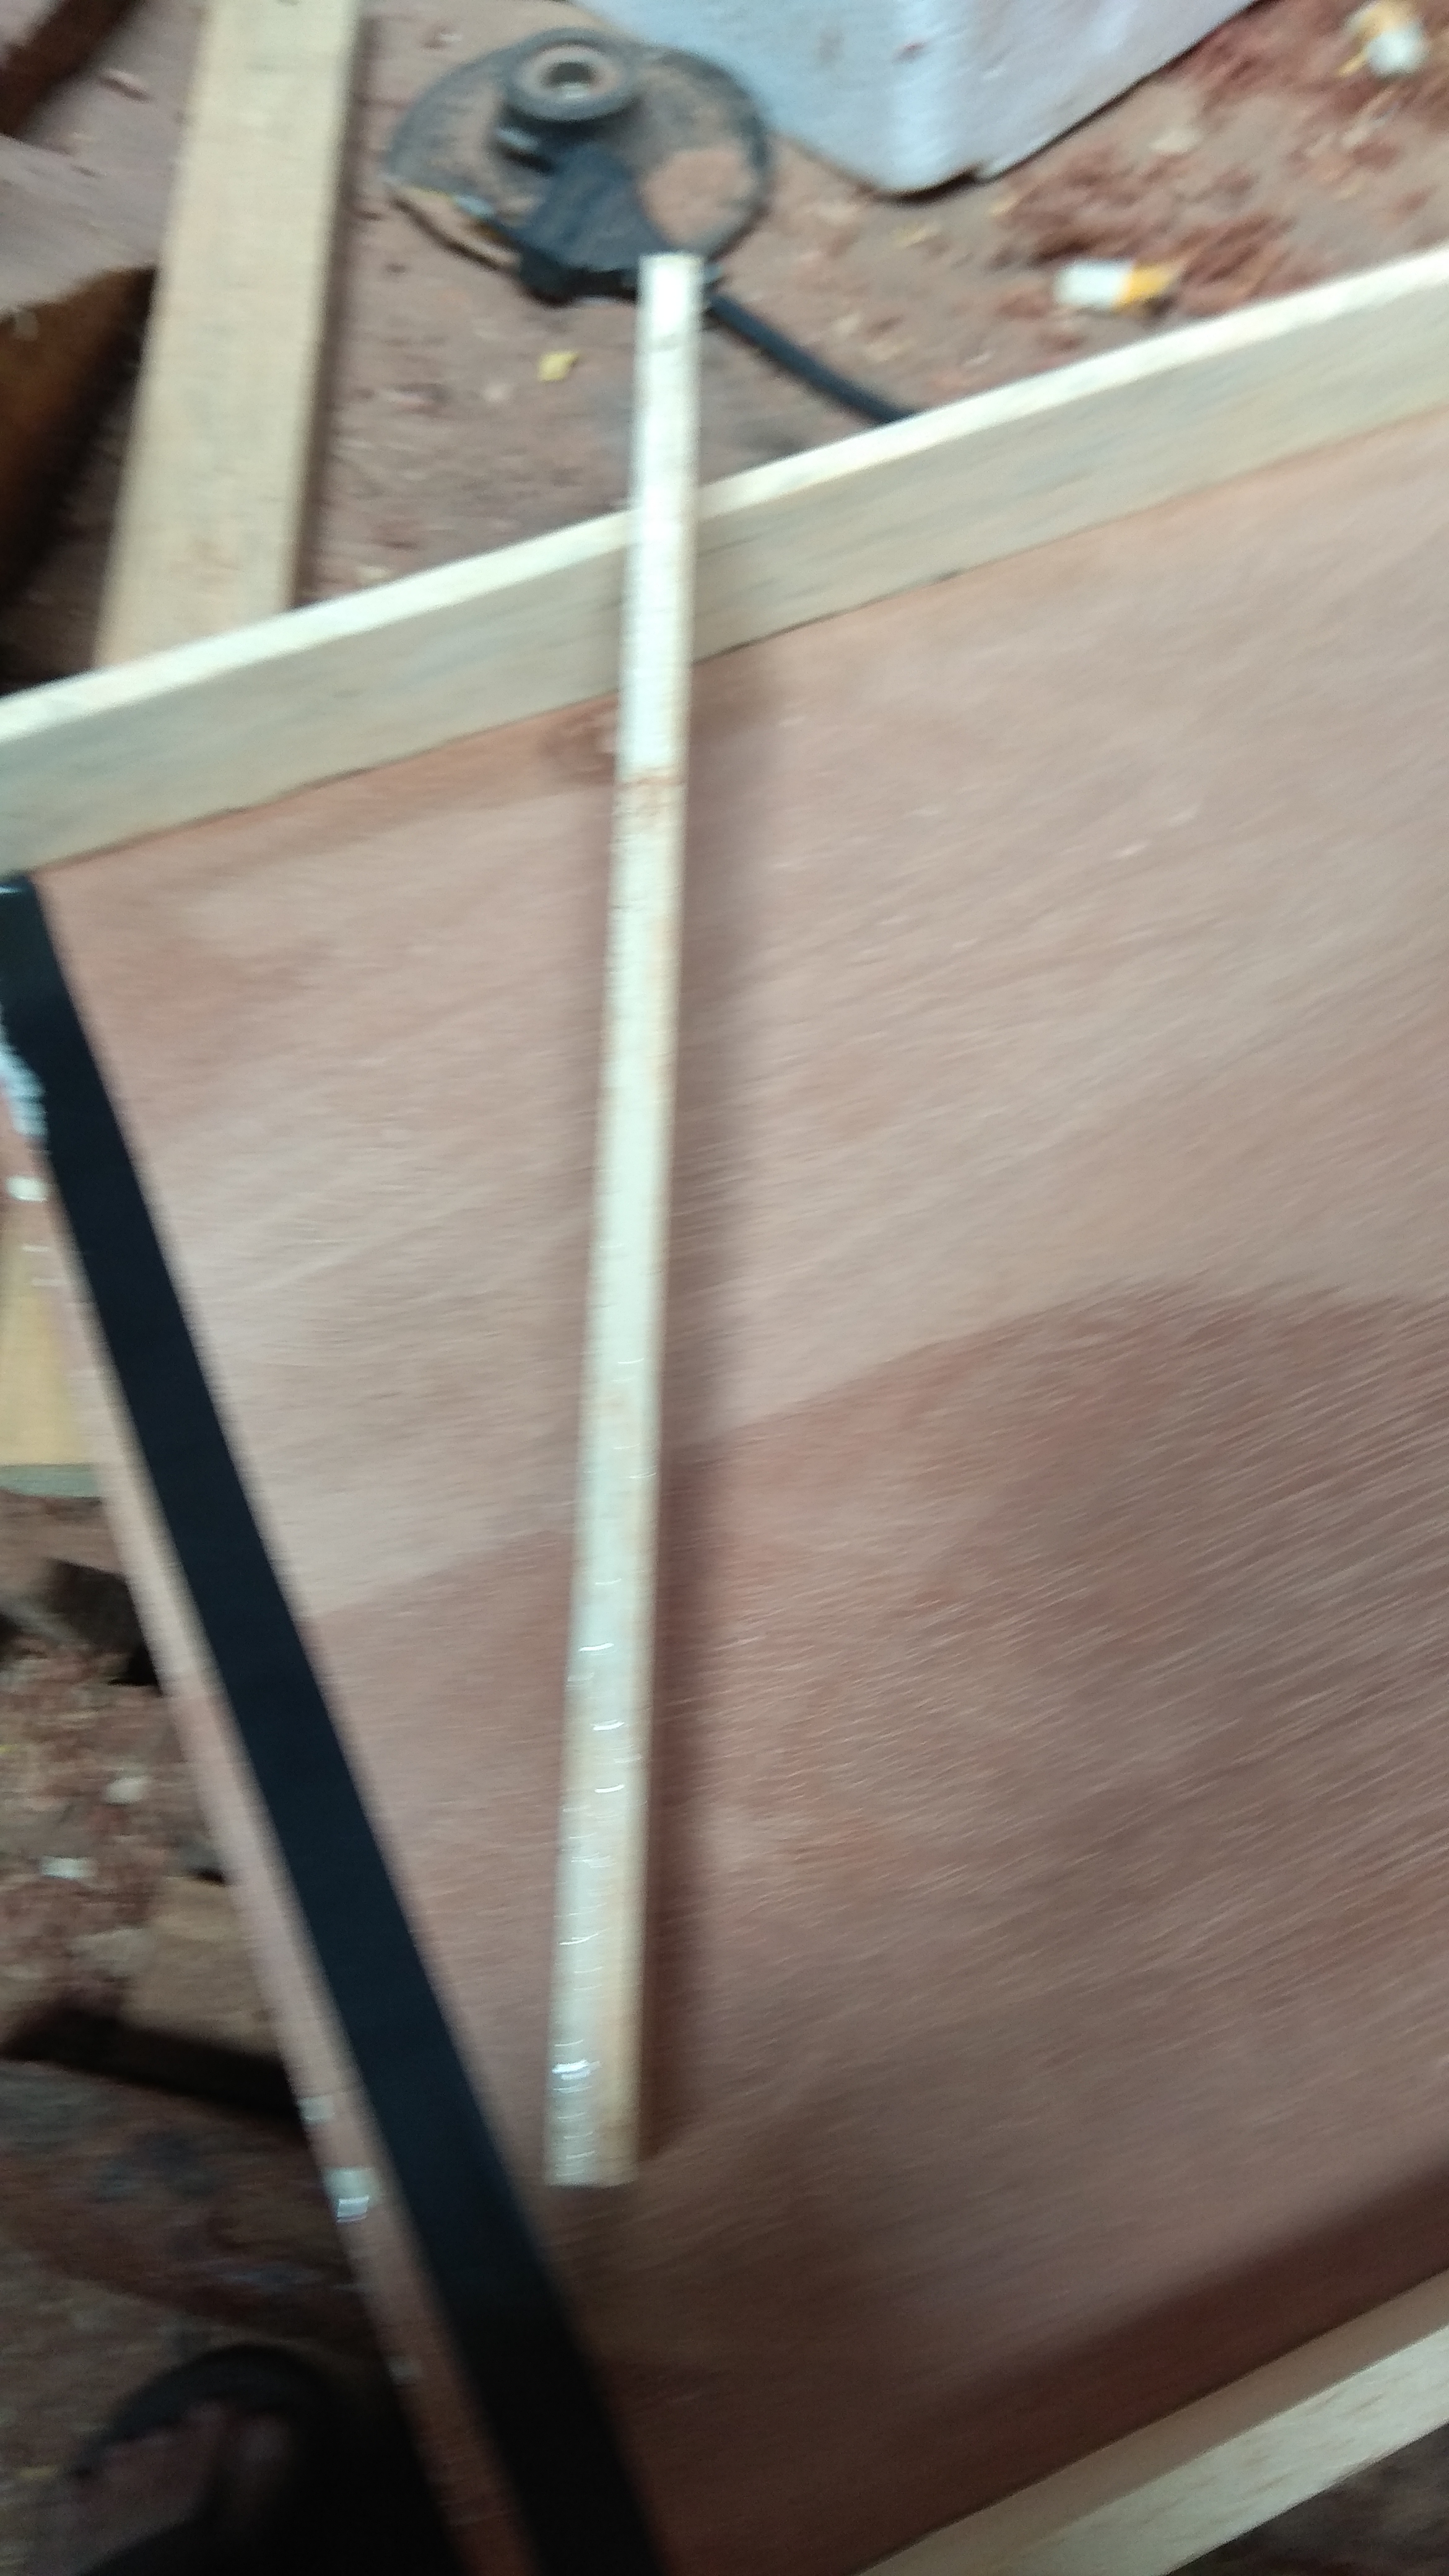
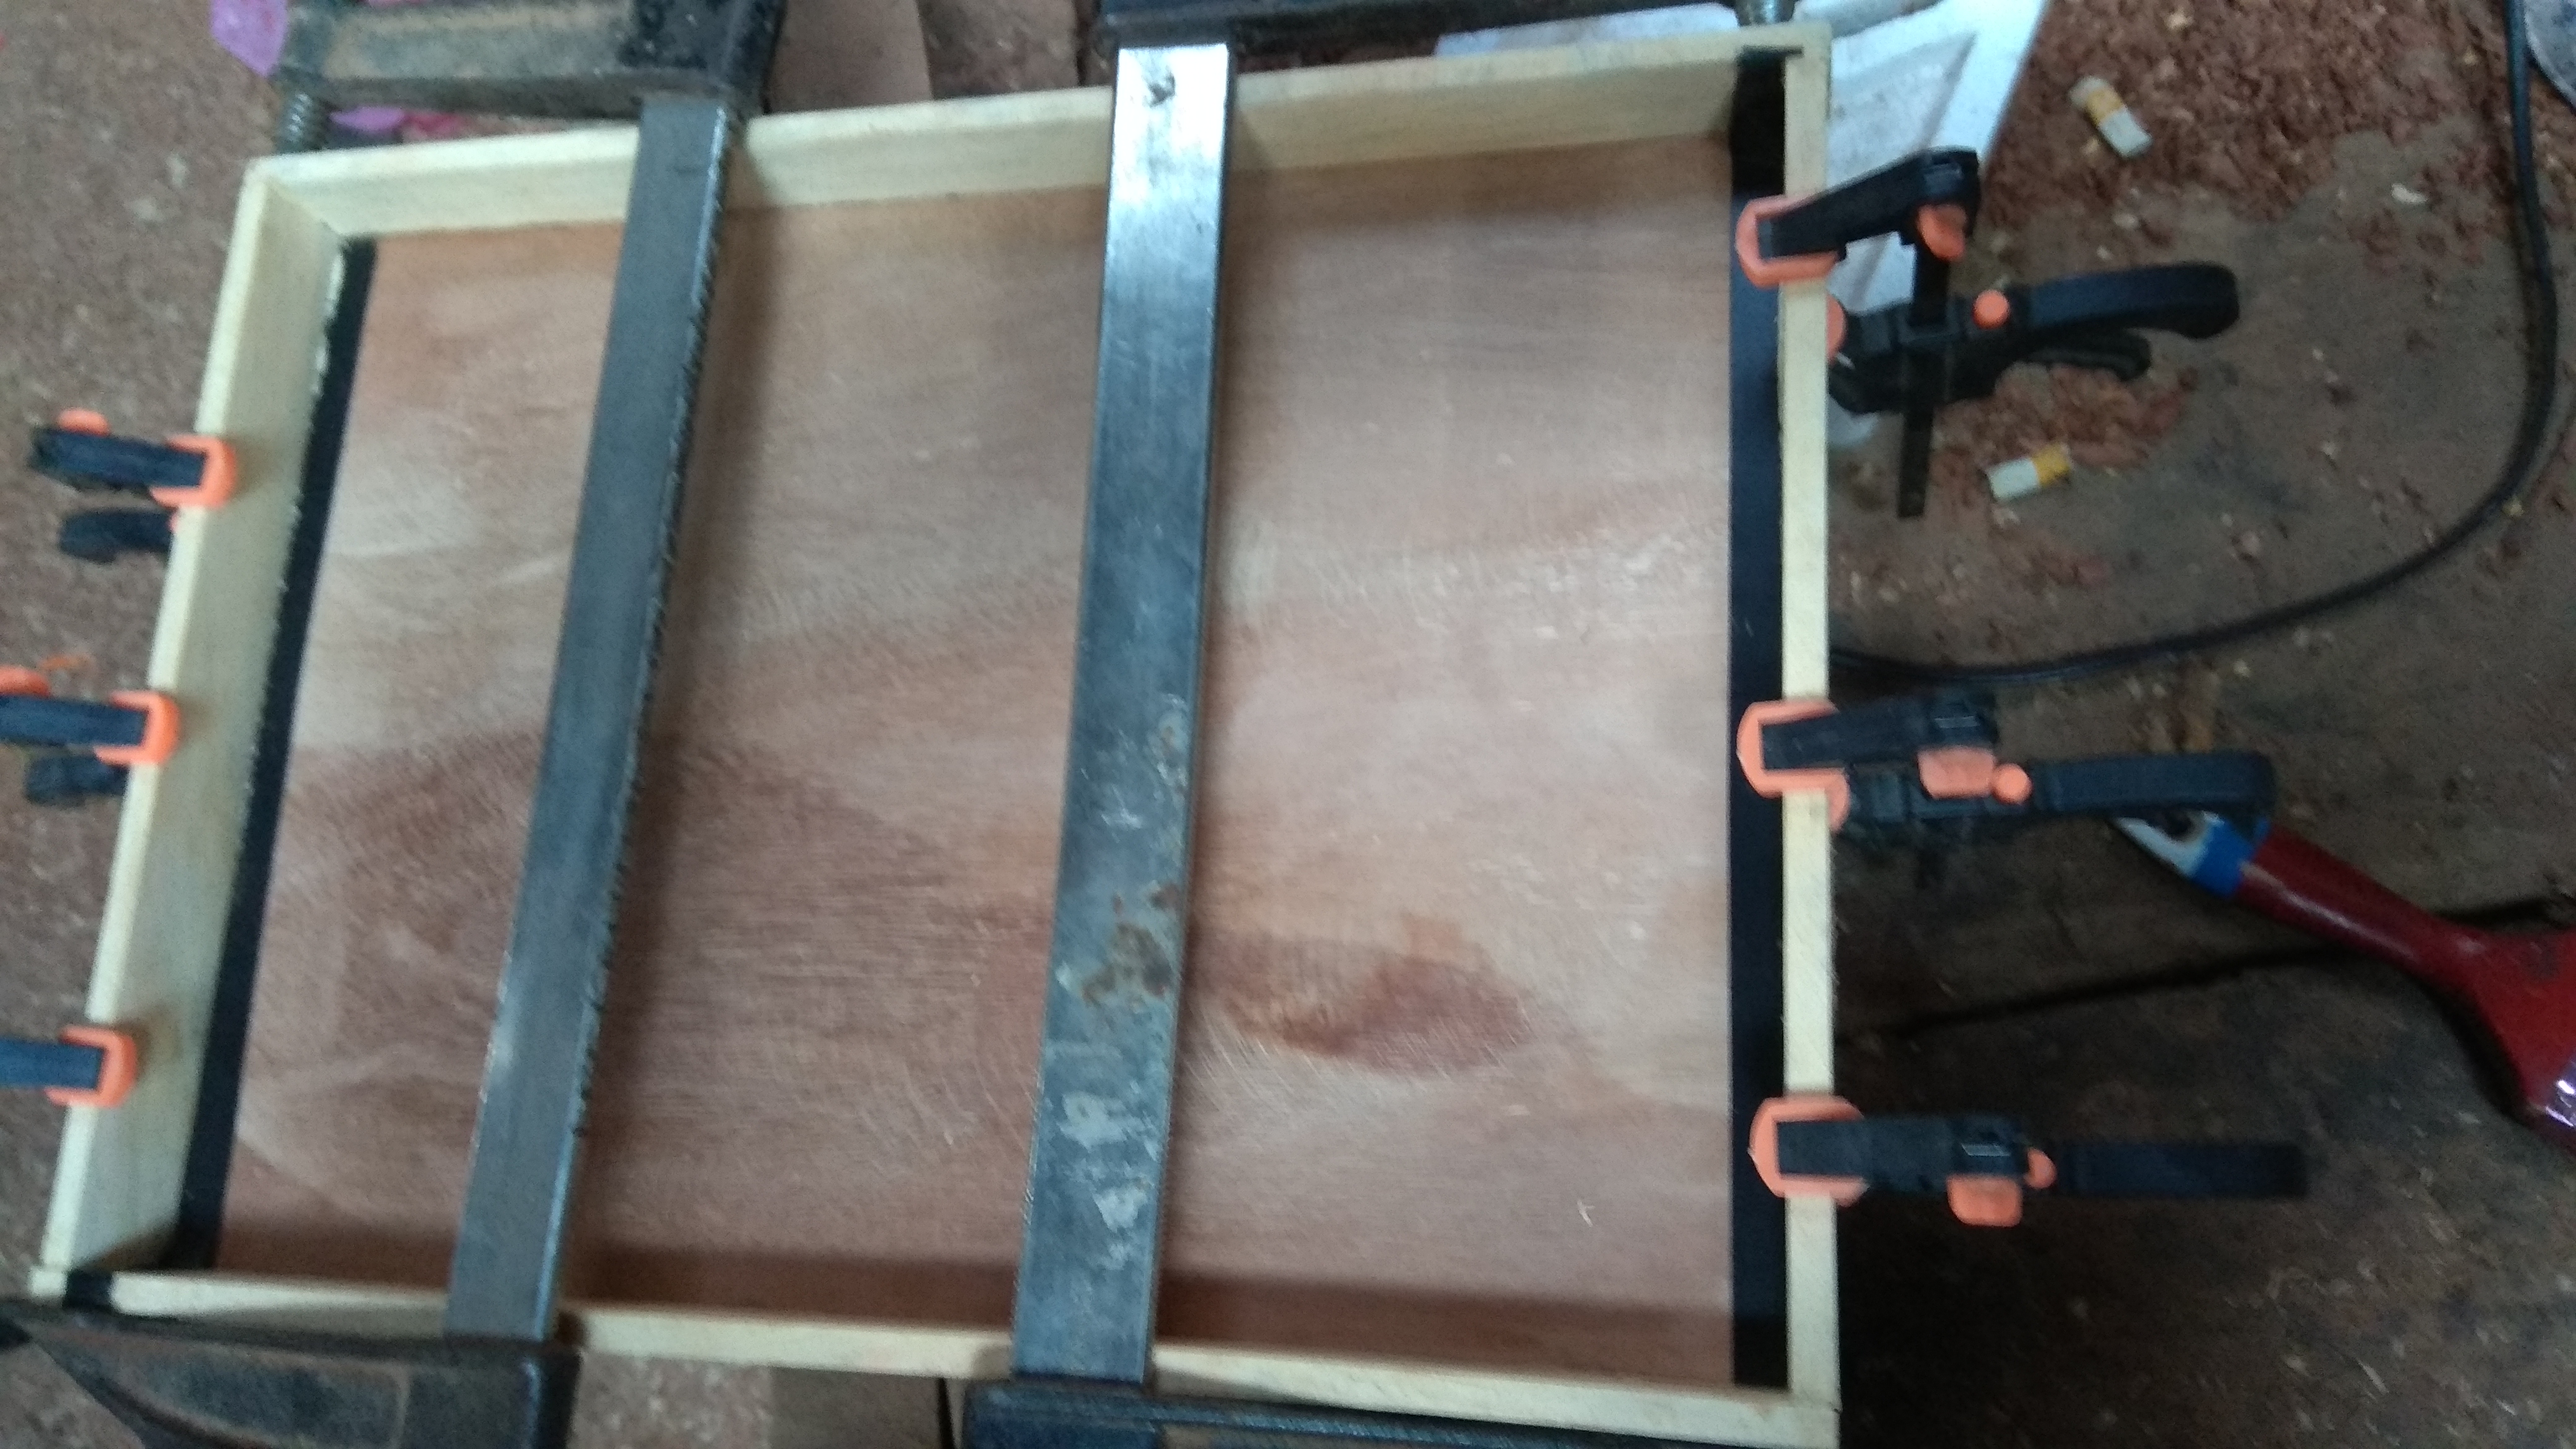
Then I use a small clamp to clamp the connection between the wall and the body of the tray so that the wood is really well together and the glue on the joints can put together the wood joints together with strong and the method is as shown below.
![]()

![]()
![]()
![]()
![]()
For pressing the width of tray,here I use the 12inc clamp so that the two corners the of could are well together and several mini clamp
After all the basic processes are finished then I refine it using a mini sandpaper machine because I made this is a tray for 20 units and it would take too long if I smoothed it manually.
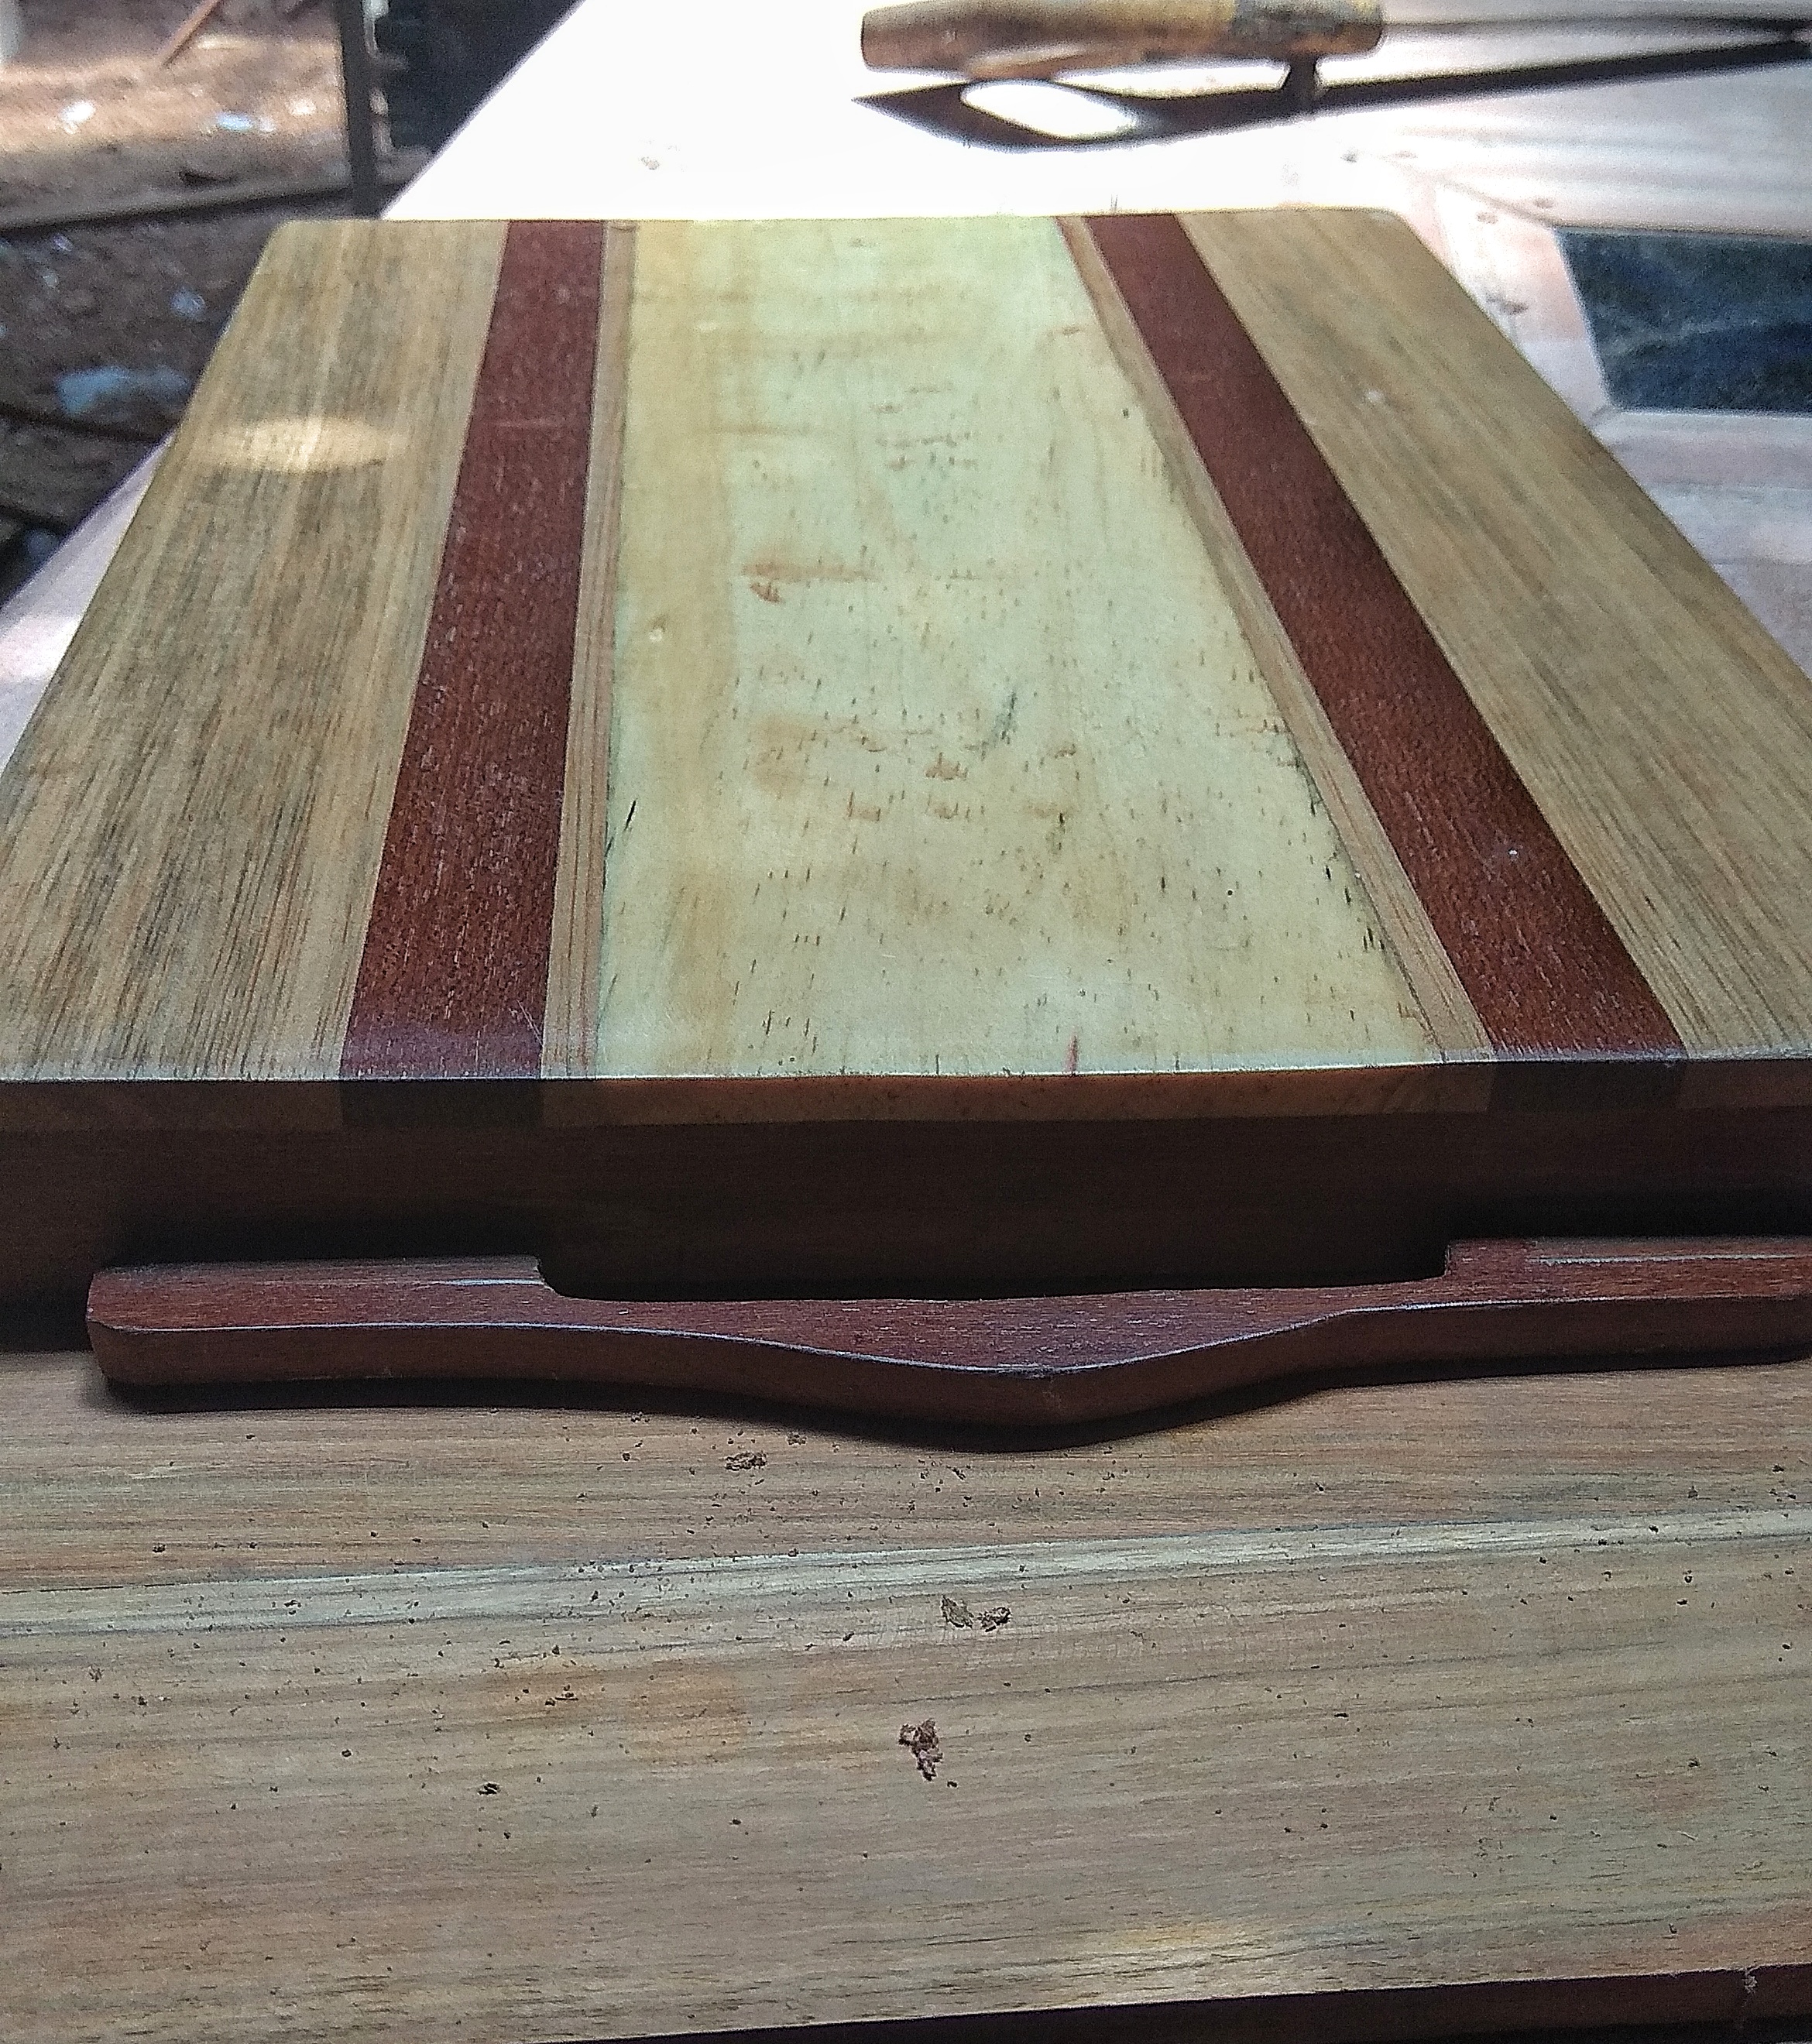
After all the sanding process is complete, then I continue the process of making the handle.
![]()
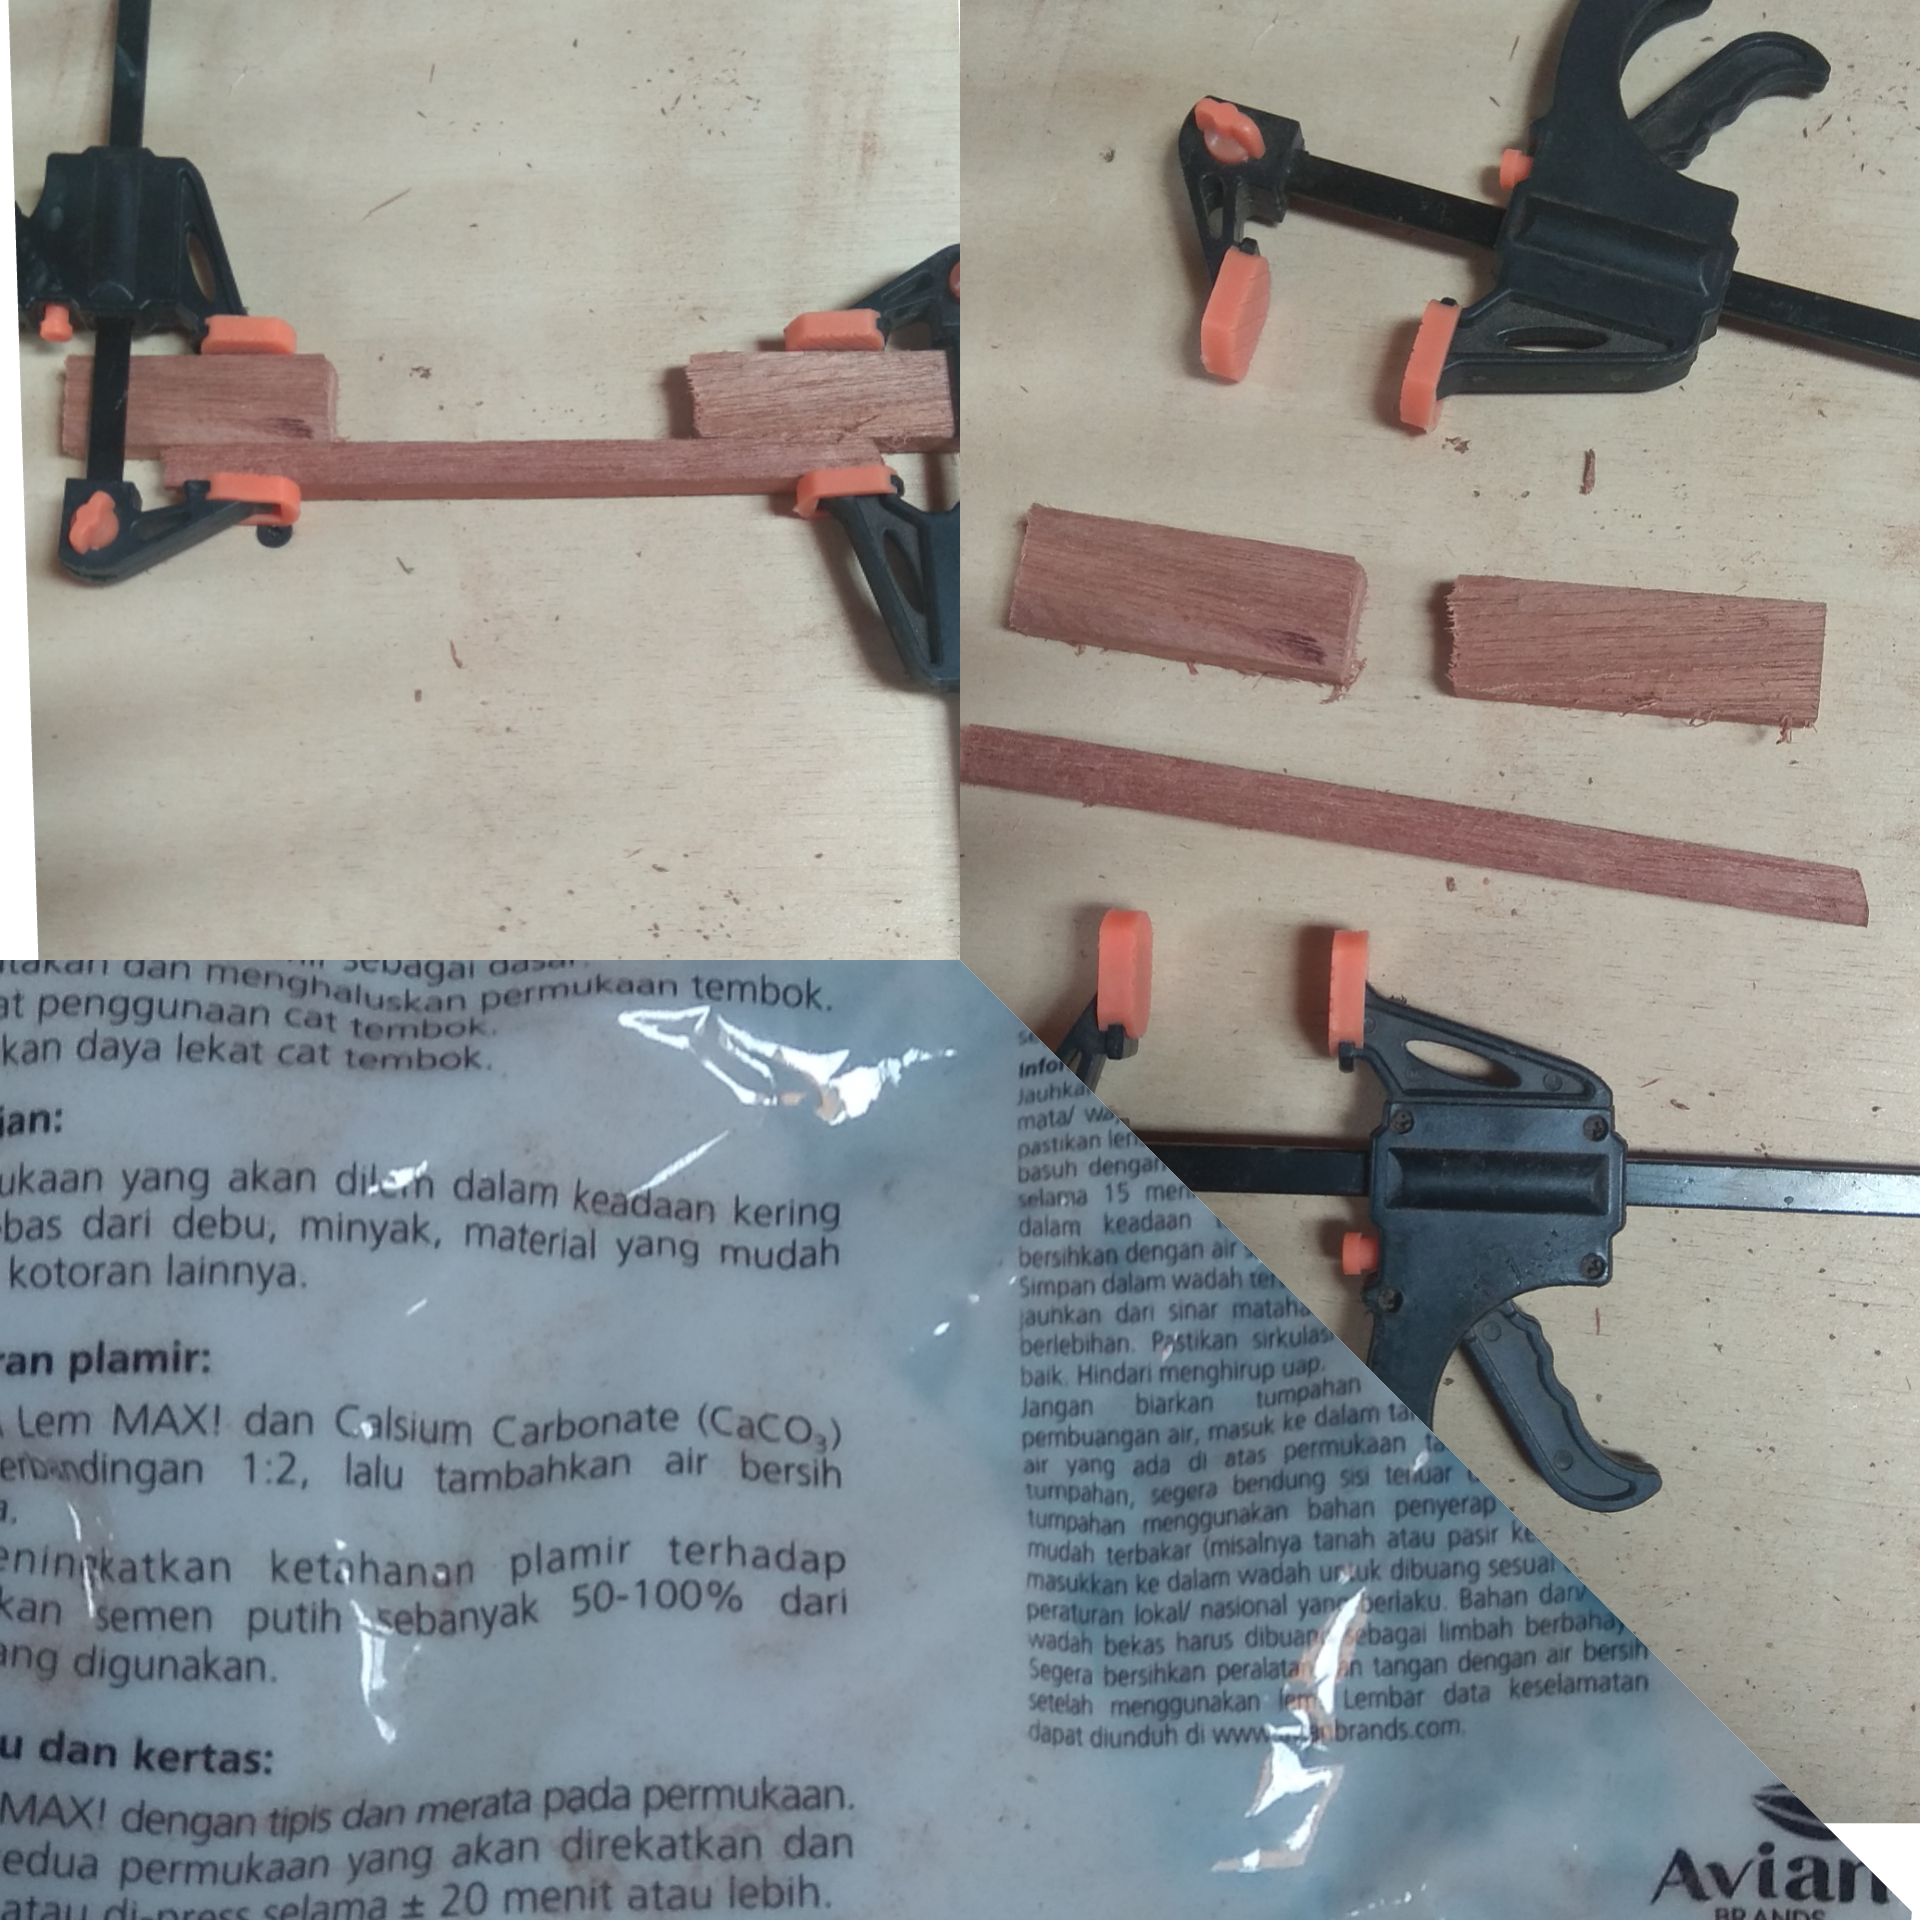
For the process of making the handle I use 1x2 cm of wood which consists of one color to make it look simple.
it's very easy I use 1x1,5cm pieces of wood and 1x1cm wood then I cut and paste them using glue,then after the glue is dry I tidy it up using a mini sanding machine.
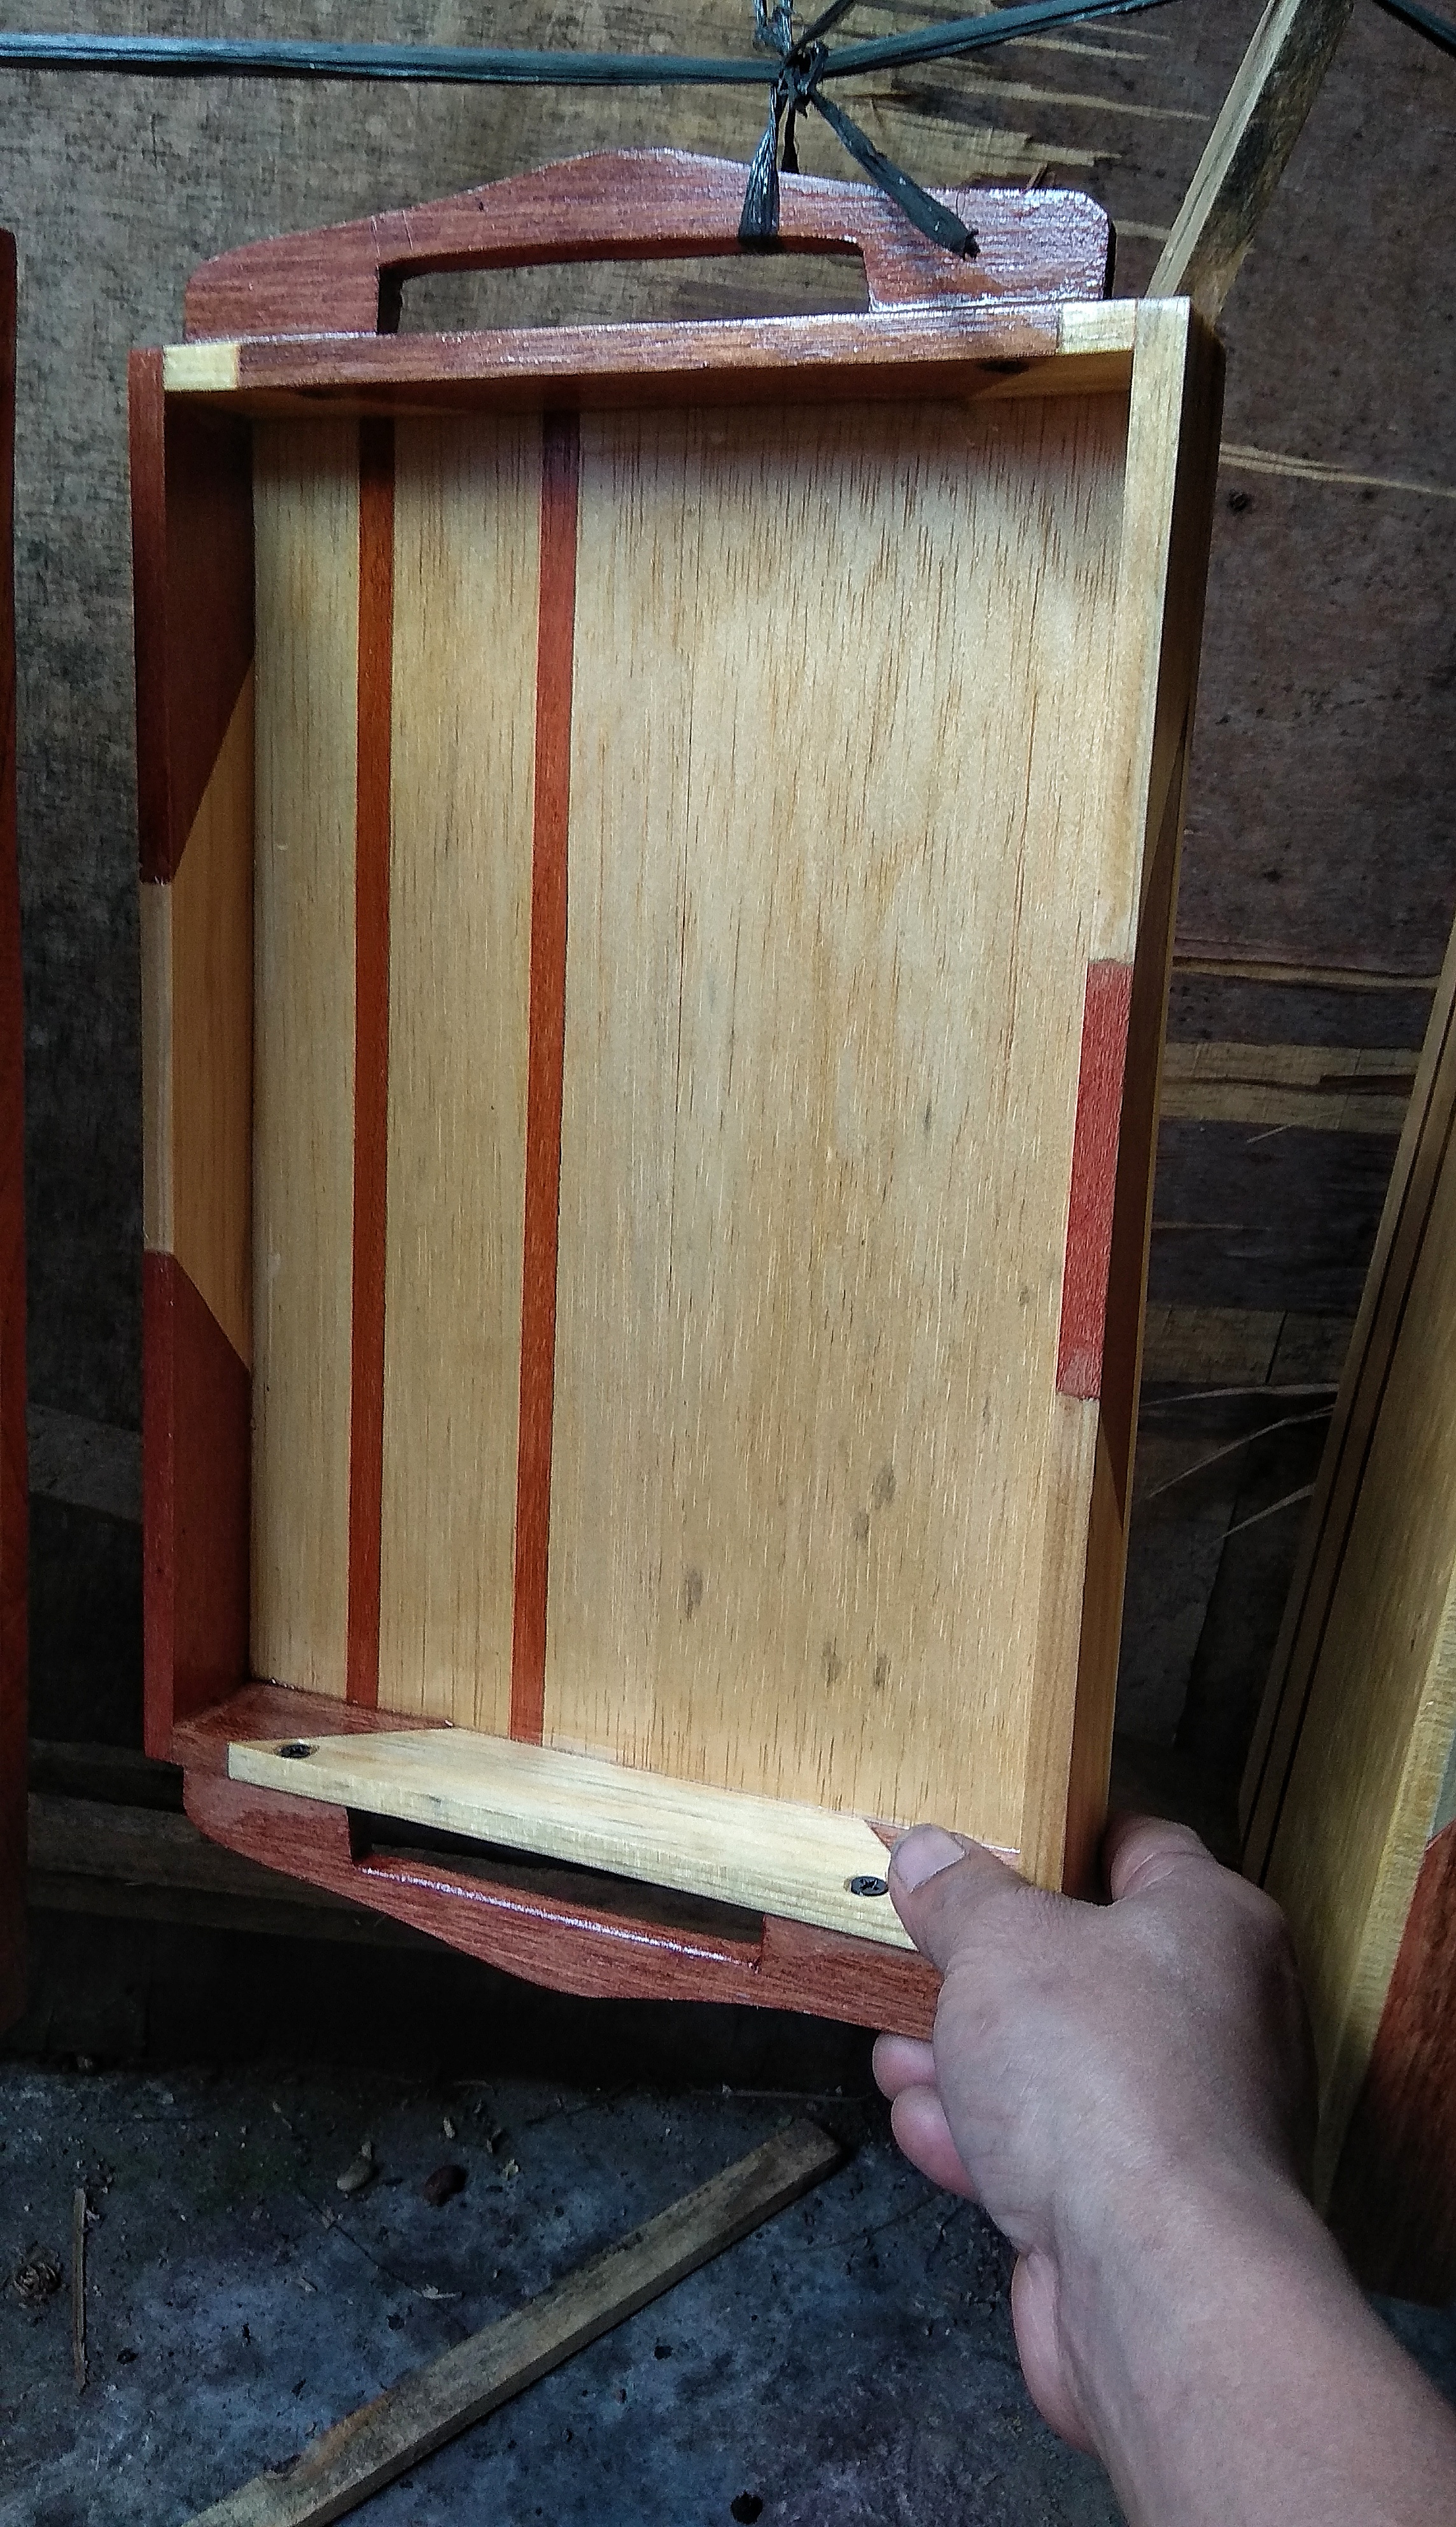
For the process of joining the handle with the body of the tray, I used glue and scrop to make it really strong and make people sure that this tray is really strong even though the handle looks small.
![]()
![]()
![]()
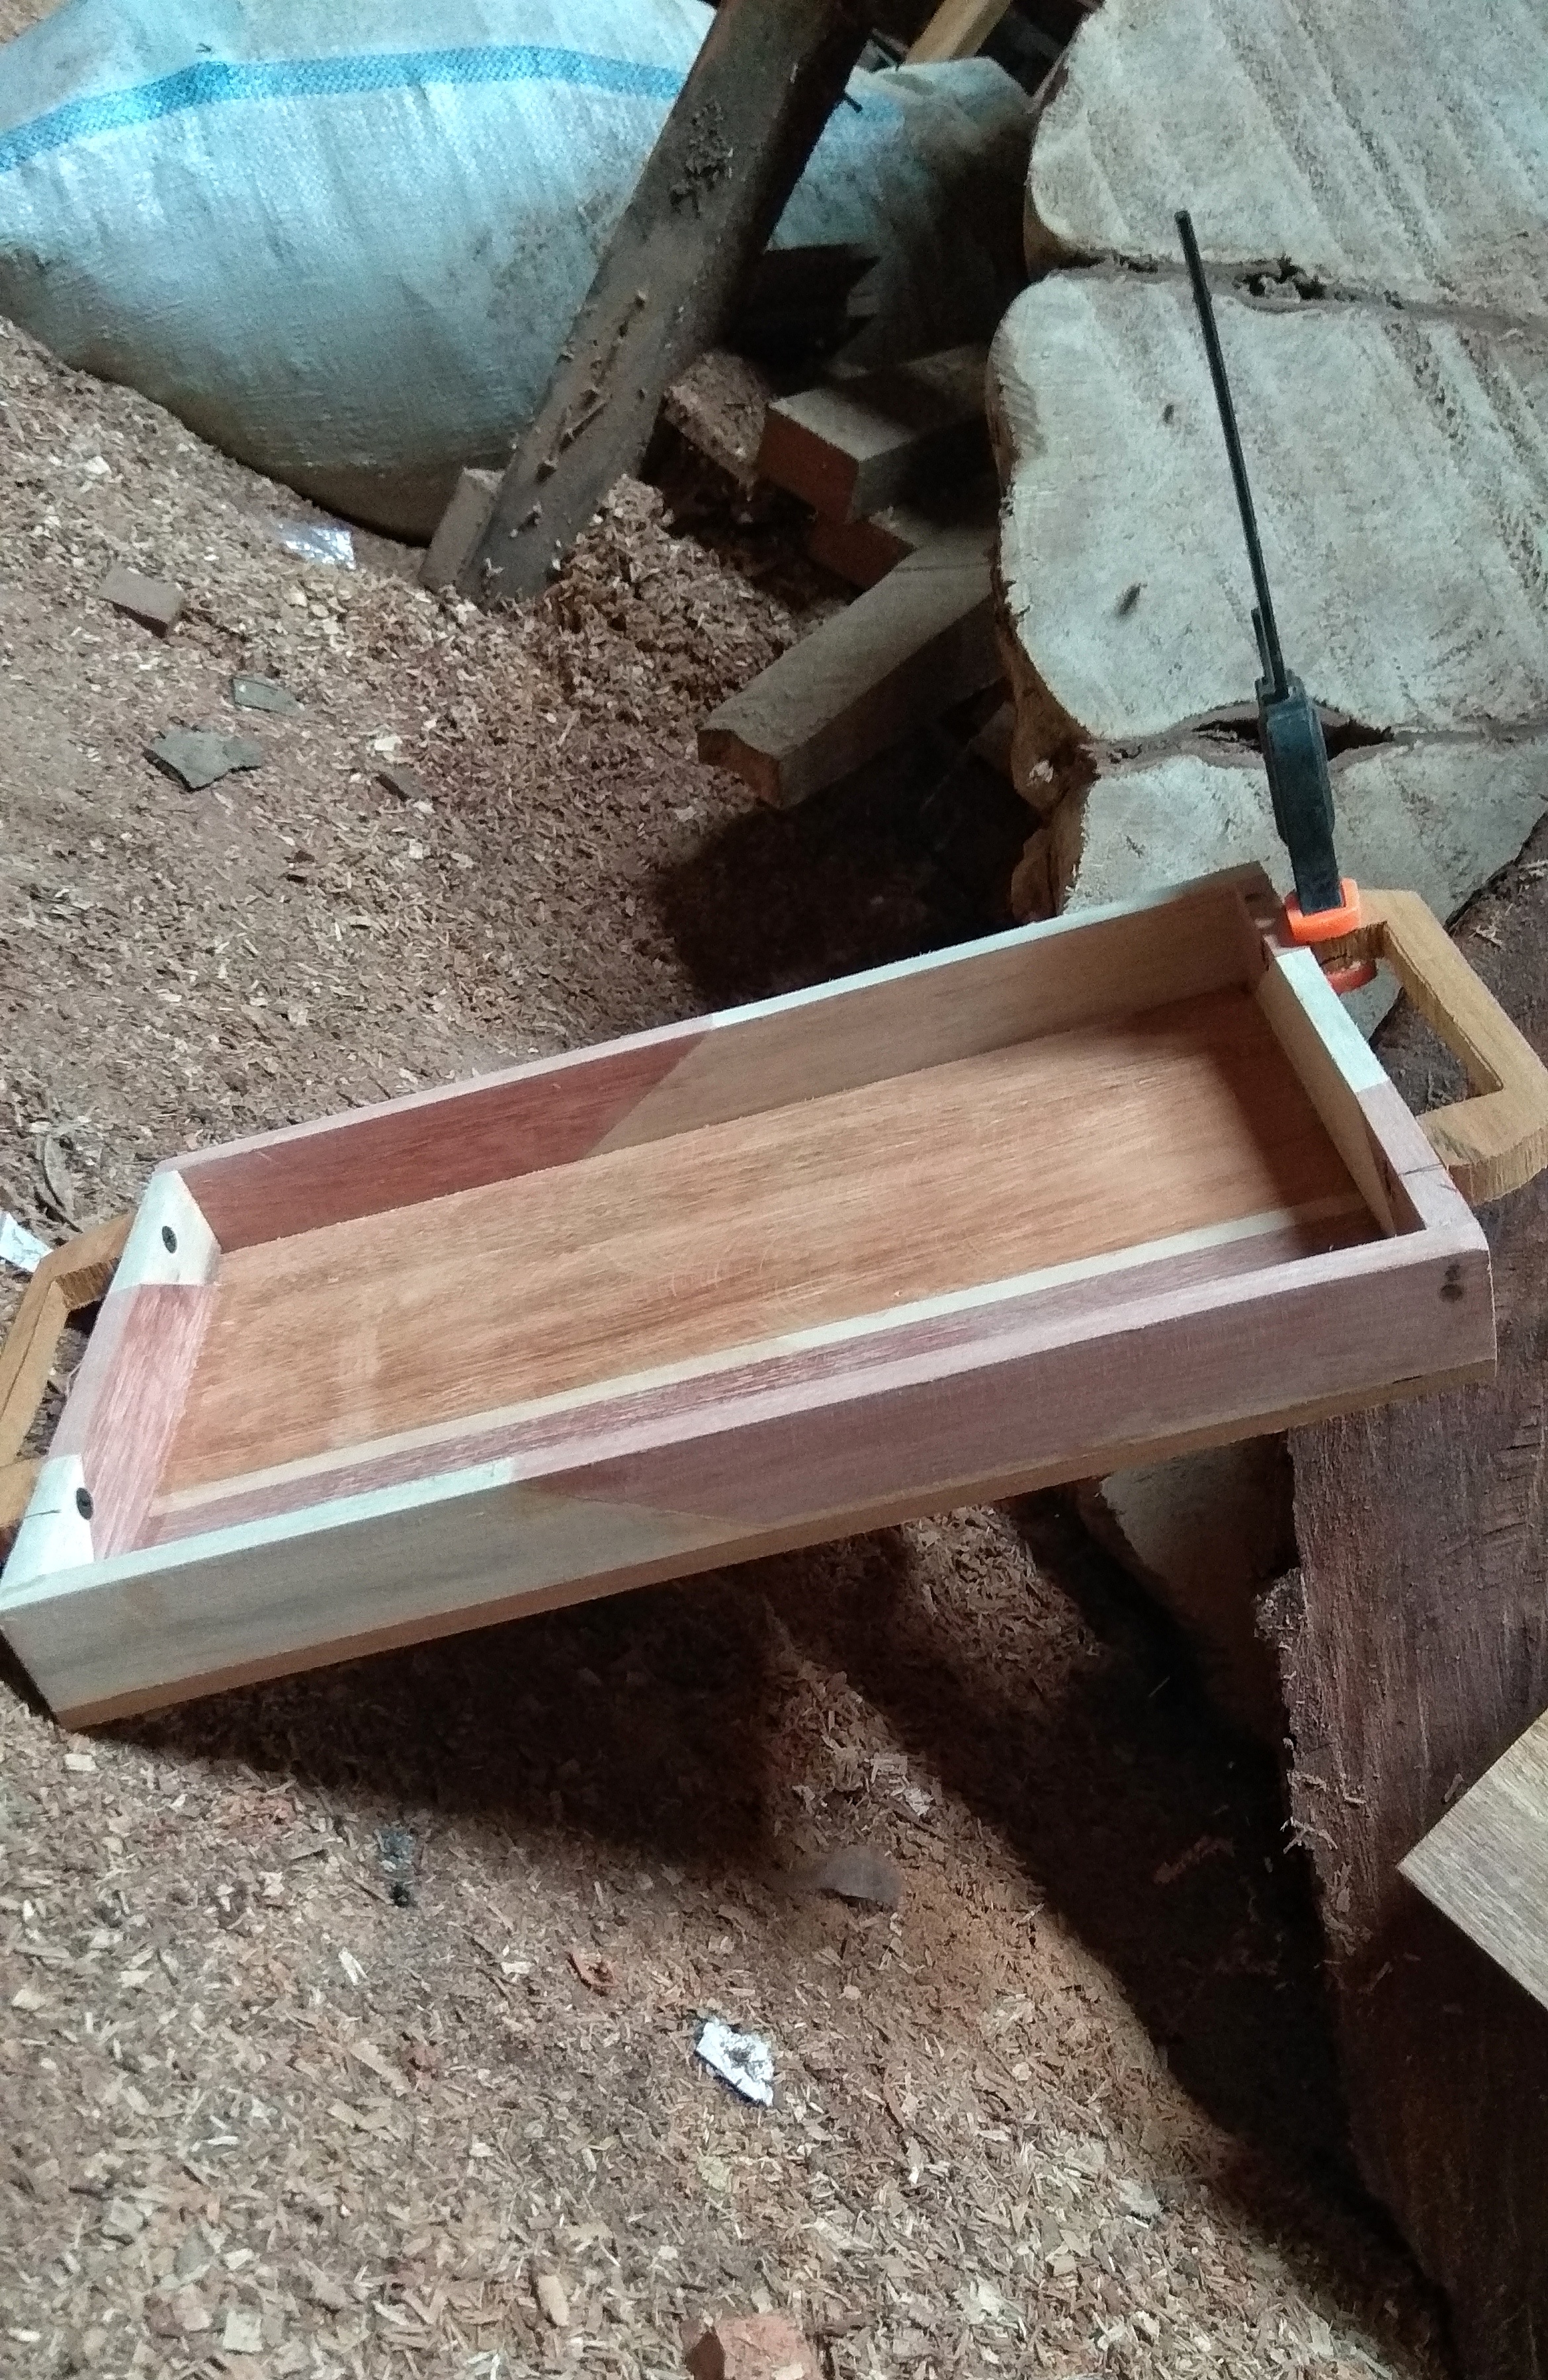
For the next stage I tidied all the parts of the handle with all parts of the body of tray with way manually until all the parts were completely smooth.
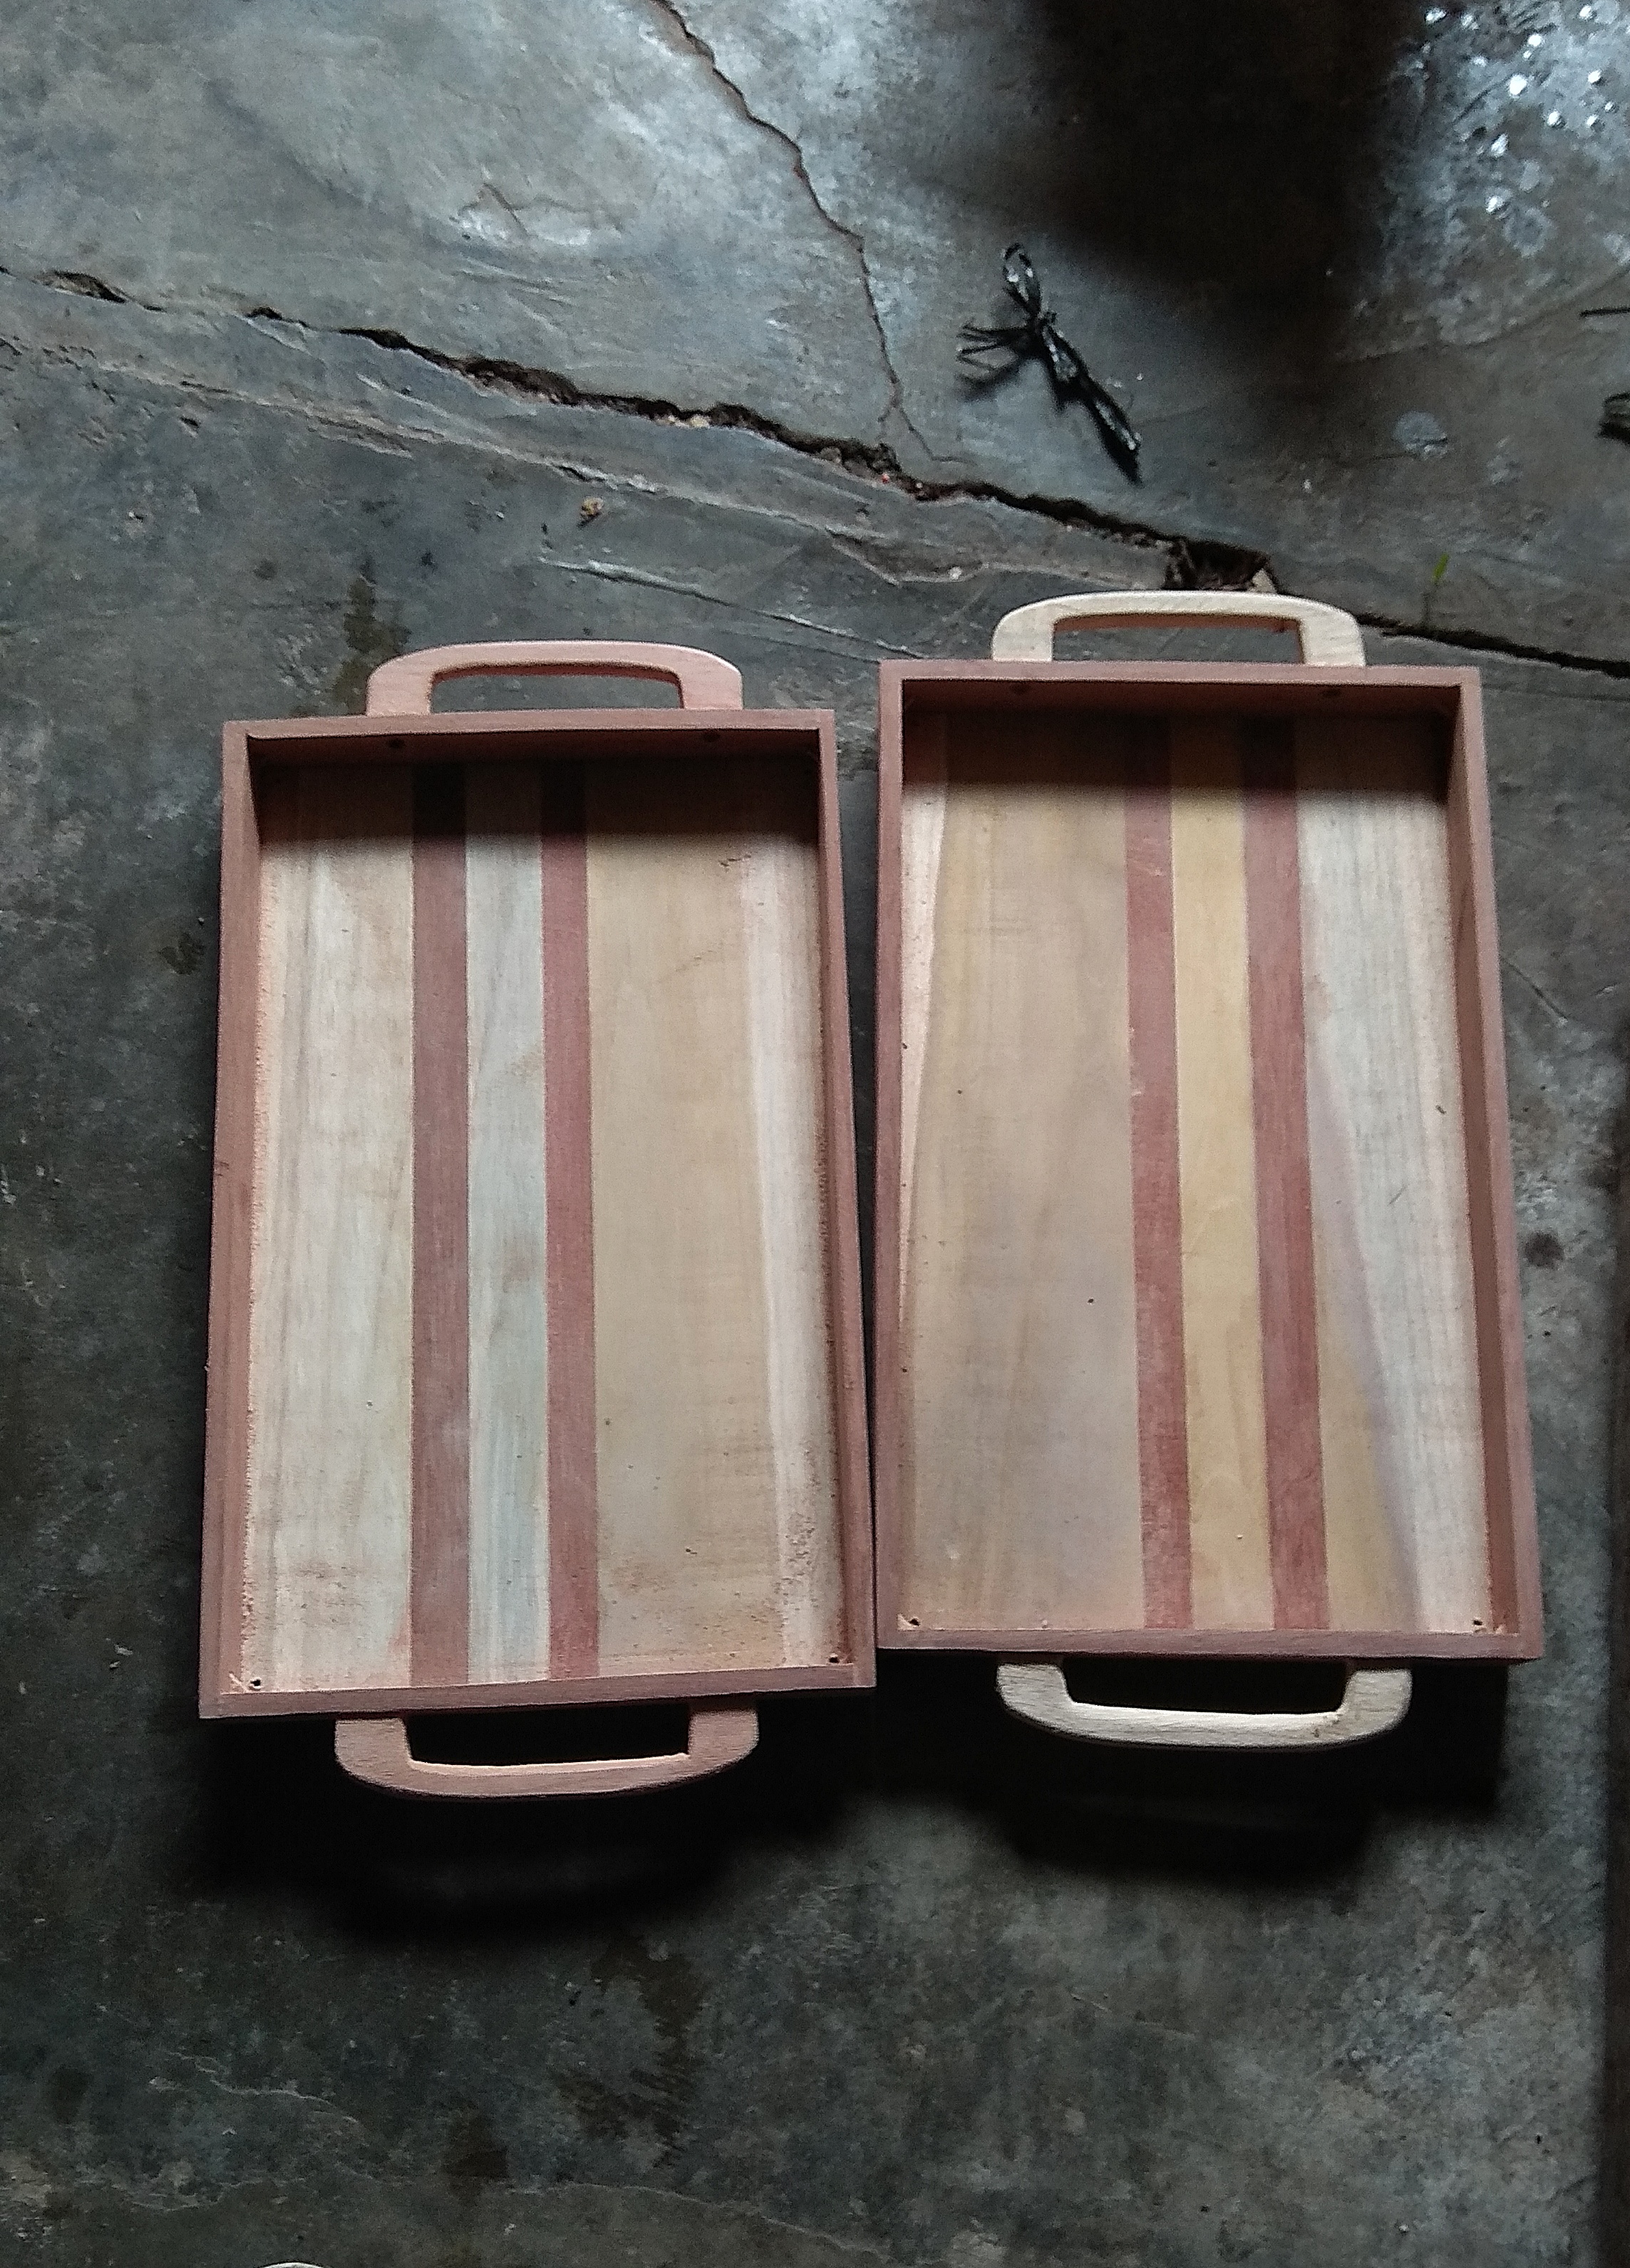
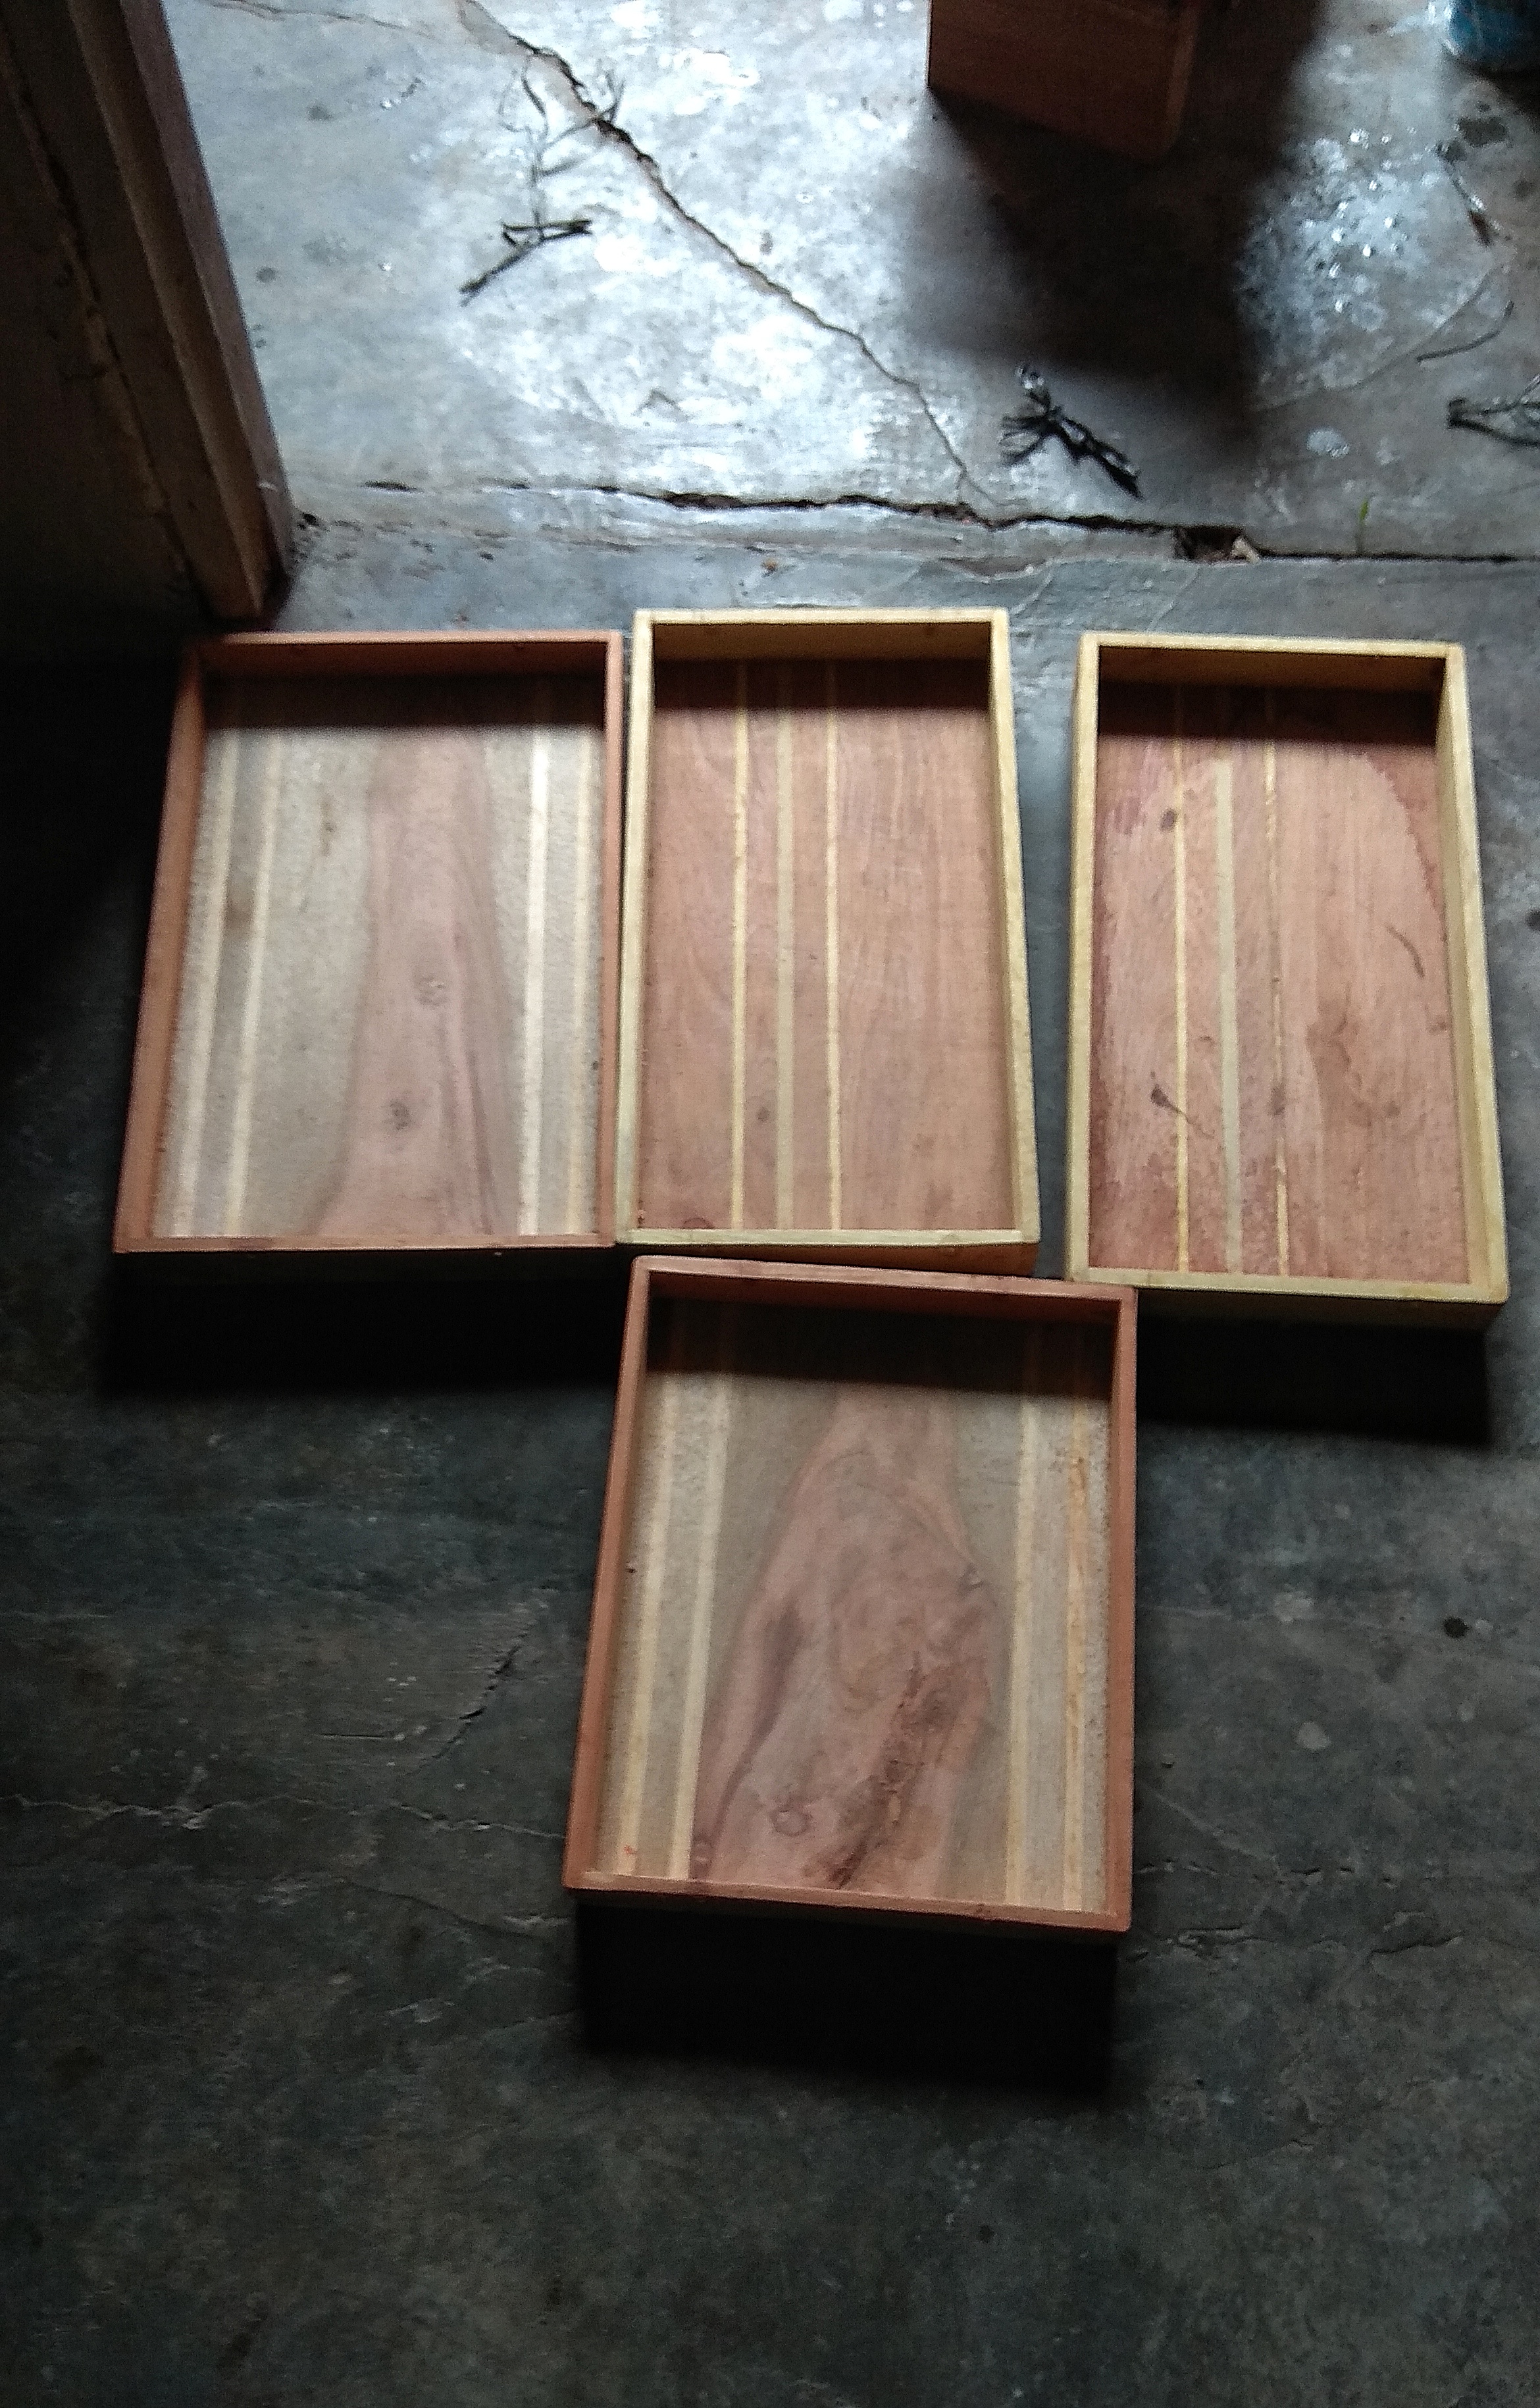
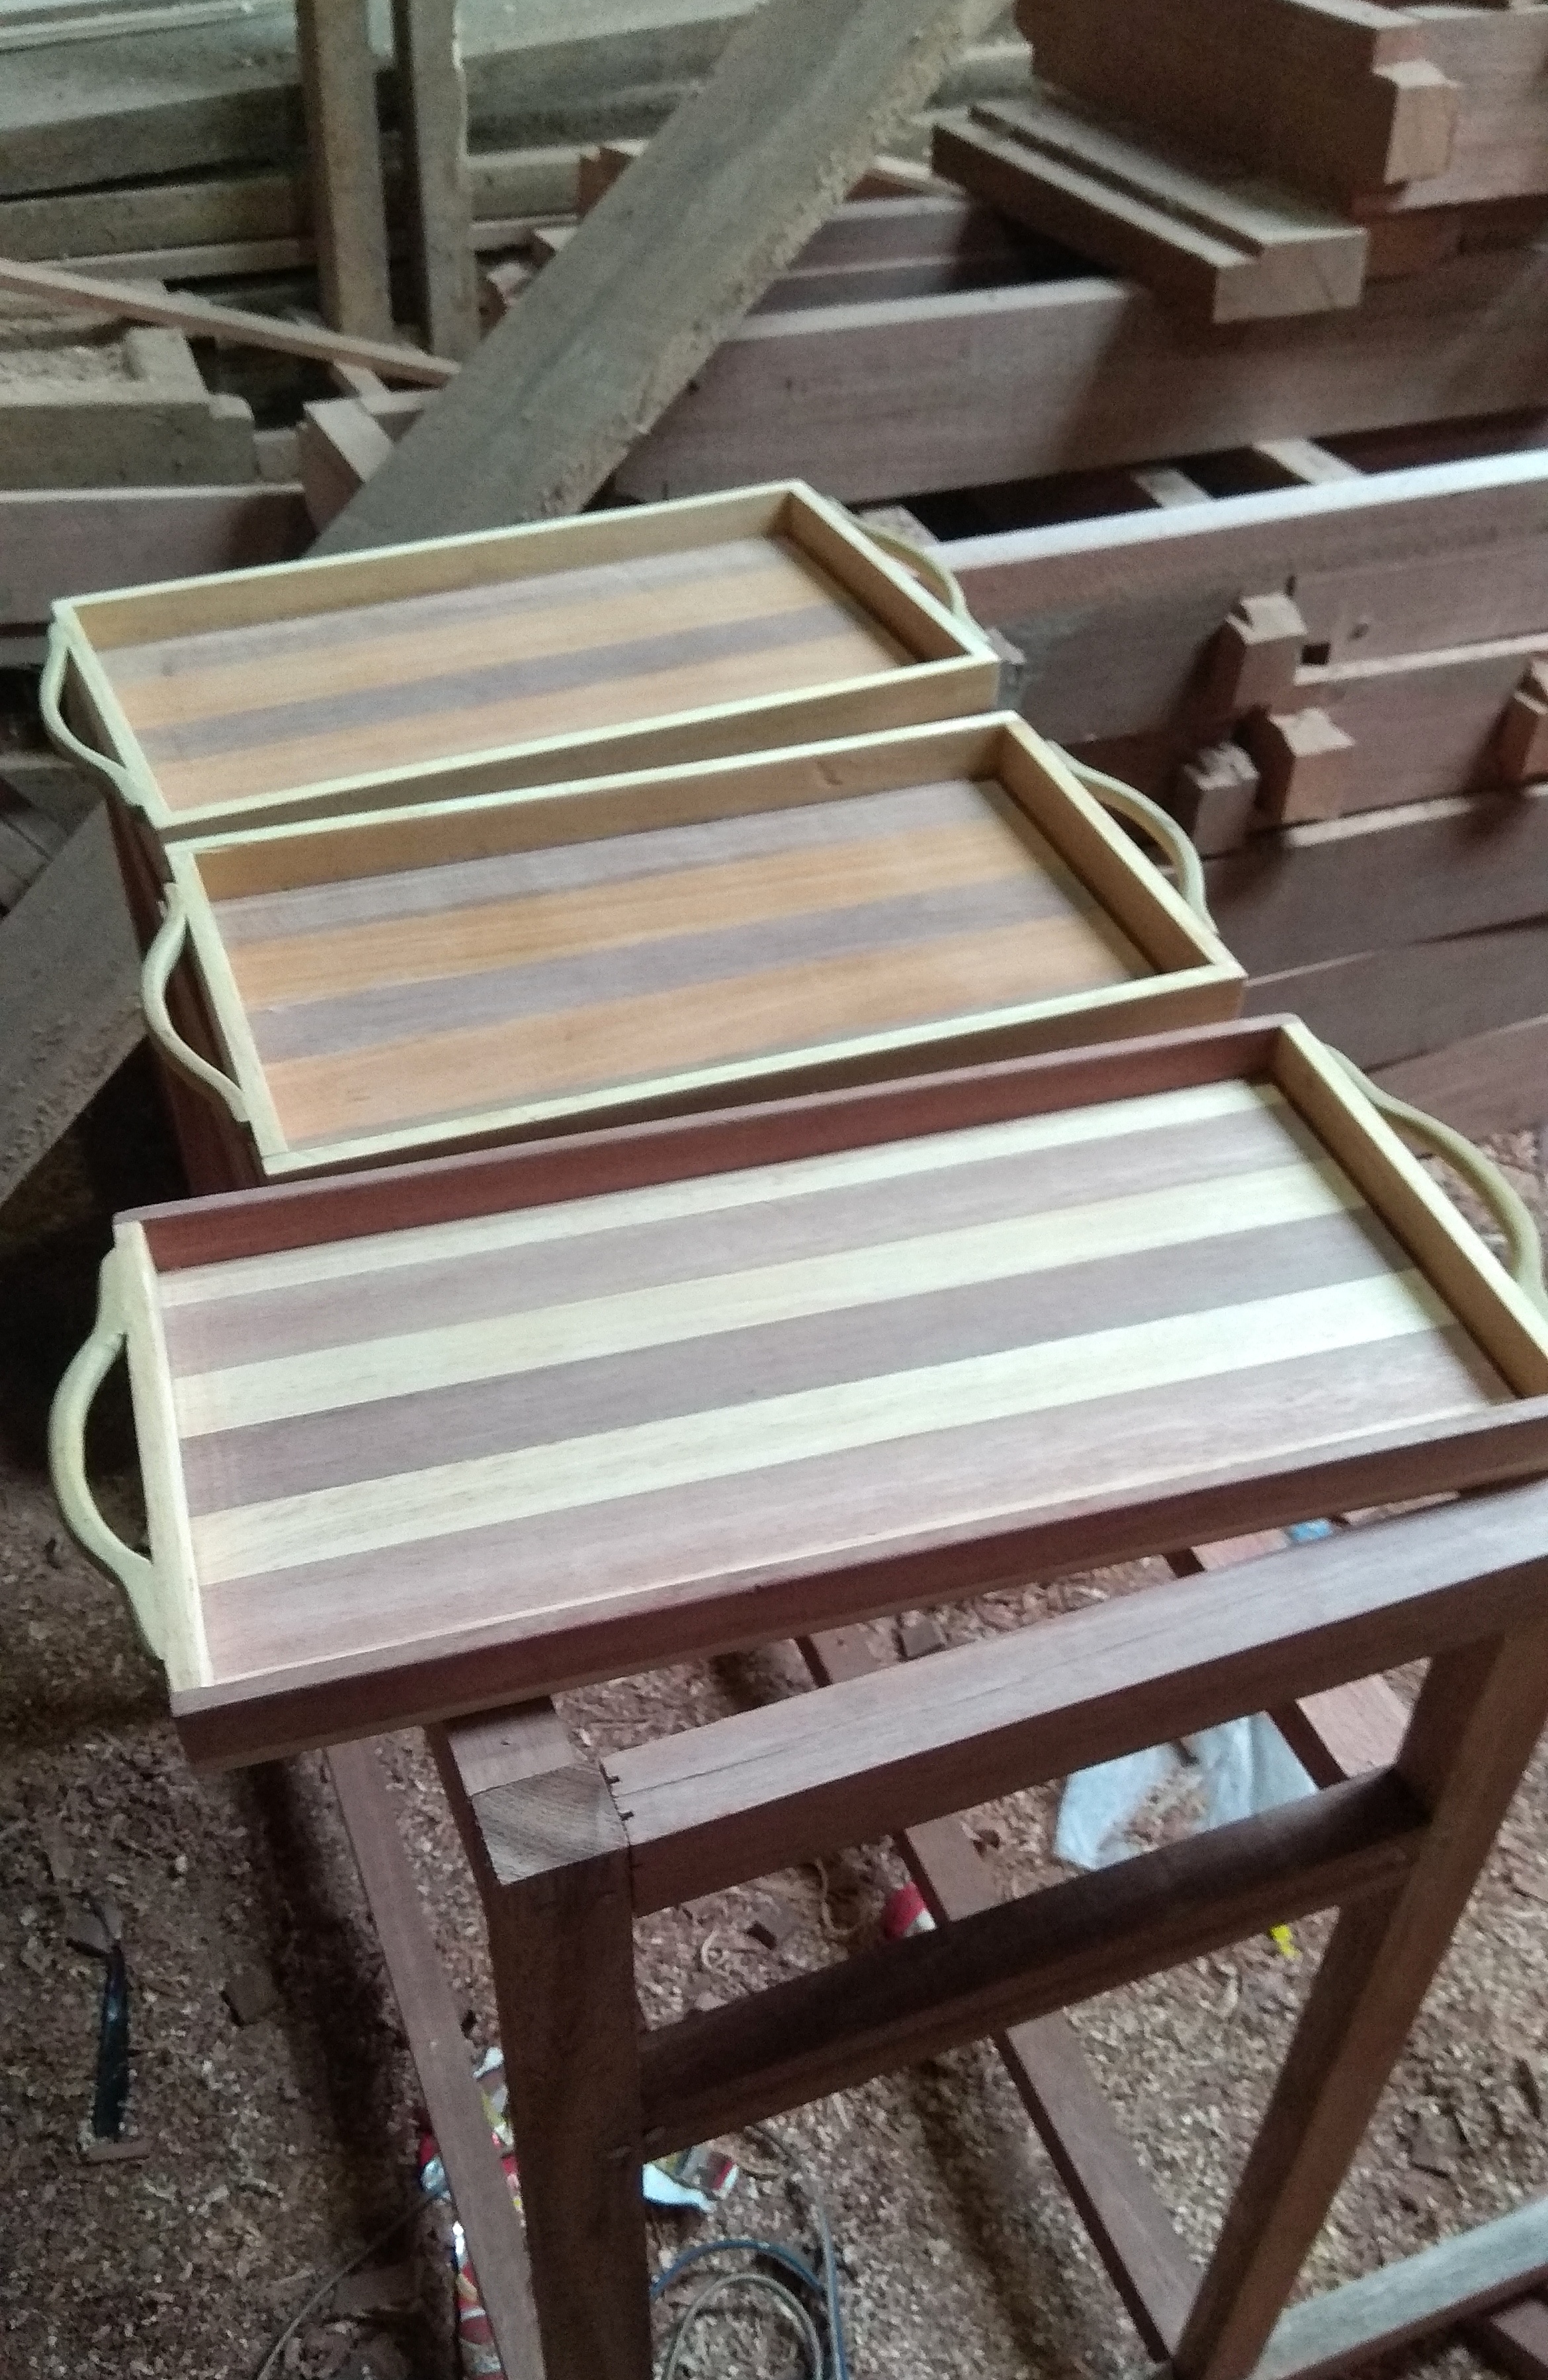
After all the process is complete, all the napan will look pretty, you can see it in some of the pictures below before these tray enter the the painting stage.
![]()
![]()
![]()
![]()
![]()
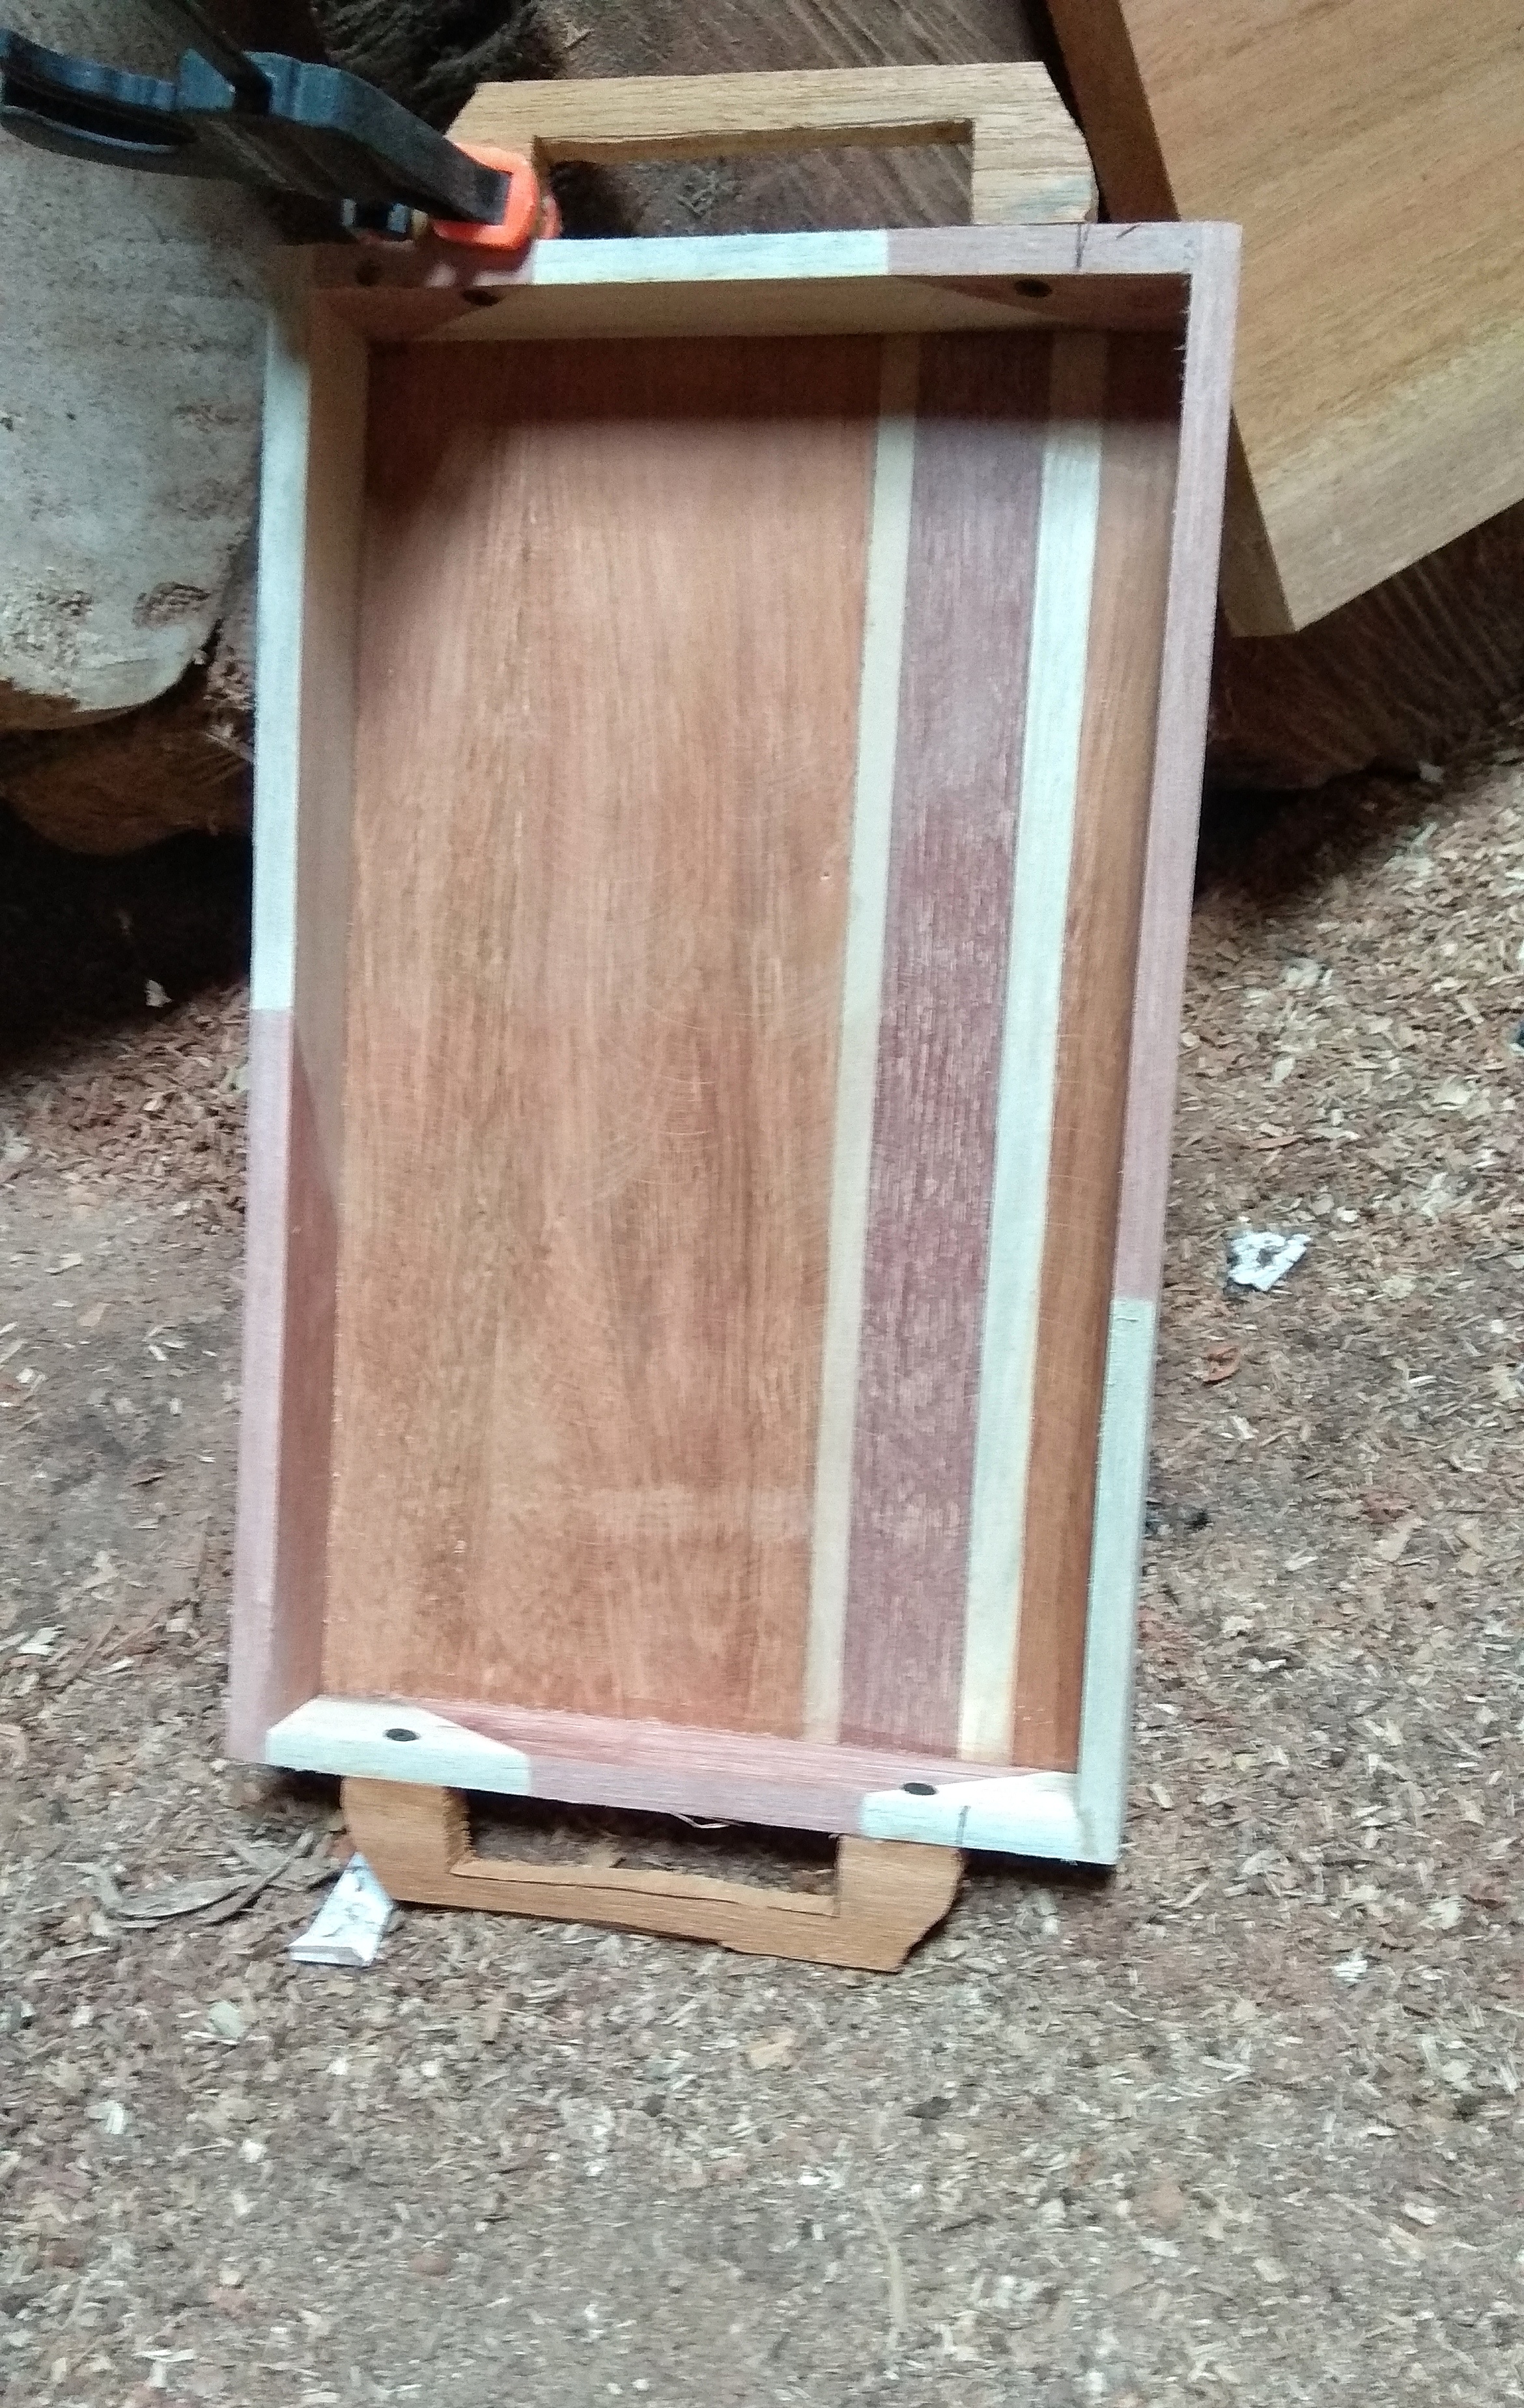
After I finished making the handle finished, then I continued the refining process, namely manually using fine sandpaper and rubbing it by hand ,when everything was finished the result was like this ...
![]()
![]()
For the final stage, which is painting, I use transparent paint so that the natural wood color is clearly visible, in the painting process I do it manually using a paint brush and after finishing painting the results are like the pictures below ...
![]()
![]()
![]()
The result is really unique and interesting, that's how I make use of the remains of wood furniture where I work, from waste wood that is not worth it after I recycle it to become one of the most valuable and useful items in everyday life.
This tray, look very beautiful in natural wood colors and look very amazing. Some of them I sold for $ 10 dollars to some of my neighbors and some I gifted to my family.
I'm @deltasteem my daily activities as a furniture in one of the cv in Aceh.
Hopefully the with I explain how I work in the made it can be useful for all of you because this is one way to take advantage of the wood waste around you by using your simple equipment to produce an attractive and unique tray.
![]()
![]()
Your content has been voted as a part of Encouragement program. Keep up the good work!
Use Ecency daily to boost your growth on platform!
Support Ecency
Vote for Proposal
Delegate HP and earn more
Thank @ecency antas this interesting information and my greetings to all the ecency curators on duty, hopefully you will always be healthy.
Greetings @deltasteem from Indonesia;)
Looks like the selecting, gluing, and clamping of the wood layers in different colors are labor-intensive and meticulous. The completed trays absolutely look gorgeous in their final finishes and would be a great addition to the household collection. Thank you @deltasteem for showcasing your detailed fabrication process in creating this amazing product!
thank you also for your warm welcome @storyoferne
in the process of working on this project it is indeed complicated and the durability for this trays is able to withstand a 3kg gas load because I have tested it several times.
the shortcomings of this plant are not resistant to standing water for long.
That's so good. Those trays are really beautiful. The hard work payed off by the final product.
Hope you have a lovely day:)
Thanks @sahiba-rana All I do with great love and I hope that the is month of my 29th birthday will be full of blessings.
greetings @deltasteem from Indonesia;)
Happy birthday month:)
Hayeu that bg.deltasteem 3
Thank bg @muntah-muntah sama-sama merno chiet bg:)
Ok, bg. Pat tingai bg dronuh
Hubungi saya di discord manteng bg.leubeh mangat bg @deltasteem
Lon na bak mandum discord.
Ok bg. Siap, terimakasih banyak
excellent work !
thank you @valthy ... I am trying to develop an idea that has come to my mind for a long time to make use of wood waste into a valuable item.
my greetings @deltasteem from Indonesia;)
Awesome work! Well done on those beautiful trays and for your creativity!
thanks @discoveringarni ..have enjoyed the results of my work and I still have several other works that may be this in some week will be ready and they are no less interesting than this trays,because I do everything with full of ideas to produce an an interesting furniture to use in everyday life from the remains of wood waste.
greetings @deltasteem from Indonesia;)
Good to see some traditional woodwork. The result is really nice. I like how each one is individual and unique
Thanks @pikir All the results are very interesting and beautiful ,, the more colors the manufacturing process is more complicated, but the results are more amazing and I will try another time.
Greetings @deltasteem :)
Hi @deltasteem I liked the elaboration of your work, it was excellent.
Thanks @brahiam15
It's a good idea to try to do it when you have the opportunity because it's a fun job;)
Greetings @deltasteem from Indonesia;)
😍😍😍 cantik sekali napan karya deltasteem jika saya memilikinya mungkin saya akan menjadikan barang hiasa di rumah.
Thanks @briayana it is used for everyday purposes to carry food, not for display,,but if used as a decoration material this tray is pretty amazing too :)
Very beautiful your trays and the step by step I loved it. It is always interesting to see the elaboration of the products. Thank you very much and congratulations!
Thank @helyorsini I will continue to try to make some other crafts that might be useful in everyday life at a later time by utilizing wood wastes.
Congratulations @deltasteem! You have completed the following achievement on the Hive blockchain and have been rewarded with new badge(s) :
You can view your badges on your board and compare yourself to others in the Ranking
If you no longer want to receive notifications, reply to this comment with the word
STOPCheck out the last post from @hivebuzz:
Support the HiveBuzz project. Vote for our proposal!
Another great work. I learned a lot about your fabricating techniques.
thank you .. no problem I share all this for you ,, I still have several other furniture that are still not ready and it's very interesting.
Greetings @deltasteem from Indonesia.