After my aunt taught me mosaic last December, I have been eager to use my new skill in and around my home!
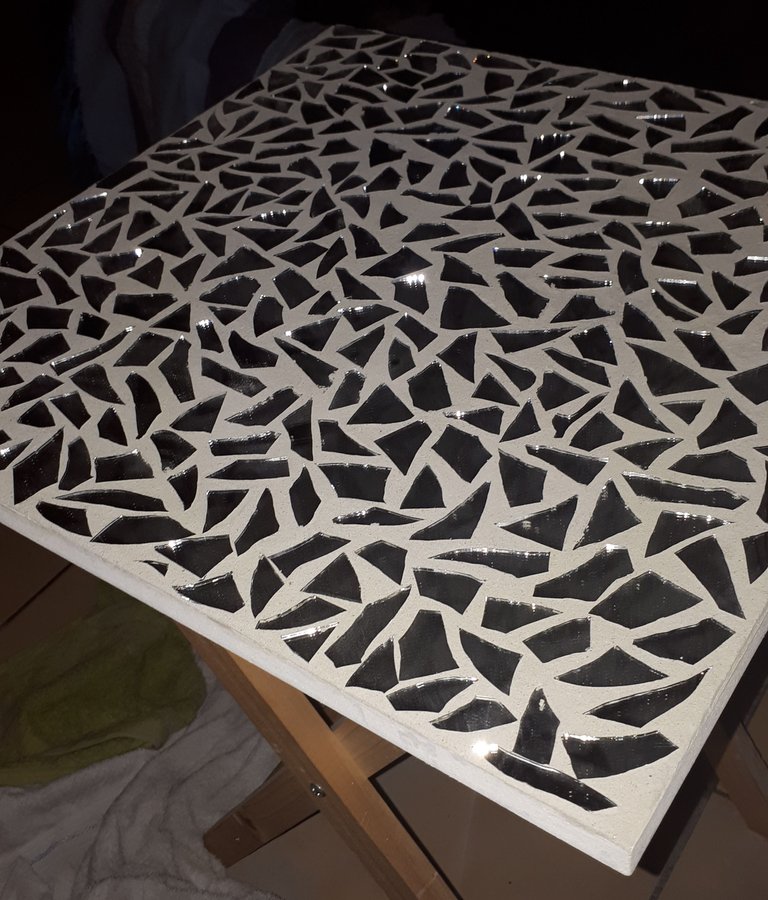
I purchased these two coffee tables a few years back which I simply stuck vinyl onto the tops..
Here you will see how absolutely fantabulous they are looking after their revamp :-)
Enjoy my little DIY post ♥
You will need the following:
- Wooden item of your choice
- Chalk or normal paint in the colour of your choice.
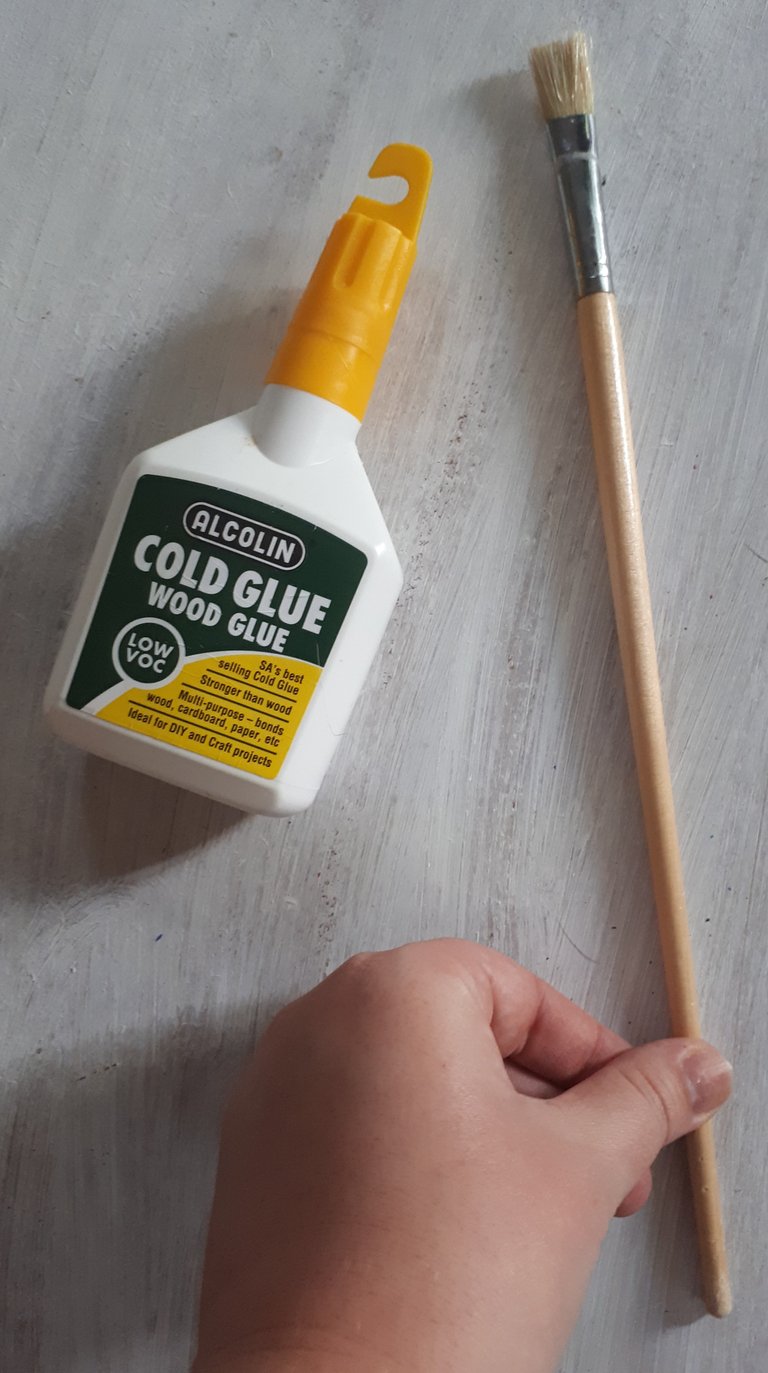
- A decent paintbrush whose bristles won't fall out (use for both the paint & the glue).
- White wood/craft glue and a small tub to pour glue into.
- Tile nipper.
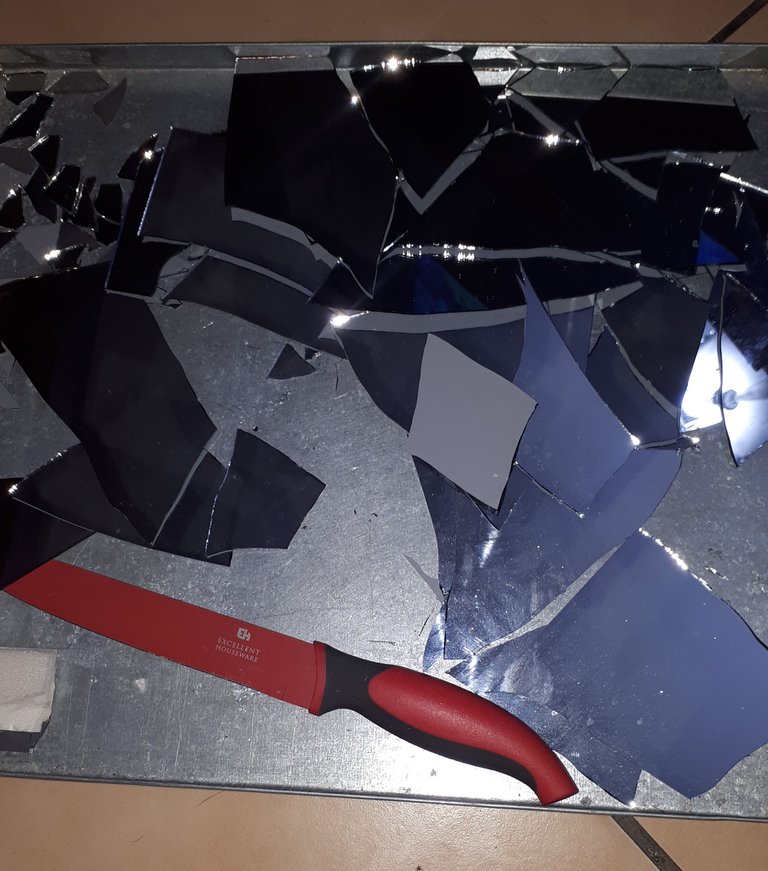
- Tiles/ mirrors of your choosing.. (when picking it out try use the same thickness).
- Grout in the colour you like.
- Bucket, small bowl, cake smoother or anything that will work for you to smooth out the grout & water.
- Sponge to clean off excess grout & a damp cloth to polish the surface clean after.
Make sure to wipe off the surface to remove any dust etc..
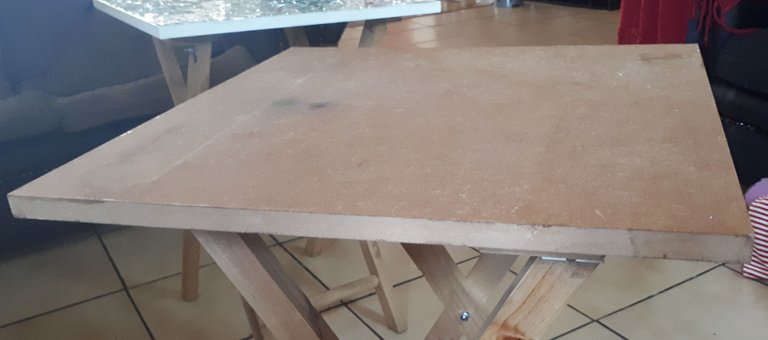
Apply a layer of the paint you chose.
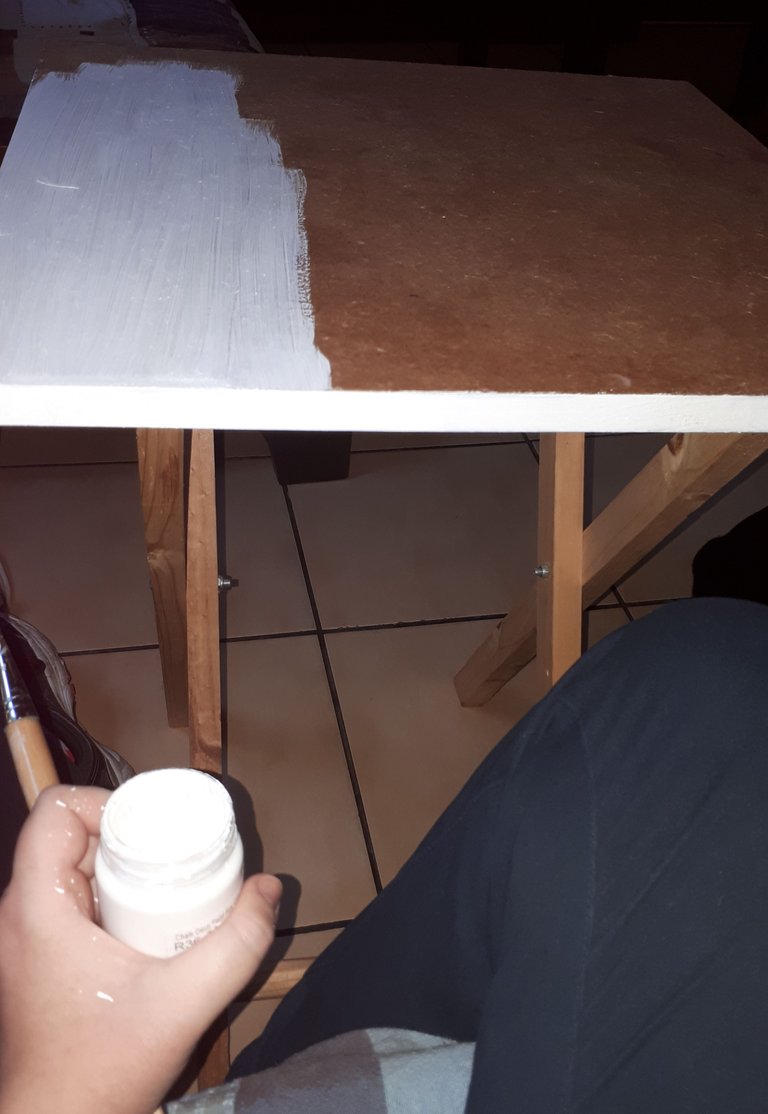
I love the look of pva or chalk paints :-D
Leave the item to dry.. this should only be a few minutes for chalk paints and a bit longer for acrylics or pva.
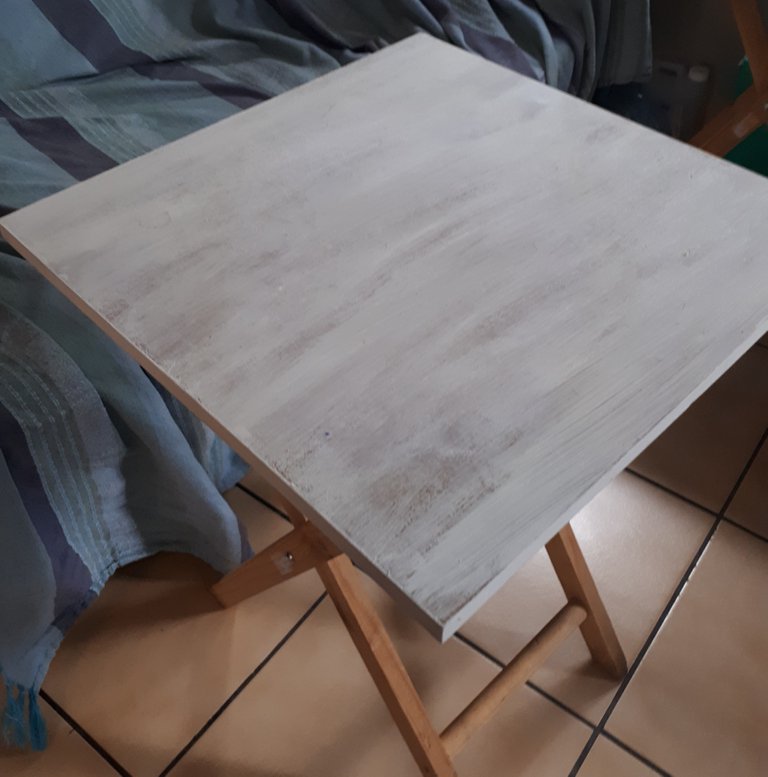
Next is to make sure you have a good mosaic tile nipper at hand (easily found in your craft stores).
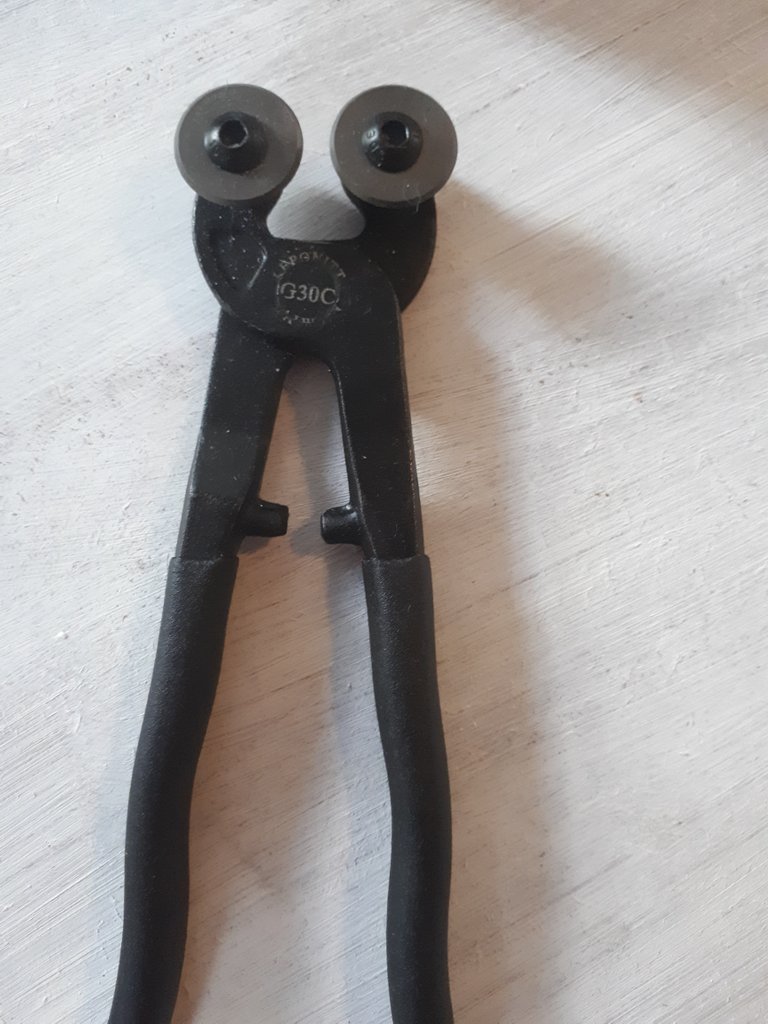
I have to admit.. the first time I attempted to cut tiles it took me almost an hour to just DO IT! I was raised and taught to build and preserve.. not break things lol so this concept took a while for me to fully grasp and accept. Haha once I figured how fun it is and how stunning the end result can be there was no stopping me :-D
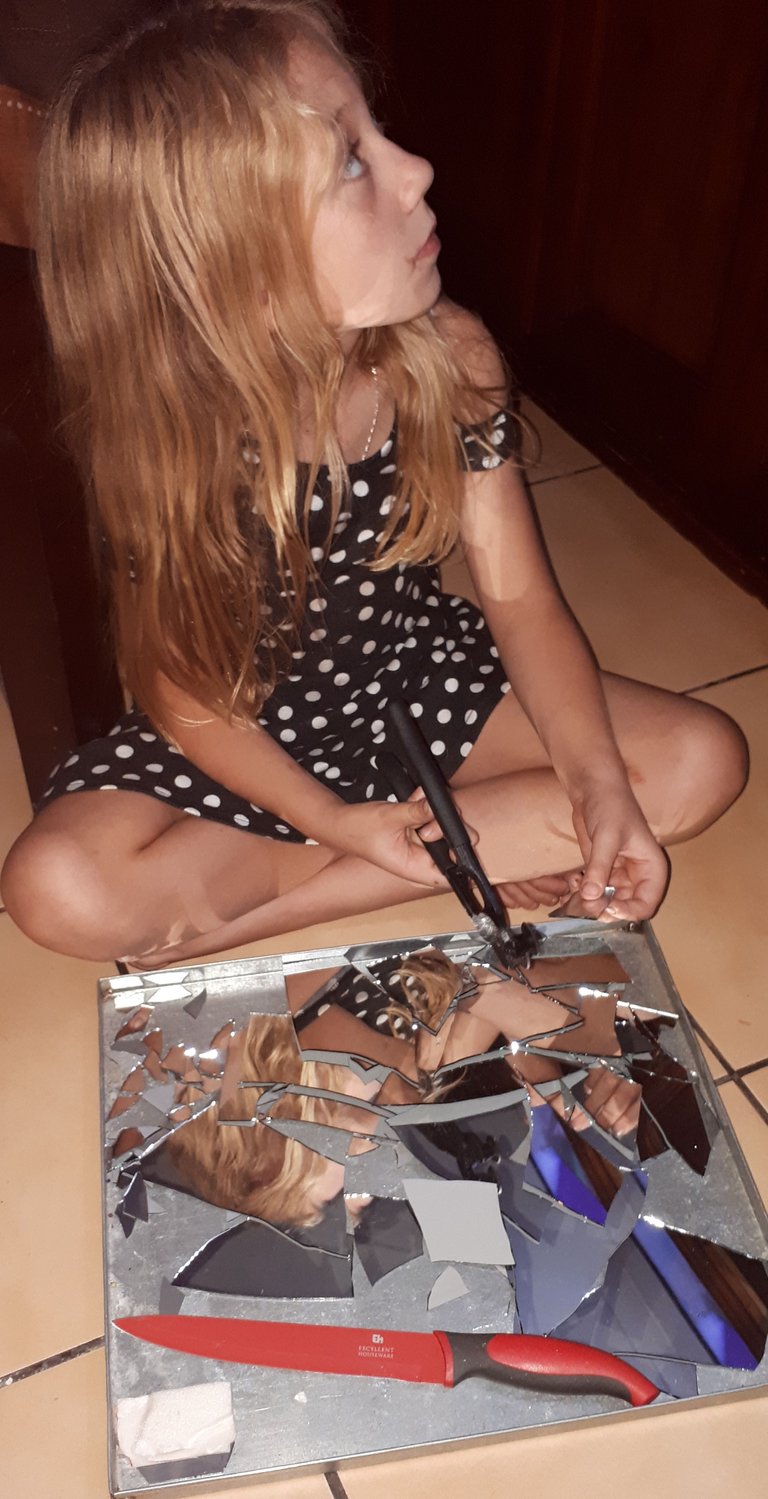
Melody loves crafting just as much as I do which is awesome for me to have a partner in crime ♥
Here you can see she was chilling out one evening cutting her mirror pieces whilst watching her show..
(P.S. Don't freak out with her working with glass, this child of mine is extremely cautious and has a very responsible behavior so all I had to do was keep an eye out ;-)
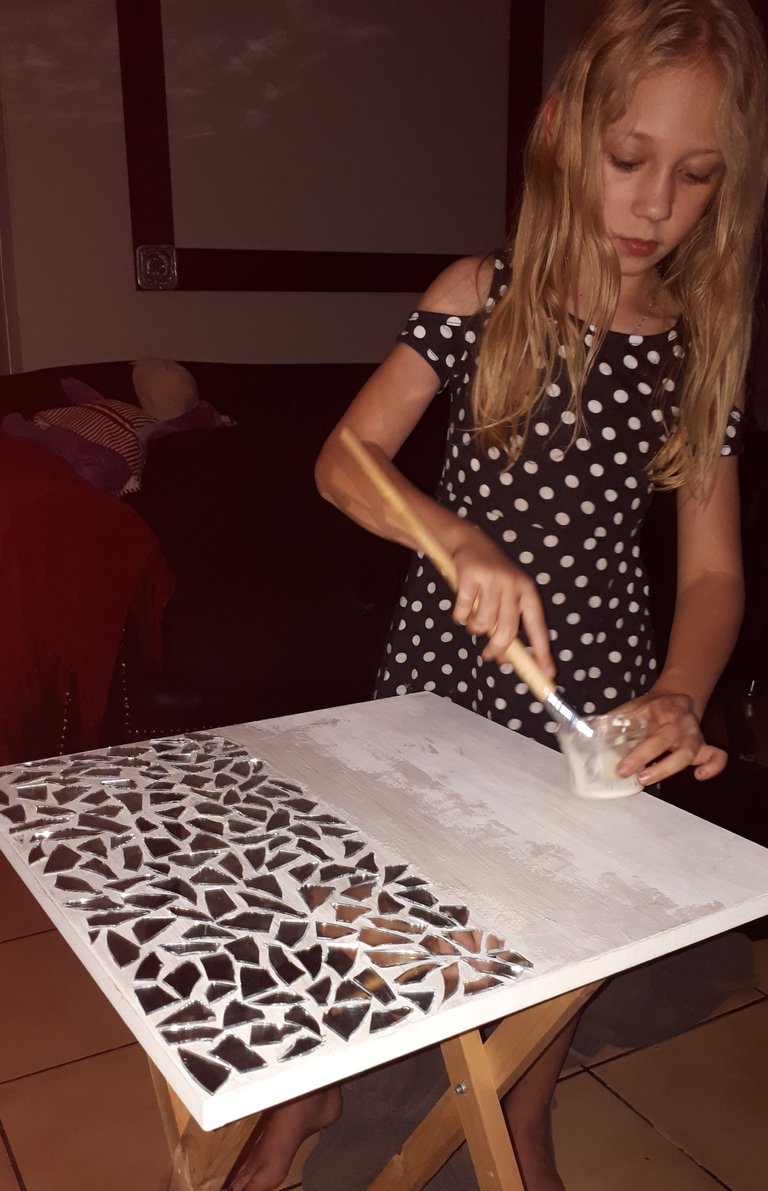
Next task was to paint the white wood/craft glue onto the table top and stick down our wacky mirror pattern (only paint a smaller section at a time to make sure your pieces stick properly in time)
Here is where the sky is literally the limit with the patterns and madness you can create, I simply LOVE IT ♥
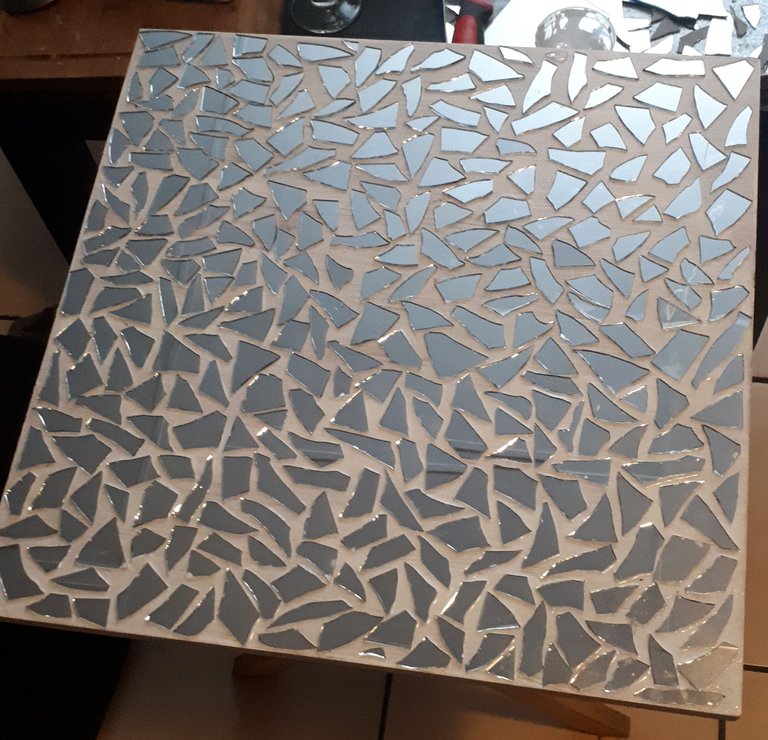
Here is our piece all picture pretty in mirror art, left it for a day to dry nice and hard before applying grout.
Our next job was to mix and apply the grout.. I am not a person who always does exact measurements and this is one of those occasions where I just "wing it" start by putting a small amount of grout powder into your bowl and add little bits of water mixing until a nice pasty consistency is reached (I use the back end of the brush) then apply the grout with your scraper you chose making sure you fill up the cracks properly.. rather have a little mess over the tiles than holes from air bubbles between the tiles!
Please do not use the most expensive mosaic grout you see in the craft stores. Simple interior tile grout is perfect!
I have to admit something awful that I am dreadfully sorry for!! I forgot to take photo's of the grouting section.
Here is the short and sweet of what you missed out on..
After applying the grout and making sure there weren't any air bubbles I left the table safe and sound overnight to dry. The next afternoon I took a LIGHTLY damp sponge and wiped off the excess grout in circular motions, followed by rubbing gently with a old towel.

I truly hope you all enjoyed this post♥
If you did, I would love to hear from you and see pic's of the projects you tackle!!
As a person with severe depression this hobby is so far the best one I have found for myself, I hope it gives some of you just as much joy too!!
Lots of Love
#teamsouthafrica visit, really enjoyed seeing your handy work. Well done in allowing your daughter to learn along with you.