Morning Light
Hey everyone, my name is Jason Todd and today I wanted to share a painting that just finished entitled Morning Light. In this painting the morning haze is just beginning to melt away as the sunlight begins show the beginning of a new day.
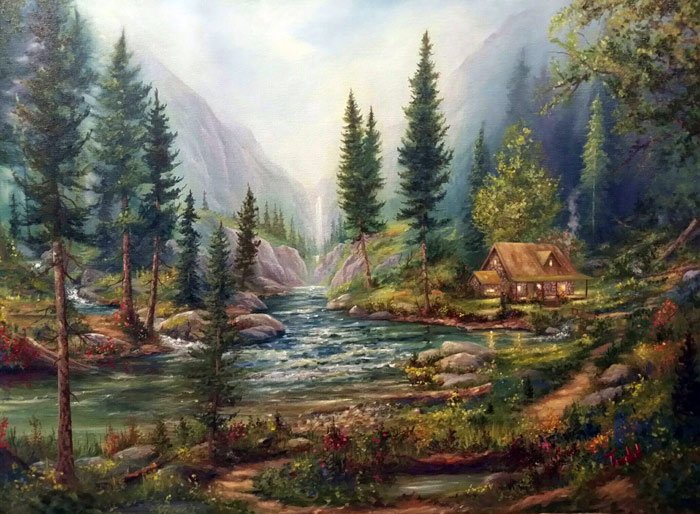
The goal with this painting was to create a secluded tranquil mountain retreat somewhere on a crisp flowing river and fed by the waterfalls seen in the distance. I imagine that the water is energized as is makes it's way over the falls.
Maybe your closest neighbor is about a mile away or maybe there are no neighbors for miles and miles and so you have all the peaceful privacy you could ever desire.

This piece was started in the summer of last year and then I put it down for some time and just became inspired to finish it today!
The Process - Step by Step
I took pictures of the process just scroll down to see them
Morning Light was painted with oil on stretched 18*24 inch canvas.
As I mentioned this painting was started some time ago and as I remember I used the primary colors Grumbacher Red, Cadmium Yellow, Phthalo Blue, Permanent Green and Titanium White. This is a pretty standard pallet for me minus the permanent green. I prefer to mix my greens and browns.
I use linseed oil as a medium to increase the flow of the paint.Too much of this oil will start to bead up like water on a freshly waxed car. I also use liquin as a medium which increases flow as well but much less than linseed oil and liquin will also speed up the drying process quite a bit.
So let's get to the process.
While working with the sky I add the lightest lights and then when working with the trees I tend to go with some of the darkest darks. I find that if you begin this way instead of with mid tones you'll have a much easier time later in the painting.
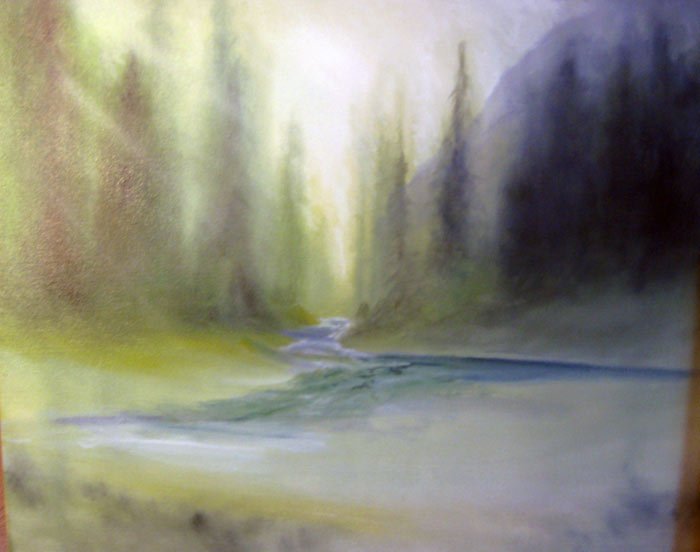
We're starting to define the mountains in the back with light pastel purples mixed with red blue and white. as well as the shoreline.
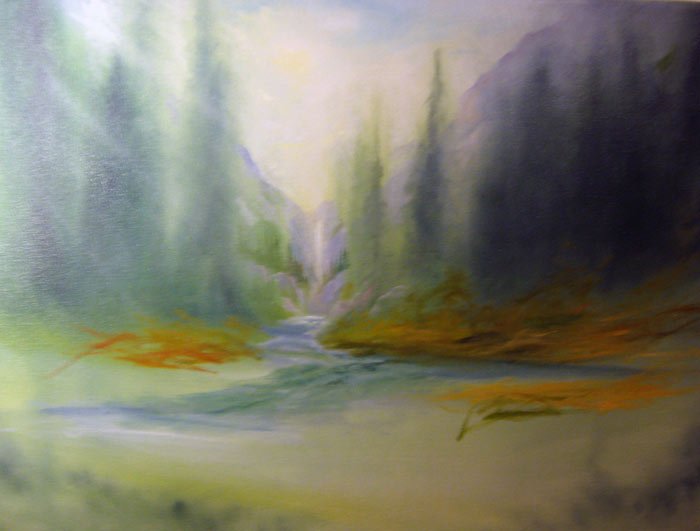
Here we begin to defining the distant tree more of the shoreline and the basic shape of the cabin
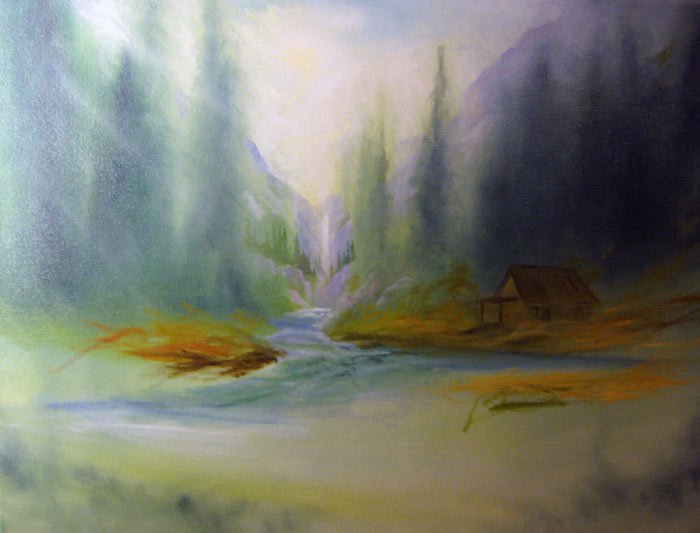
Here we begin to block in the foreground, add a bit more detail to the cabin, define and start the process of the painting the beach. There is also a bit of detail being added to define the trees behind the cabin.
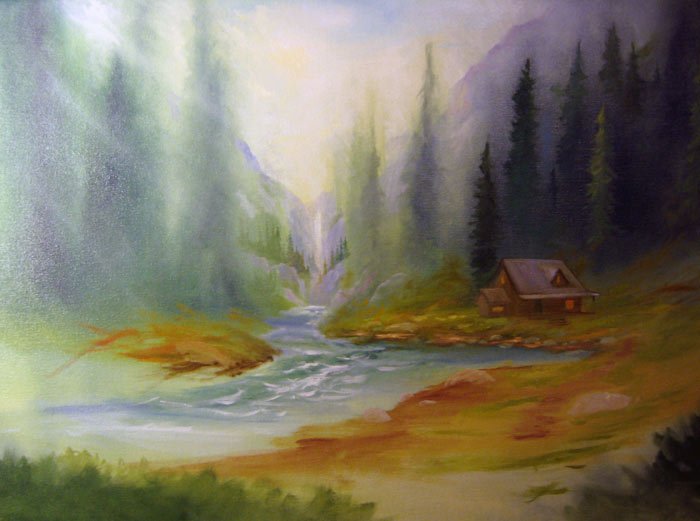
Here were working on the placement and color of the stone bolders that will be more clearly defined later in the painting.
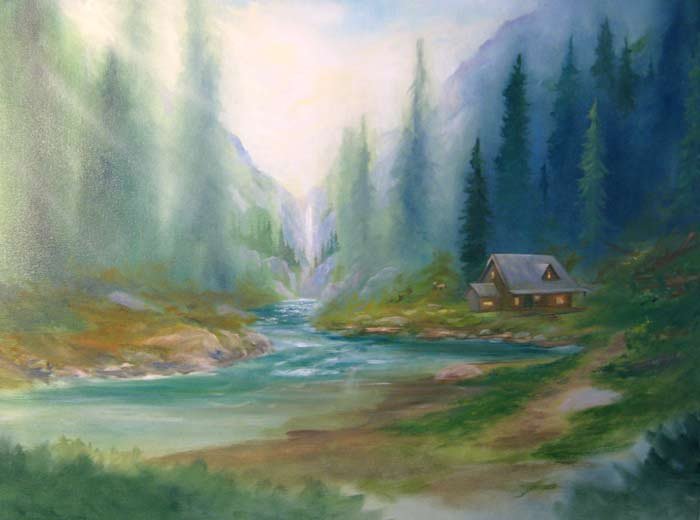
More detail is added to the closest part of the river valley, more definition is added to the trees and this is where the permanent green came into play. The tree to the upper right of the cabin needed a high level of pigment to create the light. Now the boulders are becoming more clear.
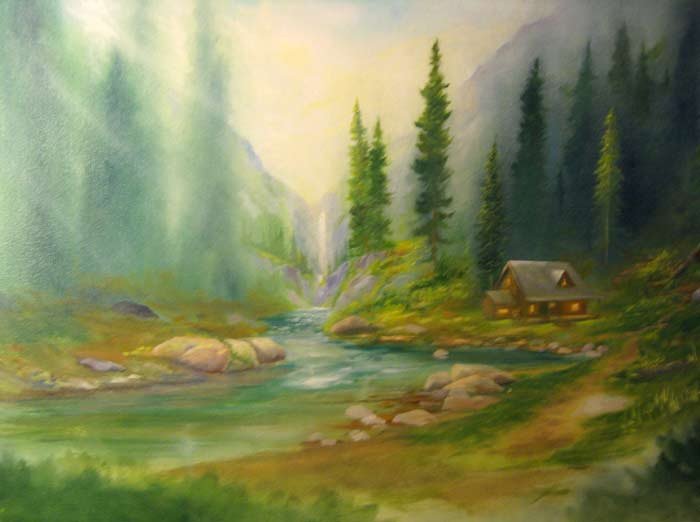
Here the color is being added to the water and the land on the far side of the river begins to be defined.
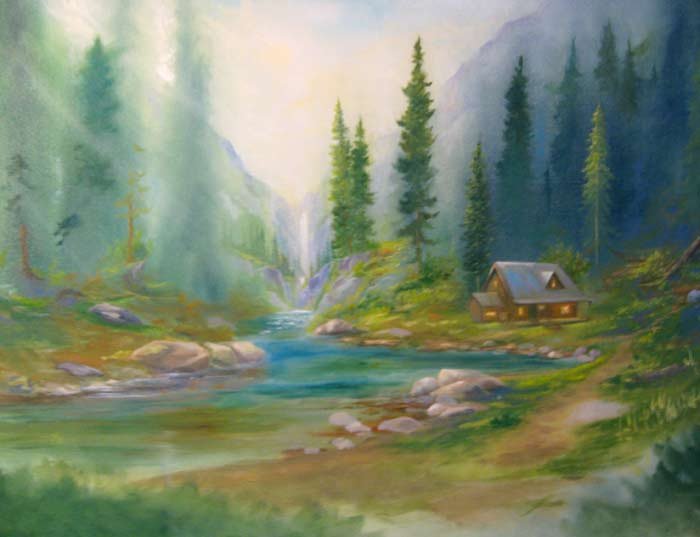
Now you can start to see the lights in the windows of the cabin and new trees are painted and some tree trunks as well. You can also begin to make out an old tree that fell into the river, I imagine this happened some time ago.
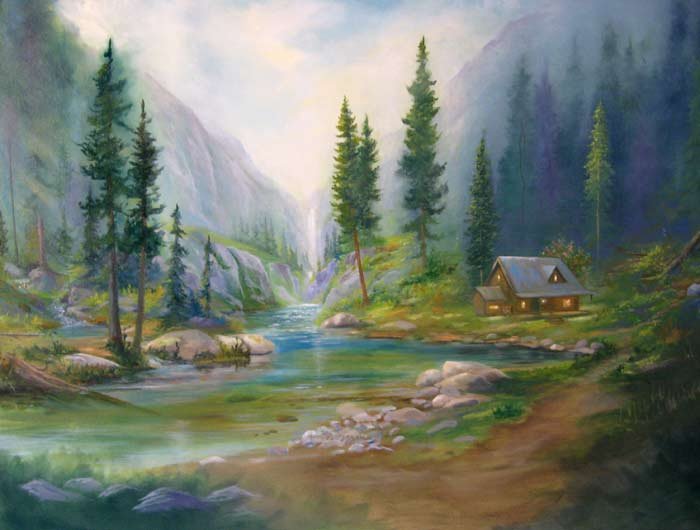
At this point the cabin was being define, at first it was going to be a log cabin. Foliage was added to the shore, and some movement of the water was started to be defined and a creek is added to the far side of the river. The mountains in the back really start to take shape here.
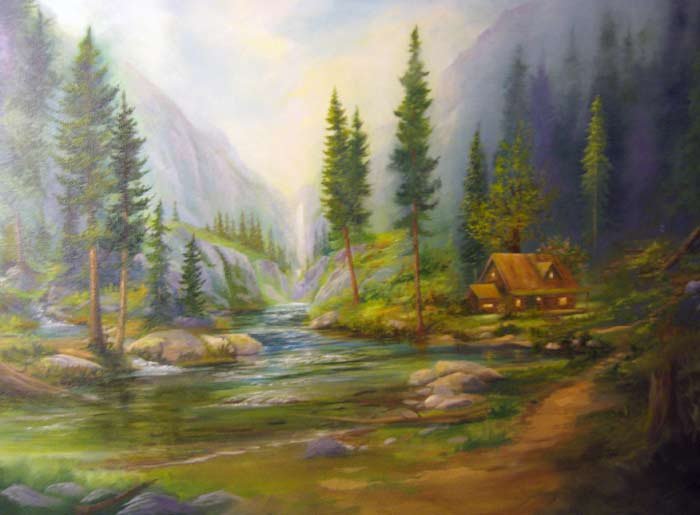
Nearly finished, this is where I left the painting last summer before finishing it today :) The foreground is nearly finished and detail was added everywhere.
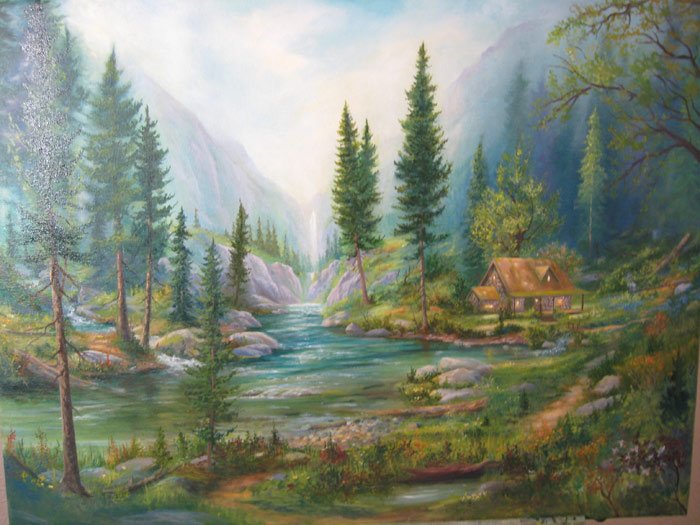
Here is the completed piece!

Thanks for taking the time to look and I'd love to hear your thoughts!
If you enjoyed it feel free to follow as I'll have lots of new work coming soon!
Thanks
-Todd
Like getting a good post
Ah, I enjoy providing a good post, Thank you!
Very beautiful! Thanks for sharing the transitions, amazing work!
Hey I really appreciate that, your welcome and thank you!
This is encouraging. I realize that a lot of my work resembles yours in early stages of the process. Simple, large shapes and general strokes. I think I go into each painting with expectations set too high and give up right around your 3rd progress pic because it isn't looking right. This helps because I can see how you build in layers, and might just go revisit some of my old "blobs" to add in more detail! Thanks for the great work!
I'm really glad that it's encouraging, that's awesome! If you take a look at my blog I think at this point I have three post's that show progression photos of the process. Here's an example https://steemit.com/art/@pennyroll/the-enchanted-river-series-2 Also the Christmas Bus and the one session enchanted river I think it's number 3 in the series. I point these out because they may also be helpful. I'd love to see some of your paintings perhaps I could offer a few suggestions if you're interested. When you do just reply of this and I'll take a look!
Oh Good Jesus this is wonderful! You are so very much talented.
It's as if it was alive... Have you seen the paintings of the The Lord of the Rings books? You paint as one of them; there are 3, one I don't like, the other I don't mind, but the third, he is the one you paint like! Congratulations indeed.