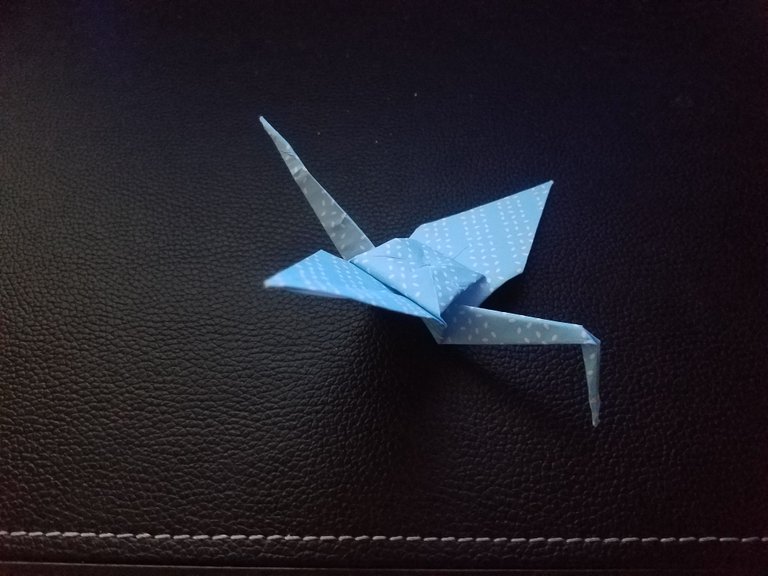
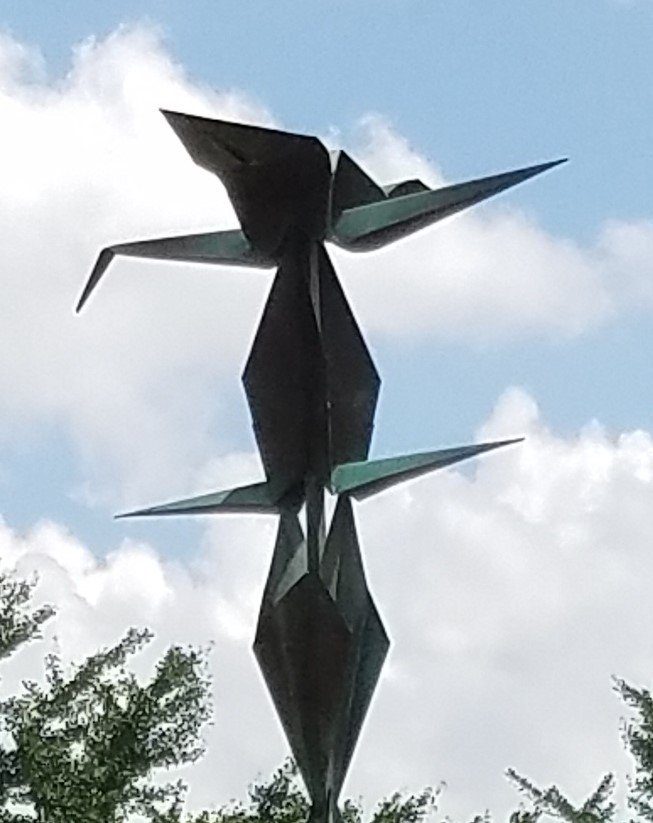
After having looked through my previous post regarding the beautiful Japanese peace garden and Spirit of Peace sculpture in the Minneapolis chain-of-lakes area, my better half suggested I prepare a tutorial similar to the style in which I presented the instructions on how to create the crane, and this post was born. I did my best to be mindful of the historic significance of what I was doing. In the end I found my self wondering what it would be like to fold 1,000 of these cranes when I could barely finish one? Imagine how amazingly crafted your final cranes would be? I have to admit, I have done virtually no origami in my life and my attempt was a feeble effort. The instructions on the jade engravings of 'Spirit' I found to be especially vague at times. So much so, there were certain points within the process where I had no choice but to refer to an outside source in order to figure out just what the heck I was supposed to be doing. I found this to be somewhat annoying, I mean how hard could it be, right? I found out later that these are the traditional diagrams used in teaching the form seen here. If you are interested in constructing the bird and need more in depth direction, as I did, click here. All told, from beginning to end with photos included took me just over an hour. I was proud of my little guy, and immediately my daughter took it and wanted more. Oh well, on to origami Fusen Balloons, Enjoy!
Get a sheet of square paper and follow along!
Crane of Peace
Step 1
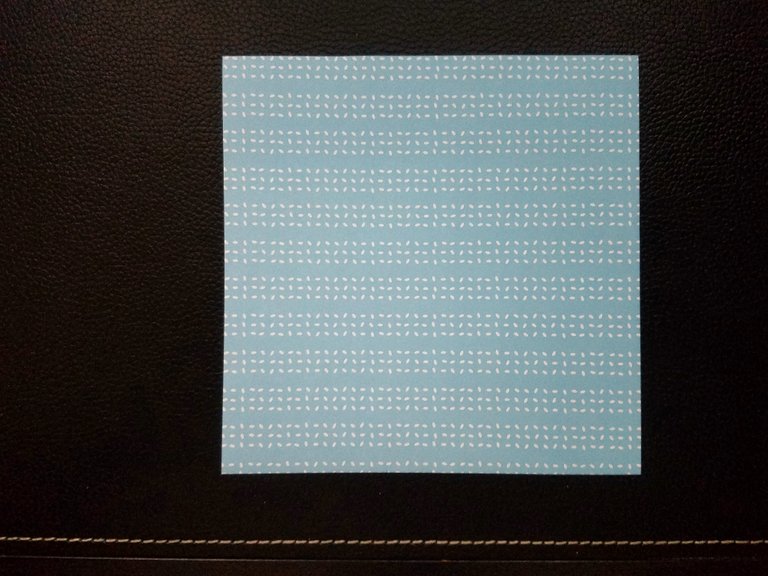
- Match your paper to the pictures
- Begin with a square piece of paper
Step 2

- Fold the paper in half
into a triangle
(Sheet is 2 colored, so triangle looks white)
Step 3

- Open paper
- Fold into a triangle in
the other direction
Step 4

- Open paper
- Flip paper over
- Fold the paper in half into a rectangle
Step 5

- Open paper
- Fold it in half in the other direction
Step 6
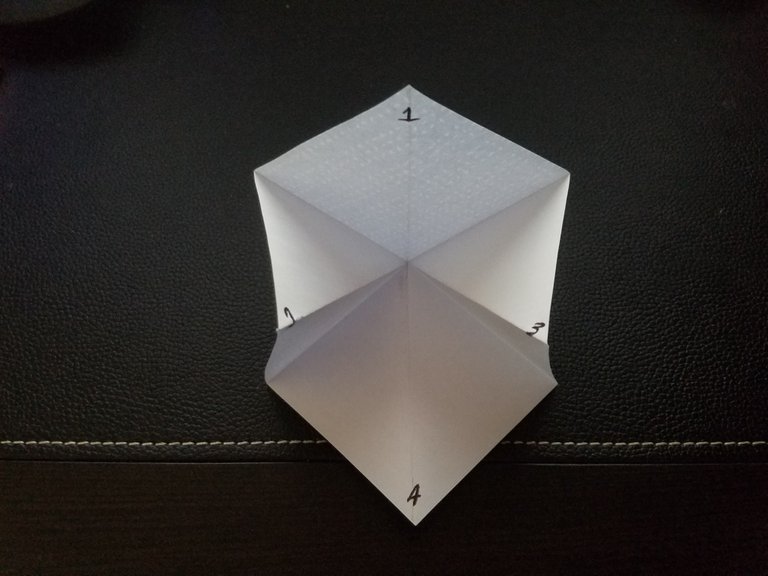
- Unfold paper
- Position paper with a corner at bottom
- Bring the point #2 and #3 down to #4
(you can see I've tried to mark them for you) - Flatten #1 to meet #4
Step 7
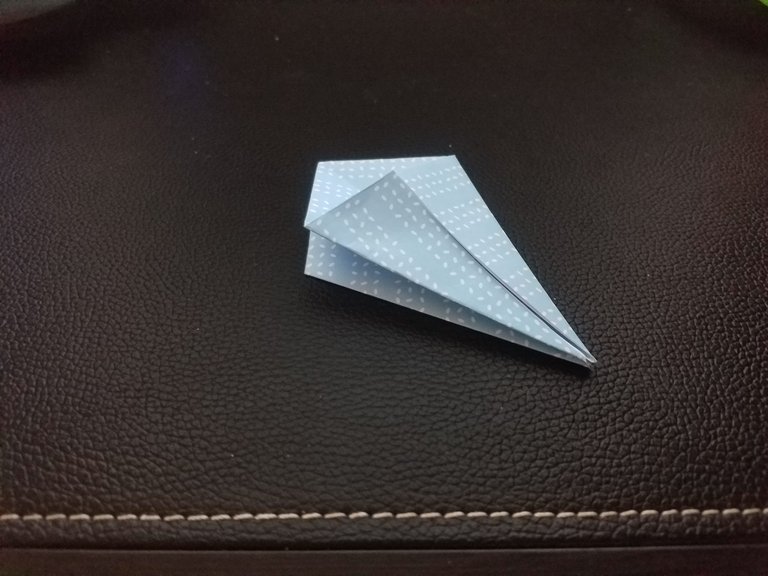
- With corner points pointing down
fold the lower edge in to form a kite shape
Step 8
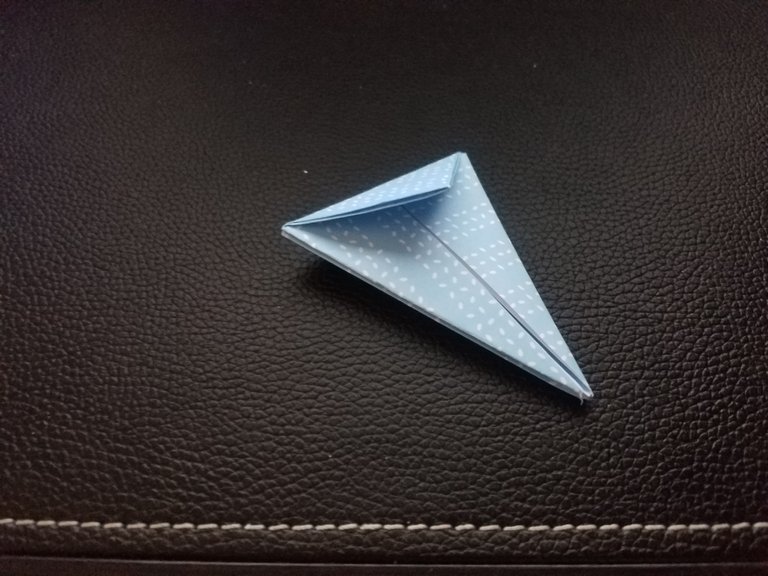
- Fold the top corner down
- Crease it hard
- Unfold the last two steps
to make the small square you had
Step 9

- Pull the bottom corner (top layer only) above the top corner
- Crease the inside folds to form the diamond shape.
(This is where I found outside help beneficial, I have
done one side only to demonstrate.) - Repeat on the other side
Step 10
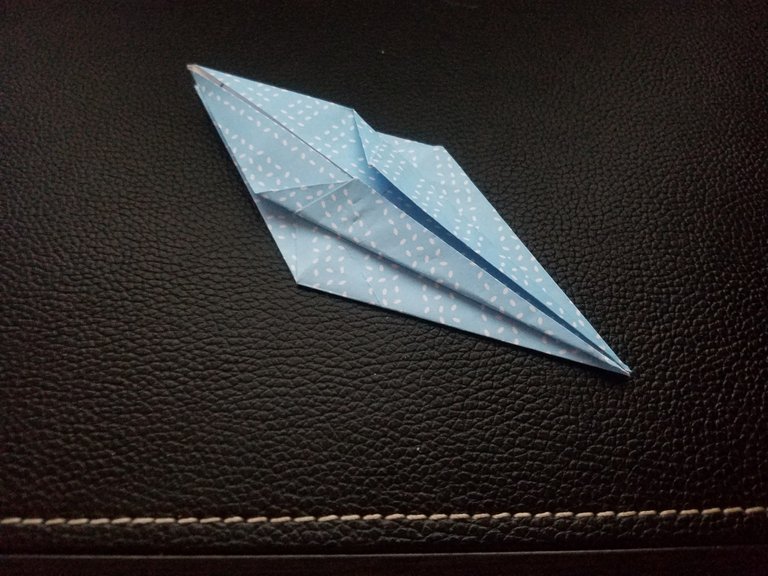
- Fold left and right lower edges into the center
line to form a thinner diamond shape
(I have folded one side to demonstrate the shape) - Repeat on other side
- Top flaps are wings bottom flaps will be head and tail
Step 11
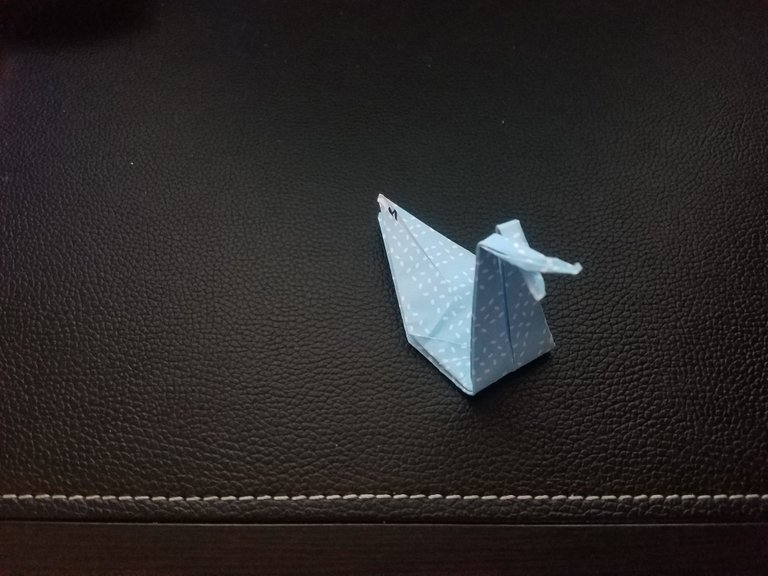
(Here I also found it very helpful to turn to outside sources.
You are essentially folding the head and tail in various ways
to prepare for the inversion and final form.
- Fold the tail point up as high as you can
- Turn over and do the same for the head point
- Fold the head down
Step 12
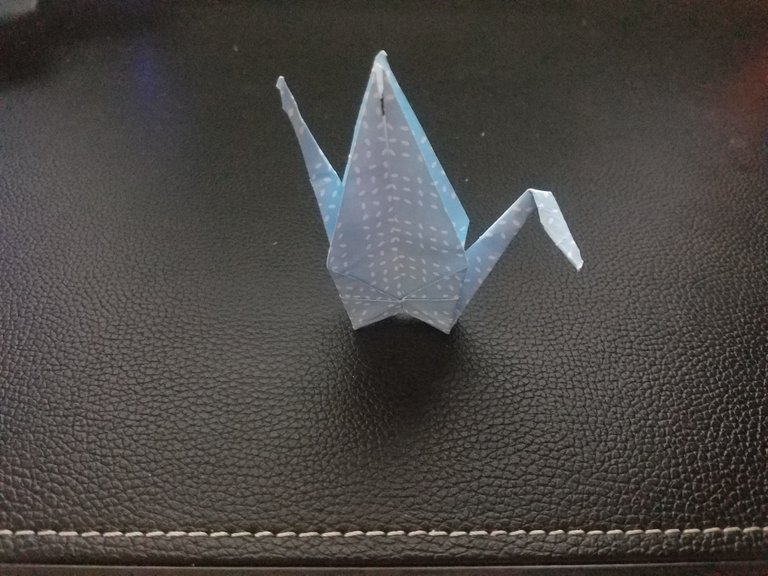
- Open the sides which fold in the head and tail
- Pull down head and tail
- Recrease bottom for new position
Step 13
- Gently pull the wings straight from
the sides to form the bottom - To puff out the body, blow in the hole underneath.
Somehow, I pulled the wings out to much and flattened
my crane's body. It should be neatly compact and folded.