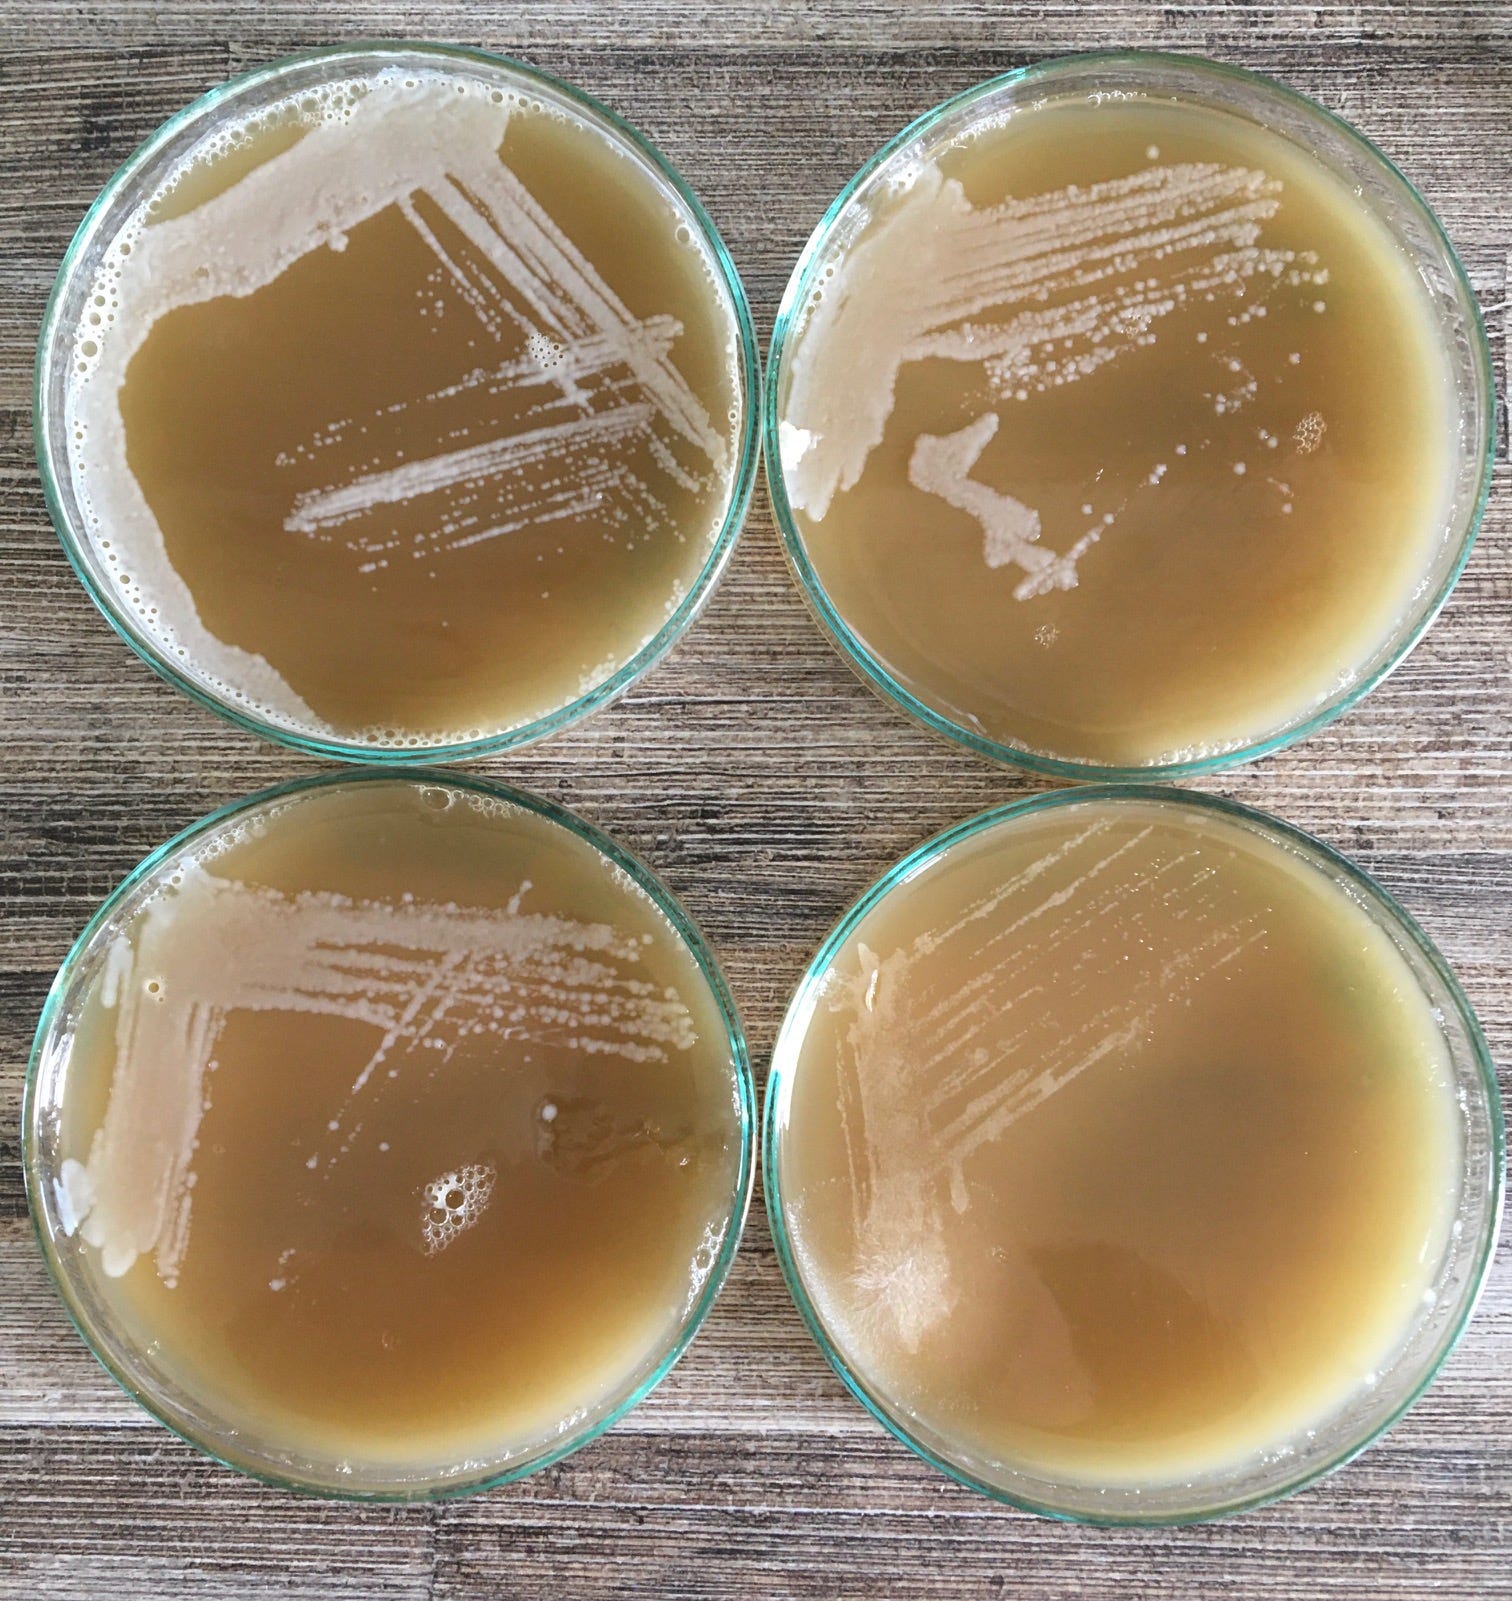
Basic Wort Agar Plates onto which Yeast trapping samples were streaked. If you look carefully, you can see some individual spots (colonies) that, theoretically, are derived from a single (yeast) cell. Source: Author.
In previous articles, I argued about the isolation and use of wild yeasts. Based on the responses received from all corners of the internet (and the world) and the commentary received on my yeast isolation experiment, I thought I’d revisit this topic from a more technical perspective.
In all fairness, the use of wild yeasts does not have to be so complicated. Many readers have pointed out that a bunch of grapes, soft raspberries (or other ripe fruits) plunged into your wort can do the trick (kick-start your fermentation). While they are right, I will make the argument here why the use of some basic microbiology techniques can enhance your brew experience. As a brewer, you are a microbiologist. Why not go a few steps beyond starter creation and reward yourself with the bounties that nature and your favourite (commercial) bottle-conditioned beer has to offer?
In this article, we will go through some basic concepts in microbiology, followed by a simple recipe and method to create your media plates. Most, if not all, the ingredients and materials are available online and require a relatively small investment. Following the recipe and instructions will allow you to sample (commercial) beers for yeast or embark on your own wild yeast isolation journey.
Our environment is full of microbes. Thankfully, this microbial community is highly diverse, featuring thousands of distinct species. Within each given species, hundreds or even thousands of separate individuals could exist, meaning that when looking at their genetic make-up, a random sampling exercise in which you capture 1,000 microbes from soil, water or air, the vast majority would be unique. Similarly, most of those 1,000 isolates would both be harmless and little use to us (health-wise). In contrast, others could be pathogenic or of significant benefit (brew yeast would fit into this category). We (brewers) would want to select and keep the best microbes we capture and rid ourselves of those that spoil our beers. How do we go about this?
The microbiological techniques discussed here aim to:
(i) separate a large group of microbes into individual cells and
(ii) Allow each cell to grow and repeatedly divide to produce a colony that comprises genetically identical cells.
The colonies got from such experiments are homogeneous in most cases and allow microbiologists (and brewers) to grow and characterise pure cultures for their intended purpose(s). With this description, you can imagine how you could apply these techniques. You can isolate and test single strains from existing beers, fruits, flowers or even bees. You can also assess your beers for contamination (although the approach there is a little more extensive than described here) and grow the pure yeast cultures your brews deserve.
THE RECIPE
There is a whole range of media recipes out there. Some come from the microbial sciences, and typically, these recipes are well-defined. For simple yeast separation and growth, a wort-derived recipe is more than adequate here.
Ingredients (for 1 Litre of Media):
117g Dried Malt Extract (DME)
15g Agar
Instructions:
- Dissolve the DME into about 1L of water (SG will be around 1.037) and mix well
- Bring the mix to a boil and boil for ~30 mins.
- Add the Agar to the mix and stir well, continue the boil for another 15 minutes (Occasionally mix and make sure that the Agar dissolves)
- Turn off the flame, cover the pot, and let it cool to about 55oC.
- Gently pour the media into a petri dish until it covers 2/3 of the bottom. Let it spread out to cover the entire plate (gently swirl/shake if needed)
- Place the lid back on the petri dish and let the nutrient agar solidify. This typically takes ~20 minutes.
- Invert the plate (bottom-up) and open it slightly to let any condensation evaporate.
These instructions will allow you to create the media plates that you can use to streak, grow, and see your yeast strains. The recipe is for 1L, which, when using 10 cm Petri dishes, will allow you to pour ~40 plates (25 mL per plate). I hope the instructions are clear. Below, I will outline how you can use these plates.
- You can estimate viable cell counts. Counting the number of cells per volume of your beer/wort/starter is simple if you know the simple maths required to calculate the original count. You can take 1 mL of your sample, dilute it in 10mL (final volume) of sterile media (e.g. wort), take 1 mL from your diluted sample, and repeat the process. You can then take 1 mL from each dilution step and plate it onto your plates (put the sample on your plate and spread it out). After incubation, you can count the number of yeast colonies and use the dilution rate to calculate the original yeast cell count.
- You can purify individual strains. For this, you can streak the suspension onto the plate with a straw, sterilise the straw, and streak the plate again to dilute each sample and get single colonies. You can repeat this four times (one plate per sample) and let the malt-agar plate sit at room temperature in the dark (inverting the plate with the agar side up). Hopefully, the yeast will grow onto the plates such that we can pick and grow single colonies for further testing.
I hope these instructions were useful. Would you rather see instructional videos? Do you have any questions? Get in touch and ask!
Best wishes,
Edgar, The Beerologist.
P.S. You like what you read here? Do know someone who would want to know more? Please subscribe to this newsletter and share.