Hello, and welcome to my page!
It seems that canning season is upon me now, the early produce is ready for harvesting. I picked enough beans to make it worth setting up my canning station and processing a batch of beans. My pressure canner will hold 8 pint jars or 7 quart jars at one time for processing. Since I'm only feeding 2 people including myself, I process my beans in pint jars, a quart of beans would be too much for a normal meal.
Beans are a low acid food so they need to be canned at 10 pounds pressure, a water bath canner doesn't get hot enough to can them properly. A water bath canner is normally used for high acid foods such as tomatoes, fruit, and pickles. The higher acid content of the food helps to prevent spoilage in most cases.
The first step in the process of canning beans is to pick them, but I suppose that's pretty obvious. Most of the beans that I picked are Cherokee Wax yellow beans, but I did find some green beans that were ready to pick also. The yellow beans are generally ready before the green beans if you plant them both at about the same time.
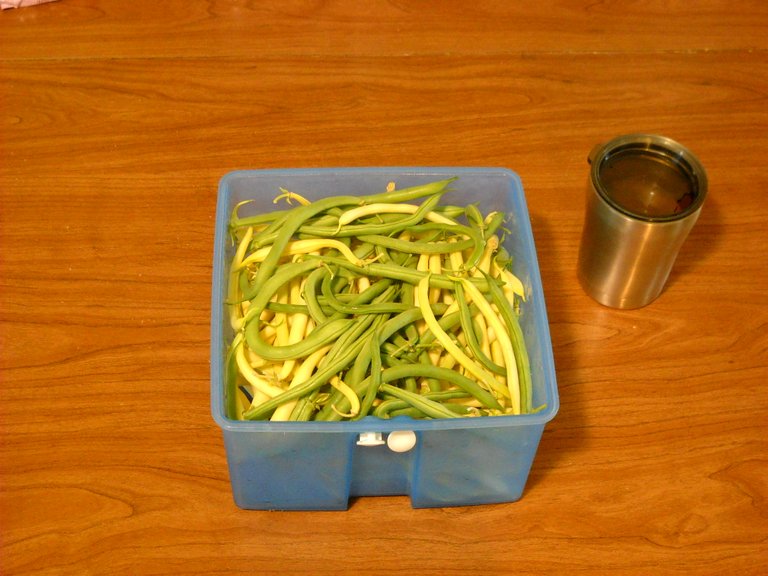
The second picking of beans turned out to be a lot more than the first picking. Here's the second picking.
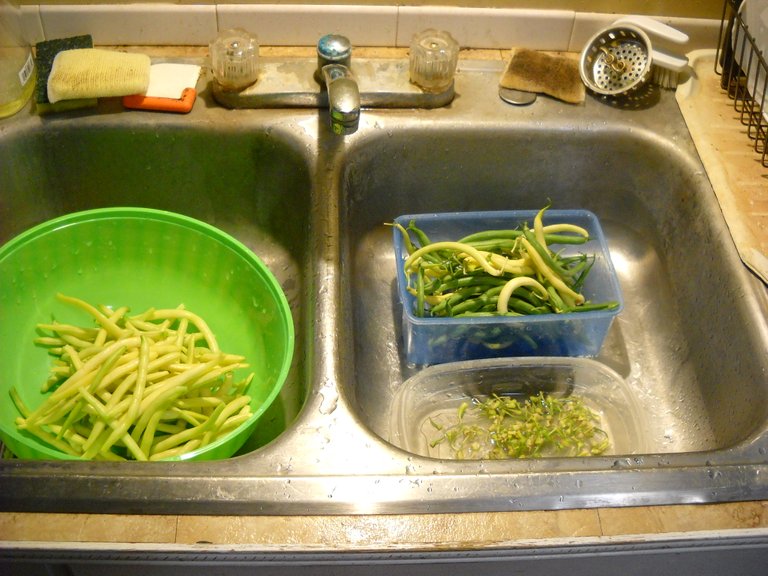
Once you've picked the beans, you have to wash them and then cut them up for canning. Here, I'm washing them and cutting the ends off.
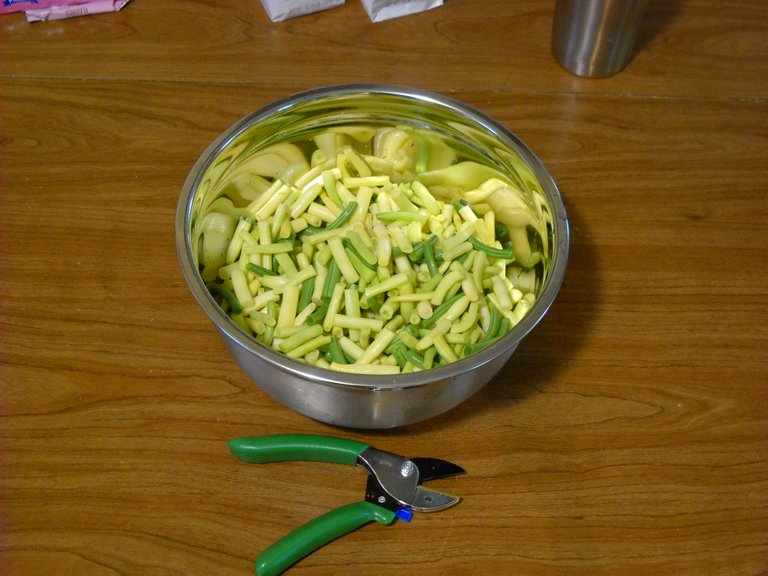
Once that's done, I cut the beans into chunks. They fit into the jars better when they're cut up. I like cutting the beans with branch trimmer with spring loaded handles, there's less hand fatigue than using scissors or a knife, as long as the cutting blade is sharp.
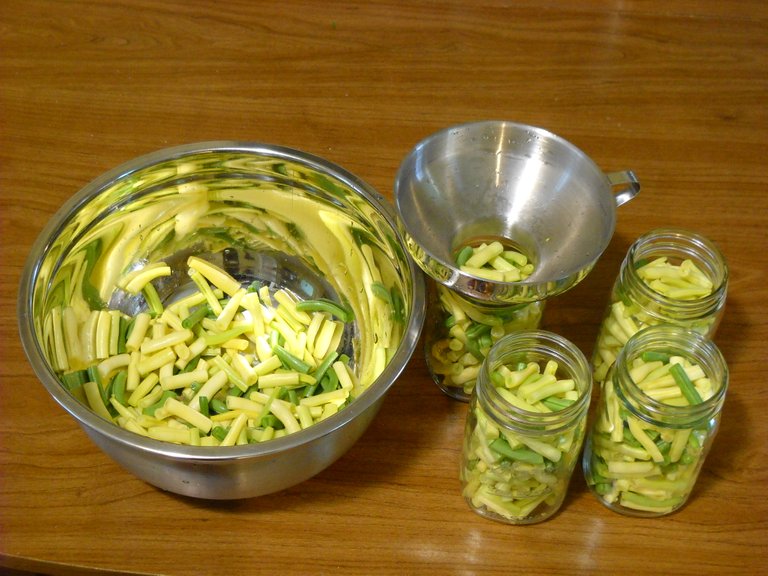
Once the beans are cut up, I put them into the jars. I use what's known as the cold pack method for filling the jars. That just means that the jars are filled with raw beans.
After filling all the jars with beans, I add 1/2 teaspoon of canning salt to each jar. Adding the salt is optional, but I like the taste of the beans that way. After the salt is added, I fill the jars with hot water to about the bottom of the neck of the jar. After that, the trapped air bubbles are removed from in the jar by putting a butter knife or long spoon handle in the jar between the jar and the beans and pressing the beans lightly to dislodge any air bubbles. Then I add a bit more hot water to bring the water level back up to the bottom of the neck of the jar, if they need it.
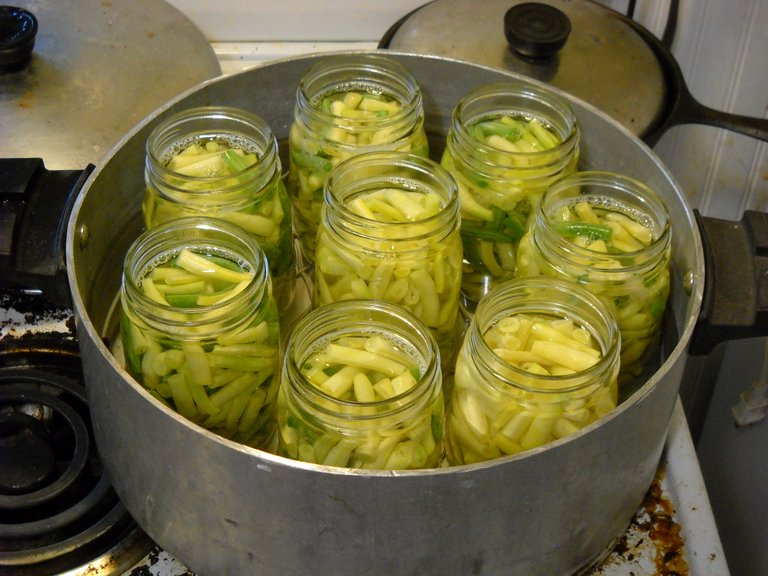
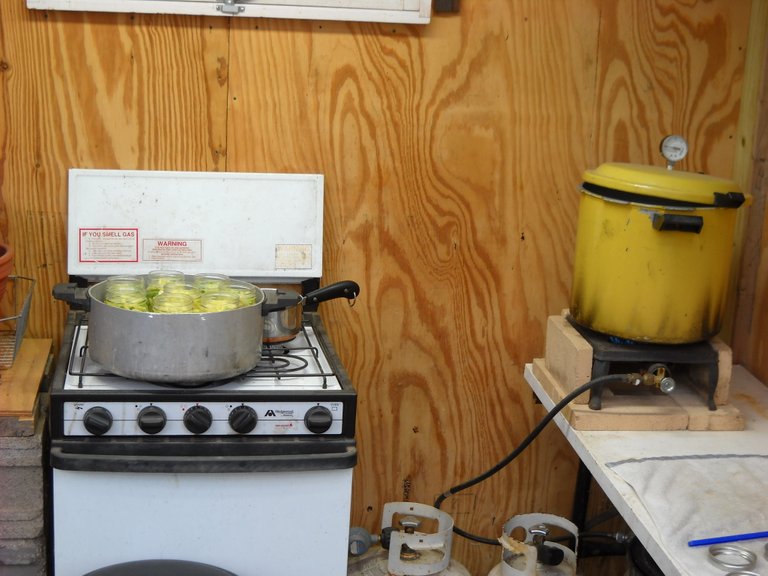
I have a big shallow pot that I put the jars in to heat them up while I'm waiting for the water in the canner to boil. Never put cold jars of food into boiling water, the jar can break from the temperature differential, and then you have a mess to clean up.
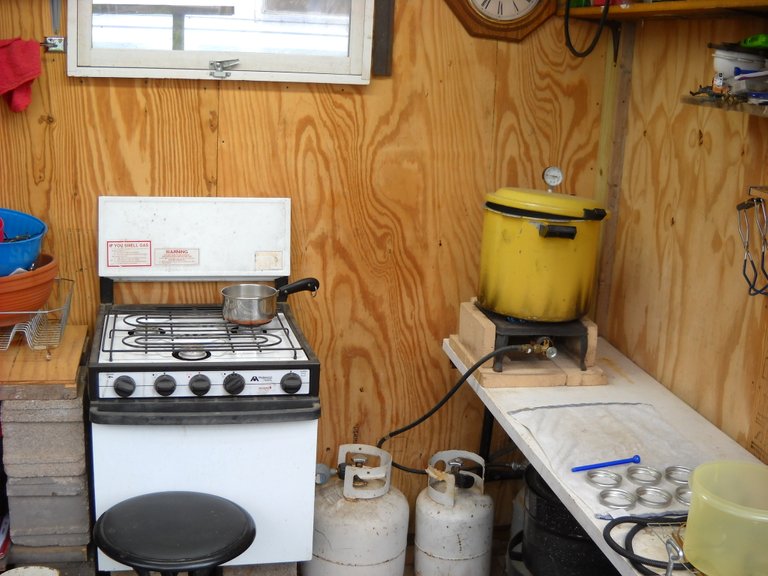
While I'm filling the jars, I have the pressure canner on the burner heating up the water to boiling to get ready for canning. I also have the jar lids heating up in a pan of water. You don't need to boil the lids, just get them hot to soften the sealing compound on the lid.
I do the actual canning part of the process at my canning station, which is located in the back corner of the greenhouse. This keeps a lot of the steam out of the house.
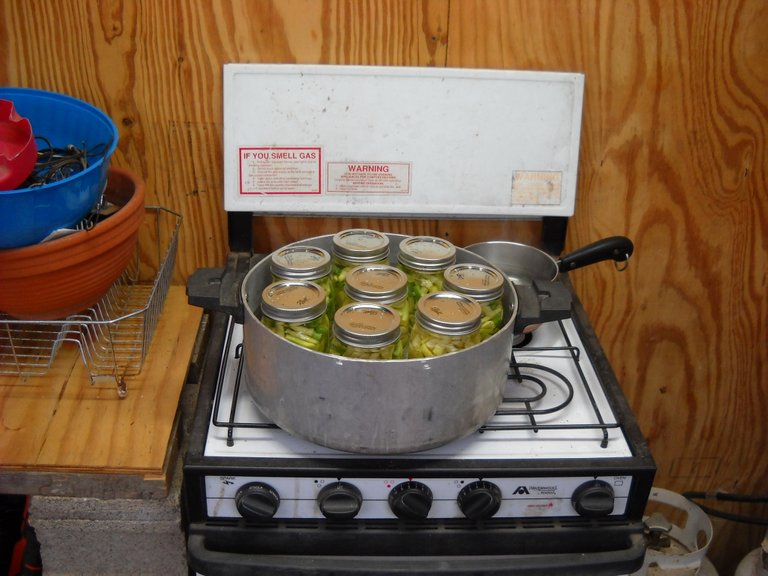
Since I fill the jars in the kitchen, I have to bring them out to the greenhouse for canning. I have the stove burner on to keep the jars hot while waiting for the water to boil in the canner.
Once the water in the canner is boiling, I put the lids and bands on the jars. I wipe the rim of each jar before I put the lid on to make sure the rim is clean. If there's a bit of salt or bean on the rim, it can keep the lid from sealing properly. You don't have to screw the band down very tight on the jar, just enough to hold the lid in place on the rim of the jar, hand tight, as the canning book calls it.
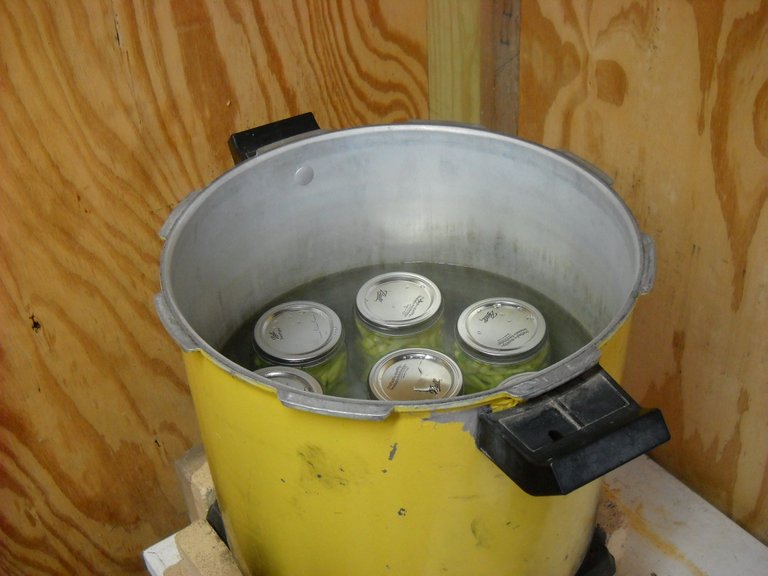
Once the lids are on the jars, I put them into the canner. Usually the water in the canner will stop boiling because the jars are not as hot as the water. You need to use jar tongs to put the jars into the canner to keep from burning your hands on the hot jars or the water.
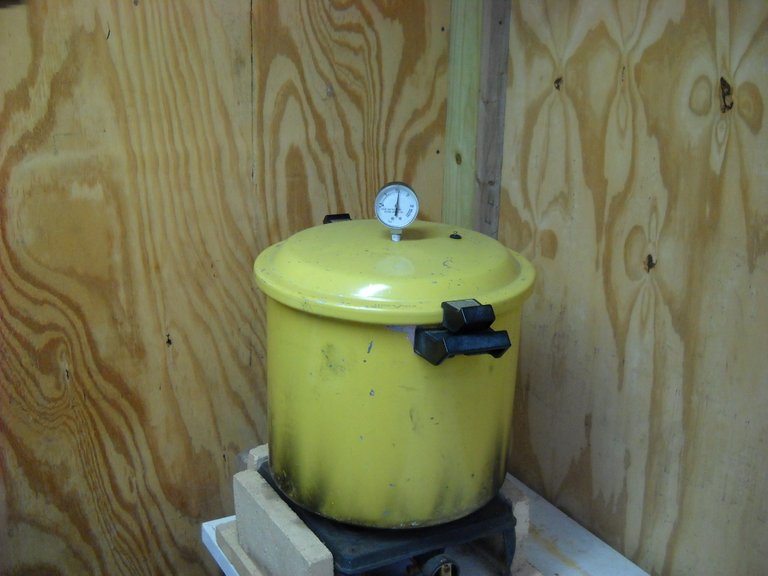
The lid is put on the canner and the steam pressure is brought up to at least 10 pounds. It doesn't have to be exactly 10 pounds as long as it's at least 10 pounds pressure. I tend to run the canner at 11 to 12 pounds pressure because it's easier to control it there with the burner setting. If you live at a higher altitude location, you may need to run the canner at a bit more pressure to be sure that the temperature inside the canner is hot enough for the canning process.
For pints of beans, the canning book calls for 20 minutes at 10 pounds pressure for lower altitudes. Try to keep the pressure as steady as possible during the canning time. Fluctuations in the pressure , especially large or sudden fluctuations can cause jars not to seal properly. Adjusting the burner to hold the pressure steady tends to be an ongoing process sometimes, and other times I get it just right and don't have to mess with it further.
I usually let it run a few minutes more in case my timing is a bit off with the clock. Once the time is up, you just shut off the burner and let the pressure drop naturally as the canner cools off. Don't try to hurry the process.
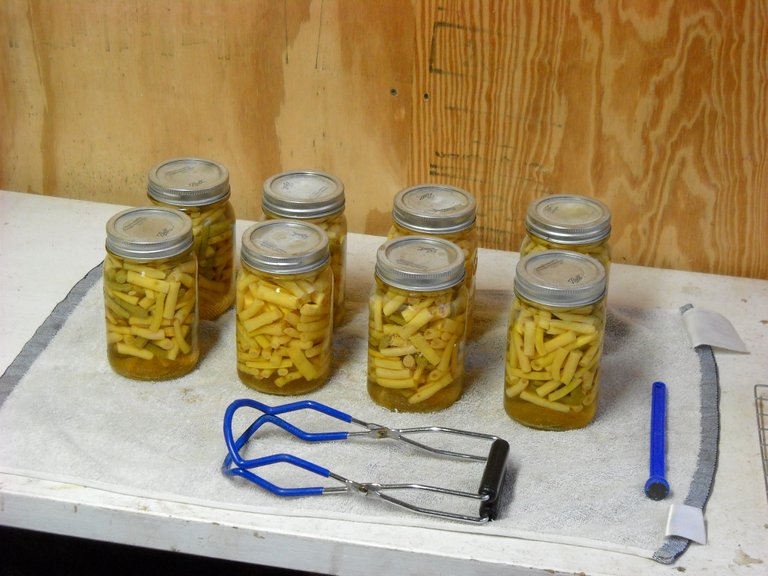
Once the pressure is back down to zero, you take the lid off the canner and let it cool for another 5 minutes or so, and then take the jars out of the canner and set them on a towel to cool off. Don't do anything with the lids or rings on the jars while they're cooling off, that could mess up the seal of the lid.
Once the jars are cooled off you can check the lids to see if the jars sealed. With the standard canning lids, there's a hump in the middle of the lid when they're new. If the jar has sealed, that hump will be pulled downward by the vacuum in the jar. If you're there when the jar seals, you'll hear the lid get pulled down, it makes a "popping" sound as it inverts. They will often seal shortly after they're removed from the canner, and sometimes while still in the canner.
If the lid still has the upward hump after the jar cools off, that means the jar didn't seal for some reason. You can either reprocess that jar with a new lid, or just put it in the refrigerator to use for a meal.
That's my process for canning beans. It's pretty similar for most other vegatables. I recommend that if you haven't done any canning in the past and want to start canning fruit and vegetables, you should get a basic book on canning. It has all the information that you will need to do your canning properly and safely. I personally use the Ball Blue Book of Canning as my reference, but there are other good canning books available also.
That's all I have for this post, thanks for stopping by to check it out!

Nice setup, I like the stove. I am looking for a natural gas free standing burner for outside under the carport since I have a line plumbed out for the generator. I want to use it for butchering scalding pot, canning, and brewing.
I should really set aside some of my beans for canning. The Chinese noodles are still small plants so I will have them going still when the weather is a bit cooler in September so may just wait, unless I get a burner soon.
The gas stove in the greenhouse is a camper stove that I got used. I was going to put it in a camper that I used to have that I was fixing up, but I sold the camper, it was too big for my vehicles to pull. It's certainly handy for canning.
One of those 3 legged free standing turkey fryer propane burners would work well for what you want to use it for.
I got my burner working yesterday. It was clogged ports. I am just trying to figure out how to hook it up to my NG line now. It works on propane but that is a bit too pricey for regular use, specially when I have and NG line near. Think it is just the manifold that I need, or check valve to hook up.
Excellent tutorial! Love your canning station!
Thank you!