Hello, and welcome to my page!
It's been about a month since I wrote part 1 of this story, I figured that it was about time to write a follow-up to that post. If you would like to read part 1, here is the link.
https://peakd.com/car-repair/@amberyooper/working-on-my-old-pickup-truck-again-part-1
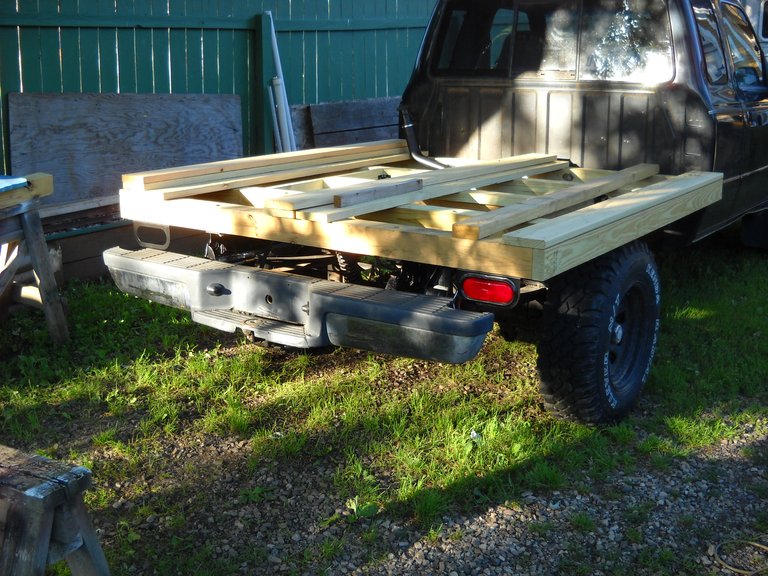
Where I left off with the last post, I was almost done with installing the cross-members for the flatbed that I've been building on the back of my old Ford Ranger pickup truck.
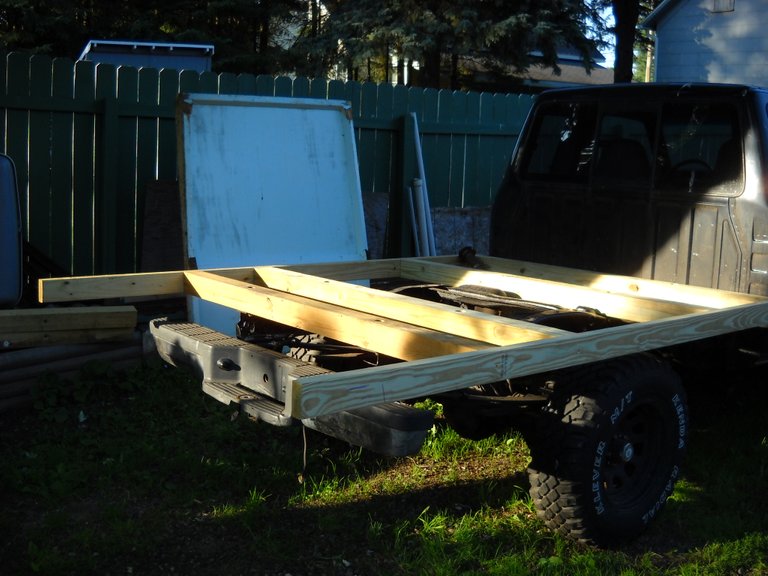
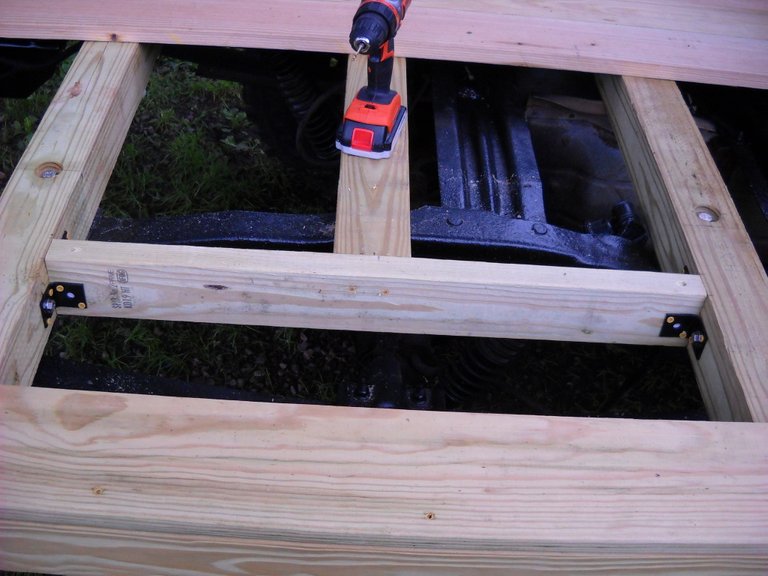
I had to build one more support for the deck before I could start putting the deck on the flat bed frame. There was an unsupported space in the middle of the bed where I couldn't use a 4X4 for support due to the hump in the frame over the axle. I had to build that support from treated 2X4s. You can see the piece of 2X4 that I screwed to the bottom of the crossing support to give it a bit more stiffness. A 2X4 laid flat is not very good support by it's self.
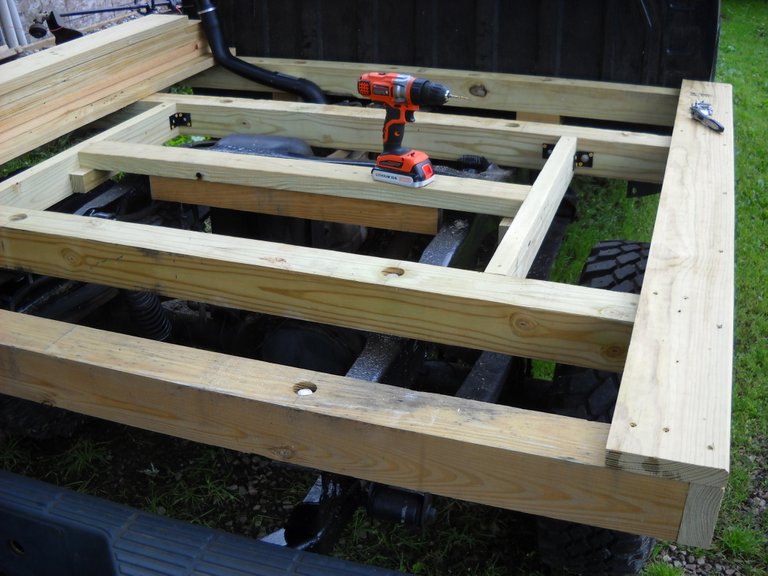
I also had to leave a gap over the wheels to account for upward movement of the wheels when driving on a bumpy road or hauling heavy stuff. I used painted steel brackets and stainless steel lag bolts to hold the brace in place, along with the porch screws to hold the brackets in place until I could get the stainless steel lag bolts.
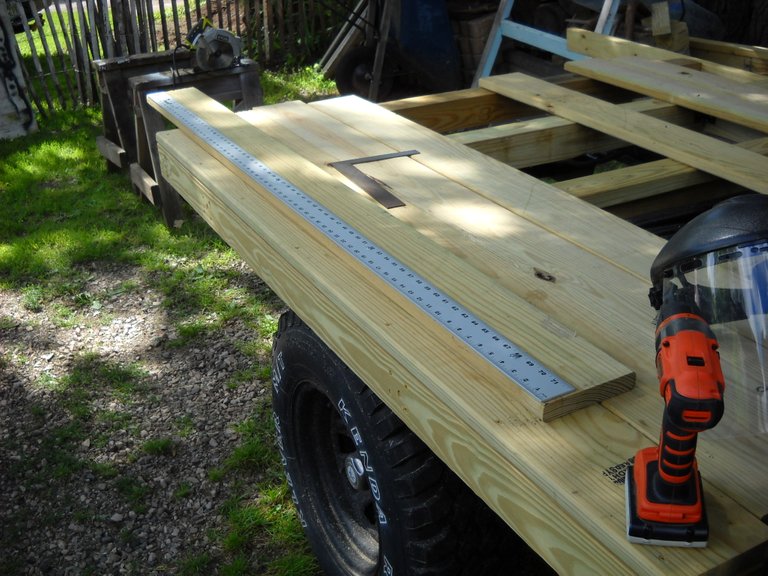
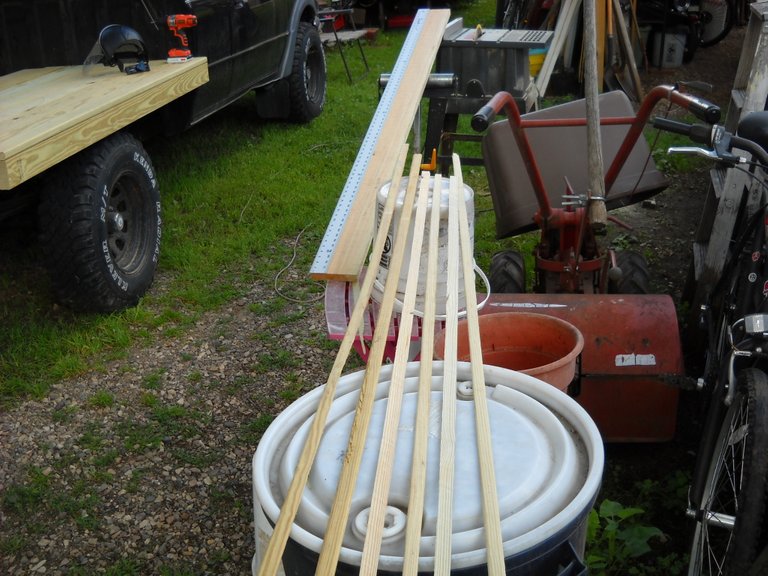
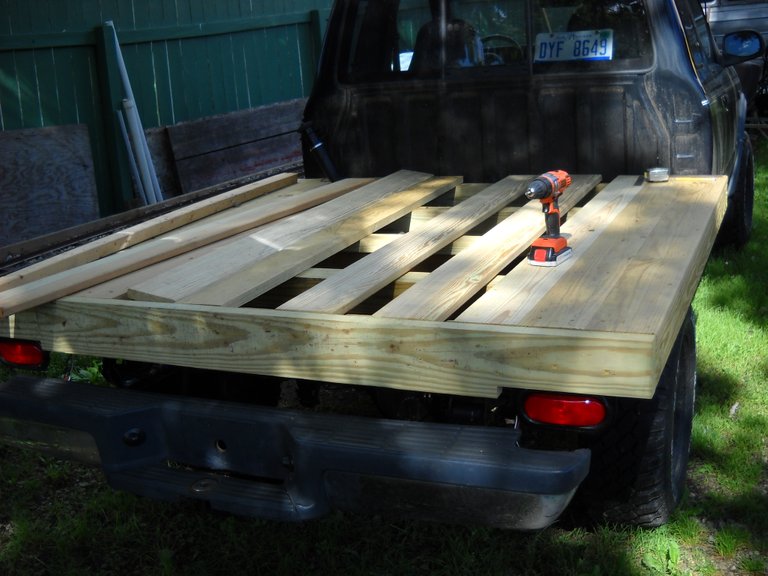
I decided to use treated 5 quarter porch boards for the deck on the flatbed. The 5 quarter boards are 1-1/4 inches thick, and they're better quality boards than the standard porch deck boards. Of course, they're also more expensive. I figured that it was worth buying the better quality boards, considering that they would be the deck on the flat bed. I was extra picky about the boards that I bought to make sure that they were not warped. I needed 6 foot long boards, so to save a bit of money, I bought 12 foot boards and cut them in half. That makes much less waste than getting 8 foot boards and having to cut 2 feet off each one.
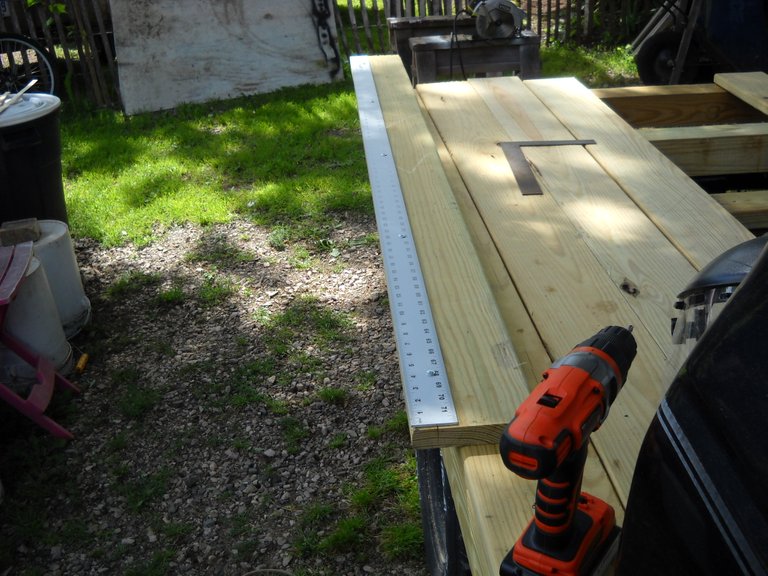
I screwed the first 2 boards down on the outer edges of the flat bed after cutting them to length. Then I laid the other boards on the flat bed frame to see how they would fit. Porch boards are planed with rounded edges, which wouldn't be a problem normally, but there were irregularities down the length of the board, making them not fit together as well as I wanted.
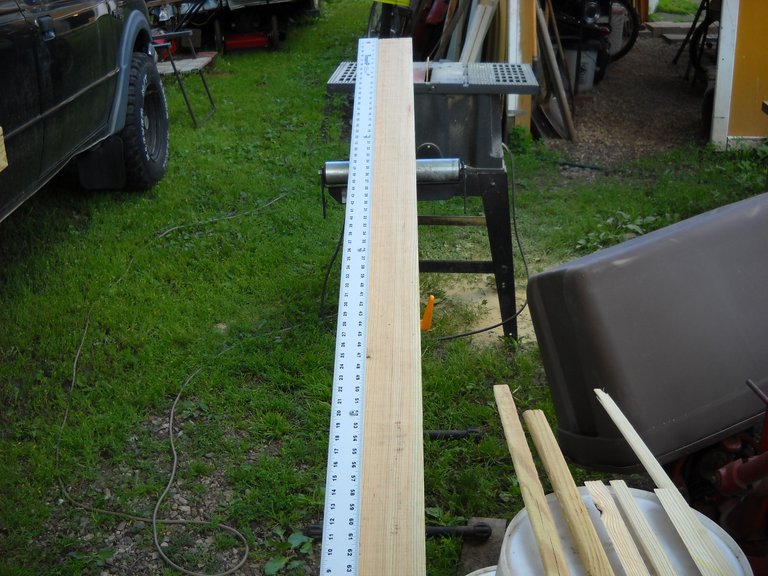
I decided to run the boards through my table saw to cut the edges off and to cut them straight. I also decided that I needed to use a straight edge as a guide for cutting the first side so that it would actually be straight. I drilled holes along one edge of my 6 foot long straight edge, and screwed it to the board along one edge.
I set the tablesaw guide so that it would cut just the edge of the board off. I didn't want to make the boards any more narrow than necessary. Then I ran the boards through the saw, using the straight edge up against the tablesaw guide to keep the cut straight. I cut 1 edge of all the boards that I had, using the straight edge on each board.
Once I had one edge cut on all the boards that I had, I set the tablesaw guide to cut just the edge off the other side of each board. I cut the boards all to the same width that way. After that was done, I laid them all on the frame and checked the fit of one to the next. They all came out straight enough to fit together well.
I didn't have enough boards to cover the entire bed of the flat bed, so I had to go and buy a few more. When I bought the first boards, I knew that there would not be enough, but I didn't know how many more I would need at that time. After getting all the boards I had on the deck, I was able to measure the remaining space and figure out how many more boards I would need. I also had to account for cutting the edges off the rest of the boards when I got them.
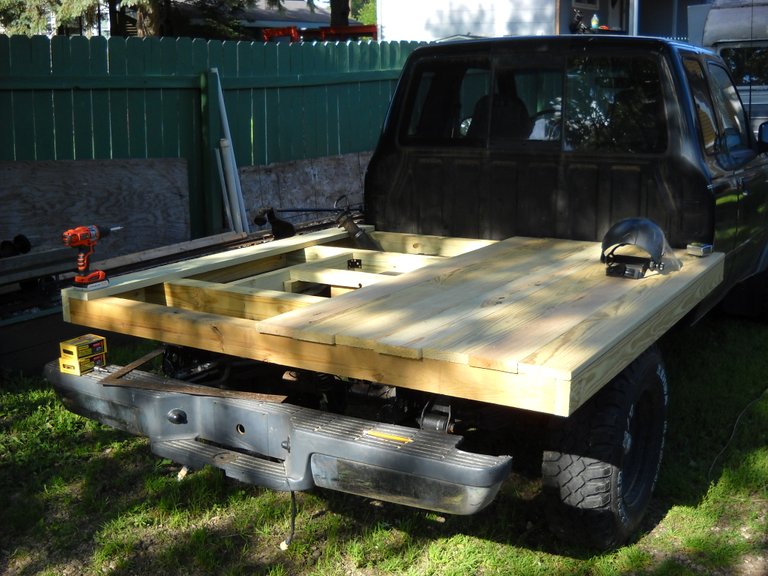
Once I had the rest of the boards cut, I was able to cut them to the exact length and screw them on. I also decided to use a 2X6 for the end cap for the flat bed. I had to cut notches in the 2X6 on both ends to clear the tail lights that I mounted under the rear frame 4X4. I figured that the 2X6 end cap would protect the ends of the deck boards, and perhaps help protect the tail lights also.
After that, it was just a matter of screwing all the deck boards down to the frame. I had to cut one of the deck boards a bit more narrow to fit in the last space in the middle properly.

Next, I have to build a box of some kind around the gas tank filler tube to protect it. I will also have to decide what kind of sides and tailgate I want to build for the flat bed. Im still pondering those decisions, but maybe I'll come up with a plan before it starts getting cold outside. I'm at a good stopping point right now, and it's canning season so I'm a bit more busy than I would be without the garden.
Well, that's all I have for this post, I hope you found it interesting!
Thanks for stopping by to check out this post!

Wow, it looks great Amber!!!! It's hard to think of you being in the snow after your summer. We're coming into Spring here!
Thank you! 😊
We typically don't start getting any snow until about the end of November, so we still have a while for that, thank goodness. I expect we'll have warm weather until at least the middle of September, and then it starts to cool off into fall.