Welcome to my first "How to make" post!
I'm still a beginner, I don't know what I'm doing most of the time, but I think I'm a quick learner.
In this post, I'm going to show you how I make my EVA foam props for my Overwatch characters. Right now I'm working on Graffiti Tracer, which is almost done, and Ribbit Lúcio, because one unfinished cosplay is not enough!
Even though Tracer has priority, I'll show you my workflow on Ribbit Lúcio's head, because I don't have enough making-of photos of Tracer. Now I'm trying to take more photos to fill my Instagram account with content, but it is still not enough.
Let's start!
Some cosplayers make their armor and props just from reference photos, but if you have access to 3D models of the character you want to cosplay or you know how to make your own 3D models, you can use Pepakura or Armorsmith designer programs. And if you don't have any 3D models, or want to cosplay some movie or anime character, you can always check the internet, or go to Cosplay Archive. Some kind cosplayers put their finished Pepakura files there for free! This is where I found Tracer's mask and Lúcio's head, but other parts I'm making myself.
Pepakura is a program where you can unfold a 3D model and print it on paper to make paper models (not just for cosplay). It has a free version, but to be able to save your work you have to buy its license (it is perpetual).
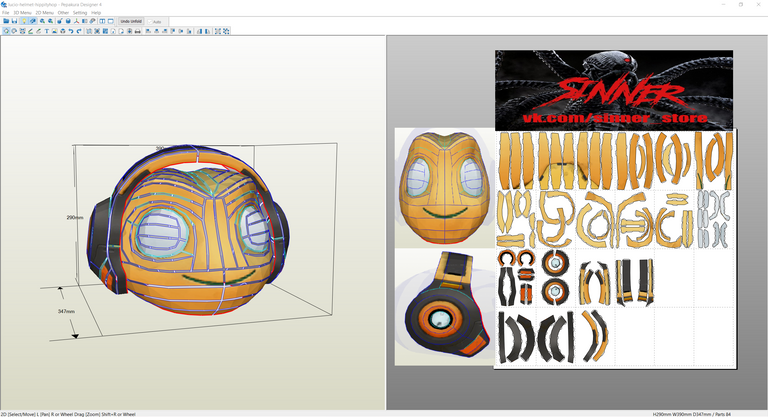
Pepakura screenshot
Armorsmith is like Pepakura, but more suitable for cosplayers, because you can create an avatar with your body measurements to scale the 3D model to fit you perfectly. It has no free version but it is a one-time purchase.
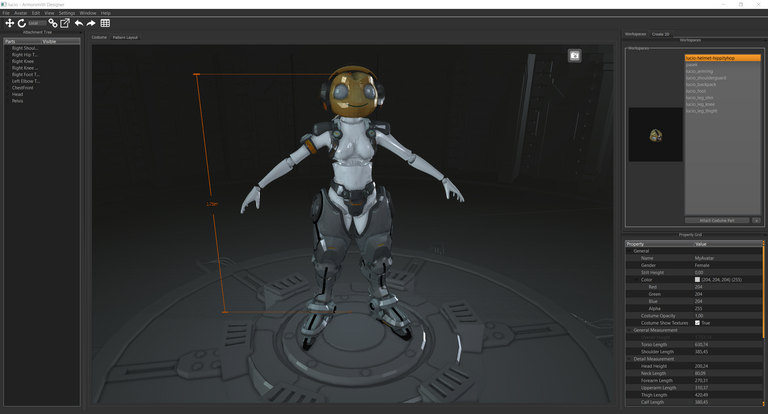
Armorsmith Designer screenshot
I'll make a special post for Pepakura and Armorsmith Designer, so let's say you already have a Pepakura file for your character.
Pattern preparation
Tools:
- Pepakura file
- Printer
- Paper
- Scissors
- Adhesive tape
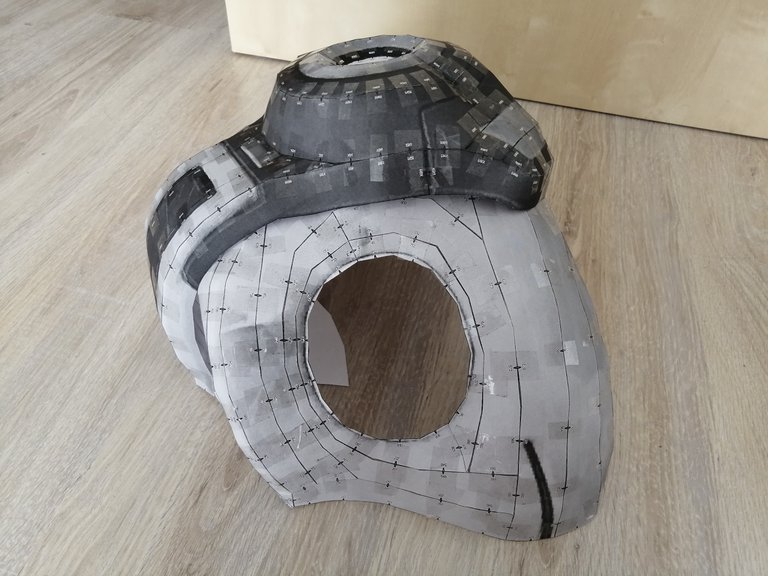
Assembled Pepakura pattern
Process:
- Print out the Pepakura file on paper.
If the model is symmetrical you'll need just half of it, because if you flip the pattern you get the opposite side. The same applies to repeating elements - one pattern can be used for all of them. - Cut the pieces out.
- Assemble the pieces to create a paper model.
You can skip this step, but it helps me imagine how to cut foam (angles, how to deal with some complicated shapes, ...). - Fit test.
To find out if you scaled the model properly.
If it fits, you are ready to start with EVA foam! If not, scale the Pepakura file and repeat the process.
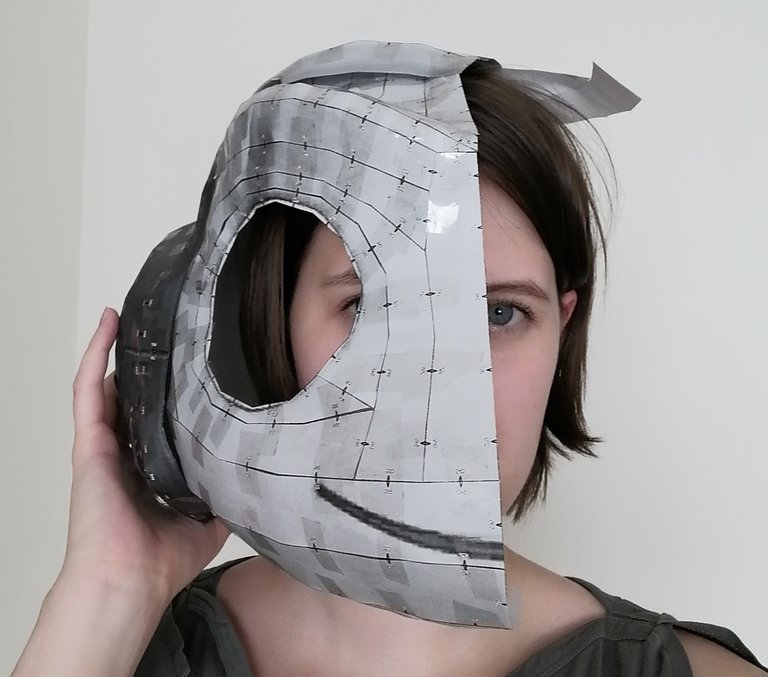
Fit test
Does it fit you? Yes? Noice! Then you can start tracing the patterns on foam.
What tools do you need?
EVA foam!
You can use cheap EVA foam floor mats for gyms from your local store (I didn't try this one, but it is an option), or buy EVA foam from specialized online cosplay shops in or near your country (mine is from Cosplayshop.be). You can also get it on Amazon, Aliexpress, or similar online shops, but I prefer cosplay shops because they also have a lot of different cosplay stuff. Michaels hobby stores can have some supplies too, but we don't have these shops in our country.
You can also get it in different densities and thicknesses. For Lúcio's head, I used 7mm low-density EVA foam and for headphones' details, 2mm high-density EVA foam, and 5mm LED foam from Cosplayshop.be.Scissors
To cut 2mm foam and to disassemble the paper model into patterns.Pins (optional)
Pins will help you to hold patterns on foam.Ballpoint pens or markers
To trace patterns on foam. I prefer a ballpoint pen. It is visible even on black foam.Box cutter
To cut out the EVA foam pieces.Grinding stone
To sharpen the box cutter.Contact Cement
It is the best glue for EVA foam. Most (if not all) cosplayers are using it.
Ready, set, go!
In the first place, you disassemble the paper model into individual patterns. You don't have to follow the lines, you can improve the pattern to get rid of unnecessary seams or to make you work easier.
And if your Pepakura pattern has texture, you can use it to trace some details. E. g. Lúcio's mouth.
If you printed just a half of the pattern like me (to save the woods!), never forget to flip every piece and trace the mirrored side again! You can also trace one side of a pattern, flip it, place it next to the previously traced half and trace this part to make one big piece from two. But it's up to you. I do it to avoid unnecessary seams.
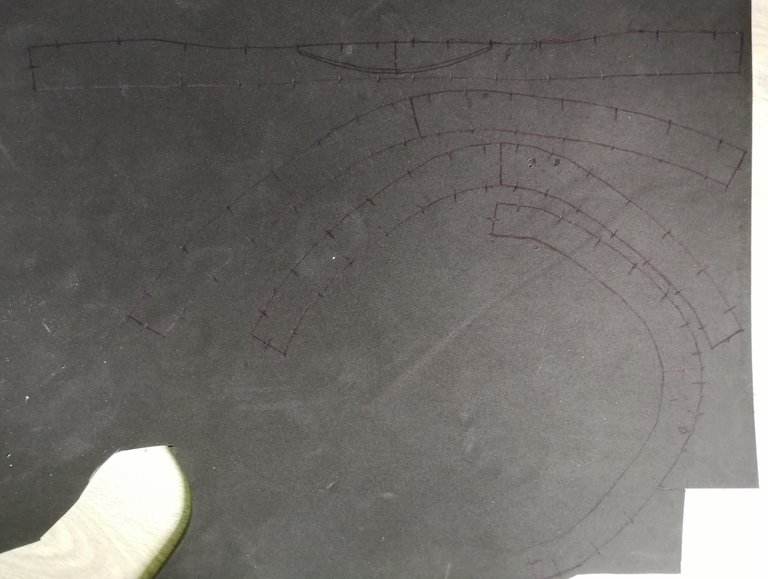
Traced patterns. You can see Lúcio's mouth on the first one
After tracing it's time to cut the pieces out with a box cutter. Don't forget to sharpen your box cutter on the grinding stone often, because it can become blunt quite easily.
Cut out pieces
When you cut out your pieces, you can glue them together! But beware, contact cement works differently than other glues. At first, you need to put a thin layer of contact cement on both sides, you want to glue together. Then you have to let it dry for a few minutes. Contact cement I'm using says to let it dry for 10-15 mins, but I'm impatient so I'm gluing it after a few minutes and it works!

Progress photo 1
Then you just repeat the process until everything is glued together.
Progress photo 2
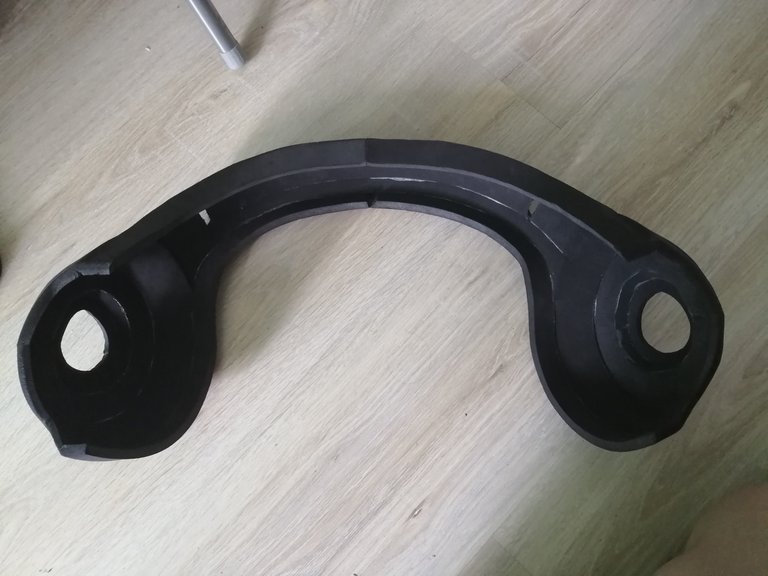
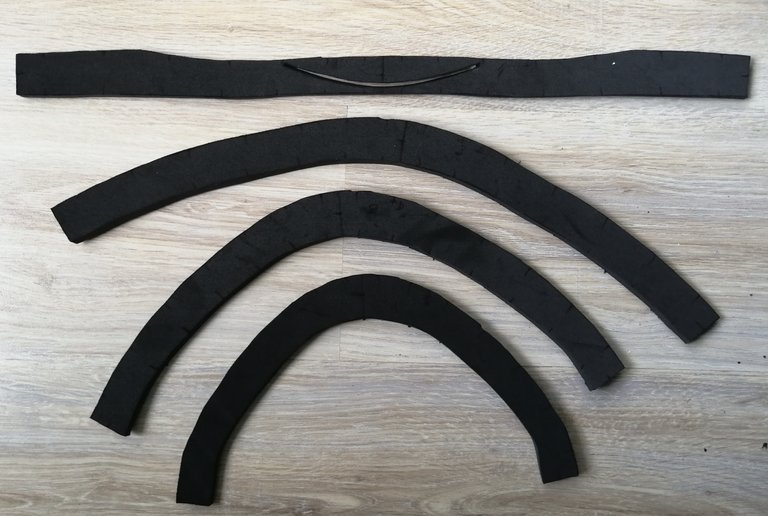
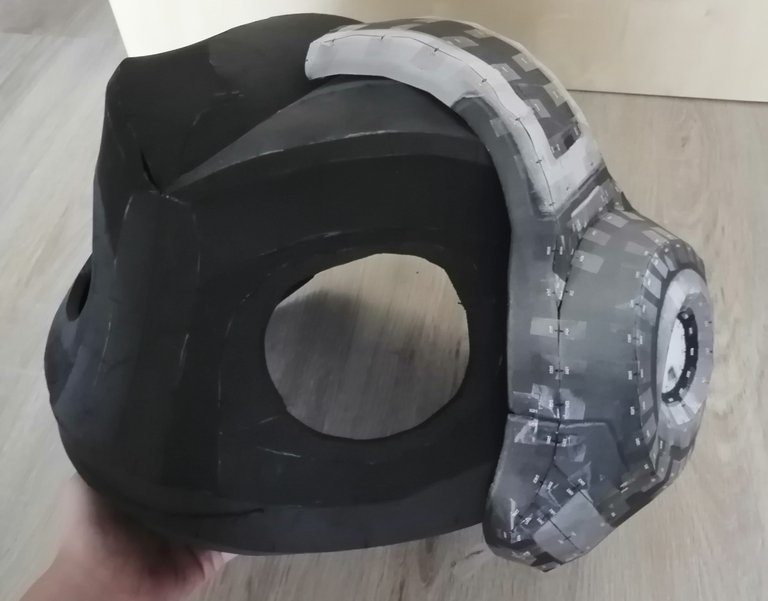
Progress photo 3 - base for headphones
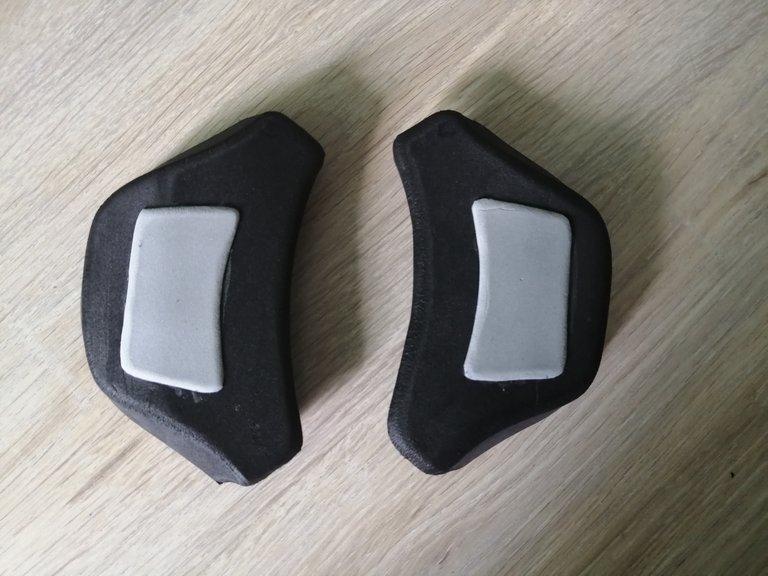
Progress photo 5 - details for headphones
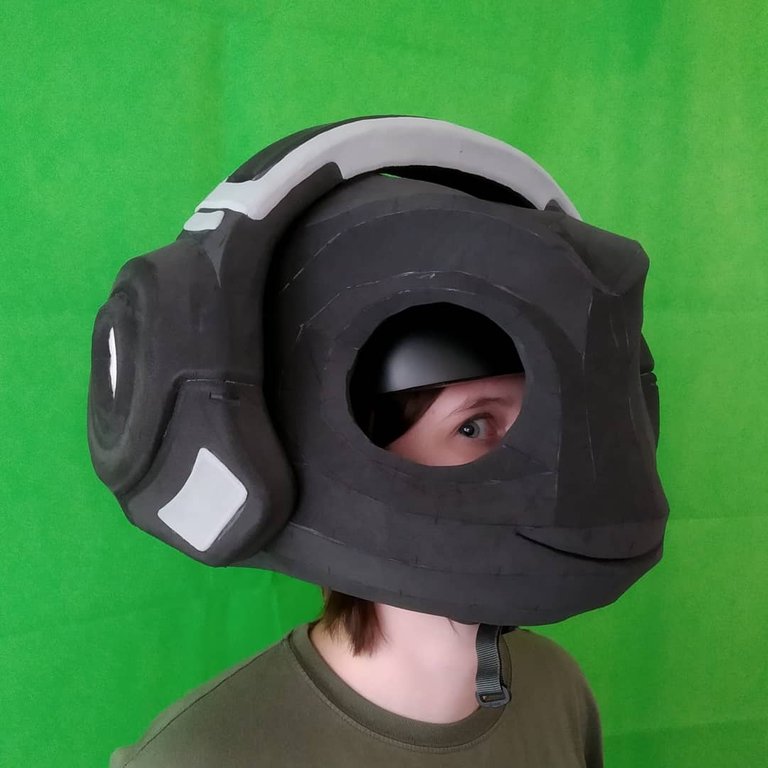
Ta-Da, the base of Lúcio's head is done. All I had to do is to dremel it, prime it and paint it, but I will talk about it in some of the next posts.
And if you wonder how I mount it to my head, there is the answer:
I bought a cheap skating helmet and stuck pieces of velcro to it. Then I took a strip of foam and stuck the other side of the velcro to it.
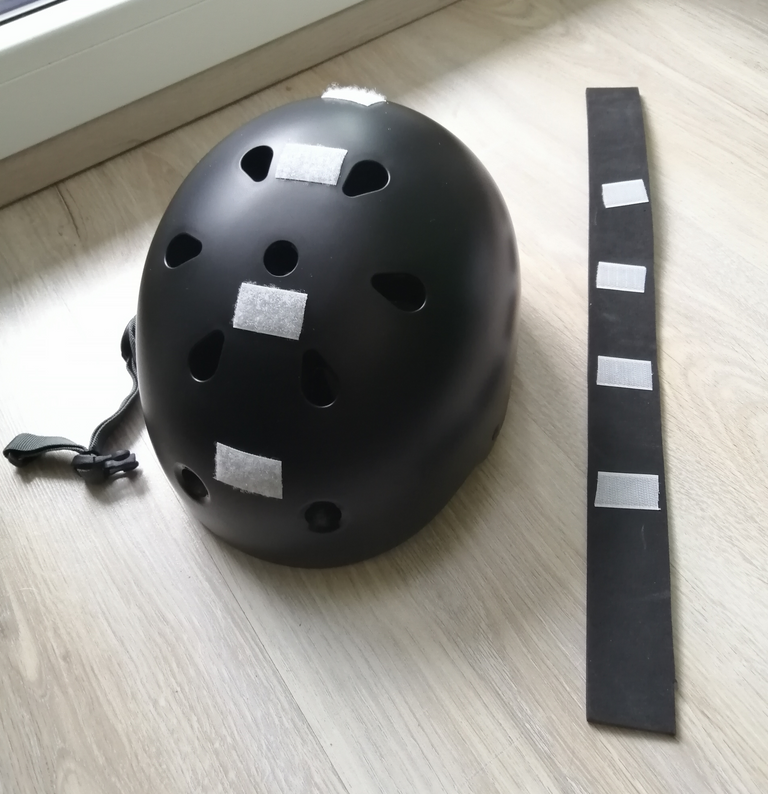
After that, I glued the strip into the head with contact cement.
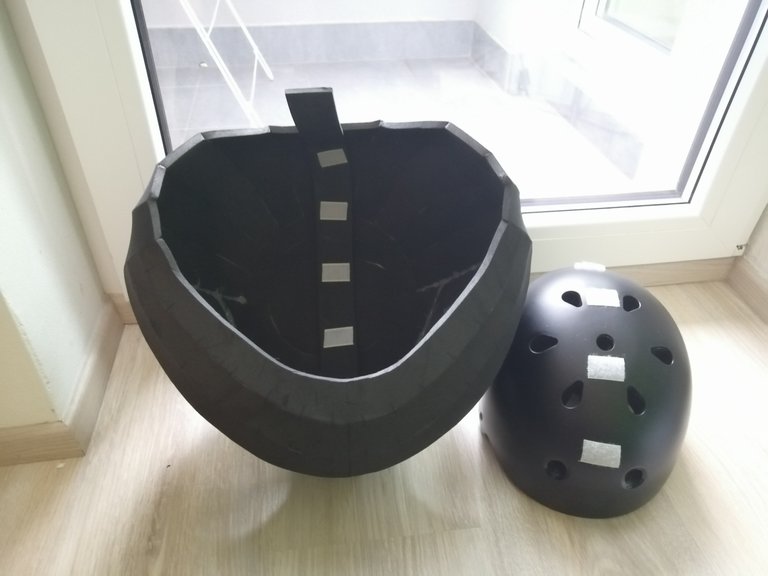
Sounds easy, right? And it works!
Well, I think that's enough for one post, see ya next time!
And if you like my content don't forget to hit that follow button :)
Congratulations @cosplay.hadr! You have completed the following achievement on the Hive blockchain and have been rewarded with new badge(s) :
You can view your badges on your board and compare yourself to others in the Ranking
If you no longer want to receive notifications, reply to this comment with the word
STOPThat skateboard helmet is a super smart idea!
Thanks, I had no better idea 😁
This is awesome!! Just that I spotted it to late to upvote. ;-)
Thank you! I posted it during hardfork, so it ended up in the abyss 😁
Hey! You're still here, that's a good thing. Well, it's never to late! 😉 !invest_vote !BEER
View or trade
BEER.Hey @cosplay.hadr, here is a little bit of
BEERfrom @anli for you. Enjoy it!Learn how to earn FREE BEER each day by staking your
BEER.@anli denkt du hast ein Vote durch @investinthefutur verdient!
@anli thinks you have earned a vote of @investinthefutur !