In [Part 3] we installed Craft and removed the demo fields/sections and templates so that we have an absolutely bare platform to start building upon.
In [Part 2] we covered some of the basics of using the Twig template engine, setting up advanced routes, and of course the eye candy Live Preview.
In [Part 1] we went over the very basics of Craft CMS, what it is, pricing, sections, assets, globals, entry-types, fields, and field-groups.
In [Part 4] we're going to look at some of the more useful plugins that we'll be using to build our site. (Part 1) of [Part 4] or [4.1] features the NEO plugin which is so large and powerful it deserves an entire article just for it's self.
Neo
Neo is one of my absolute favorite plugins. It is essentially what the 1st party field Matrix should have been in my opinion. As you may have guessed based on my relation to Matrix, Neo is a fieldtype plugin.
Where Matrix requires you to create a new field for each individual block, Neo uses pre-existing fields, so you can use and re-use the same field in multiple areas. This is a huge time-saver both for setup, and also reduces the amount of code you must write, PLUS it helps maintenance to be much more straight-forward than it would be otherwise. It's like a dream come true.
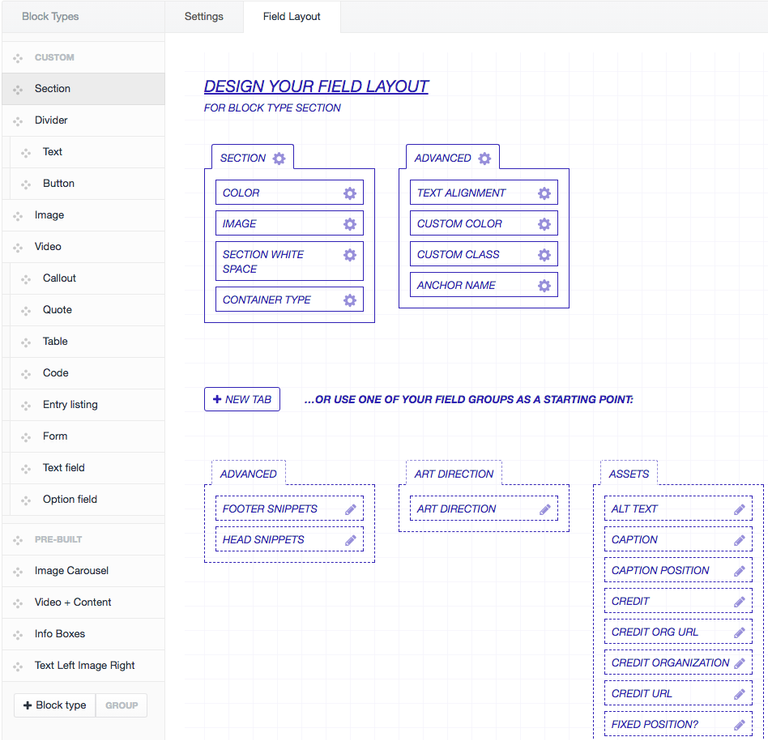
The above image illustrates the field layout for your Neo Block. As you can see you can drag any existing fields into the Field Layout. Many blocks will re-use the same fields with only slight modifications, create them once, and use as many times as you need.
You can create as many different block types all with their own unique rules and field layouts as you'd like.

Some block-types you create may have too many fields to show at once, a settings or advanced tab may be useful in those circumstances in order to avoid cluttering the publish page for your content managers and yourself. As seen in the first screenshot, you can group by different tabs simply by clicking New Tab and dropping the necessary fields for each field in it's container.
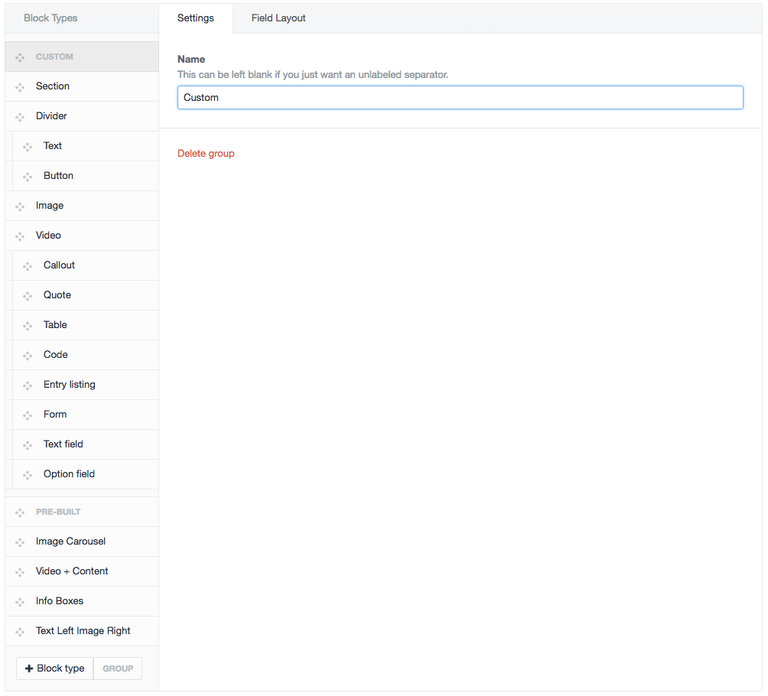
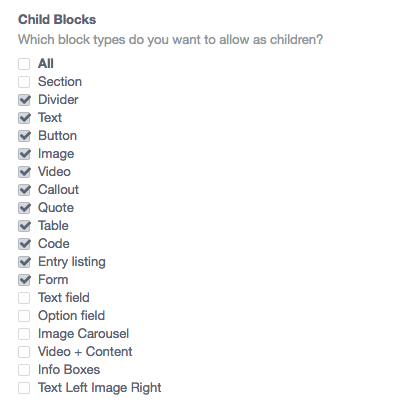
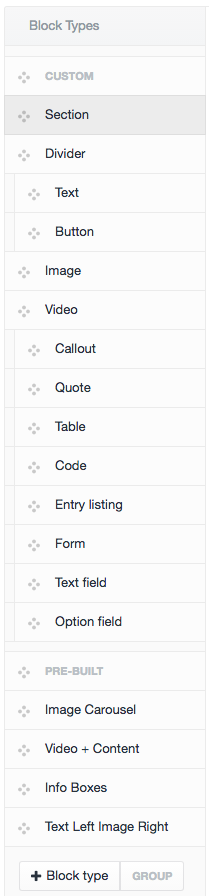
Speaking of keeping things organized and clean for your content managers and yourself. You can also group blocks that you have created together to show in drop-down fields for easier selection. Setting the child blocks of particular blocks takes this one step further by allowing only the blocks you specify to reside within parent blocks.
A great example of this as shown in the screenshots above are the Custom and Pre-Built groups we created. Note that those could just as easily be named "Cat Food" and "Fertilizer" if so desired.
Custom
The Custom group that we have setup here (don't worry in a future article we'll go through the creation of every field, this is only a demo of the plugin) is for use by more technical users that want extreme control over the pages and content they create. It is essentially a Graphical User Interface to build your own webpage with point & click setup using our pre-configured code and fields.
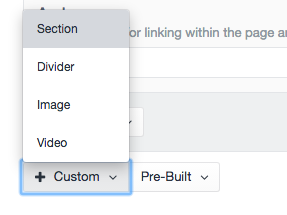
Clicking Custom shows the Top Level block types Section, Divider, Image, and Video.
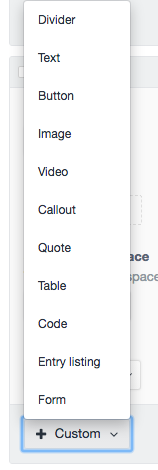
If we select Section for instance we are shown another dropdown within that which allows selection of any of it's child blocks that have been set. Note that only blocks that are specifically allowed show up here so we can help guide our content managers through the process and prevent them from doing something that we may not have intended.
Pre-Built
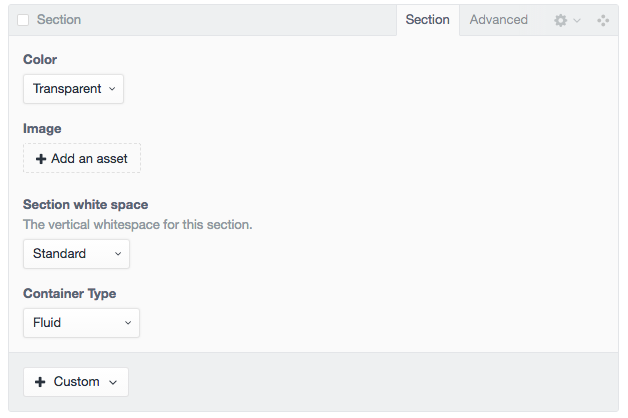
The other major grouping we created as seen in the above screenshots is for more casual users that don't need, or want to bother with total control of the page. It offers several unique layout types and features that we have pre-built to allow them advanced functionality without all of the hassle.
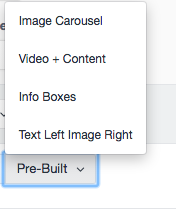
As you can see in the screenshot, the pre-built button offers a more limited set of options that are named with descriptions of what each block-type is for.
While the Custom section of this NEO field can be the same for almost every website due to it's versatility and power, the pre-built will likely be unique per site based on the specific requirements of each website.
While all of these settings may seem complicated at first, they are very intuitive and will help us in giving the best experience possible with the utmost power and control to our content managers without overwhelming them.
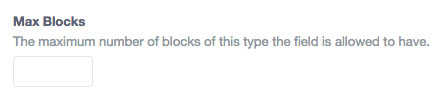
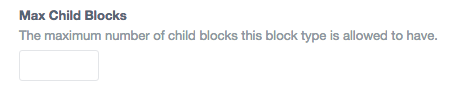
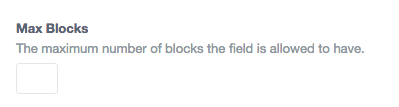
Another great feature that Neo brings to the table that is missing from Matrix is the ability to limit not only the number or blocks allowed, but also the blocks by type. For instance if you only wanted a user to be able to have 2 Section blocks, but an unlimited number of Image blocks for some reason, YOU CAN DO THAT! You can even set a maximum # of child blocks. You have total control over what is provided as options to your content-creators/managers.
Clearly NEO is an absolute beast of a field-type and we'll be getting a ton of use out of it. What's more, we haven't even covered all we can do with it yet! In future articles we'll look at other plugins that build on top of Neo and make it even more versatile and powerful than it already has been shown to be in this post!
Don't worry about how to program all of these configurations just yet, we'll be going over all of that in a future article step-by-step.
Installing Neo
- Download Neo by clicking here.
- Unzip the file
- Open the folder "craft-neo-master" and find the folder neo
- Upload that folder to craft/plugins/
- Login to the dashboard of your site
- Click Settings
- Click Plugins
- Find Neo in the list and click Install
- You now have Neo as field-type selection when creating fields.
I HOPE YOU ENJOYED & LEARNED SOMETHING!
As always If you've reached it to the end of the article, given it's not particularly short, I'm going to assume that you enjoyed reading it. Please go ahead and UPVOTE the post, RESTEEM if you think your followers would also find value in it, and make sure to @FOLLOW ME to make sure you don't miss the upcoming articles in this series where we'll get much more in depth and even build a site together from the ground up! EXCITING TIMES!
Thanks to all of my followers both new and old, I hope to continue to bring you quality content that interest you, feel free to comment any requests for any particular topic you'd like to read or learn about if you believe I may be able to answer it for you. Cheers!
Way over my head, but still an interesting read. I will probably need to backtrack and start from the first post.
I encourage you to do so, by the end of the series we'll have built a high-end website together step-by-step.
This post has been upvoted by the @teamphilippines curation trail. Thank you for supporting our TeamPhilippines Movement by upvoting, resteeming, delegating, or donating to this account to allow us to support our growing team more and more each day!
so this is what you do :) great tutorial series. I just wish I had time to do this hehe
Perks of the blockchain it's not going anywhere, get to it when you can, it's pretty satisfying building something so robust from the ground up.
I know. That's why I'm building my solar setups. :)
will show this to craftech
kudos to another great content @sasha.shade
Thanks @descterity. Make sure he starts from the first post in the series, I know i've already taught him some of this but as a refresher at least to get back up to this point.
Congratulations! This post has been upvoted from the communal account, @minnowsupport, by sasha.shade from the Minnow Support Project. It's a witness project run by aggroed, ausbitbank, teamsteem, theprophet0, and someguy123. The goal is to help Steemit grow by supporting Minnows and creating a social network. Please find us in the Peace, Abundance, and Liberty Network (PALnet) Discord Channel. It's a completely public and open space to all members of the Steemit community who voluntarily choose to be there.
If you like what we're doing please upvote this comment so we can continue to build the community account that's supporting all members.
@sasha.shade got you a $1.59 @minnowbooster upgoat, nice! (Image: pixabay.com)
Want a boost? Click here to read more!