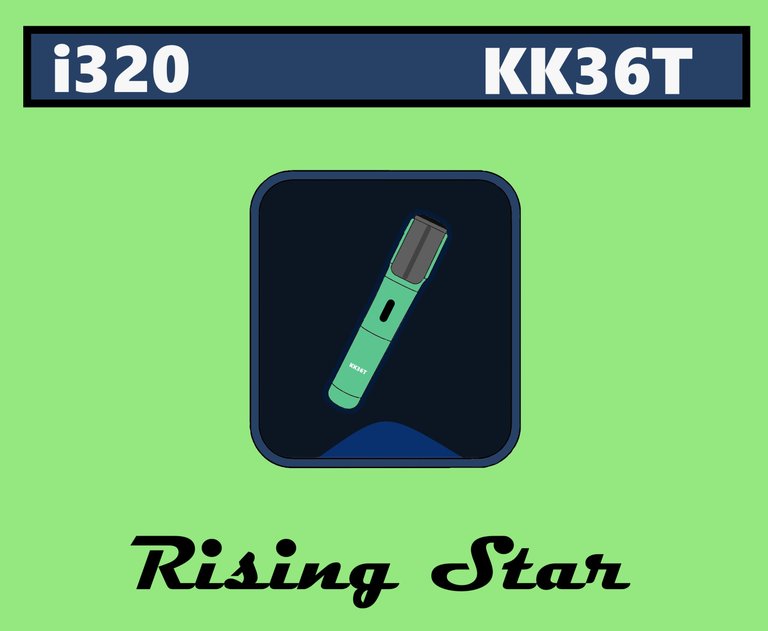
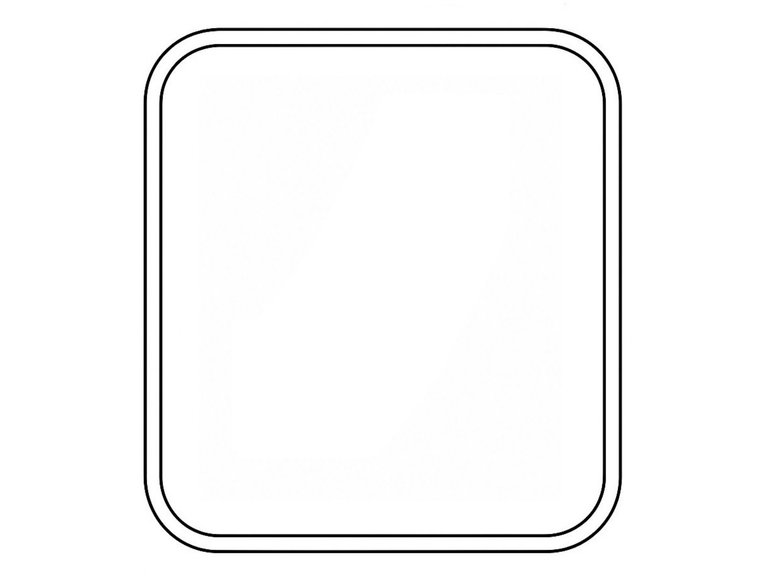
Blessings, friends! Today I want to show you how I made my most recent drawing, the i320 KK36T. This is a new microphone I'm drawing. As you'll see in a moment, it has a very nice design; it's modern and I'd even say it has a somewhat futuristic feel. I think of all the microphone designs I've done here, this is one of my favorites. So in this post, I'll show you how I made it from beginning to end. Let's get to it. I started with some lines that would form the frame of the card: And it ended up like this:
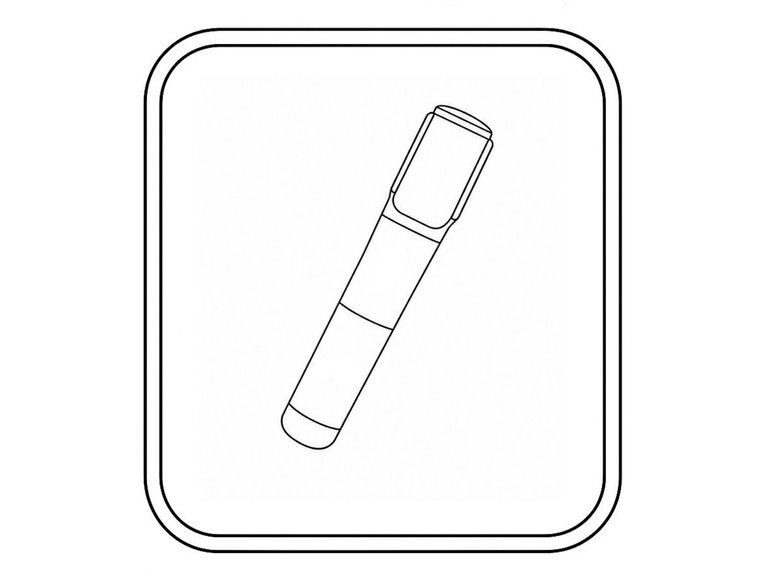
The second step was to create a small, elongated tube to give shape to the base of the microphone. This would be its handle. After doing that, I drew the top part on top of it. That part is what has the interesting, characteristic shape of this design. I'll show you several screenshots of the process.


Now it's time to add some details to the microphone drawing. What I did was add some lines inside to give the drawing more volume. I also finished some details in the upper area. I liked the result. With that, the sketch was finished, and we can move on to the next step.
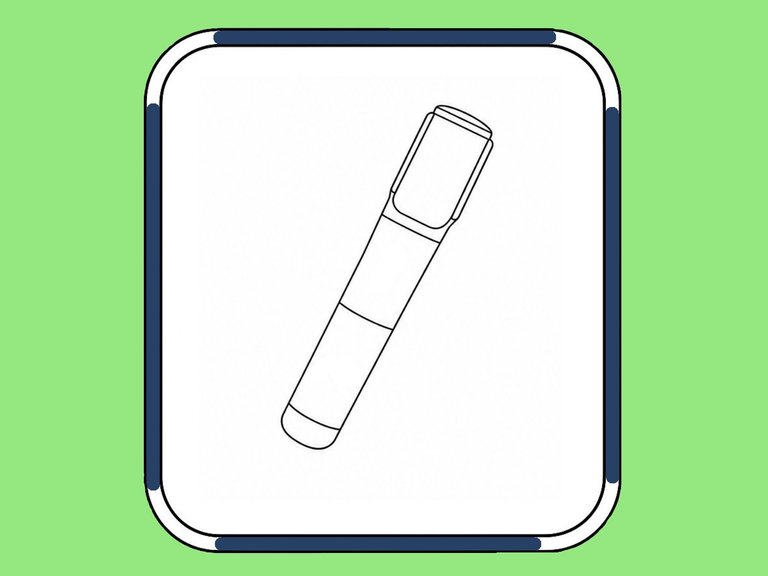
The next step is the most fun because it's where I'll show you the order in which I painted everything, and it's where the microphone comes to life. But if I described it, it would be boring, so I always like to show you this part in photos. Here they are.


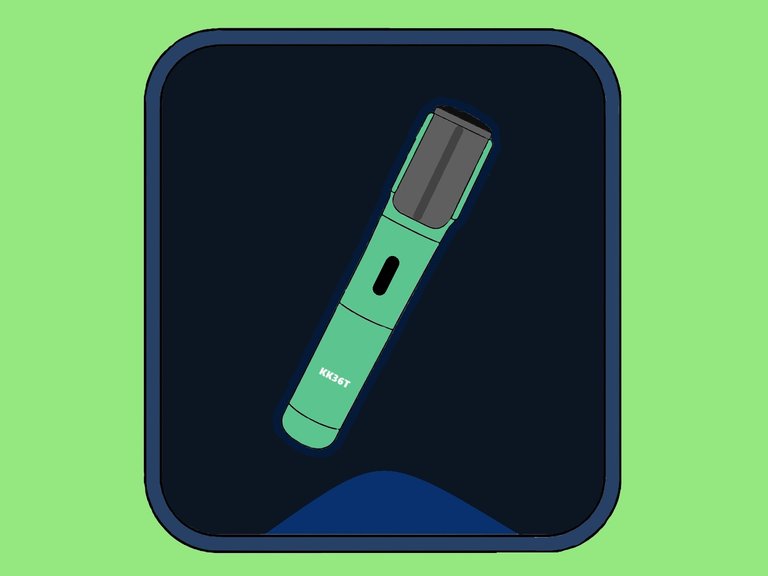
I'd love to know what you thought of the previous result. I'll be reading your comments. Now, to say goodbye for today, friends, here's the finished and framed drawing. The name of the game and the card certify that the work is complete. Thanks for viewing my drawing, until next time.