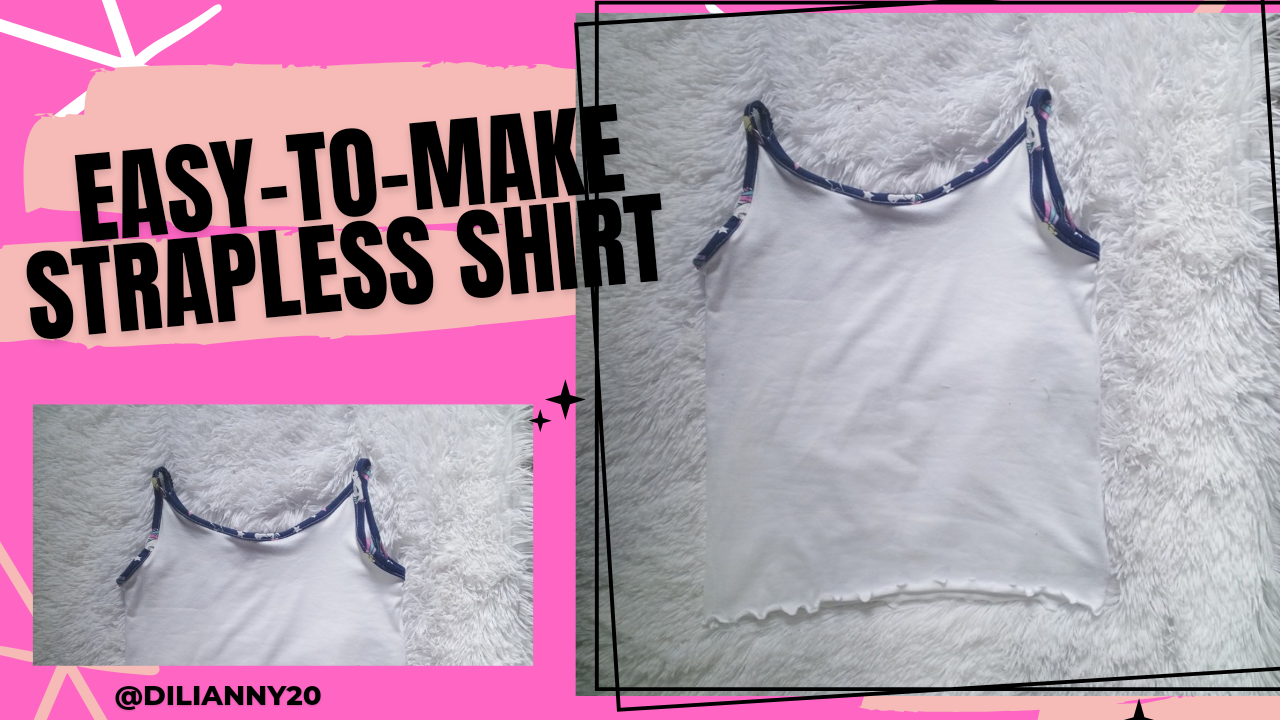
Hello friends of hive, welcome to my blog, this time I will share with you how to make a strappy shirt at home, ideal for being comfortable during the day or to sleep, because the fabric we will use is very cool and comfortable.
Hola amigos de hive, bienvenidos.a mi blog, en esta ocasión compartiré con ustedes de como realizar en casa una camisa de tirantes, ideal para estar cómoda en el día o para dormir, ya que la tela que utilizaremos es muy fresca y cómoda.

Materials I used/ Materiales que utilicé
White and printed micro-denim fabric.
Tape measure.
Thread.
Sewing machine.
Blouse to copy
Tela micro-durazno blanco y estampado.
Cinta métrica.
Hilo.
Máquina de coser.
Blusa para copiar
.jpg)

Step 1.
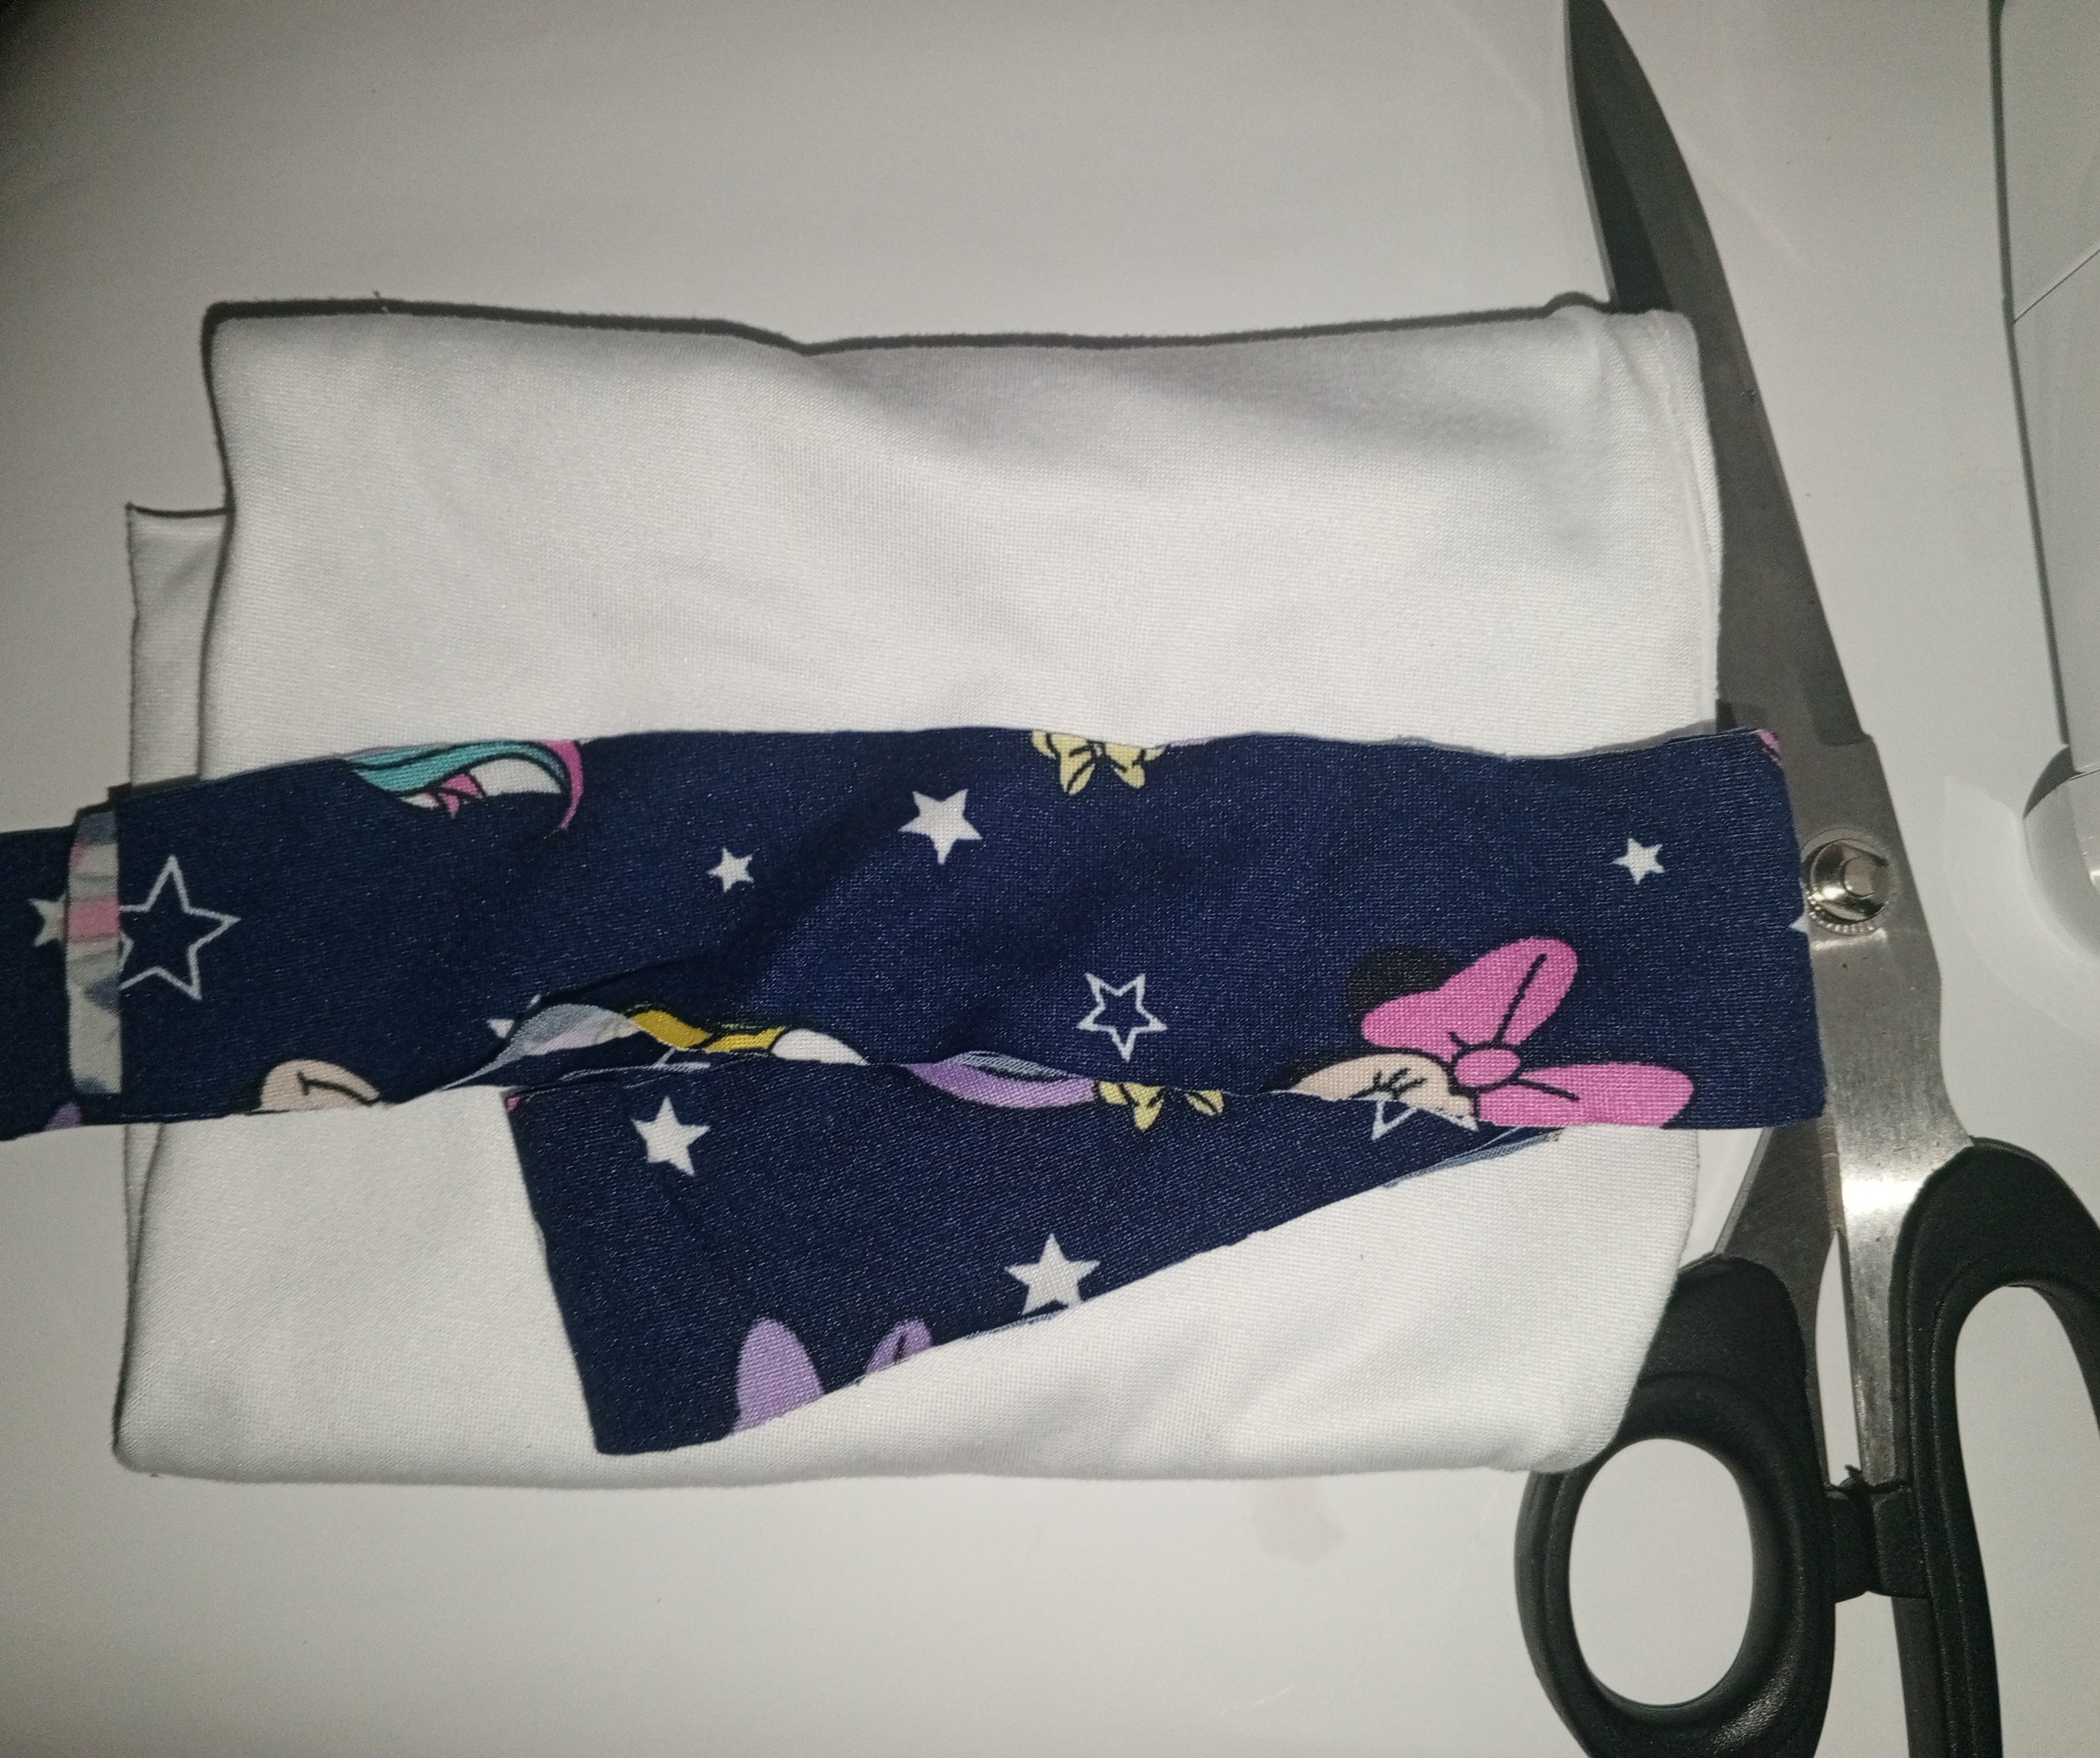
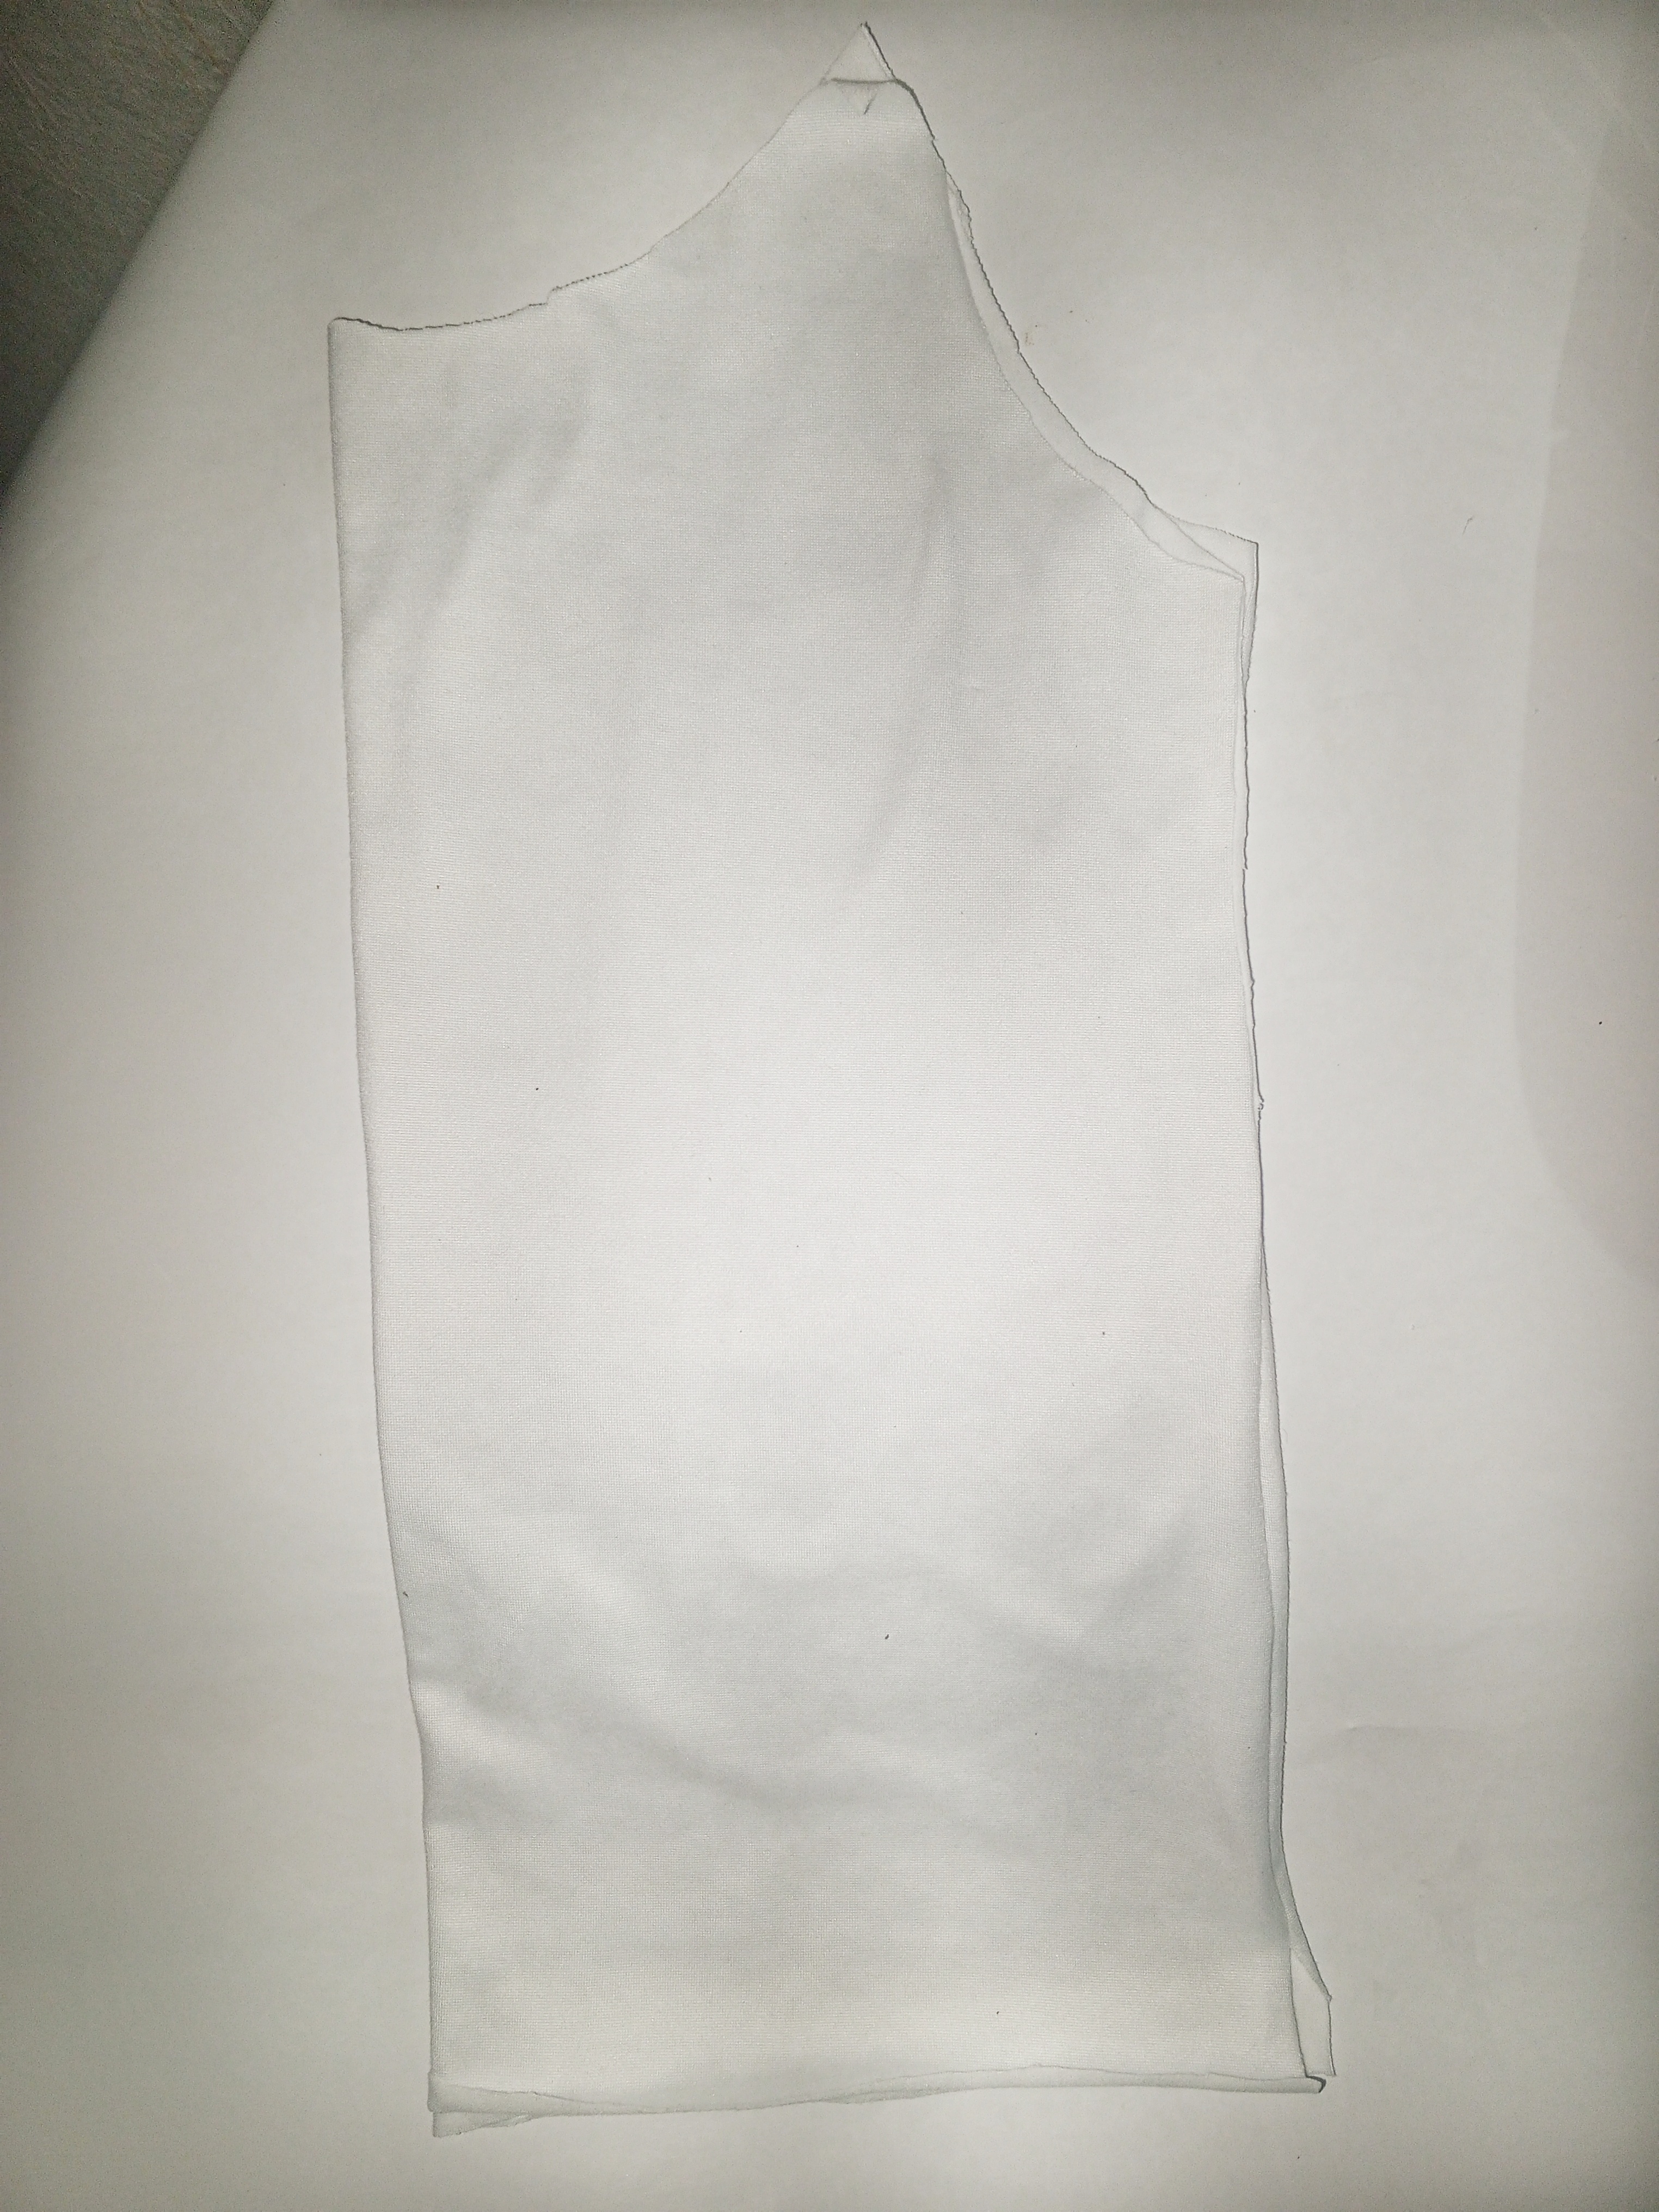
The first thing I did was to take the microdurazno fabric and place it on the work table, after doing that I took a rectangle of fabric and made the mold of the shirt, I helped myself with a piece I had.It's great that we can further support many of those who have a great commitment to the platform, I love this proposal.
Paso 1.
Lo primero que hice fue tomar la tela microdurazno y la coloque en mesa de trabajo, después de hacer eso tome un rectángulo de tela y saque el molde de la camisa, me ayude con una pieza que tenía.
.jpg)
Step 2.
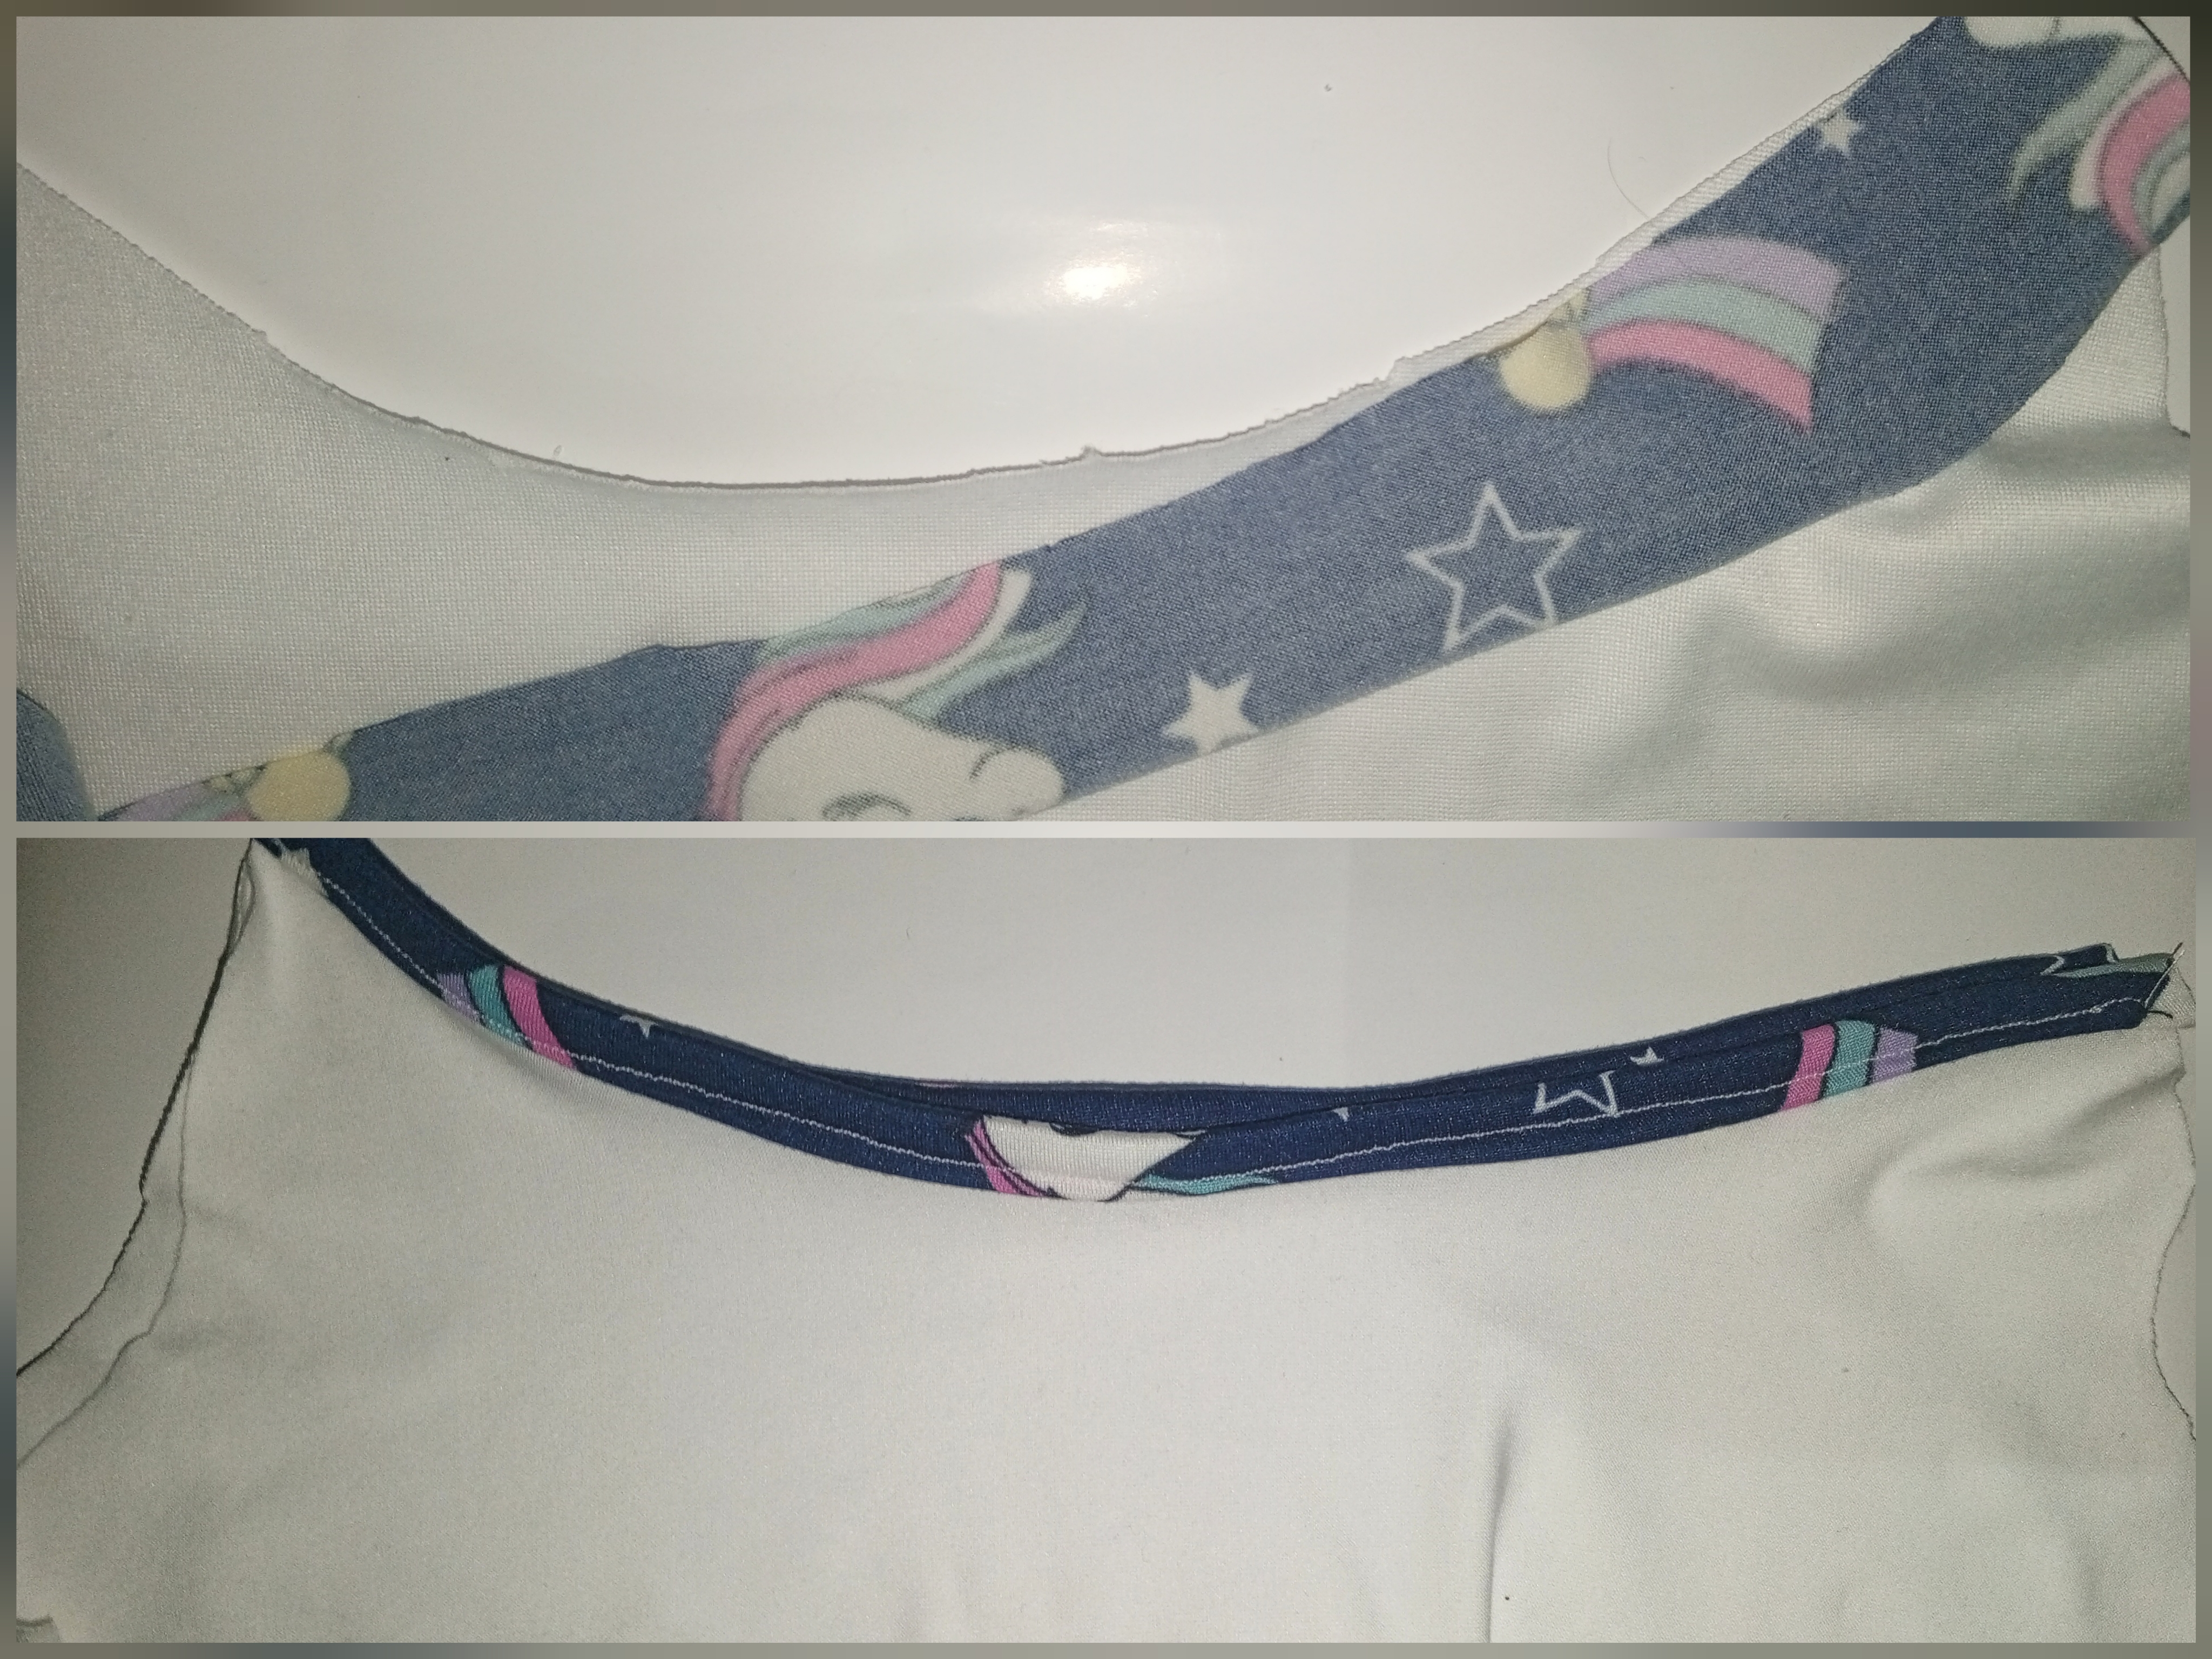
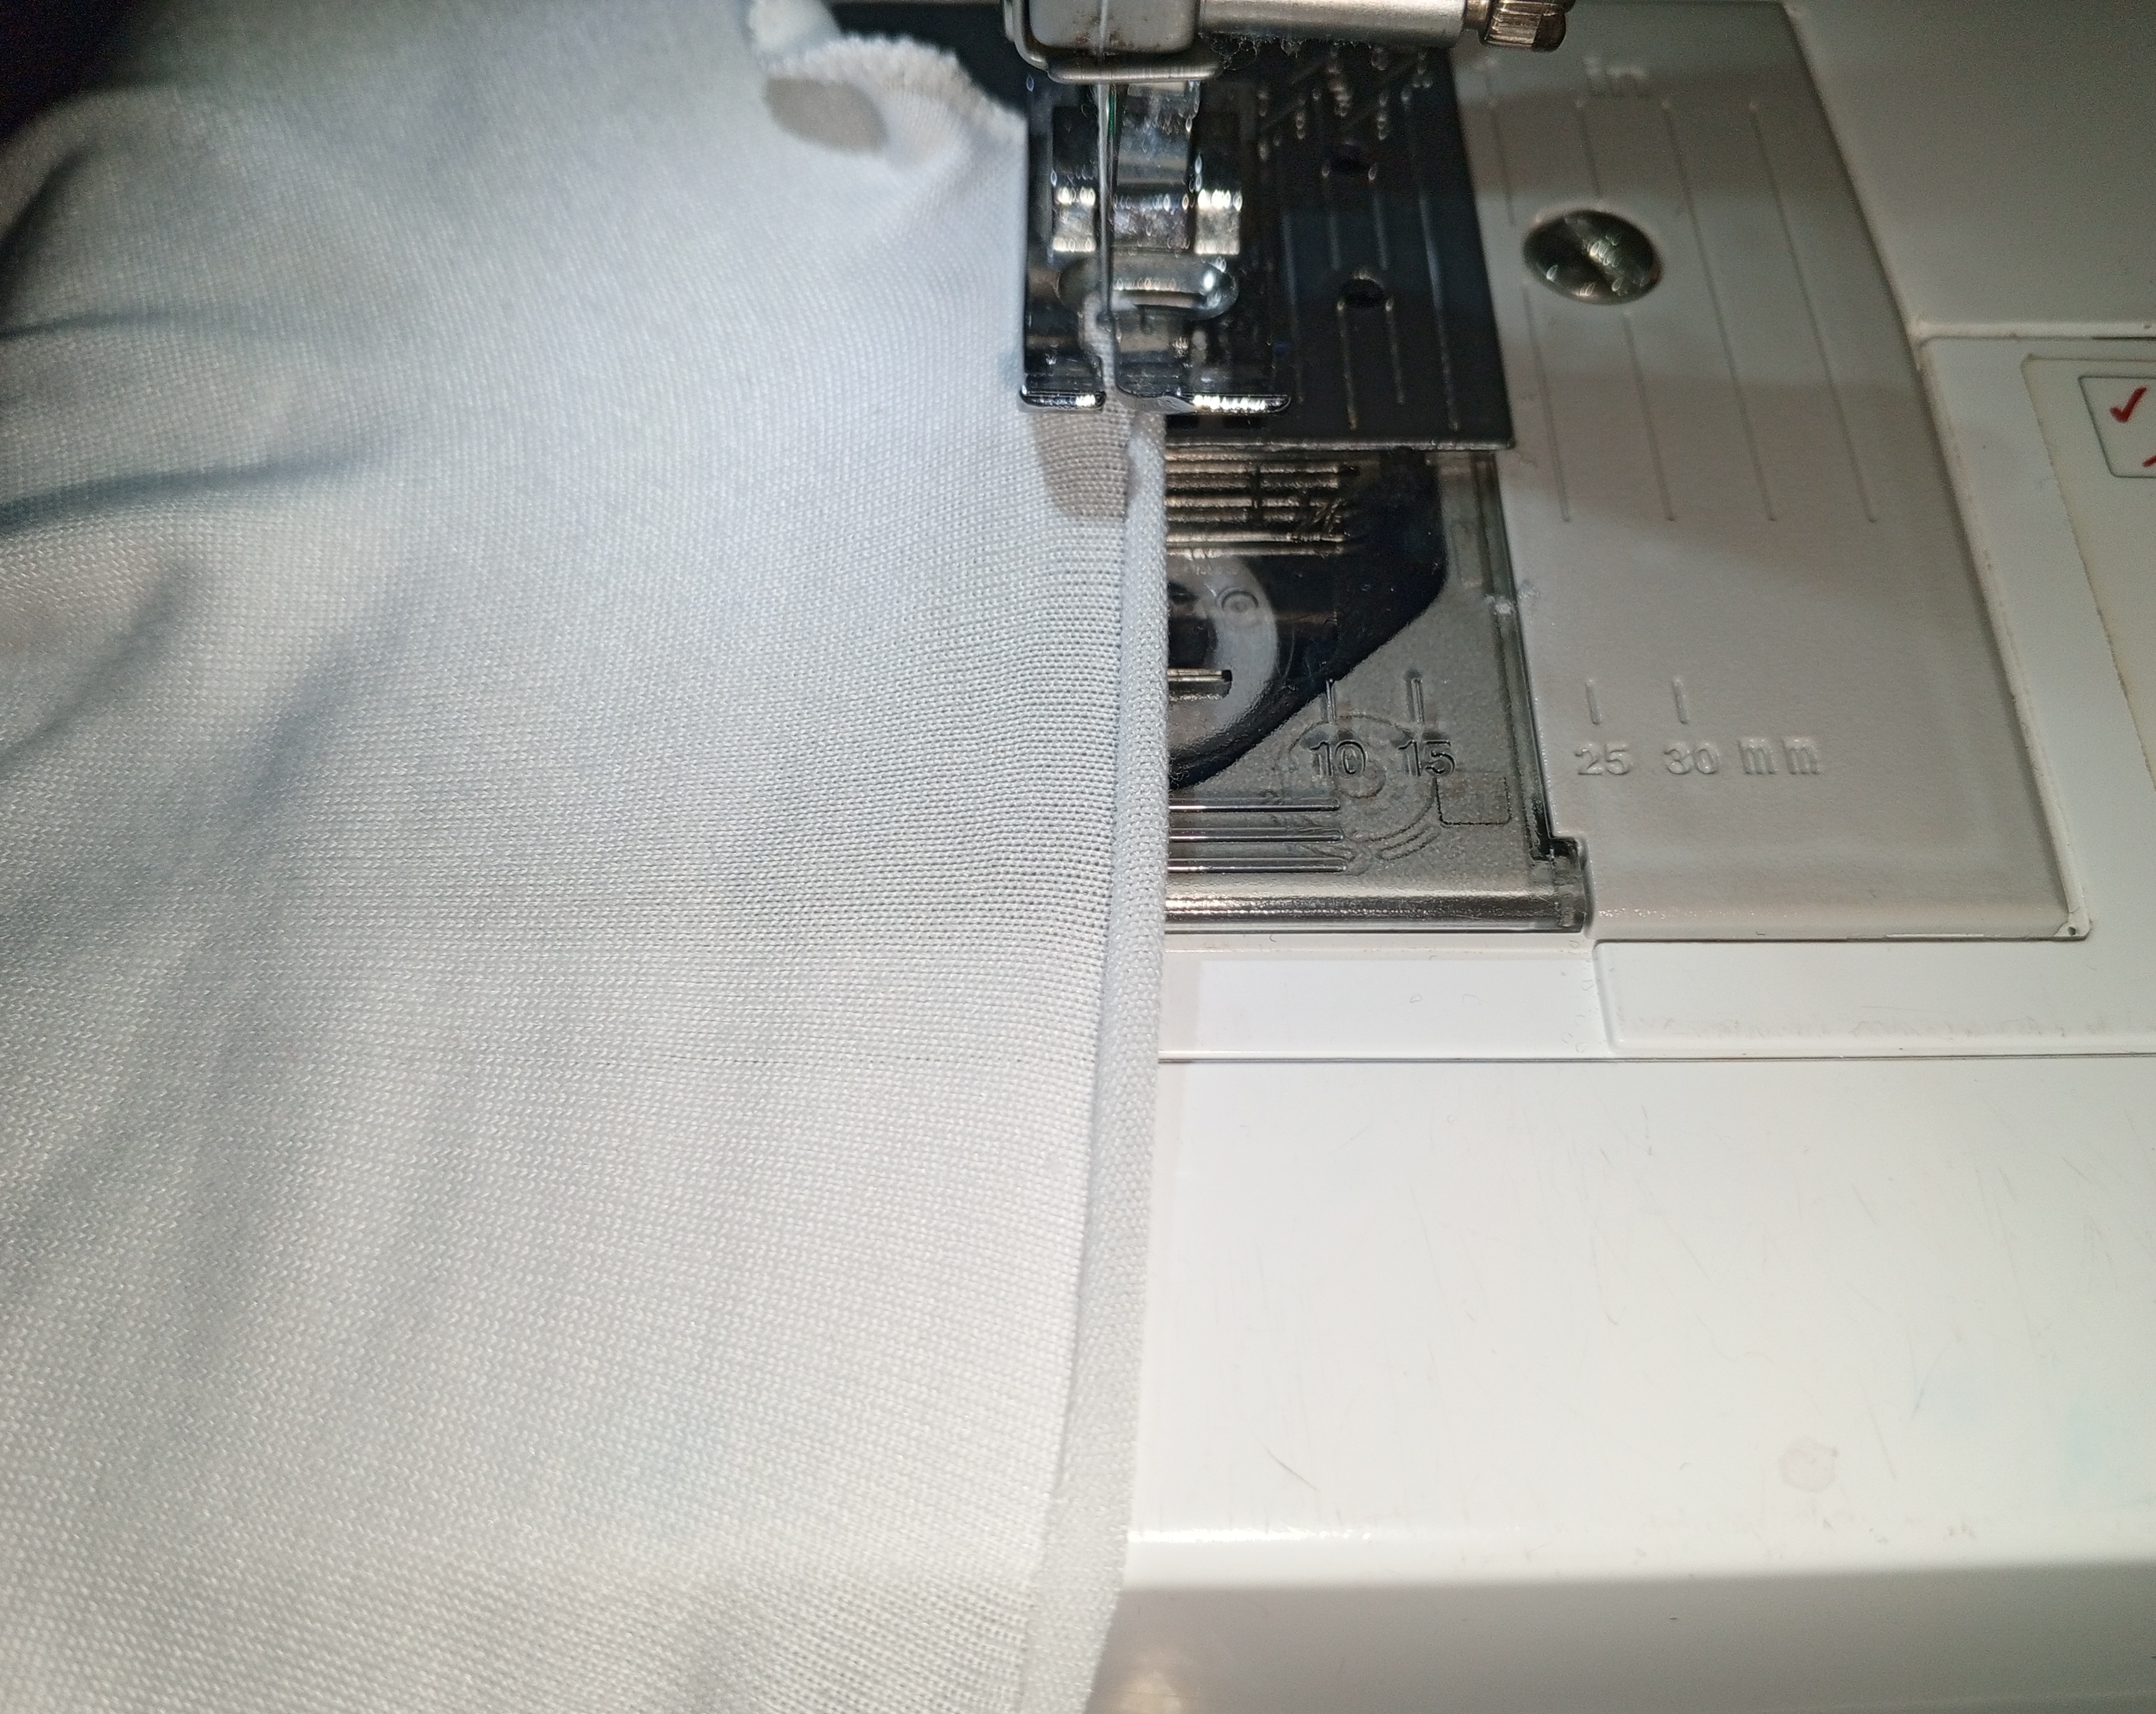
Then I measured the outline of the neckline of the little tank top, then I took a strip of 4 centimeters wide by the length I had obtained, then I put it on the outline of the neckline, then I went to the sewing machine and sewed a straight seam, then I made a very subtle hem and then very carefully I sewed straight again.
Paso 2.
Después medi el contorno del cuello de la blusita de tiritos, luego tome una tira de 4 centímetros de ancho por el largo que había obtenido, después lo puse en el contorno del cuello, después fui a la máquina de coser y pase una costura en forma recta, luego realicé un dobladillo muy sutil y después con mucho cuidado volví a coser recto.

Step 3
Then I measured the contour of the armhole, then cut another strip 4 centimeters wide and the length I had obtained, then I repeated the previous procedure, that is to say, I sewed first straight and then folded to make a hem.
This finish is great for sleeping blouses, as they are very comfortable and cool, plus the fabric is very important for this type of work, which is a soft and fresh fabric.
sca.
Paso 3
Luego medio el contorno de la sisa, después corte otra tira de 4 centímetros de ancho y el largo que había obtenido, luego repetí el procedimiento anterior, es decir cosi primero en recta y después doble para realizar un dobladillo.
Está acabado es genial para las blusitas de dormir, ya que son muy cómodas y frescas, además la tela es muy importante para este tipo de trabajo, que sea una tela suave y fresca

Step 4.
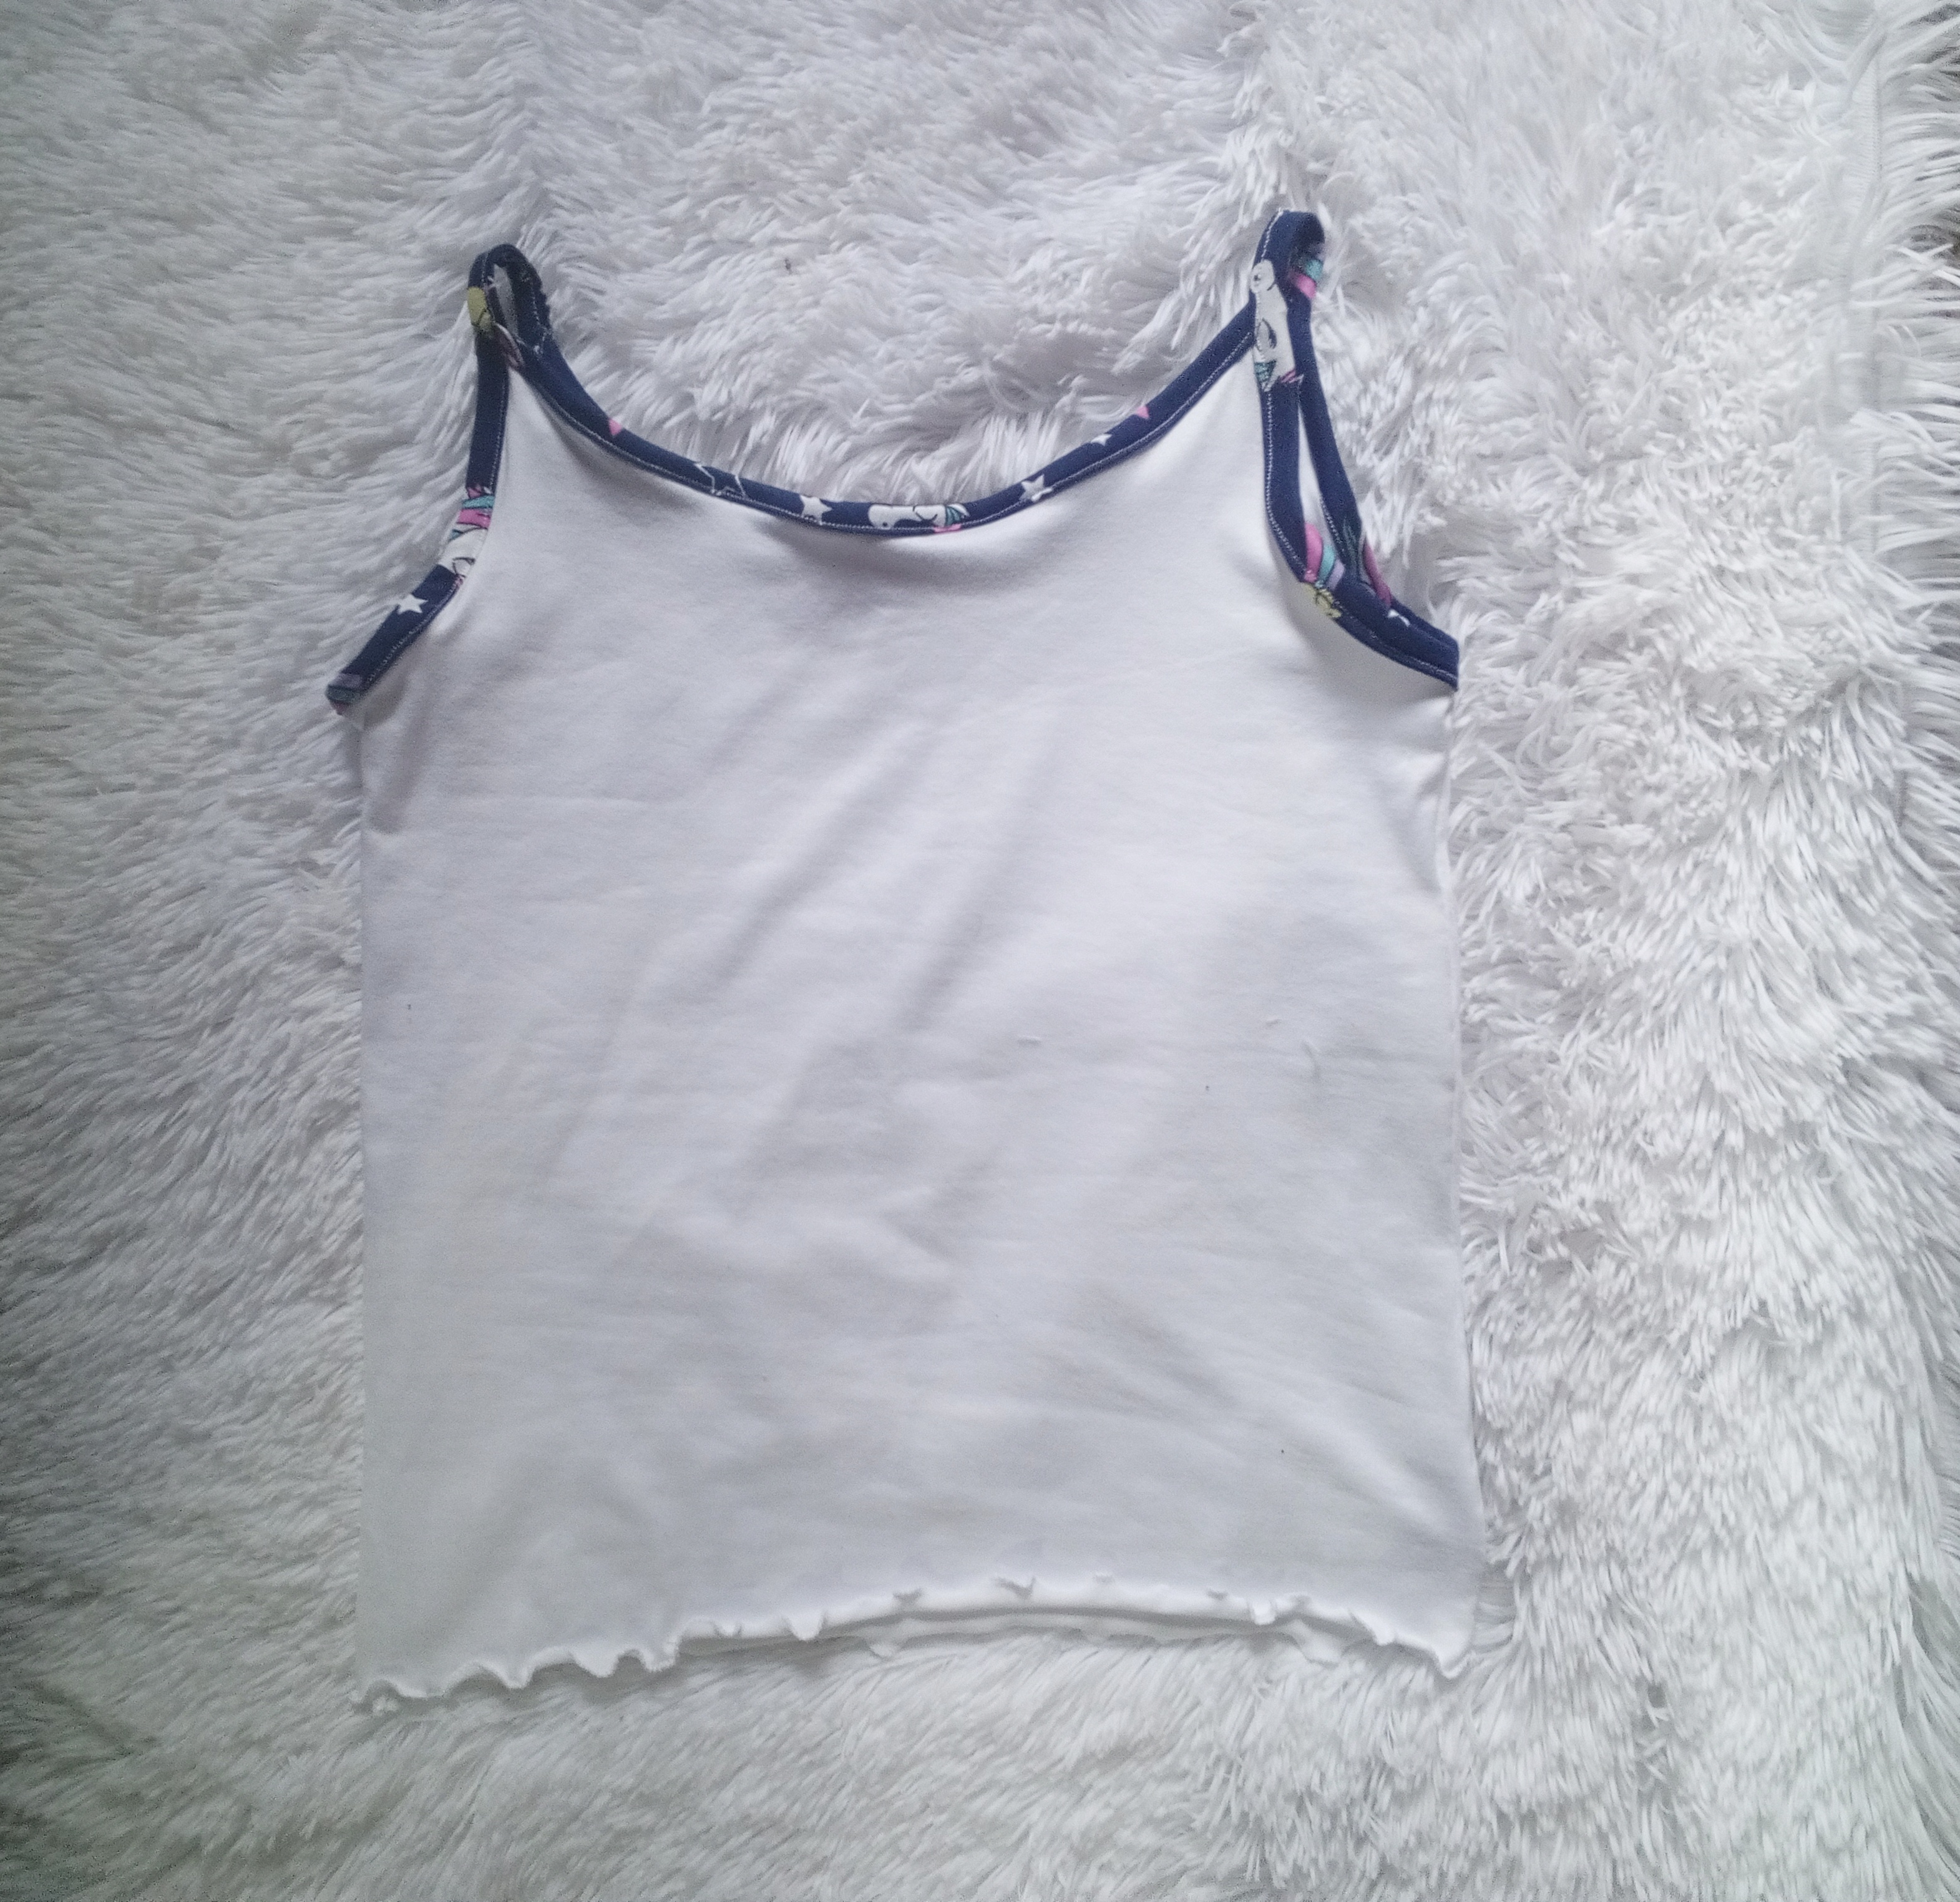
Then I sewed the sides of the straps blouse, then in the hem I sewed in the rifle style, that is to say, I sewed in a zigzag pattern and at the same time I stretched the fabric little by little to obtain a nice ruffled look.
This step needs a lot of concentration and patience, because sometimes the speed can damage the fabric, or it can come undone by a bad seam.
The result is beautiful, we can combine the white fabric with many printed scraps, as it would be a way to recycle these strips of fabric that sometimes are left over for those of us who usually sew.
I hope you liked this tutorial and you can do it, it is very easy.
Paso 4.
Luego cosi los laterales de la blusita de tirantes, después en la parte del ruedo realicé el estilo rifle, es decir fui cosiendo en forma de zigzag y al mismo tiempo fui estirando la tela poco a poco para obtener un lindo arruchado.
Este paso necesita mucha concentración y paciencia, ya que a veces la rapidez puede dañar la tela , o toque descoser por una mala costura.
El resultado es bellísimo, podemos combinar la tela blanca con muchos retazos estampados, ya que sería una forma de reciclar estás tiras de tela que a veces nos sobran a las personas que solemos coser.
Espero que les haya gustado este tutorial y puedan hacerlo, es muy fácil.

###Resultado/ Result
.jpg)