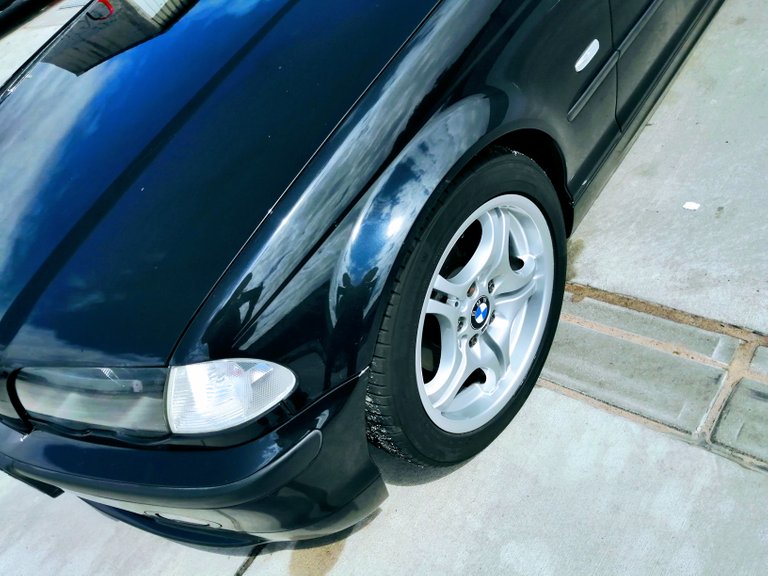
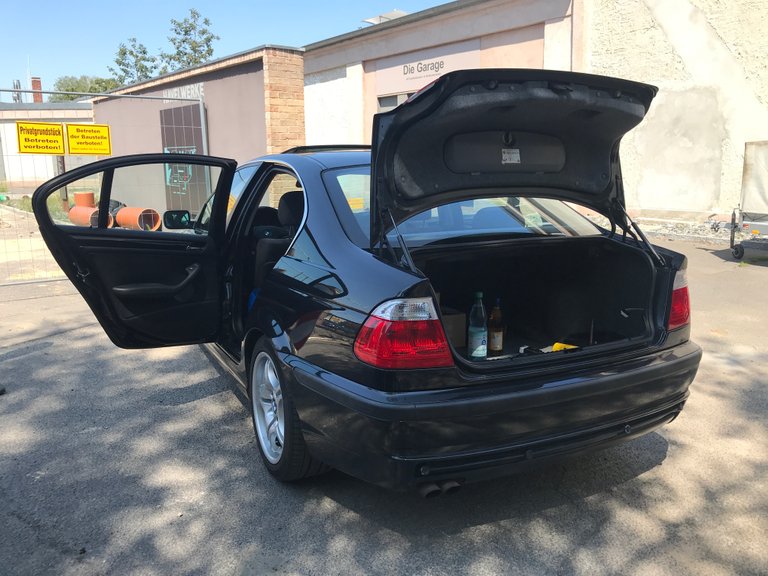
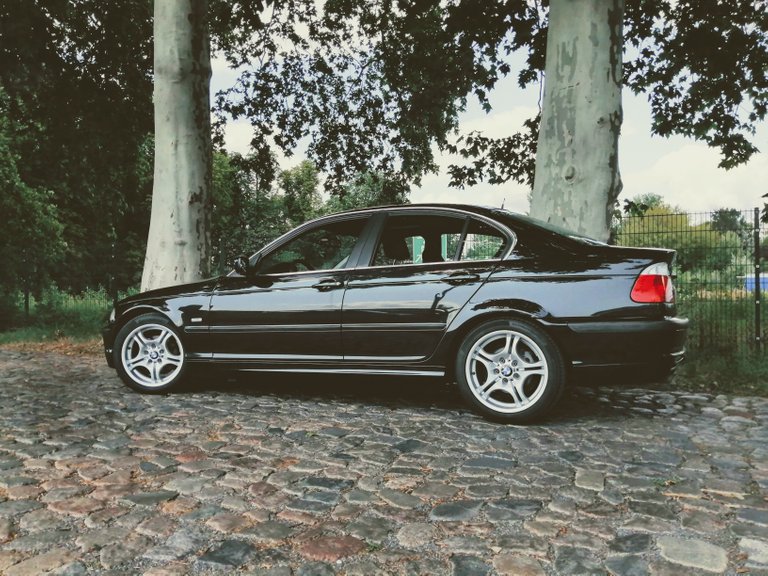
This is my 1999 BMW 320i E46, built in March of that year in Bavaria. Above you see it a few days ago in front of the shop I always work at. Amazingly the summer tires on the signature 68M 5 spoke wheels now have over 60.000km down and thread is still strong at 6+mm - long live the long distance driving profile! Haven't had the time to find some new tires for the 18" wheels, maybe they'll go on next summer we'll see.
DIY TODAY
I will document all work done in Q2 of this year, mostly compressed to two weekends as I was in the UK for most part of spring for work. Also I been driving much less this year as I cut out 1200km per week that I put on the car when I was still commuting to work down south.
Today I'll cover three topics which will almost certainly hit you sooner or later on the E46.
driver door lock actuator (the actual box inside the door which actuates the lock this is not the keyhole in the doorhandle)
differential oil change (preventative maintenance for me, can also help with wining noise on some models)
engine oil change (just another oil change plus finally the right level sensor)
cosmetics (some sealings and a new window washer container plus some minor parts)
I'll soon do a driveshaft center bearing replacement as well as new parking brake cables so that will be exciting coming up.
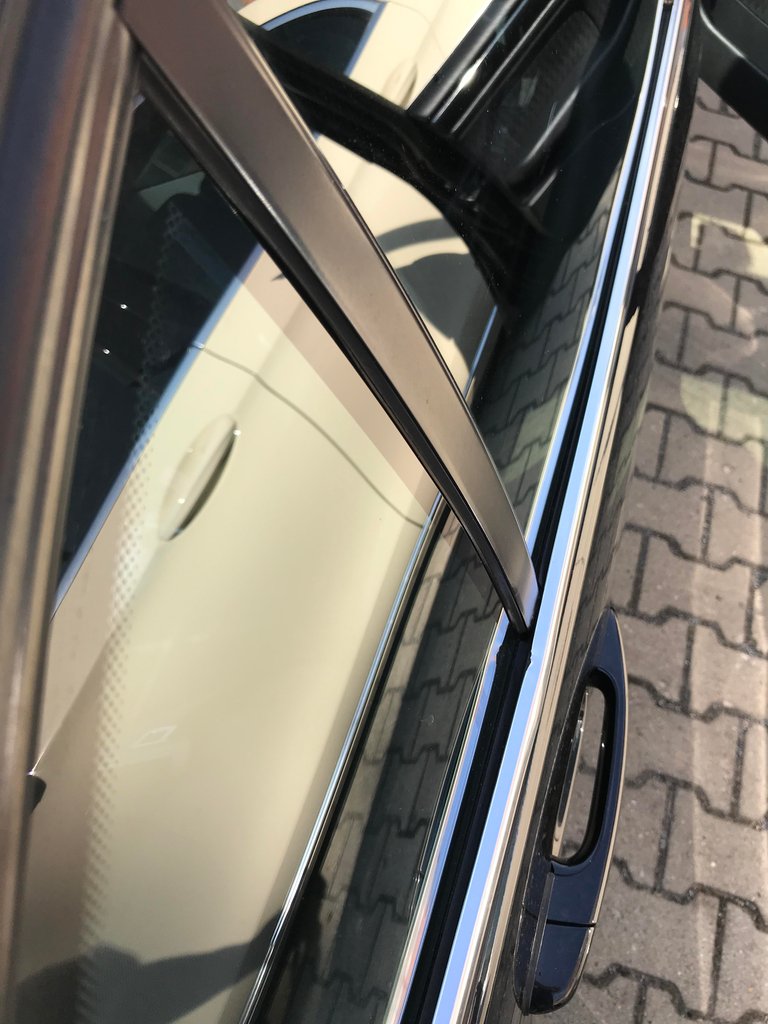
Door Lock
First of all make sure that you work on the open door the entire time and that there is no wind or other interference! If the door shuts with a broken locking mechanism or a badly adjusted new mechanism and the door panel is installed you can only open the door again by destroying the panel so make sure to keep it open!
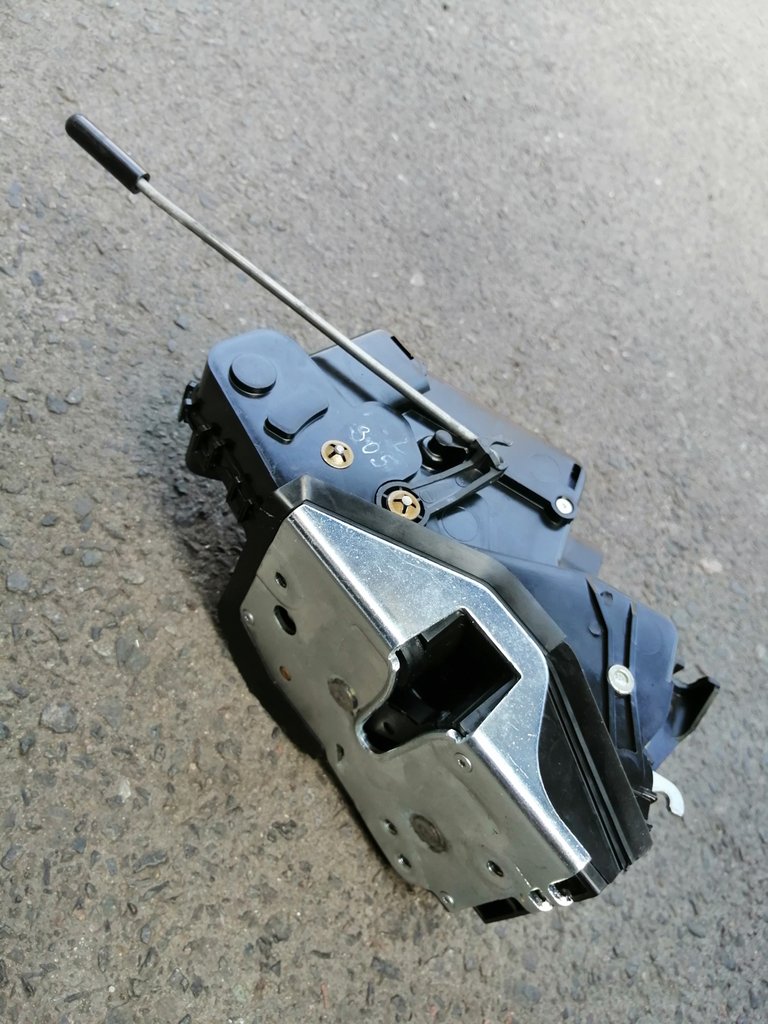
This is quite a common issue which comes with age and specifically has to do with the door unlock actuation failing to work upon remote unlocking the car and increasingly worsens to the point at which it becomes very hard to open the door with the handle. In my case, I could still open the door but the failing lock resulted in a funny situation in which the car unlocked itself after locking it.
I first noticed this when I walked up to it one morning and found it unlocked and, even worse, with all windows and the sunroof fully opened. Behind this is a feature called 'comfort unlock' which enables you to open windows/sunroof if you keep your finger on the remote unlock button. When the lock is broken it springs back from lock to unlock and tilts in that position triggering the car to assume you're holding down the unlock button - not great.
I initially detached the battery and manually locked all doors which basically renders the car unusable. The lock can only be bought at BMW and has a delivery time of up to 5 days, in my case it took 4 days. It's a EUR 195 part but worth every penny :).
Lock Replacement
Step 1 to get to the locking mechanism is removing the door panel, please check this post for details on how to remove it completely and safely:
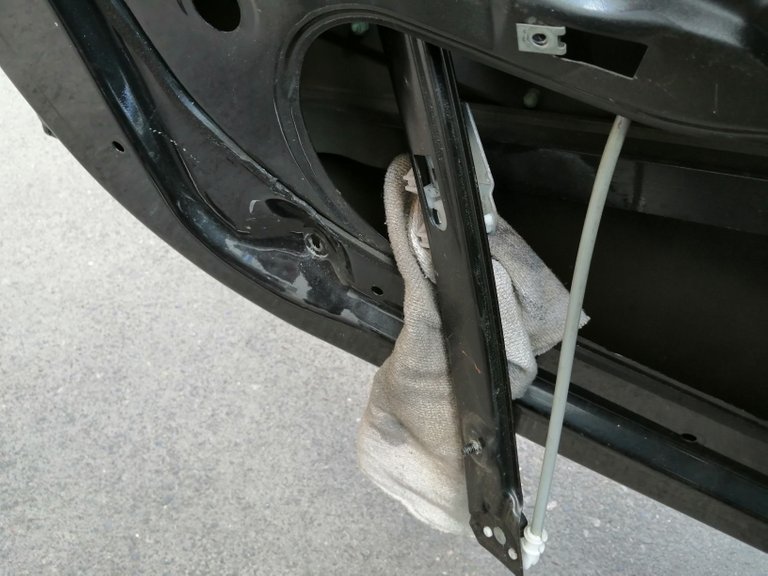
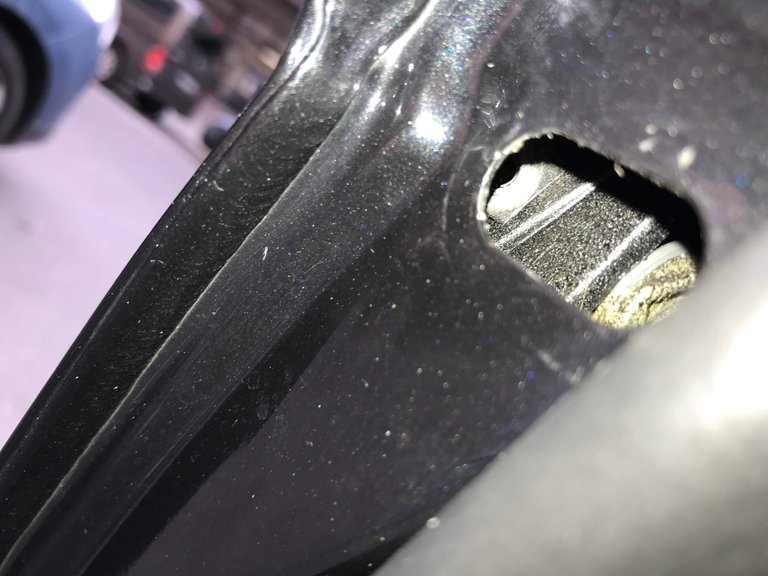
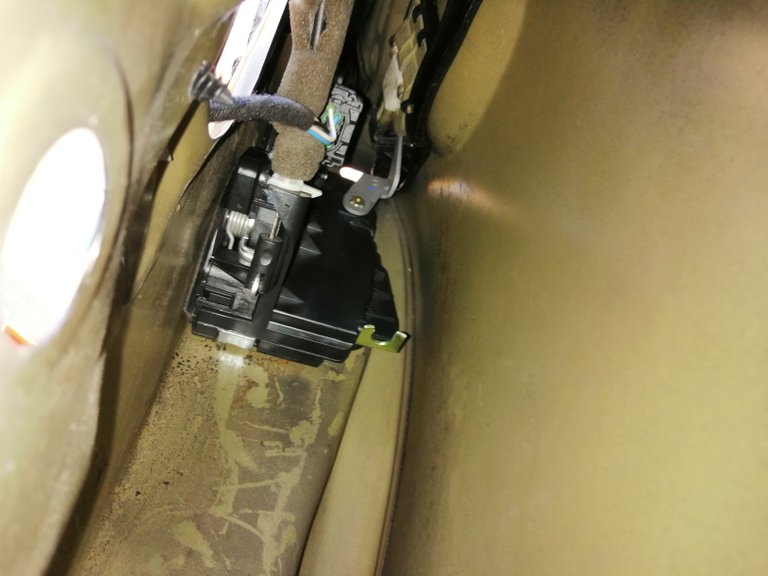
Upon removal you can stick your phone cam in with flash and take a pic as this is our culprit:
The black box at the far end with the metallic arm sticking out.
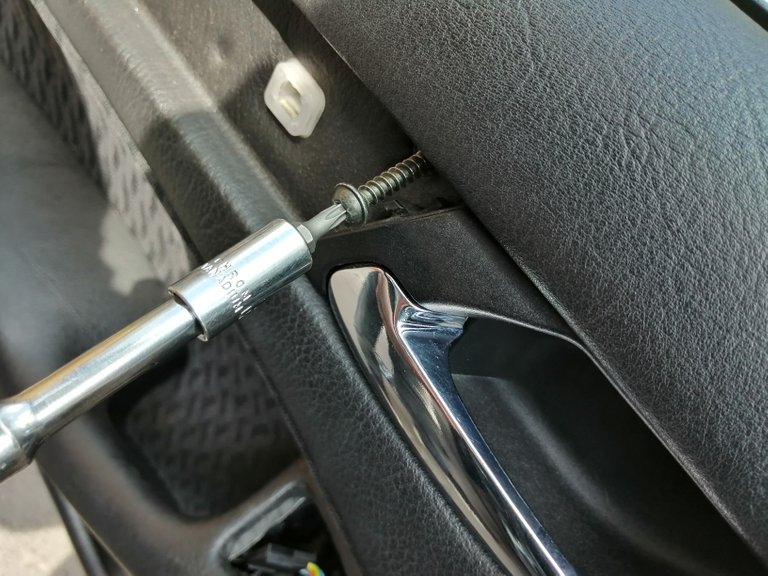
The lock itself is only held in place with three screws:
Due to the door design you cannot detach the door lockpin or interior door handle with the lock in place so we have to loosen it first.
Before we can get to it we have to get the window and window regulator out of the way. On the E46 it is sufficient to remove the rear arm of the regulator. First up release the window from the regulator by removing the two holding screws and arrest it in the door frame using tape:

There are two of these front and rear, you should lower the window about 2/3 and they will appear in the maintenance holes in the regulator arms. Make sure to hold or tape the window in place before fully pulling them out. For detailed instructions on how to detach the window glass check this post:
You can then pull the window up into the door frame and fix it in place using strong tape:

Next up we need to remove the two screws, one top and one bottom, holding the rear regulator in place and put it aside. **You don't have to remove the entire assembly and you cannot take out the rear regulator slide separately so just make sure you rotate it forward and cover any metallic parts of the door with a cloth or other textile to avoid scratches:
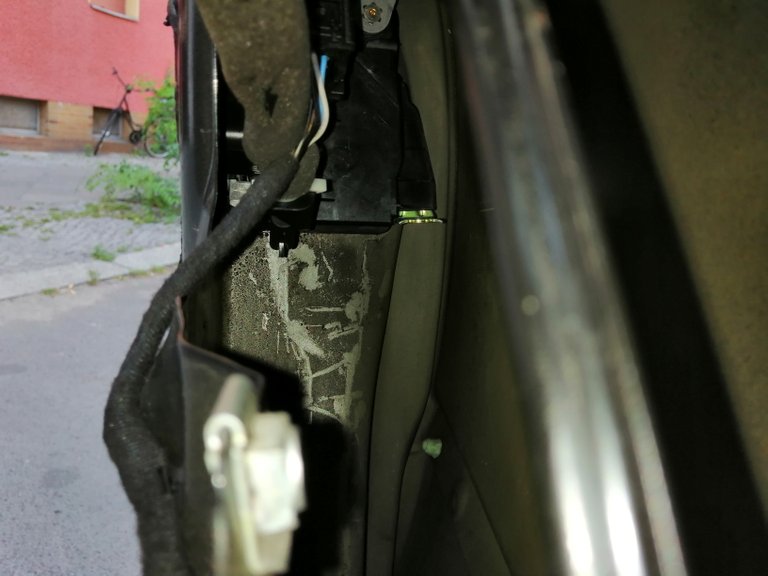
Now there's clear access to the lock:
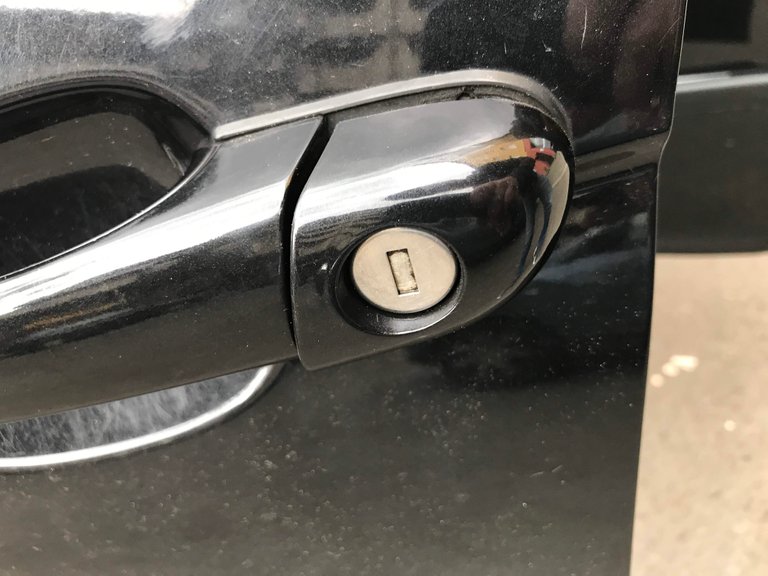
You can now remove the keylock on the door handle otherwise you cannot remove the locking mechanism:
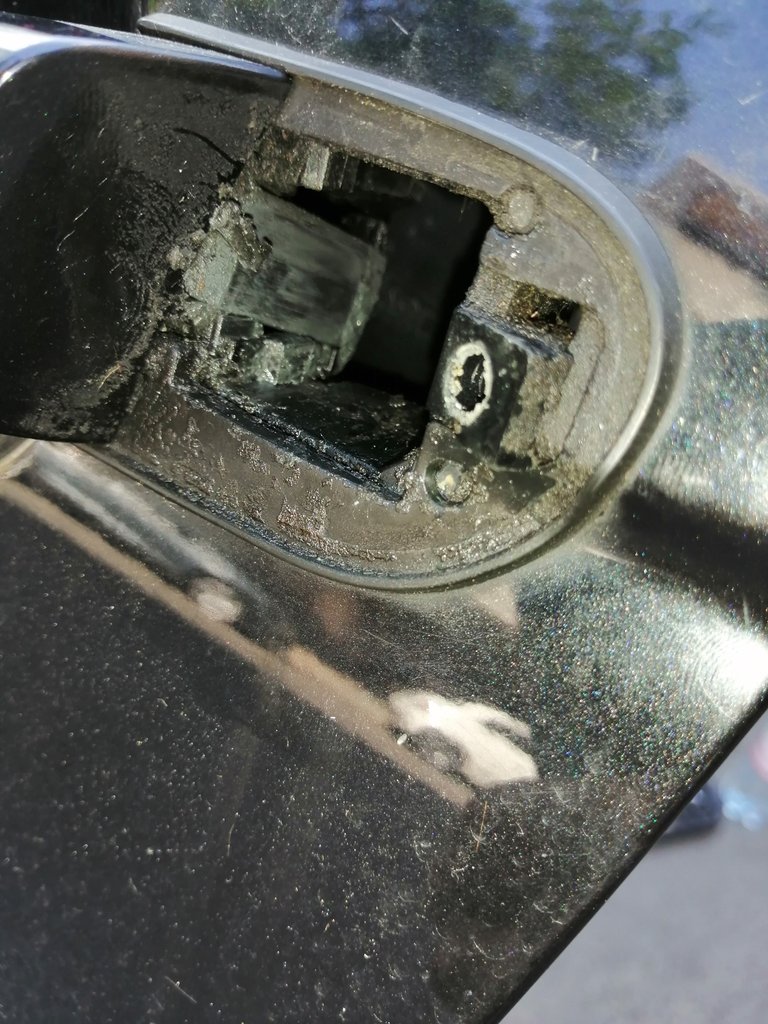
Simply pop out the black plastic cover near the handle on the inside of the door:
(top left)
You can see the lock pin which connects to the mechanism that is why we have to remove the keylock. To the left of the opening is a large Allen screw which you can fully remove.
Now pull on the door handle and gently wiggle the keylock out of position until you can pull it out horizontally.
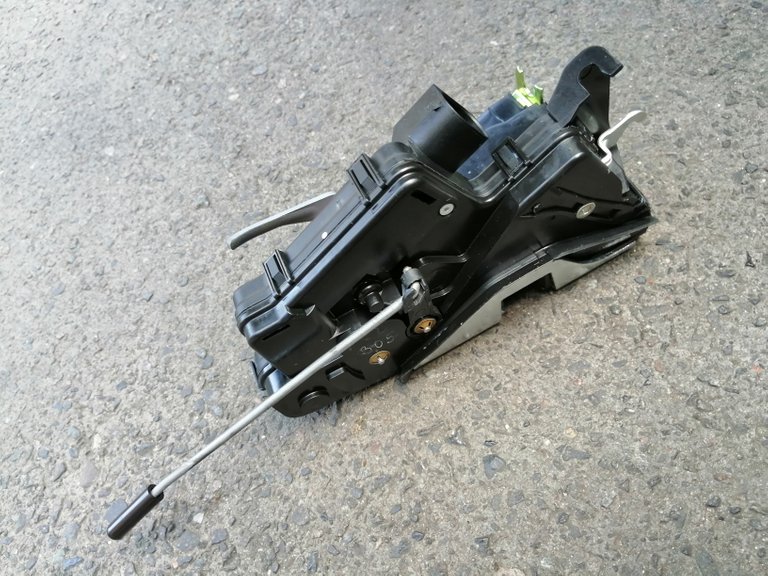
We can now loosen the three main screws of the mechanism. It is crucial to hold the lock while you're removing the screws as there is nothing else holding it in place.
Once screws are out and lock is loose simply pull it towards the opening in the door sheet metal and rotate it so you can remove the inside door latch. It is attached with a plastic clip that rotates into place here:

Also remove the cable connector.
The door pin needs to be rotated forward and then pulled out and can go back straight onto the new lock:
Here is the lock just 'hanging' in the door:

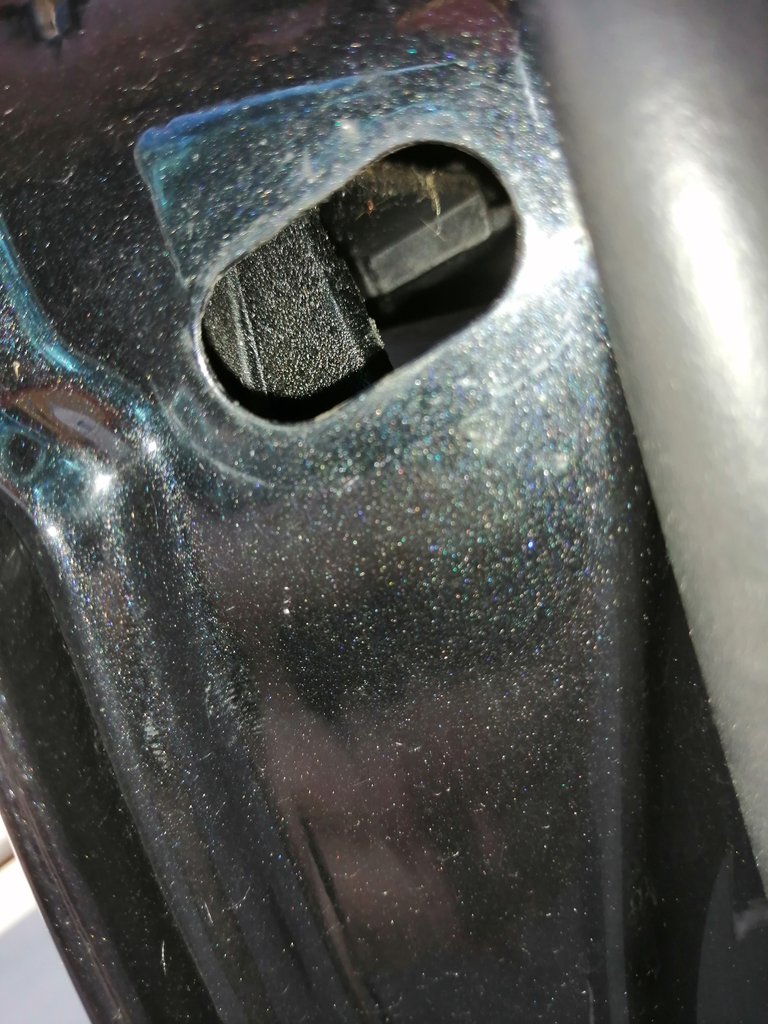
The gaping hole left behind:

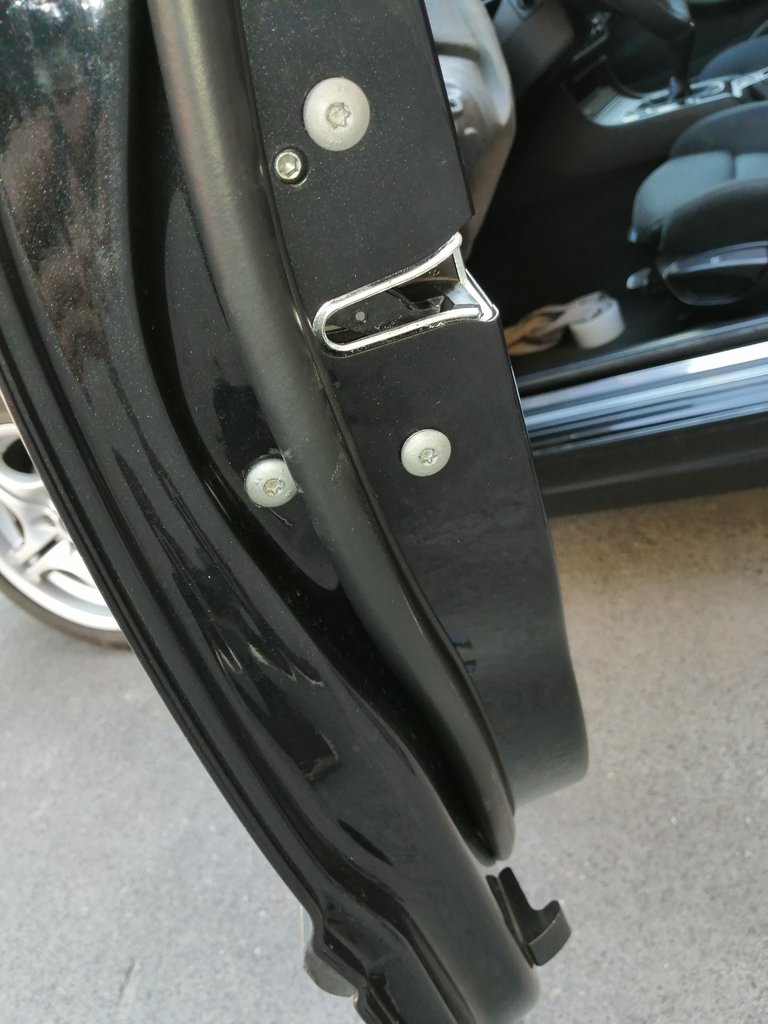
Here is the new one with doorpin attached and ready to go in:
Bottom left: Doorpin
Top left: keylock/door handle hinge
Top right: Interior door handle hinge
Top: Connector socket
Reinstalling is a bit of a pain and will require you to be patient and careful as to not scratch or damage the door. Also you need to rotate the lock into the door and then reattach the interior door handle latch and then make sure that the pin slides into the hole in the door sealing as well as the outside handle hinge sliding into place.
It sounds worse than it is as all the components can really only go in one way. Fiddle the pin in first, align the lock with the door holes and you're half way there. Reinsert and tighten the 3 screws from the outside while holding the lock in place and reconnect the cable connector.
Here it is back in place.
Now after the screws are tightened and everything's connected do not reassemble the door panel! We first need to ensure proper fit and function so take a flathead screwdriver and manually close the lock by rotating the hinge down:
Now pull on the door handle and check for unlocking function, do the same with the remote and if all works properly you can put everything back together. If the doorpin got scratched during the operation you can get a new one at BMW for a few cents.
As a final step the lock has an adjustment screw visible here next to the top screw:
On the driver's side which this is you need to tighten this in a clockwise fashion. Now manually lock it and slowly pull on the door handle, it should unlock about half way from opening the handle and the handle should have at least 20% travel left after the unlock. If you loosen the screw it will delay the release, tightening it will make it quicker. For new locks like this it is usually fine to fully tighten the adjustment screw.
The satisfaction I feel recently when pulling the door handle is just great plus I can leave the car without worrying about it unlocking itself.
Diff Oil Change
Compared to the lock this is a pretty straight forward operation. We drain the old oil and put new oil in until it overflows.
Seal it up and you're good to go. Next to some new oil of which you need about 1L I also got new sealings and screws as the old ones were probably never removed and same goes for the oil as far as I can see.

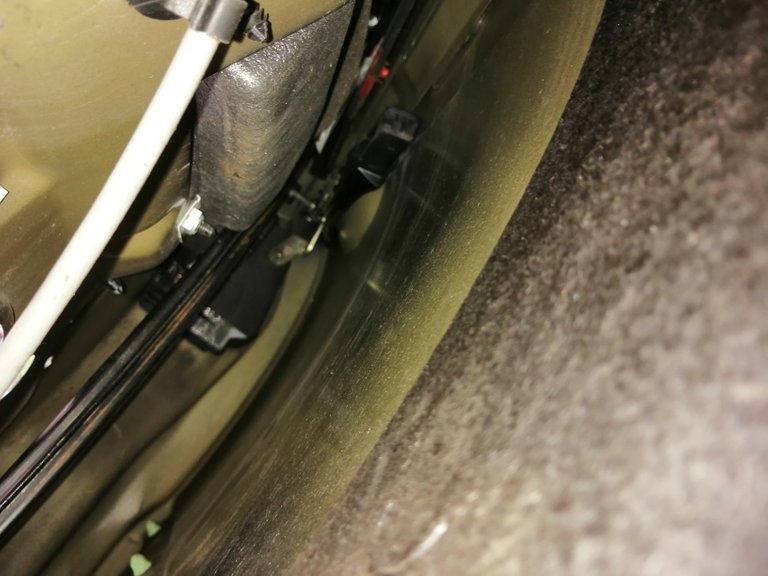
Here's the diff rear, bottom screw is the drain and top is for filling it up.
Simply loosen the top screw without fully removing it and then loosen and remove the bottom screw, make sure the diff has had some time to cool down so the oil is not that hot.
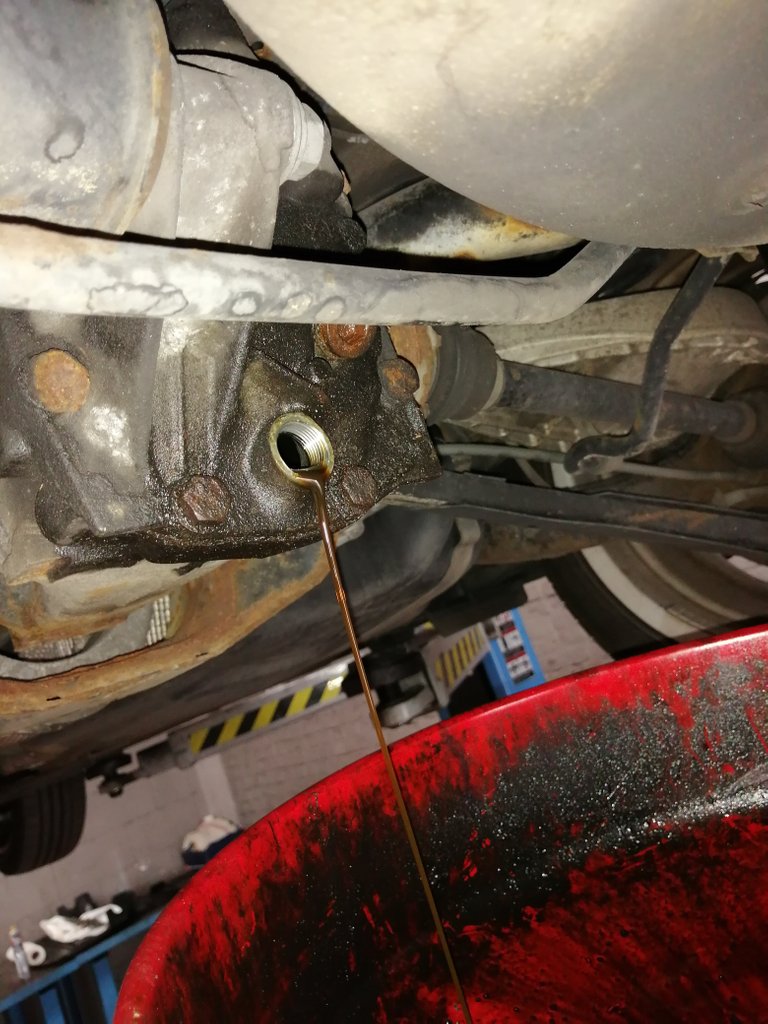
As you can tell by the oil color it's pretty much done with - I expect it's 20 years old.
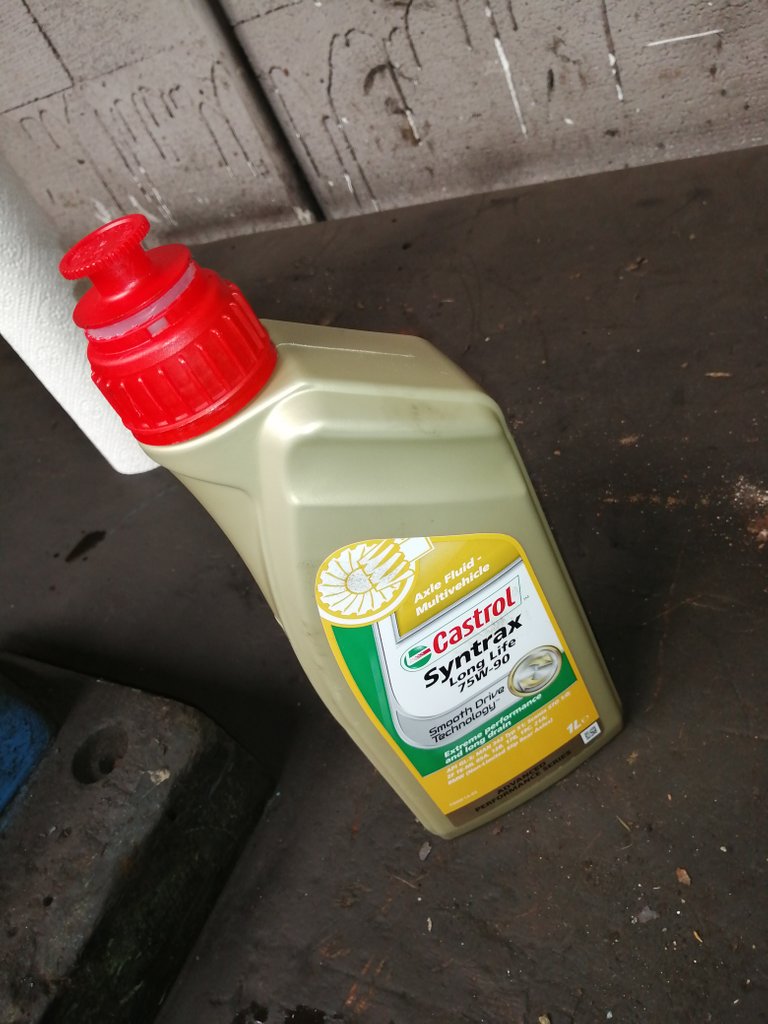
This new stuff shall replace it and it is the only oil you should put in your diff if it is not a locking/anti slip differential. In that case you would go with Castrol Syntrax 75W-140. For our purposes as this is a non-locking differential, this regular 75W-90 will do just fine.
I got myself a fancy pump for exactly these scenarios: filling diffs and trannys.

Now put the bottom screw with sealing back in and tighten with 60-65NM. Use the pump to put the new oil into the diff until it starts overflowing through the top hole. It should be .9L, in my case it was .95L - **the pump only allows for 10ml at a time anyway so no risk of large spills but still, as you get closer to emptying your 1 liter of oil you should go easy to be able to quickly clean up and mount the top screw.
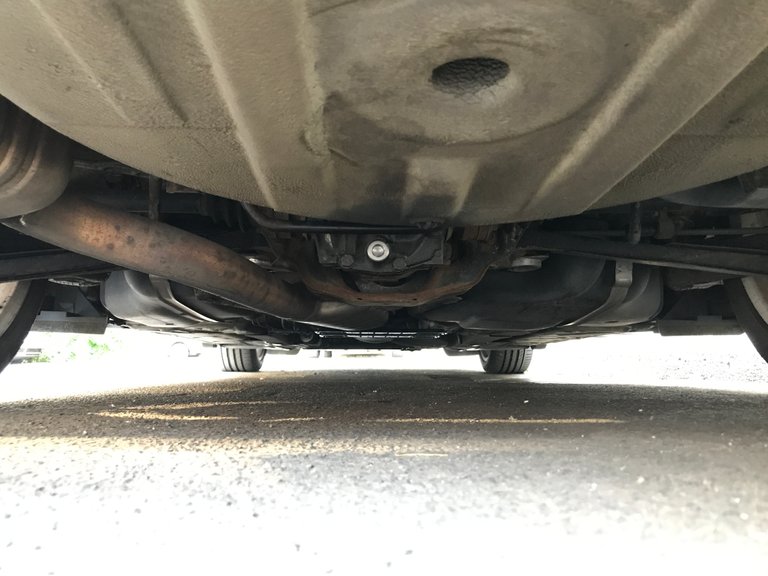
Check for fully sealed diff after replacement and a few days later...
I personally noticed no difference but am resting well knowing there's new oil in it.
Engine Oil Change
Since I've documented the oil change in detail in my Q1 update here:
I won't go into much detail today except the oil level sensor which I had to replace again as the first one I bought was shit and never worked once. I later found out that everyone recommends buying the BMW or Hella one which costs around EUR 50 instead of EUR 30 and for that it actually works.

Oil draining as usual...
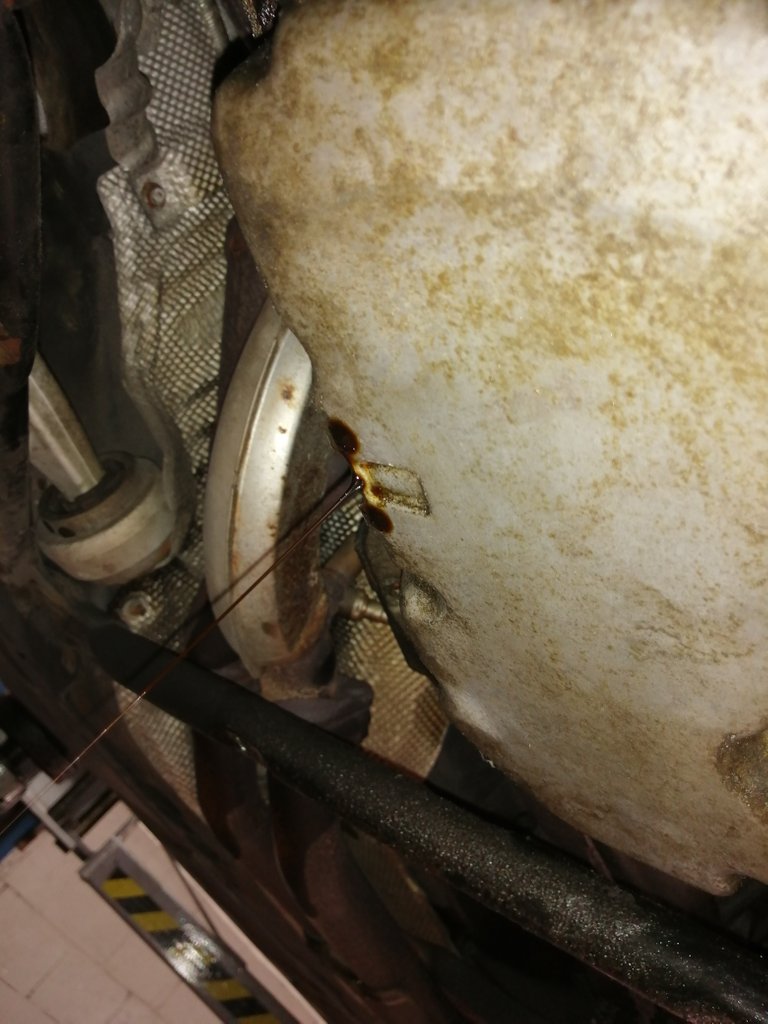
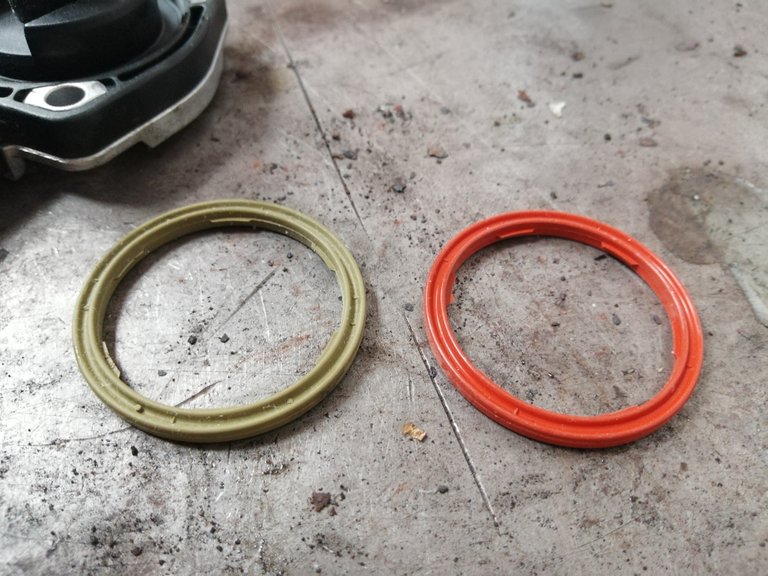
I replaced the Hella sealing ring on the sensor with an original one from BMW just to make absolutely sure it doesn't soak which the cheap one did. Half the oil pan was wet because the sealing or entire sensor assembly just didn't seal properly. Luckily, the connector stayed dry.
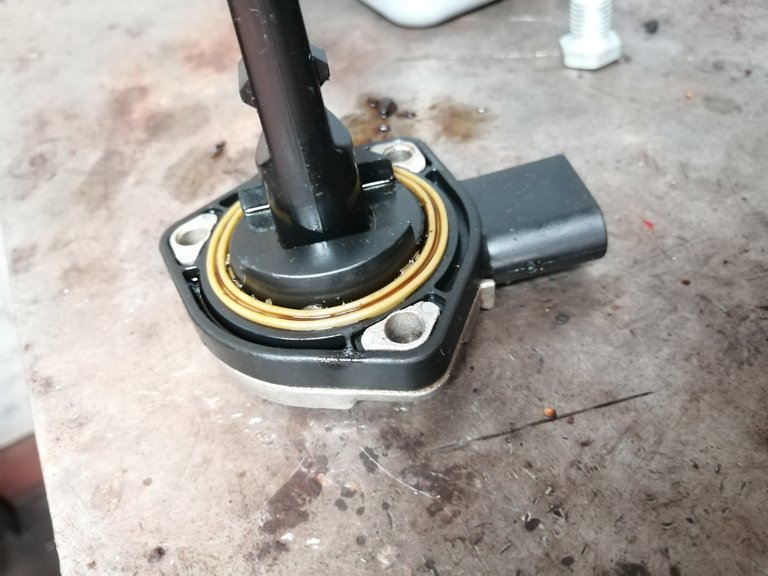

Here it is installed with cleaned connector and some contact spray applied:
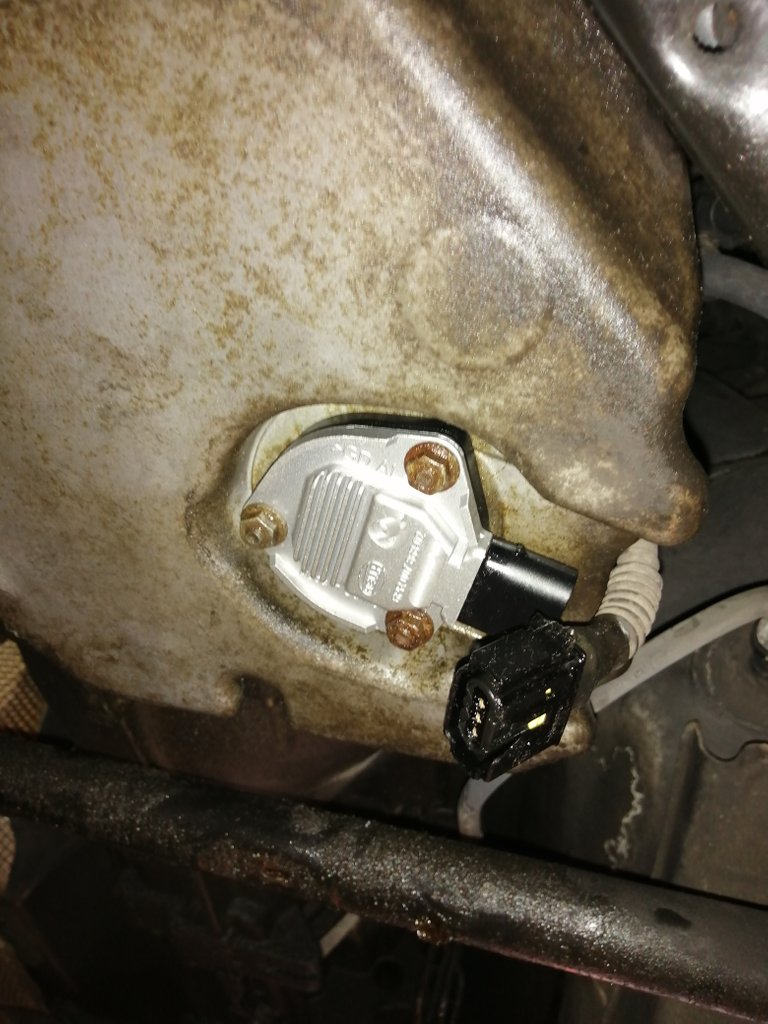
I actually tried to test it with the sensor installed and the oilpan empty so I turned on the ignition and shut it off again but it didn't show anything - pretty sure it needs a running engine/oil pressure indication before it checks the level.
In any case, I put the new filter and oil in (all 6.5L) and closed everything off. Reset the service indicator and voila:

As you can see there isn't much left to hit the magical 400.000km mark.
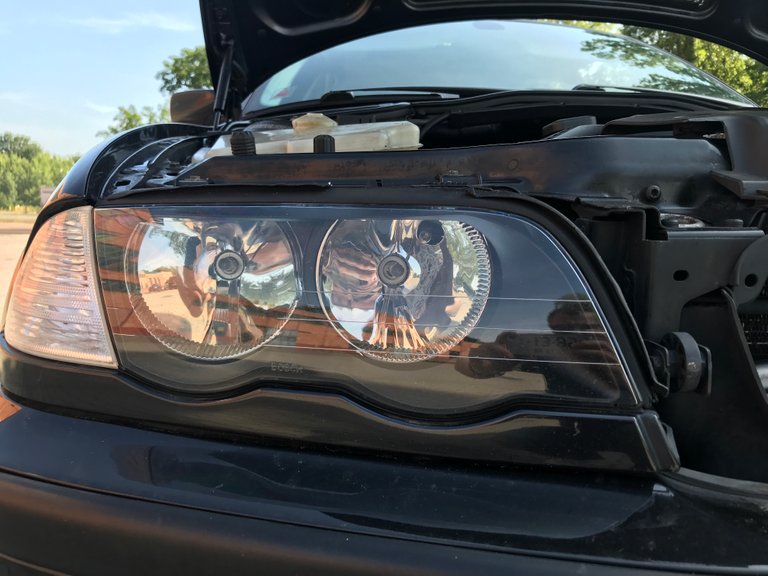
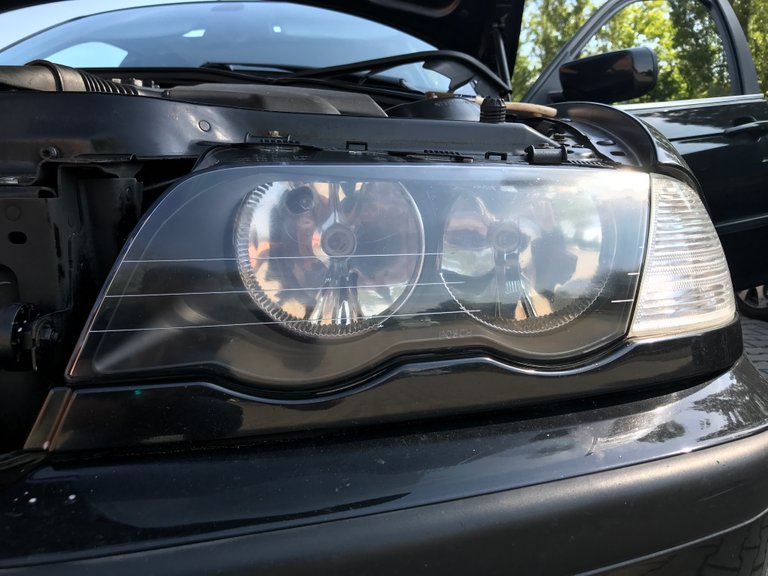
Cosmetics
Nothing much here really except I replaced the washer tank with a facelift version which has a black topside and was overall in much better condition than the 20 year old one which it releaved:
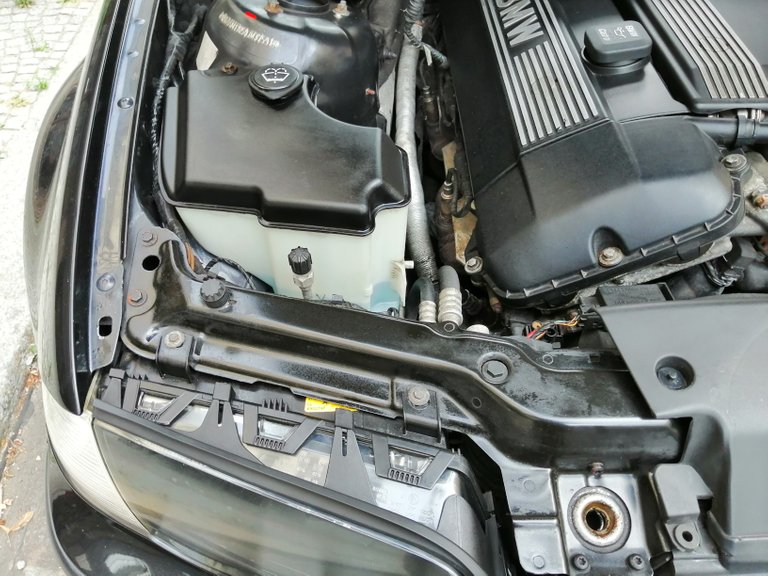

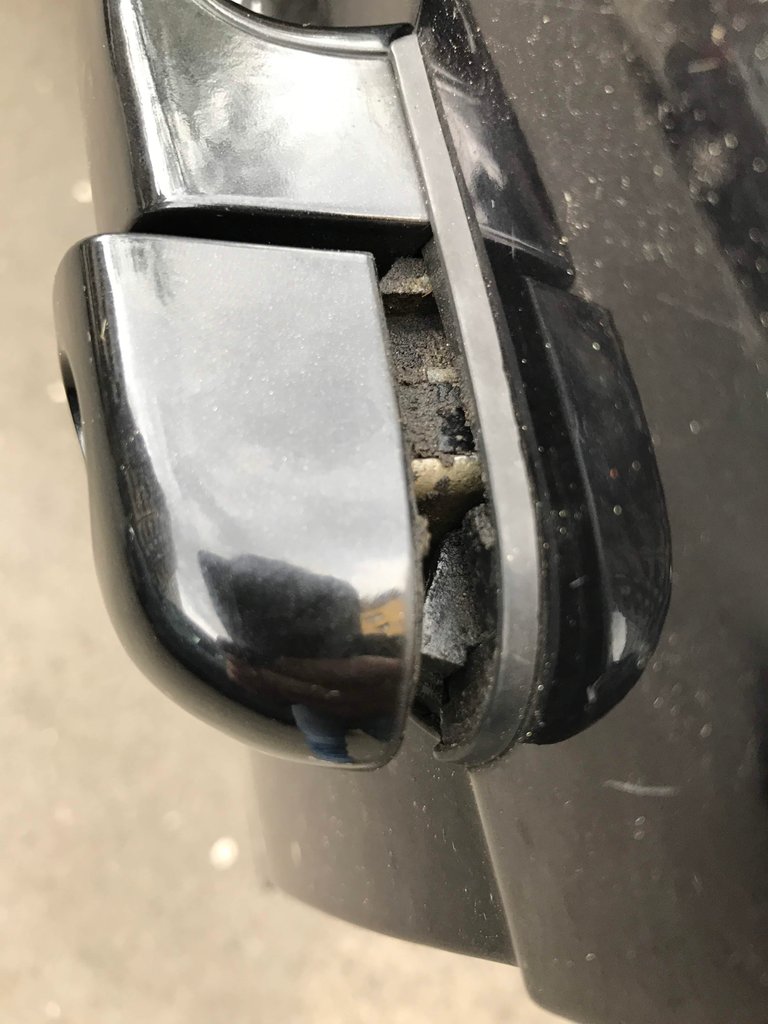
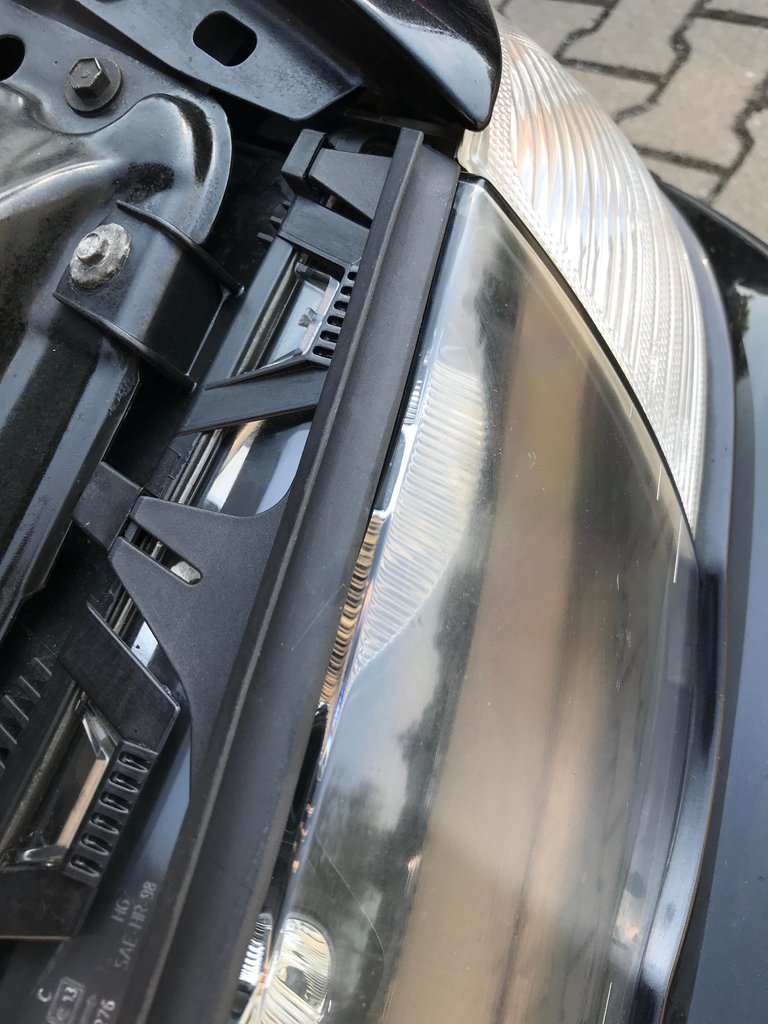
Also the headlight topside sealings were utterly wasted and since they're only 20 bucks I figured why not replace them? It's just a clipped in sealing so not even tools necessary except a flathead when unlocking the very bottom plastic hinge next to the grill cutout:
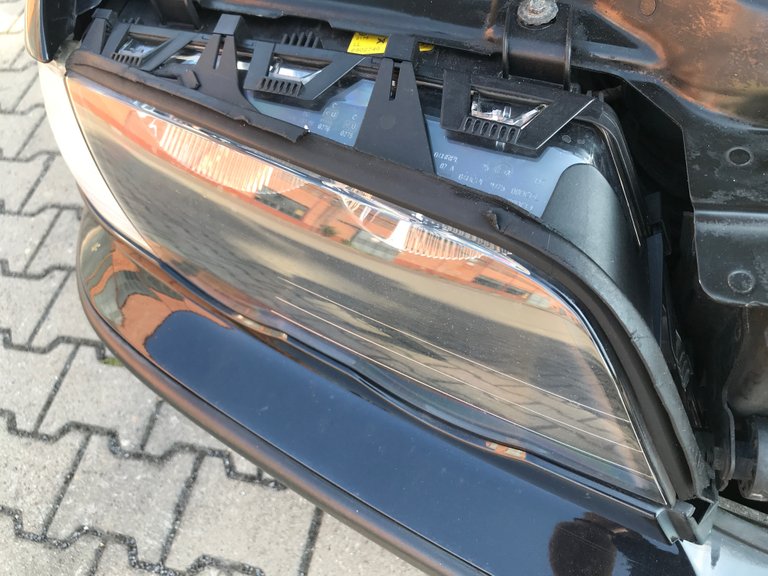

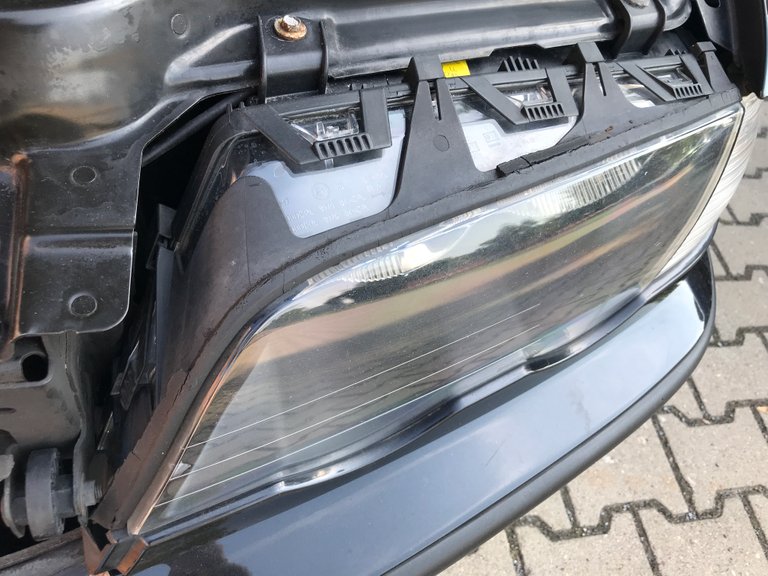
Yep, they're pretty done. Here then the brand new ones:
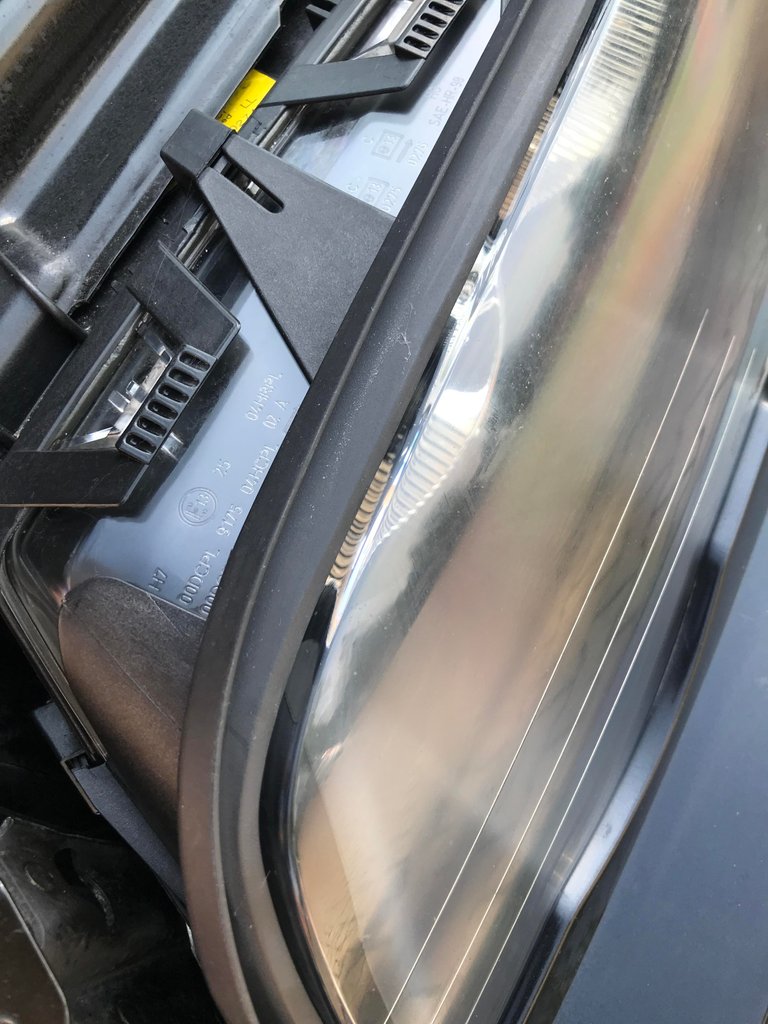
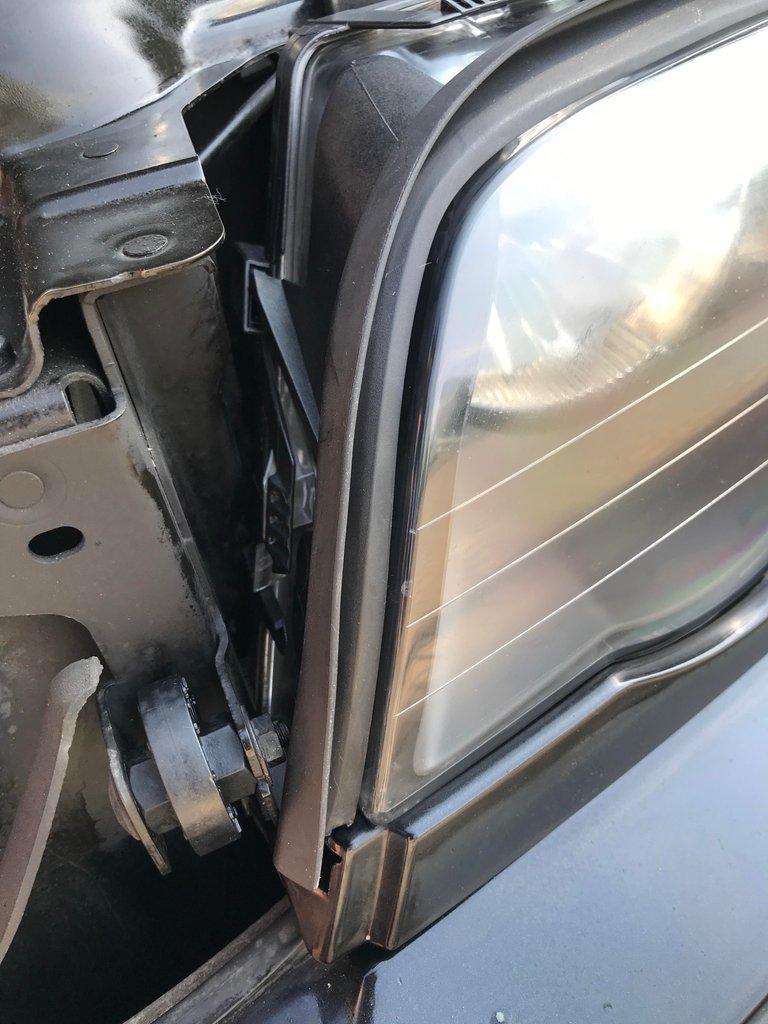


What a difference, plus now the spray will not enter the front engine bay no more. Unfortunately I replaced them a few years too late as I already have surface corrosion on the very front end on the inside of the hood.

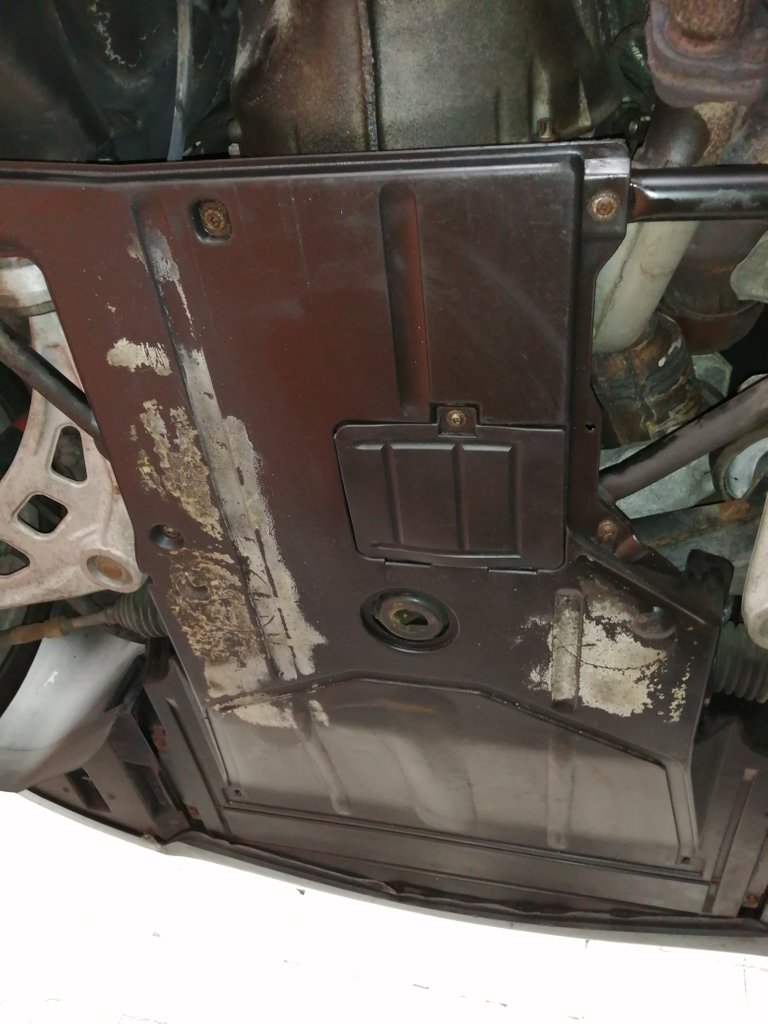
Apart from that I used the occasion to clean the engine floor cover inside and out as it was nasty with oil, coolant and power steering fluid plus tons of dirt from over the years:
As a preparatory step for replacing the center bearing of the driveshaft I also sprayed all exhaust and driveshaft fixtures with WD40 and replaced the center structural support beams:
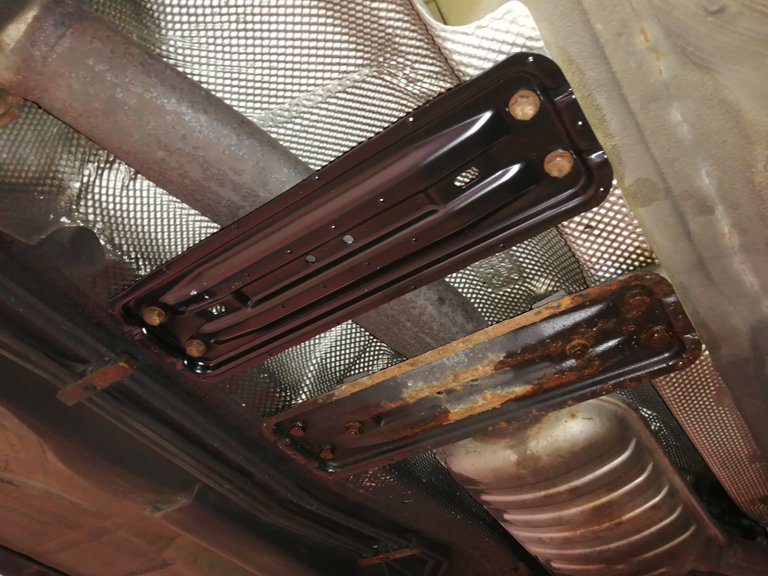
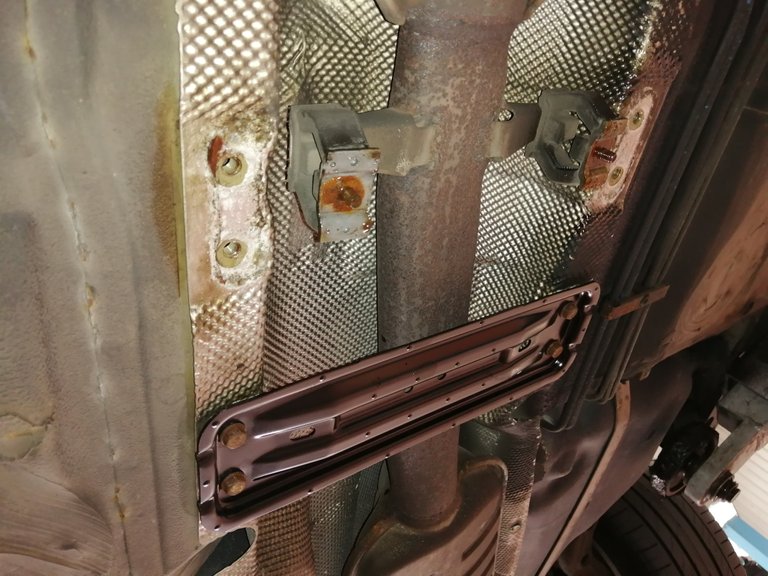
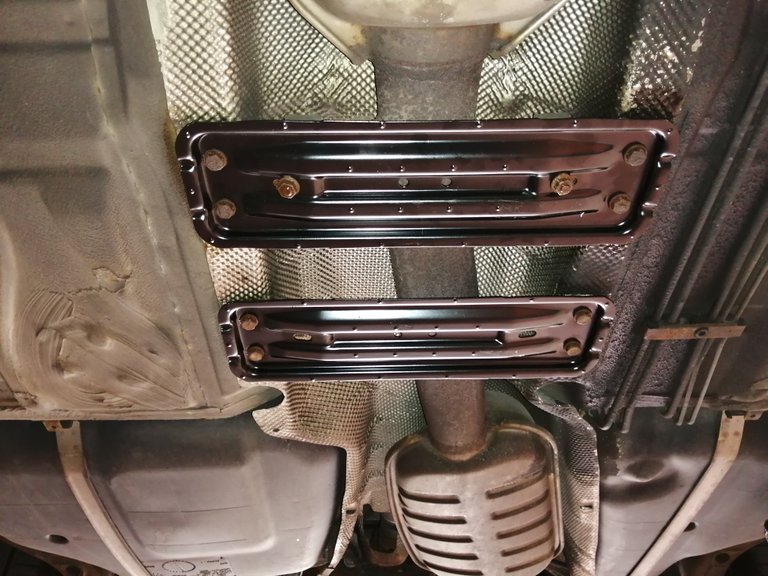
They were so rusty that I didn't take the time to take the old ones home for restauration so they are now in recycling heaven. Pretty cool sight:


As a final step I removed any final tape residue from my rear right window regulator replacement which was the one that failed on me by almost dropping the window down into the door during a long drive...

Alright guys, that's it for now. Join me next time on the idle switch clean up and center bearing replacement!
Steem ya later!
So many scratches on the bottom?
Beautiful black paint and very distinguished, delicate style of this car. Very nice E46.