Hey Steemit people,
today I want to share with you my favorite pizza recipe. The dough is made with yeast which is much easier than you might think. On top you can add whatever you want - I think thats one of the great things about pizza, especially when you share it with your friends who have different preferences. If you like to try this recipe I would love to get to know how it worked out for you and if you maybe tried some things in a different way. Well…enough for the introduction - I’m really hungry now, let’s start!
For 2-4 people…it is really delicious, so I guess it’s rather for 2 people 😄
1. What we need
On our shopping list should be at least the following stuff:
- 160g flour
- 1/2 yeast cube
- 250ml sieved tomatoes
- some cloves of garlic
- 300g cheese (Gouda, Cheddar, Mozzarella or whatever you like…)
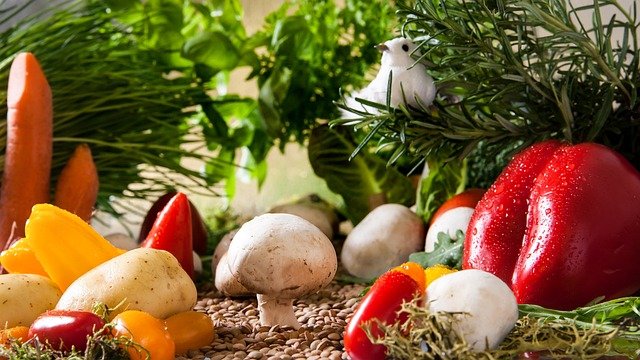
We need some toppings like:
- broccoli (steamed)
- paprika
- corn
- mushrooms
- onions
- salami
- ham
- tuna
Take whatever you and your friends like. That’s perfect if you have some vegetarians or even vegans in your group. Everyone gets the pizza he or she wants! 🙂
In our kitchen should be:
- Water
- Olive oil
- Salt
- Pepper
- Oregano
- Worcester Sauce
2. Creating the basis - the dough
To be honest: Our dough needs a little bit of lead time so it’s best to start with it some hours earlier. A good yeast based dough needs at least 5-6 hours - an Italian friend once told me you should even let the dough rise for about 24 hours.
But if you don’t have that much time I think 2-3 hours are fine, too.
Here we go:
At first we will need a big bowl where we can knead the dough. Put about 160g of flour in it, add some salt and about one or two TS of olive oil. Now take a measuring cup, add about one half of the yeast cube in it, add about 50ml of lukewarm water to it and whisk both together with a fork or something else. Now add the yeast-water-mix to the bowl and start to create the dough. The cool thing is that you can control the condition of you dough with adding a little bit more water or flour. The dough shouldn’t be too sticky or too loosely. Something in between is perfect!
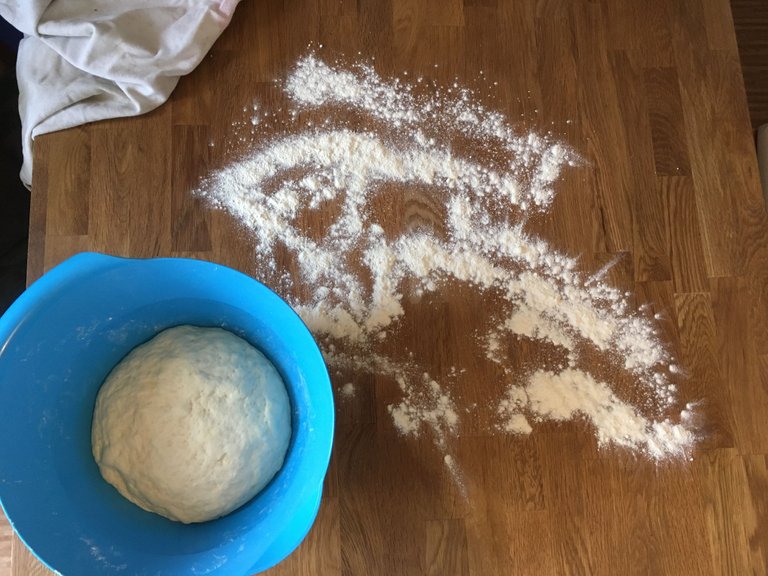
When we have one good looking masterpiece of a dough inside our bowl we should give it some time to rise. Take a dry towel and put it over your bowl. Now let’s leave it alone for some hours before we roll it.
3. Toppings or floppings
Later the first thing on top of the dough will be our tomato sauce. On top of that we will have a mixed layer with all the stuff we want as toppings like vegetables or meat. The really last layer will be grated cheese.
So let’s start with
The sauce
Take some pot or bowl for mixing and start with about 250ml of sieved tomatoes. Now add about one, two or more cloves of garlic by pressing it into your mix. Then refine it with some olive oil, salt, pepper and some oregano. You can also add other stuff like basil or thyme if you like to. Mix everything together and put the bowl on the side.
„CUUUUUUT!“ - or more like „AAND AAACTION!“
Prepare the toppings and cut the hell out of them. Make fine little pieces that we can spread all over our pizza later.
And last but not least:
Rubbing the cheese
You can use classic gouda, cheddar, mozzarella or whatever you find. It’s very cool to mix some different cheeses together but feel free to choose a single one if you like.
4. When the dough is ready
Preheat the oven to about 220°C and place one baking tray inside while heating up.
Now put your great dough with some flour on the table. Start to form it a little bit in a longish way to create a dough that fits on your baking tray. Now you can roll the dough to the right size. When ready place it on a piece of baking paper on the table. Later we will put the pizza on the preheated baking tray.
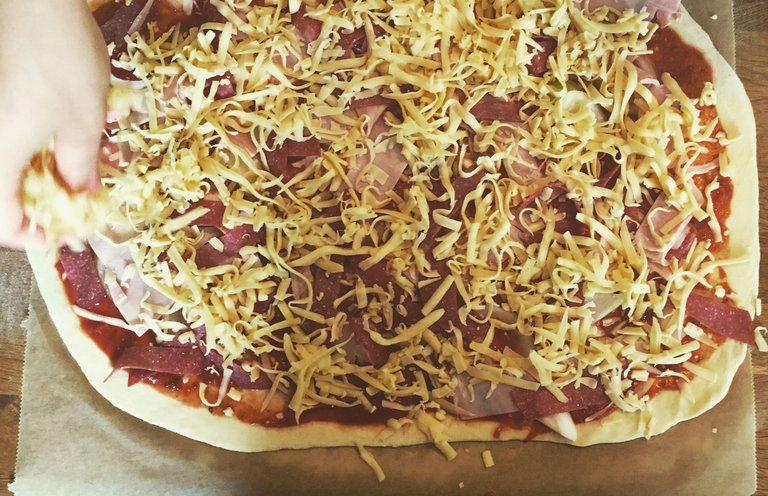
So…now it’s time for the sauce. Put some of it in the middle of the dough and spread it all over it. Next you place all the good stuff you cut before like vegetables and meat. Last but not least add the cheese on top.
I also like to put some olive oil or worcester sauce on top of the cheese.
Now the pizza is ready for baking which leads us to the next step:
5. Baking
Take the pizza with the baking paper on a wood tray or something similar to put it into the oven. We preheated also the baking tray so the dough becomes more crispy on the bottom side. You can also use a baking stone if that is something you have in your kitchen.
I made a little video how this process could look like 😄
https://d.tube/v/madthebad/3jnpgpux
Now wait a few minutes (maybe 10-15) before you check on the condition of the pizza. However you like it (smooth, crispy or even a little burned) put your masterpiece on the plates and…
6. Enjoy your gorgeous pizza!
Let me know if you tried it yourself! If you have any advice or want to share your experience about making pizza I would love to read it in the comments section.
Hope you like it! Enjoy your meal!
Cheerio,
Mattis✌🏼


@originalworks
The @OriginalWorks bot has determined this post by @madthebad to be original material and upvoted it!
To call @OriginalWorks, simply reply to any post with @originalworks or !originalworks in your message!
Your Post Has Been Featured on @Resteemable!
Feature any Steemit post using resteemit.com!
How It Works:
1. Take Any Steemit URL
2. Erase
https://3. Type
reGet Featured Instantly – Featured Posts are voted every 2.4hrs
Join the Curation Team Here