
Cambio de lápiz de la barra estabilizadora en 5 PASOS
Versión Español
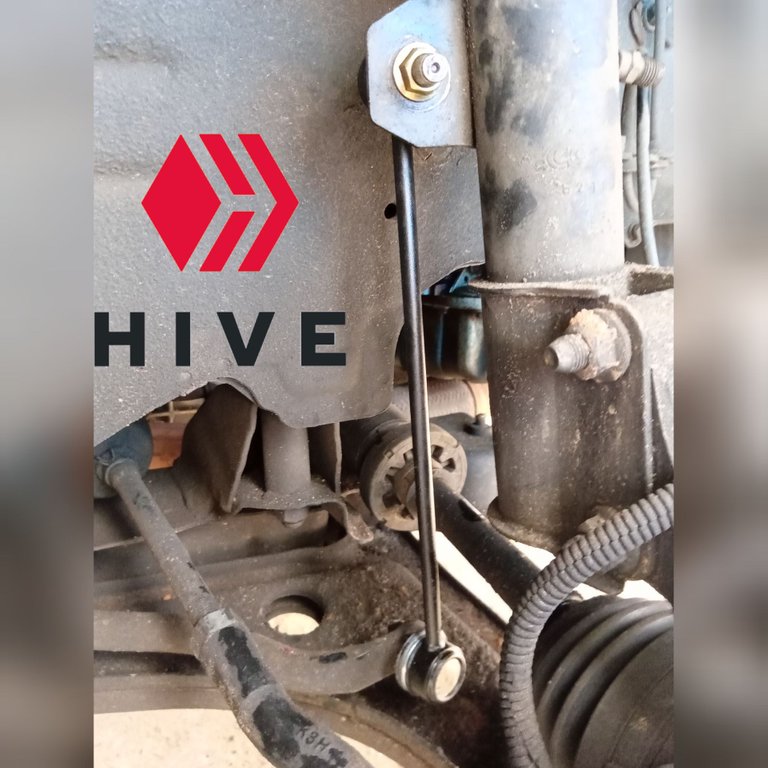
Saludos a toda esta grandiosa comunidad, el dia de hoy les quiero compartir esta mini guía para lograr el reemplazo de los lápices de la barra estabilizadora de un Chevrolet Optra.
Esta tarea se pudo lograr de manera rápida, y es con tan solo 5 pasos de ejecución se hizo de forma fácil.
Las herramientas utilizadas fueron las siguientes:
01 Gato Hidráulico
01 Llave tipo cruz (Se Utilizo el dado ¾)
01 Rache con su extensión
01 Dado # 14
01 Llave mecánica # 14
Pasos Ejecutados
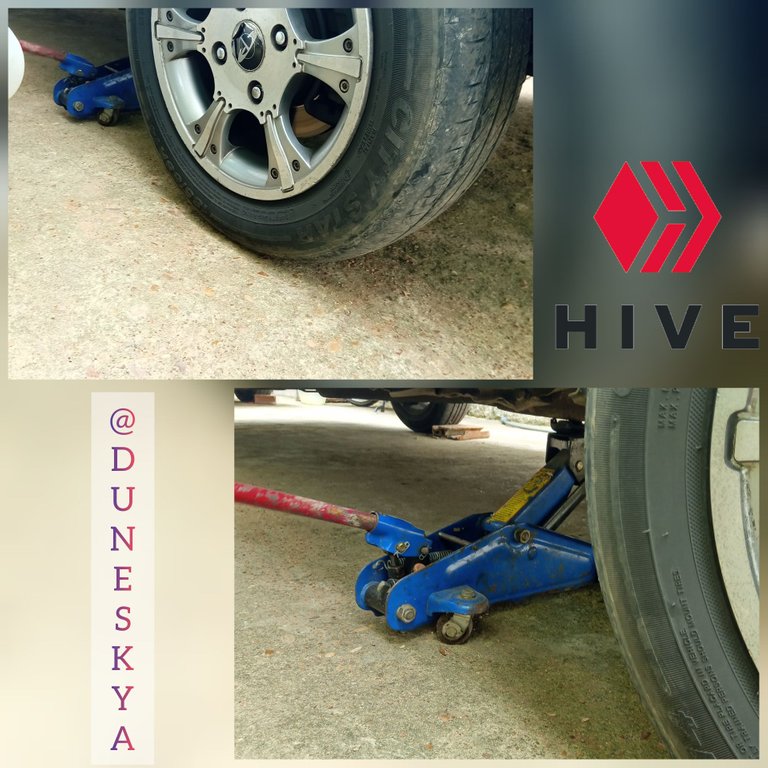
1)Posicionamos el gato hidráulico debajo del carro, comúnmente los carros tienen alguna indicación del lugar en donde colocar el gato para un mejor alcance, luego elevamos con mucho cuidado el carro, hasta lograr una altura que nos permita extraer la rueda posteriormente.
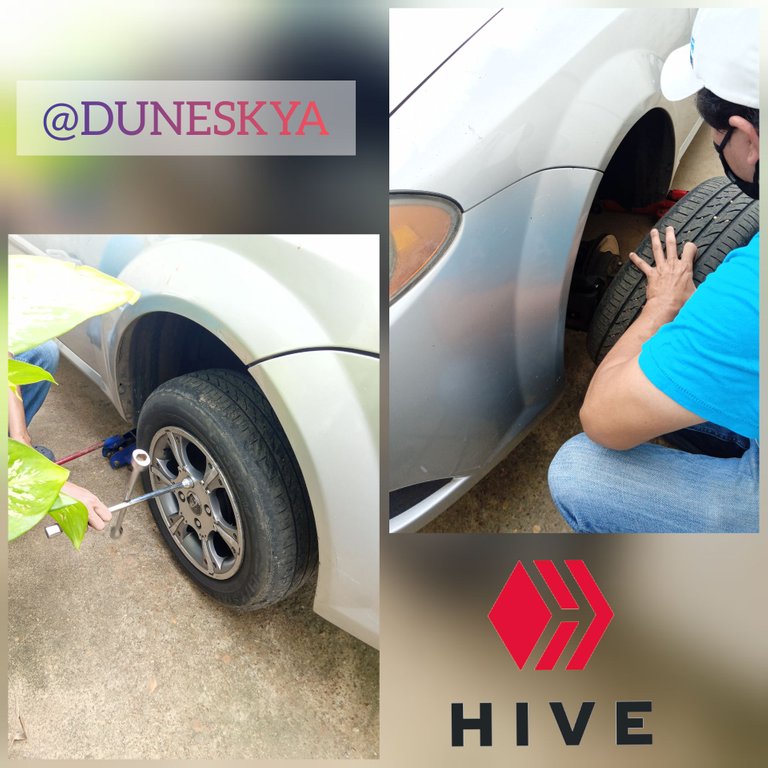
2)Utilizando la llave tipo cruz, específicamente el dado # ¾ aflojamos y retiramos las tuercas que sujetan la rueda, seguidamente extraemos la rueda.
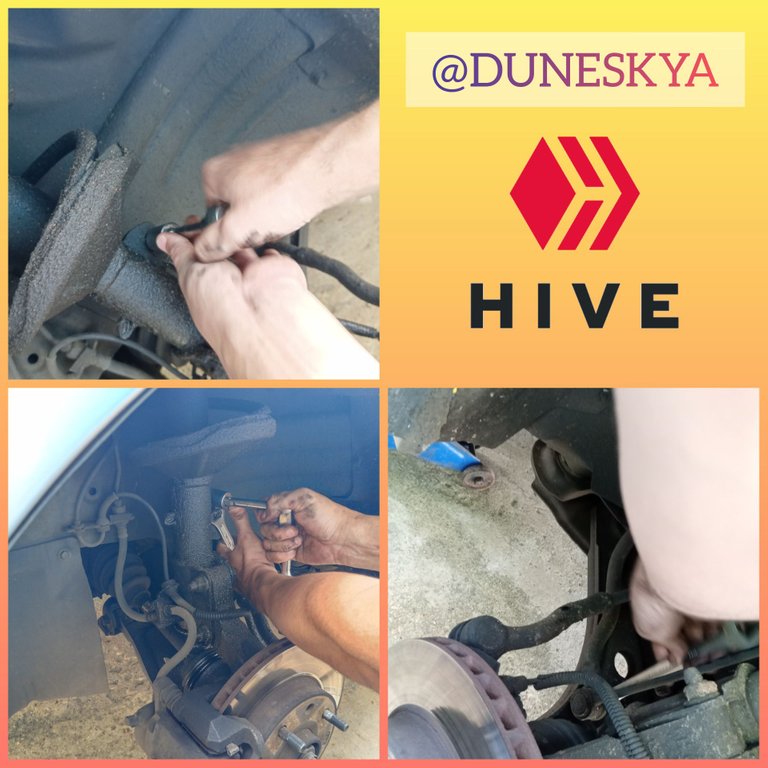
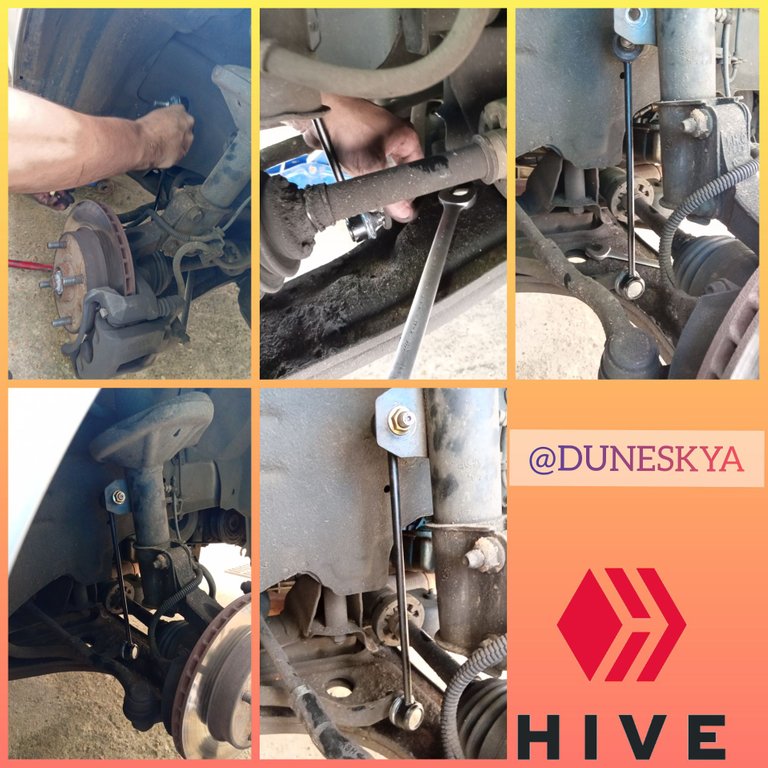
3)Haciendo uso del rache, su extensión y el dado # 14 insertado en la misma, en combinancion con la llave # 14 aflojamos la tuerca que posee el lápiz de la barra estabilizadora, para lograr de forma efectiva esto, el dado lo ponemos en las tuercas y la llave # 14 la insertamos en la parte trasera (allí se encuentra un cuadrante el cual se utiliza para inmovilizar el perno y asi evitar que gire); luego de retirar las dos tuercas con algo de fuerza se logra remover el lápiz de la barra estabilizadora.
4)Teniendo a la mano el lápiz de la barra estabilizadora nuevo, se coloca en sus respectivos agujeros, primero se inserta en la parte inferior para luego aplicando un poco de fuerza insertar en la parte superior, haciendo uso del rache, su extensión y el dado # 14 insertado en la misma, al igual que la llave # 14 apretamos las tuercas que posee el lápiz de la barra estabilizadora, el dado lo ponemos en la tuerca y la llave # 14 la insertamos en la parte trasera (allí se encuentra un cuadrante el cual se utiliza para inmovilizar el perno y asi evitar que gire).
5)Insertamos nuevamente la rueda, seguidamente colocamos las 04 tuercas correspondientes y utilizando la llave tipo cruz (dado #3/4) apretamos dichas tuercas, posteriormente logramos hacer que el carro descienda al suelo y retiramos el gato hidráulico.
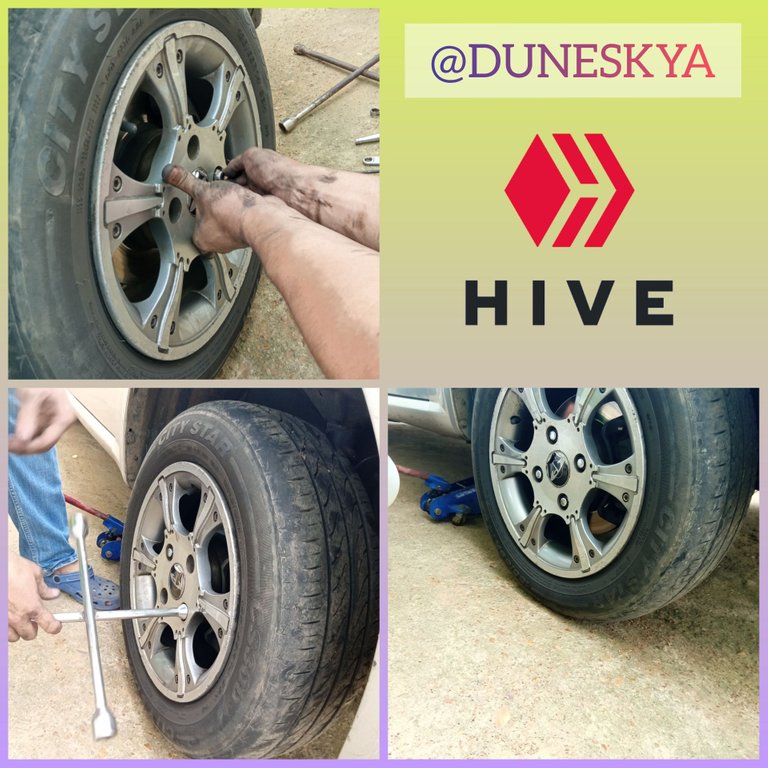
Nota: este mismo proceso se debe aplicar en ambos lados del carro, para asi lograr el reemplazo de ambos lápices de la barra estabilizadora, tanto izquierdo como derecho.
Esperando ser de mucha ayuda para toda la comunidad, me despido, hasta pronto.!
Fotos de mi propiedad, editas con la aplicación InShot.

5 STEPS to change the anti-roll bar pencil
**English version

Greetings to all this great community, today I want to share this mini guide to achieve the replacement of the stabilizer bar pencils of a Chevrolet Optra.
This task could be achieved quickly, and is with only 5 steps of execution was done easily.
The tools used were as follows:** ** The tools used were as follows:** 01 Hydraulic Jack
01 Hydraulic Jack
01 Cross type wrench (the ¾ die was used)
01 Rache with its extension
01 Socket # 14
01 Mechanical wrench # 14
Steps Performed
1)We position the hydraulic jack under the car, commonly the cars have some indication of where to place the jack for a better reach, then we raise the car very carefully, until we reach a height that allows us to extract the wheel later.

2)Using the cross type wrench, specifically the # ¾ die, loosen and remove the nuts that hold the wheel, then extract the wheel.

3)Making use of the rache, its extension and the die # 14 inserted in the same, in combination with the key # 14 we loosen the nut that has the pencil of the stabilizer bar, to achieve this effectively, the die we put it in the nuts and the key # 14 we insert it in the rear part (there is a quadrant which is used to immobilize the bolt and thus prevent it from turning); after removing the two nuts with some force you can remove the pencil from the stabilizer bar.

4)Having at hand the new stabilizer bar pencil, is placed in their respective holes, first inserted at the bottom and then applying a little force to insert at the top, making use of the rache, its extension and the # 14 die inserted in the same, as well as the wrench # 14 we tighten the nuts that has the pencil of the stabilizer bar, the die we put it in the nut and the wrench # 14 we insert it in the rear part (there is a quadrant which is used to immobilize the bolt and thus to avoid that it turns).

5)We insert the wheel again, then we place the 04 corresponding nuts and using the cross wrench (die #3/4) we tighten these nuts, then we make the car to descend to the ground and remove the hydraulic jack.

Note: this same process should be applied on both sides of the car, in order to achieve the replacement of both the left and right stabilizer bar pencils.
Hoping to be of much help to the whole community, I say goodbye, see you soon!
Photos of my property, edited with the InShot application.
Translated with www.DeepL.com/Translator (free version)
Congratulations @duneskya! You have completed the following achievement on the Hive blockchain and have been rewarded with new badge(s) :
Your next target is to reach 90 posts.
You can view your badges on your board and compare yourself to others in the Ranking
If you no longer want to receive notifications, reply to this comment with the word
STOPTo support your work, I also upvoted your post!
Check out the last post from @hivebuzz:
Disculpa mi ignorancia: ¿Que hace un lapiz de barra estabilizadora?
¿Que función ejecuta en un automovil?
Editado: Ah google me ha dado mi respuesta, wow quien diria que una pieza tan pequeña fuera tan vital e importante, sin esto no hay estabilidad en las curvas, super peligroso, todos los dias se aprende algo nuevo, muchisimas gracias por este tremendo post, ahora se que debo estar al pendiente de toda pequeña pieza en un vehiculo, capaz es chiquita, pero poderosa como esta o.o