
Hi there people of the Hive and fellow technicians!!
General back story
Today I did some light work on prop-shafts. We usually do prop-shaft overalls on all the the vehicle's that we do gearbox repairs on, as well as fit new clutches and skim the flywheel's. So all in all we try to fix your whole drive-line to manufacturer specs. Yes its not always easy because money isn't always in front of everyone's play book. We sometime compromise for the clients and fix less stuff but give them the same warranty.
What goes around comes around hey. You get what you're owed and that a universal law, In my opinion
One of the customers asked us to try our best to clean it as nice as possible and to just simply re-grease the U-Joints on it. We did so and gave him a warranty in any-case because the prop-shaft was surprisingly in a good condition.
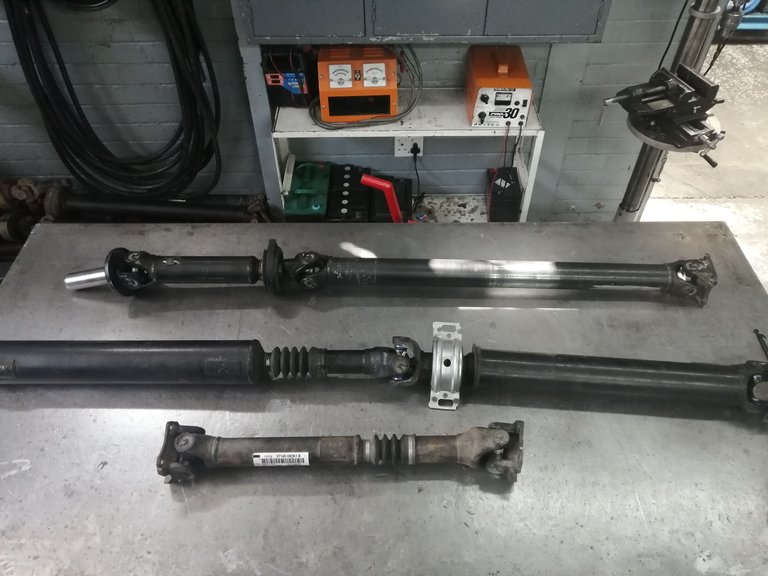
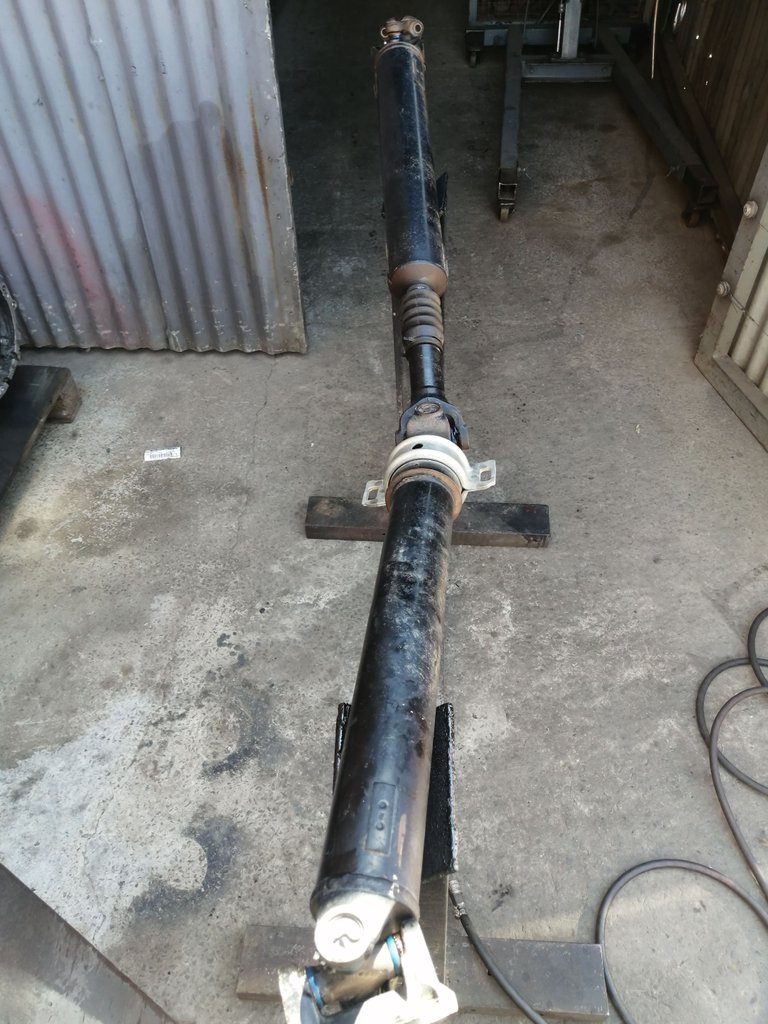
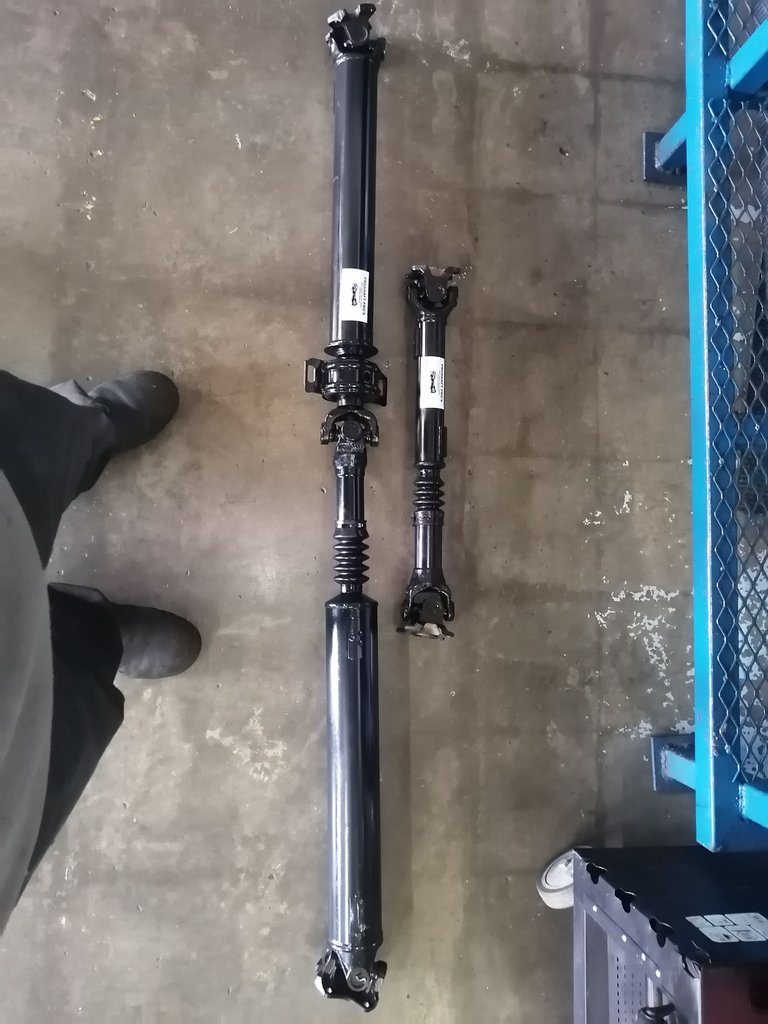
On the table we have three prop-shafts for two vehicles both of them 4x4 vehicles. The two bottom prop-shafts are for a Toyota Hilux Legend 45. Which is the prop-shafts of the client that we are doing a favor for as mentioned above.
The top prop-shaft is meant for a Nissan 4x4. The frontal prop-shaft which turns the front wheels is already fitted into the vehicle. I was a bit delayed with my pictures today.
The Nissan prop-shaft was already refurbished with new U-Joints so all I had to do was give it a good greasing on the U-joints and give it a fresh coat of paint.
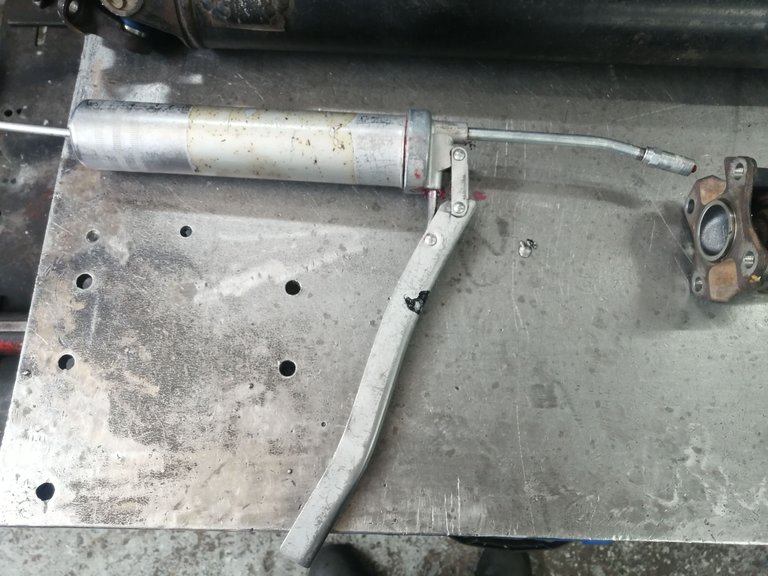
Starting off with the greasing of the prop-shaft. I would highly recommend having a grease gun that can fit over the grease nipple properly, otherwise you'll have a hell of a time getting that grease through the tightly packed rollers.
After making sure the grease nipples are clean and dirt free and checking if they are properly inserted I can now start pumping it full off grease, you will know when its time to stop when the grease starts peeling out from the sides of the U-Joints
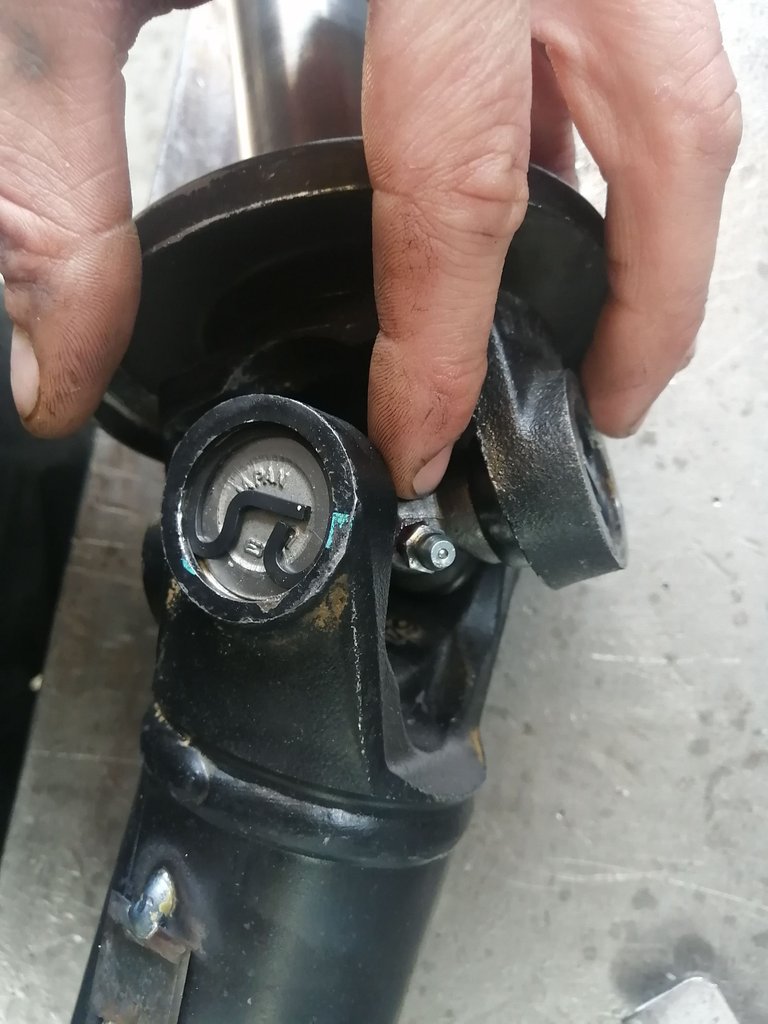
After inserting grease gun nipple into place, I always like to press down a little bit sealing it off nicely making sure the grease doesn't spill back before it even entered the U-Joint. Its often times a uncomfortable thing to do because of the prop-shaft basically rolling around on any flat surface or the U-Joint just flip to the other side causing the nipple to pop out.
I skipped to the Toyota prop-shafts. We will turn back for the other one in a few.
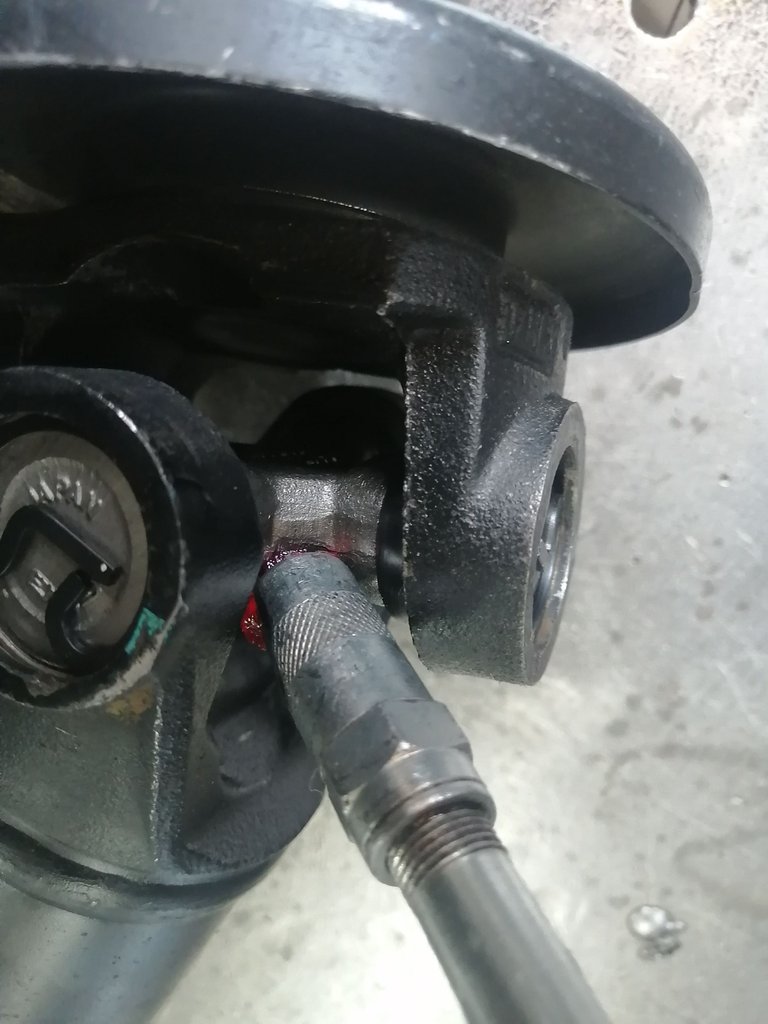
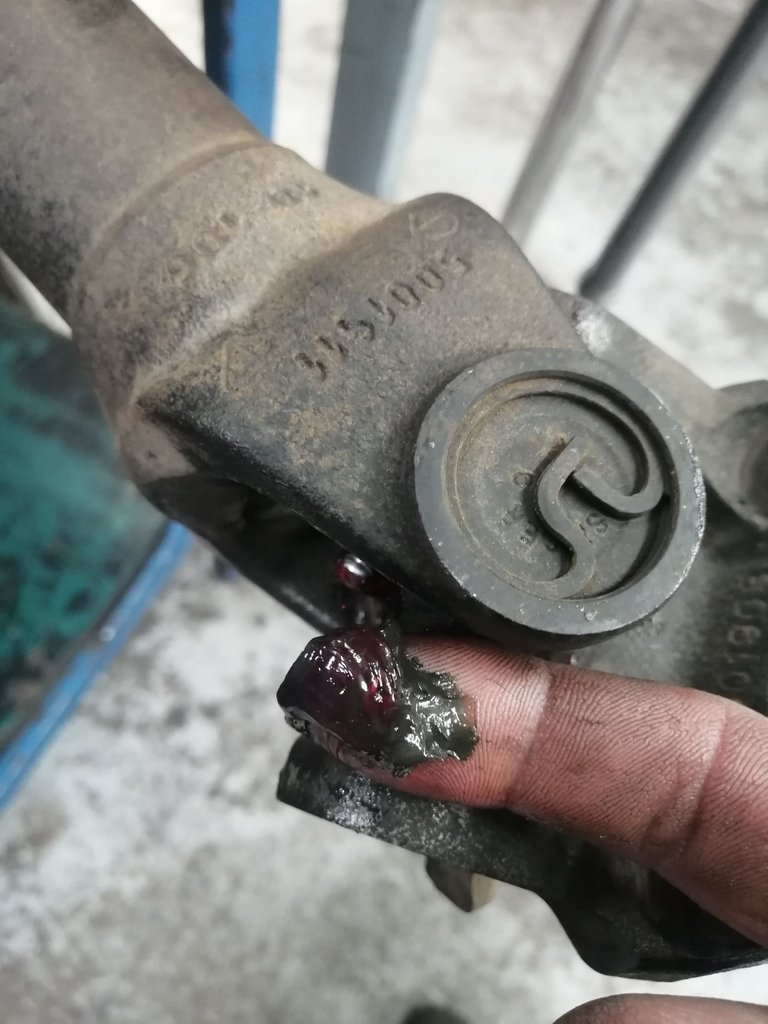
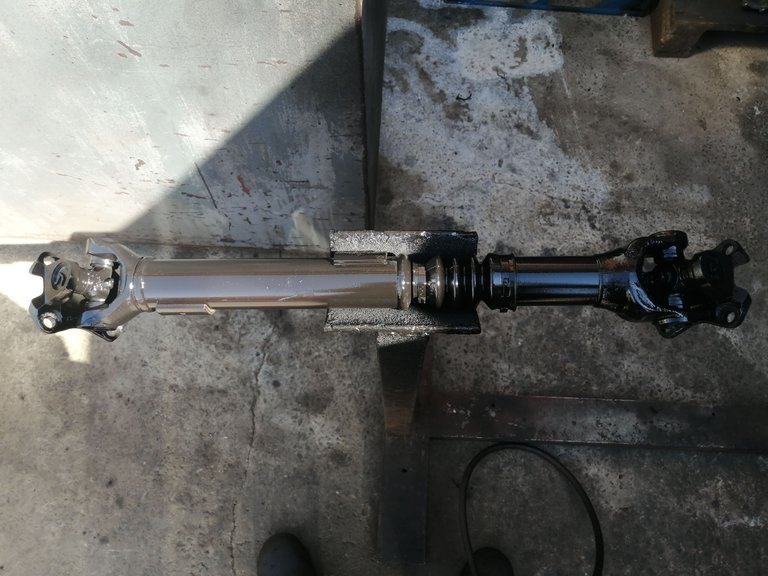
Remember I said the client asked us just to re-grease the prop-shaft U-Joints. Well even though the U-Joints were in very good condition, a proper greasing was well needed. Notice the green mucky grease? Yes that's definitely a need to get out. Now the fun part about re-greasing U-Joints are the fact that they are self cleaning. When pumping in new grease it pushes out the old grease without them getting mixed, Keep pumping in grease until the color of your clean grease starts to show. For example my clean grease has a red-ish color, so once I see the red peeling out I know its safe to stop and its been fully re-greased with clean grease.
Clean all of the excess grease from the U-Joints before spray painting them.
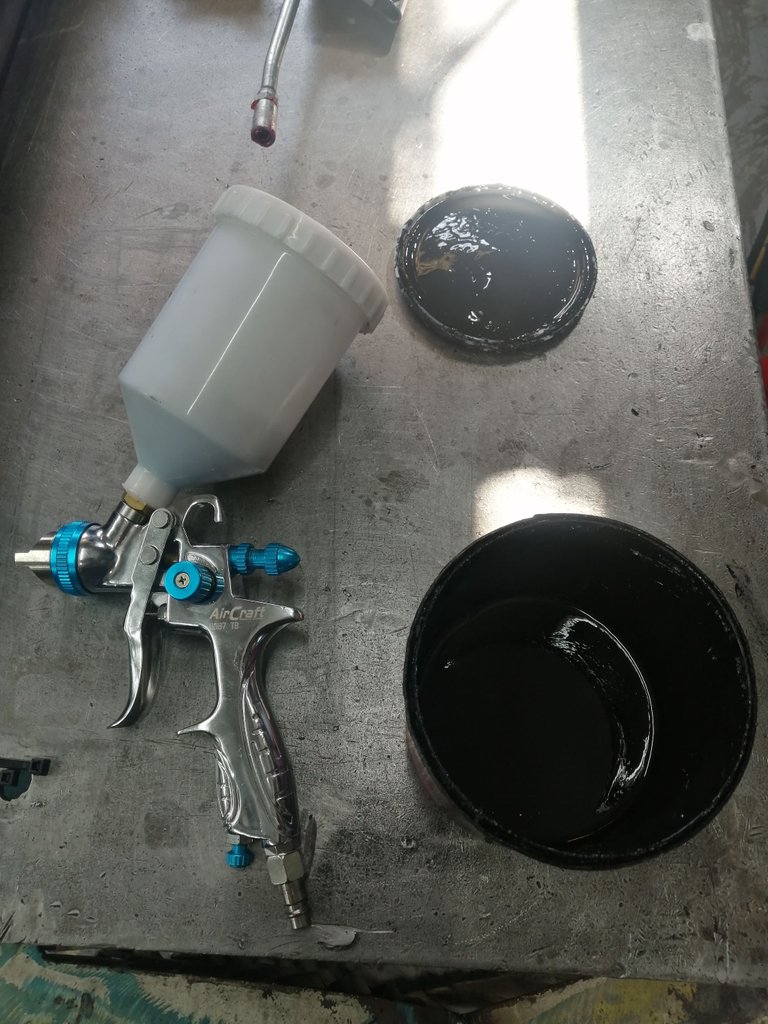
After preparing your prop-shafts, you can now start mixing and preparing your paint according to your own specs. I personally like to mix my paint 60/40%, with the paint being the 60%. Always mix your paint in a separate container in order to keep your spraying equipment nice and clean. Mix paint thoroughly and double check again if you mixed 🤣.
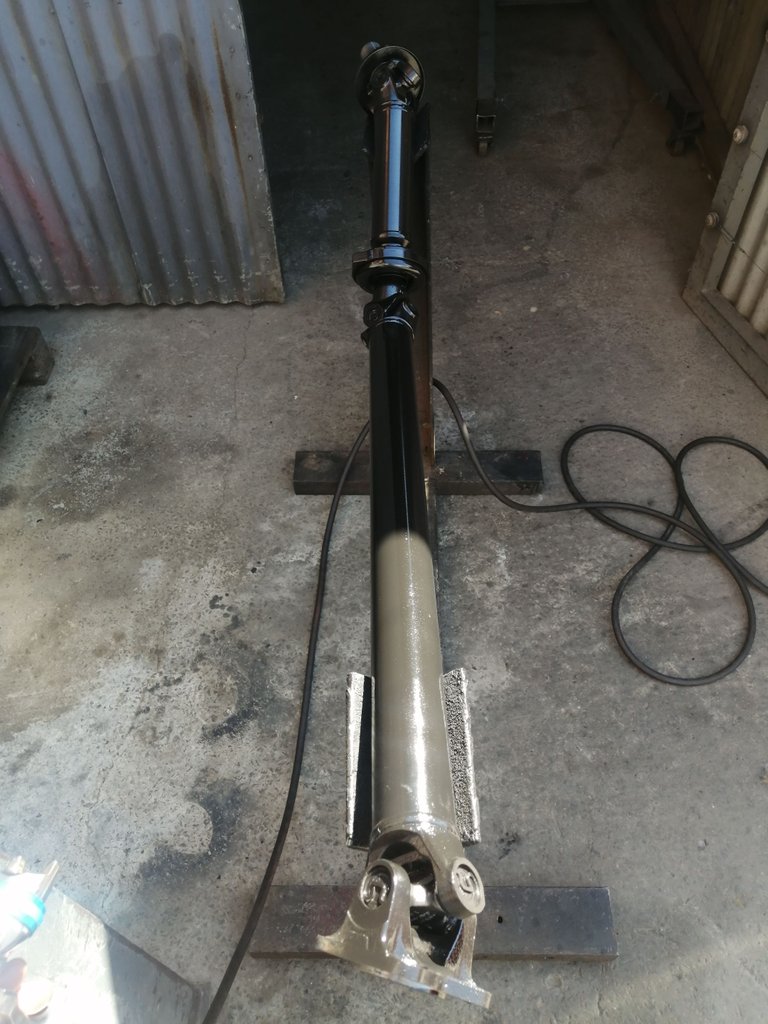
So we have this nice prop-shaft "stand" we use to spray the pop-shafts on, or actually anything that needs to be sprayed or touched up. Make sure there is nothing in the area that must not get a bit off over spray. If spraying outside the chances for over spray are very little because of the paint drying in the air, but it can still occur so be careful.
When Respraying the prop-shafts always try your best to do a good job. But keep in my mind its something that will never be visible unless you get down and low and crawl beneath the vehicle. The main reason we respray the prop-shafts are because when a client picks one up, he can feel at ease because even if you overall a prop-shaft it generally doesn't look like anybody did anything to it, but if the person can see a visual difference it makes them feel at ease, with that being said we do paint them even though we did not do repairs on it. It makes the whole general area where you were working looking great and it gives a clean look.
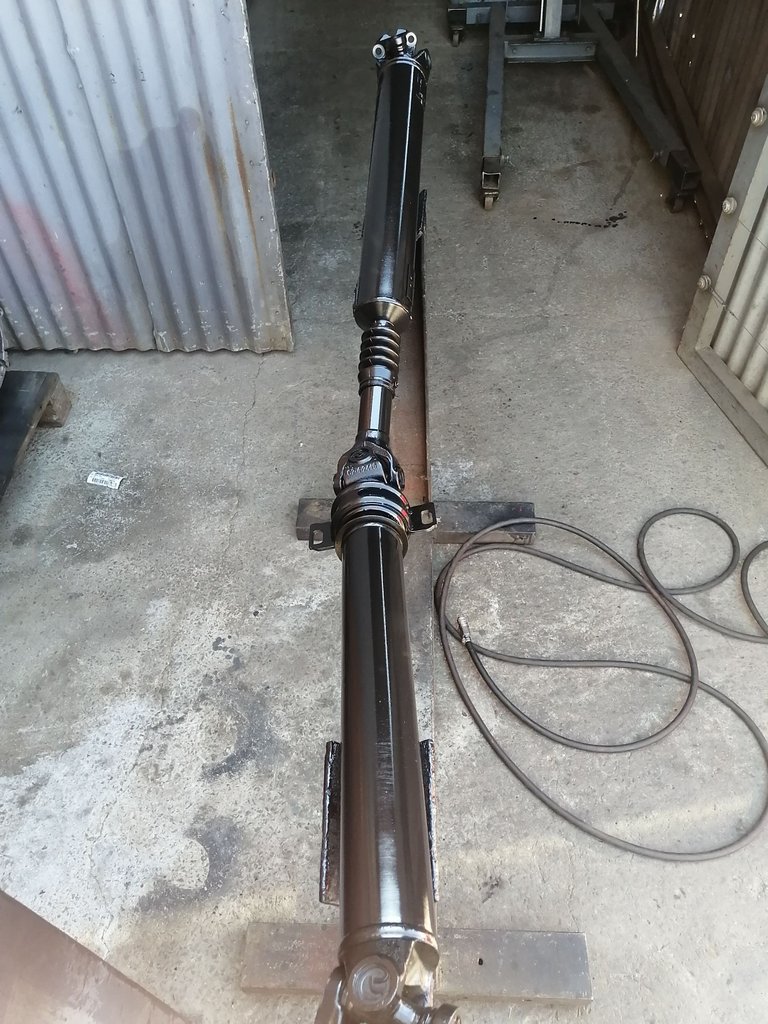
Second prop-shaft of the Nissan also painted. I let them dry thoroughly and after a few minutes I turn them over exposing the sides that are not sprayed on which it rested. When completing the spraying jobs I thoroughly inspect the yokes for any over spray as the yokes run on a seal. If the prop-shaft has a yoke.
Last but not least I left the smallest one for last, then at least you don't have to mix a lot of paint and have paint left, and maybe sometimes you can squeeze that last bit out and get the job done without having to mix more paint.
Once the spraying is done, you can now clean your spray gun properly. What I like to do is fill it up with a bit of thinners after I cleaned it, plug it back into the air pipe and spray for three to five seconds, thus allowing the channels inside the spray gun to be open, leaving no chance for any paint to dry inside of the spray gun. Store it with a little bit of thinners still inside the container.
Prop-shafts placed down gently underneath the vehicle waiting for assembly, add your prop-shafts sticker when the paint is properly dry, making sure it sticks properly. We will probably be assembling this Toyota's gearbox tomorrow morning and have the vehicle done and dusted by the days end.
To everyone who made it this far into my lengthy post, Thank you for the read and the support.
If you found this entertaining or educational please consider a re-blog and up-vote
Most of all please leave a comment


Connecting the people of #HIVE across South Africa. #hive