¡Hola queridos Hivers, espero se encuentren muy bien ✨💕!
Hi dear Hivers, I hope you are doing very well ✨💕!
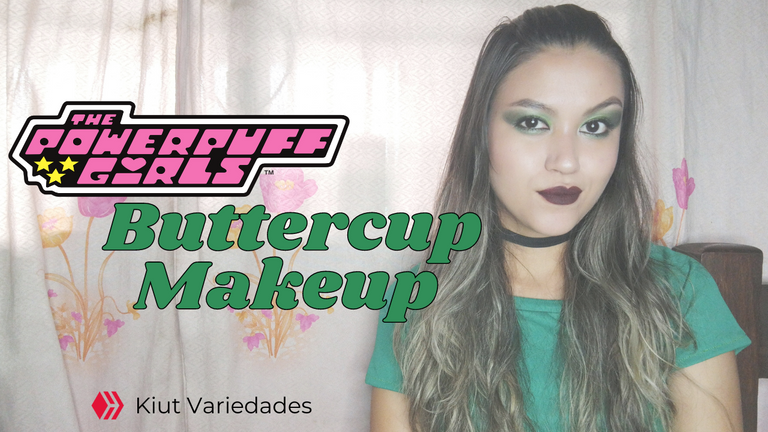
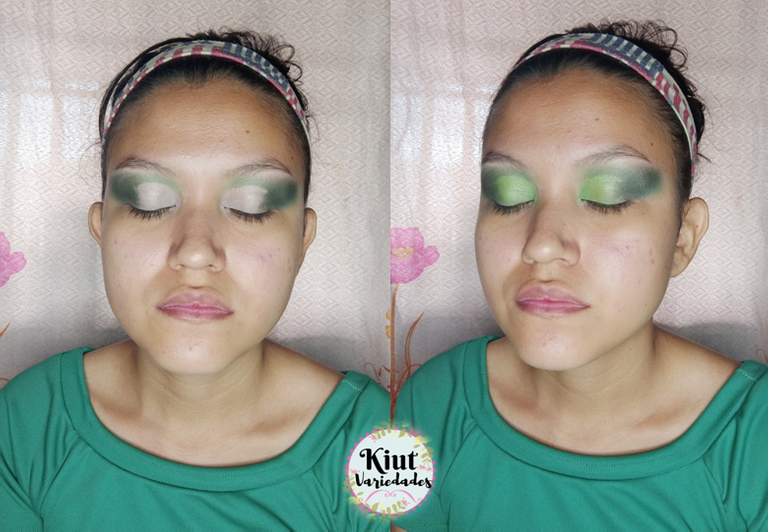
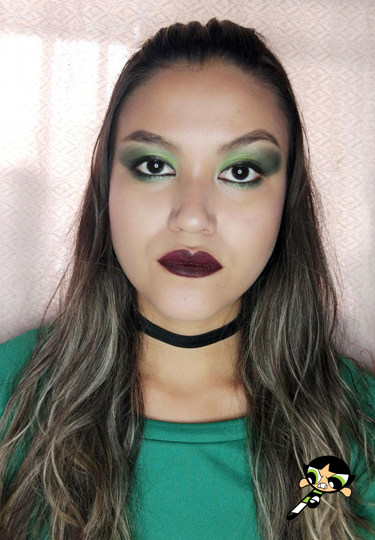
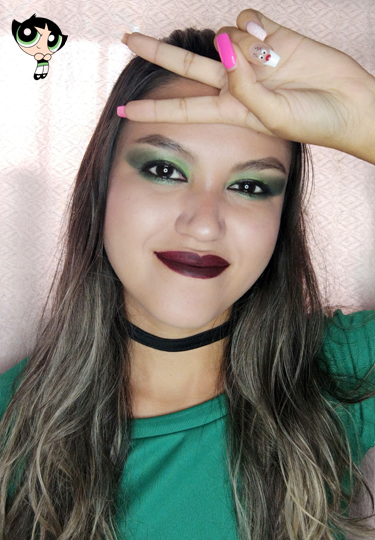
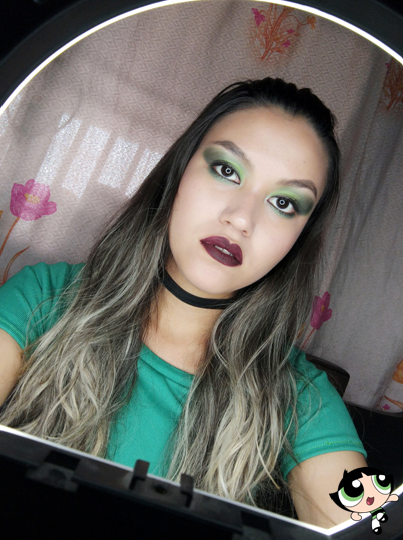
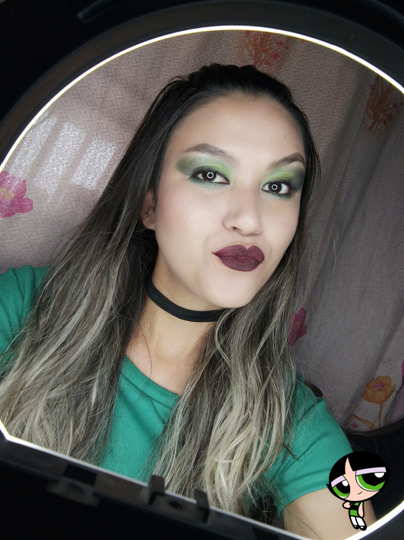
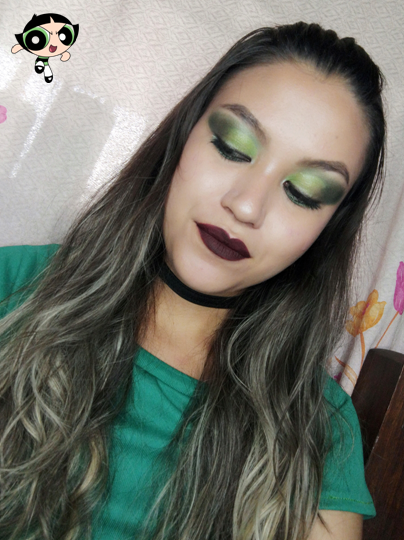
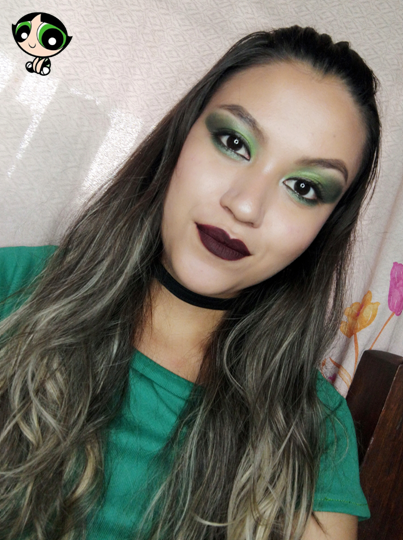
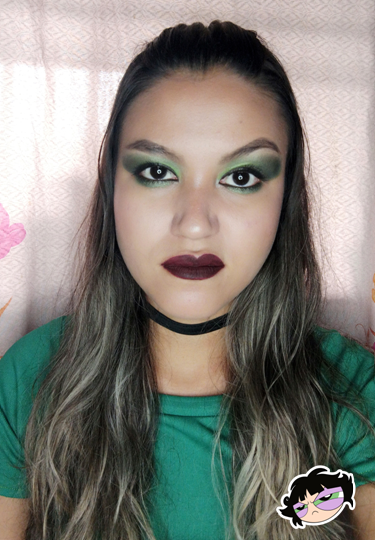
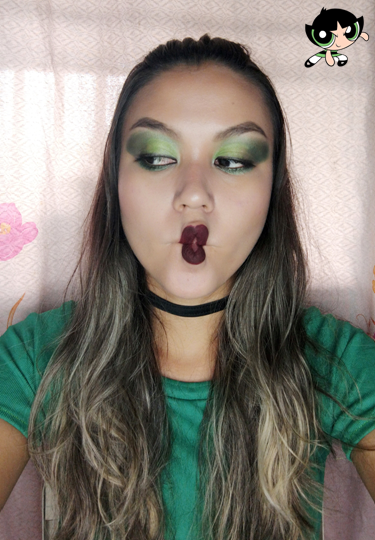
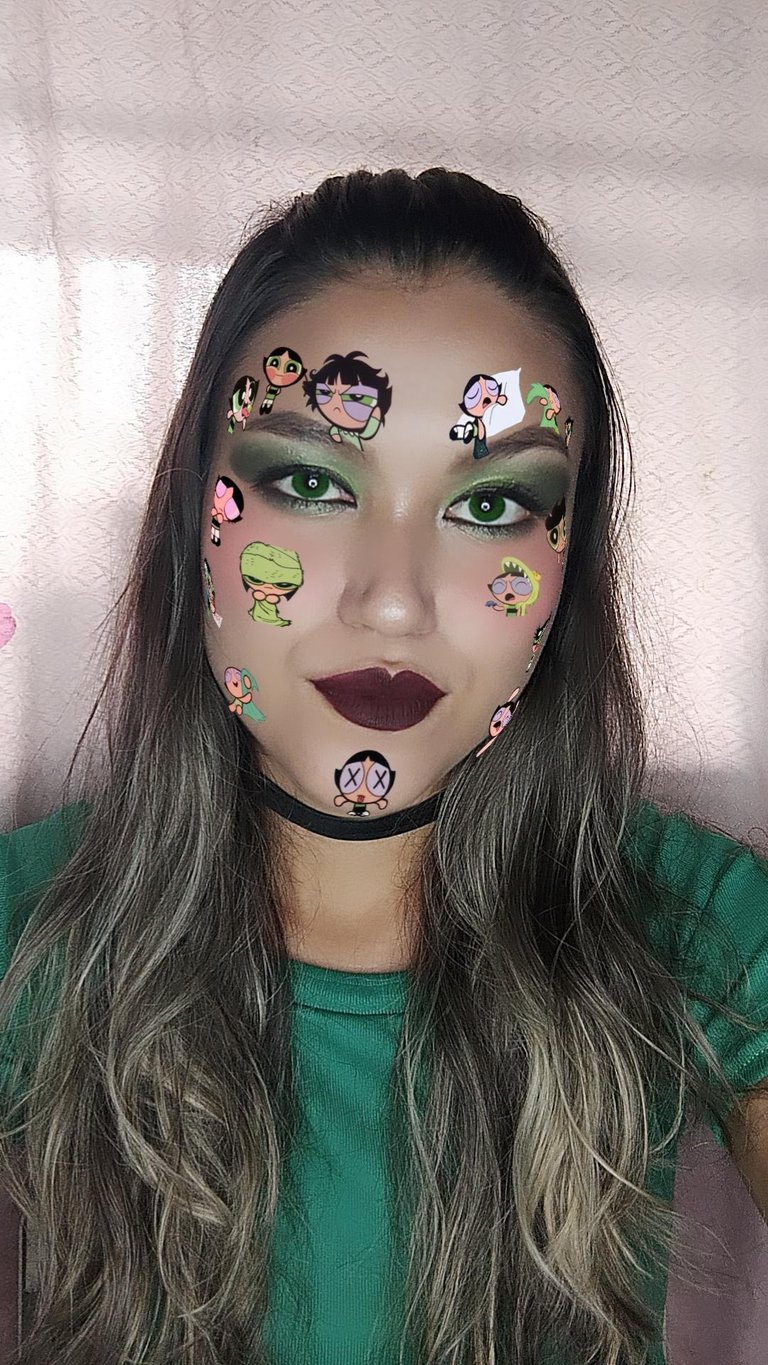
Tercer y último maquillaje de las Chicas Superpoderosas, desde que tuve la idea de hacer estos looks estaba sumamente emocionada y en ningún momento ésta emoción ha mermado, con éste último maquillaje me siento feliz de hacerme inspirado en una de mis series animadas favoritas, hoy con Bellota cerramos éstas inspiraciones y les muestro el paso a paso de éste look mas oscuro y gótico, representativo de nuestra chica malhumorada 💕💕.
Third and last make up of the Powerpuff Girls, since I had the idea of doing these looks I was extremely excited and at no time this emotion has diminished, with this last make up I feel happy to be inspired by one of my favourite animated series, today with Buttercup we close these inspirations and I show you the step by step of this darker and gothic look, representative of our grumpy girl 💕💕.

🦸🏻♀️ COMENCEMOS CON EL LOOK || LET'S START WITH THE LOOK 💥
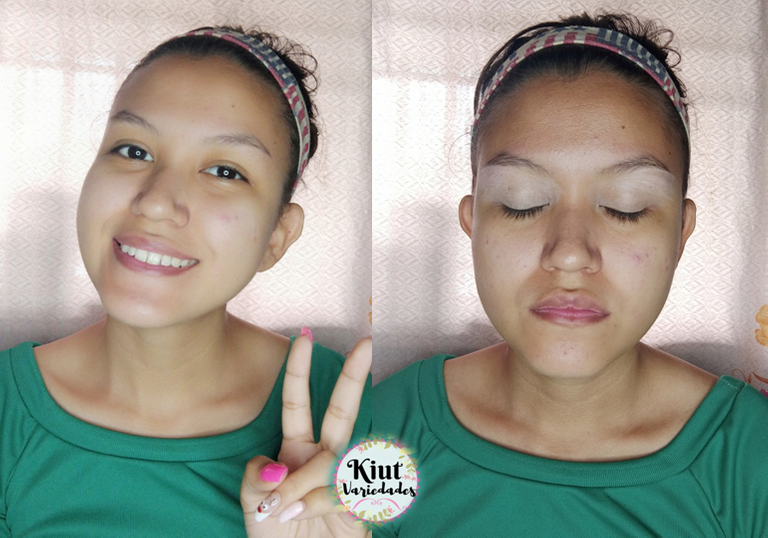
Al igual que en todos mis maquillajes, comencé preparando mi piel con mi respectiva rutina de skin care, luego me pase a la aplicación del corrector en el parpado, una de las razones por la cual siempre comienzo por los ojos en la mayoría de los maquillajes, es porque así evito luego andar con restos de las sombras en el maquillaje de rostro, de esta forma me garantizo de que el look quedó completamente limpio.
As with all my makeovers, I started by preparing my skin with my skin care routine, then I moved on to applying concealer to the eyelid, one of the reasons why I always start with the eyes in most makeovers is because that way I avoid having any shadow residue on my face make up, this way I make sure that the look is completely clean.
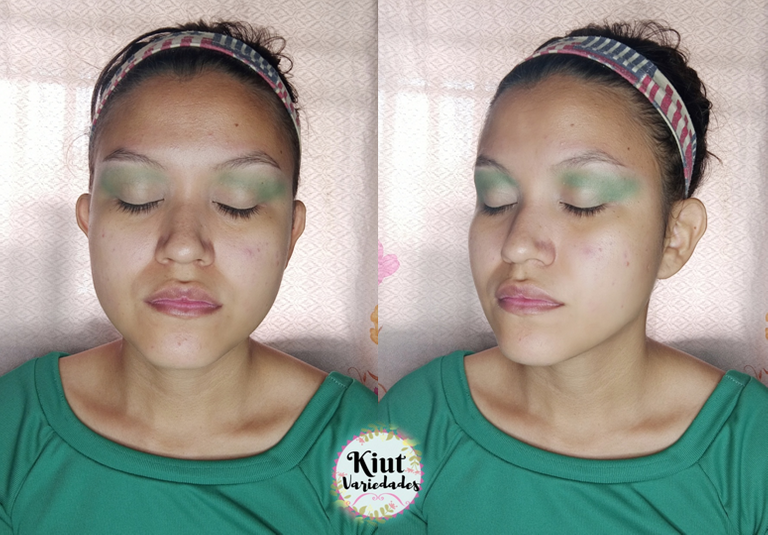
Con el parpado listo, aplique una sombra verde clara con el fin de que sea mi color de transición, luego de esto aplique una sombra mas oscuro en un tono verde navidad, cuando se trabaja con tonos verdes es importante la paciencia y la construcción del color poco a poco, pues en mi experiencia, el color verde es un poco difícil de trabajar debido su poca pigmentación.
With the eyelid ready, I applied a light green shade in order to be my transition colour, after this I applied a darker shade in a christmas green tone, when working with green tones it is important to be patient and build up the colour little by little, because in my experience, green is a bit difficult to work with due to its low pigmentation.
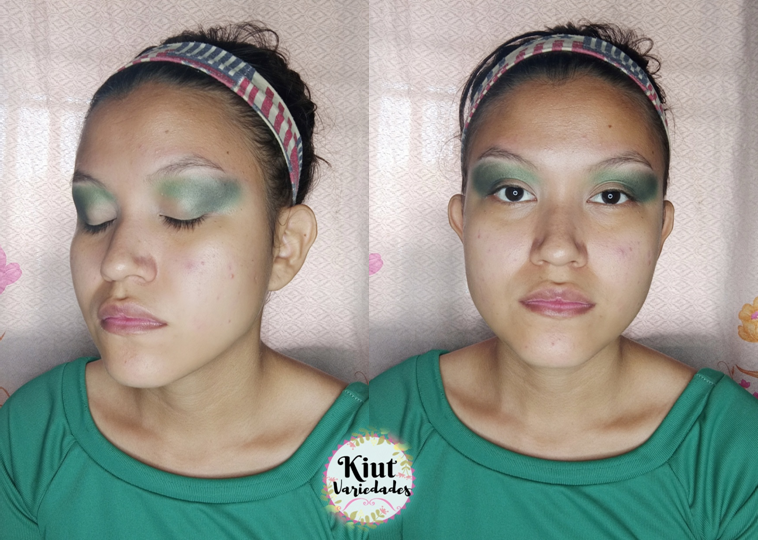
Oscurecí la parte externa del ojo con sombra negra, y luego de esto limpie la zona interna, aplique corrector hacienda un cut crease, justo aquí agregue una sombra verde manzana en combinación con un sombra satinada, para que diera un poco de brillo en esta área.
I darkened the outer part of the eye with black shadow, and after this I cleaned the inner area, applied concealer by doing a cut crease, right here I added an apple green shadow in combination with a satin shadow, to give a bit of shimmer to this area.
Evidentemente luego de los ojos me pase al rostro con la rutina de siempre, primero base, luego corrector, posteriormente hago el contorno de mi rosto y maquillo las cejas.
Obviously after the eyes I moved on to the face with the usual routine, first foundation, then concealer, then contour my face and make up my eyebrows.

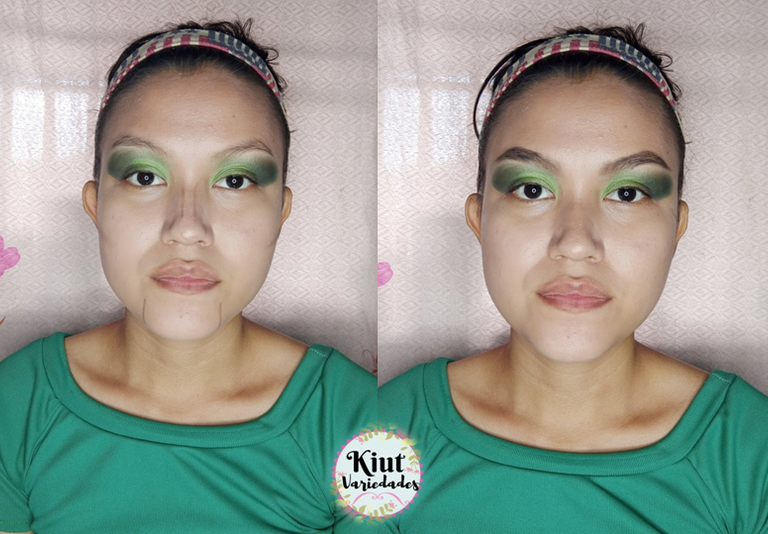
Añadí la sombra verde navidad en la parte inferior del ojo y luego selle el rostro con polvo compacto. Termine de dar color y forma a mi cara con bronzer, iluminador y rubor.
I added the christmas green shadow on the under eye and then sealed the face with pressed powder. I finished off the colour and shape of my face with bronzer, highlighter and blush.
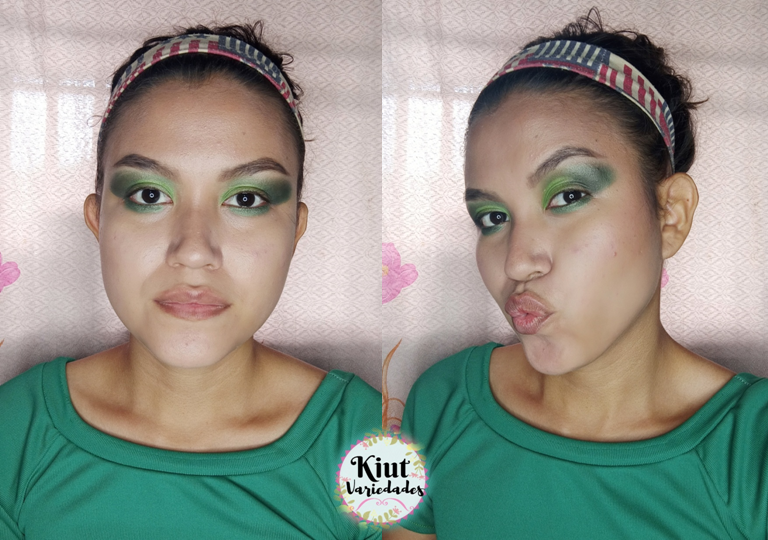
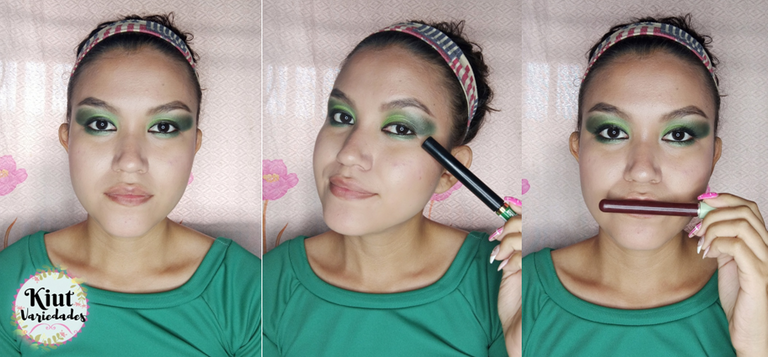
Con lápiz negro delinee todo el ojo, líneas de agua inferior y superior y en la parte del parpado móvil, aprovechando esto también añadí un poco de sombra negra pegado a las pestañas inferiores del ojo. Aplique rímel (nuevamente sin pestañas postizas) y finalice un labial vinotinto bastante oscuro.
With black pencil I lined the whole eye, upper and lower water lines and on the mobile eyelid, taking advantage of this I also added a bit of black shadow glued to the lower lashes of the eye. Apply mascara (again without false eyelashes) and finish with a dark vinotint lipstick.

Espero este post haya sido de tu agrado 👍 💕, si realizas por tu cuenta lo aquí explicado, no olvides contarme en los comentarios 👇 como ha sido tu experiencia.
I hope this post has been to your liking 👍 💕, if you do on your own what is explained here, do not forget to tell me in the comments 👇 how has been your experience.


Síguenos en todas nuestras redes sociales… || Follow us on all our social networks ...
Facebook:KiutVariedades
Instagram:@Kiut_variedades
Twitter:@Kiut_variedades
Todas las imágenes son de mi propiedad || All images are my property
The rewards earned on this comment will go directly to the people sharing the post on Twitter as long as they are registered with @poshtoken. Sign up at https://hiveposh.com.
~~~ embed:1598454699652517889?s=20&t=NAfqaiT364SI79faxel8JA twitter metadata:a2l1dF92YXJpZWRhZGVzfHxodHRwczovL3R3aXR0ZXIuY29tL2tpdXRfdmFyaWVkYWRlcy9zdGF0dXMvMTU5ODQ1NDY5OTY1MjUxNzg4OXw= ~~~
Gracias por el apoyo 💕
Thank you for sharing this post on HIVE!
Your content got selected by our fellow curator jasonmunapasee & you just received a little thank you upvote from us for your great work! Your post will be featured in one of our recurring compilations which are aiming to offer you a stage to widen your audience within the DIY scene of Hive. Next time make sure to post / cross-post your creation within the DIYHub community on HIVE and you will receive a higher upvote ;) Stay creative & HIVE ON!
Please vote for our hive witness <3
Thank you very much for your support 🌹.