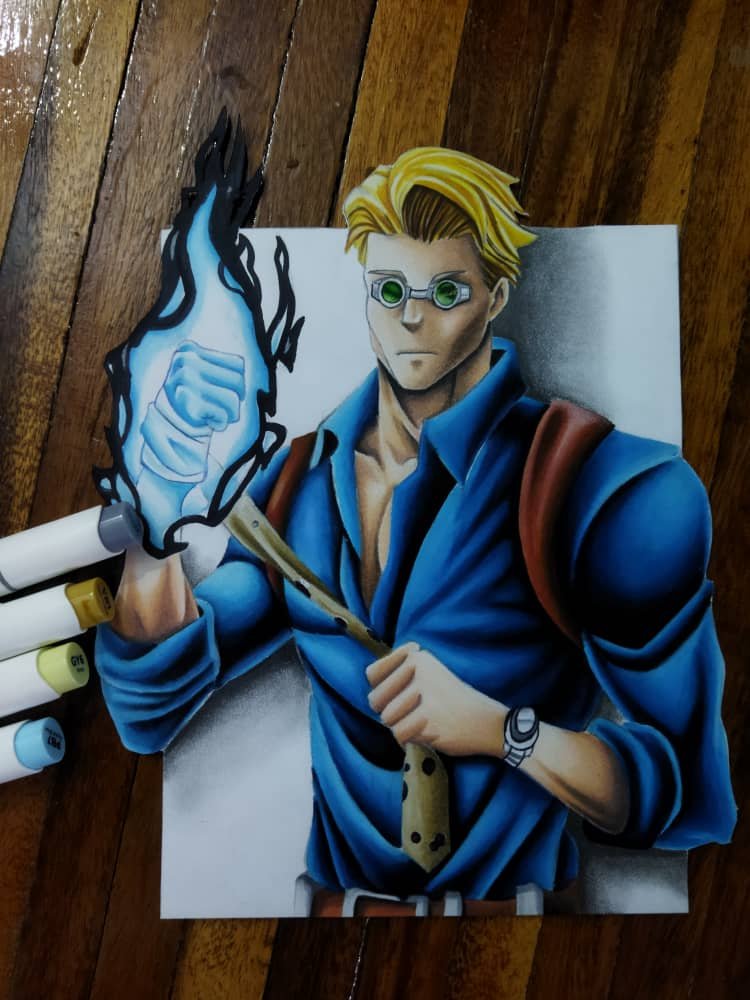
Buenos días gente de la comunidad espero que estén bien, el día de hoy les quería compartir este dibujo de Kento Nanami, es uno de los personajes del anime y manga de Jujutsu Kaisen un anime muy bueno se los recomiendo mucho porque la historia es bastante buena y tiene luchas muy genialese los recomiendo mucho no se arrepentirán. Kento Nanami es uno de mis personajes favoritos de este anime y lo quise realizar en un estilo diferente tarde aproximadamente unas 12 horas en realizar el dibujo por completo, tarde mucho en el boceto porque es una de las partes más importantes de todo el dibujo.
Good morning people of the community I hope you are well, today I wanted to share this drawing of Kento Nanami, is one of the characters of the anime and manga Jujutsu Kaisen a very good anime I highly recommend it because the story is pretty good and has very cool fights I highly recommend it you will not regret it. Kento Nanami is one of my favorite characters of this anime and I wanted to do it in a different style, it took about 12 hours to do the drawing completely, it took a lot of time in the sketch because it is one of the most important parts of the whole drawing.
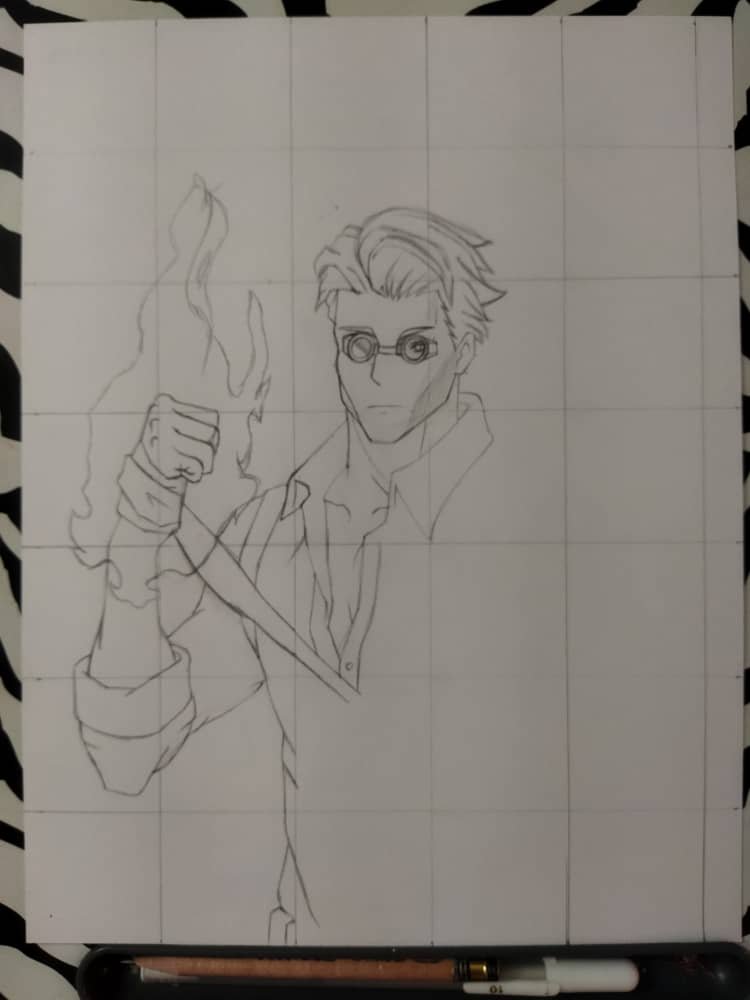
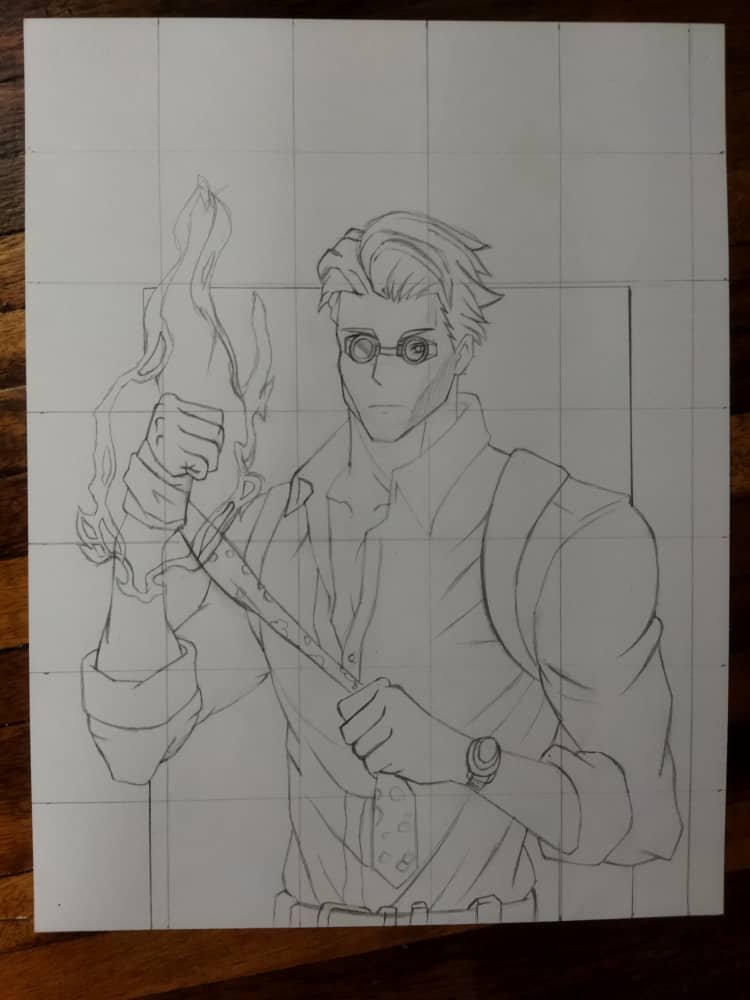
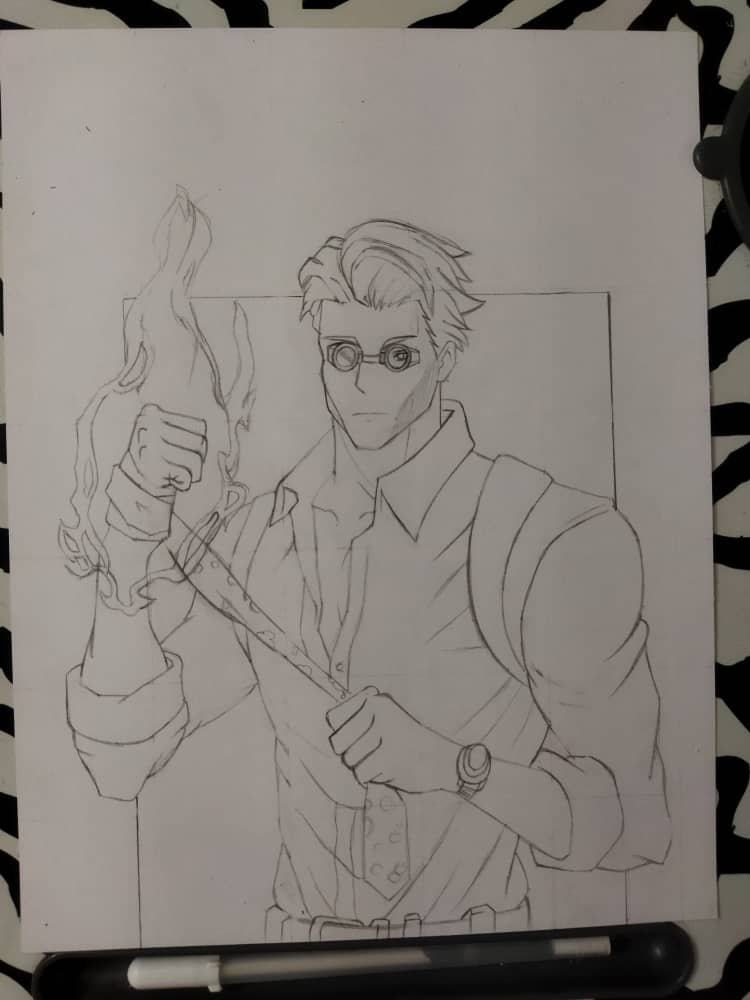
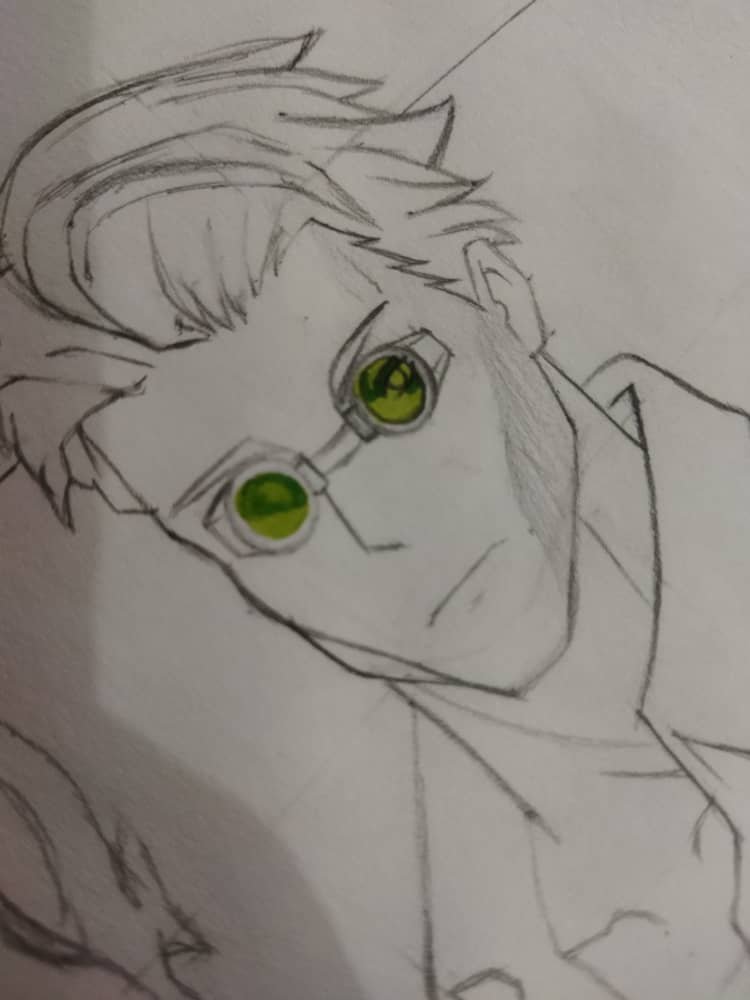
Para realizar el boceto utilice el método de la cuadricula el cual es un método que consiste en dividir la hoja en cierta cantidad de cuadros, de la misma forma tendremos que hacerlo con la imagen de referencia y gracias a las líneas y los cuadros podremos guiarnos más fácil para hacer el boceto y eso nos ayudara para que todo quede proporcionado y en su lugar. Utilice un lápiz de tonalidad HB para hacer el boceto el cual es un lápiz de tonalidad intermedia y dependiendo del grado de presión que apliquemos podremos obtener tonalidades oscuras o claras, es recomendable hacer los trazos del boceto con poca presión para obtener tonalidades clara y de esa forma al momento de borrar no quedaran marcas en la hoja o cartulina.
To make the sketch I used the grid method which is a method that consists of dividing the sheet into a certain number of squares, in the same way we have to do it with the reference image and thanks to the lines and squares we can guide us easier to make the sketch and that will help us so that everything is proportionate and in place. Use a HB pencil to make the sketch which is a pencil of intermediate tonality and depending on the degree of pressure that we apply we can obtain dark or light tones, it is advisable to make the strokes of the sketch with little pressure to obtain clear tonalities and that way at the time of erasing there will be no marks on the sheet or cardboard.
Para hacer el coloreado utilice colores de la marca Crayola, Prismacolor y marcadores de la marca Ohuhu, en el coloreado de la piel utilice los colores de la marca Crayola aplicando primero los tonos oscuros y luego los tonos claros aplicándolos suavemente a base de capas, para obtener buenos degradados y para que los colores se combinaran mejor entre ellos.
To make the coloring use Crayola, Prismacolor and Ohuhu markers, in the coloring of the skin use Crayola colors applying first the dark tones and then the light tones applying them smoothly in layers, to obtain good gradients and for the colors to combine better with each other.
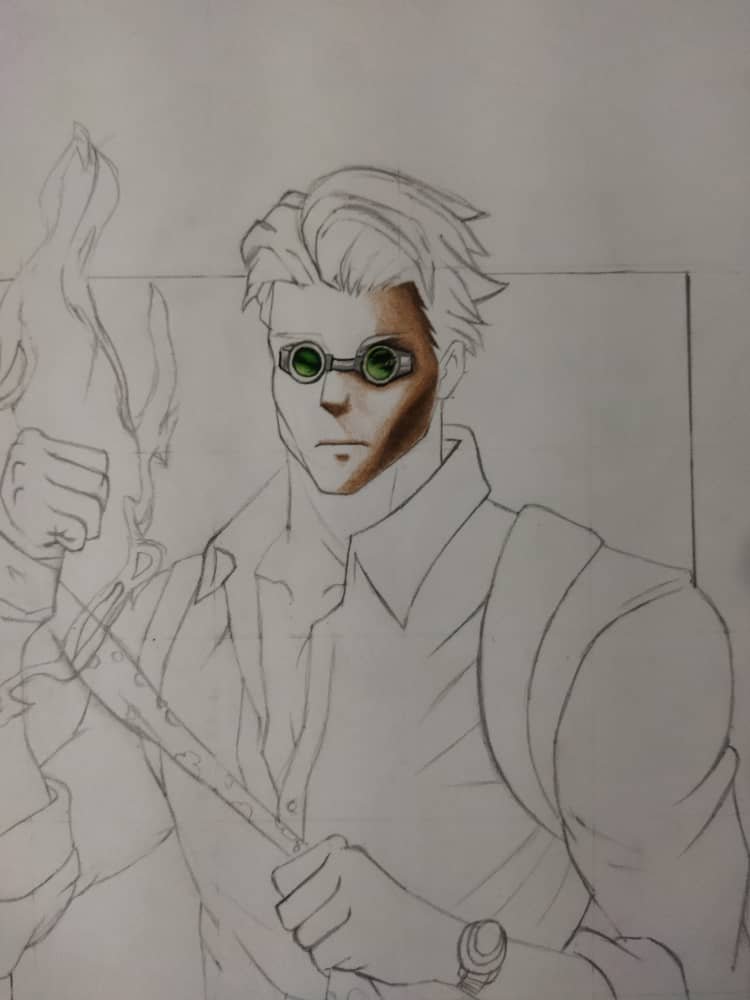
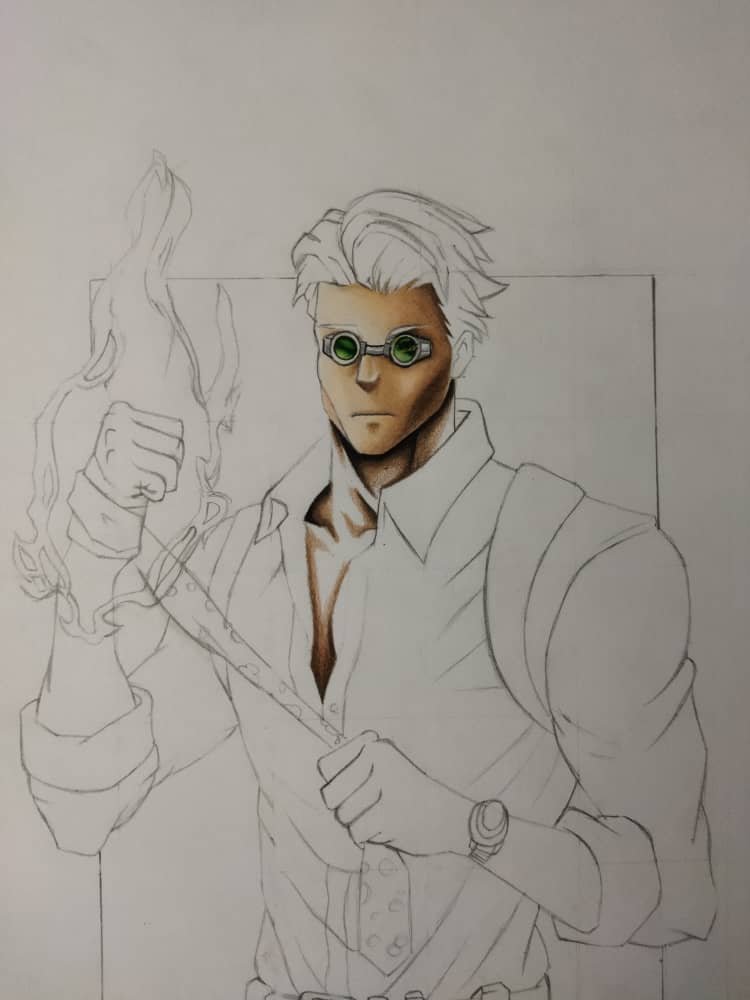
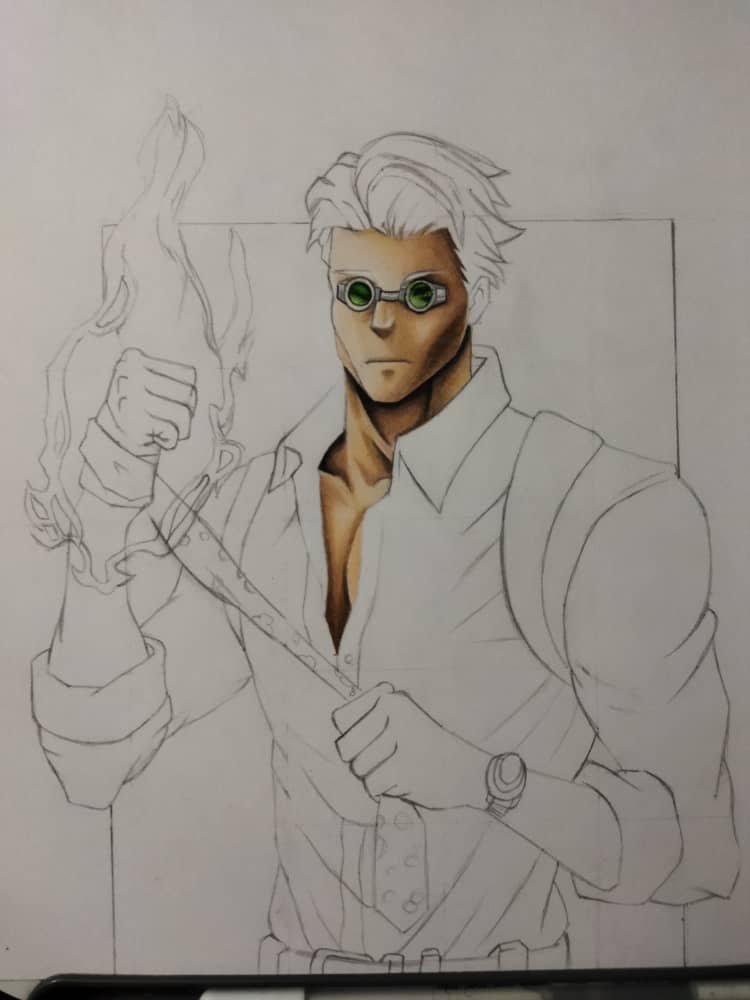
En la ropa aplique primero los marcadores utilizando primero los tonos oscuros y luego los claros para rendirlos un poco más, al utilizar marcadores tenemos que aplicarlos de manera rápida para que se puedan combinar mejor entre ellos, al aplicar primero los marcadores y luego los colores podremos colorear mucho más rápido y los colores se verán mucho más intensos y mejores. Dibujar con colores y marcadores es bastante divertido y entretenido y lo dibujos pueden quedar mucho mejores, pero solamente con los colores podremos obtener muy buenos resultados finales.
In the clothes apply first the markers using first the dark tones and then the light ones to render them a little more, when using markers we have to apply them in a fast way so that they can combine better between them, when applying first the markers and then the colors we will be able to color much faster and the colors will look much more intense and better. Drawing with colors and markers is quite fun and entertaining and the drawings can be much better, but only with the colors we can get very good final results.
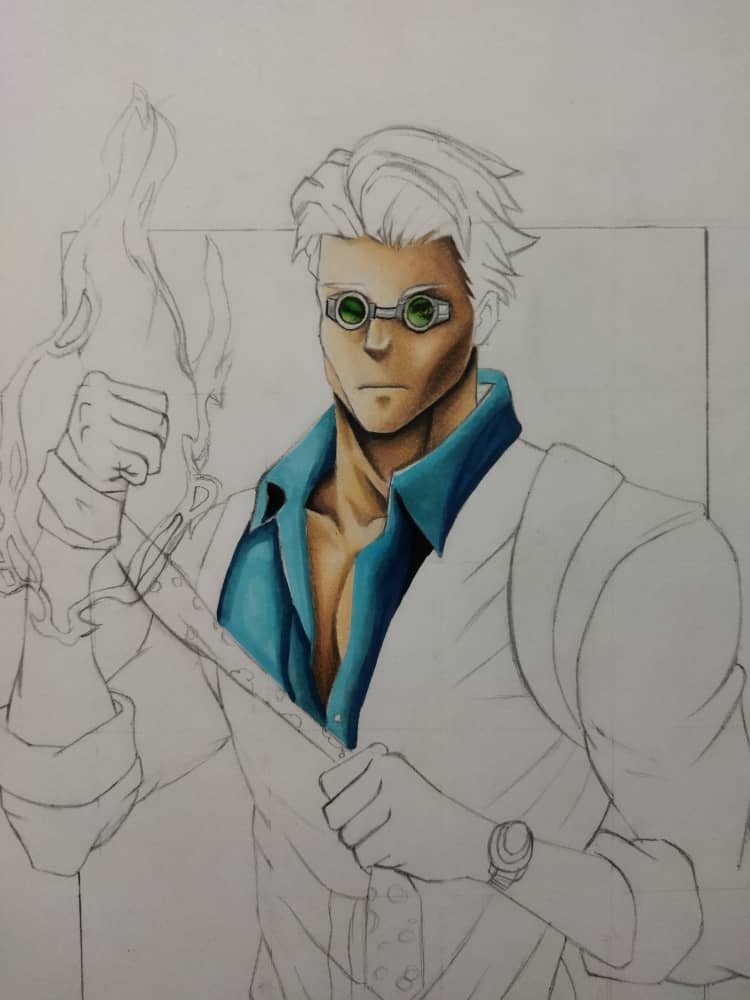
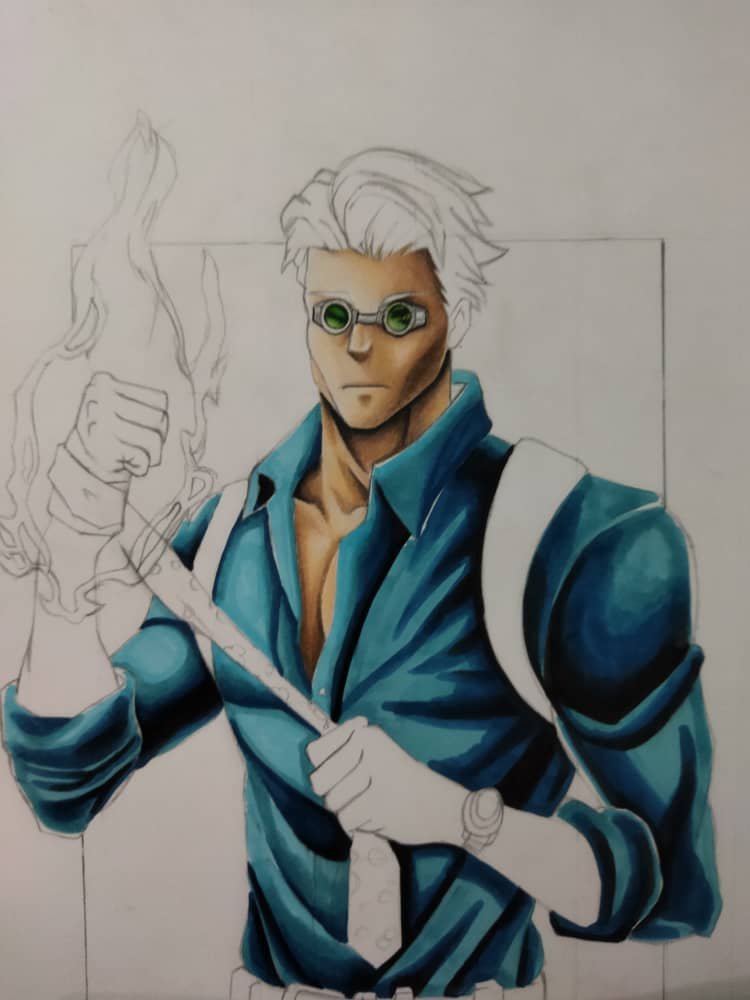
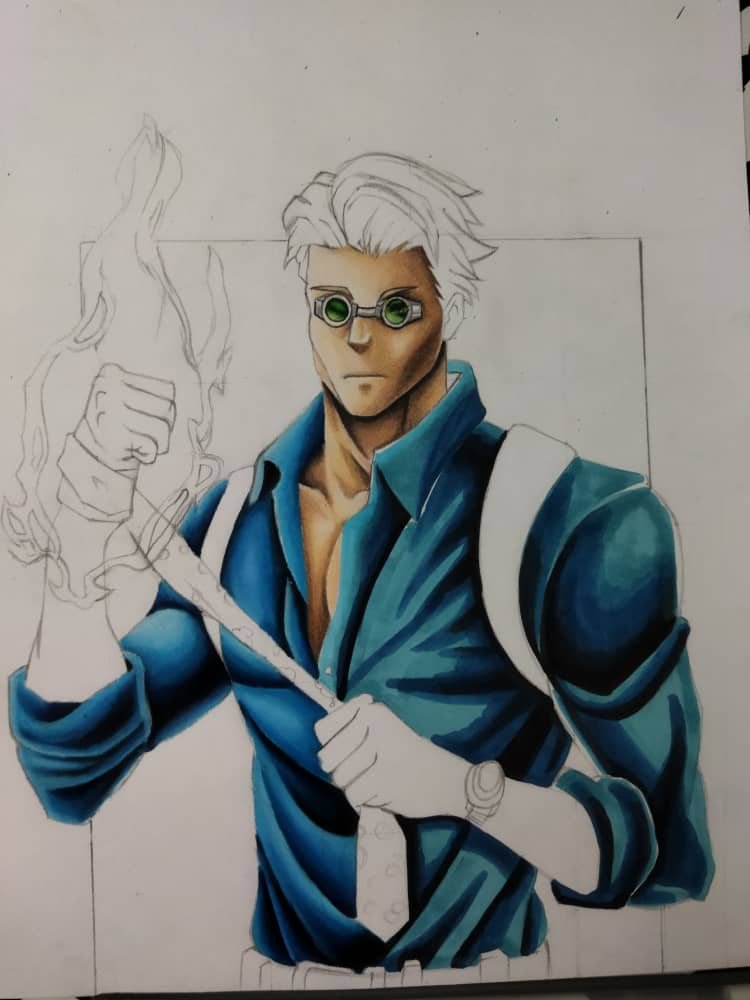
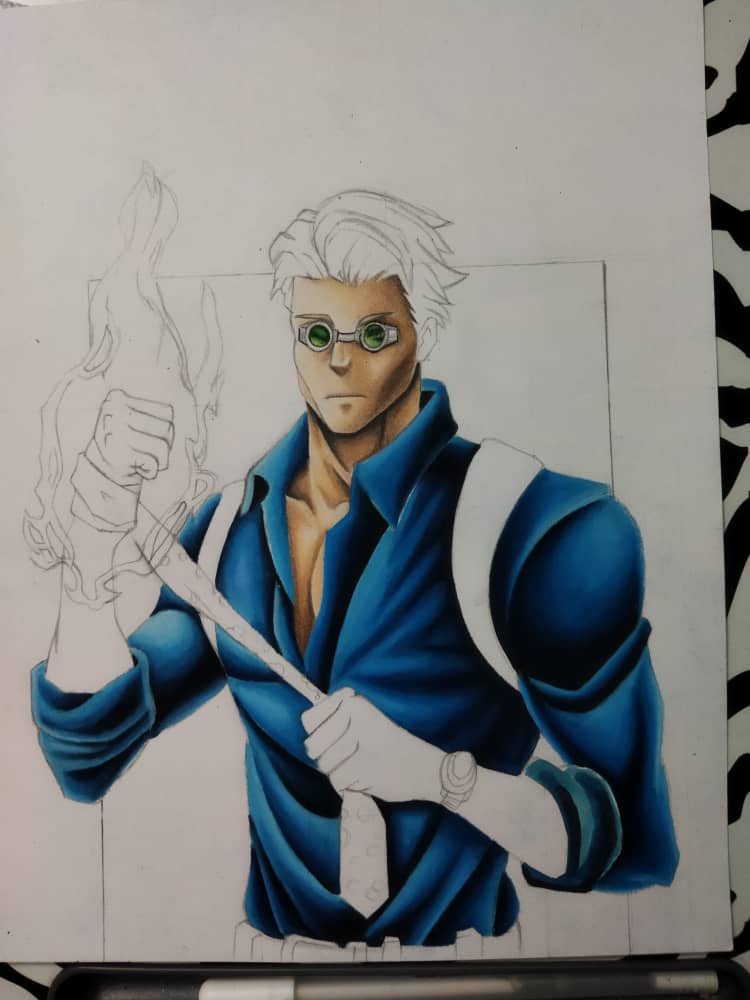
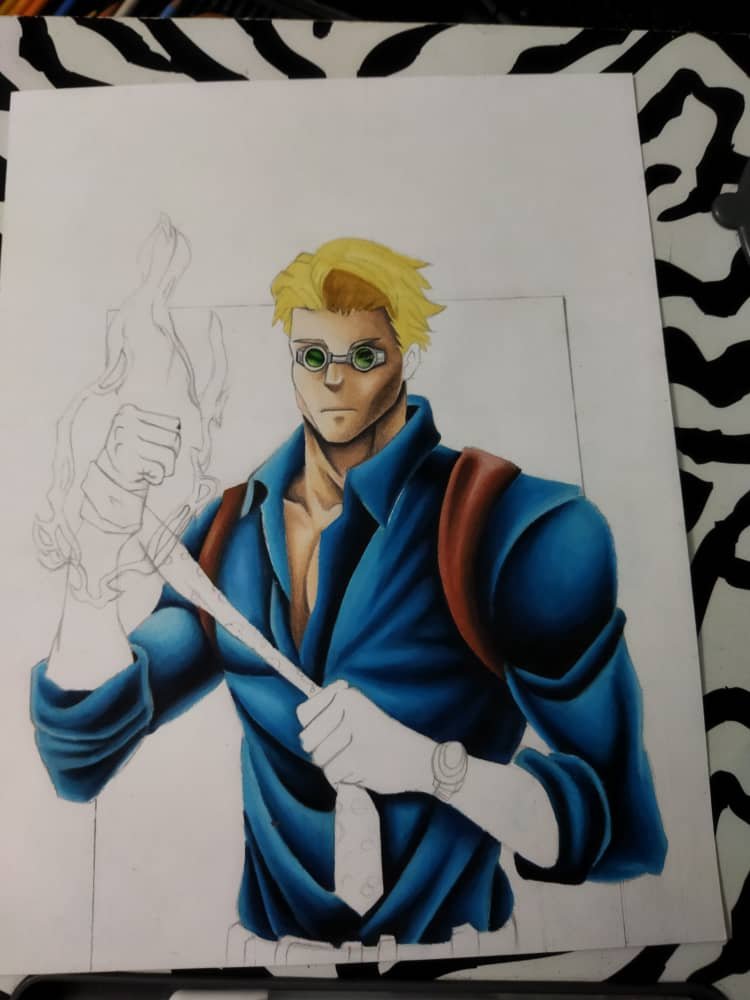
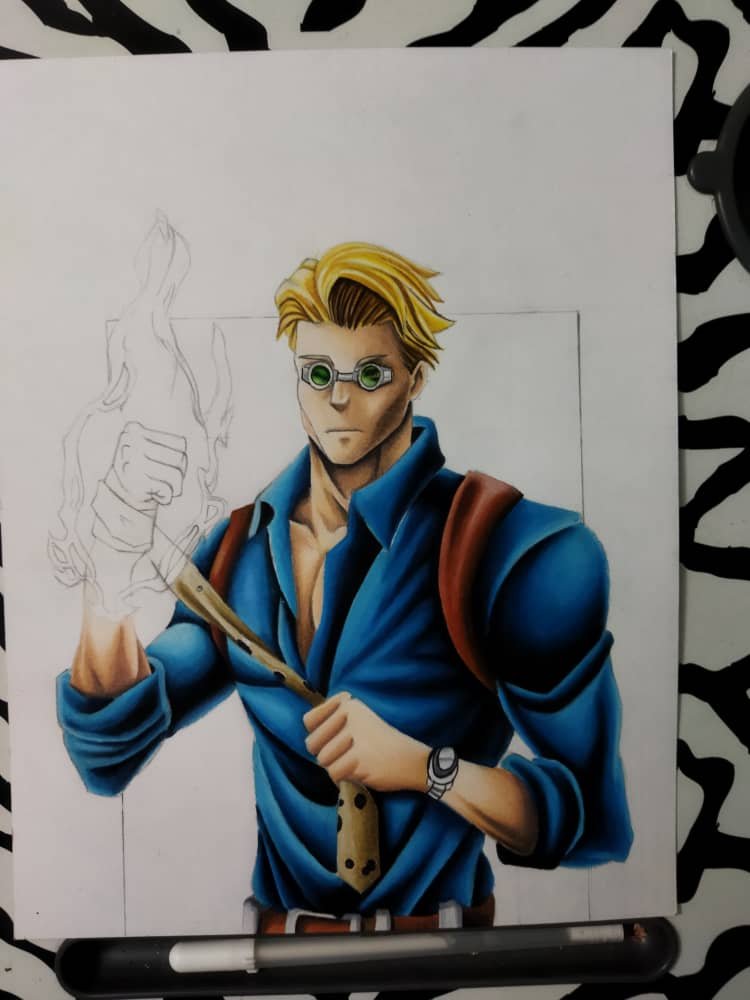
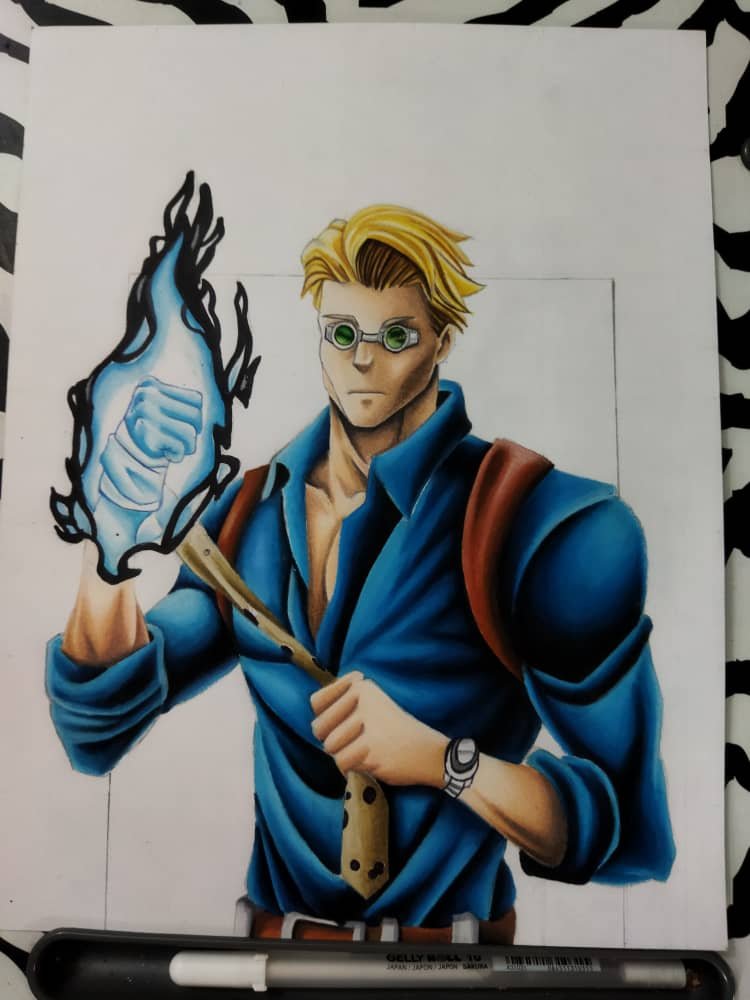
Al momento de hacer los dibujos en 3D el resultado final queda un poco pequeño pero se ve bastante bien una vez tengamos el coloreado terminado con unos lápices de grafito podremos realizar la sombra de la parte trasera del personaje, esa sombra lograra que el personaje resalte mucho mas y le dará un buen efecto al personaje al momento de recortarlo. Cuando lo recortemos tenemos que tener mucho cuidado para no cortar parte del personaje, lo podremos recortar con unas tijeras o un bisturí pero con mucho cuidado.
At the time of making the 3D drawings the final result is a little small but it looks pretty good once we have the coloring finished with some graphite pencils we can make the shadow of the back of the character, this shadow will make the character stand out much more and will give a good effect to the character when we cut it out. When we cut it out we have to be very careful not to cut part of the character, we can cut it with scissors or a scalpel but very carefully.
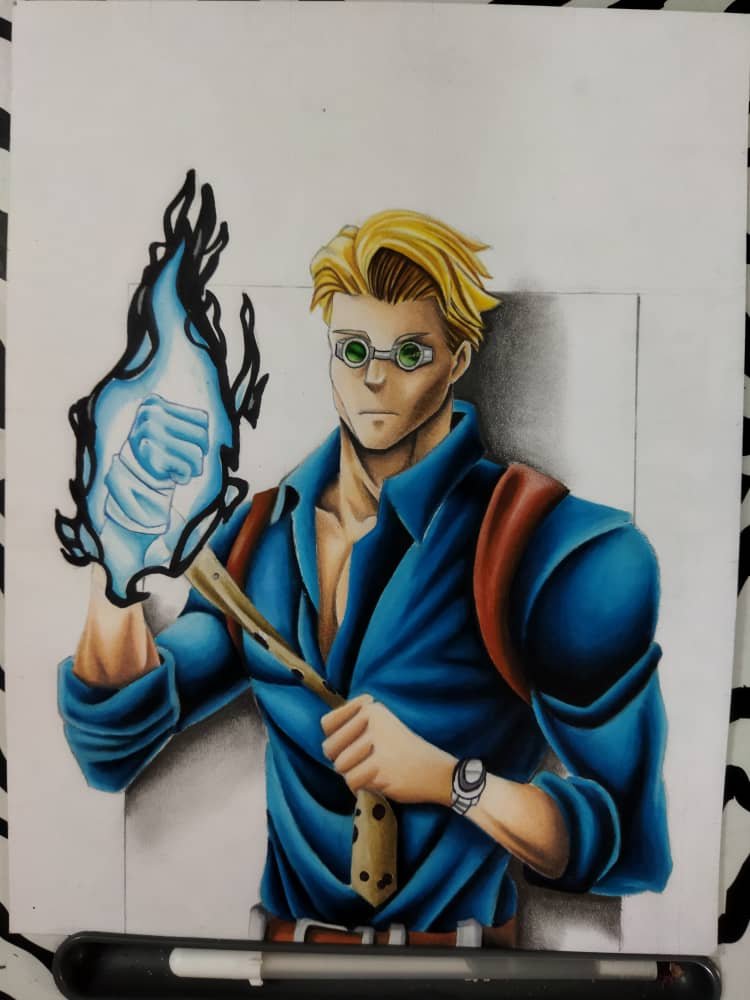
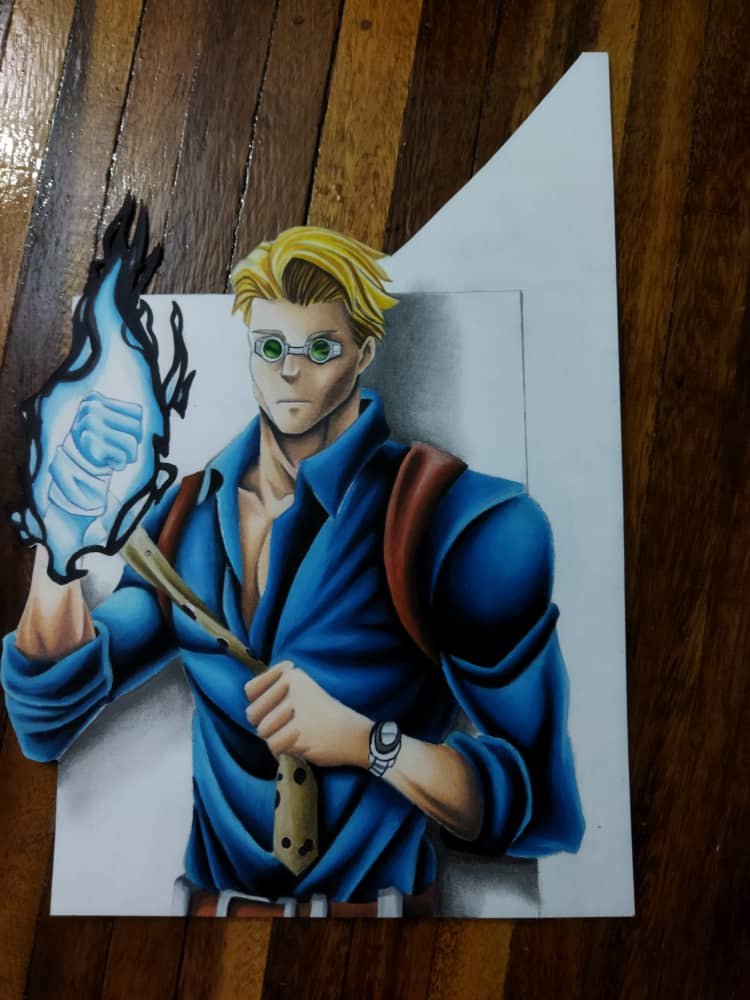
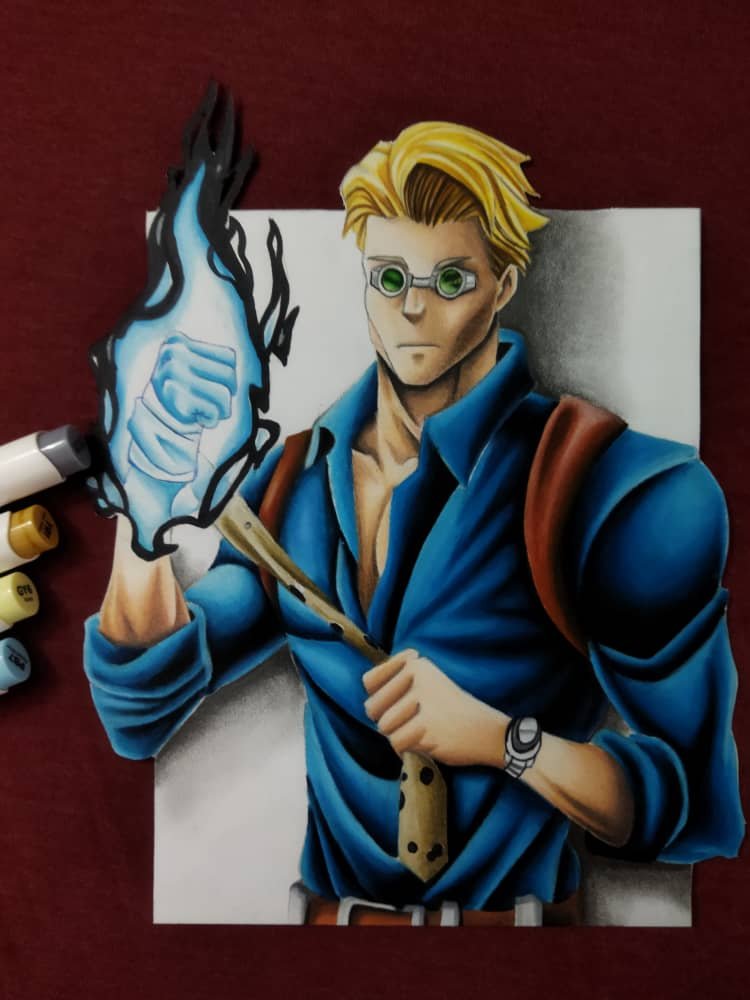

Espero que el resultado final del dibujo les guste mucho si tienen un consejo o recomendación pueden dejarlo en los comentarios, también pueden colocar algún personaje que les gustaría que dibujara, muchas gracias por leer la publicación y nos vemos próximamente con un nuevo dibujo.
I hope you like the final result of the drawing very much if you have any advice or recommendation you can leave it in the comments, you can also put a character that you would like me to draw, thank you very much for reading the publication and see you soon with a new drawing.
Hola! Te quedó genial tu dibujo, no tengo idea de quién es 😂 pero me gustó mucho la profundidad que lograste con los colores. 😊✨
Muchas gracias 🙂
Congratulations @jjperozo! You have completed the following achievement on the Hive blockchain and have been rewarded with new badge(s):
Your next payout target is 1000 HP.
The unit is Hive Power equivalent because post and comment rewards can be split into HP and HBD
You can view your badges on your board and compare yourself to others in the Ranking
If you no longer want to receive notifications, reply to this comment with the word
STOPSupport the HiveBuzz project. Vote for our proposal!