I have never been one to make desserts, not ever. But about 2 months ago, I made my first chocolate cake, and to everyone's surprise (including mine), it turned out amazing. This time, I felt more confident navigating the kitchen and prepared a dark chocolate cake while wearing pajamas.
Warning: if you're not in pajamas, it won't turn out the same.
Nunca he sido de preparar postres, jamás. Pero desde que hace como 2 meses hice mi primera torta de chocolate y para sorpresa de todos quedó increíble, esta vez tuve más confianza de desenvolverme en la cocina y preparar una torta de chocolate oscuro, en pijama.
Advertencia: si no estás en pijama, no quedará igual.
I must say I'm very new to baking, and it's very likely that those who truly know about cooking will notice the culinary sins I committed with this recipe. However, I'm just showing in this post how I made my chocolate cake, which, very modestly, I'll say turned out divine.
Disclaimer: sometimes it won't look as aesthetic as we wish but that's part of the magic in it. Trust the process.
Debo decir que soy muy nueva en esto de la repostería, y muy probablemente quienes realmente saben de cocina vean que cometí sacrilegios culinarios con esta receta, pero, solo muestro en este post cómo yo hice mi torta de chocolate que, muy modestamente, diré que quedó divina.
Aclaratoria: puede que a veces no se vea muy estética la preparación, pero eso es parte de la magia. Confía en el proceso.
Ingredients (for 2 small cakes that you won't want to share with anyone):
- 1 and 1/2 cups of self-rising wheat flour.
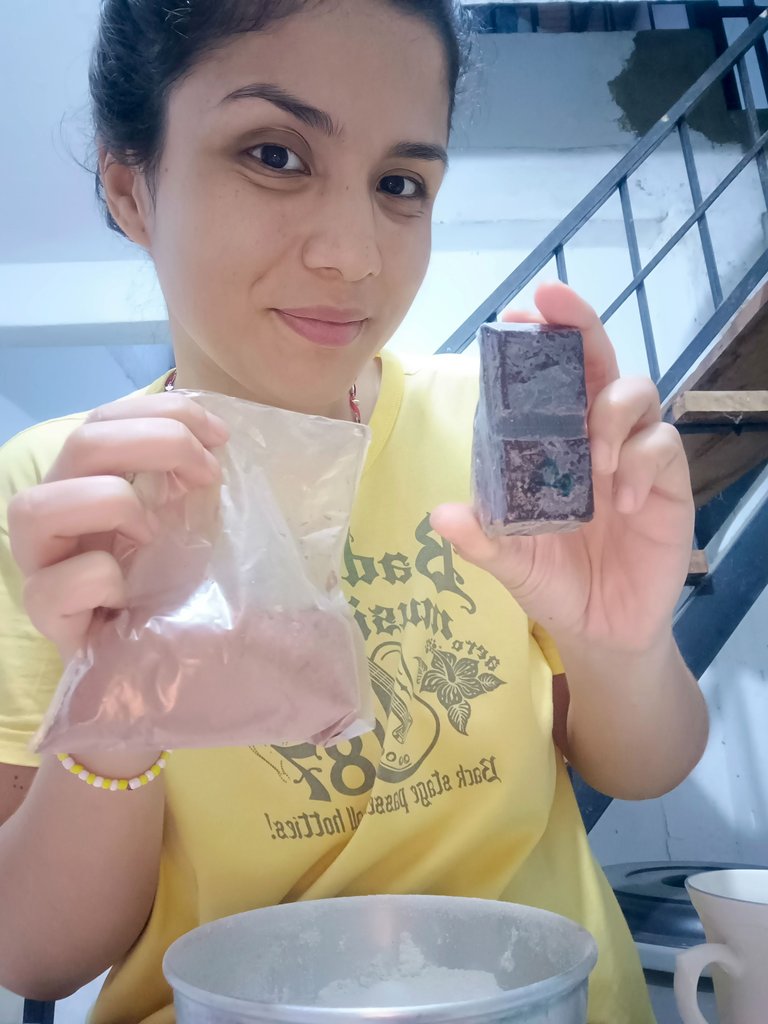
- 100 grams of dark chocolate bar (also called "coating chocolate").
- 50 grams of dark cocoa powder.
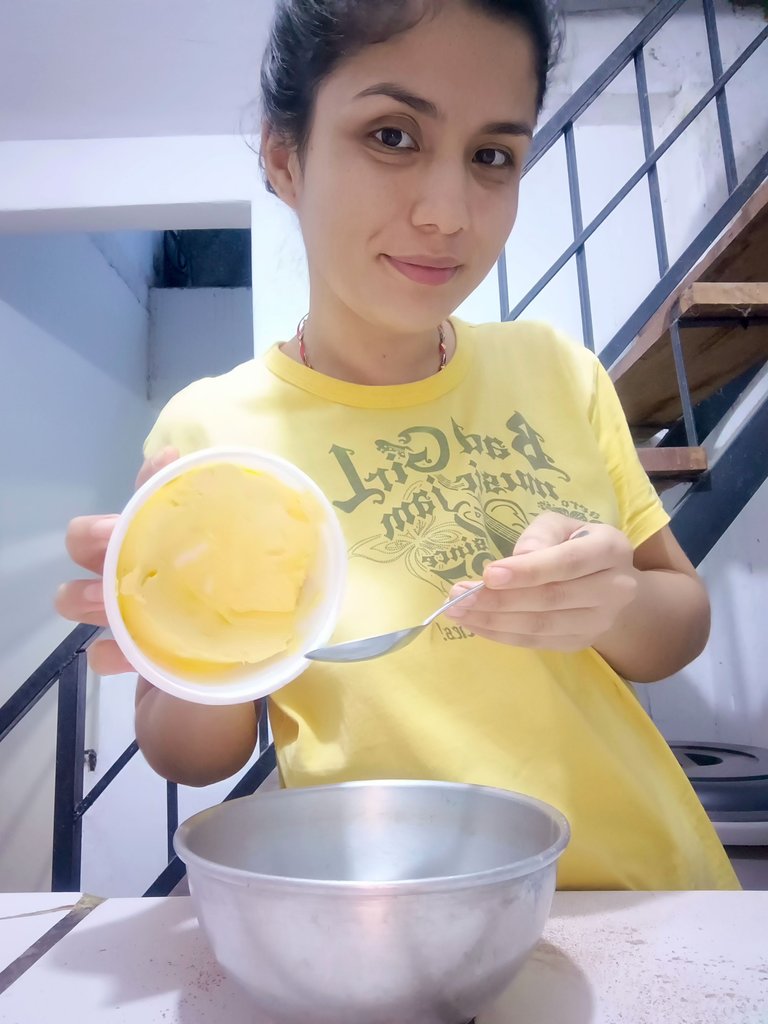
- 1 and 1/2 large tablespoons of salted butter.
- Almost 1 full cup of white sugar.
- 1/2 cup of water at room temperature.
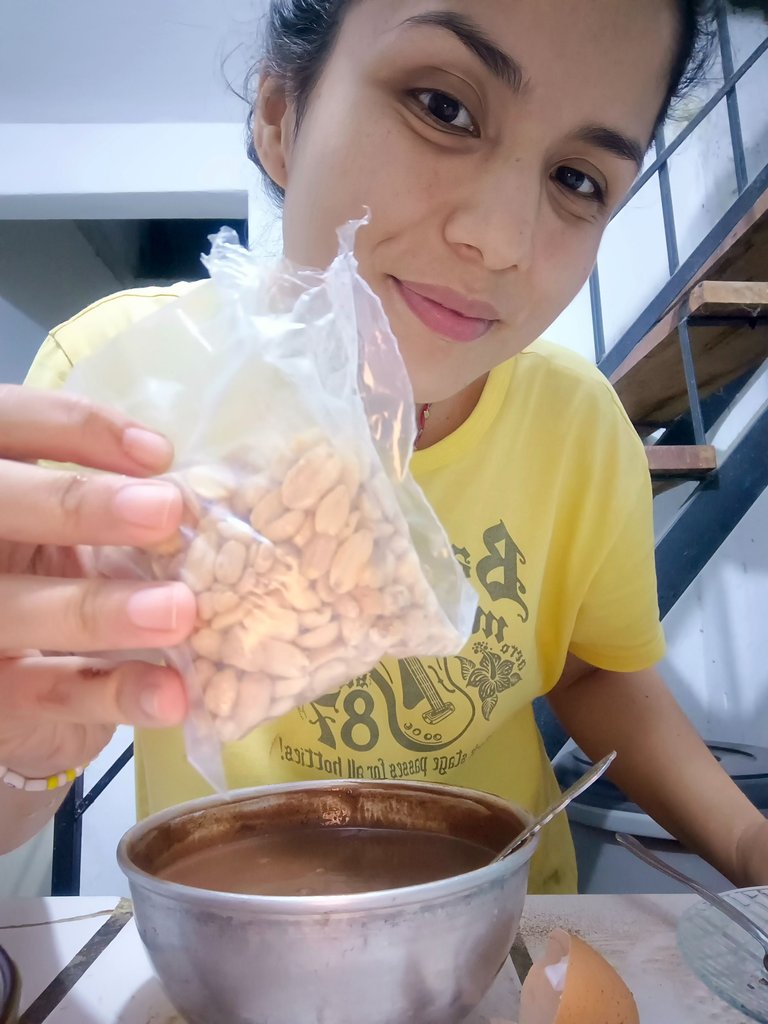
- 50 grams of unsalted peanuts.
- 2 small bananas sliced into rounds.
So, with your pajamas on, let’s get into the step-by-step of this recipe:
Ingredientes (para 2 tortas pequeñas que no querrás compartir con nadie):
1 taza y 1/2 de harina de trigo leudante.
100 gr de chocolate oscuro en barra (también le llaman "chocolate de cobertura").
50 gr de chocolate en polvo oscuro.
1 cucharada y 1/2 grandes de mantequilla con sal.
1 taza casi entera de azúcar blanca.
1/2 taza de agua a temperatura ambiente.
50 gr de maní sin sal.
2 bananas pequeñas picadas en rodajas.
Así que, con tus pijamas puestas vamos al paso a paso de esta receta:
1. Oven
Turn the oven to maximum heat to preheat while preparing the mixture, as if you want to burn all your dark past.
- Horno:
Enciende el horno a toda llama para precalentarlo mientras preparas la mezcla, como si quisieras quemar todo tu pasado oscuro.
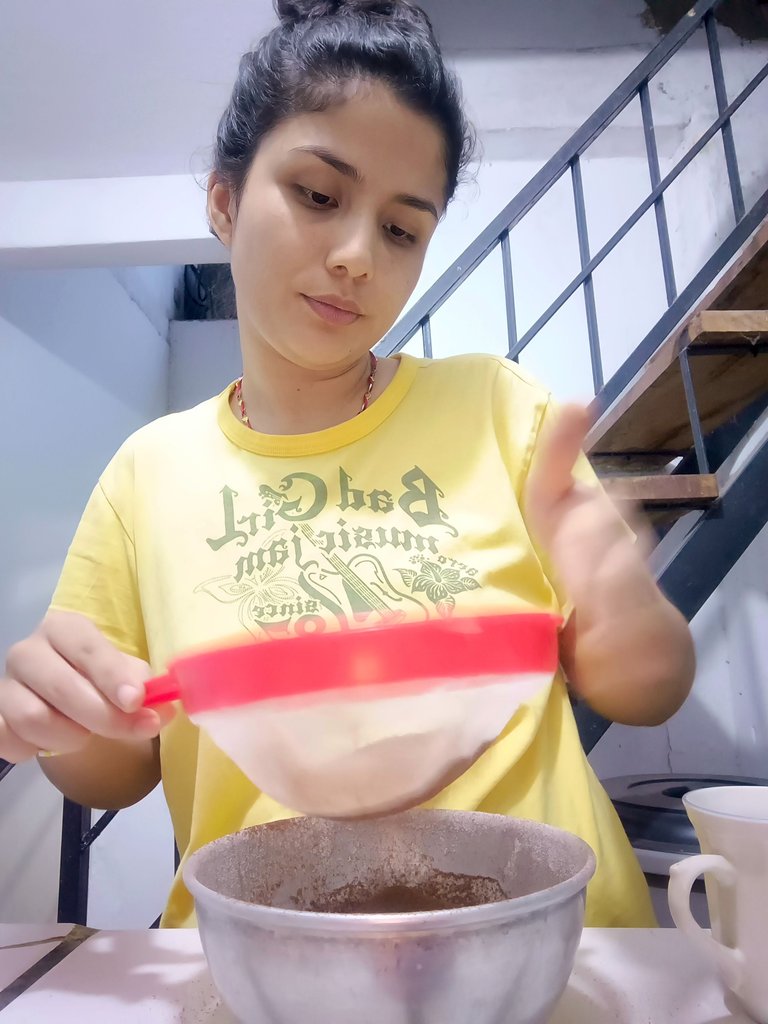
2. Preparing the powdered ingredients
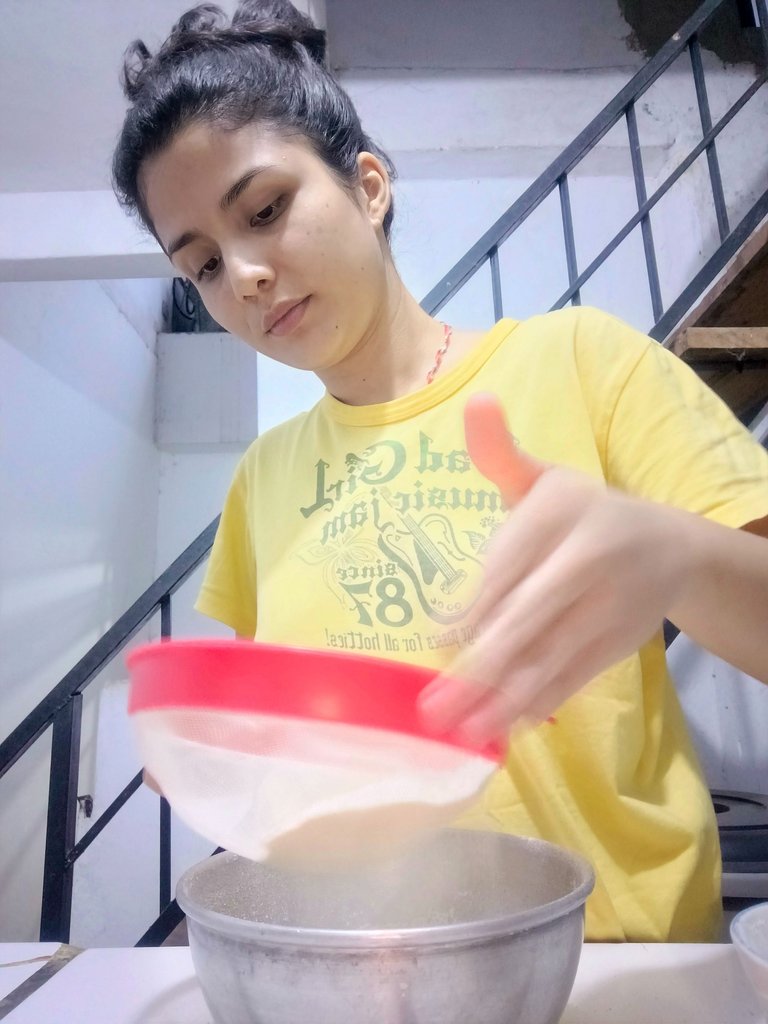
The key to this step is sifting to prevent the ingredients from clumping together in the mixture and making everything harder.
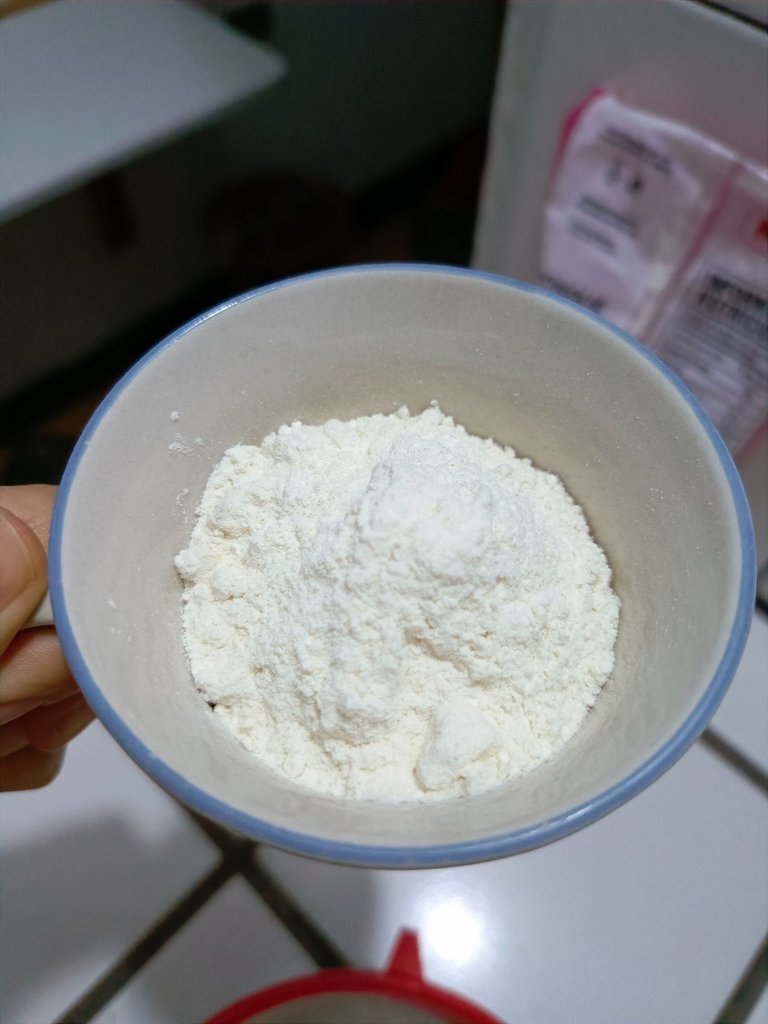
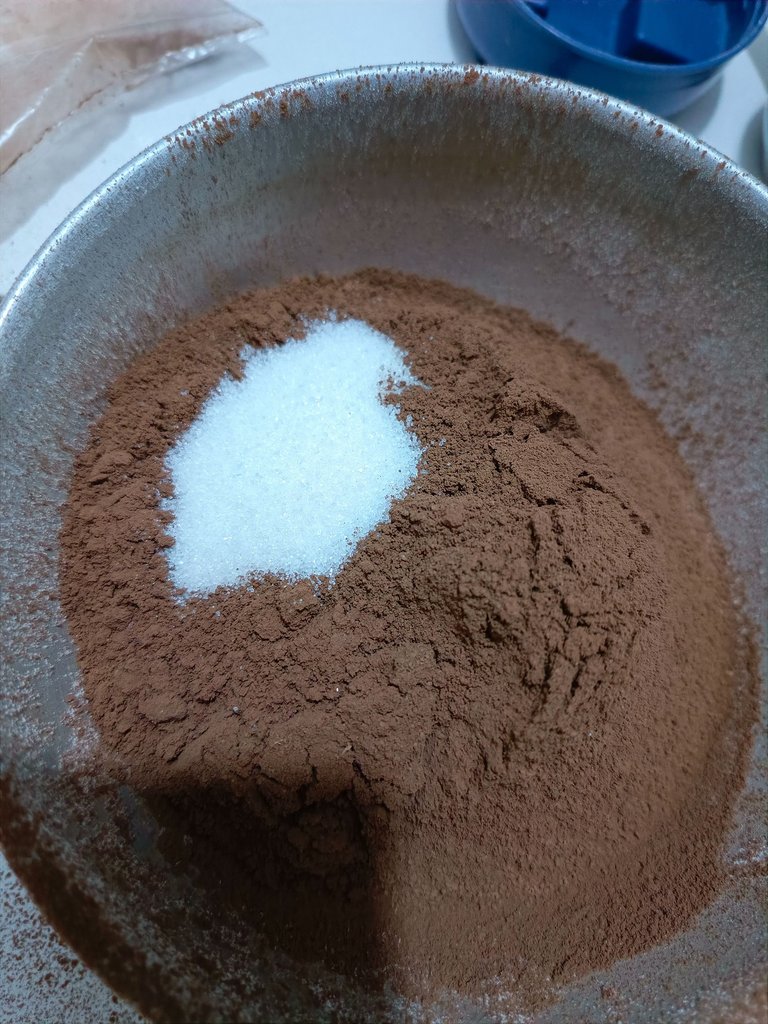
First, add 1 and 1/2 cups of self-rising wheat flour to the bowl where everything will be prepared, and sift it using a sieve—this means tapping the sieve gently so the flour falls loose into the bowl. Do the same with 50 grams of dark cocoa powder. Then, directly add almost 1 full cup of white sugar.
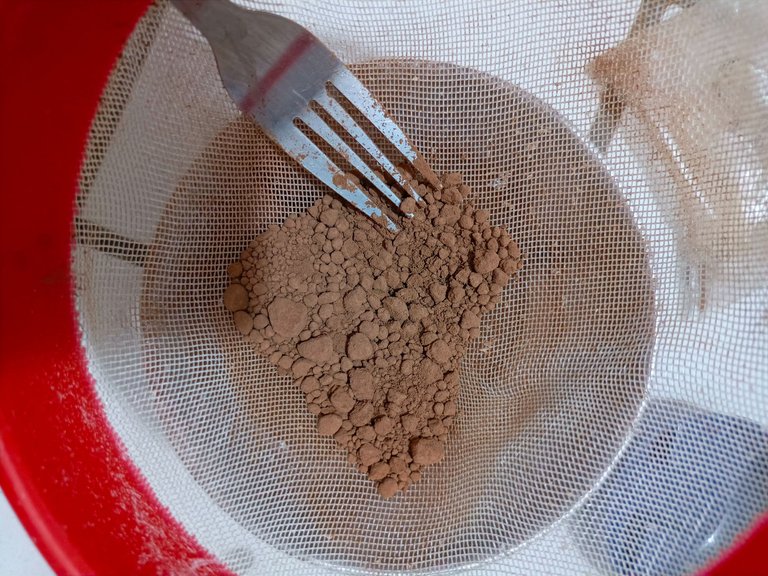
A little trick: if any ingredient already has formed lumps, use a fork to crush them against the sieve’s mesh to sift them properly.
At this point, you can start to feel the excitement of being almost a professional pastry chef.
- Preparación de los ingredientes en polvo:
La clave de este paso es el tamizaje para evitar que los ingredientes se apelotonen en la mezcla y todo se haga más difícil.
Primero, agregamos 1 taza y 1/2 de harina de trigo leudante al bowl donde prepararemos todo, y tamizamos con la ayuda de un colador -lo que significa que damos toquecitos al colador para que la harina caiga suelta en el bowl-.
Hacemos lo mismo con unos 50 gr de chocolate oscuro en polvo.
Luego, agregamos directamente 1 taza casi entera de azucar blanca.
Un truquito, es que si algún ingrediente ya tiene pelotitas formadas, con la ayuda de un tenedor los aplastas contra la malla del colador para tamizarlos adecuadamente.
Una vez en este punto, puedes empezar a sentir la emoción de que eres un repostero casi profesional.

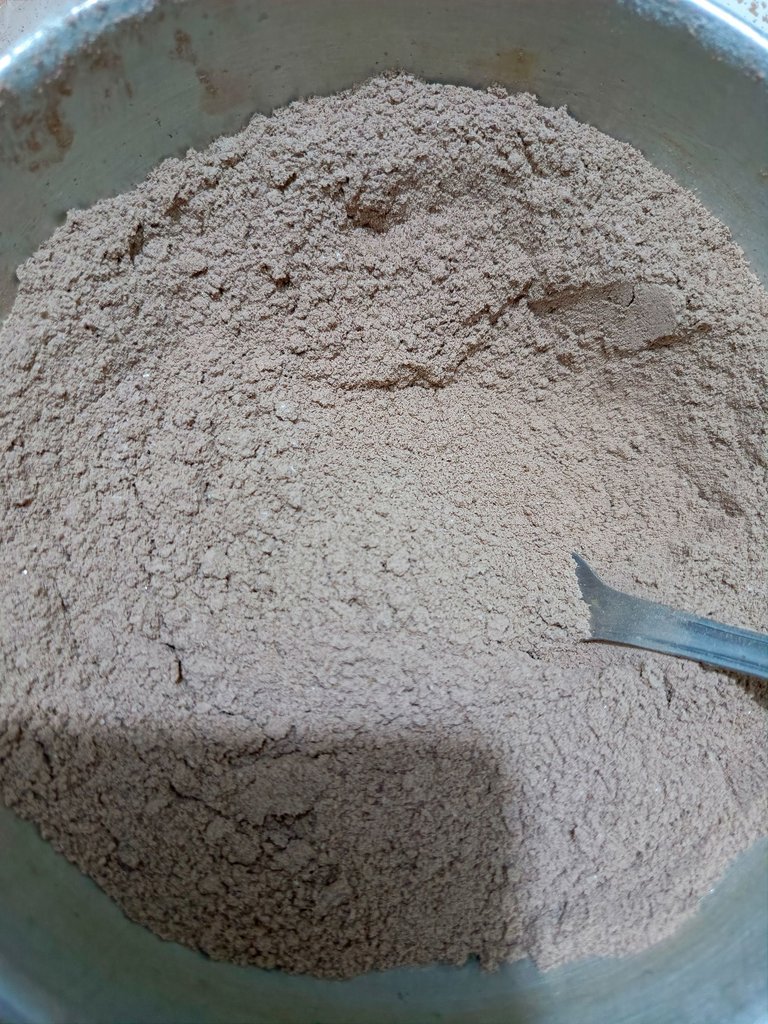
3. Mixing the magical powders
Mix all the magical powdered ingredients as if there's no tomorrow.
- Mezclar los polvos mágicos:
Mezclamos todos los ingredientes mágicos en polvo como si no hubiera un mañana.
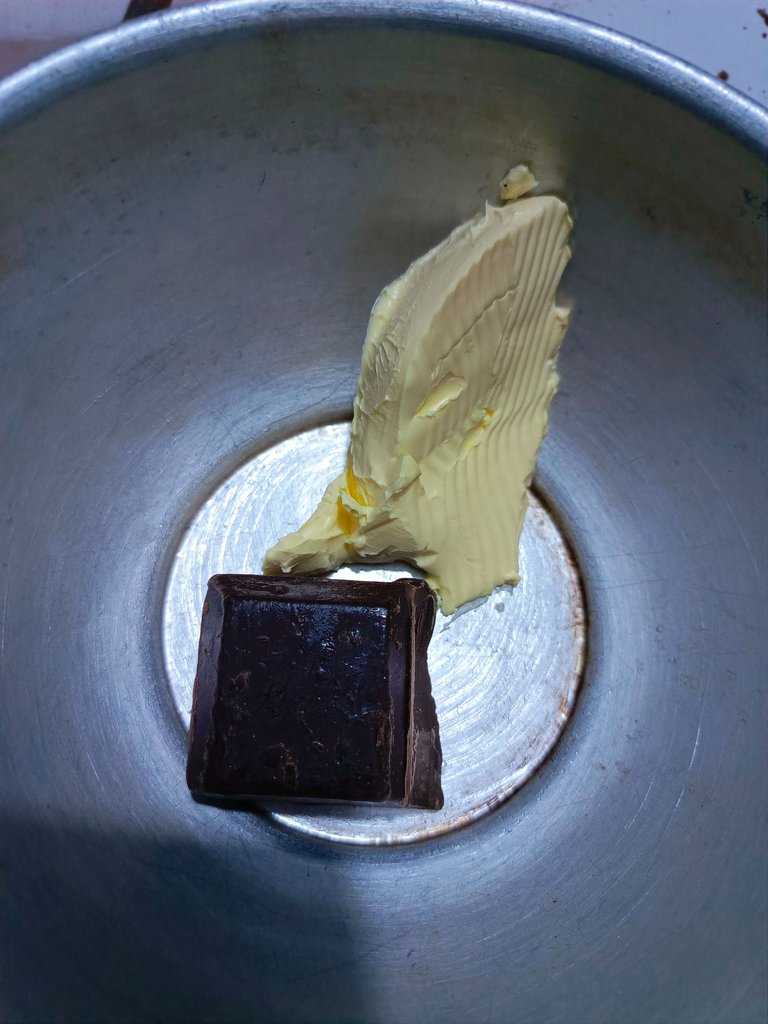
4. The unhealthy but delicious fats
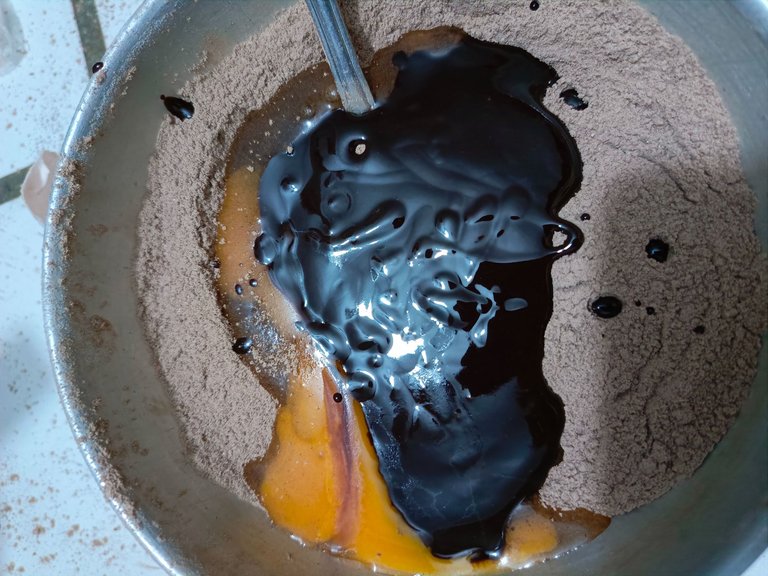
Once all the powdered ingredients are well-mixed, proceed to the greasy and delicious stuff: chocolate bars and butter.
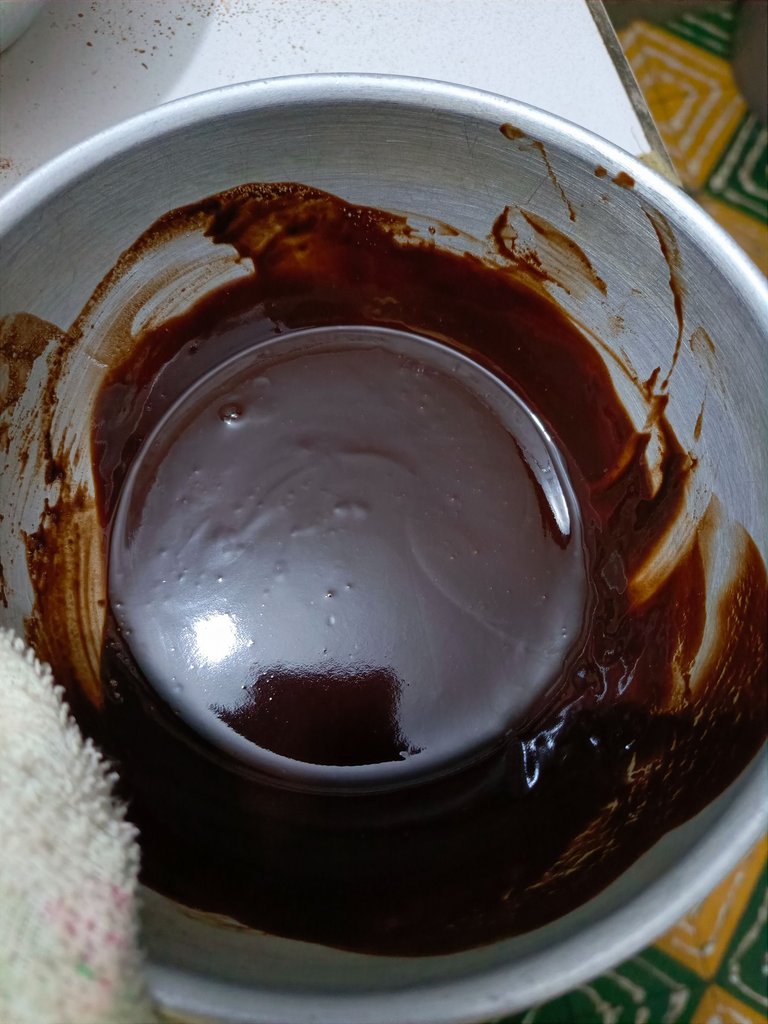
Melt 100 grams of dark chocolate bars and a good portion of salted butter—about 1 and 1/2 tablespoons—over low heat. Once everything is melted, add it to the bowl, add 1 egg, and mix vigorously. You should end up with a semi-liquid mixture that’s homogeneous and lump-free.
- Las grasas insanas pero deliciosas:
Una vez tenemos todos los ingredientes en polvo bien mezclados, procedemos a lo grasoso y delicioso: chocolate en barra y mantequilla.
Derretiremos 100 gr de chocolate oscuro en barra y una buena porción de mantequilla con sal - 1 cucharada y 1/2 aproximadamente -, a fuego bajo.
Una vez derretido todo, lo agregamos al bowl, agregamos 1 huevito, y mezclamos frenéticamente.
Nos debe quedar una mezcla semilíquida bien homogénea, sin grumos.
5. Final touches
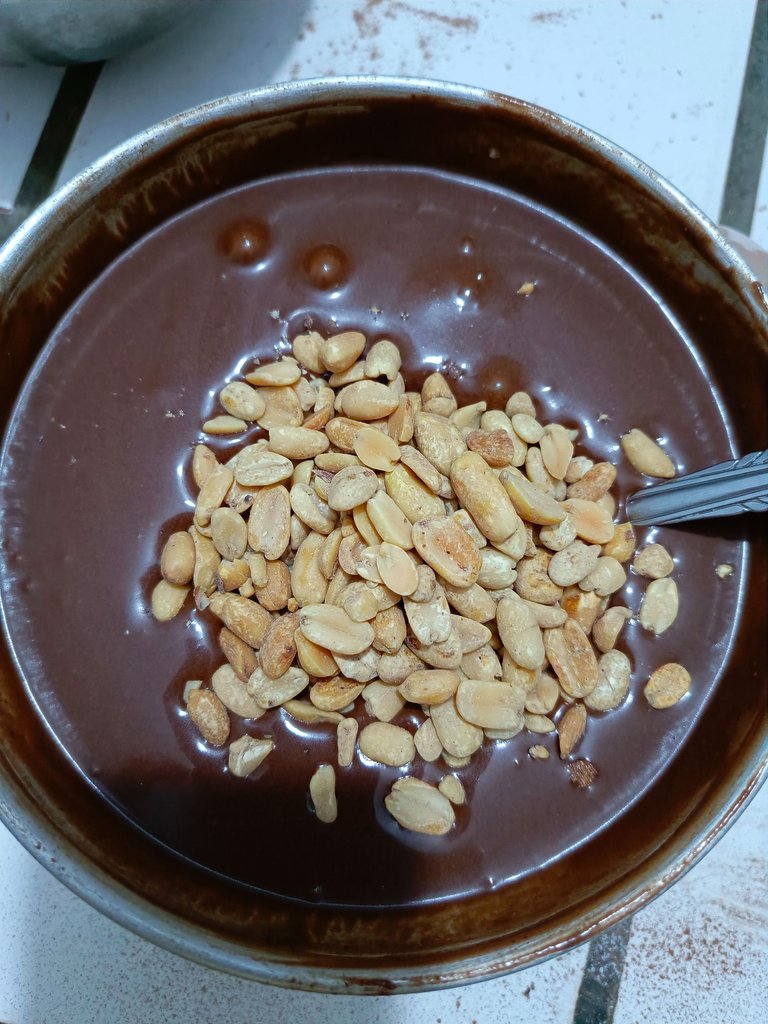
Finally, add 50 grams of unsalted peanuts.
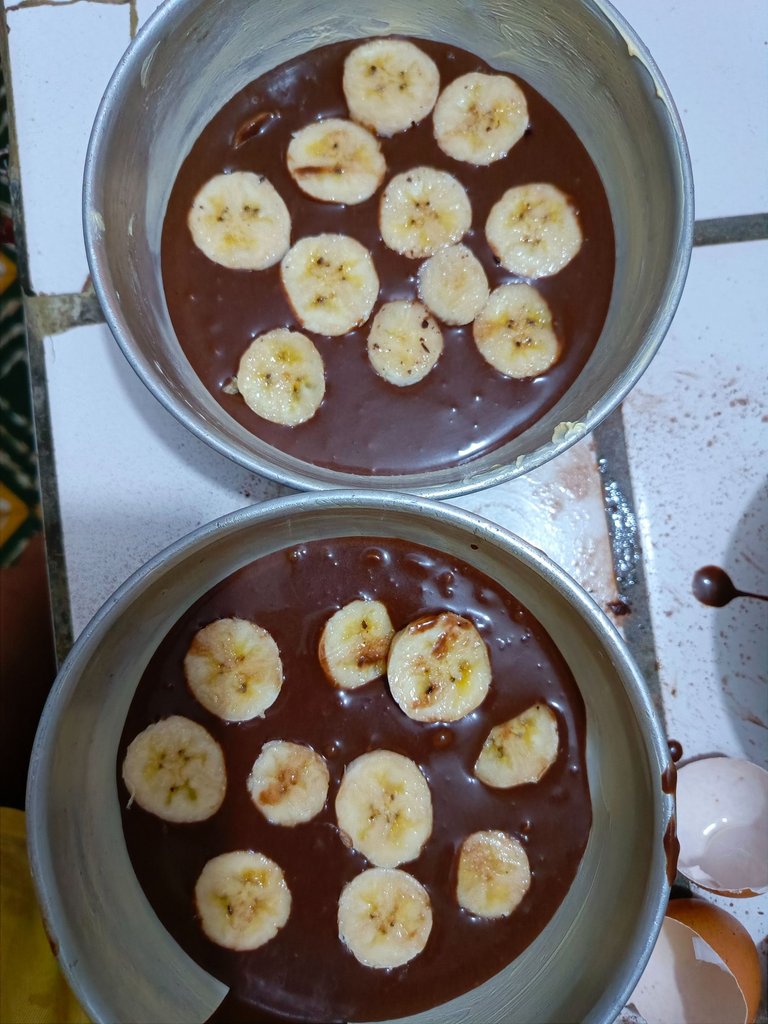
Grease 2 bowls with butter and add the mixture.
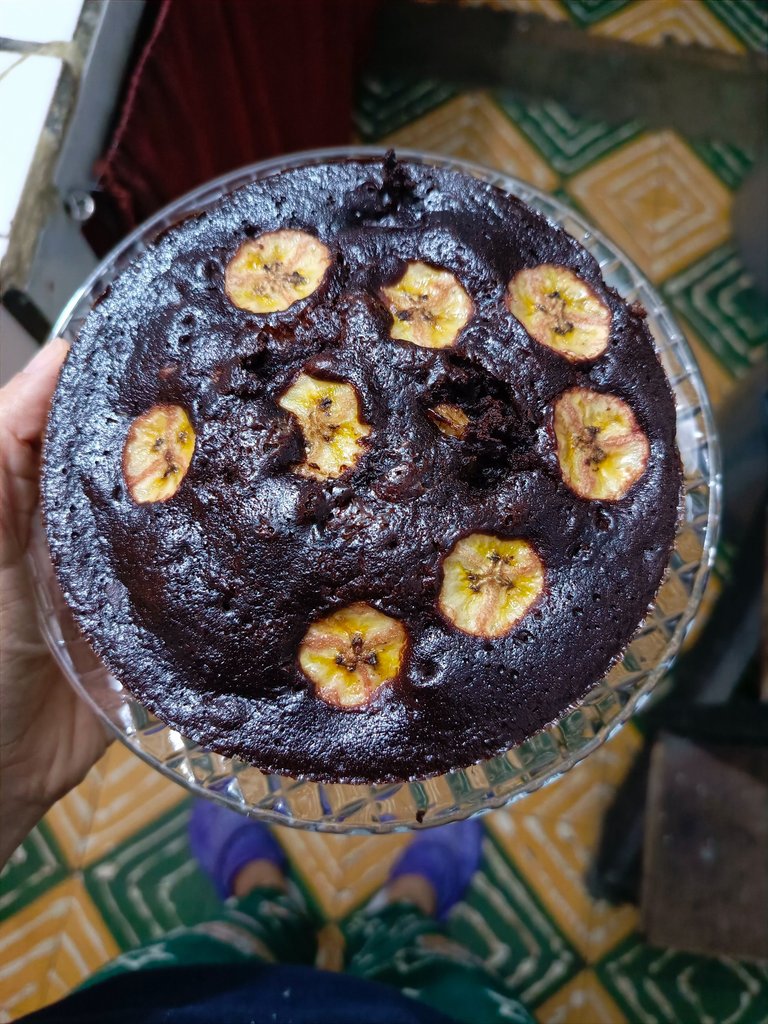
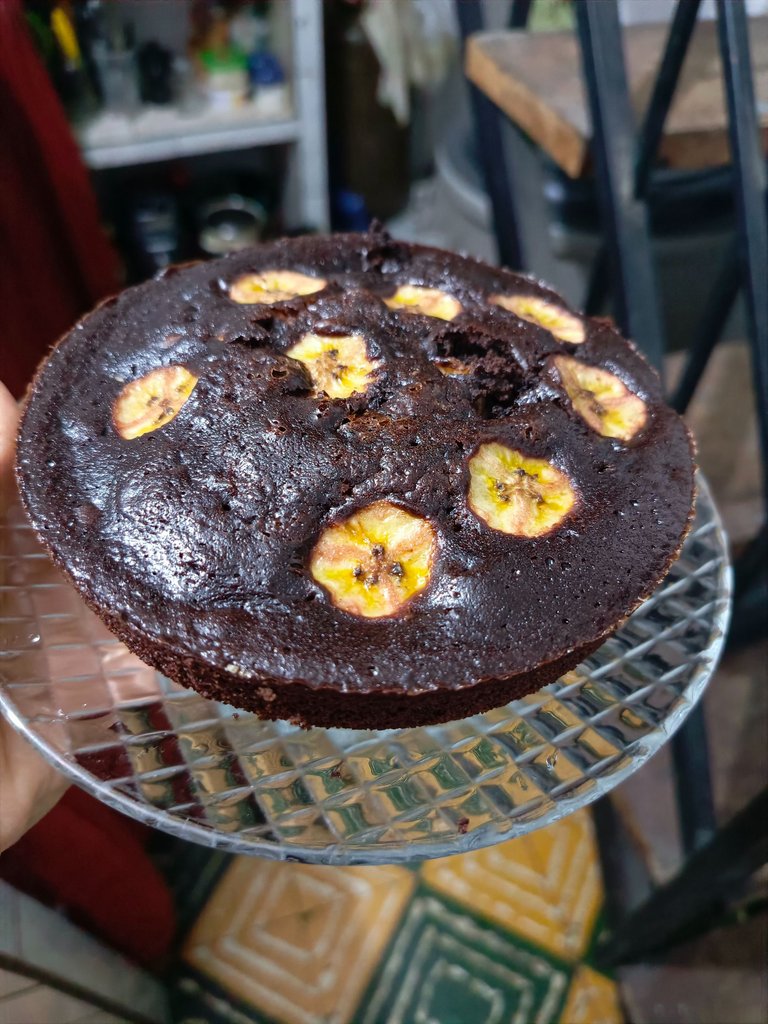
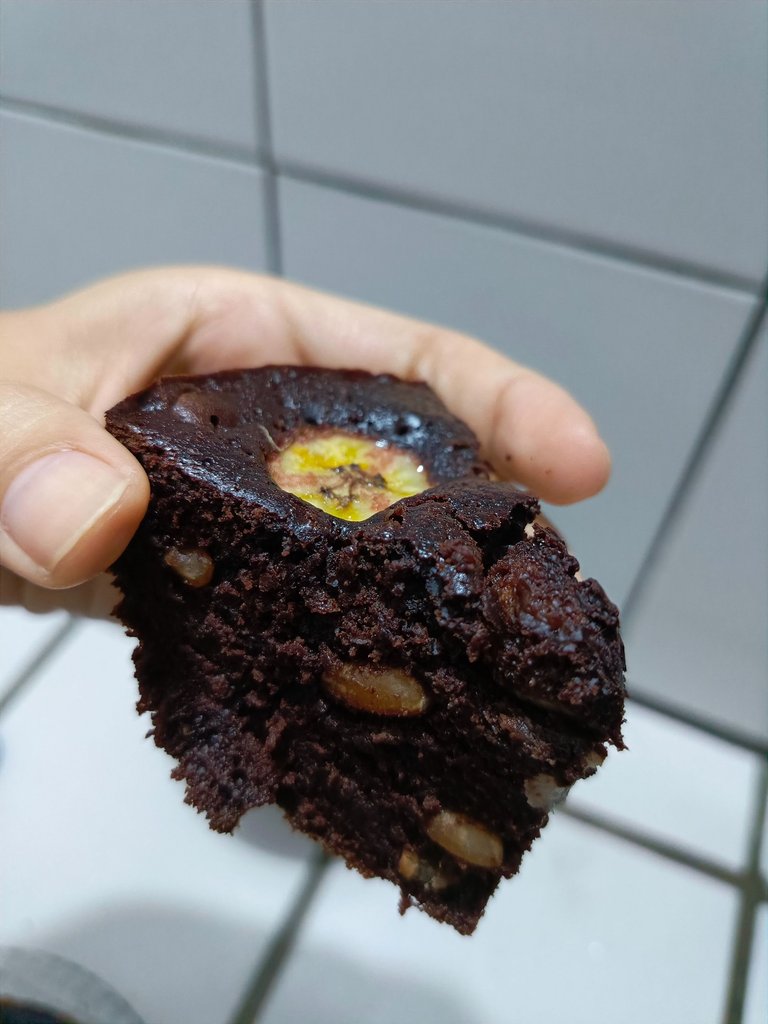
Top it off with slices of chopped bananas, and at this point, you can already imagine how divine this is going to turn out.
- Toques finales:
Finalmente, agregamos 50 gr de maní sin sal.
Engrasamos 2 bowls con mantequilla y agregamos la mezcla.
Le damos el máximo toque final con rodajas de banana picada, y aquí ya nos podemos imaginar lo divino que va a quedar esto.

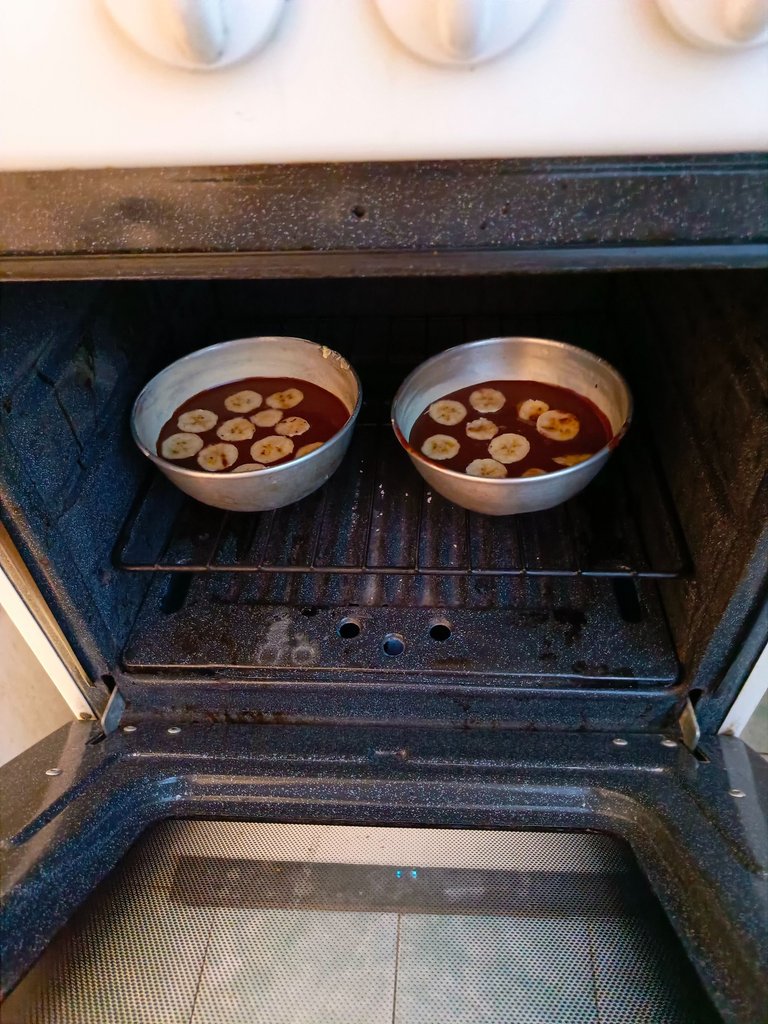
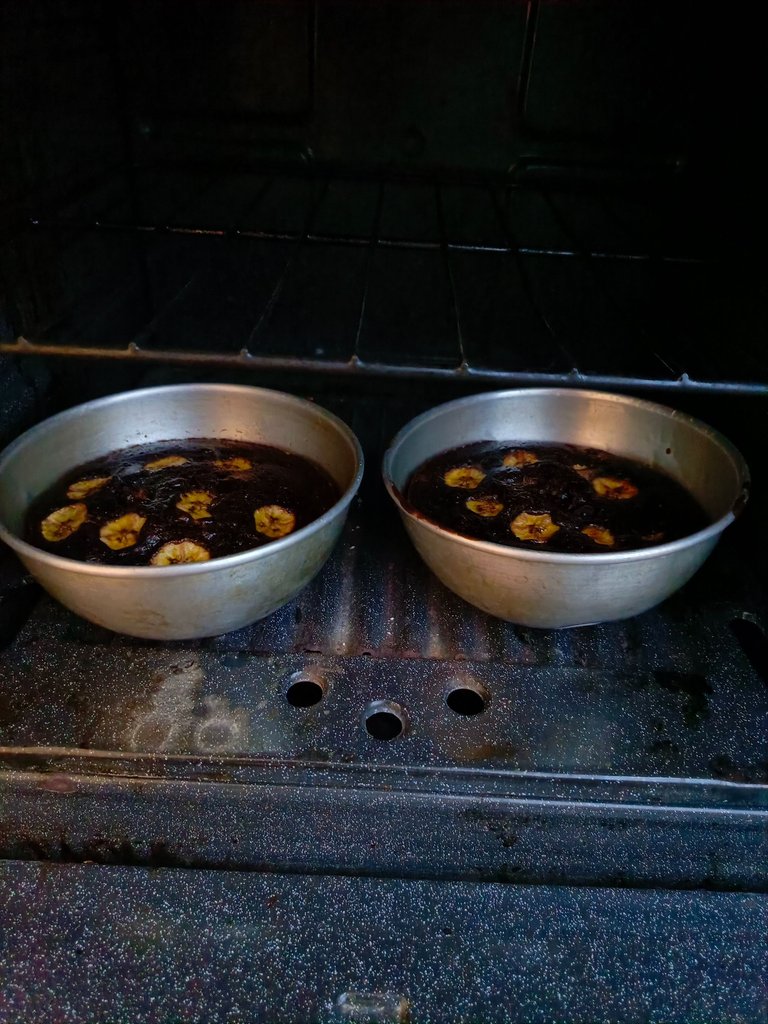
6. High heat oven
Place the bowls in the oven, which should already be nice and hot, and leave them for about 1 hour on high heat. Check occasionally by poking the cakes with a fork. If the fork comes out with wet mixture, it needs more time in the oven. Be careful not to burn this delight.
- Horno fuerte:
Colocamos los bowls en el horno que ya debe estar bien caliente y los dejamos por 1 hora aproximadamente, a fuego fuerte.
Verifica muy de vez en cuando pinchando la torta con un tenedor, si el tenedor sale con mezcla húmeda, le falta horno.
Pendientes de no quemar esta delicia.
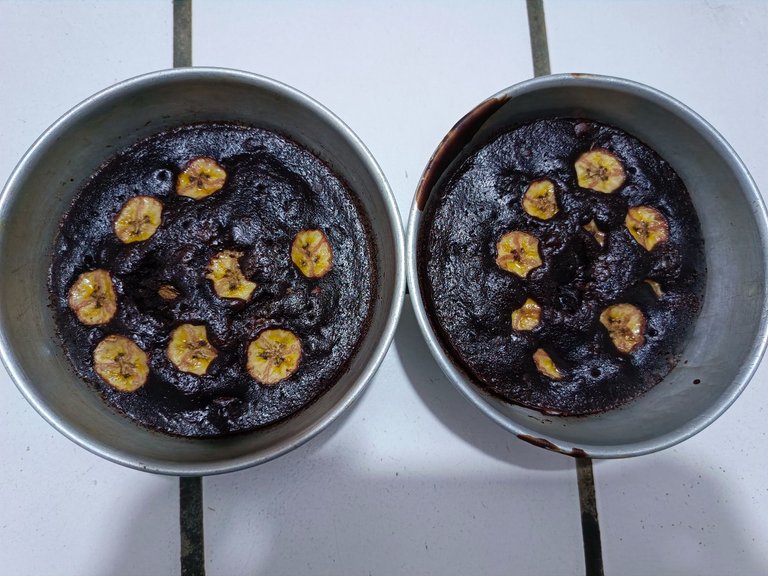
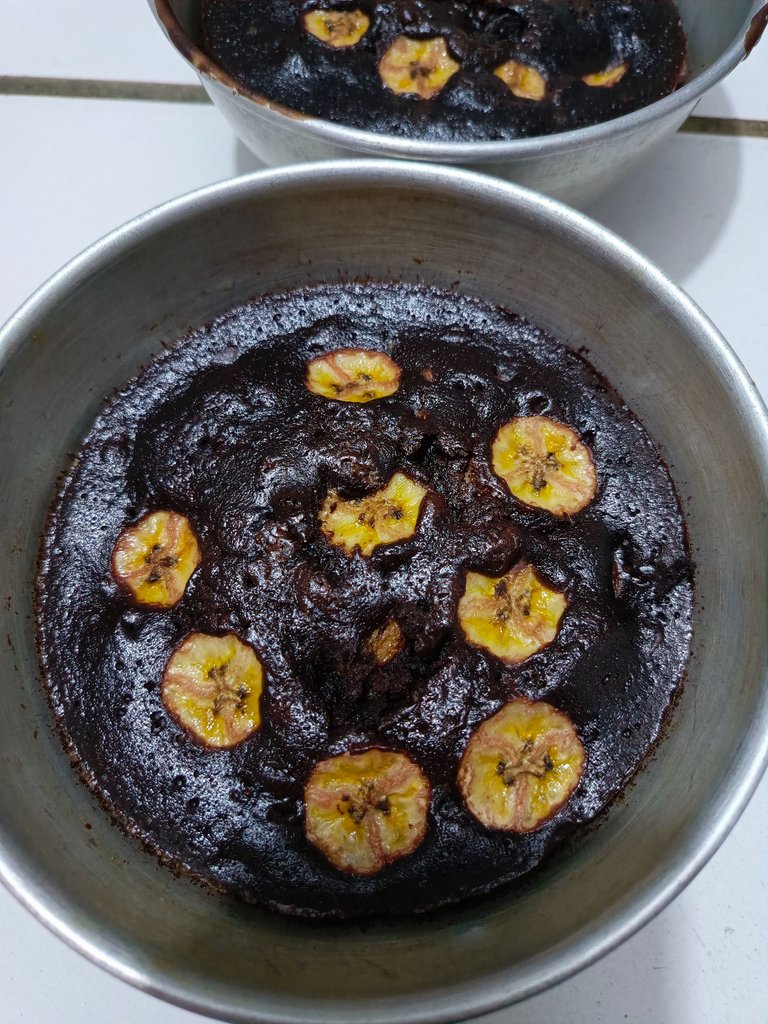
7. Coffee and serve
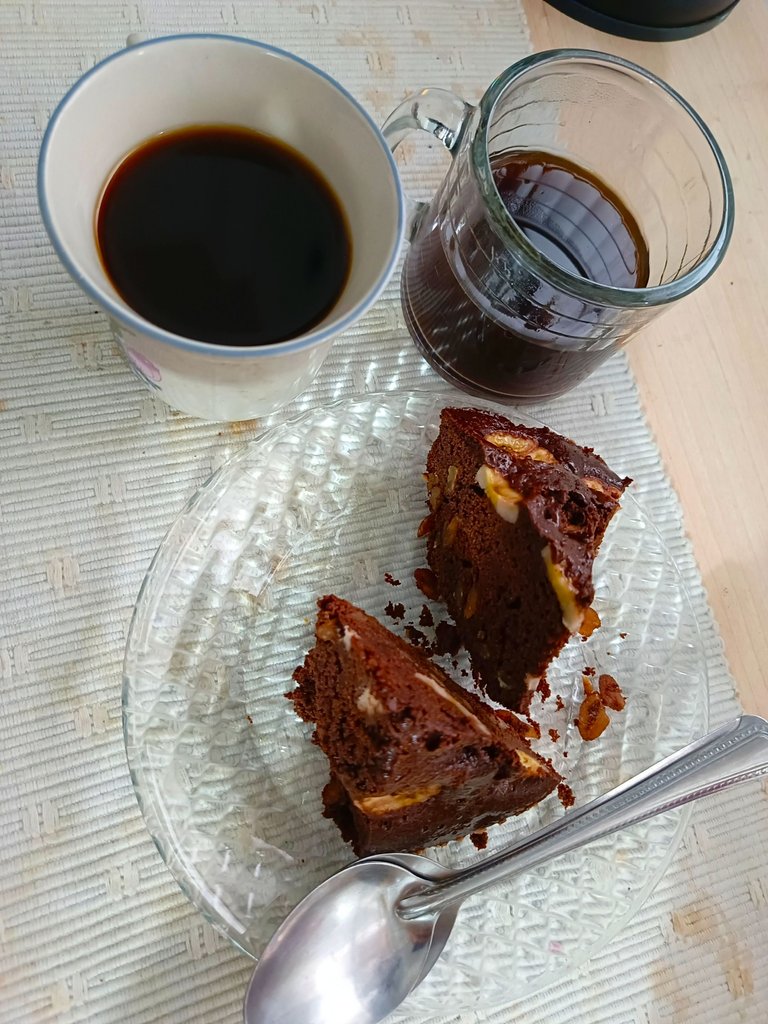
Let the cakes cool for half an hour so you don’t burn yourself, make yourself a little coffee in the meantime, and simply enjoy your dark chocolate cake in pajamas!
Oh and remember happiness is shared, so invite a friend to try this delight.
- Cafecito y servir:
Deja enfriar las torticas una media hora para no quemarte, hazte un cafecito mientras y simplemente queda disfrutar tu torta de chocolate oscuro en pijamas!!
Ah, y recuerda que la felicidad es compartida, así que invita a un amigo a probar esta delicia.
A yummi homemade cake I love chocolate cakes so much I could eat full slices all by myself ❤️
that makes two of us 🫶🏻
!discovery 30
gracias 🥺
This post was shared and voted inside the discord by the curators team of discovery-it
Join our Community and follow our Curation Trail
Discovery-it is also a Witness, vote for us here
Delegate to us for passive income. Check our 80% fee-back Program
It looks so moist! And as far as aesthetics go, who cares as long as the cake tastes divine?
Great recipe and mouthwatering pictures!
oh thank you friend 🤍
Tednré que buscar mi pijama para recrear esta receta porque se ve realmente delicioso, sigue retandote en la cocina, vas muy bien.
la pijama es la clave! jajaja muchas gracias ❤️
que bueno se ve!
gracias ❤️
Enjoy 😋😋
thanks 🤍
Welcome 🤗🤗