

Hola Foodies amigos 👋🏻 espero se encuentren muy bien. ❤️🩹
El yogurt es una excelente fuente de minerales y vitaminas; además que su consumo nos aportan múltiples beneficios para la salud de nuestro cuerpo. El yogurt aca en mi país es un alimento un poco costoso, pero a mi me encanta consumirlo, asi que me animé a prepararlo yo misma en casa y sinceramente nunca pense que fuera tan sencillo. Les muestro como lo realice:
Necesitamos:
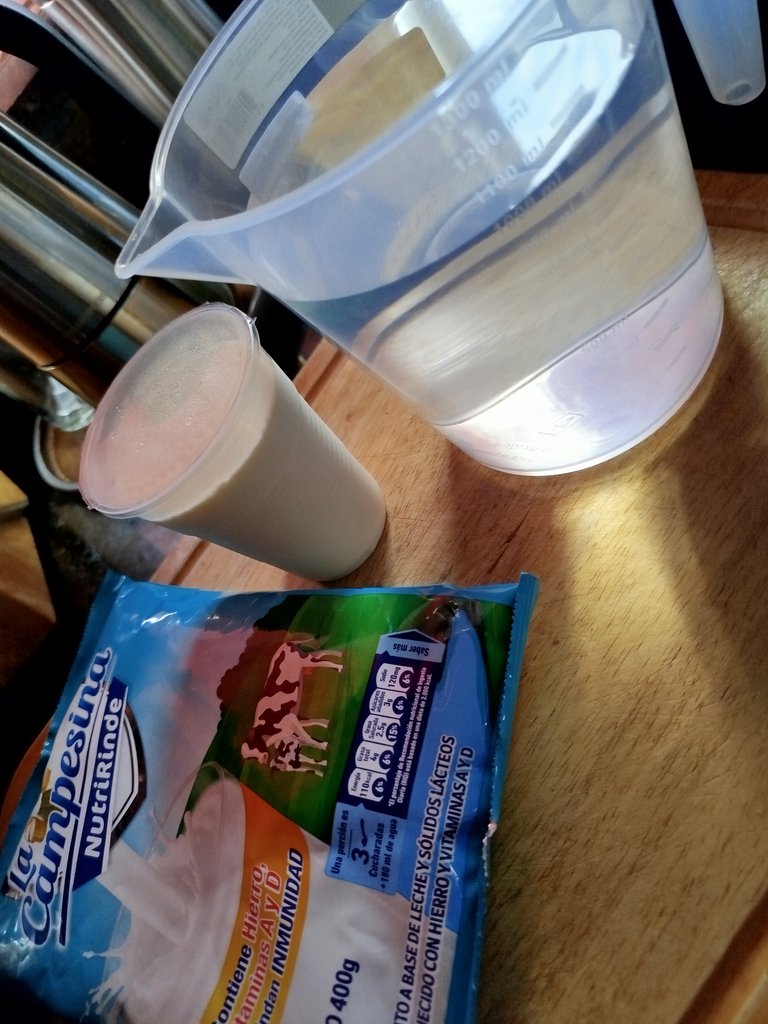
180 gramos de Yogurt base (tipo yoka) sin sabor
1 litro de agua
250 gramos de leche
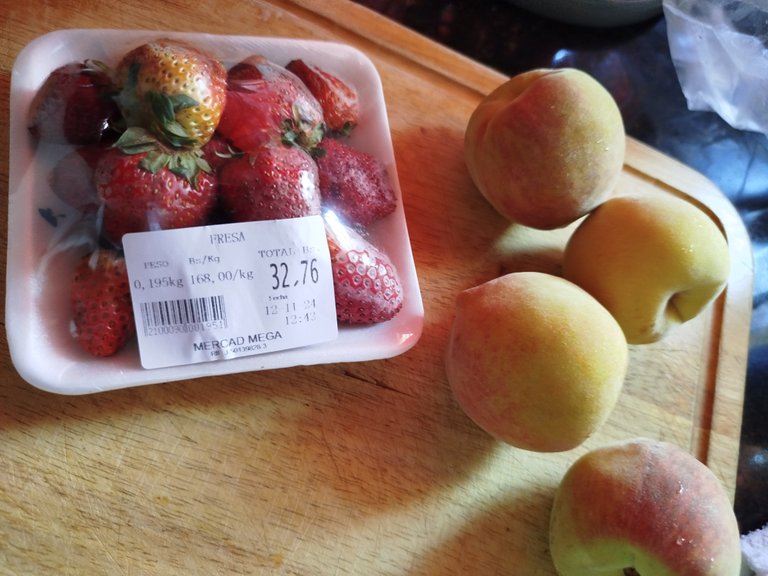
Frutas y azucar para realizar el almibar (opcional)
Paso a paso:
Lo primero que hice fue preparar un litro de leche, para ésto use 1 litro de agua potable y 250 gramos de leche, hay que preparla y que quebe sin grumos, yo la hice directamente en una olla mediana.
Pero si gustan pueden preparar en licuadora y luego lo llevan a la olla; es como ustedes prefieran.
Esta leche la vamos a calentar solo un poco, cuando veamos un poquito de humo empezar a aparecer esta lista para retirarla del fuego.
Otra forma de saber que la leche esta en su punto es insertando el dedo meñique y si resiste lo caliente por 10 segundos entonces esta listo.
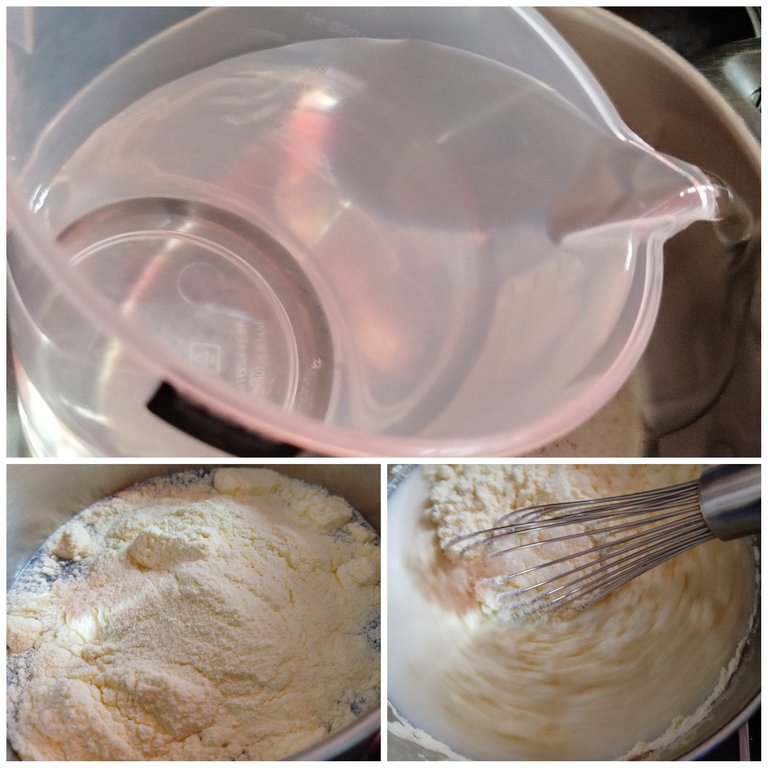
Ahora hay que agregar inmediatamente el yogurt base y mezclar hasta integrar todo...
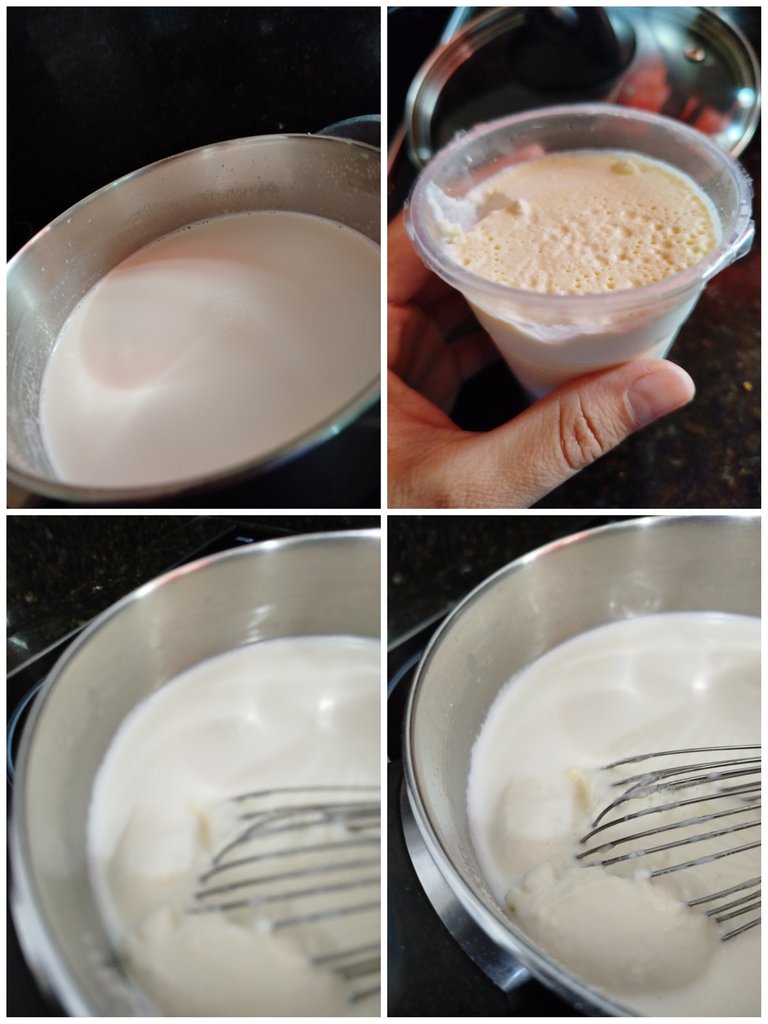
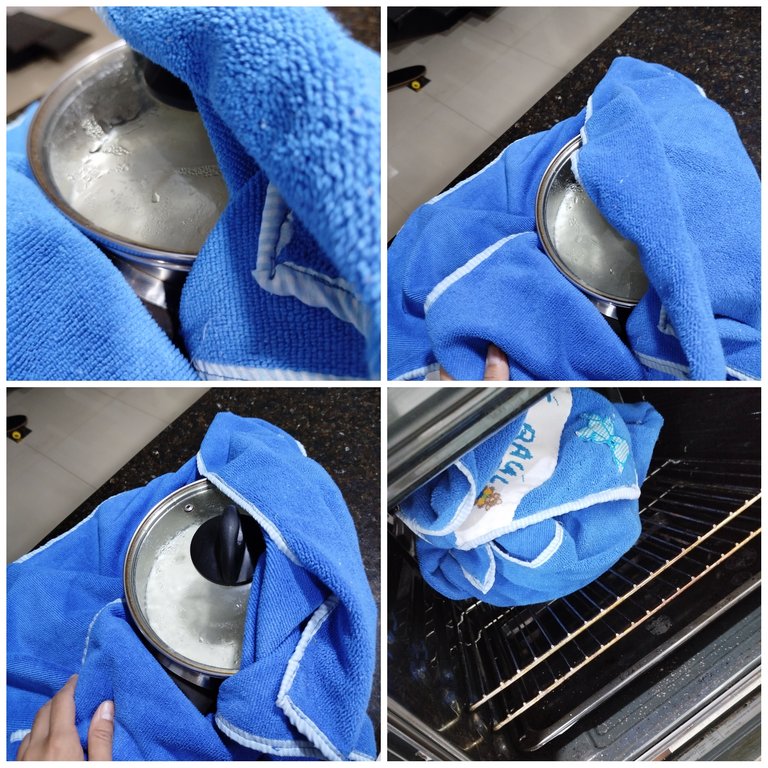
Es momento de tapar y envolvemos con un paño y toalla, el punto es que debe esfar bien oscuro y guardamos en un sitio oscuro también, lo ideal es el horno, esto debe permanecer ahi sin destapar ni tocar durante 12 horas.
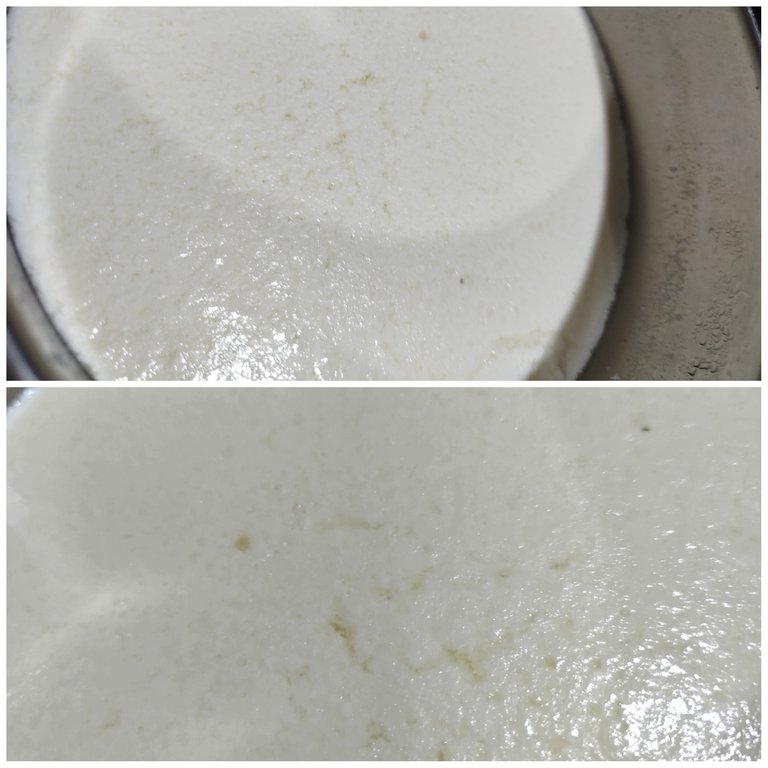
Pasado el tiempo estara listo, notaremos como esta firne y cremoso.. debemos llevarlo a la nevera durante al menos 3 horas antes de ser consumido.
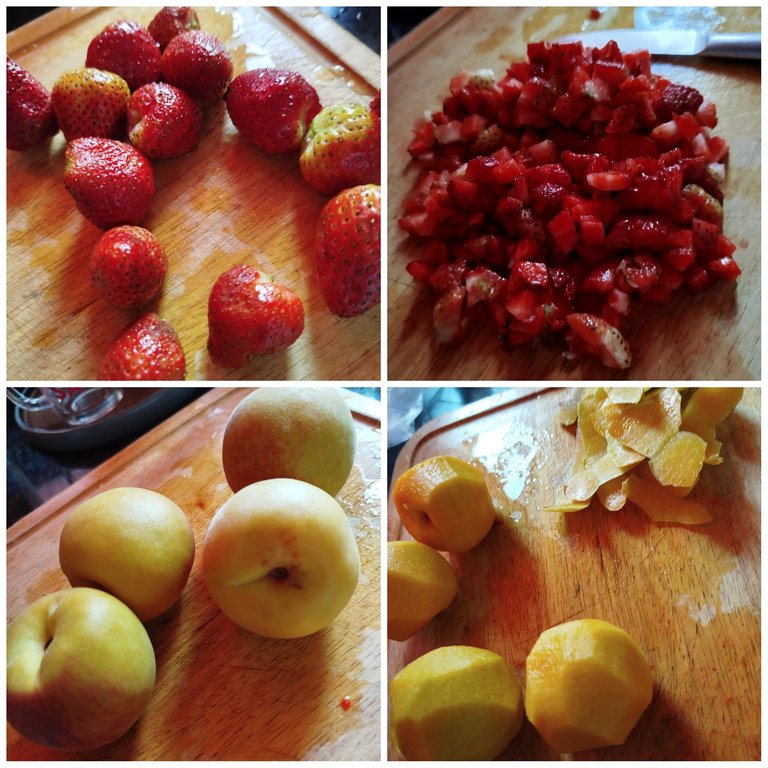
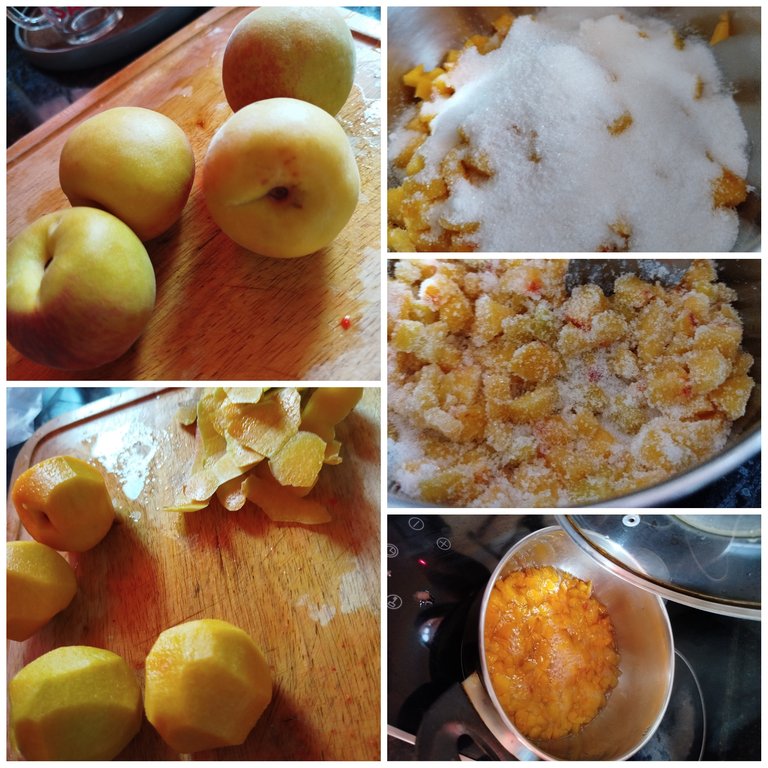
Mientras el yogurt reposa en la nevera, podemos realizale una frutilla en almíbar, para esto yo compre fresa 🍓 y duraznos.🍑
¿Prepararlo? Es muy facil...
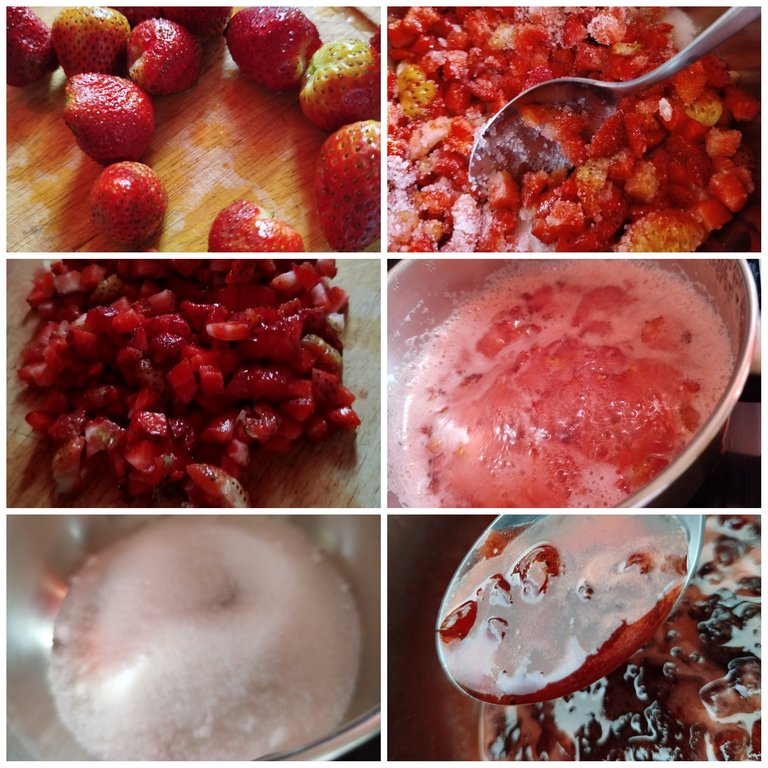
Lavamos, limpiamos y picamos en trozos pequeños la fruta... En una ollita por separado colocamos 6 cucharadas de azúcar en cada una y agregamos la fruta.
Cocinar a fuego bajo hasta que se forme el almibar ( hay que tener paciencia)
Cuando ya tenga el sabor y consistencia deseado, se apaga y se deja enfriar, pata guardarlo en unos envases..
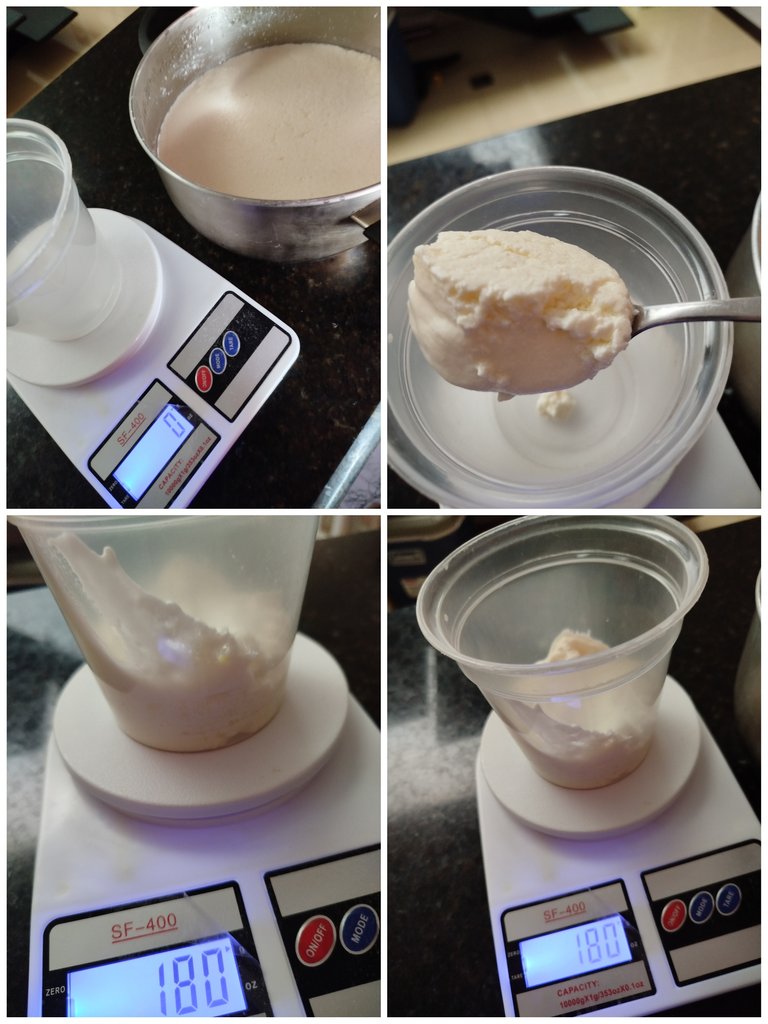
Ahora les voy a comentar lo siguiente, es importante gusrdar 180 gramos del yogurt que preparamos en un evase con tapa; esto nos sirve de cepa para preparar nuestro próximo yogurt.
Luego de guardar nuestra cepa, podemos disfrutar nuestro yogurt.
Servimos el yogurt y un poco de fruta en almibar y a disfrutar.
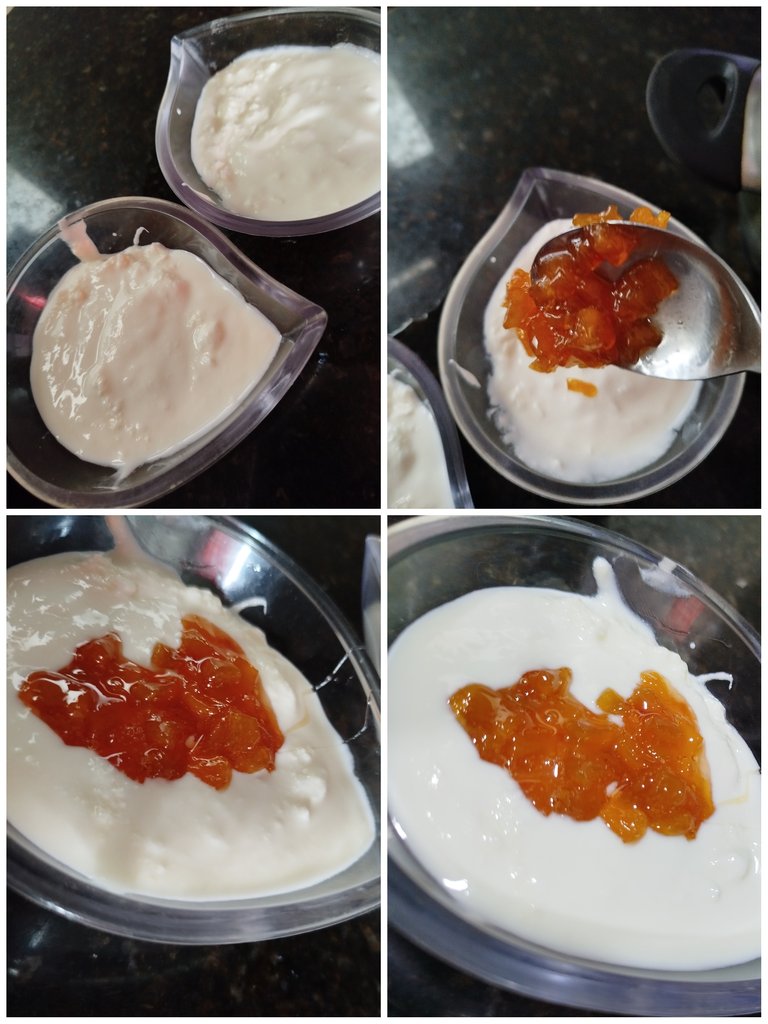
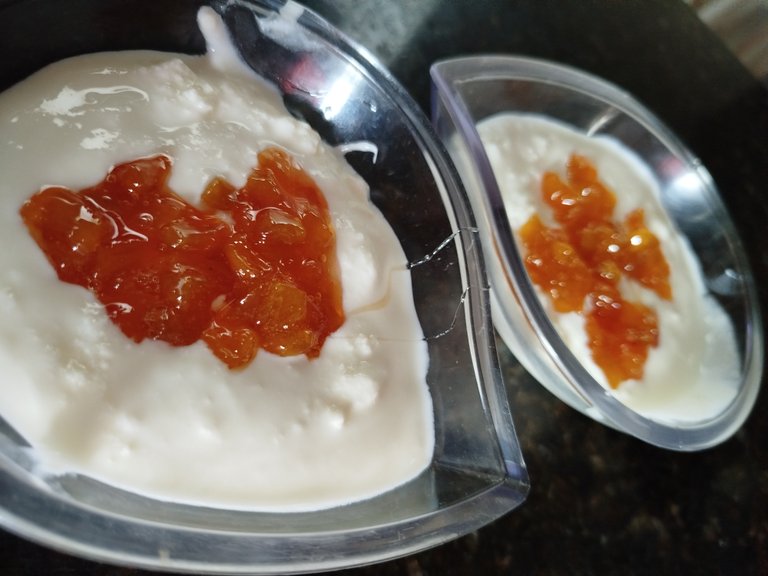
Este yogurt queda realmente delicioso, fue hecho en casa con mucho amor, no contiene colorante ni preservantes..
Personalmente me gusta que el yogurt sea dulce, por eso le hice el almibar, pero este tipo de yogurt también se puede consumir con fruta natural, cereales o granola, esto es a gusto de cada persona...
Me despido mis amigos deseo que les guste mi preparación ❤️🩹 y que lo disfruten mucho...
Un abrazo...
Portada editada con Canva
Fotografías tomadas con mi teléfono Redmi Note 13
Traductor DeepL

Hello Foodies friends 👋🏻 hope you are doing well. ❤️🩹
Yogurt is an excellent source of minerals and vitamins; besides its consumption brings us multiple benefits for the health of our body. Yogurt here in my country is a bit expensive, but I love to eat it, so I decided to prepare it myself at home and honestly I never thought it would be so easy. I show you how to make it:
We need:
180 grams of Yogurt base (yoka type) without flavor
1 liter of water
250 grams of milk
Fruits and sugar for making the syrup (optional)


Step by step:
The first thing I did was to prepare a liter of milk, for this I used 1 liter of drinking water and 250 grams of milk, you have to prepare it and make it without lumps, I did it directly in a medium saucepan.
But if you like you can prepare it in a blender and then take it to the pot; it is up to you.
We are going to heat this milk just a little bit, when we see a little bit of smoke start to appear it is ready to remove it from the fire.
Another way to know that the milk is ready is to insert your little finger and if it resists the heat for 10 seconds then it is ready.

Now immediately add the yogurt base and mix until everything is integrated....

It is time to cover and wrap with a cloth and towel, the point is that it should be very dark and keep in a dark place too, ideally the oven, it should remain there without uncovering or touching for 12 hours.

After this time it will be ready, we will notice how it is firm and creamy... we must take it to the refrigerator for at least 3 hours before being consumed.

While the yogurt is resting in the fridge, we can make a strawberry in syrup, for this I bought strawberries 🍓 and peaches 🍑.

How to prepare it? It's very easy...
We wash, clean and chop into small pieces the fruit.... In a separate saucepan place 6 tablespoons of sugar in each one and add the fruit.
Cook over low heat until the syrup is formed (be patient).
When it has the desired flavor and consistency, turn it off and let it cool down to keep it in some containers.


Now I am going to tell you the following, it is important to store 180 grams of the yogurt we prepared in a container with a lid; this serves as a stock to prepare our next yogurt.

After storing our strain, we can enjoy our yogurt.
Serve the yogurt and some fruit in syrup and enjoy.


This yogurt is really delicious, it was homemade with a lot of love, it does not contain coloring or preservatives.
Personally I like the yogurt to be sweet, that's why I made the syrup, but this type of yogurt can also be consumed with natural fruit, cereal or granola, this is to taste of each person ....
I say goodbye my friends, I hope you like my preparation ❤️🩹 and that you enjoy it very much...
A hug...
Cover edited with Canva
Photographs taken with my Redmi Note 13 phone
Translator DeepL
A mi me encanta el yogurt , prometo hacer esta receta , porque desde hace tiempo quiero hacerlo en casa, consumirlo es maravilloso. Buen tips de guardar los 180 gramos para tener siempre para seguir preparando. También me gusta acompañarlo con frutas en almíbar para el toque dulce 🍓
Hola amiga. Sii queda execelente.. hay que seguir los pasos con calma y por supuesto no abrir el horno ni revisar el envase donde tengamos el yogurt, para que agarré bien la consistencia...b
El detalle de las frutas en almibar, gracias por mostrarnos esta preparación y no sólo la del yogurt!😍👏