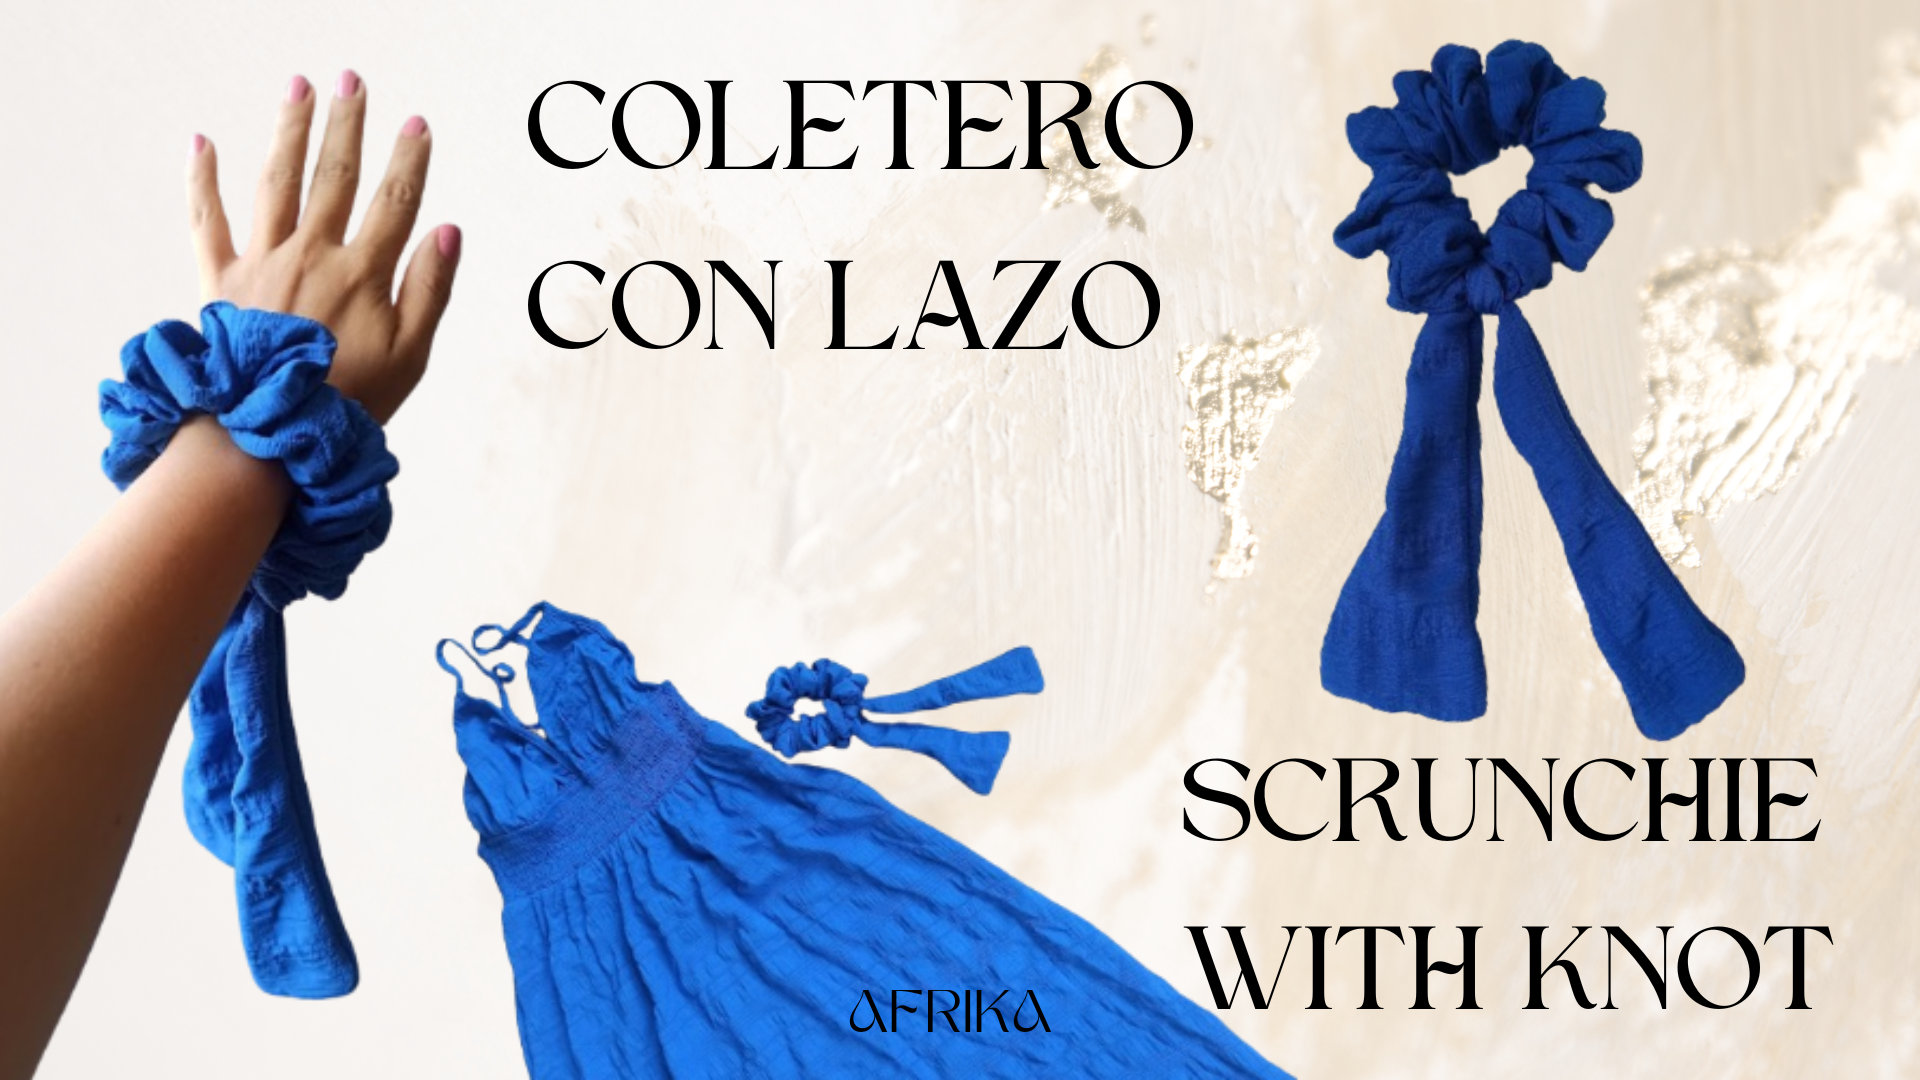
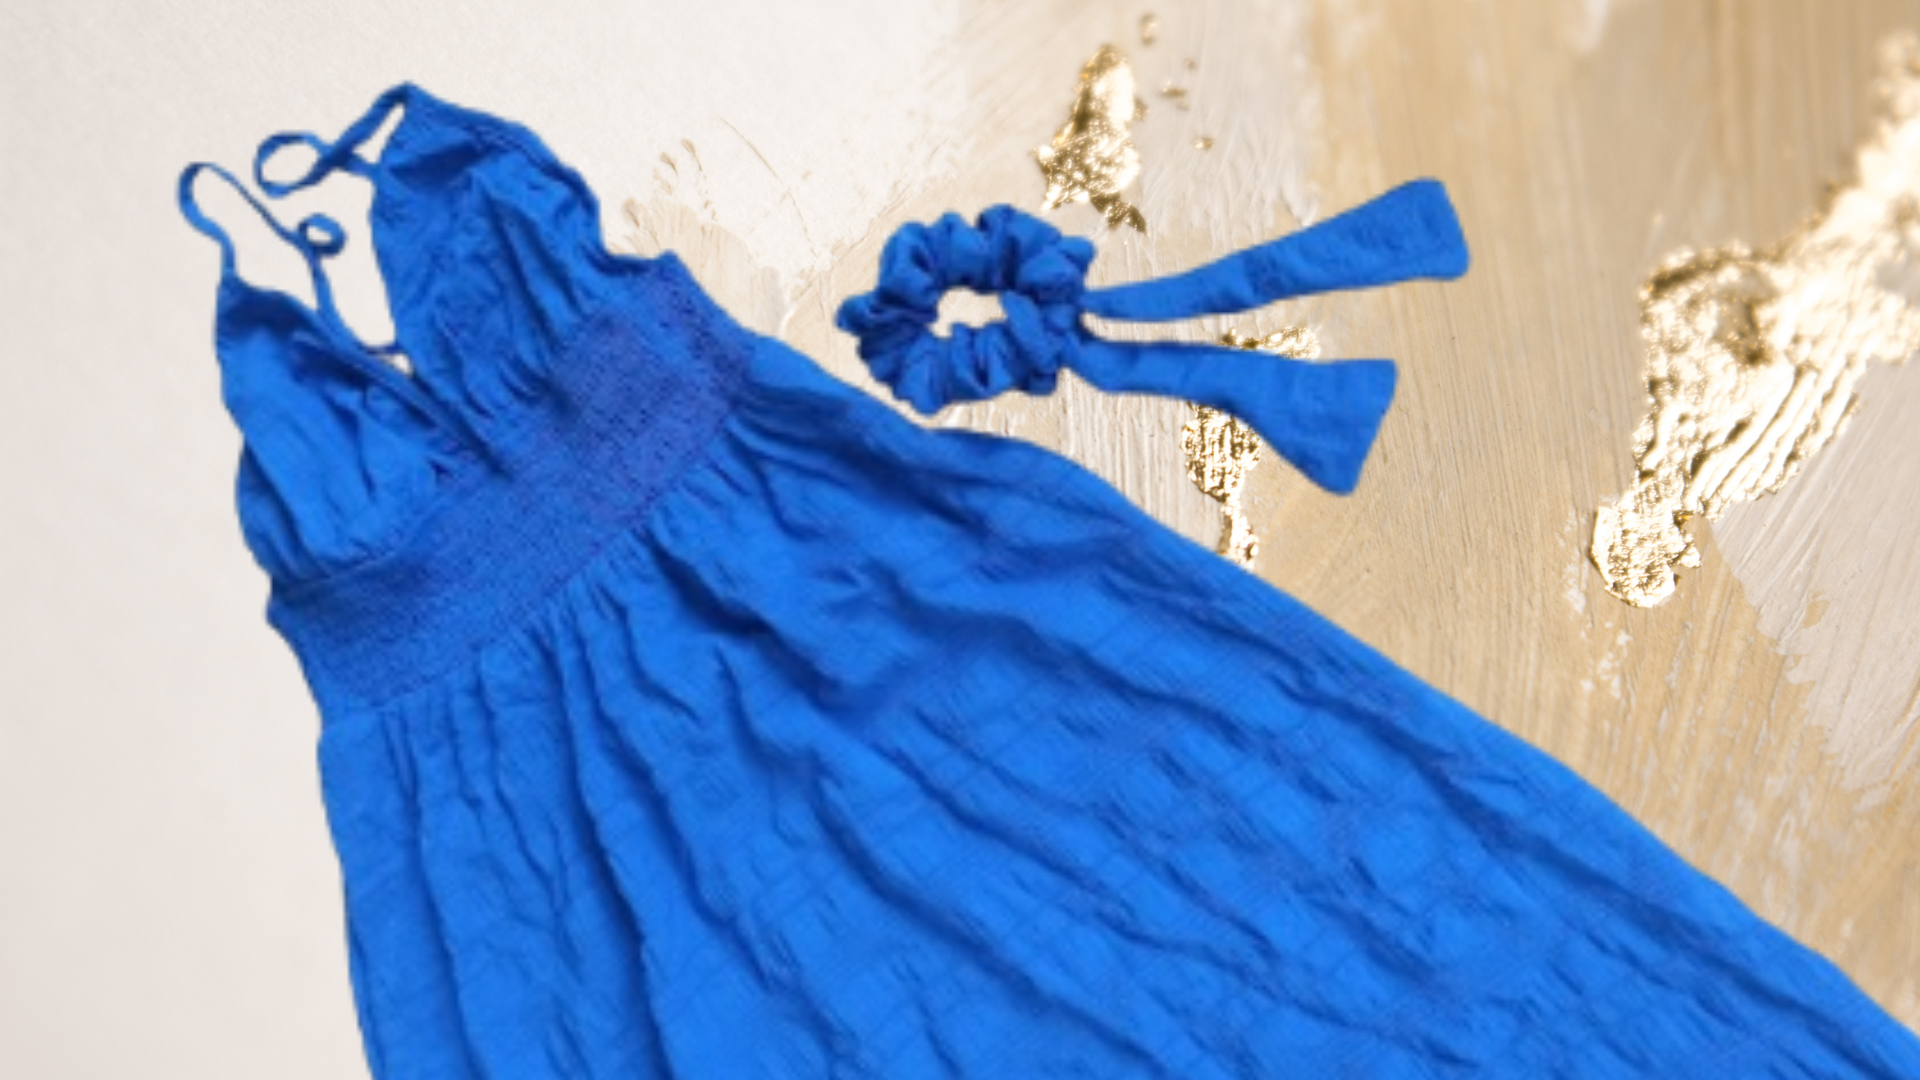
Hello needleworkers, we are still on the wave of transformation here, a few days ago a neighbor contacted me to make an arrangement for a dress she had bought and it was too long. We tried it on, we marked where she wanted it and as I like to give details to my customers I surprised her using the piece of fabric, transforming it into a scrunchie with a knot.
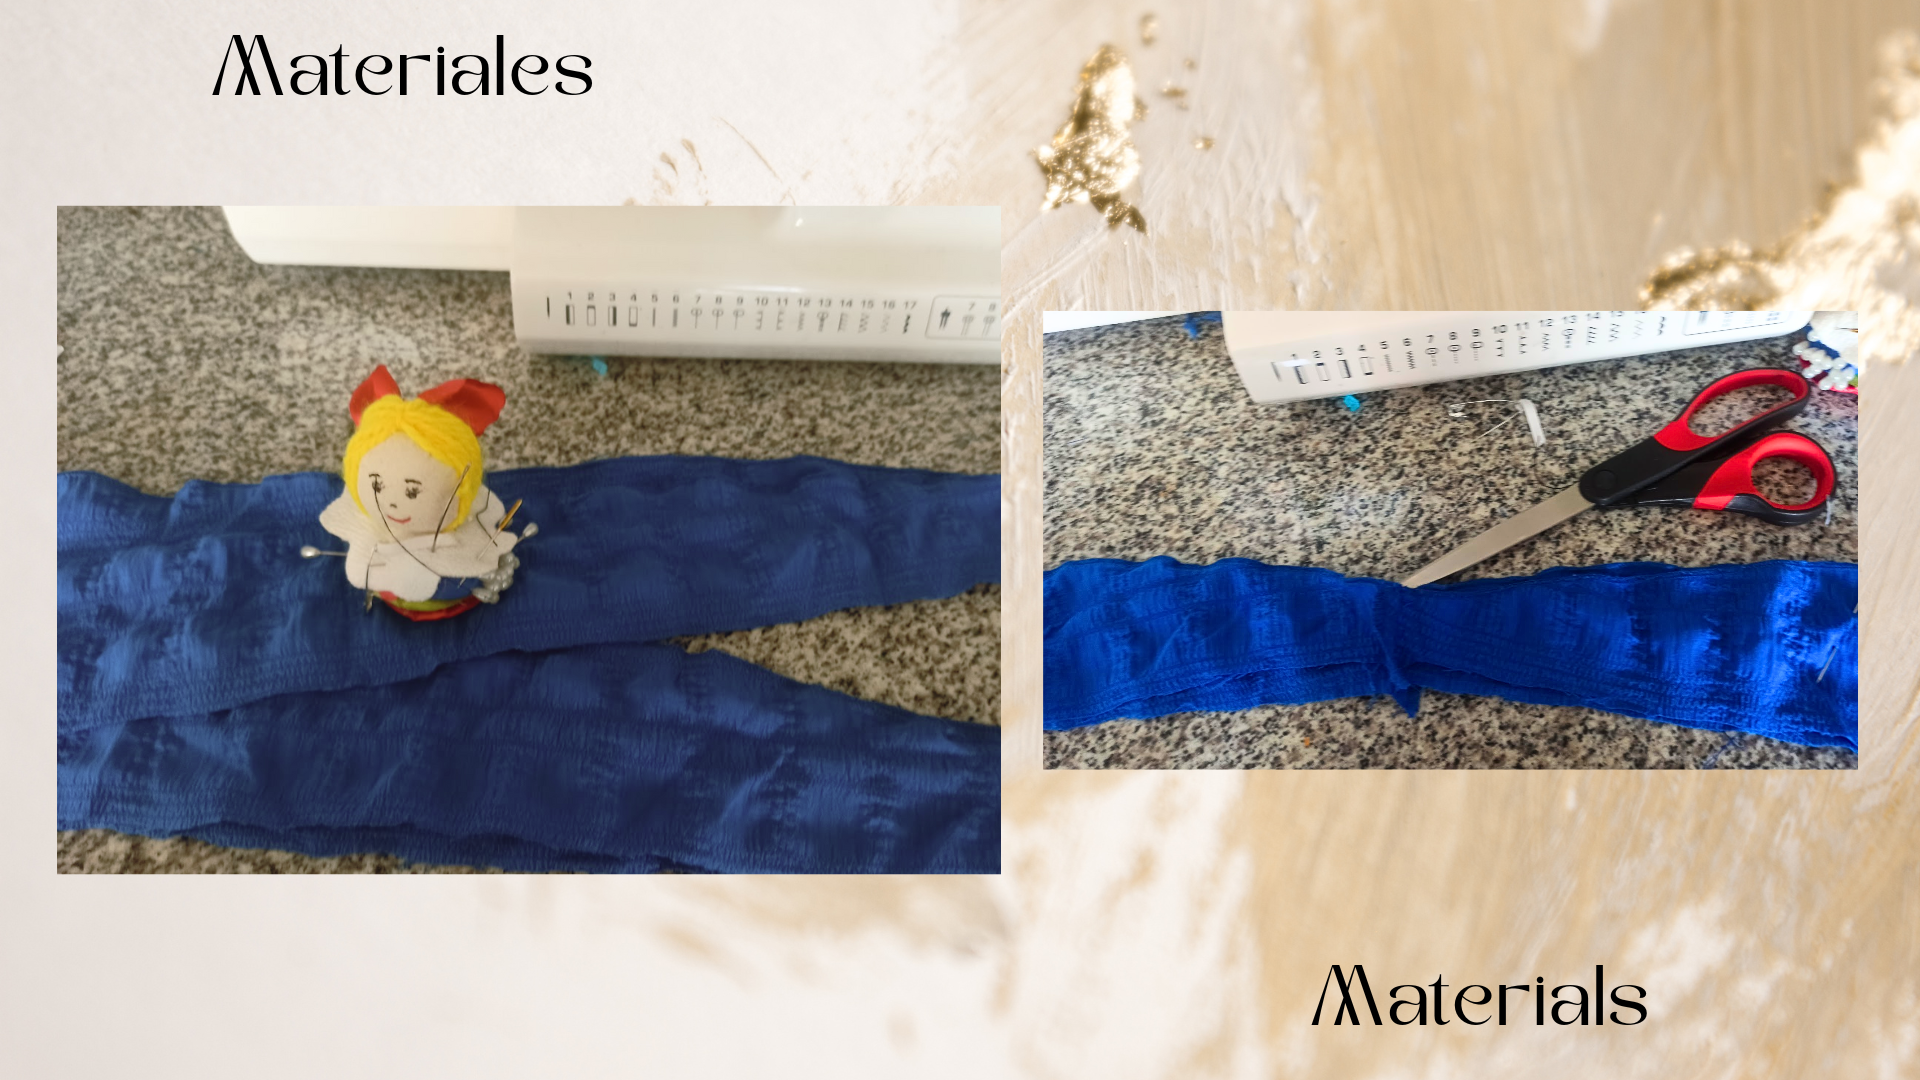
The first thing is the materials: scissors, thread, elastic to the size of the wrist of your hand, a 1.5m piece of fabric that was the cut of the hem when the dress was sewn. I took about a meter of fabric and sewed the sides straight together. Then, facing the right sides, as you can see in the picture, I made a sandwich, to sew along the fabric while I turn it around.
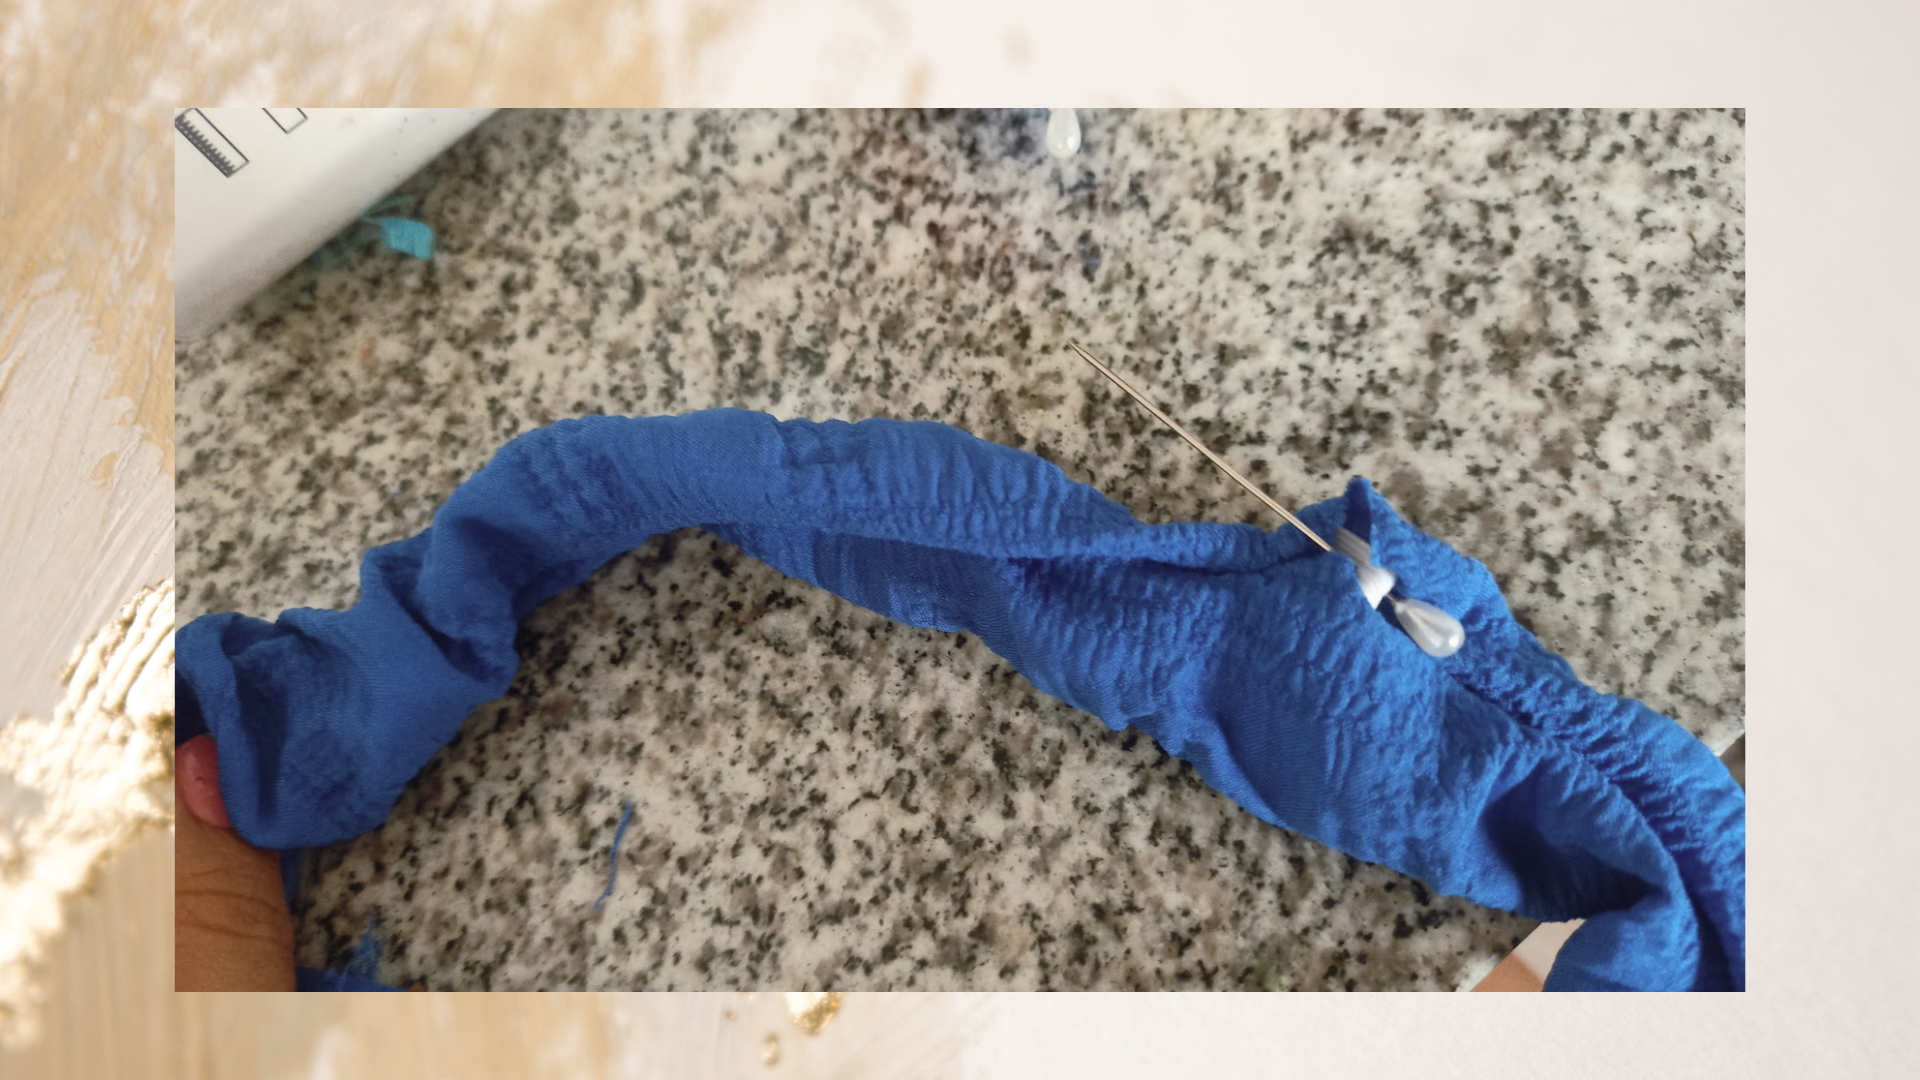

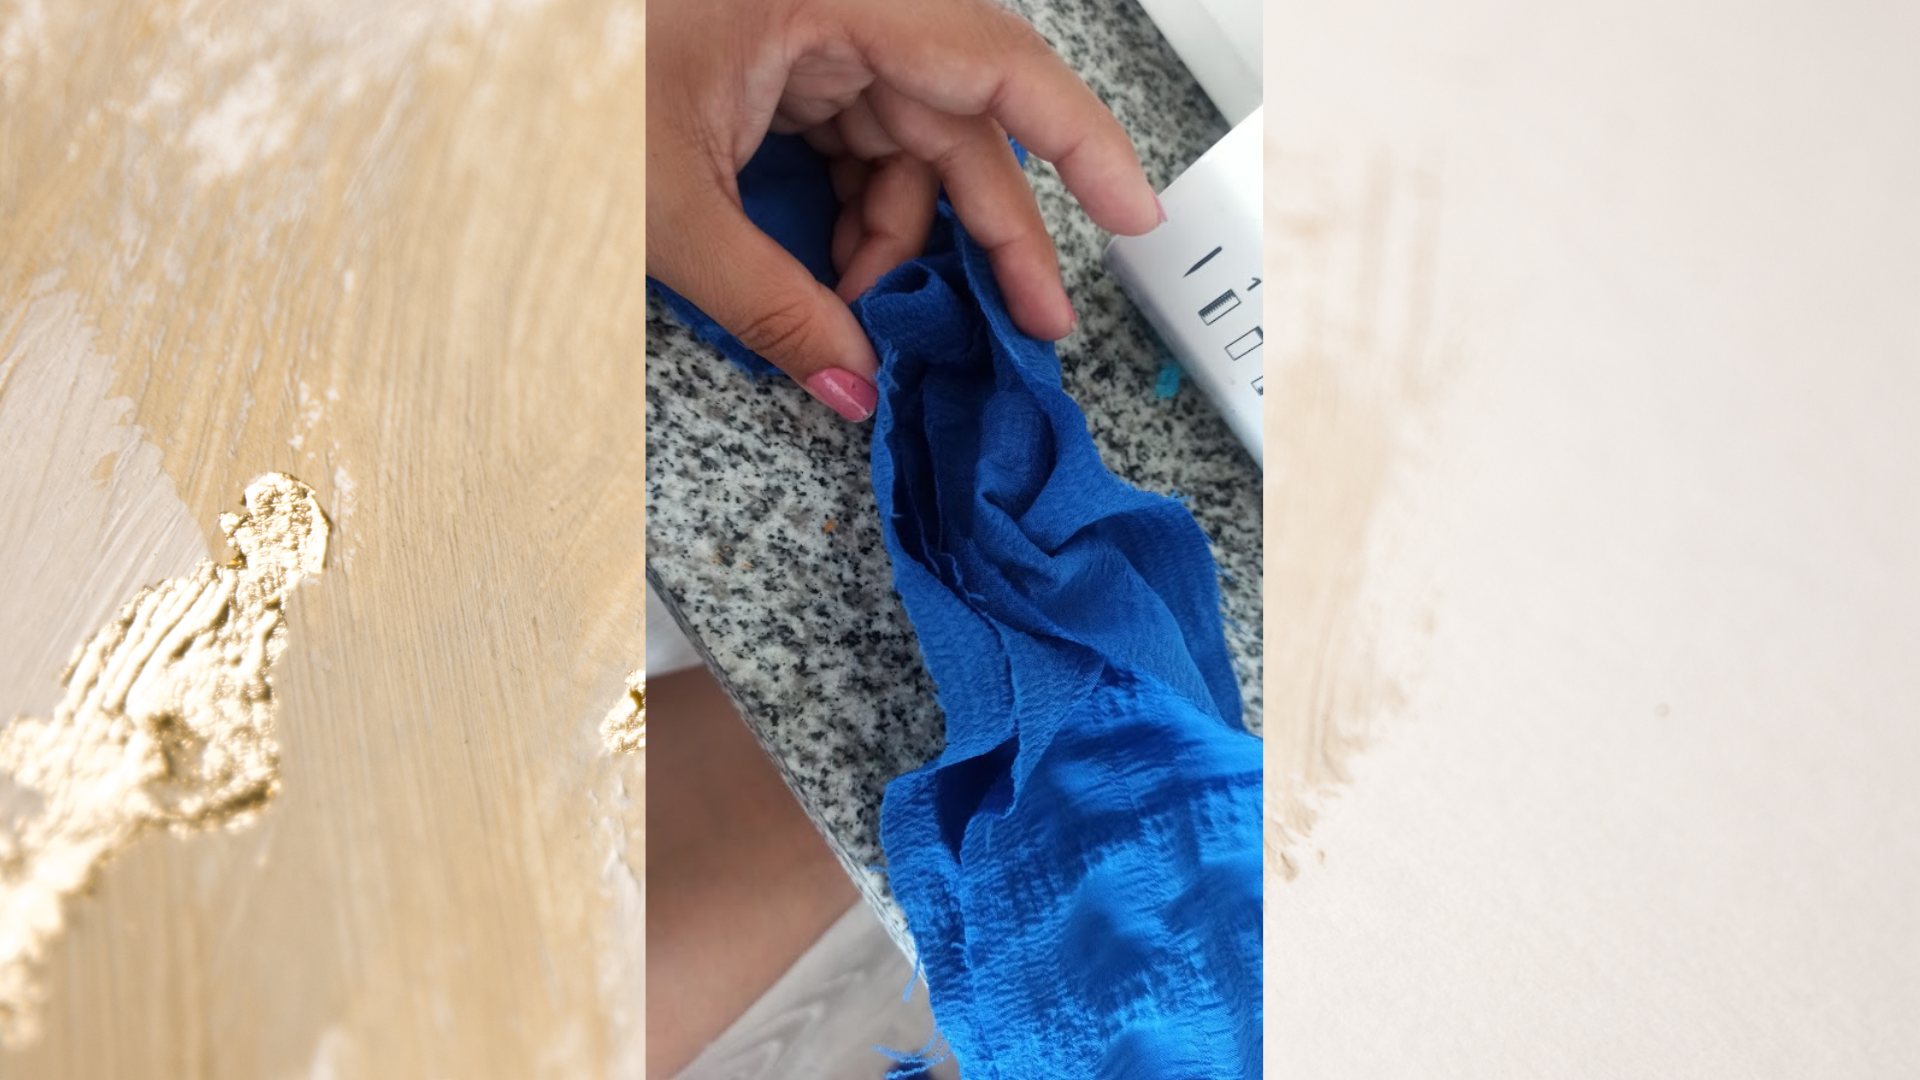
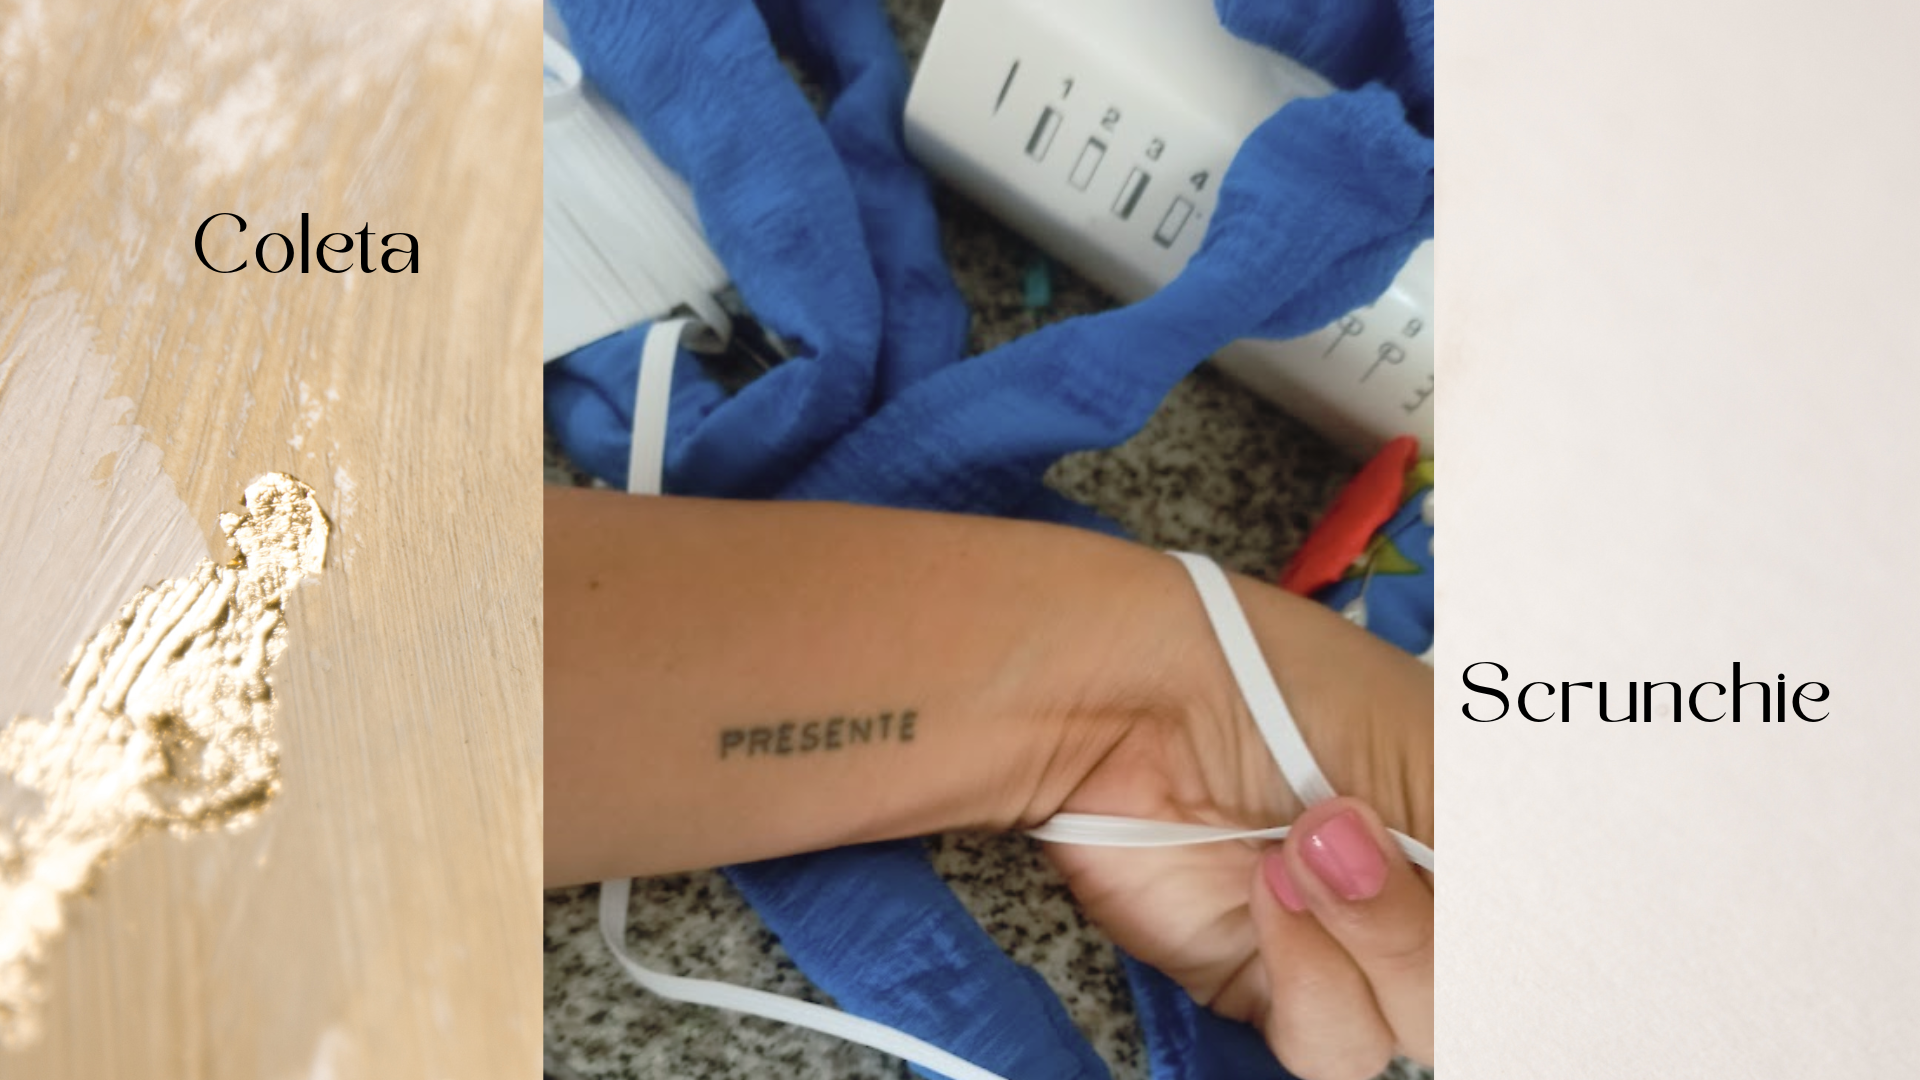
Leaving a space without sewing, it is there where I pass through the elastic in the channel, with the help of a pin. Once everything is gathered to the chosen size, I tie the elastic and then I close the channel with the sewing machine, although it can be done by hand with a hidden seam. This way we already have the first part which is the hair tie or bun.

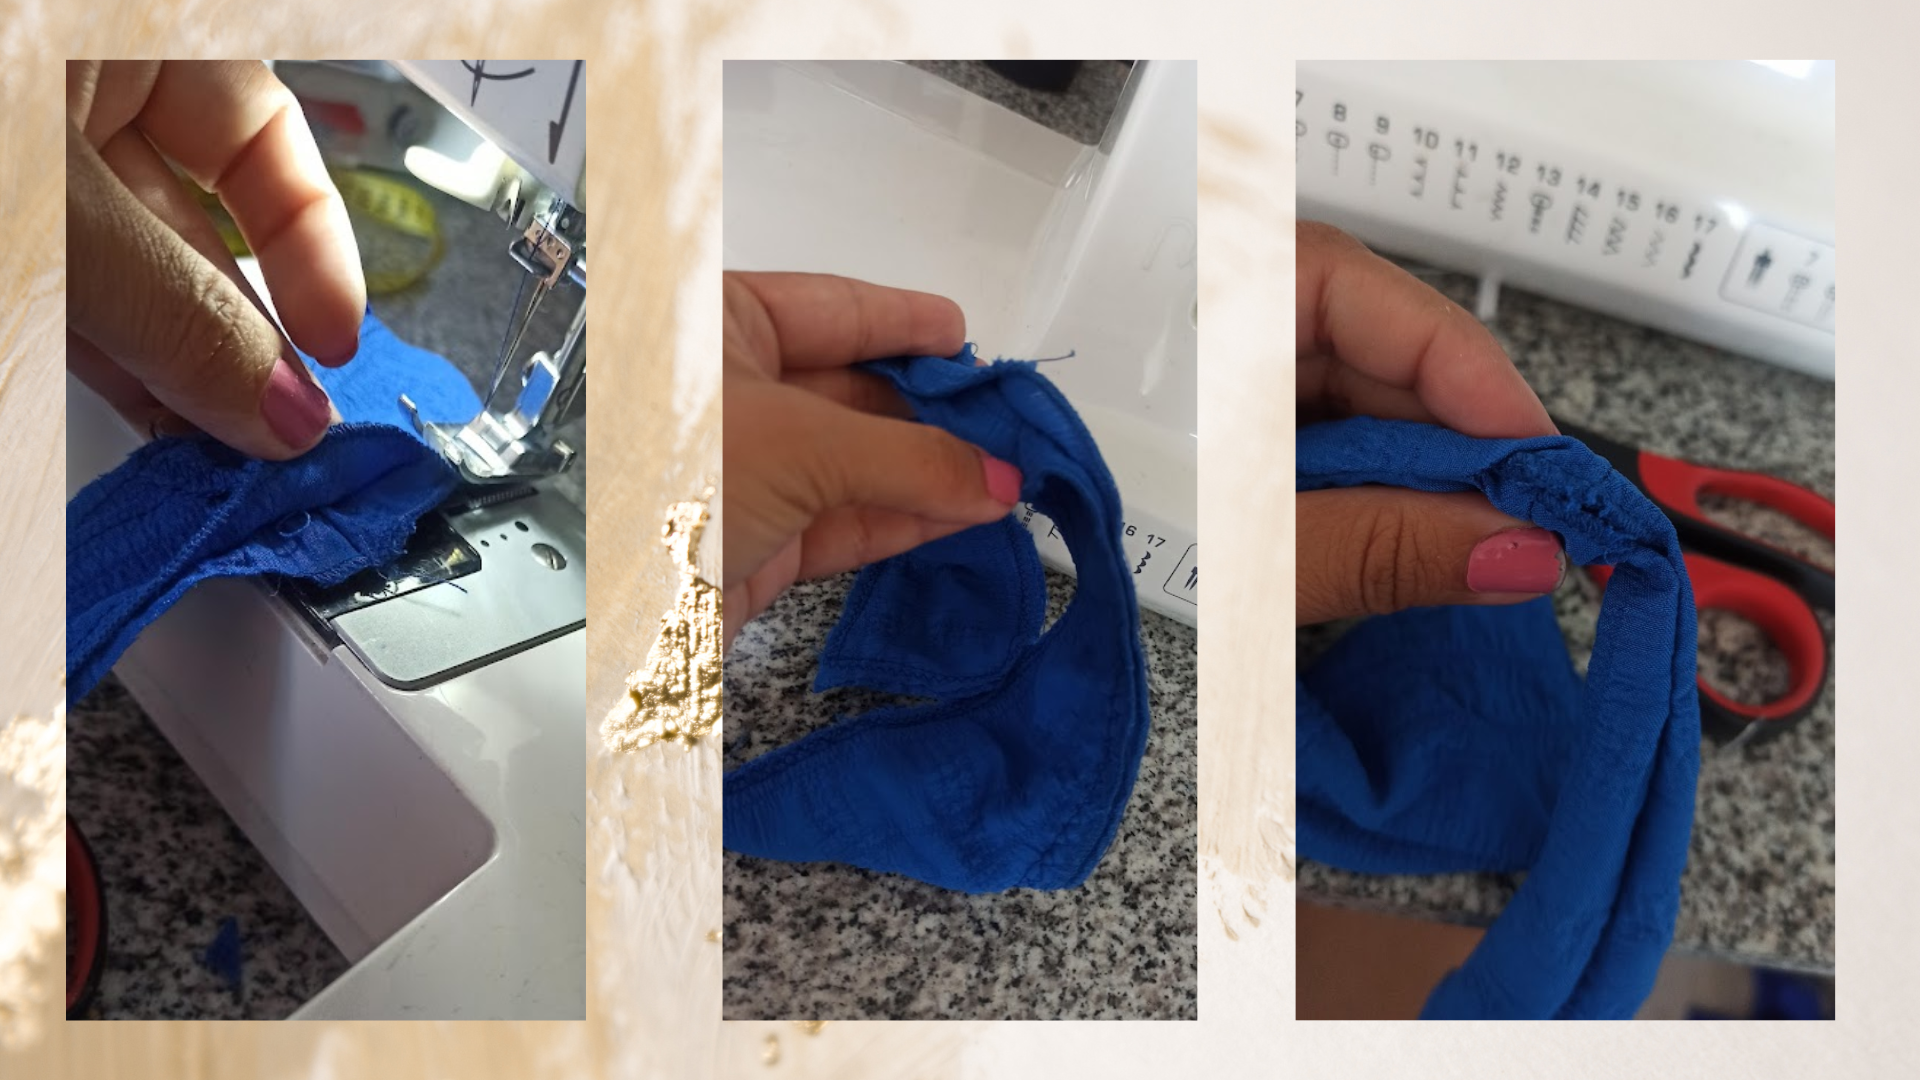
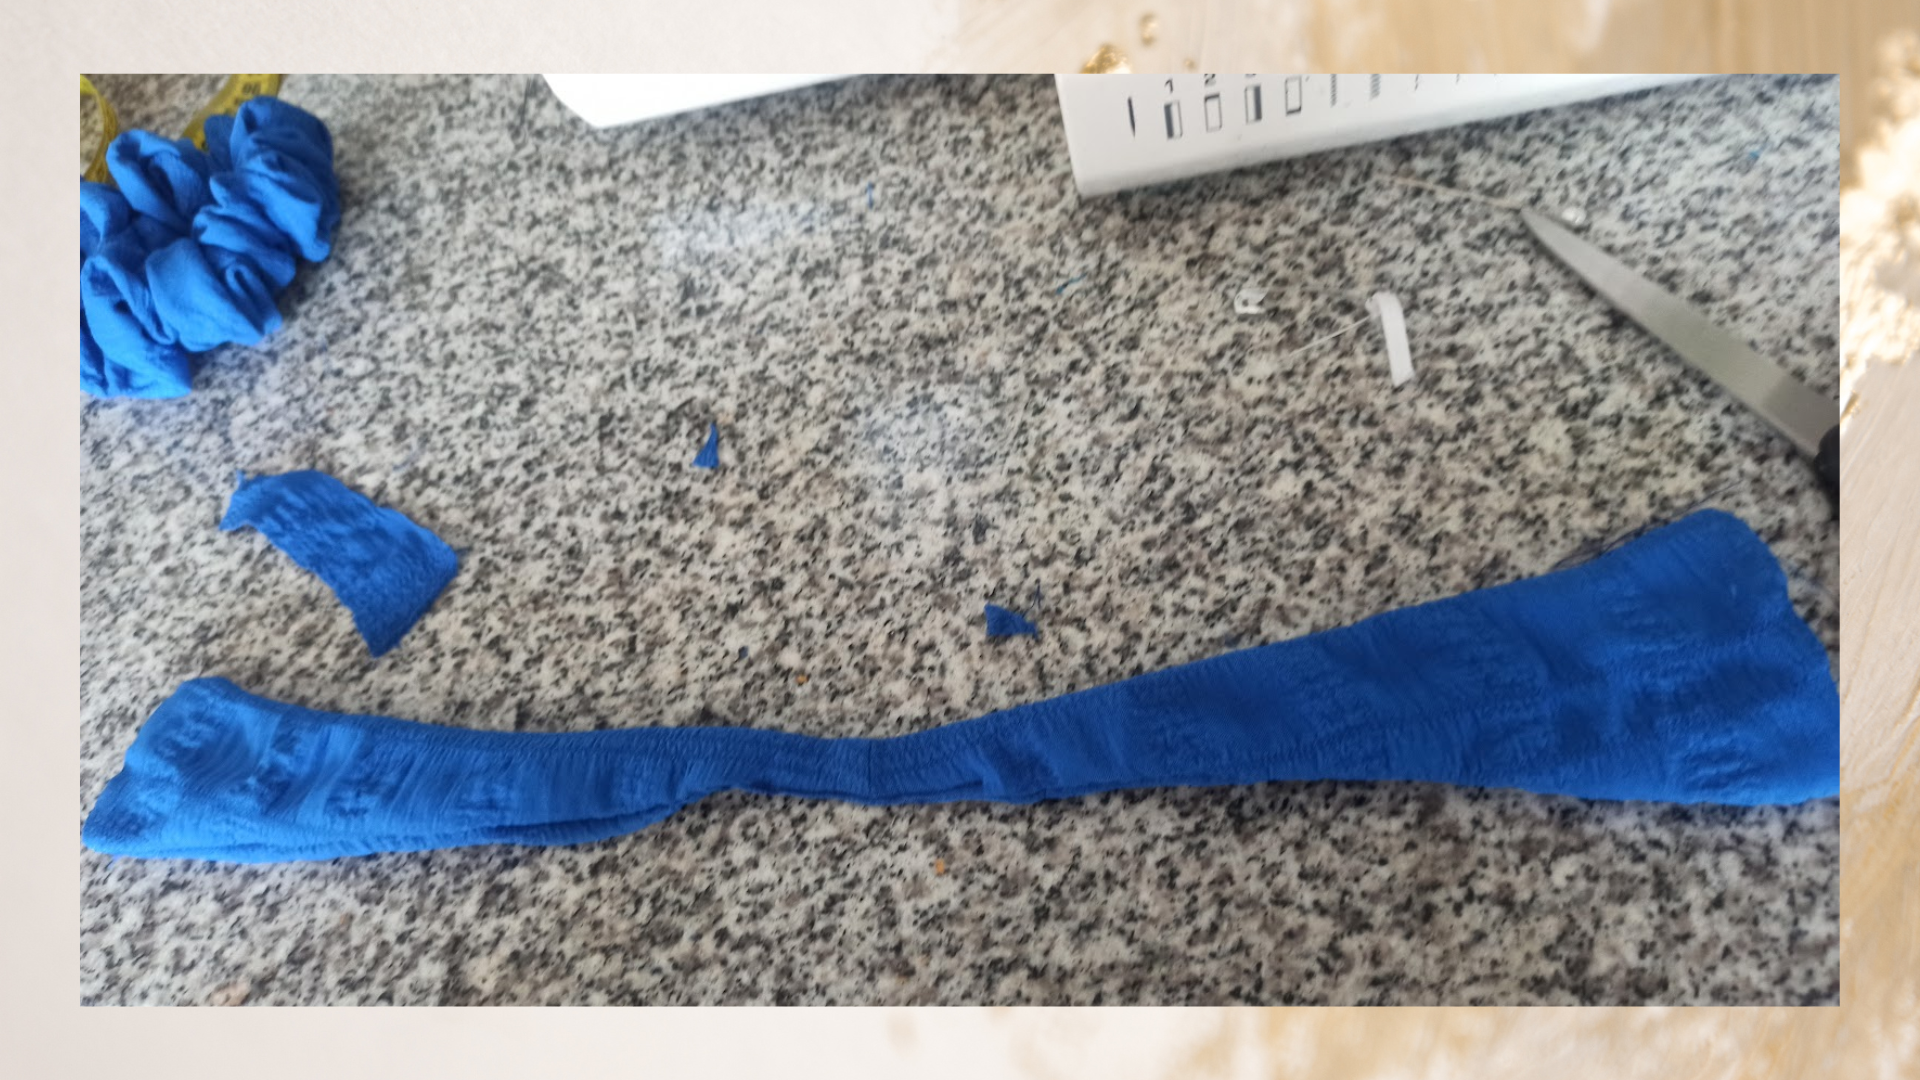
Now for the bow I used the remaining fabric, facing the right sides, I sewed around the edge, note that the cut of the piece is in the shape of a bow tie, that is, narrower in the center. Also, I left a space without sewing, to turn it around keeping the seams, then I closed with straight stitches on the sewing machine.
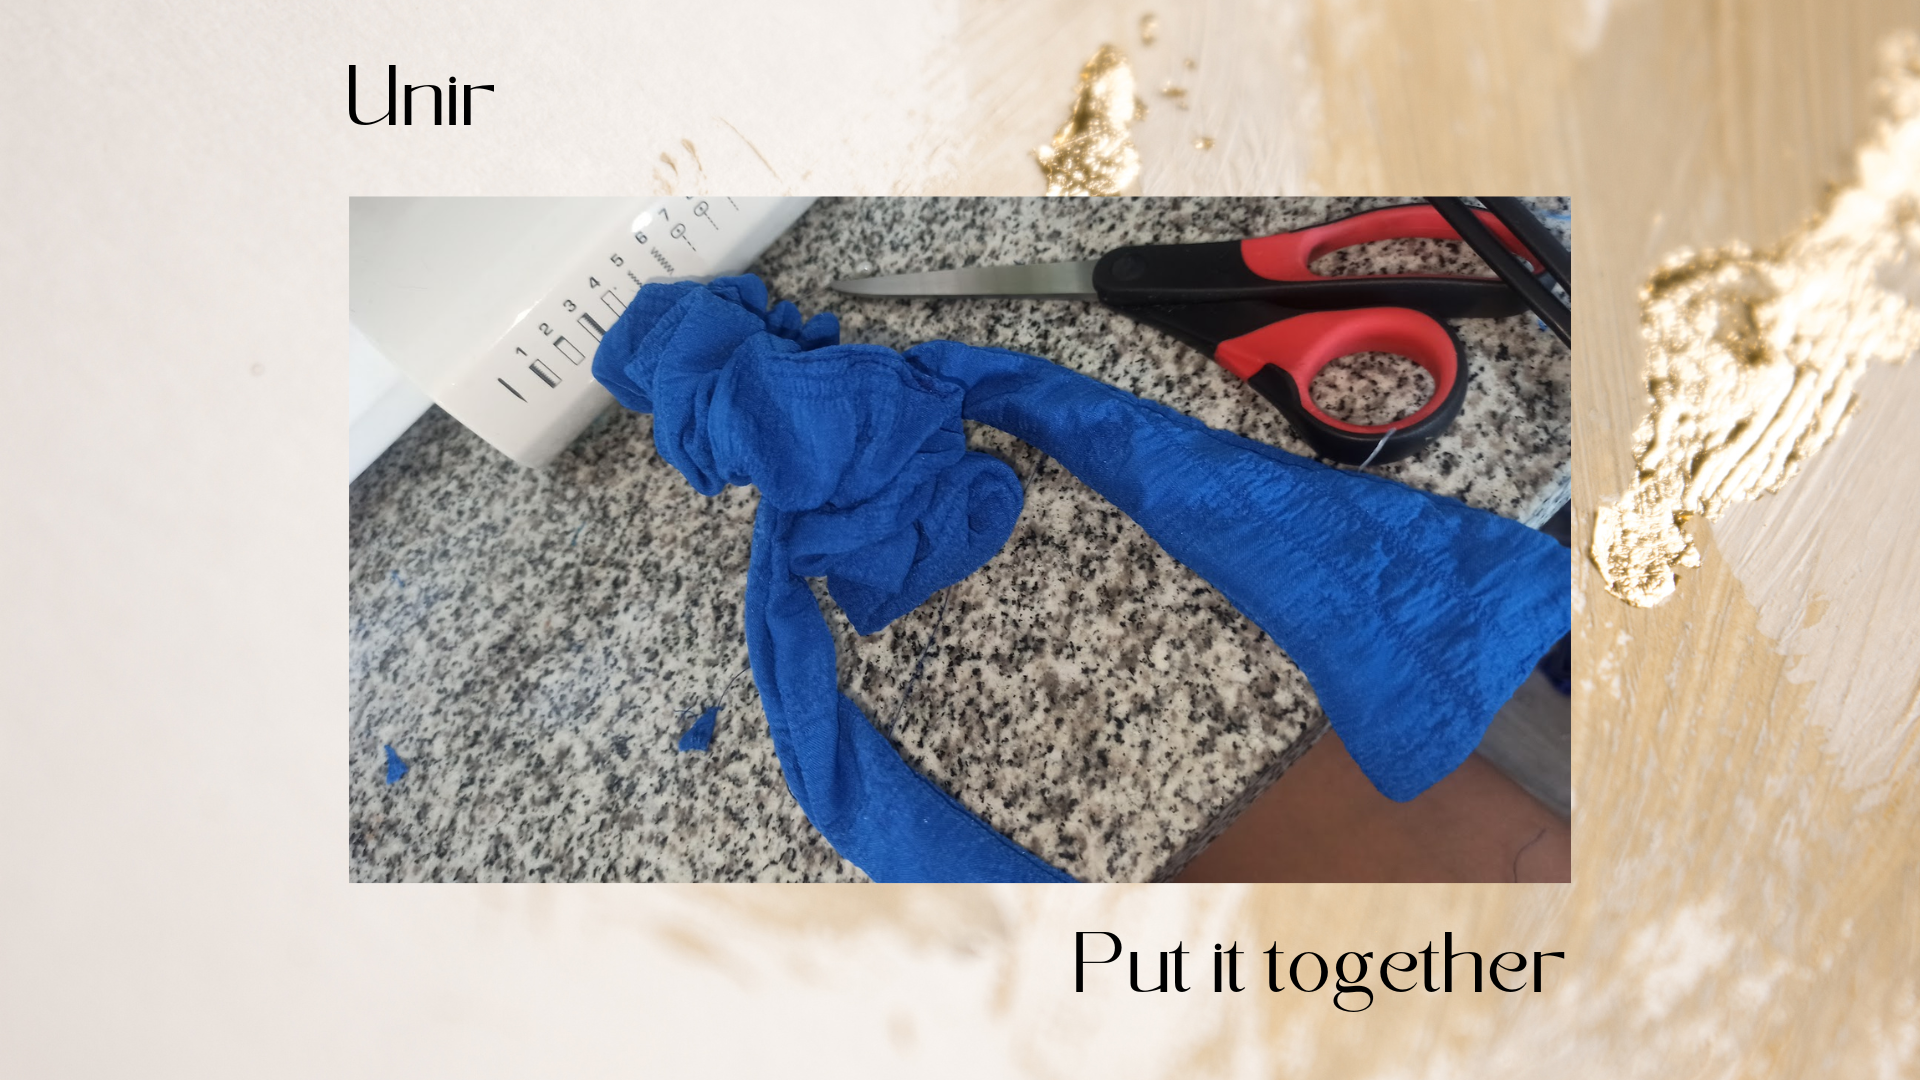
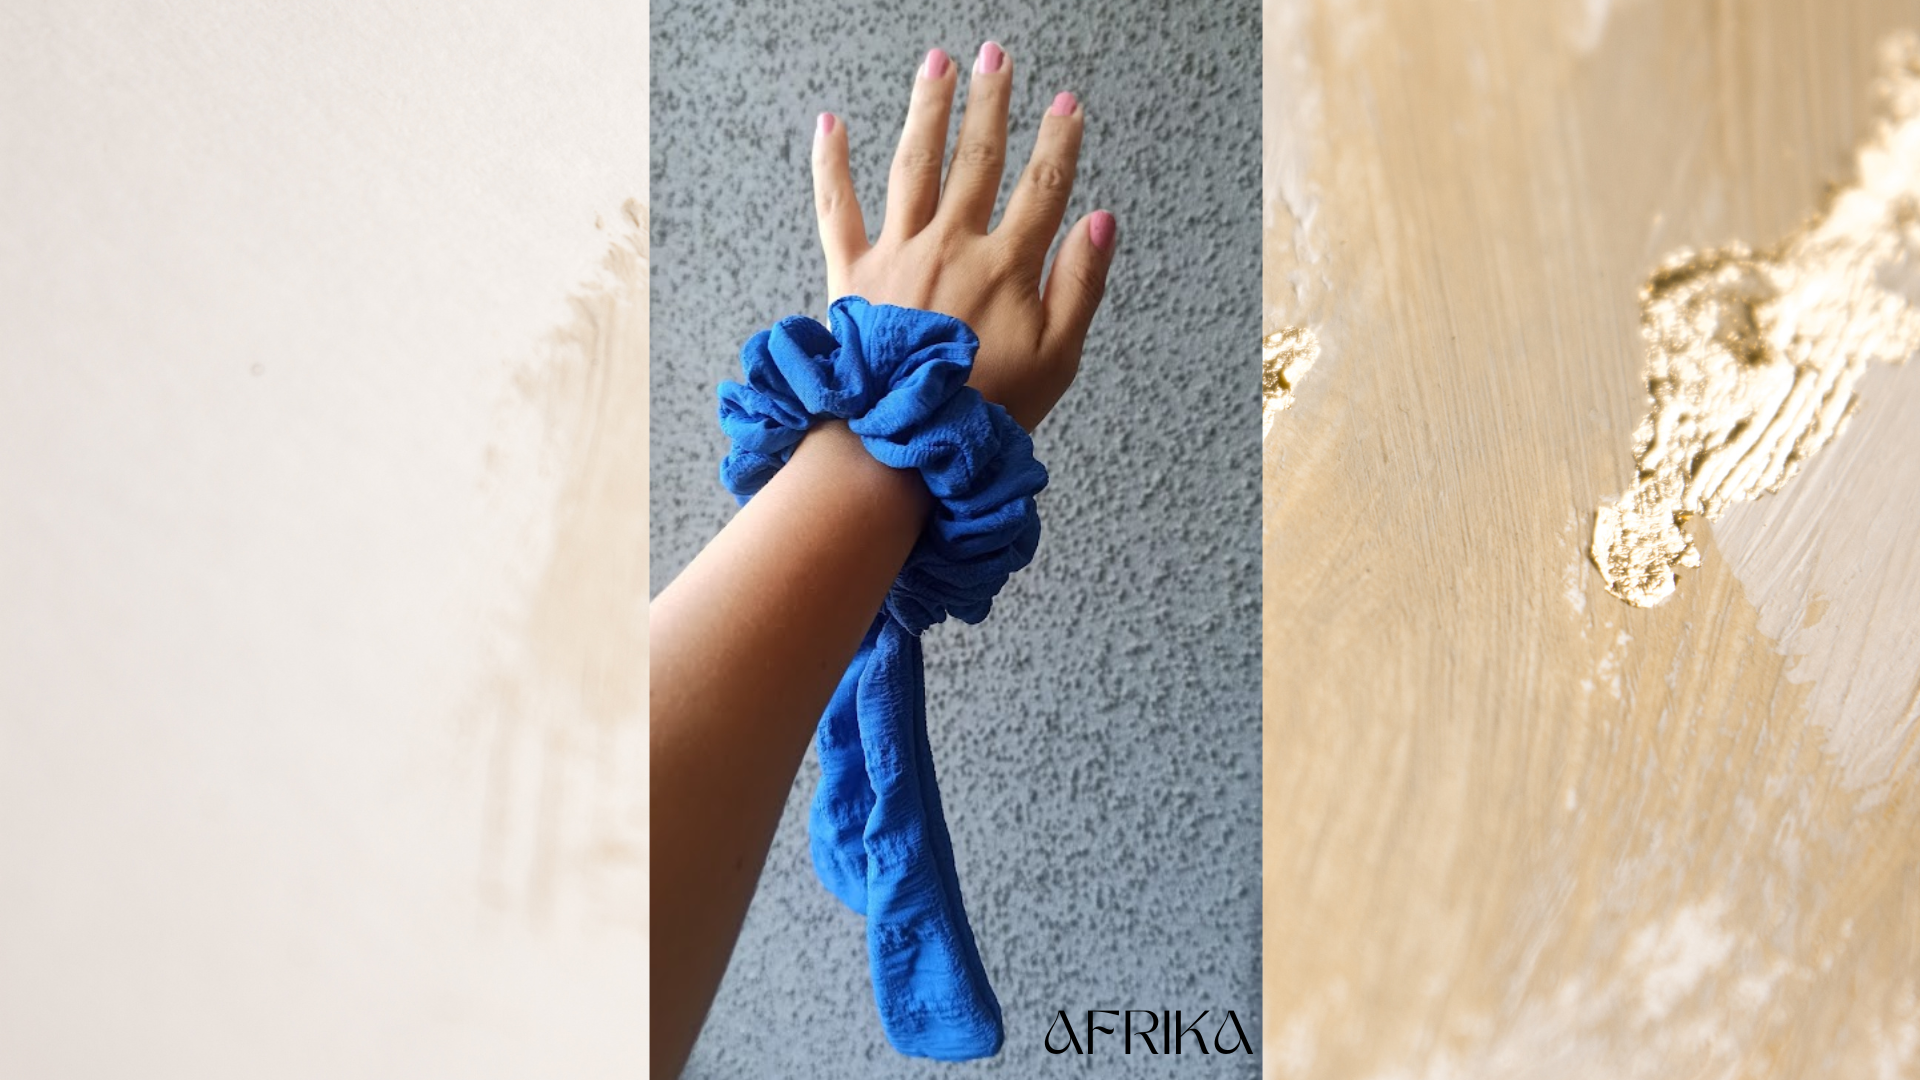
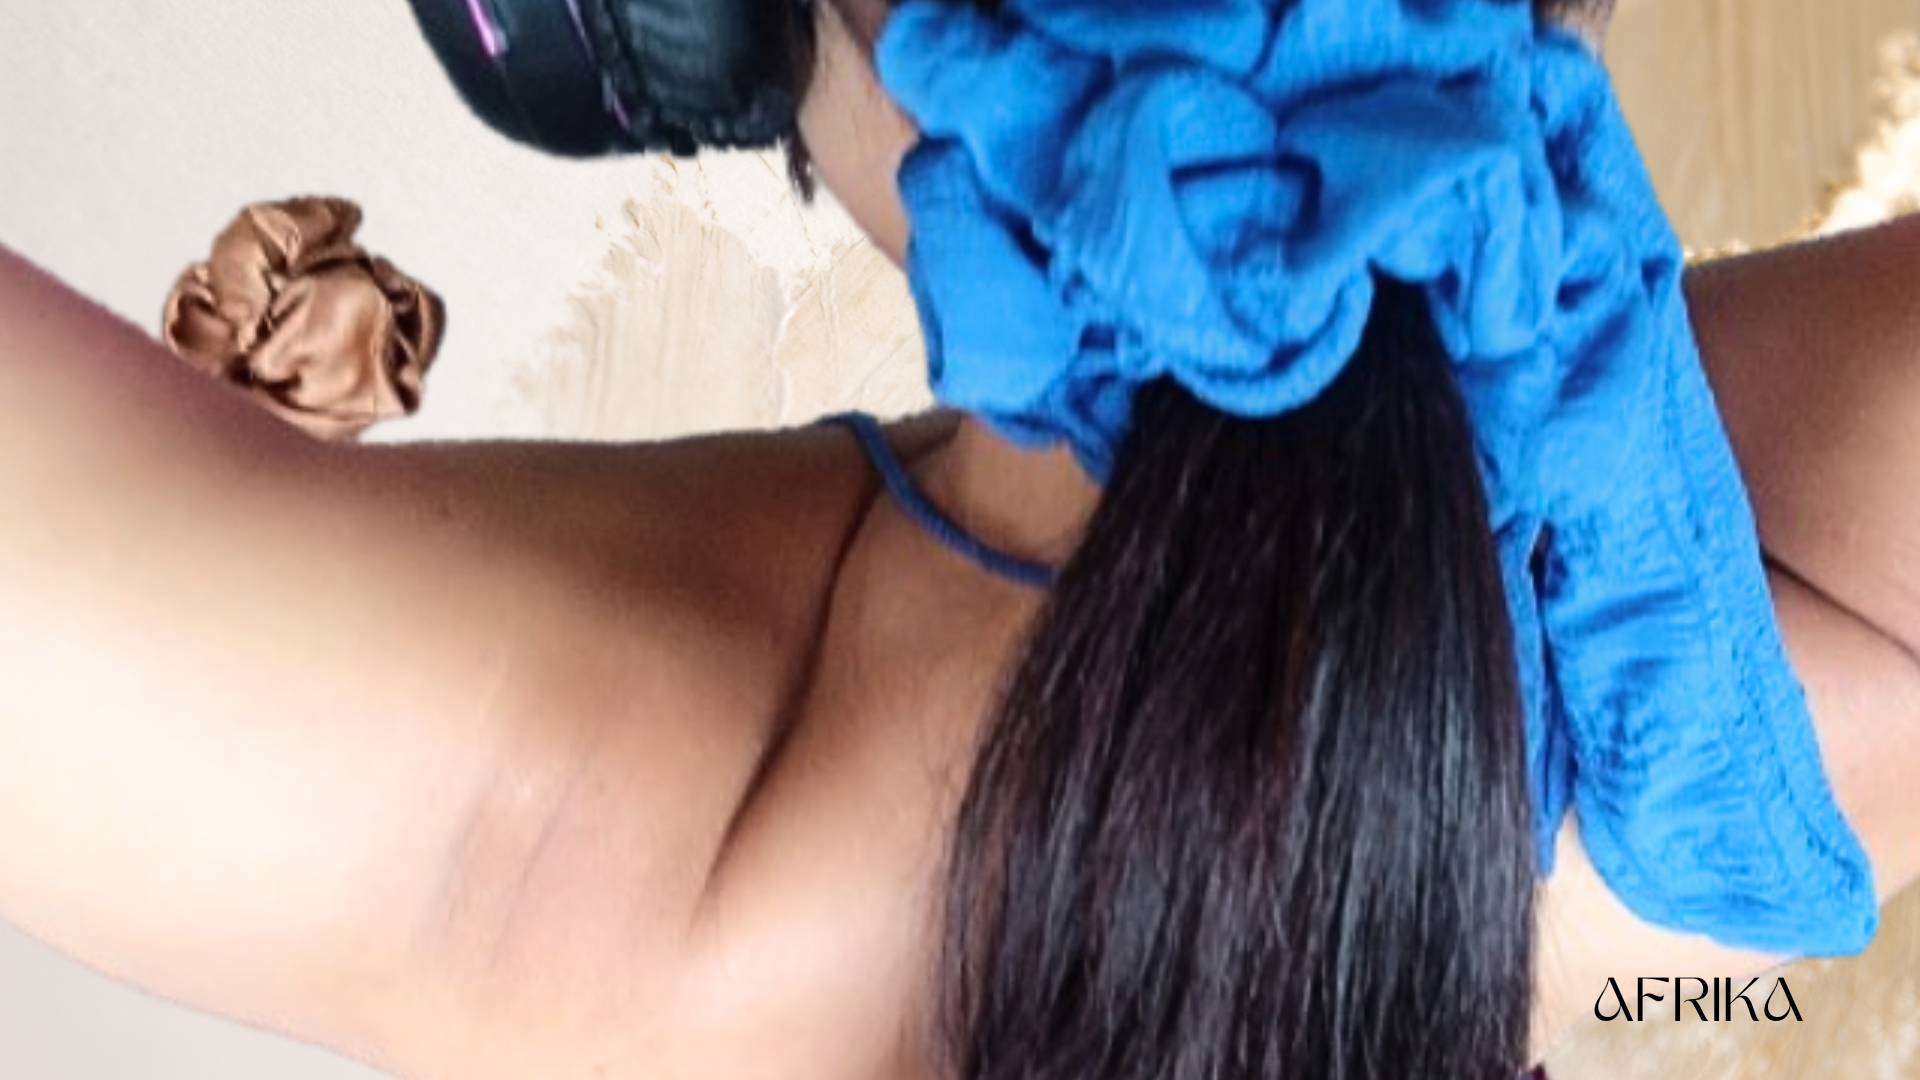
With both pieces ready, the scrunchie and the bow, I tied the latter in the other with a knot, so the scrunchie is decorated with the bow. So, the gift is ready for my client, who was very happy with the result. What did you think of this tutorial? I'd like to know what you call this accessory, I'll be waiting for you in the comments. The photos are personal records, edited in Canva.
This is lovely dear, I have been wishing to make a scrunchie for myself too something I wish to wear with one of my outfits to church. It’s good to see that you didn’t throw away the extra long pieces you have cut but chose to utilize it wisely and now it is a lovely piece of useful scrunchie
Well done dearie, I love this.
Oh hun. You are so cute. Hope to see your scrunchie❤️📝
I’m even happier than the client.
This is cute .
I always don’t know what to do with my left over fabric and you’ve given me ideas as to what to use them for.
Wow. Hope SEE You full of scrunchies💖☺️
Me gusta mucho esa manera de armar la Coleta, pero lástima no he podido entenderla bien y me da miedo dañar la tela. Pero, lo intentaré, nadie aprende lo que no hace. Muchas gracias por compartir con nosotros, bendiciones y feliz inicio de semana.
Hola Belkys, acá dejo un tutorial más simple. Que con el que aprendí https://hive.blog/hive-127911/@afrikablr/en-escostura-facil-para-emprender-scrunchies-de-seda-2-tips-diy-easy-sewing-for-entrepreneurship-silk-scrunchies-2-tips
Saludos amiga, que bello coletero, me encanta el detalle del lazo, le da estilo y elegancia, además el complemento perfecto para el vestido, nada se desperdicia.
Feliz lunes!
Cómo decía Cerati, todo me sirve.