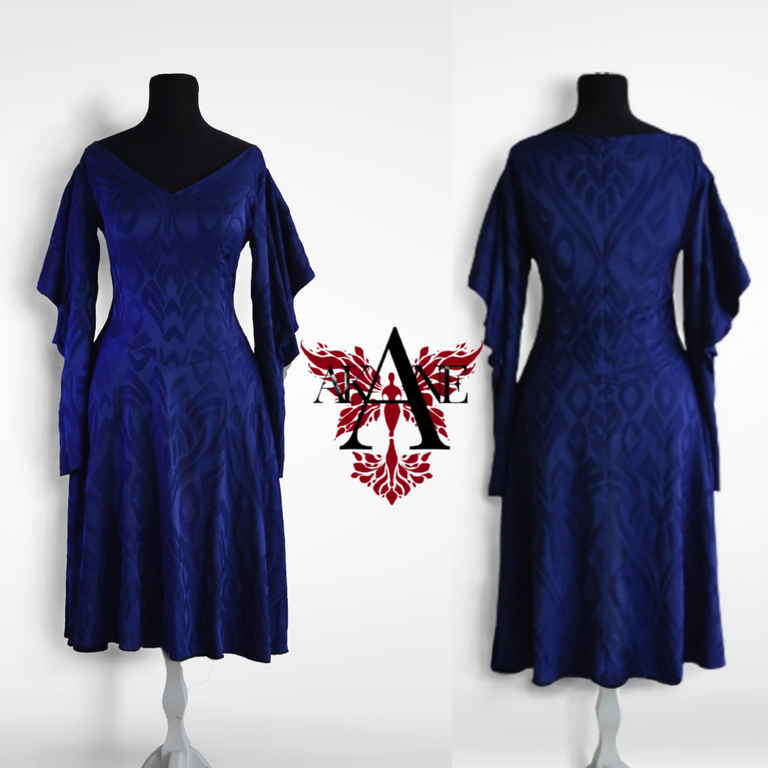
So here we are with the promised backstory of the previous post! For those of you who have missed it, I'm attaching this flashback quote:
"In the world of fashion, every piece of work -from day to day collections to avant-garde ones- has a story or even a history behind how it's created and what factors define its characteristics. That's the type of story I'm willing to share on my next post, where you'd also see the finalized costume..."
The Costume's Propellant:

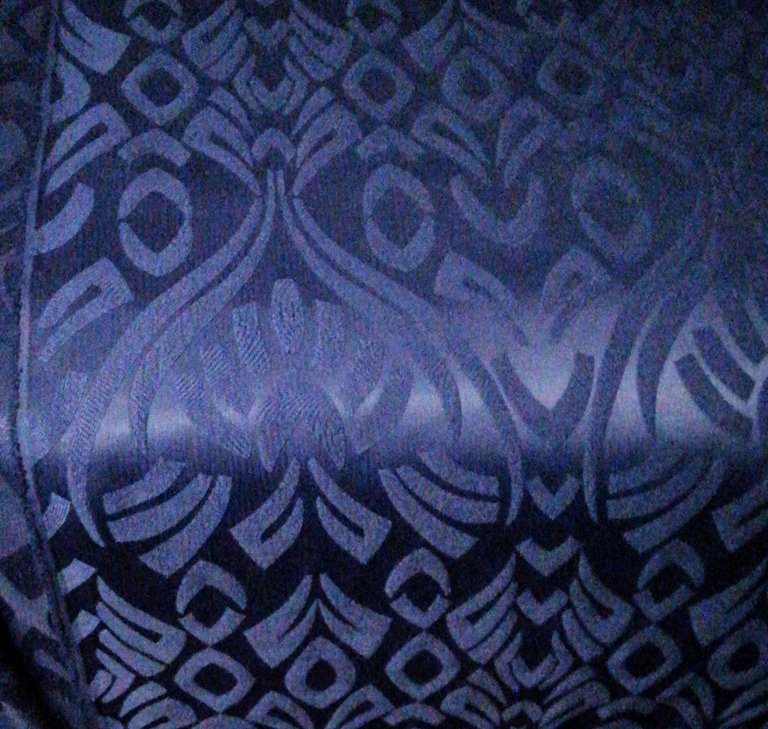
👆This is where everything began -in this case, of course-, by the fabric itself!
Only a few weeks had passed since I began working as a self-employed tailor when a customer/friend brought this elegant admiral blue Jacquard to my place. She had bought it at a generous discount, falling for its delicacy rather than following a particular occasion or need. Therefore, she ended up with a somewhat too brief request for me:
-"make an evening dress out of it!"
Obviously, this data wouldn't suffice in guaranteeing she'd approve what I'd make (no matter how much she insisted on favouring my taste). So, we had to go through a discourse.
Diving a bit deeper into my customer's perspective, needs, and appetite, we came to an eventual list of conceptual preferences.
The whole costume must:
- Accentuate the fabric's -relatively large- pattern
- Be tight on the waist and loose on the lower body (to evince features she approved about her body and cover the ones she didn't)
- Have sleeves
- The lower body must fit within midi to maxi category
Coming to an agreement, I was ready to illustrate my ideas [shared in the previous post] to get the last confirmation before I start working on the fabric.
Tailoring Default Rituals

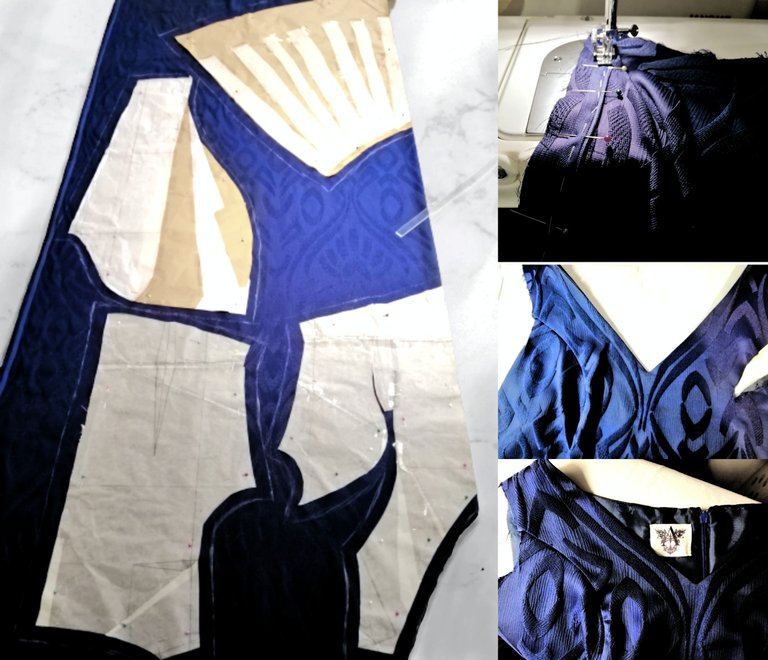
What came next is crystal clear as it is an inevitable part of every tailor's work.
Speaking of pattern making, I've followed Muller's method -the only method I know- on the main body. For the sleeves, however, I had to figure the pattern through the moulage technique.
Furthure pattern info:
- Upperbody: princess cut
- Lowerbody: Flared skirt
- Sleeve: distorted set-in sleeve
[feel free to comment on any pattern related question that comes to your mind. I'll gladly dedicate a new post for further explanation.]
Tips and tricks
As you'll be informed in my next post (hive intro), I'll occasionally post some tips, tricks, and guides related to eatch post. here comes the tip of the day!
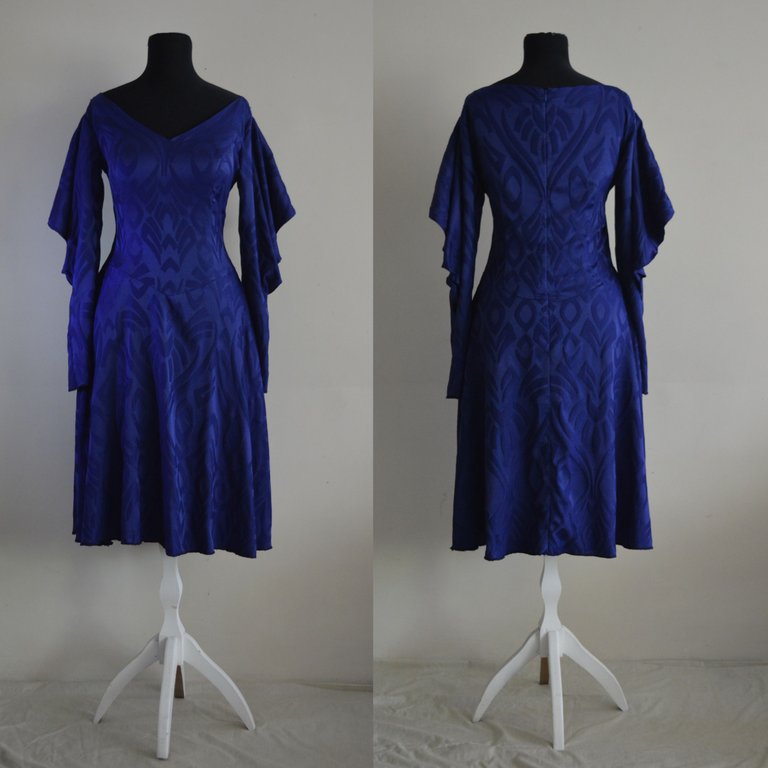
- Proper ironing is essential: Whether you'd use photography for your marketing or not, decent ironing is as important as your sewing skills are. As a tailor, you'll need to offer some high quality work to satisfy your current customers and attract new ones. A professional tailoring Iron -I recommend pro steam Irons- will help you make that professional impression, and is definitely worth the cost (even if you're starting your work with a low budget.). ( I've attached the unfortunate, misshaped, and cheap-looking version of my work, before it had been ironed and the background had been photoshopped.

Beautiful work, I love the way you were able to achieve the flow of the textile's pattern through the dress.
Thank you! I was lucky that I could adjust the collar with -as you put it- the pattern's flow on one of the fabric ends. If it wasn't an option, I'd have problems setting all pieces in the 150x225cm cut in an eye-catching way! ;)
!discovery 30
Hello and welcome to the NeedleWorkMonday Community @akane47! I read your previous post and saw the drawings of this design. You are quite skillful with your artistry and design. I love that you digged deeper to find your customer’s needs and desires to make sure you created something she’d be happy with.
The material used is so beautiful. Ironing is definitely an important step when doing sewing work. I’ve watched my mother sew and tailor clothing since I was a little girl and the one thing I remember most is the smell of our steam iron :)
I look forward to reading your introductory post. It helps give us more of a sense of who you are and the type of work you will be sharing with us.
Every week needleworkers from around the globe get together to share our work, patterns, tips, ideas and shortcuts as we support one another. Our goal is to inspire the Hive blockchain to give crafting a try.
On Monday’s we use the #needleworkmonday tag and on all other days we use the #needlework tag without the word Monday attached. We share and post our work directly from the Community page.
We encourage our members to share the process of their work through photos. This not only validates your work but it takes us along the creative journey with you.
For more information about what we do and for our posting guidelines please visit our FAQs.
Thank you for the warm welcome!😍❤ I'm grateful that you've taken the time to read my post and reply thoroughly.🍀
I hope my rather general intro would suffice in elucidating my style and context sharing strategies.
As a newbie, I'm looking forward to achieving a better understanding of this community needs and the members' level. So, I'd be able to create contexts that would go beyond just sharing and can benefit the audience.
You're very welcome. I really enjoyed reading your work.
We have a variety of needlework skill level here...from beginners to advanced. Some may have mastered one skill and are trying out another. The beauty of it is no matter what skill level you're on, there is always room for learning and growing together :)
We love learning so bring on any knowledge you'd wish to share ~
Thank you for the info.❤
Absolutely ~ 😉
This post was shared and voted inside the discord by the curators team of discovery-it
Join our community! hive-193212
Discovery-it is also a Witness, vote for us here
Delegate to us for passive income. Check our 80% fee-back Program
Congratulations @akane47! You have completed the following achievement on the Hive blockchain and have been rewarded with new badge(s) :
Your next target is to reach 200 upvotes.
You can view your badges on your board and compare yourself to others in the Ranking
If you no longer want to receive notifications, reply to this comment with the word
STOP