Hola querido visitante..🪡🧵✨
Hello dear visitor..🪡🧵✨

Every time I make this type of garments I remember that each one has something special, and it is that when we are going to work garments with different fabrics, mostly some are looser than others and that happens to me in general, although I am not very good at making haute couture garments when it comes to making simple garments I am there available for anyone who shows up 😊 ... I want to show you how the process was in the elaboration of this elegant lady's vest perfect for formal occasions, we will be making it from a fabric that is special for making pants because mostly this type of fabric is very suitable for the making of these garments due to its quality and texture, I always use fabrics that are somewhat hard and that have shape when sewing and this type of fabric is special for that, my client wanted something simple, nothing elaborate because of course she brought me less than 50 cm of fabric so let's go with the process, if you want to learn how to make a garment as beautiful as this, this is your opportunity not to miss this blog ... 🤗

Materiales:// Materials:
- Tela
- Tiza de costura
- Medida como referencia o unos patrones
- Hilo y aguja
- Máquina de coser
- 3 botones
- Fabric
- Sewing chalk
- Measurement for reference or some patterns
- Thread and needle
- Sewing machine
- 3 buttons
Pasos a seguir://Steps to follow:
Paso 01
Step 01
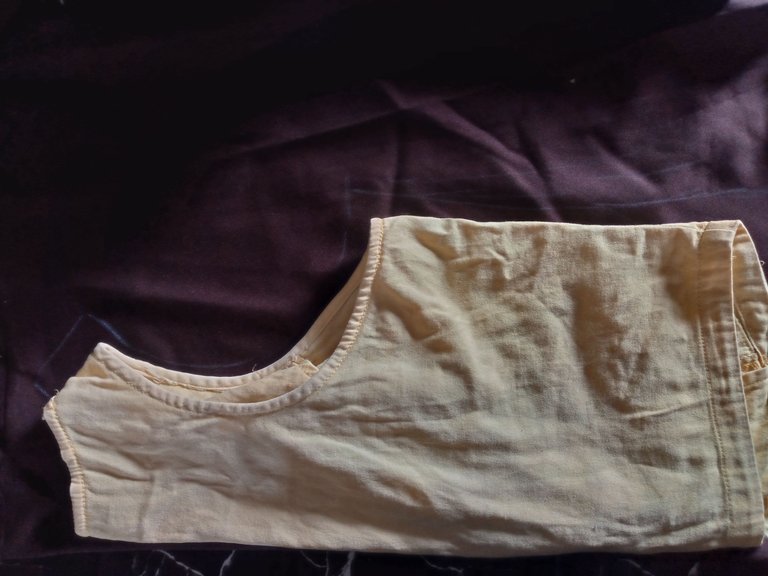
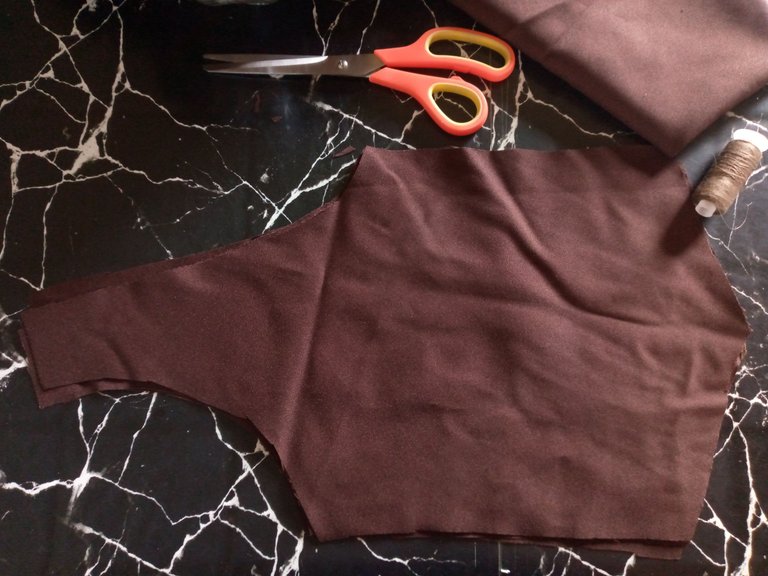
The first step is what I like the most when making any type of clothing, I feel that this is where I put the most effort into my work because if we do not measure or cut well, we either have excess or lack fabric and the work becomes more complicated, so the most important thing for me before I start sewing is to make sure that I am cutting the pieces exactly to their corresponding measurement, in this case, as I mentioned at the beginning, I will use a measurement as a reference, either a blouse from my client or some patterns, in this case I used the same vest that I placed double on top of my fabric and I was marking with chalk around the outline, I cut a double piece of my vest from the back waist, two pieces cut in half from the front waist and of course the bias of each armhole and the one from the neck area.
Paso 02
Step 02
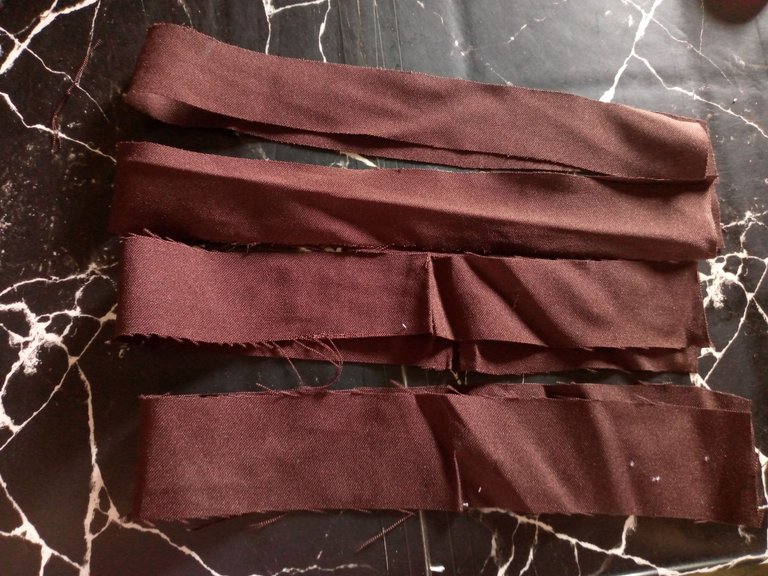
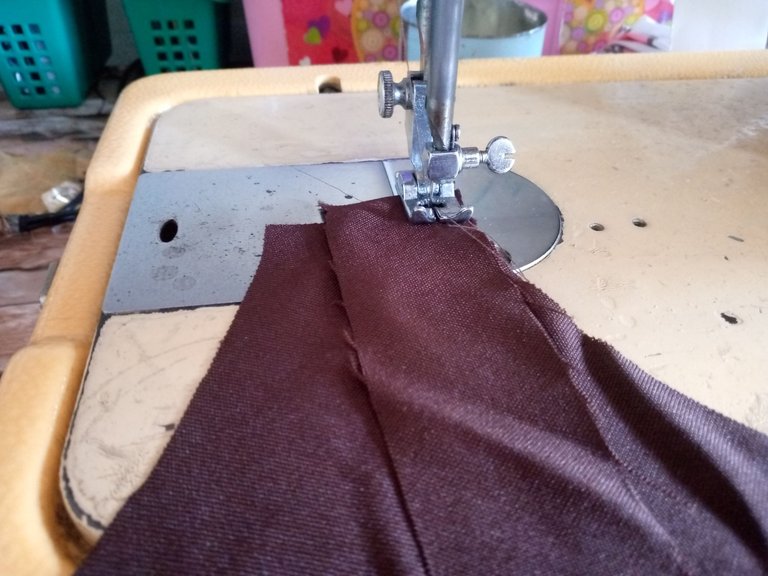
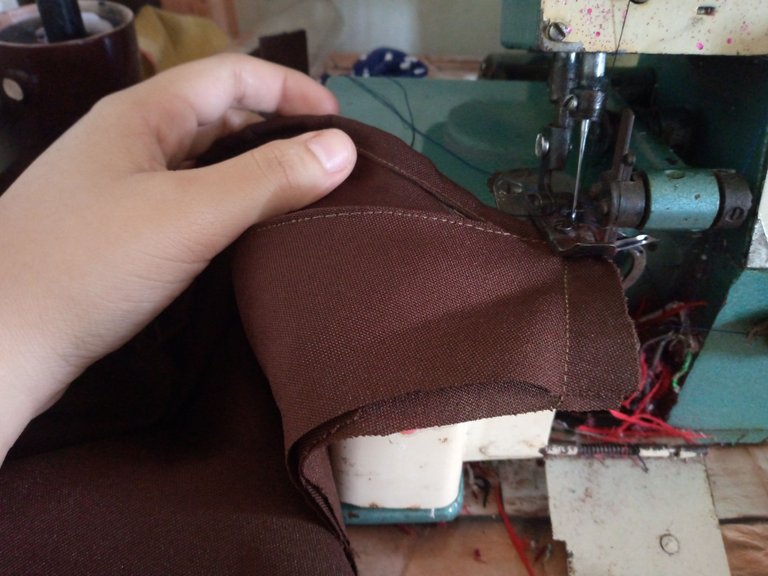
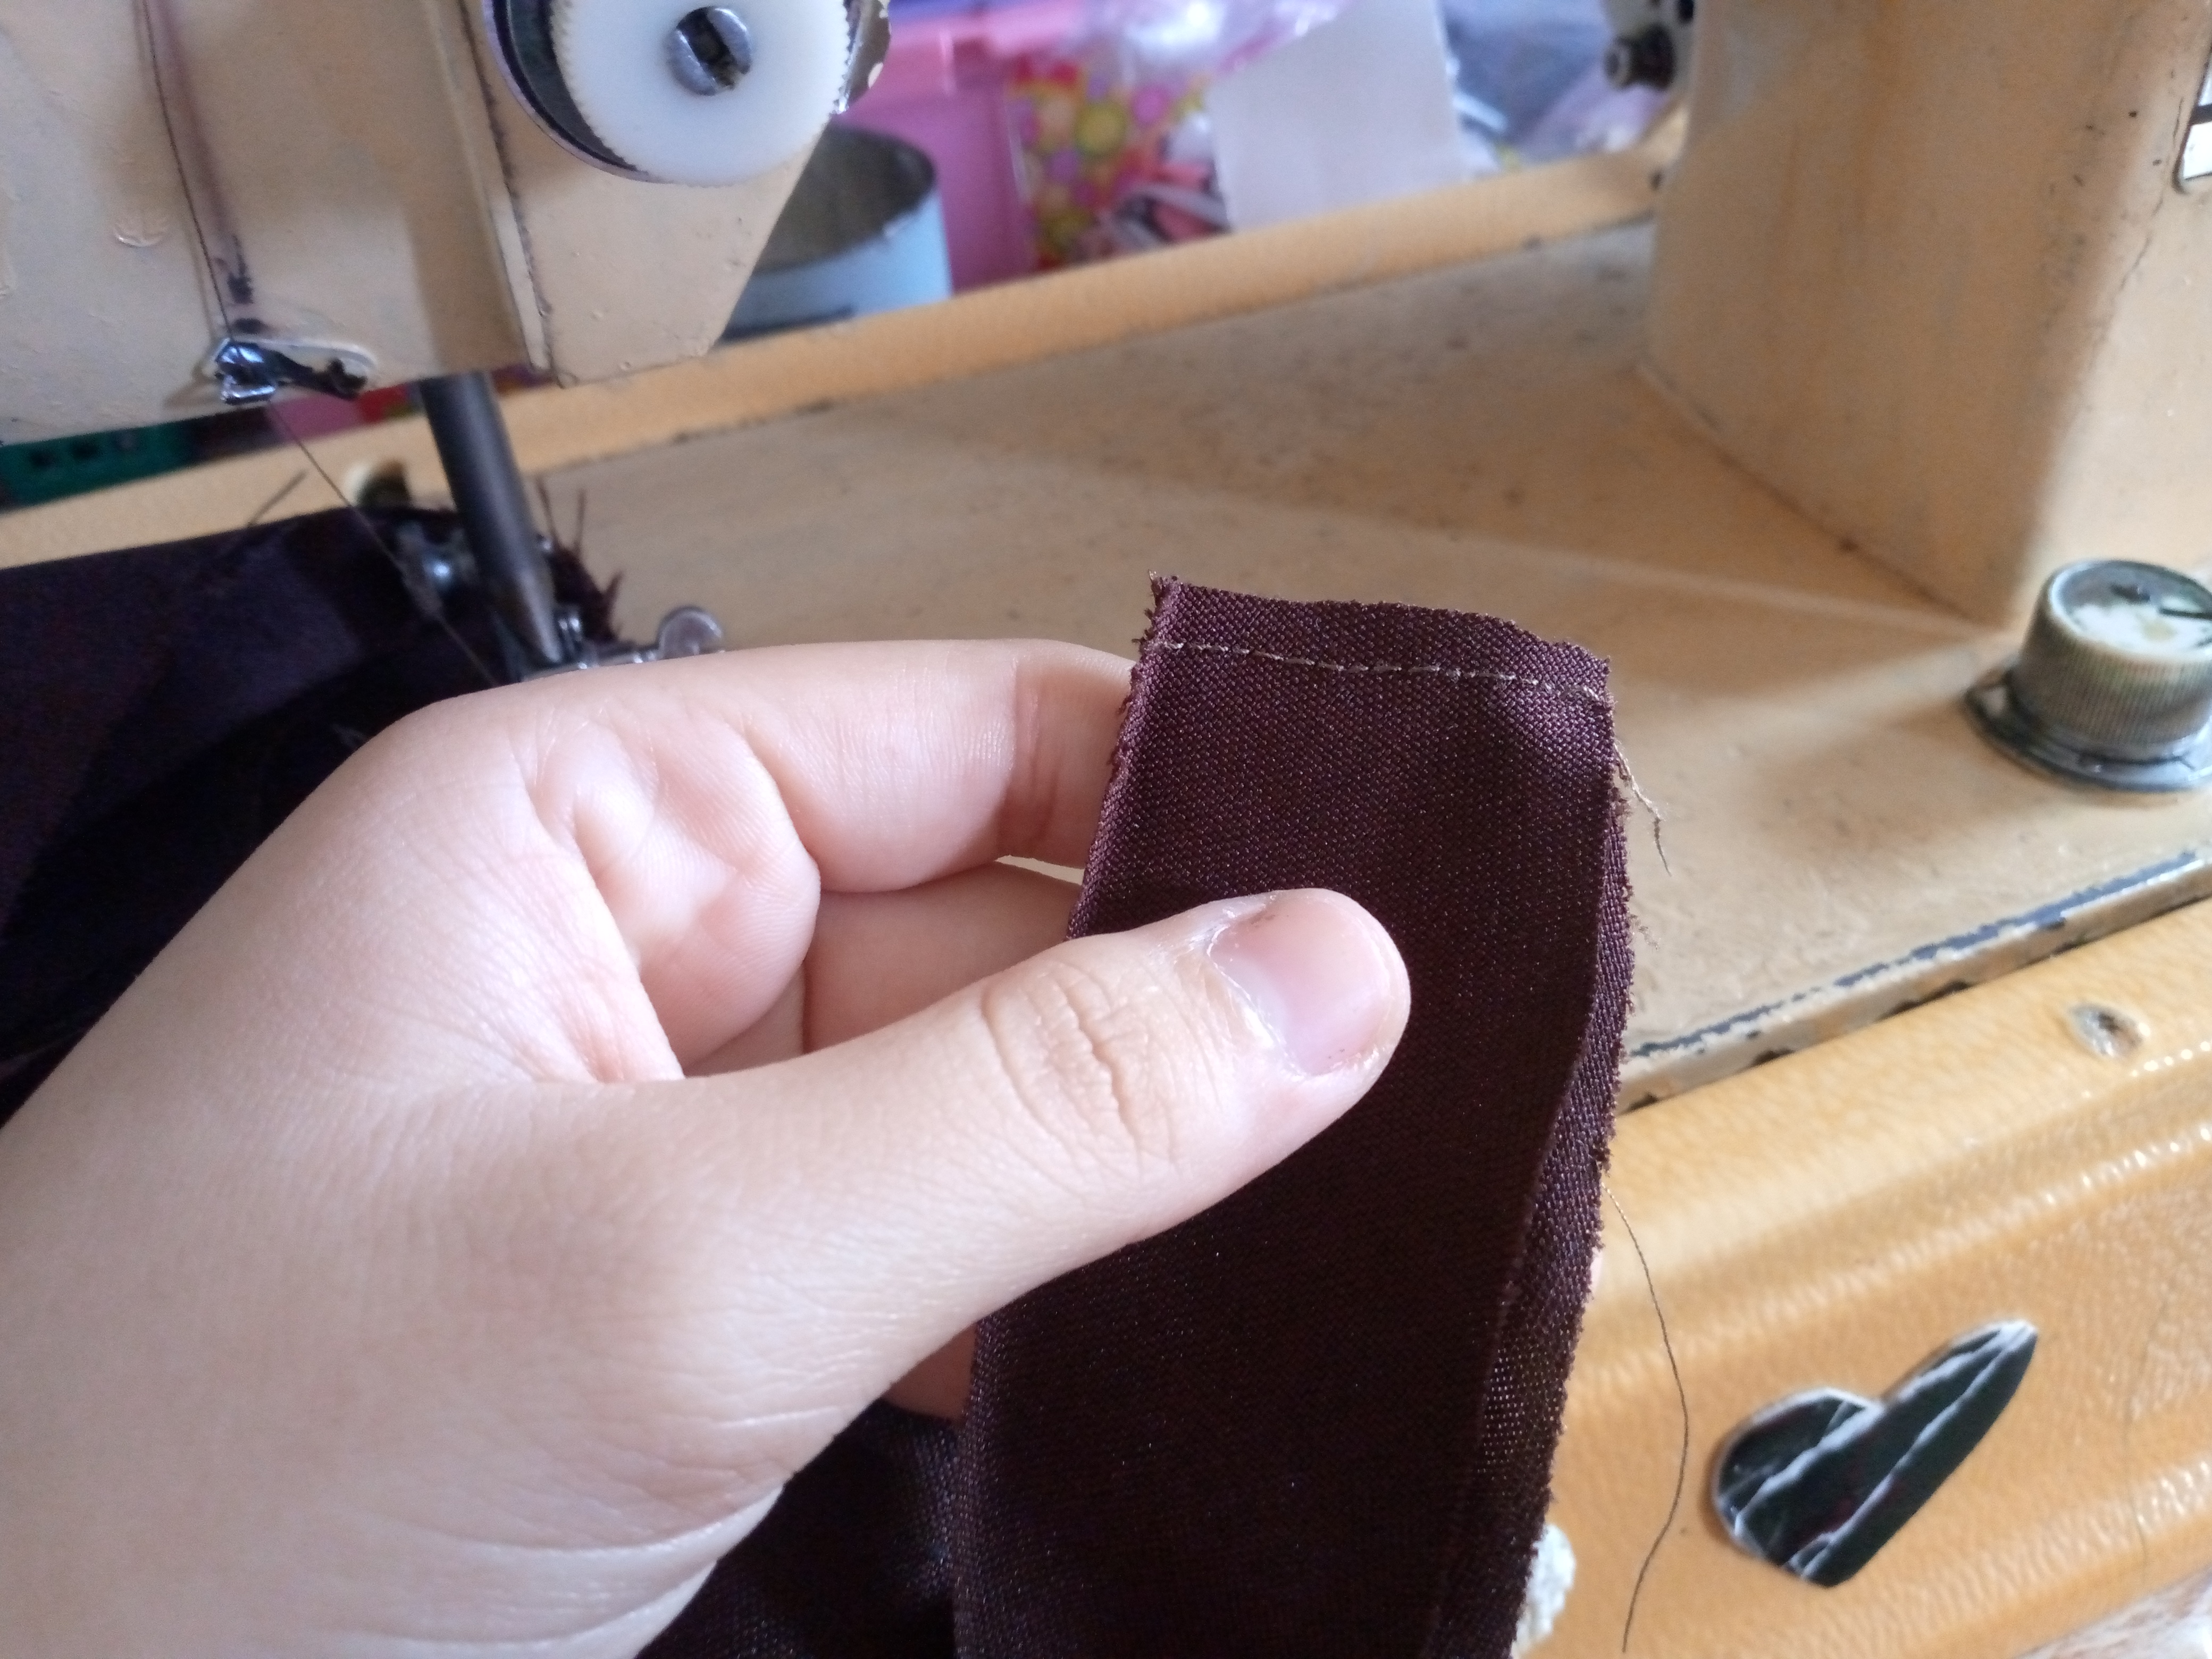
Okay, let's start by sewing the bias neck piece to the back piece and sew around the neckline at the top, from the inside out. We make small cuts with the tip of my scissors. Then I'll sew over the top. Now that I've cut the front hem pieces double, I'll sew them all the way around the inside, and then we'll turn them out.
Paso 03
Step 03
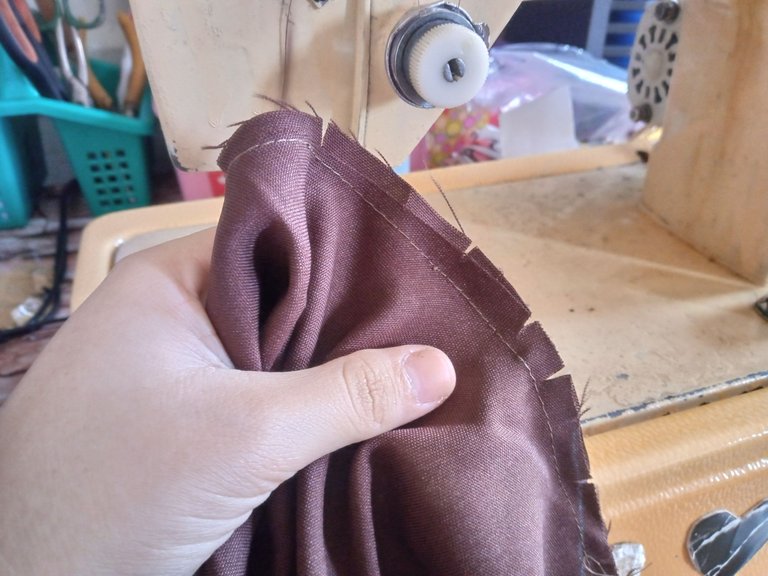
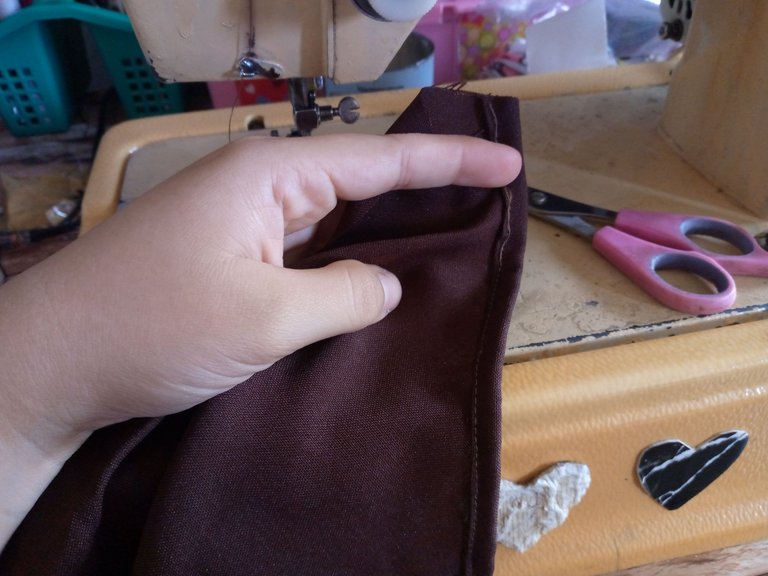
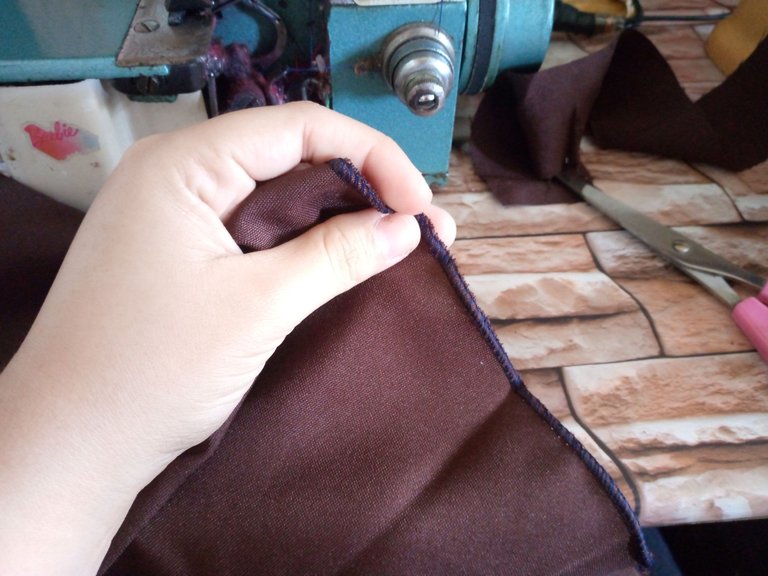
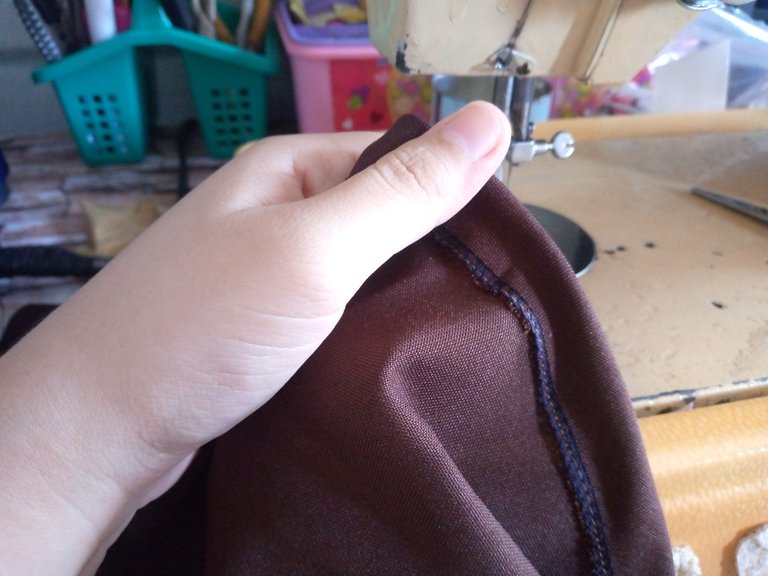
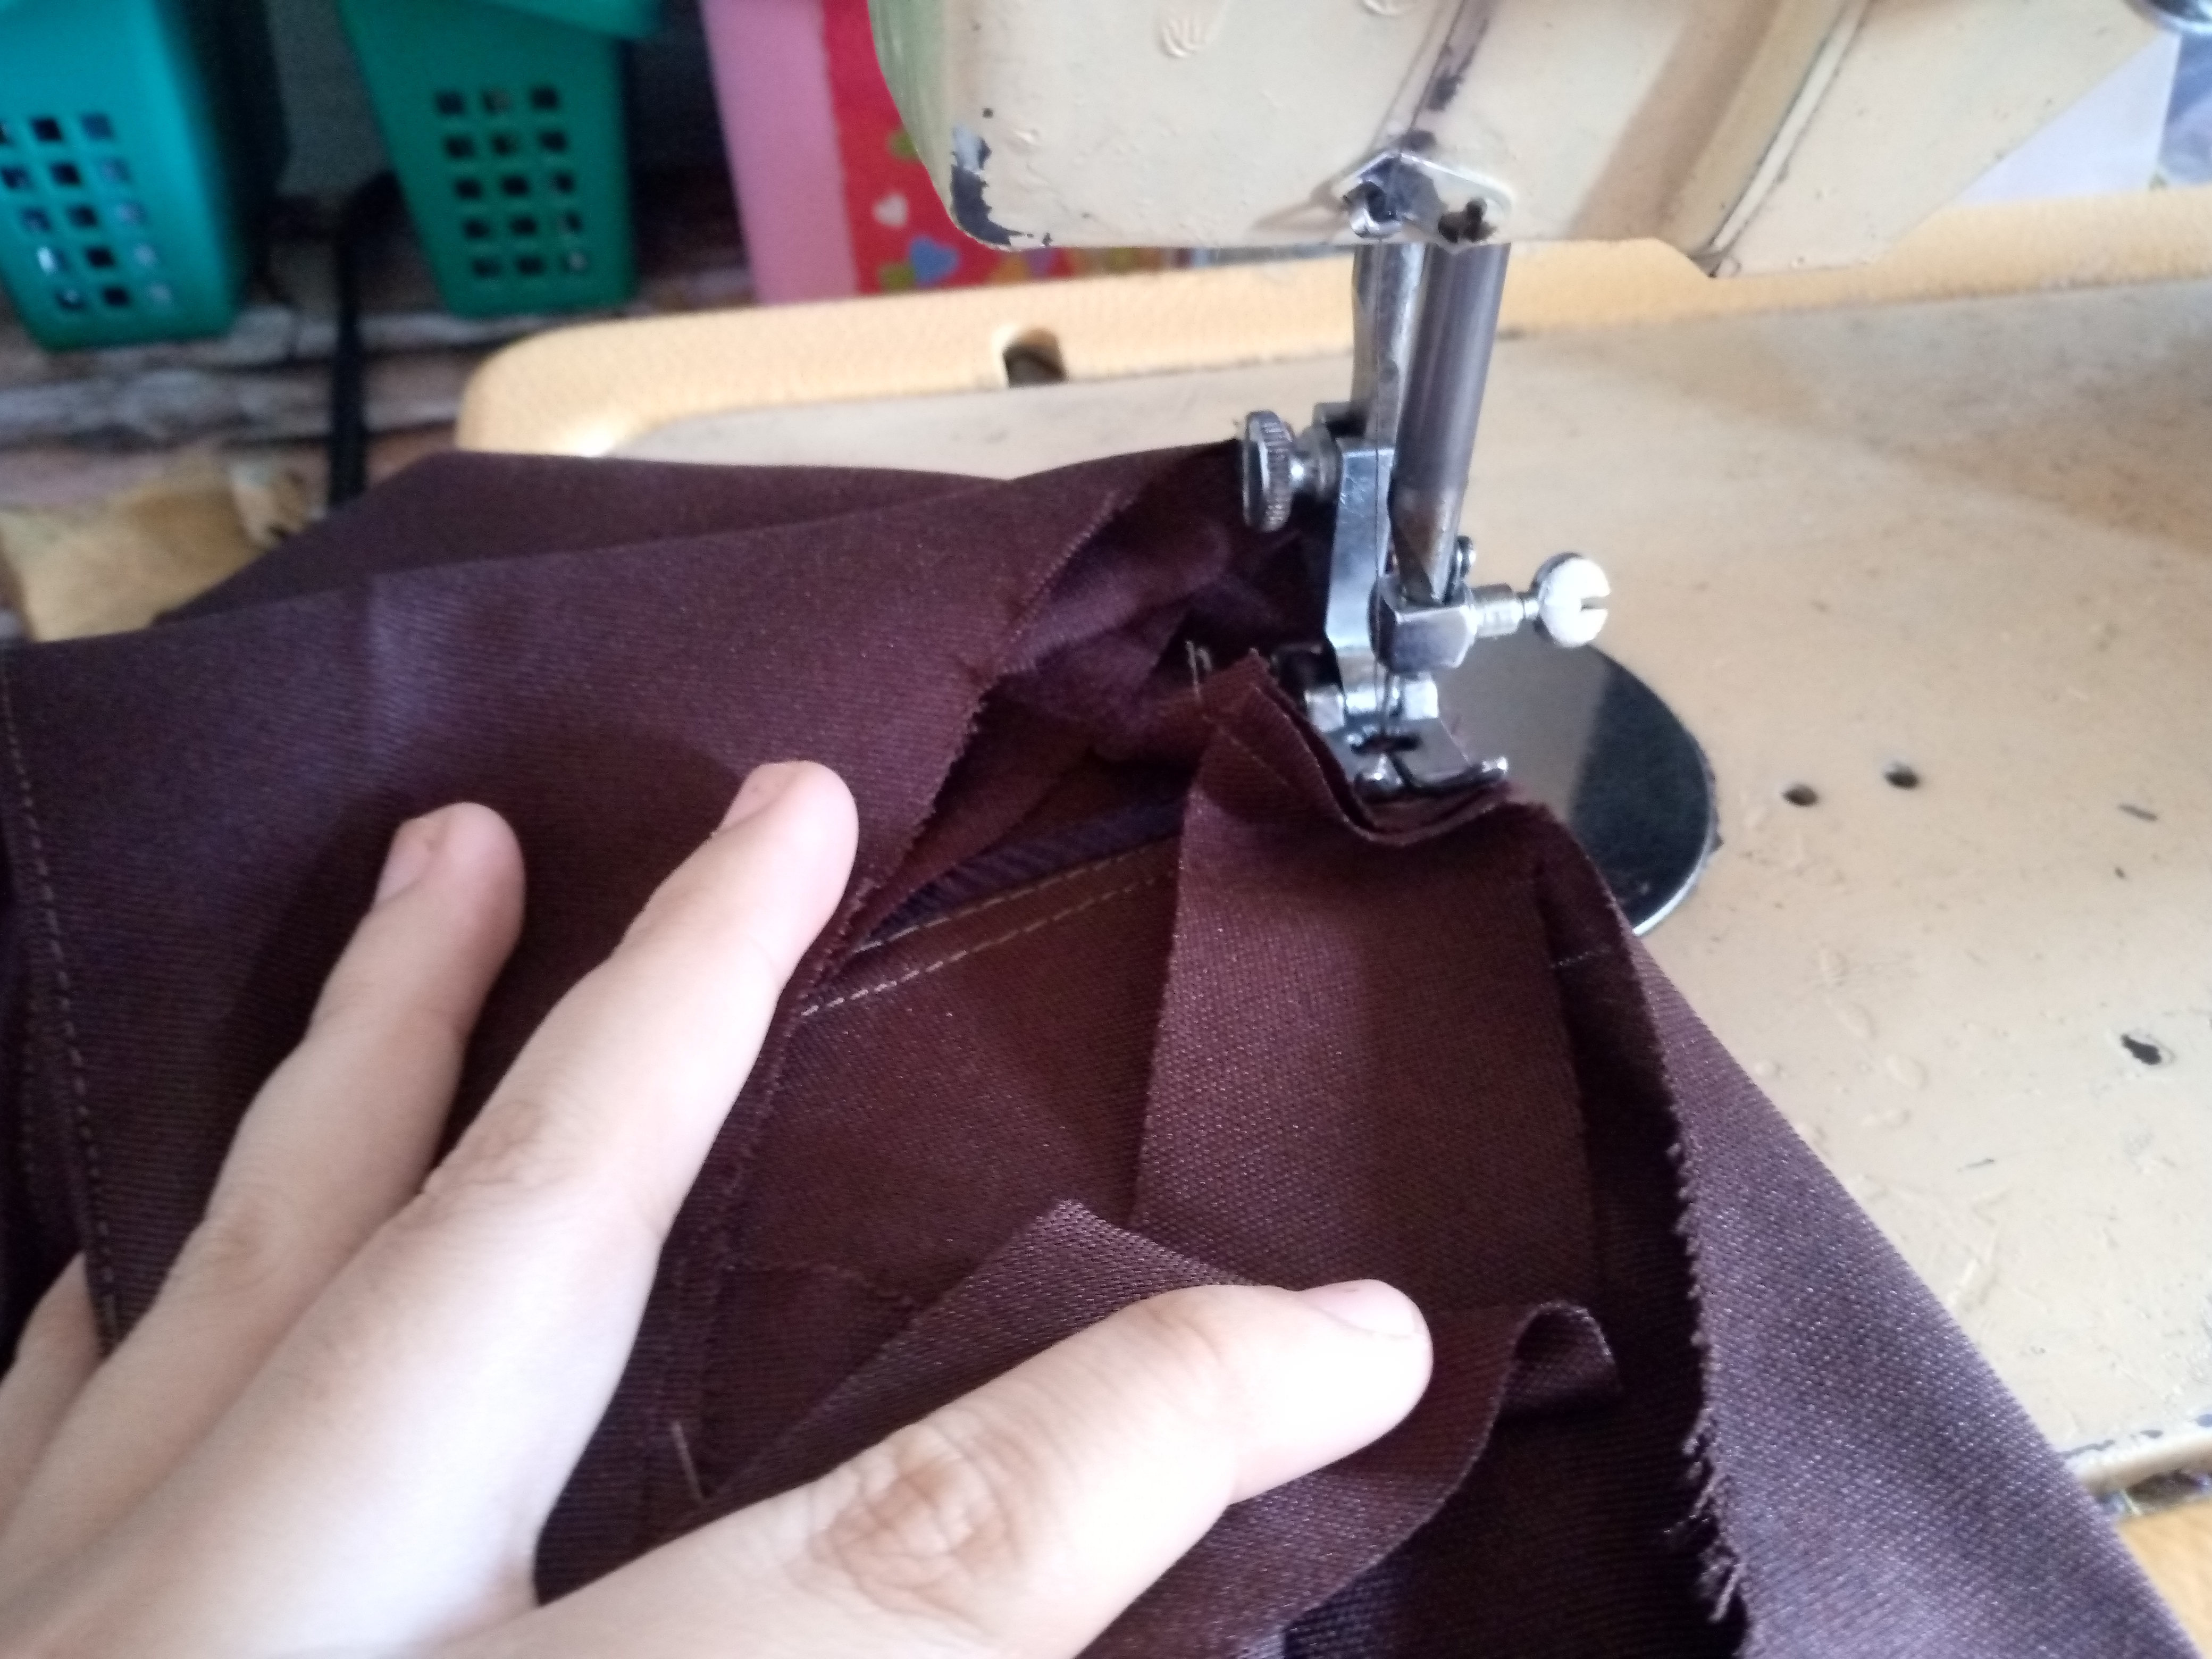
I then proceed to join the pieces of the front waist to the shoulders of the top, of course, with overlock stitching and then with a straight stitch to give better support to our overlock thread. Then I will sew the edge of the back to make a small 2 cm hem inwards. Then we sew the bias of the bias. We will join it and sew from the inside out to highlight this part a little.

Paso 04
Step 04
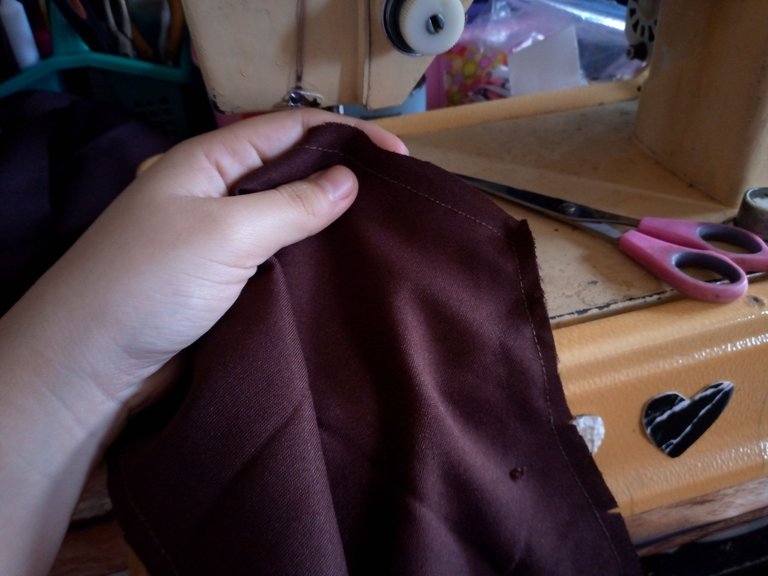
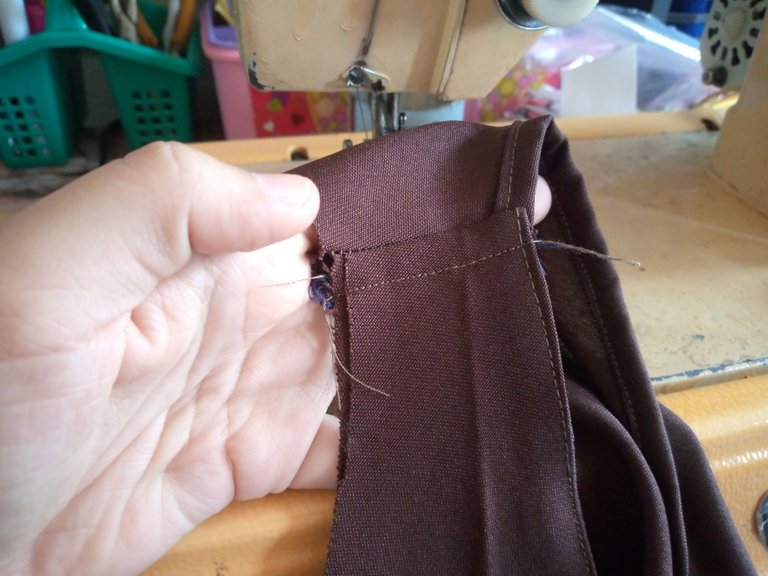
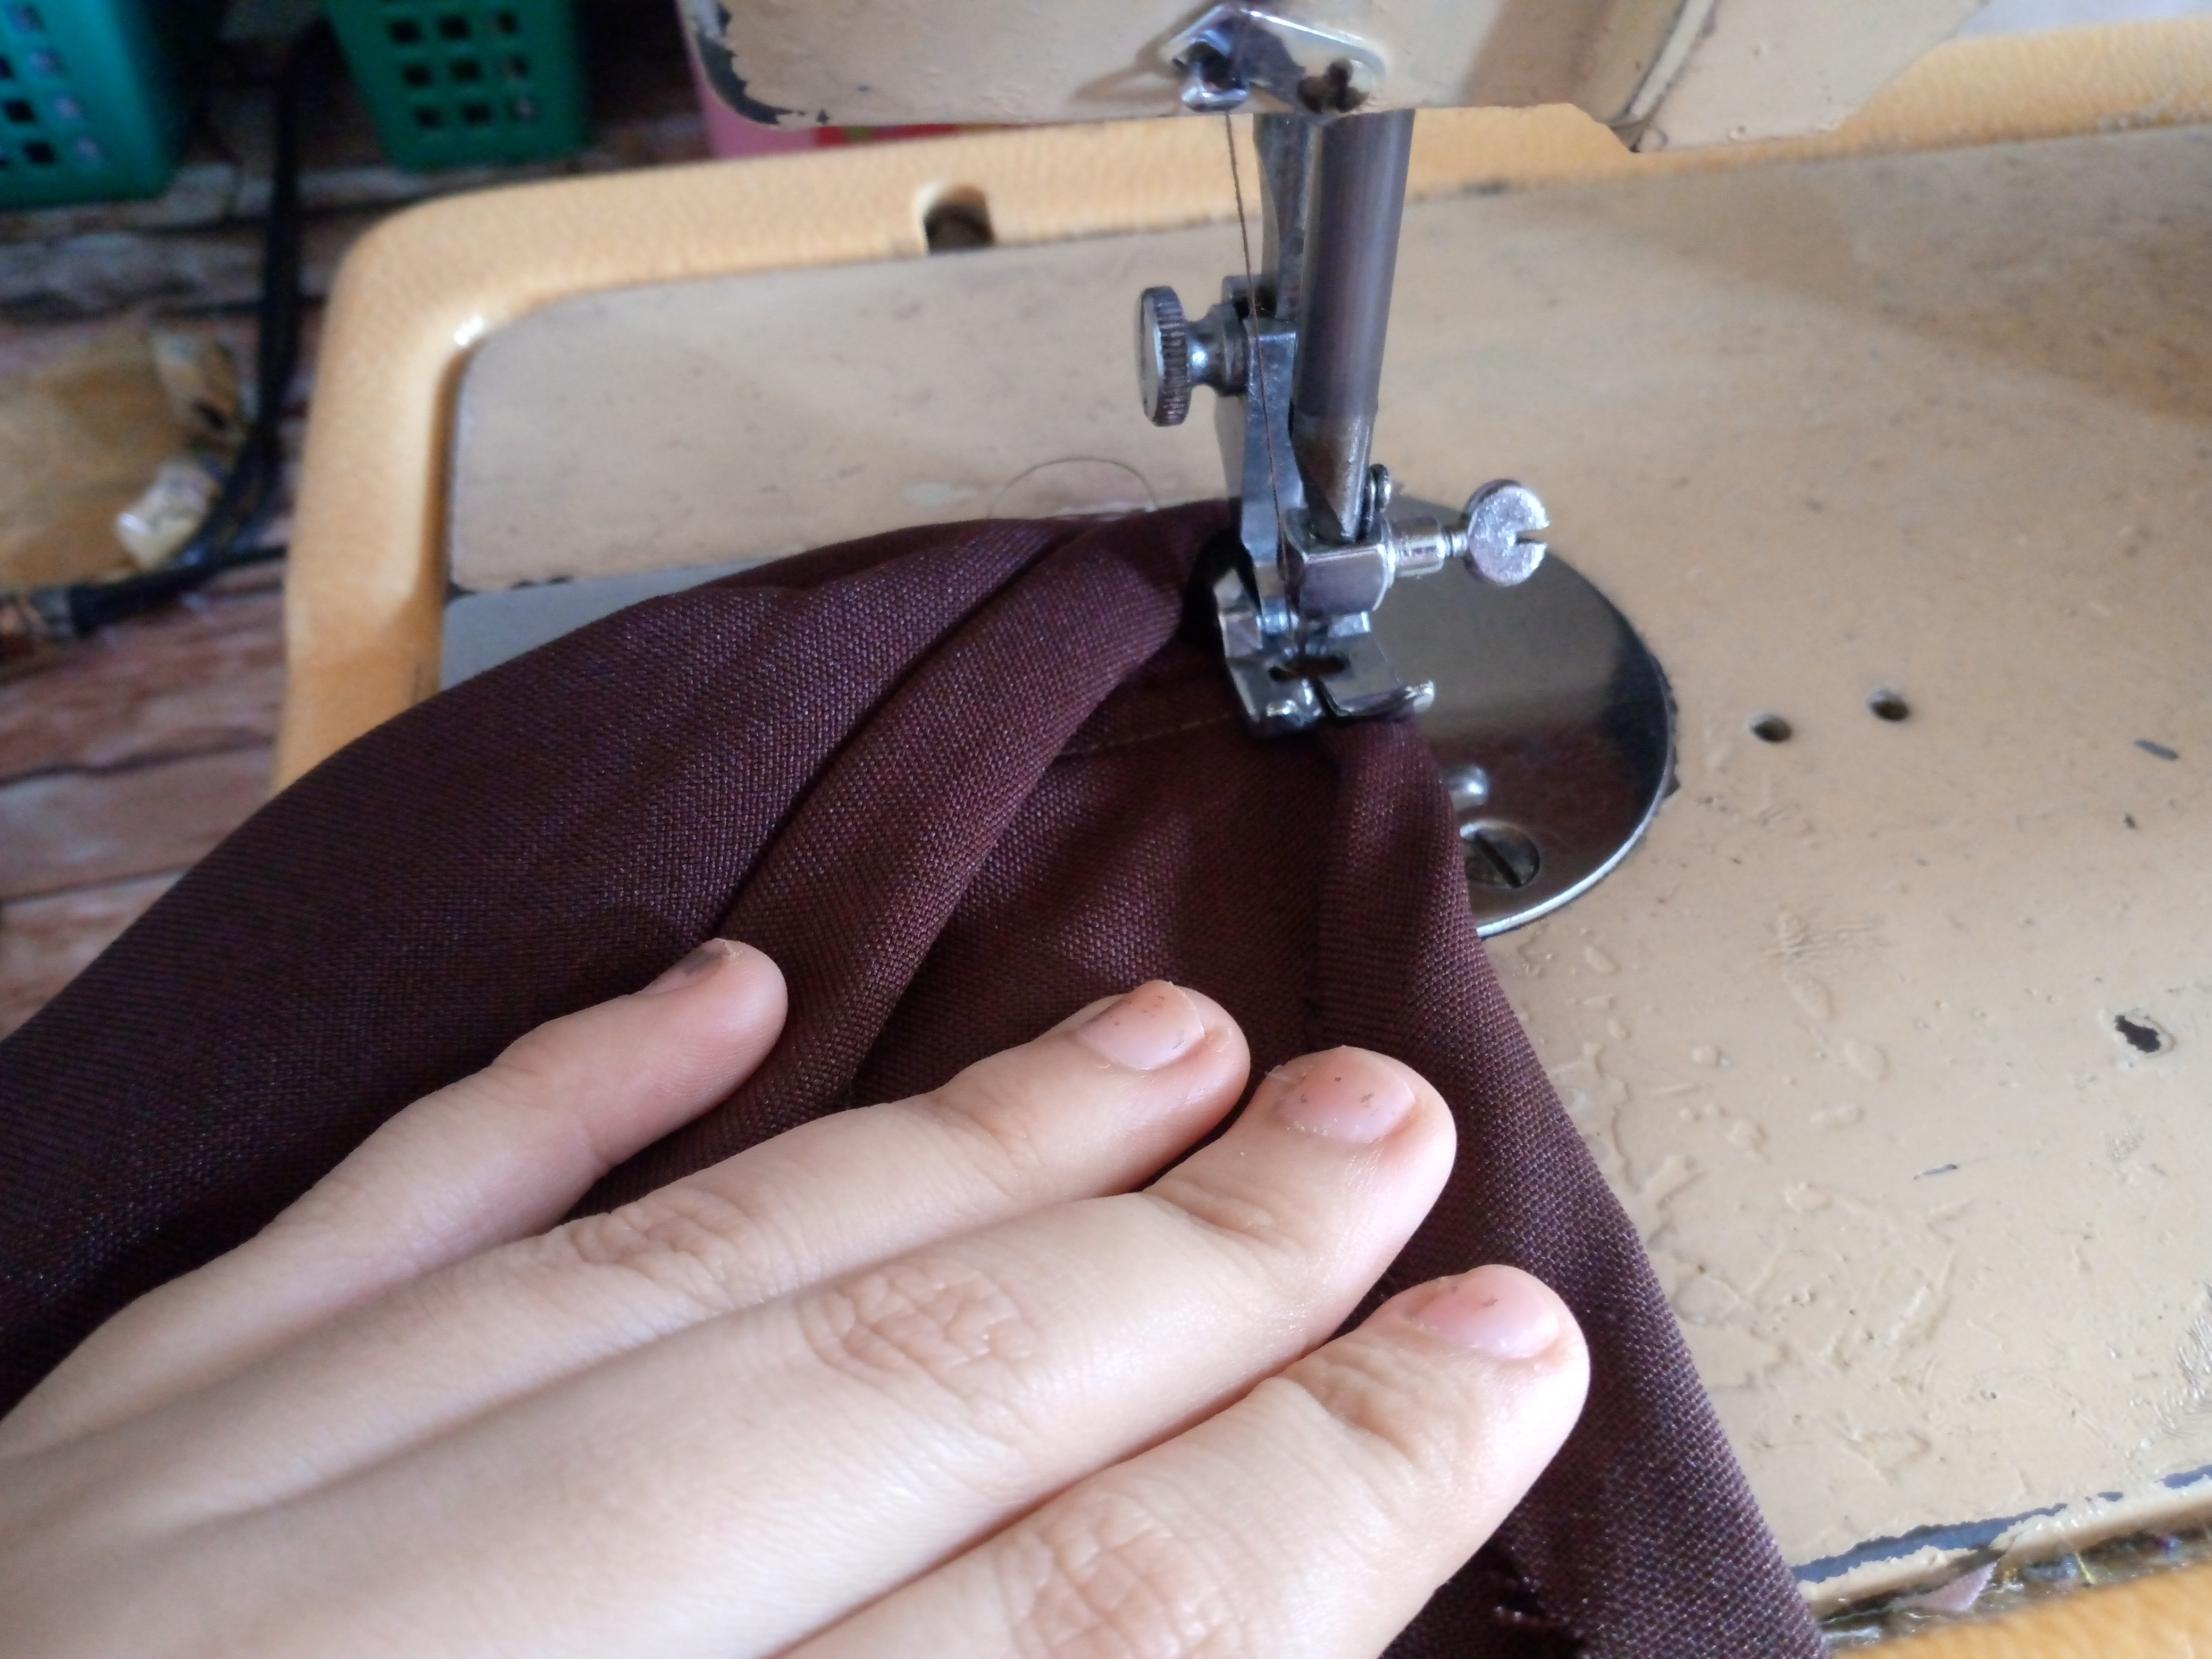
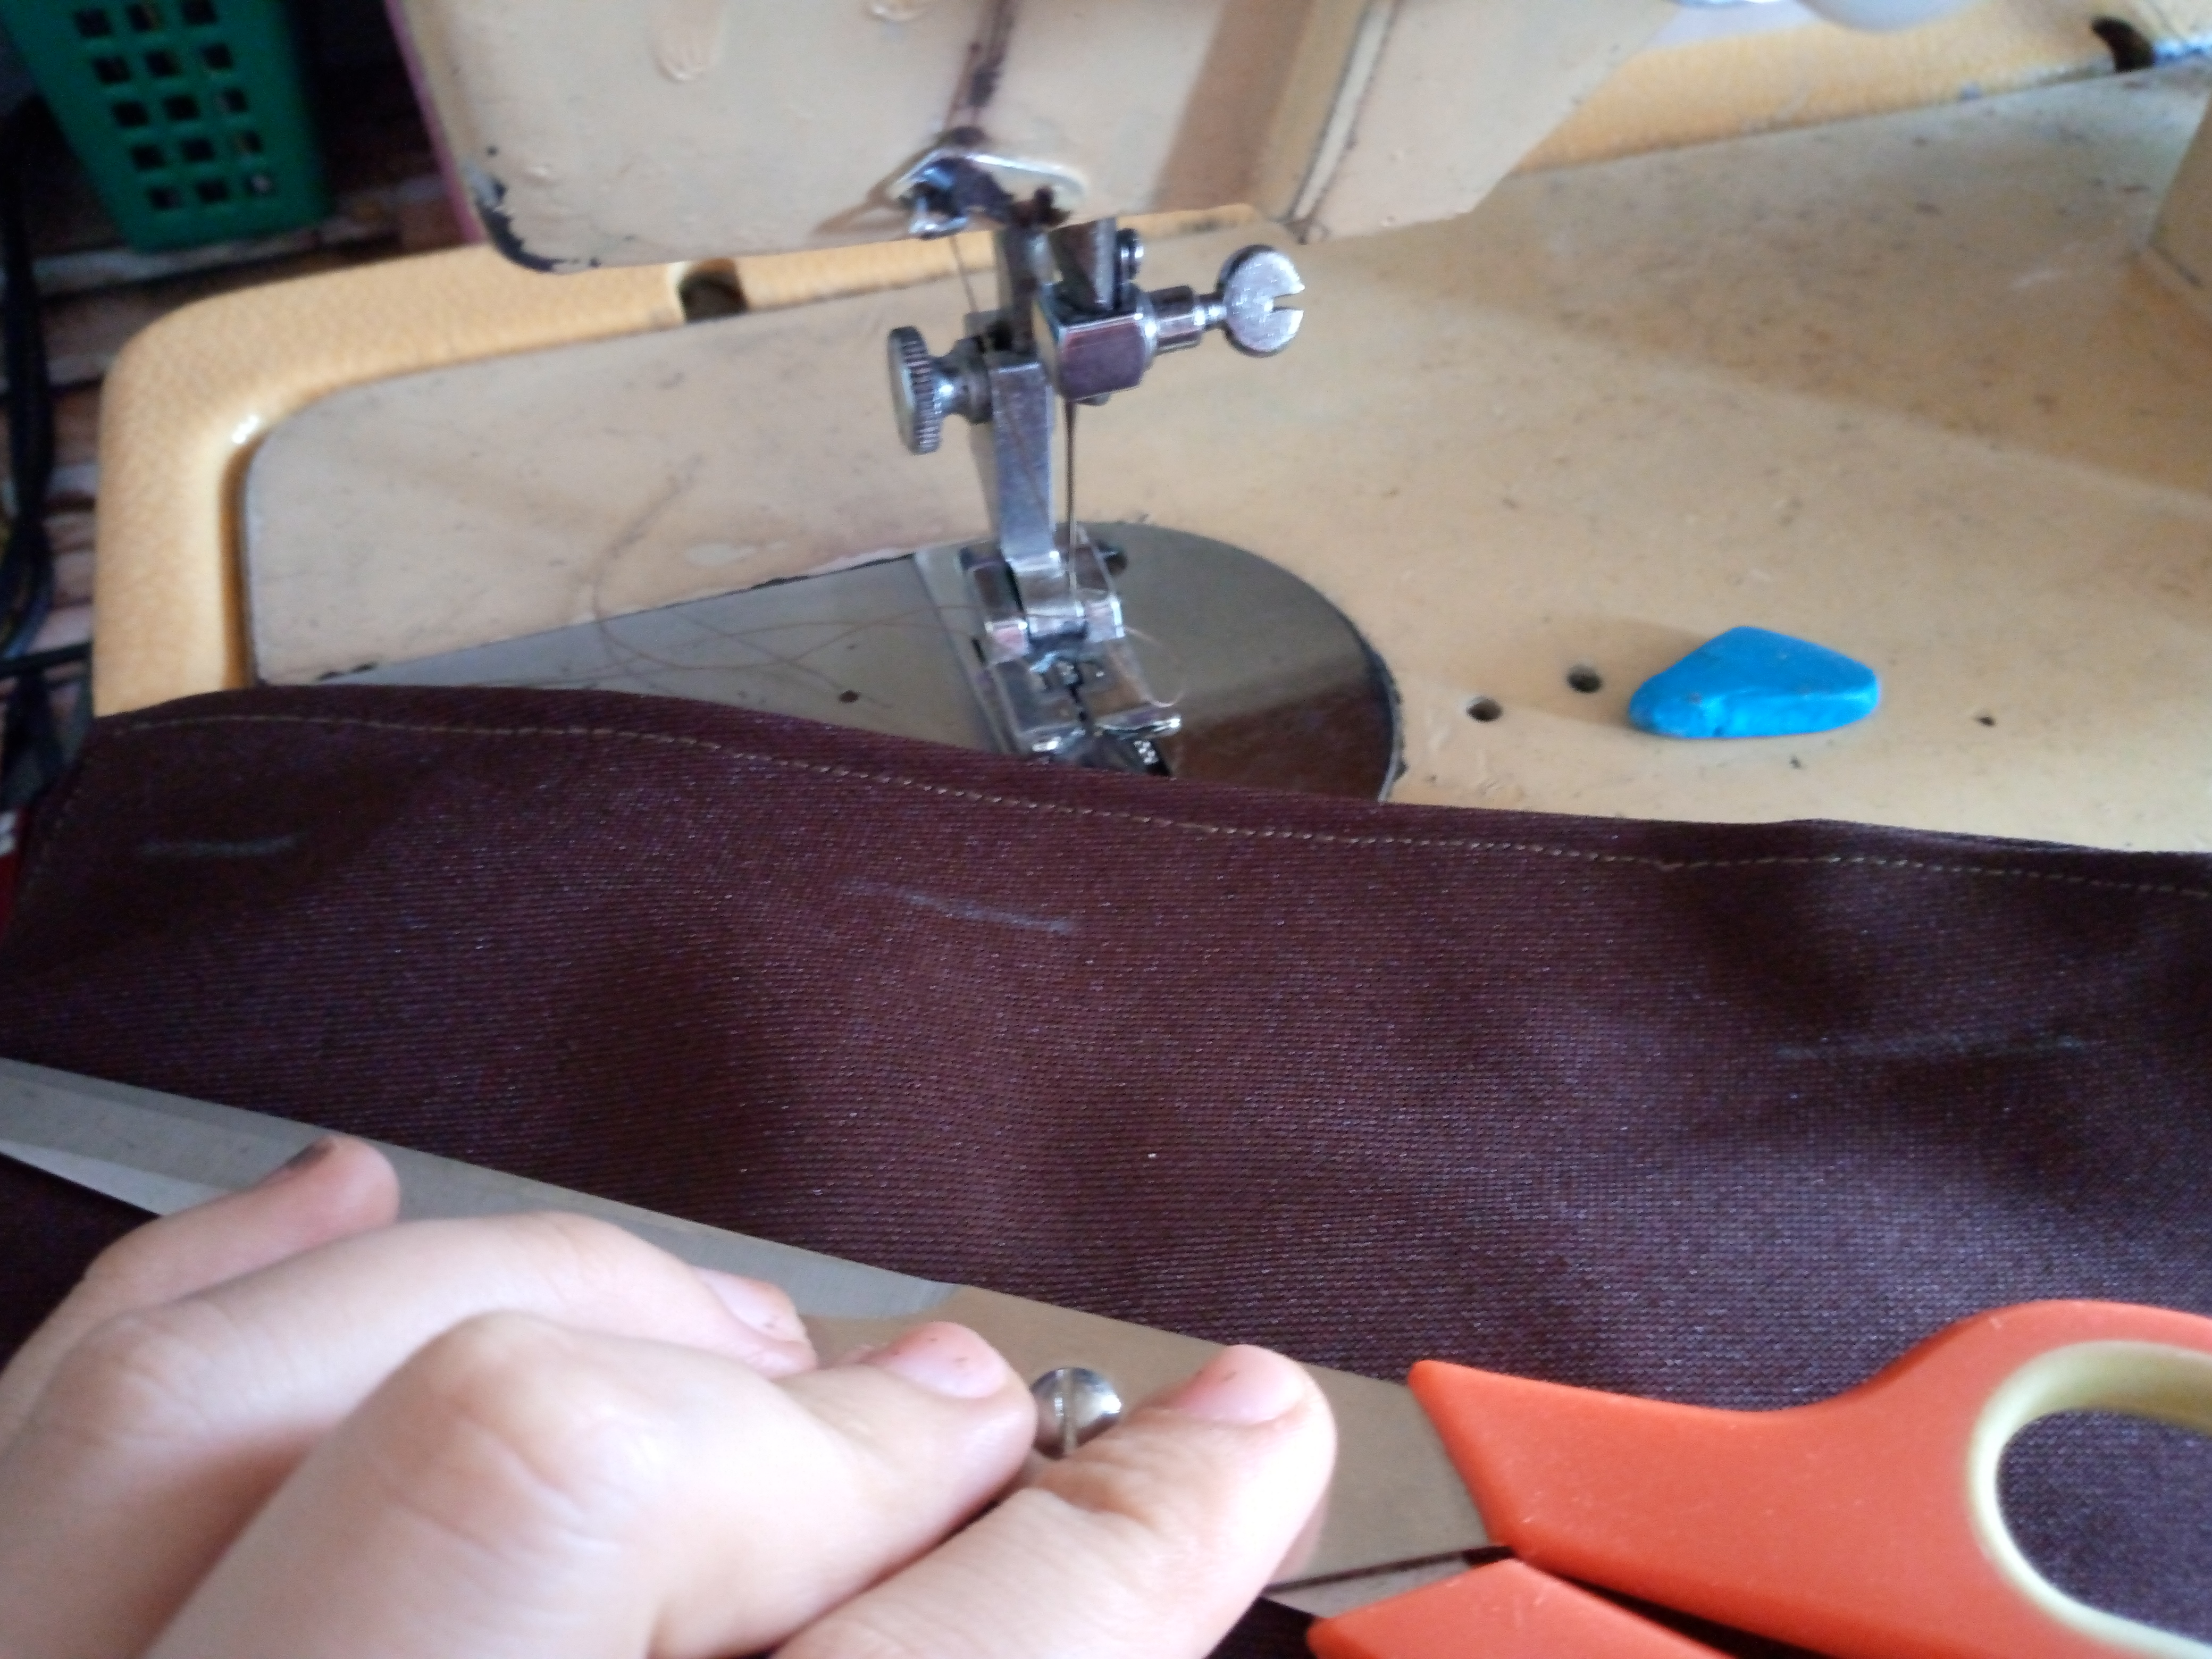
We do the same procedure that we did with the other part of the armhole, we join the bias, we sew from the inside out, then finally I marked with my chalk the buttonholes of the vest the size that the buttons will be, in this case I calculated a little and placed them 2 cm each, then I sewed them with a zigzag stitch, to finish I sewed the buttons and that's it! The job is finished...
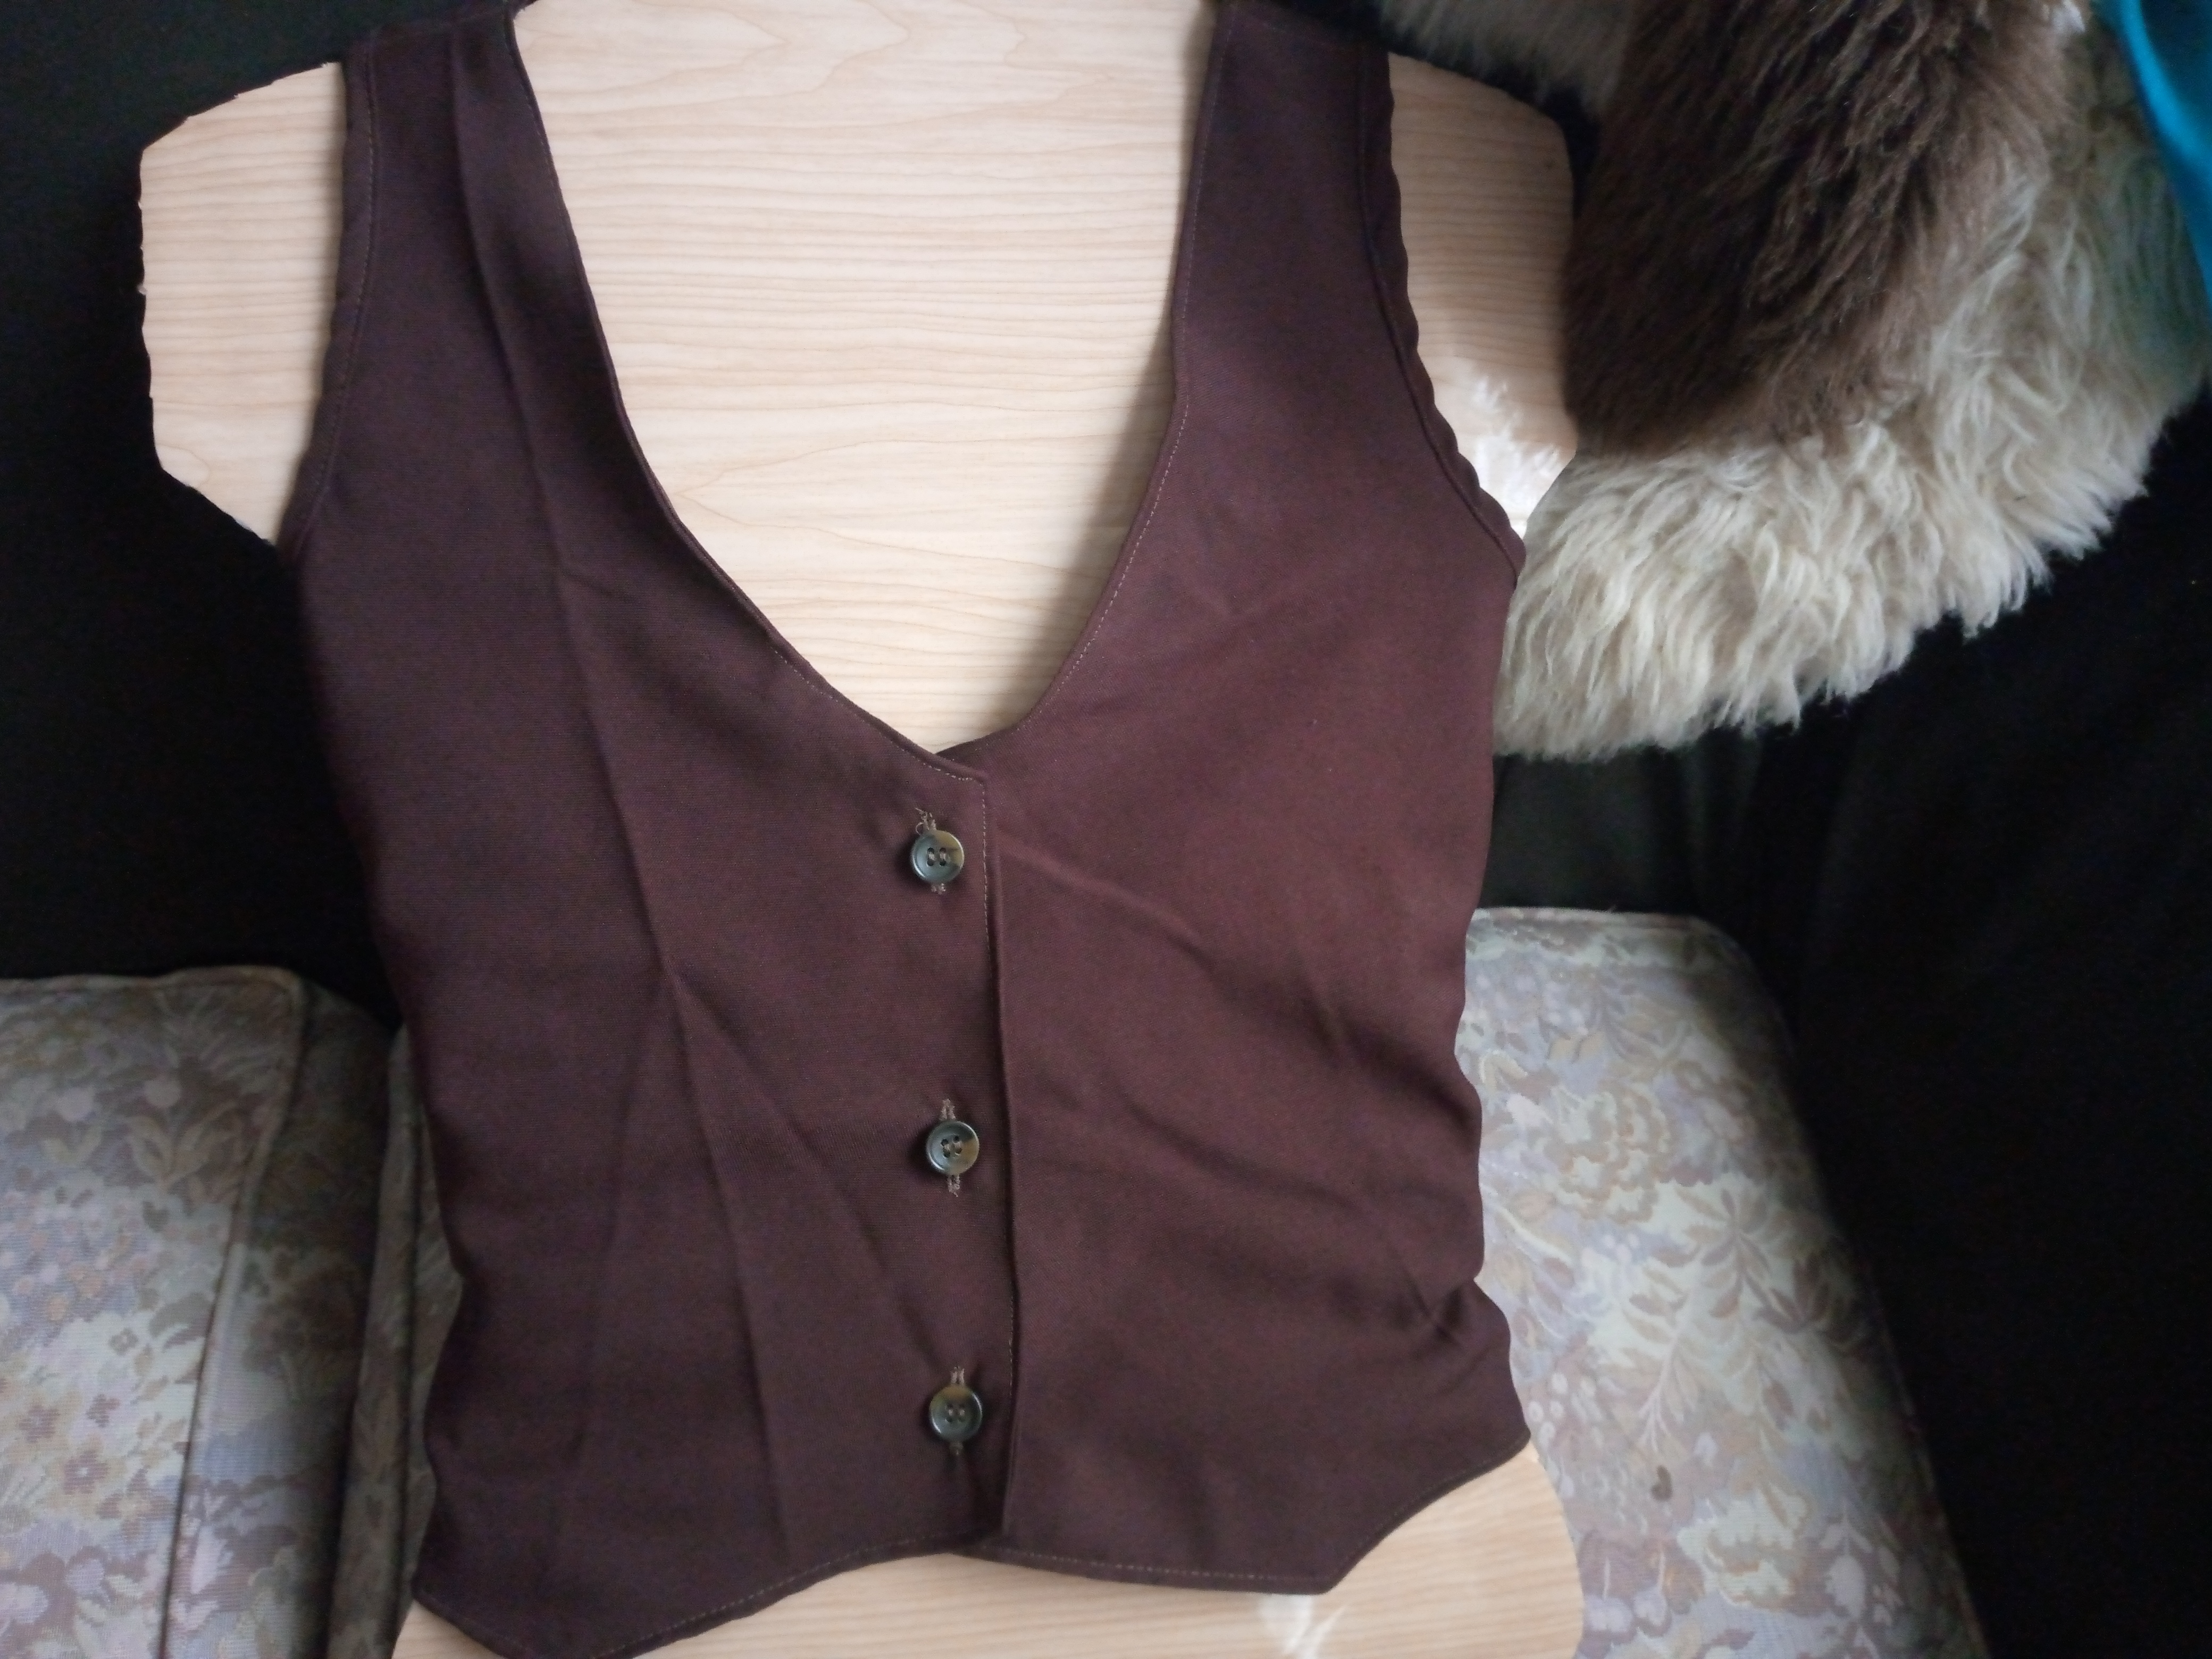
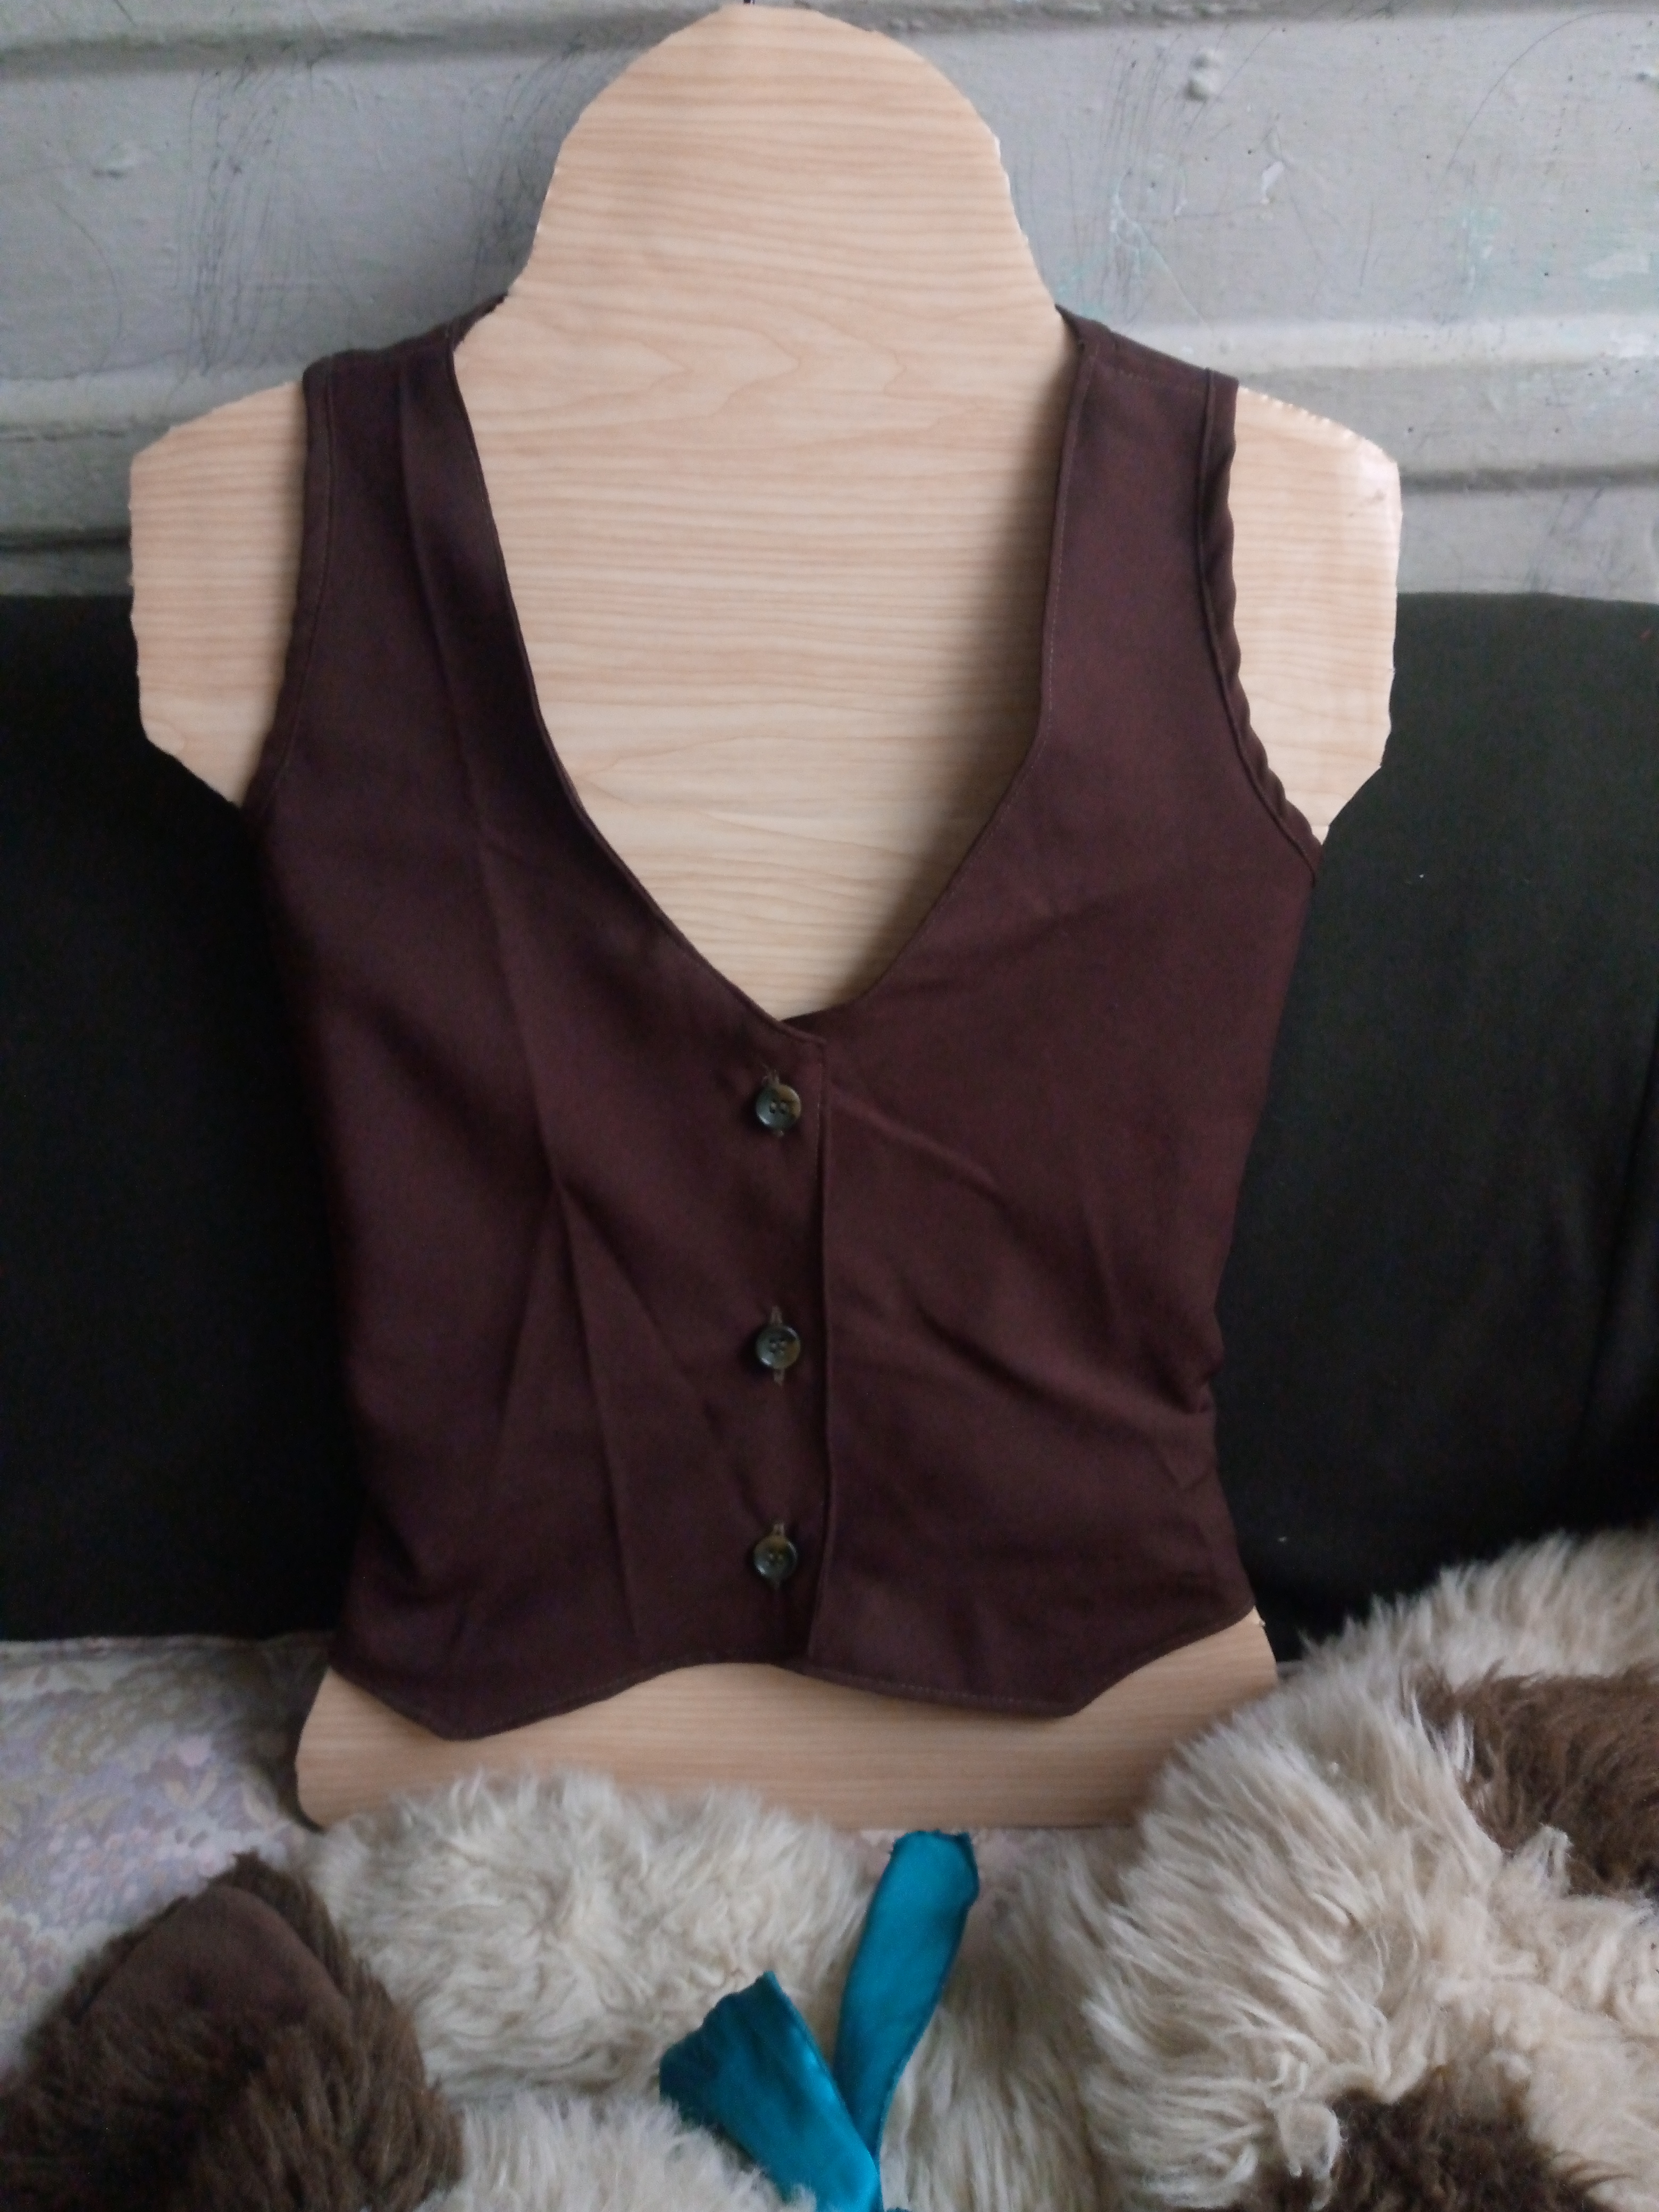
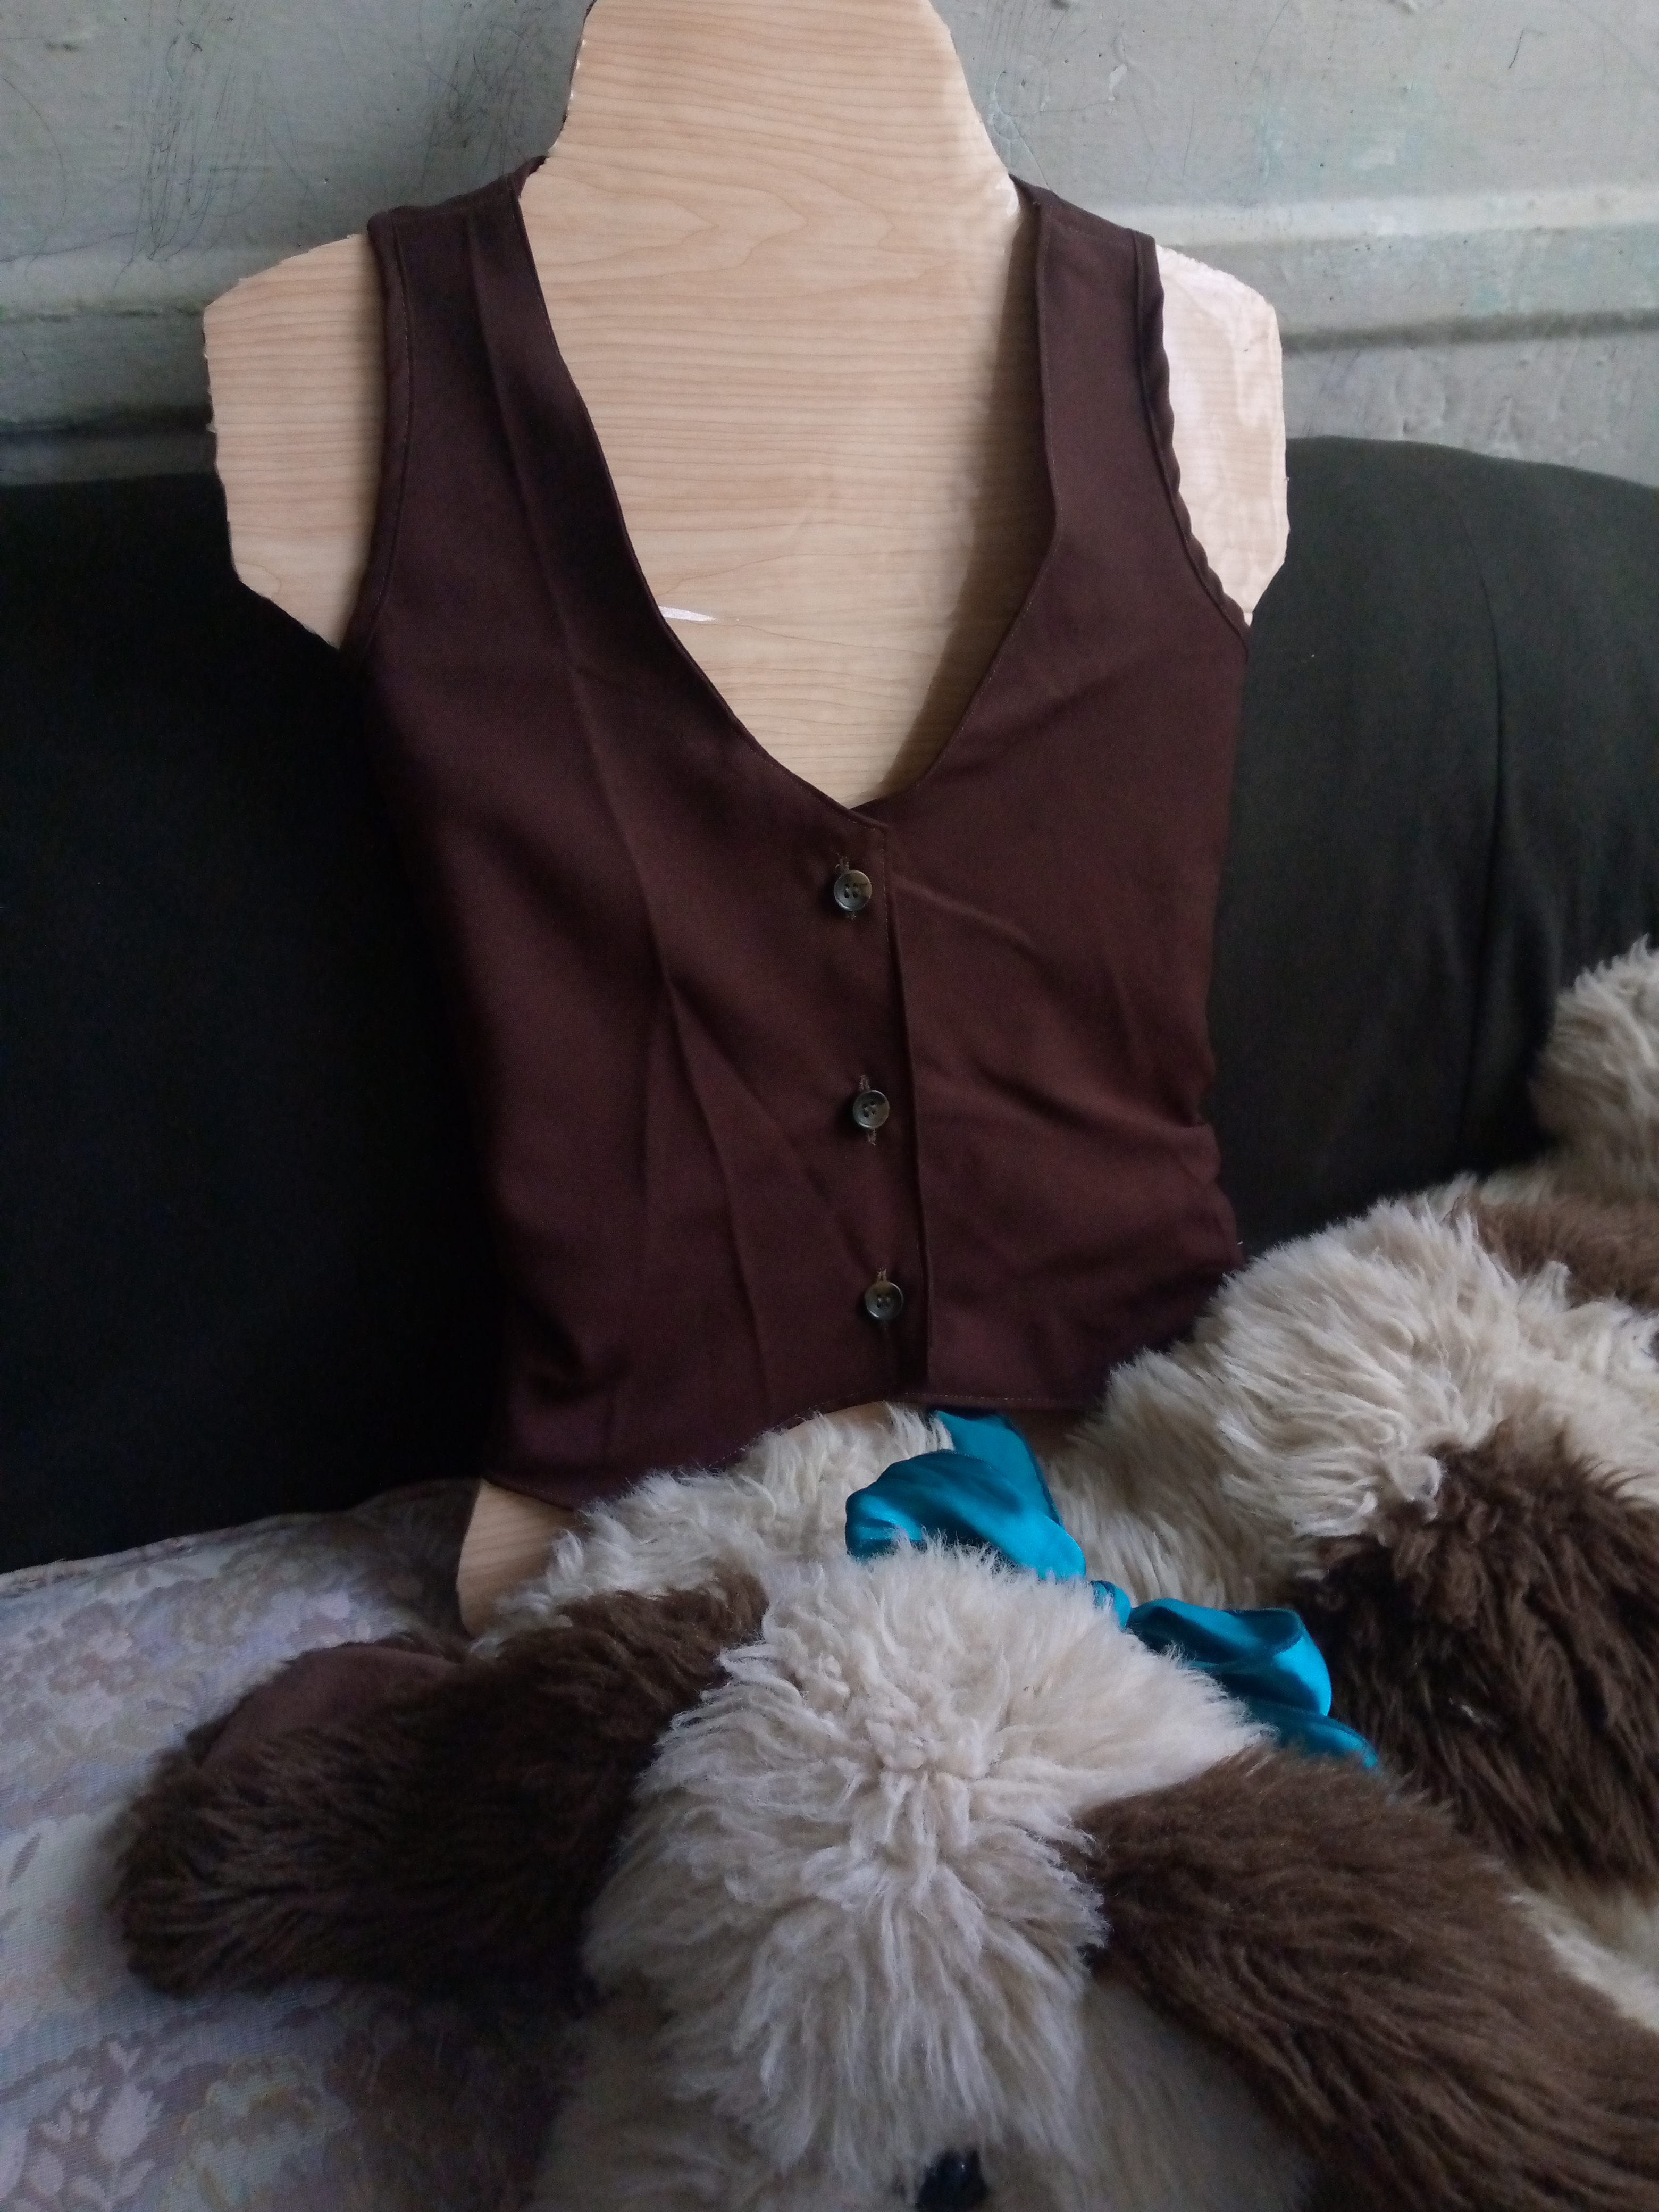
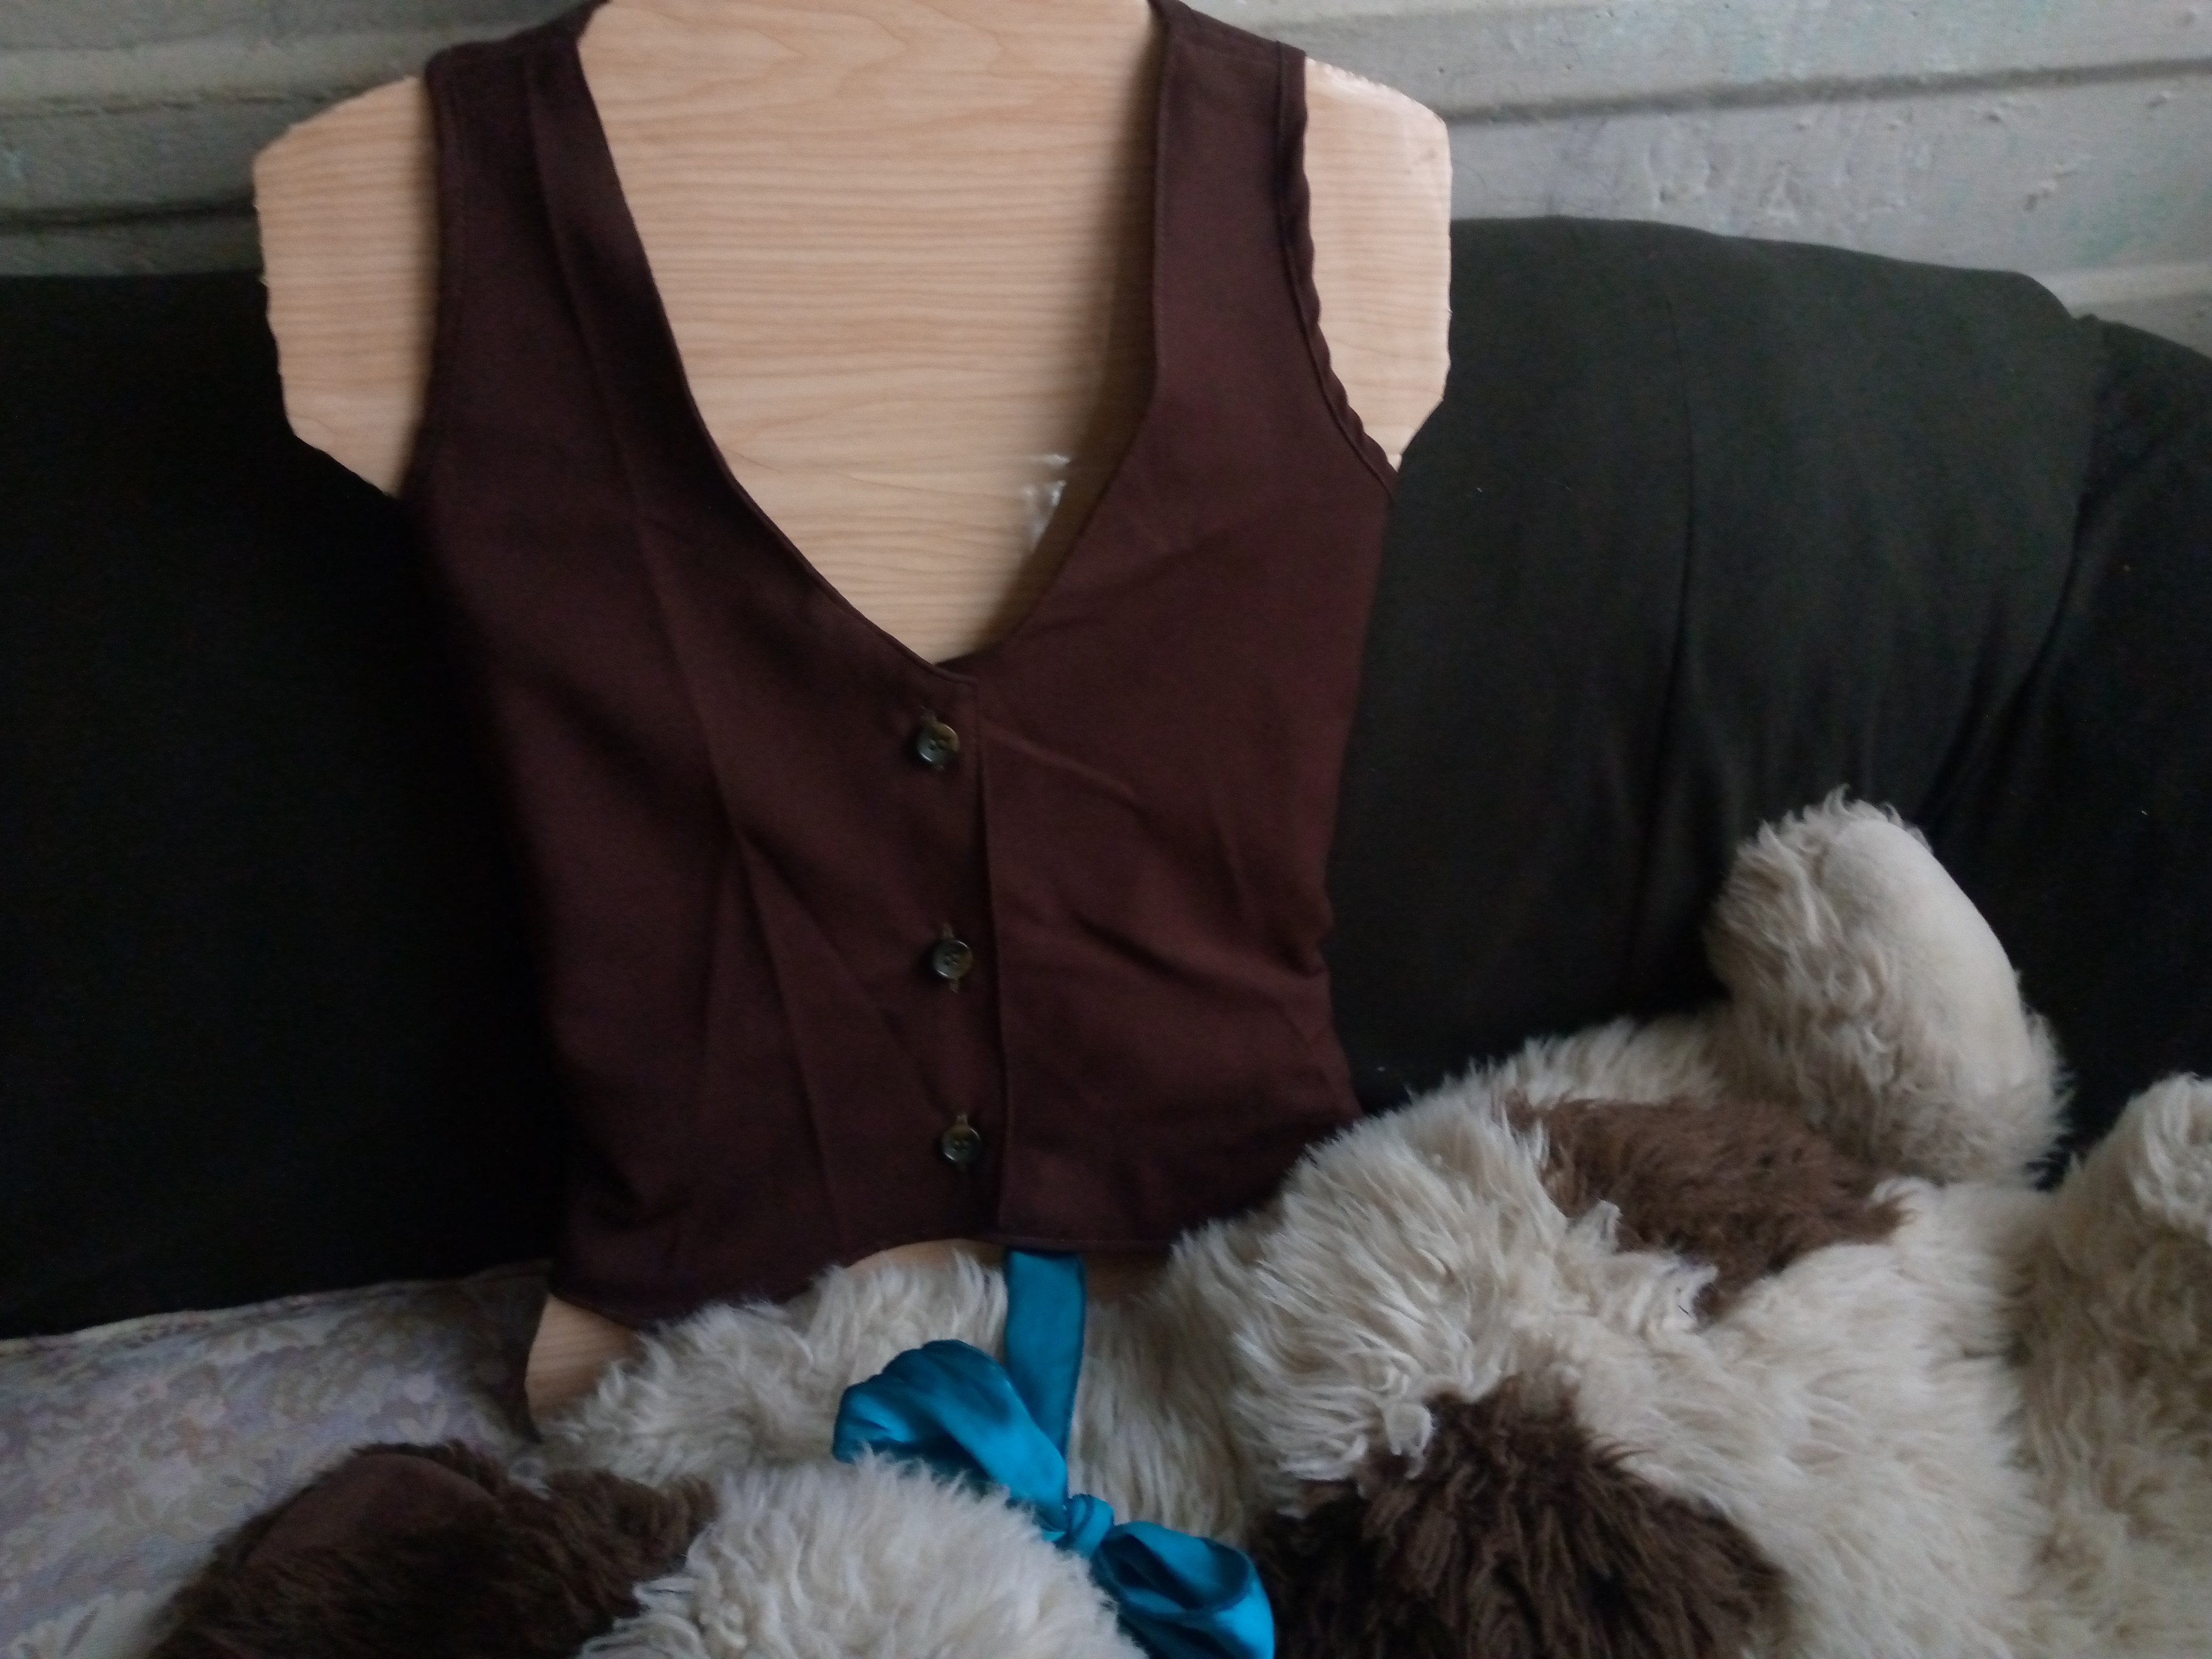
Resultado:// Result:
I show you how the results look, this is how the vest looks when it's finished and on display 🥰, I hope you like this creation a lot and if you like it, you can save the tutorial in case you want to make your own garment at some point 😊 With these images of the results, I say goodbye to you and I'll see you next time, I wish you a nice afternoon and a big virtual hug 🫂👾, see you soon friends.❤️
Creating things with love 🌷❤️
🦋✨ All the images in this publication are my author ,📱taken with my TecnoSpark8C cell phone |📸Photos edited in PicsArt and Canva. Text translated in Google Translate.
This is such a detailed post. Well done.
@amiegeoffrey thanks friend for comment
Lindodiseño amiga! Saludos y espero seguir mirando tu trabajo el cual es muy bonito. Sigue adelante!
@divergente1 hola amiga muchas gracias me alegra te haya gustado 😍saludos !!!...
I congratulate you, it is very nice.
@irscarmen thanks friend for cute comment 👋🏻☺️