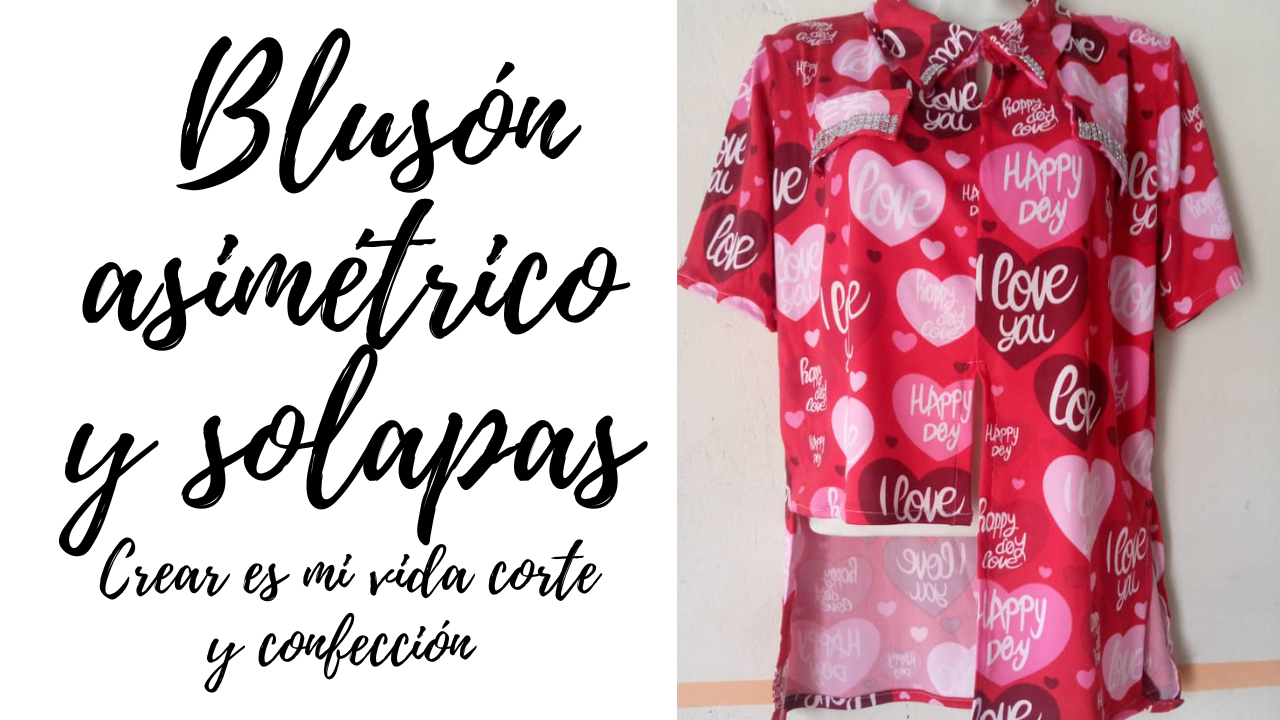
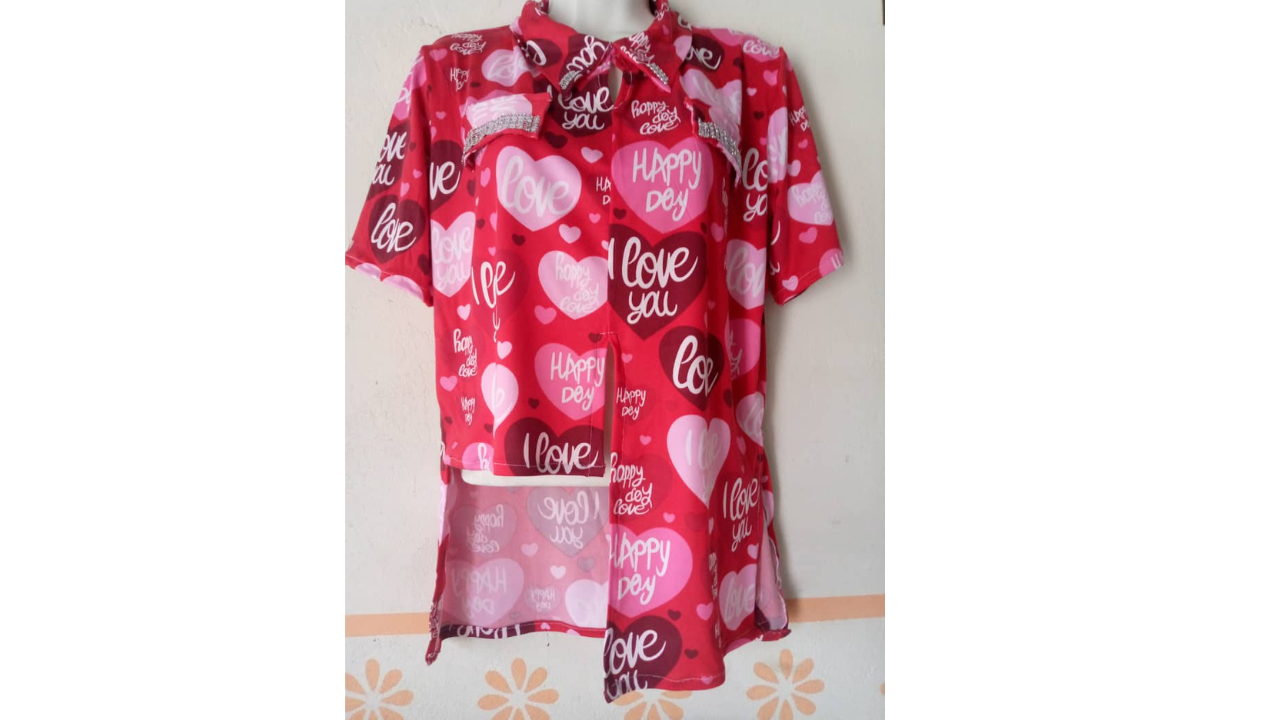
Hello everyone at needleworkmonday, it is a pleasure for me to be here today to show you how I made an asymmetrical blouse since this time I wanted to do something different, this blouse has a peculiar design in the front that I wanted to make shorter but only one half and the rest of the blouse is long, I also made lapels and put shiny decoration on it, and the best thing is the fabric I chose, a microdurano fabric with a heart print, by the way I use that fabric a lot because I have a business and so the material I buy is wholesale, and most of my material is microdurano fabric, and despite the fact that it is a soft and somewhat light fabric I can confirm that it works for various items of clothing.
To tell you more about the design of the asymmetric blouse, well it all started because this garment is for me and I am a person who likes to try rare and out of the ordinary combinations, and if someone likes this design I proudly make one just like it, one of the things I do the most in my business in order to get new clients, and giving advantage to the fabric since being wholesale brings many meters of identical fabric almost always the print is the same, and the one that sells the most is the unicolor, so I have to figure out how to make each garment with the same print have different designs and thus not look the same. I hope you like the process and now I will show you what materials I used and how I made it so join me.
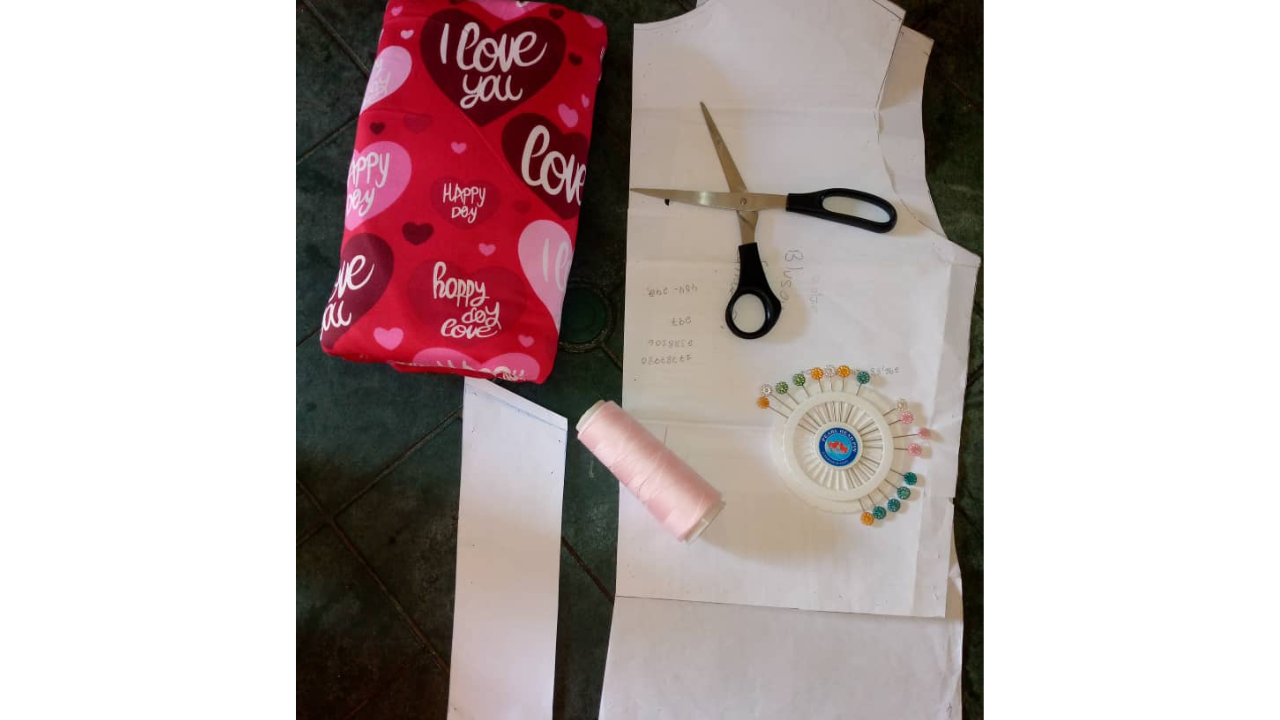
(Materiales📝:)||(Materials📝:)
- Tela microdurasno de estampado de corazones
- Hilo color rosado
- Tijeras
- Alfileres
- Patrón de bluson
- Máquina de coser
- Microfiber fabric with heart print
- Pink thread
- Scissors
- Pins
- Blouse pattern
- Sewing machine
(Procedimiento:)||(Procedure:)
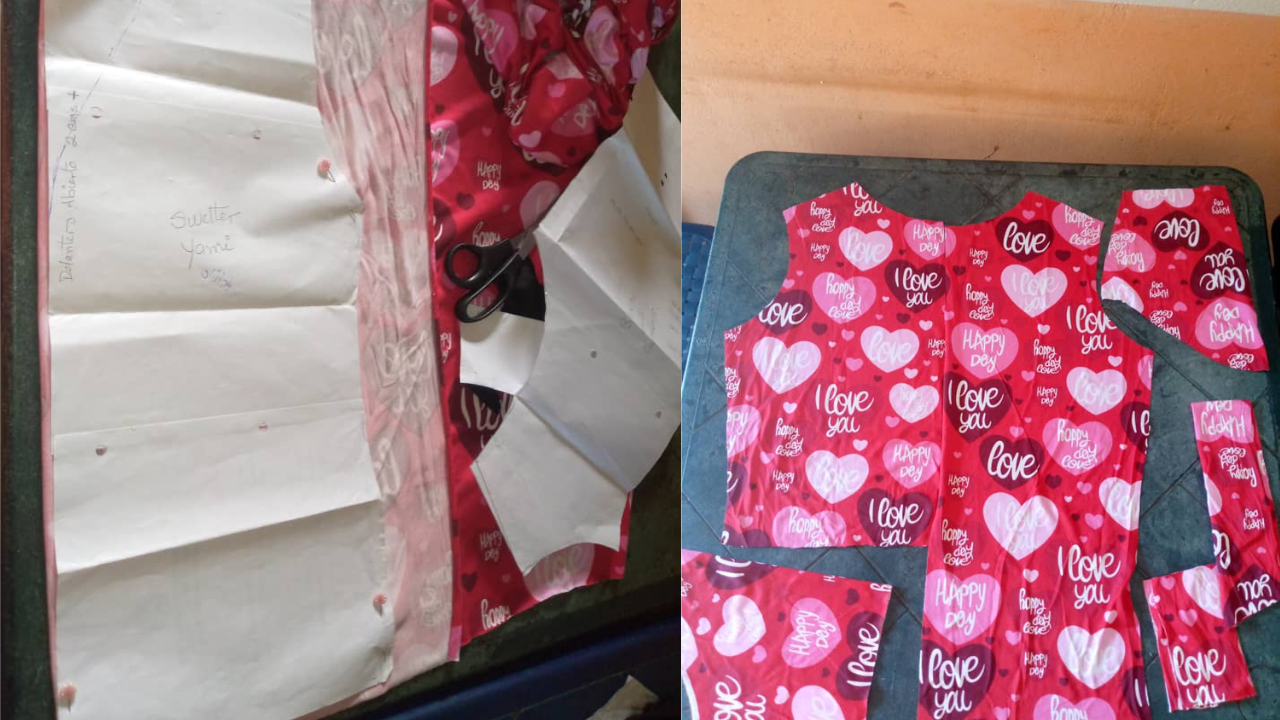
Paso nro 1
Paso nro 1
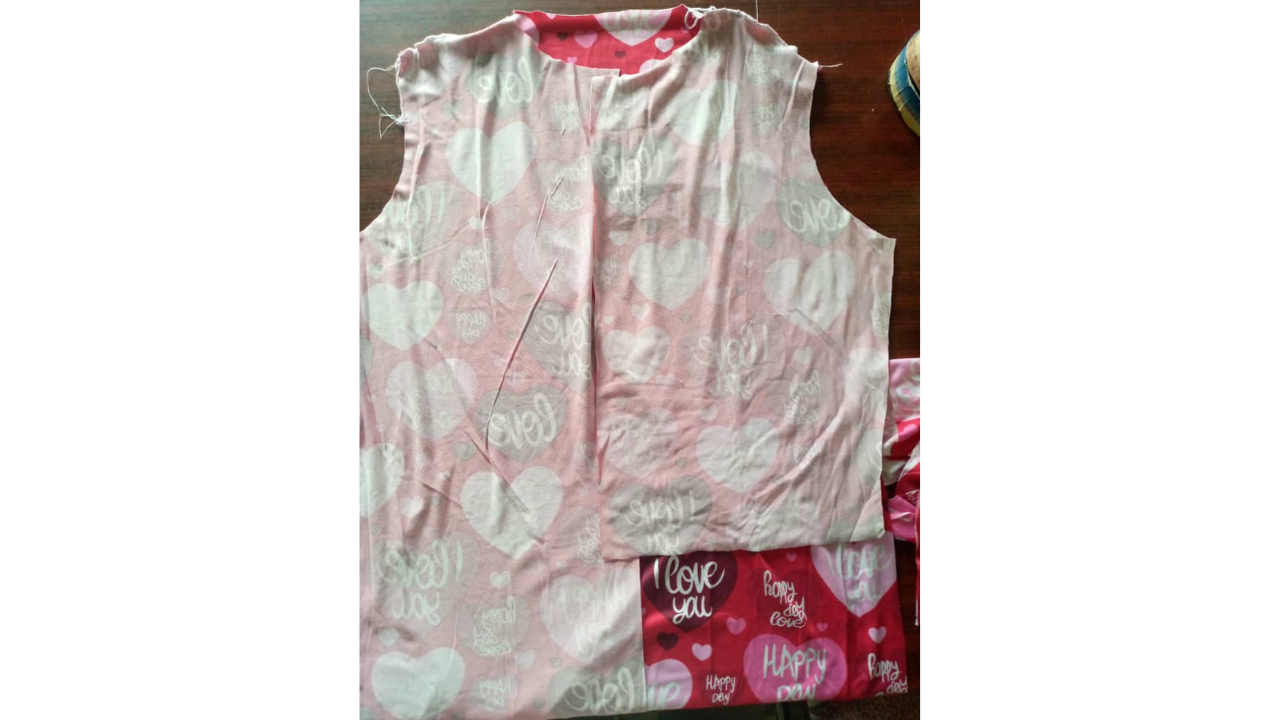
I started cutting the pieces of the blouse following the pattern. I cut the sleeves, the collar, the lapels and the parts of the blouse, leaving one half of the blouse shorter.
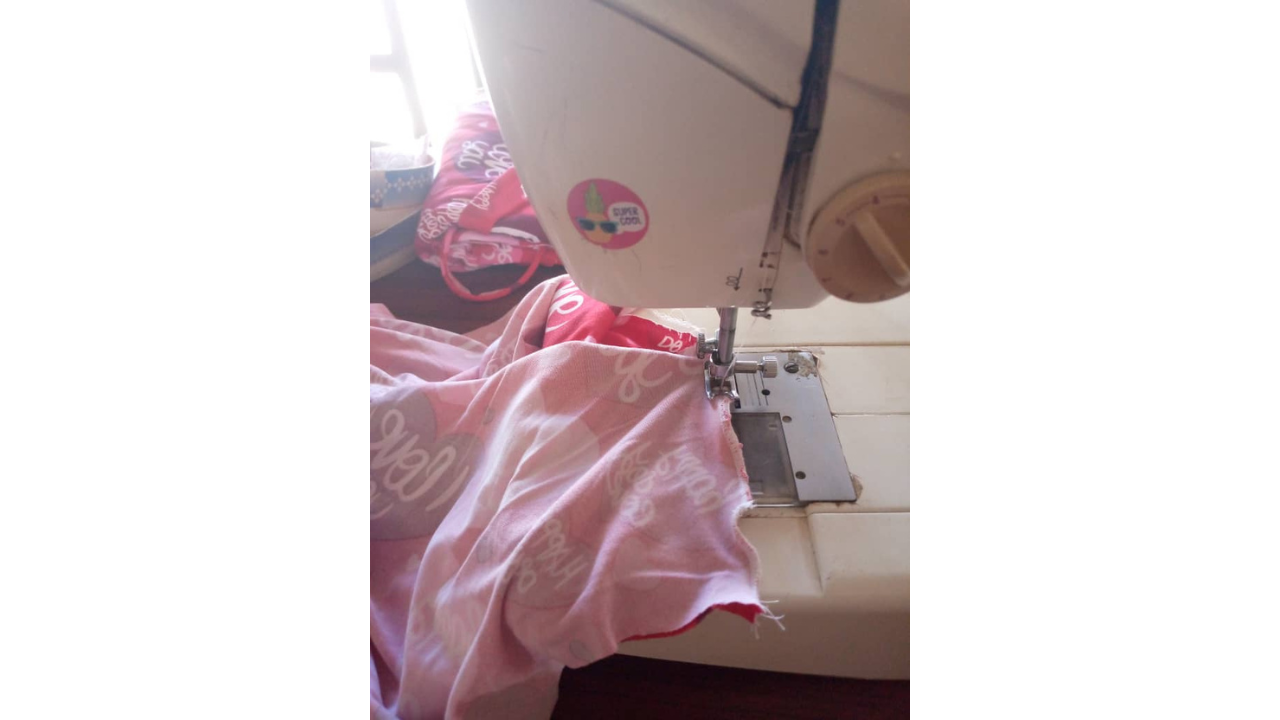
Paso nro 2
Paso nro 2
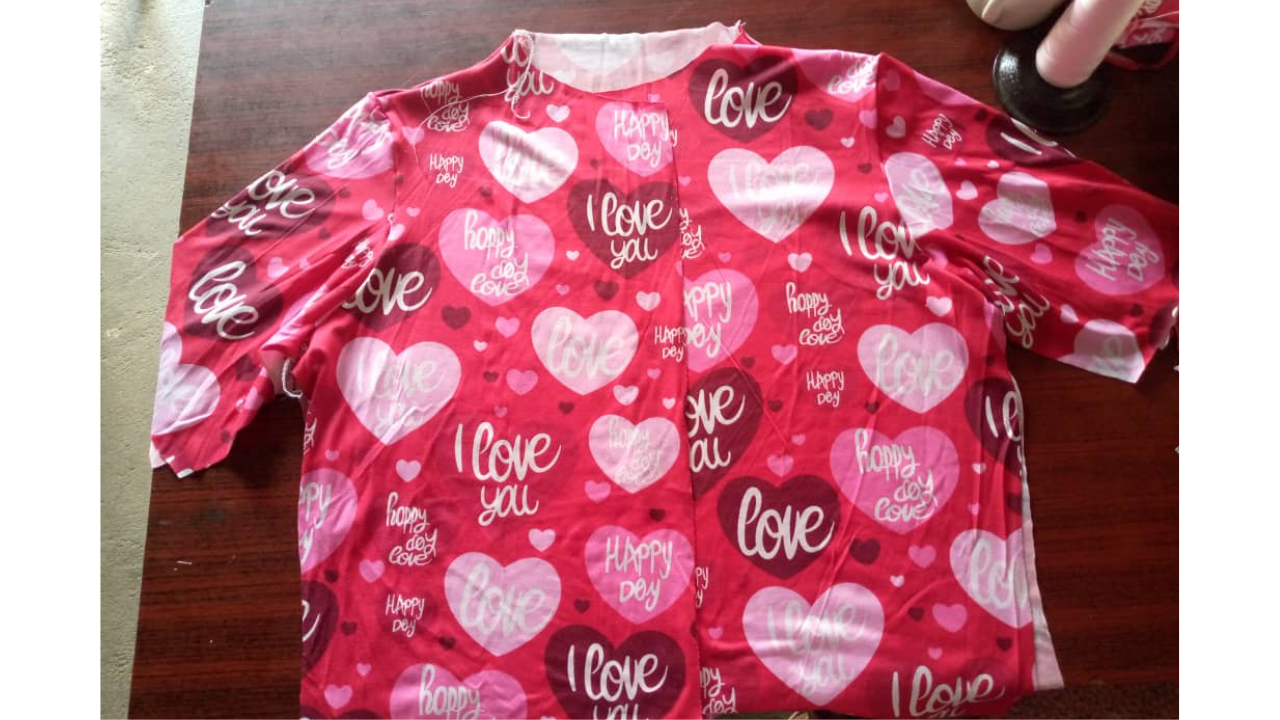
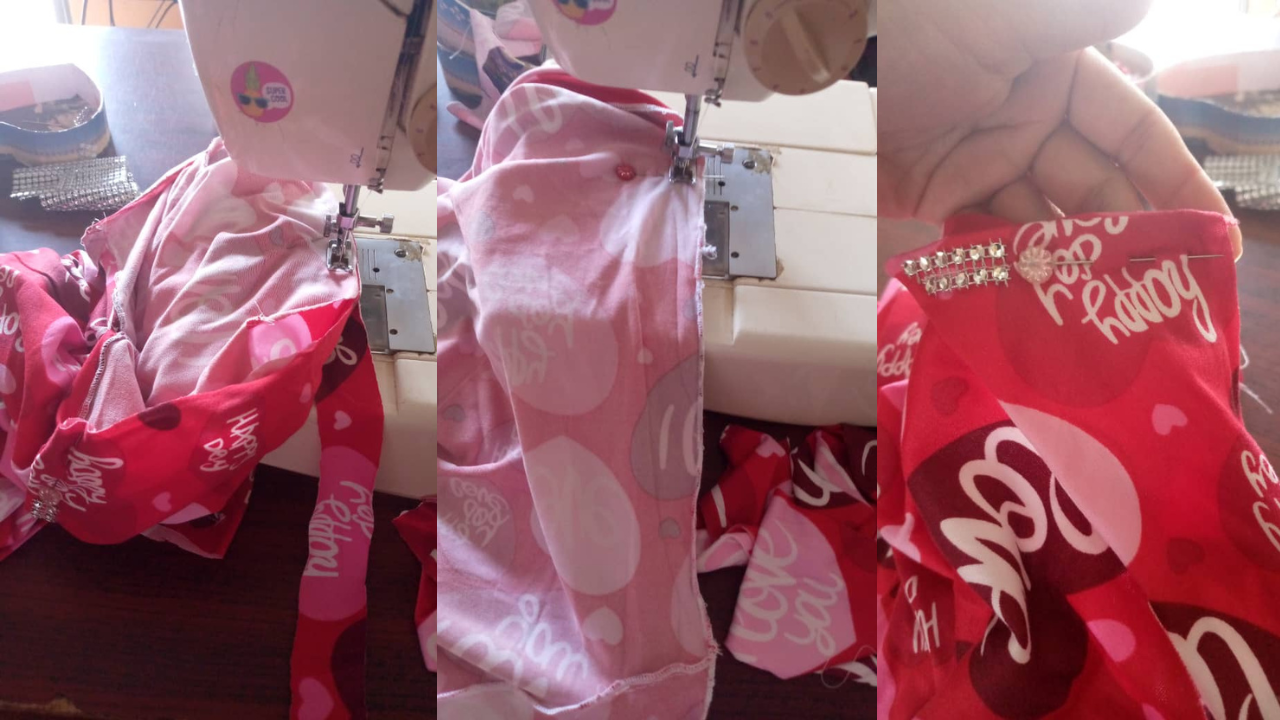
I started sewing the shoulder part, and now that I have that part sewn I'm going to sew the sleeves, and then I sew the sides.
Paso nro 3
Paso nro 3
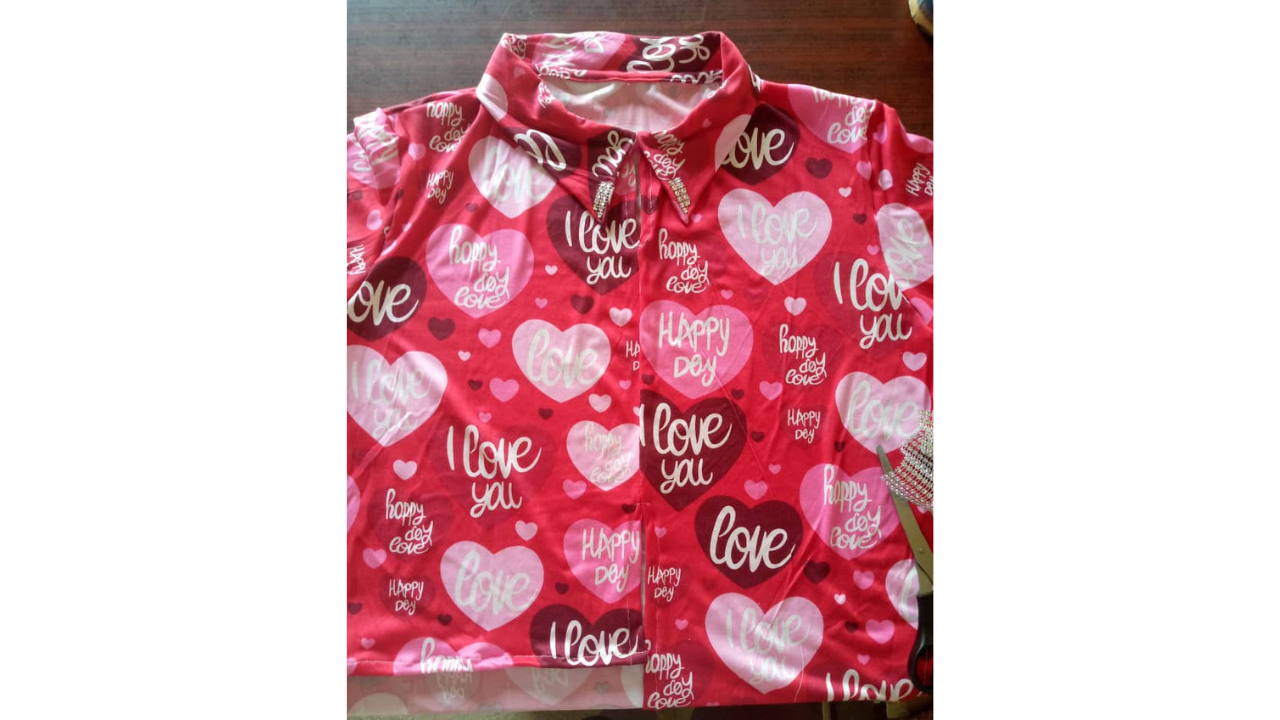
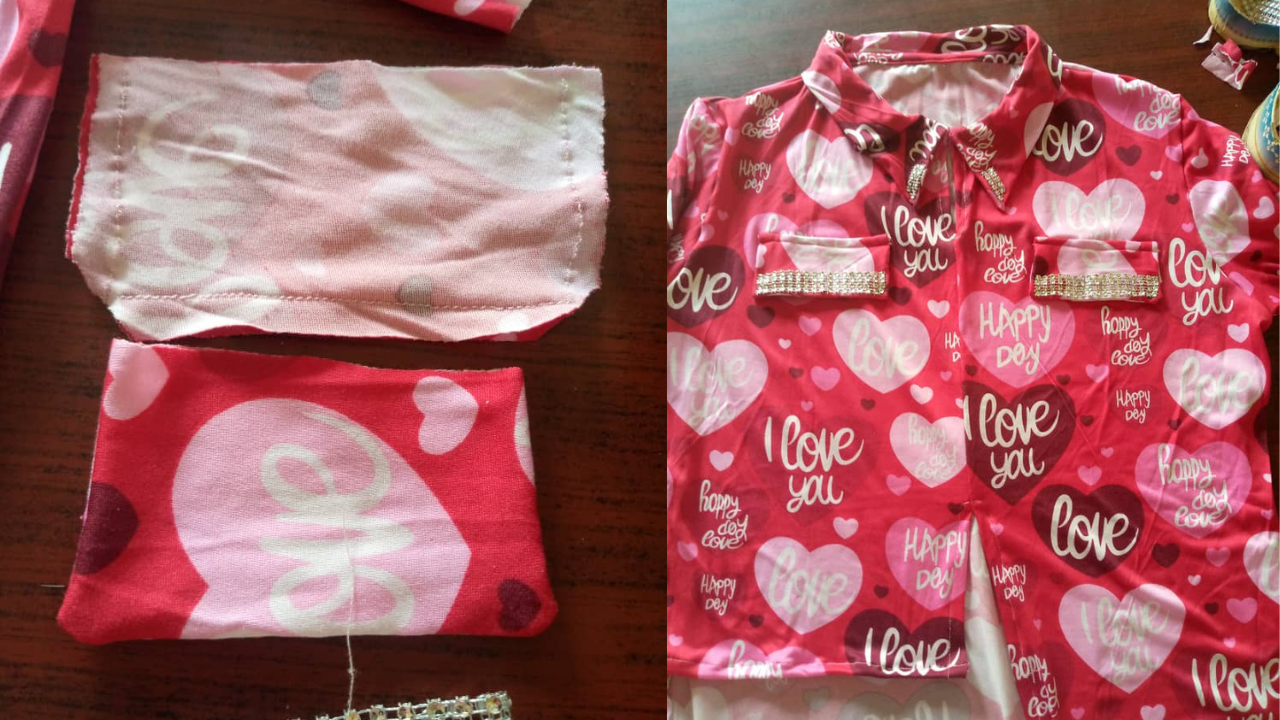
Now that I have the blouse assembled, I will now place the collar and add some shiny decorations to each corner.
Paso nro 4
Paso nro 4
Then I started to sew the flaps, with the help of the pins I held the flaps so that they would be even, and after sewing them I also placed some shiny decorations but only on the top part.
Paso nro 5
Paso nro 5
Finally, I sewed the hem with a straight stitch, finishing the blouse.
(Resultado final:)||(Bottom line:)
And this was the final result of making the blouse. I hope you like this idea to make. I hope to continue sharing more ideas with you on another occasion.
The photos presented in this blog are my own. The images have been edited using Canva. The photographs were taken with my Infinix hot 10 cell phone. The content has been translated with Google Translate.
Congratulations @bet1977! You have completed the following achievement on the Hive blockchain And have been rewarded with New badge(s)
Your next target is to reach 3500 upvotes.
You can view your badges on your board and compare yourself to others in the Ranking
If you no longer want to receive notifications, reply to this comment with the word
STOPThe blouse looks so stylish and elegant. It feels so great to be able to sew whatever we want and they turn out super nice. This is a lovely friend, Thanks for sharing your work with the community and also for a detailed tutorial.
Hello, thank you and the truth is that this garment is very comfortable and the best thing is the personal touch, thank you very much for your words, have a nice day
Te quedó muy lindo el bluson ☺️ que lindo es que puedas hacerte tus propias prendas
Gracias por tus palabras feliz noche
I love the beautiful outcome of this shirt, it looks so nice, you've done a great job.