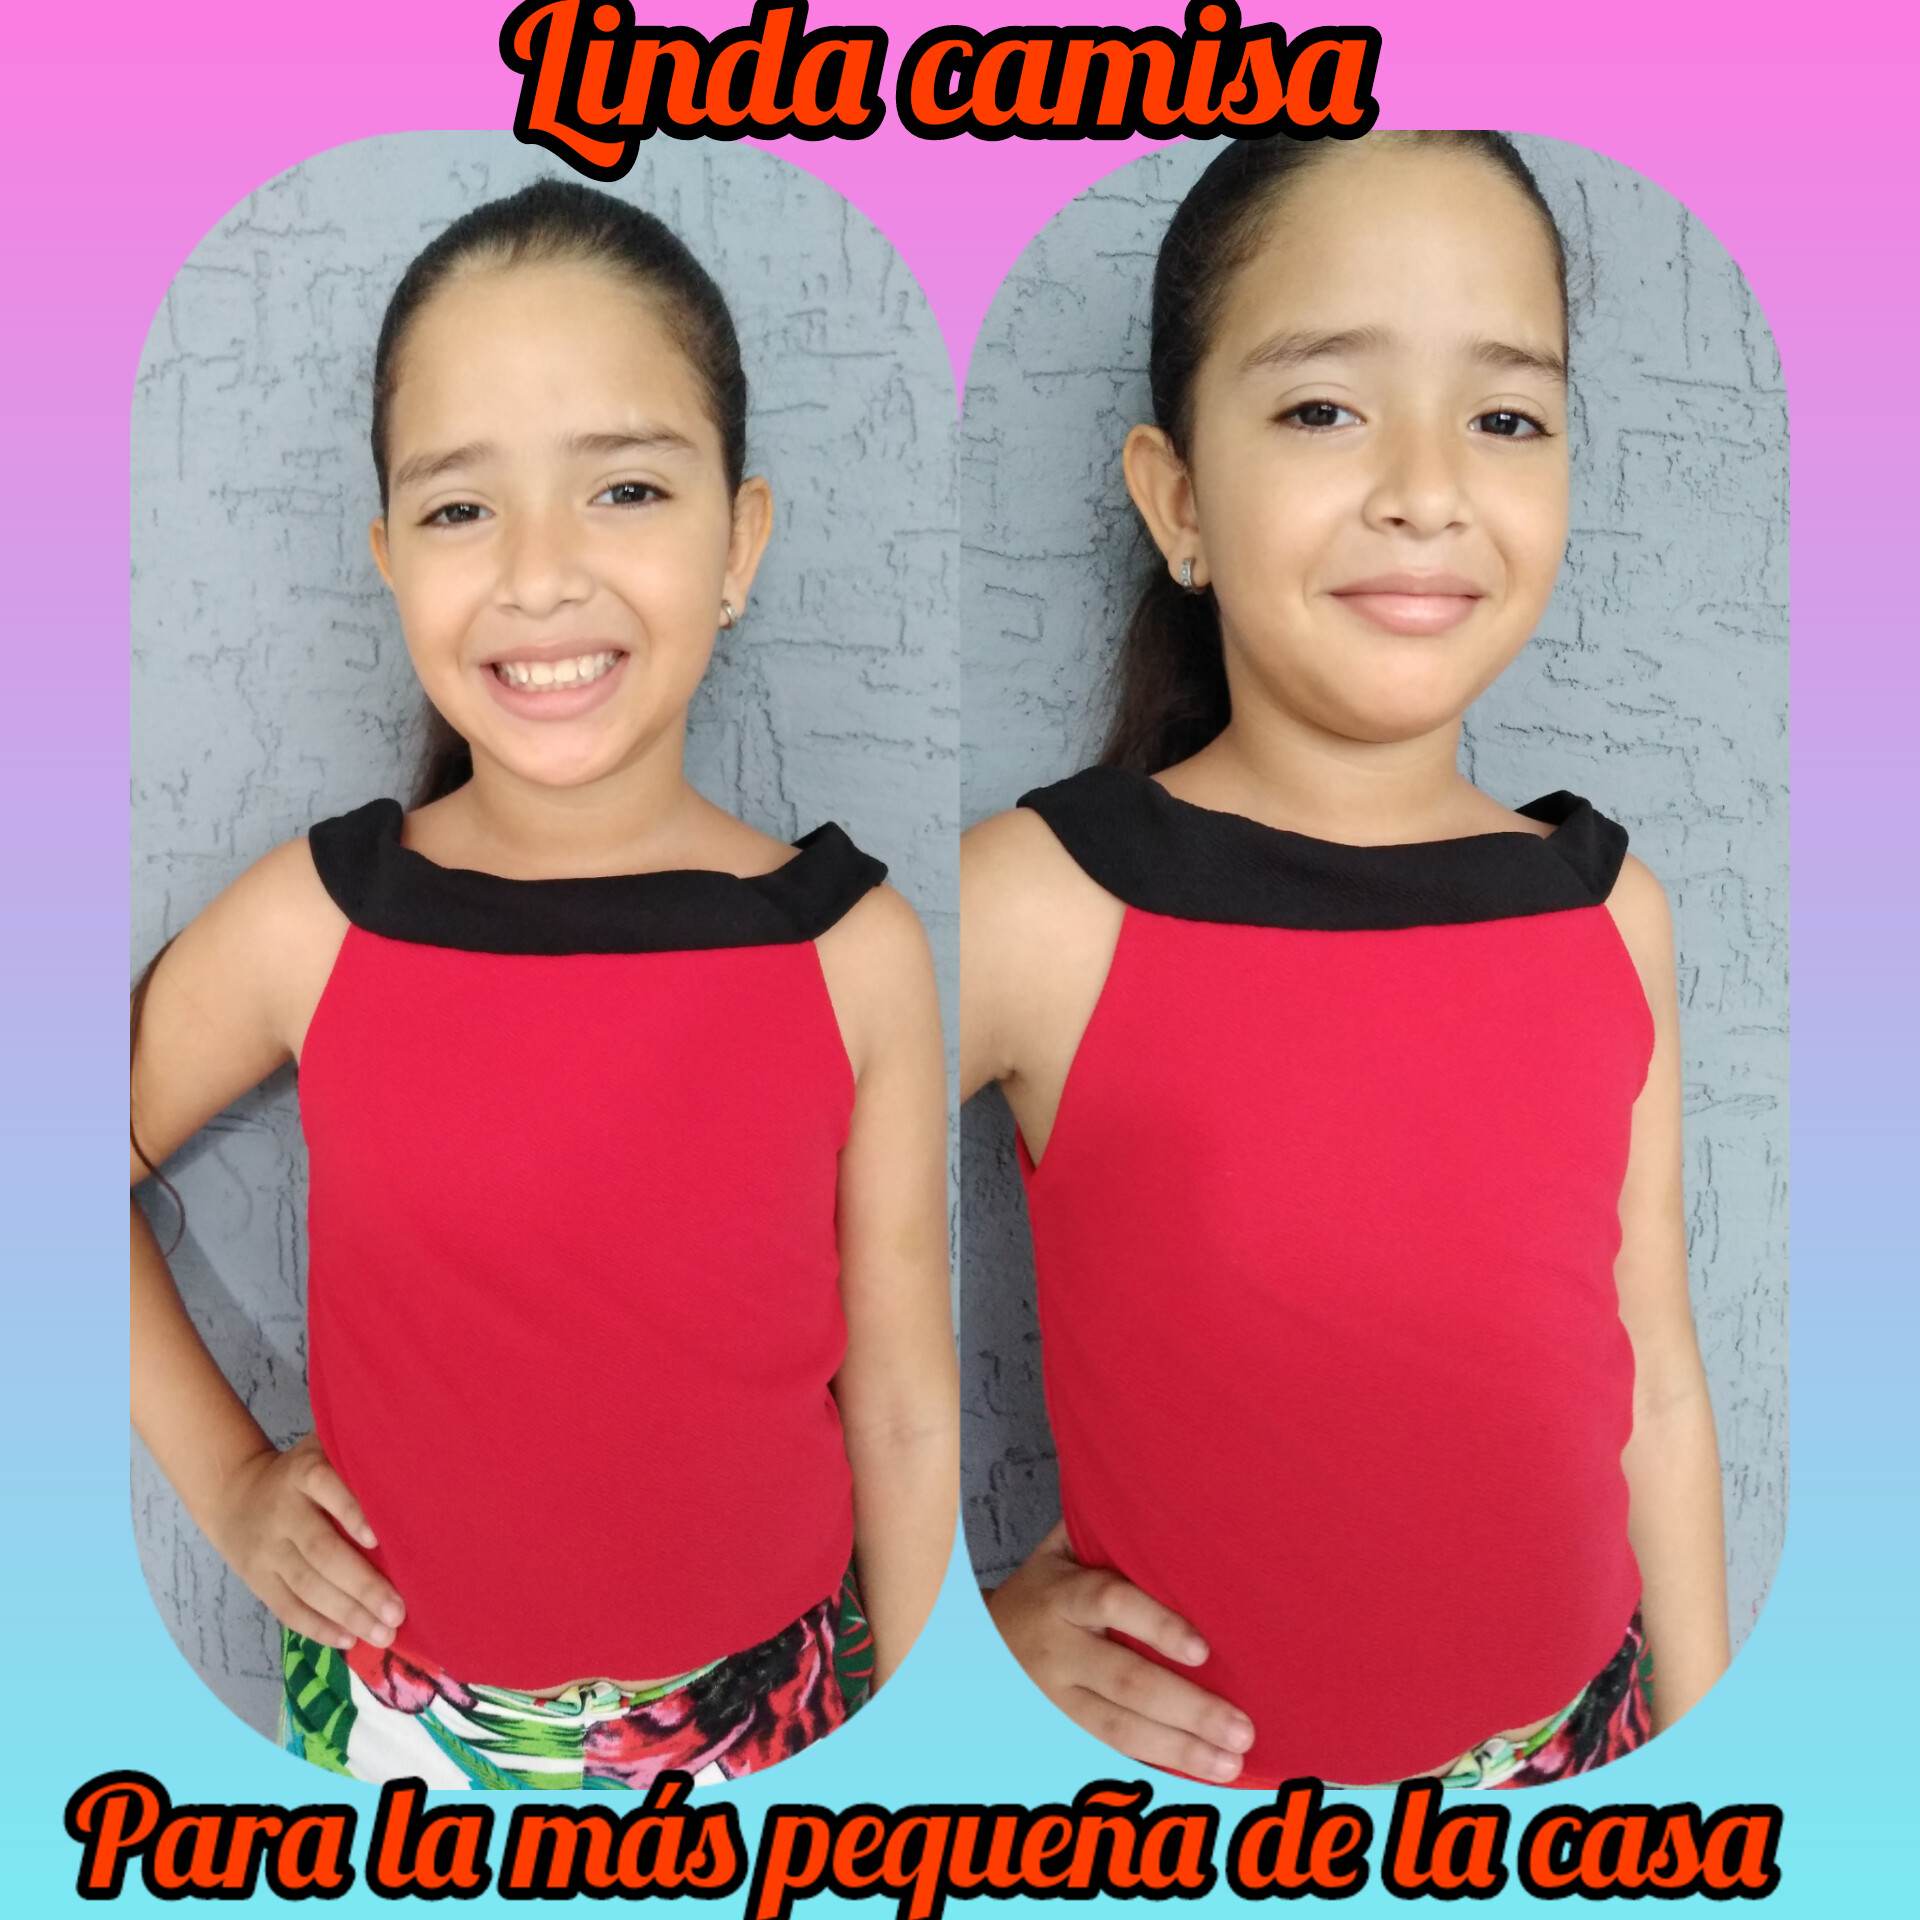
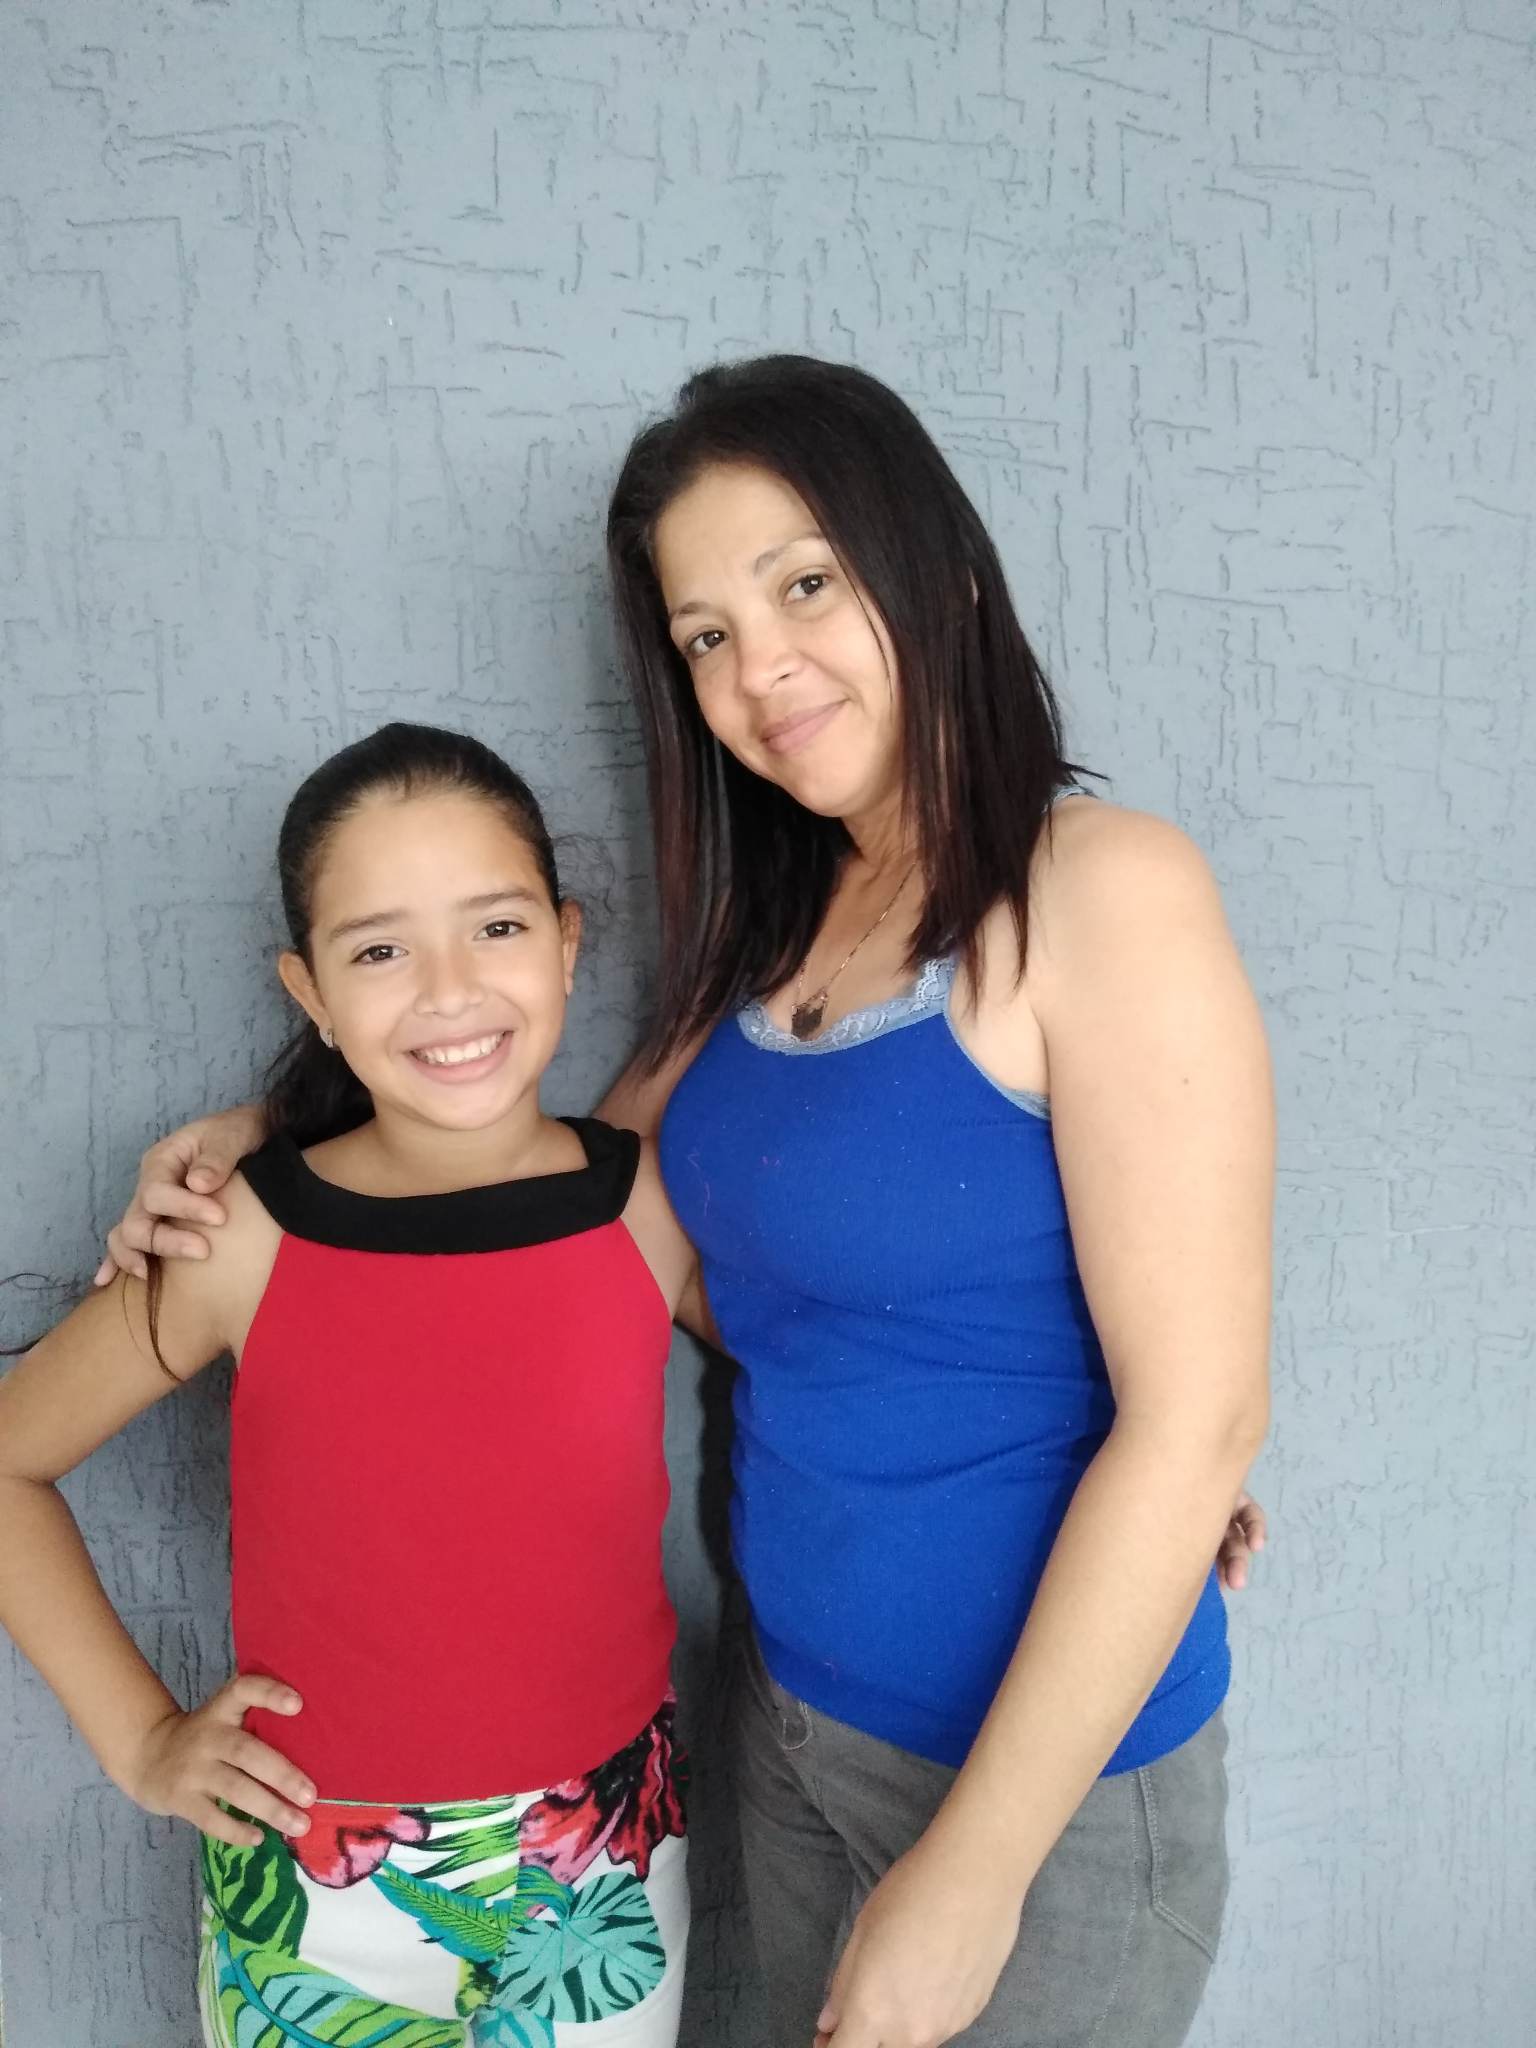
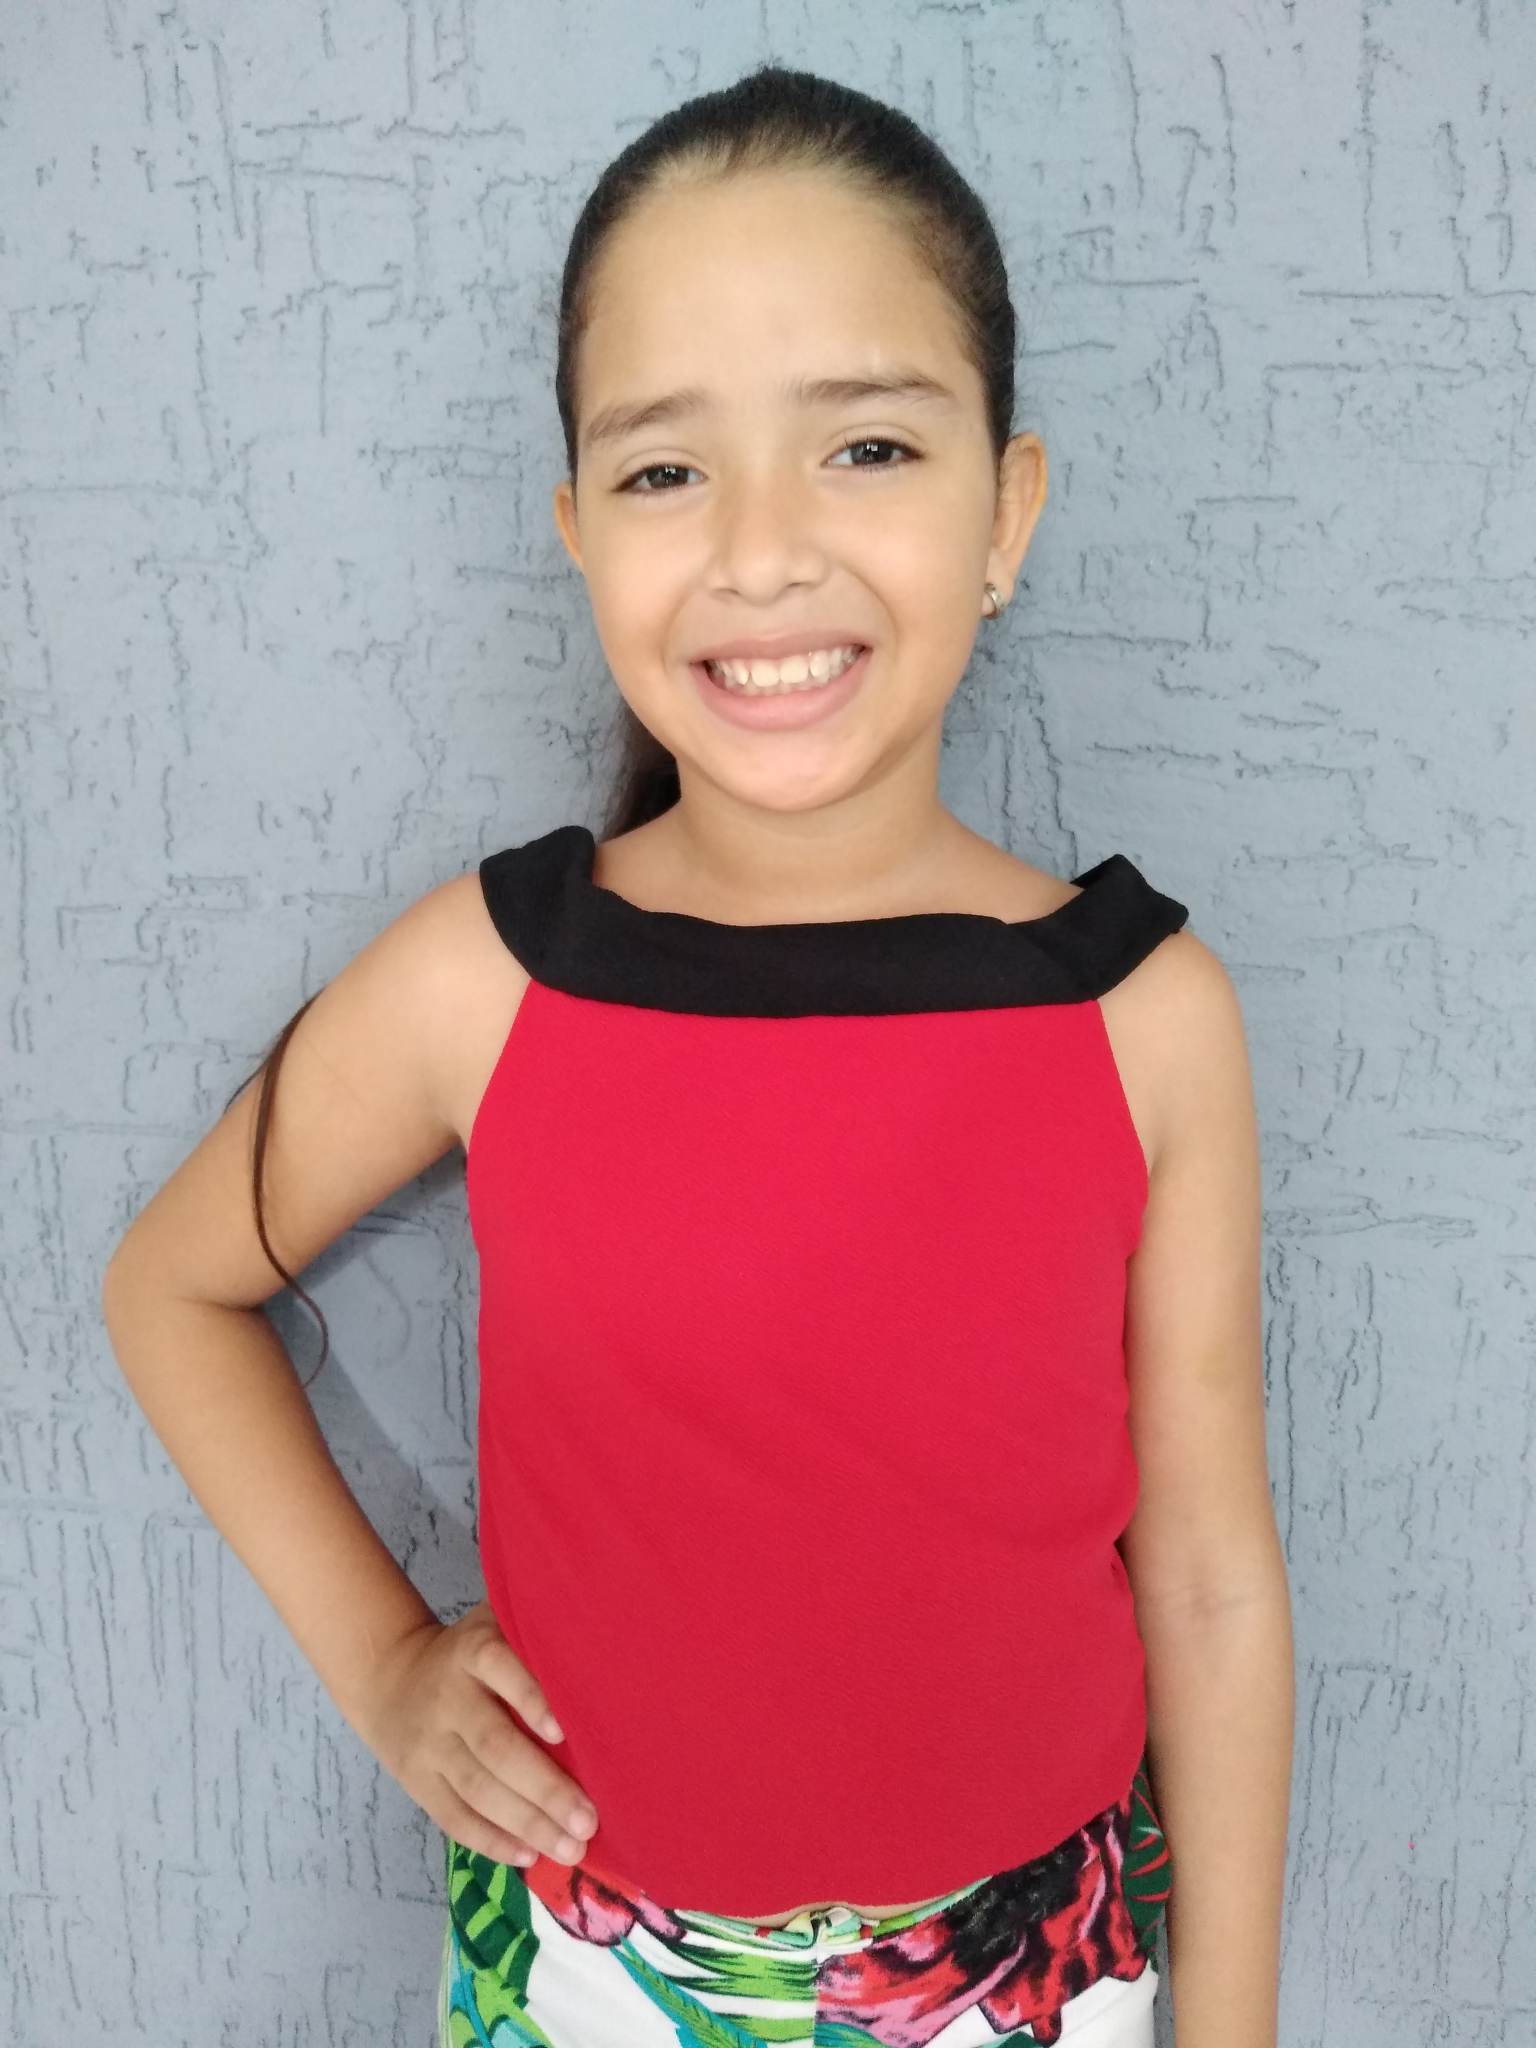
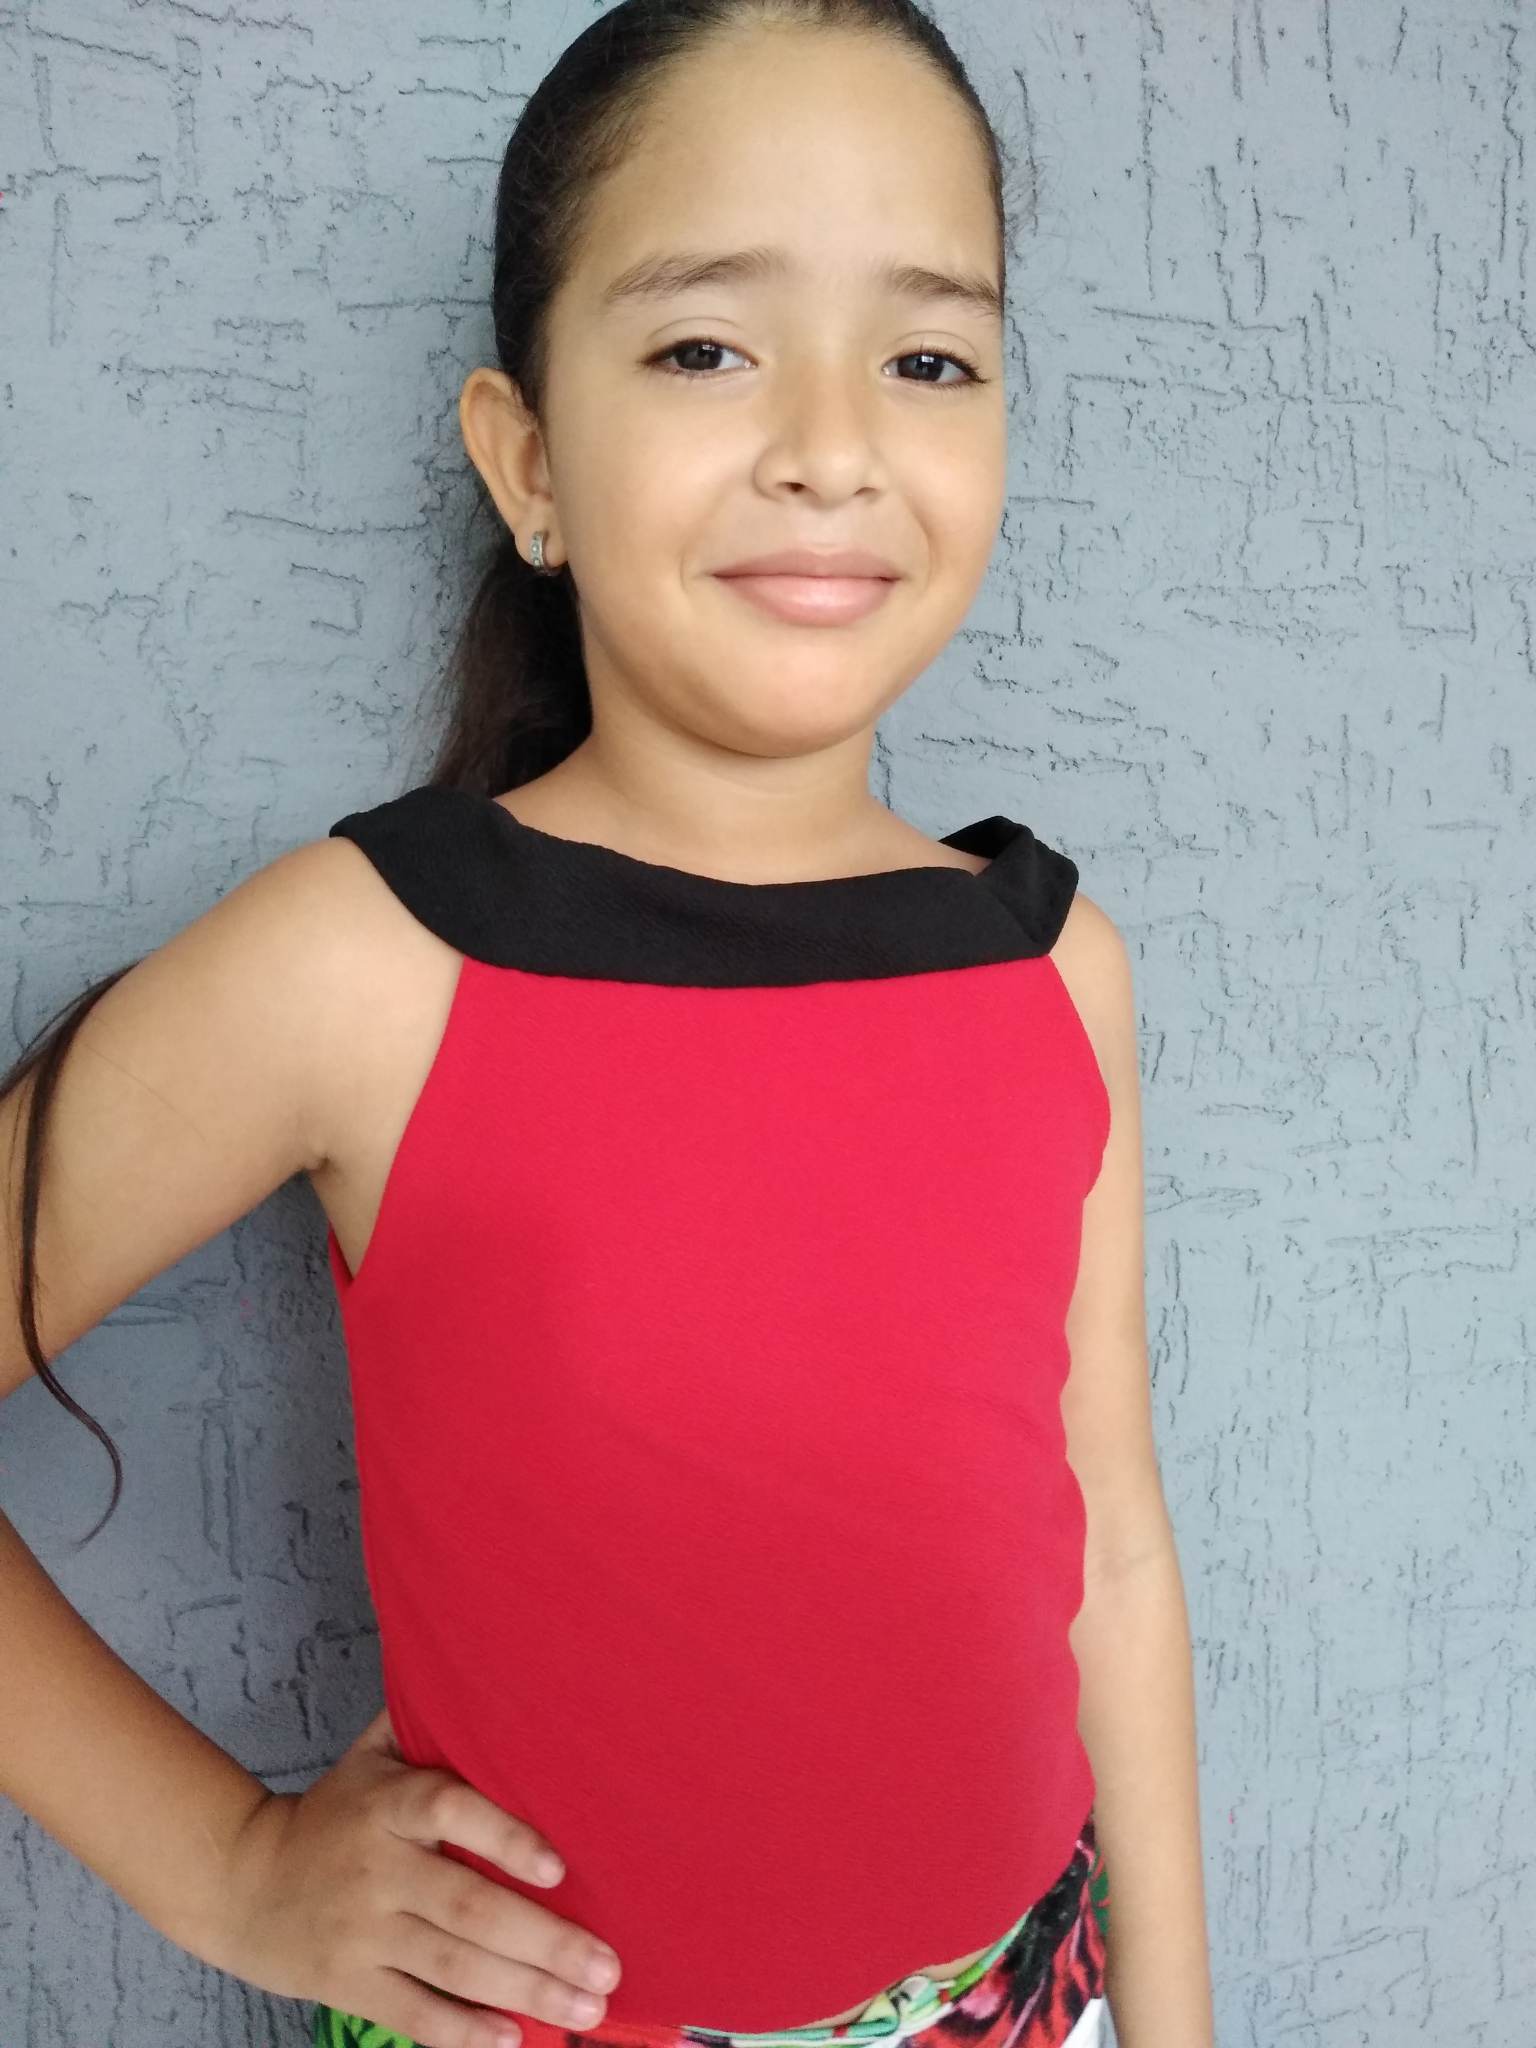
Welcome once again to my blog, today I am happy to share with you all a wonderful creation, I made a shirt for my daughter with some scraps of fabric that I had lying around, then I managed to make her a beautiful shirt, super easy to make and super simple. I loved and liked the result, so I would like to show you step by step how to make this shirt design so that you can also put it into practice.
.jpg)
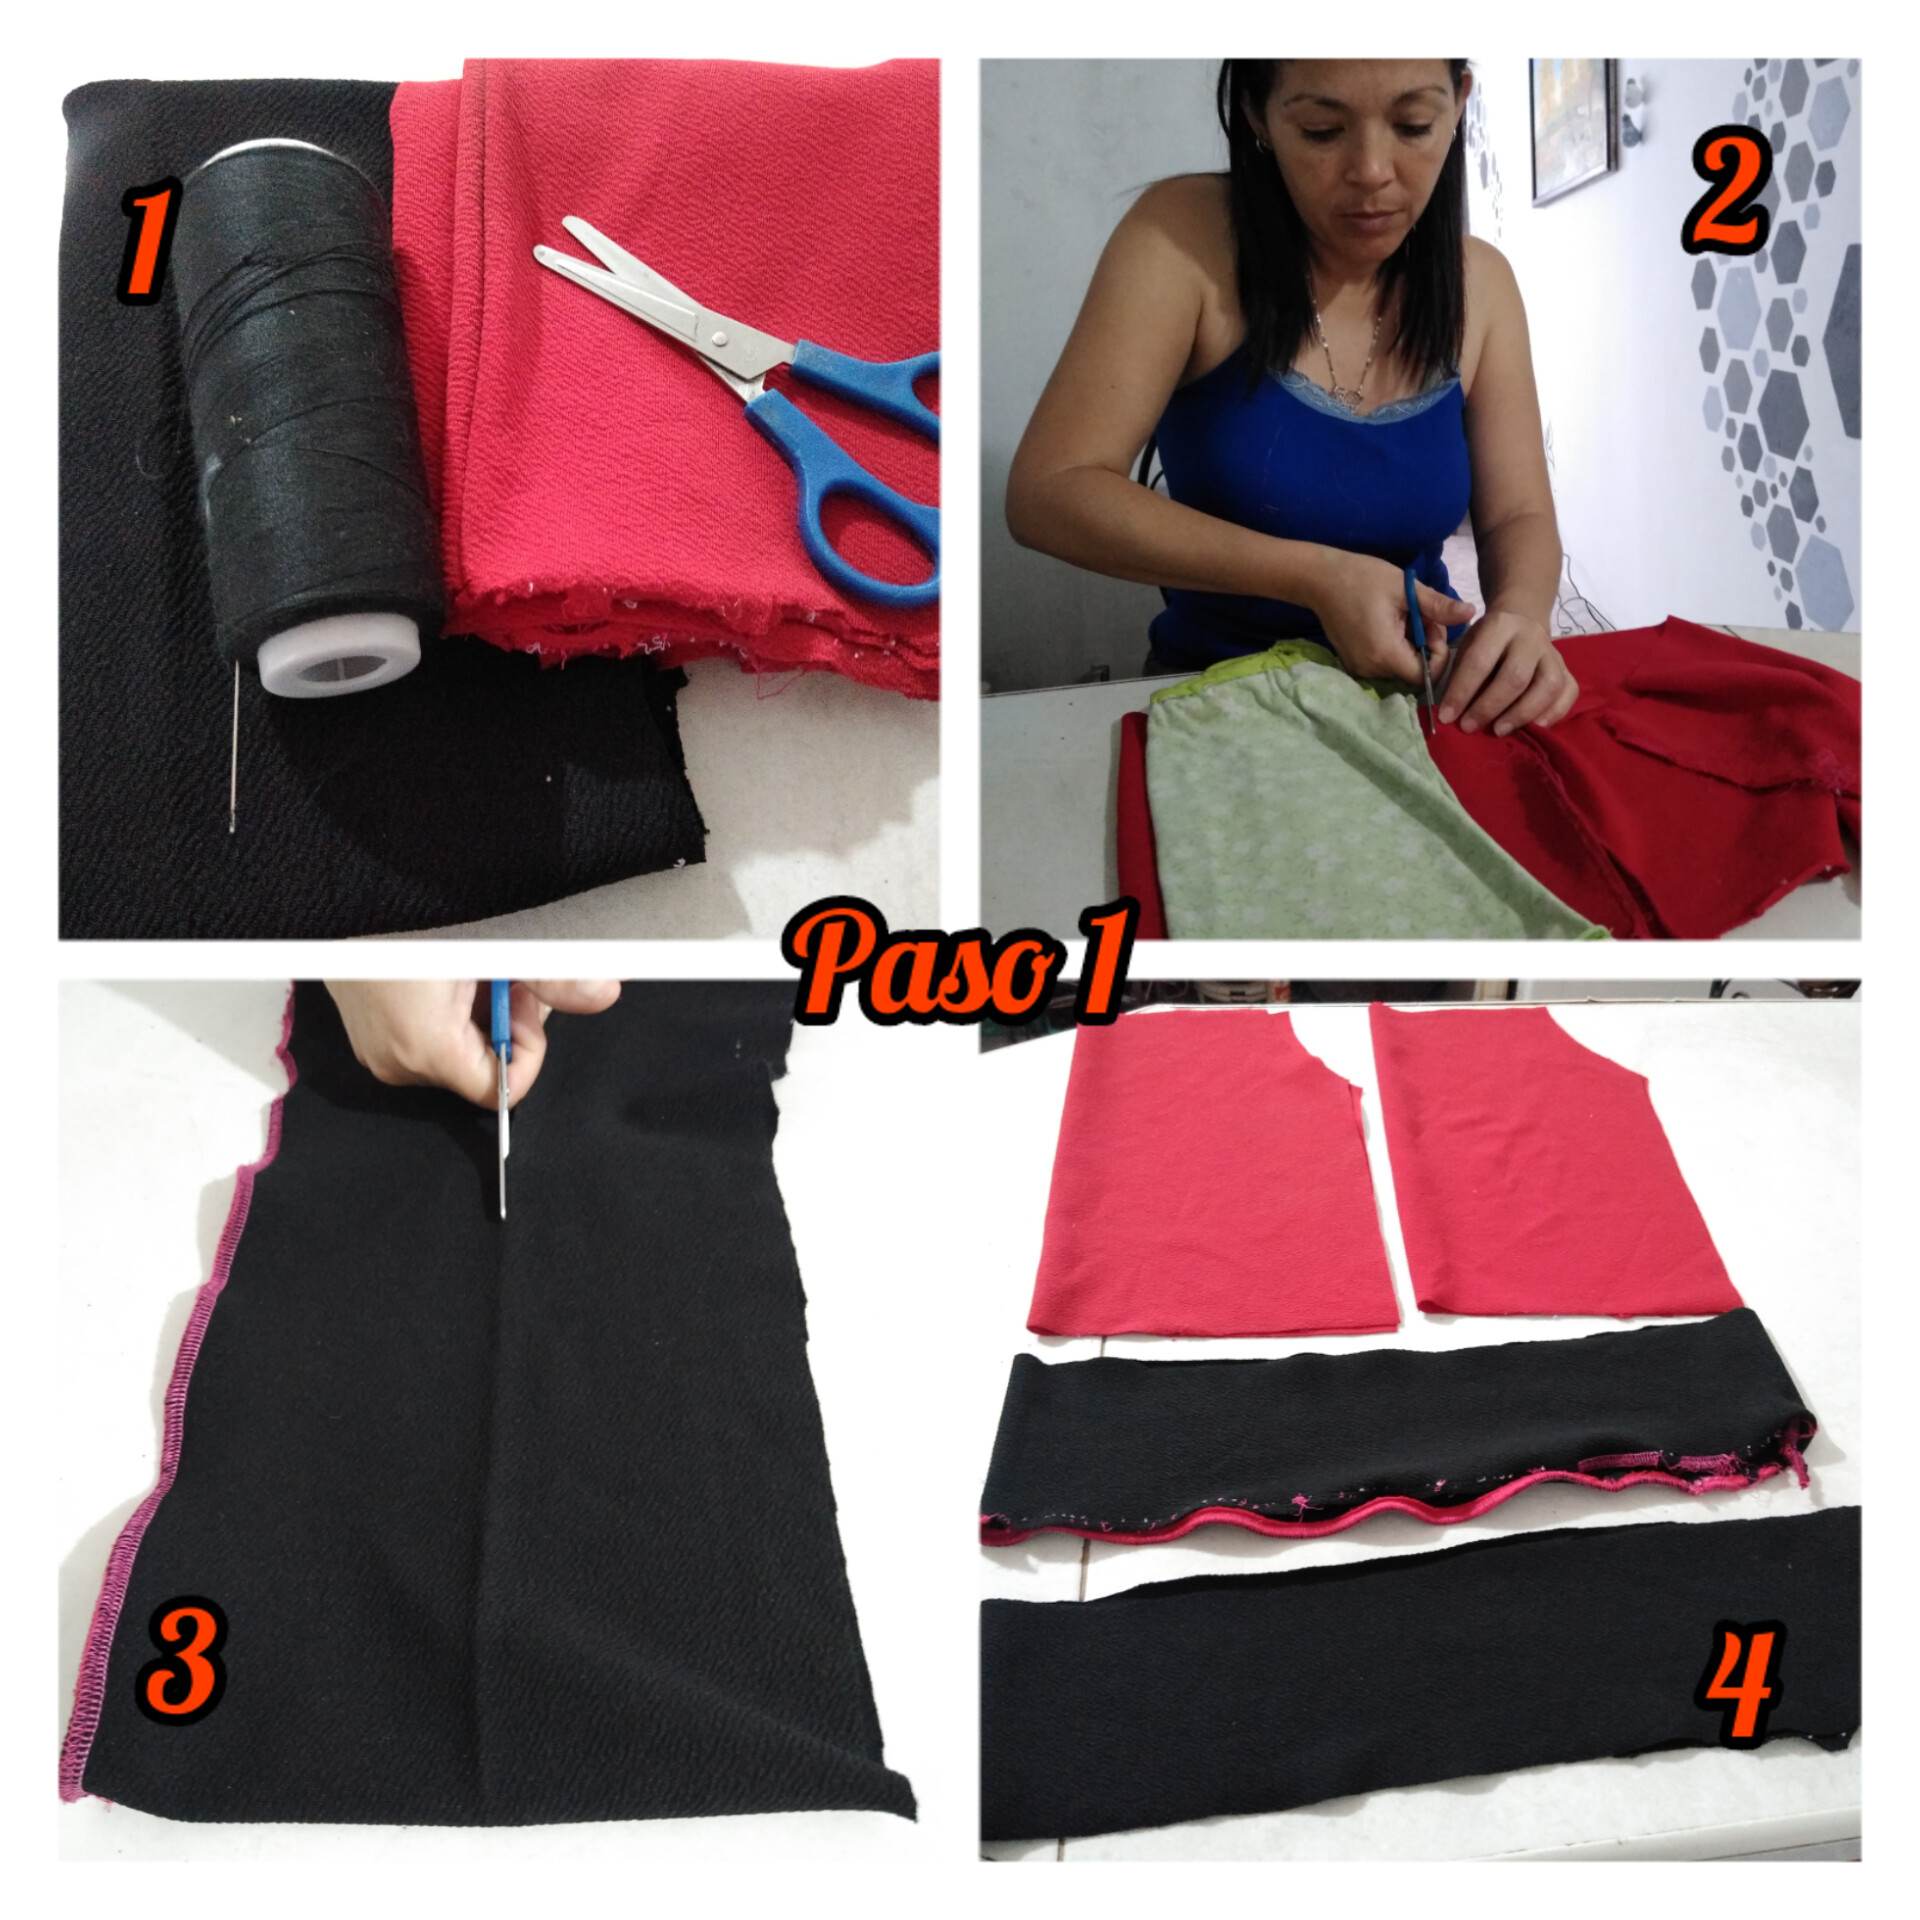
Paso 1: vamos a necesitar dos telas ya que haré la camisa combinando 2 colores, el rojo y el negro, hilo, aguja y tijera, coseré a mano. Necesitaré una camisa de mi hija para tomar la medida y pueda quedar muy bien, entonces vamos a cortar de acuerdo a la medida de la camisa. cortaremos en la tela roja el cuerpo de la camisa, la parte delantera y trasera, y en la tela negra cortaremos lo que será el cuello de nuestra camisa.
Step 1: we are going to need two fabrics since I will make the shirt combining 2 colors, red and black, thread, needle and scissors, I will sew by hand. I will need one of my daughter's shirts to take the measurement so it can fit very well, then we will cut according to the size of the shirt. We will cut in the red fabric the body of the shirt, the front and back, and in the black fabric we will cut what will be the collar of our shirt.
.jpg)
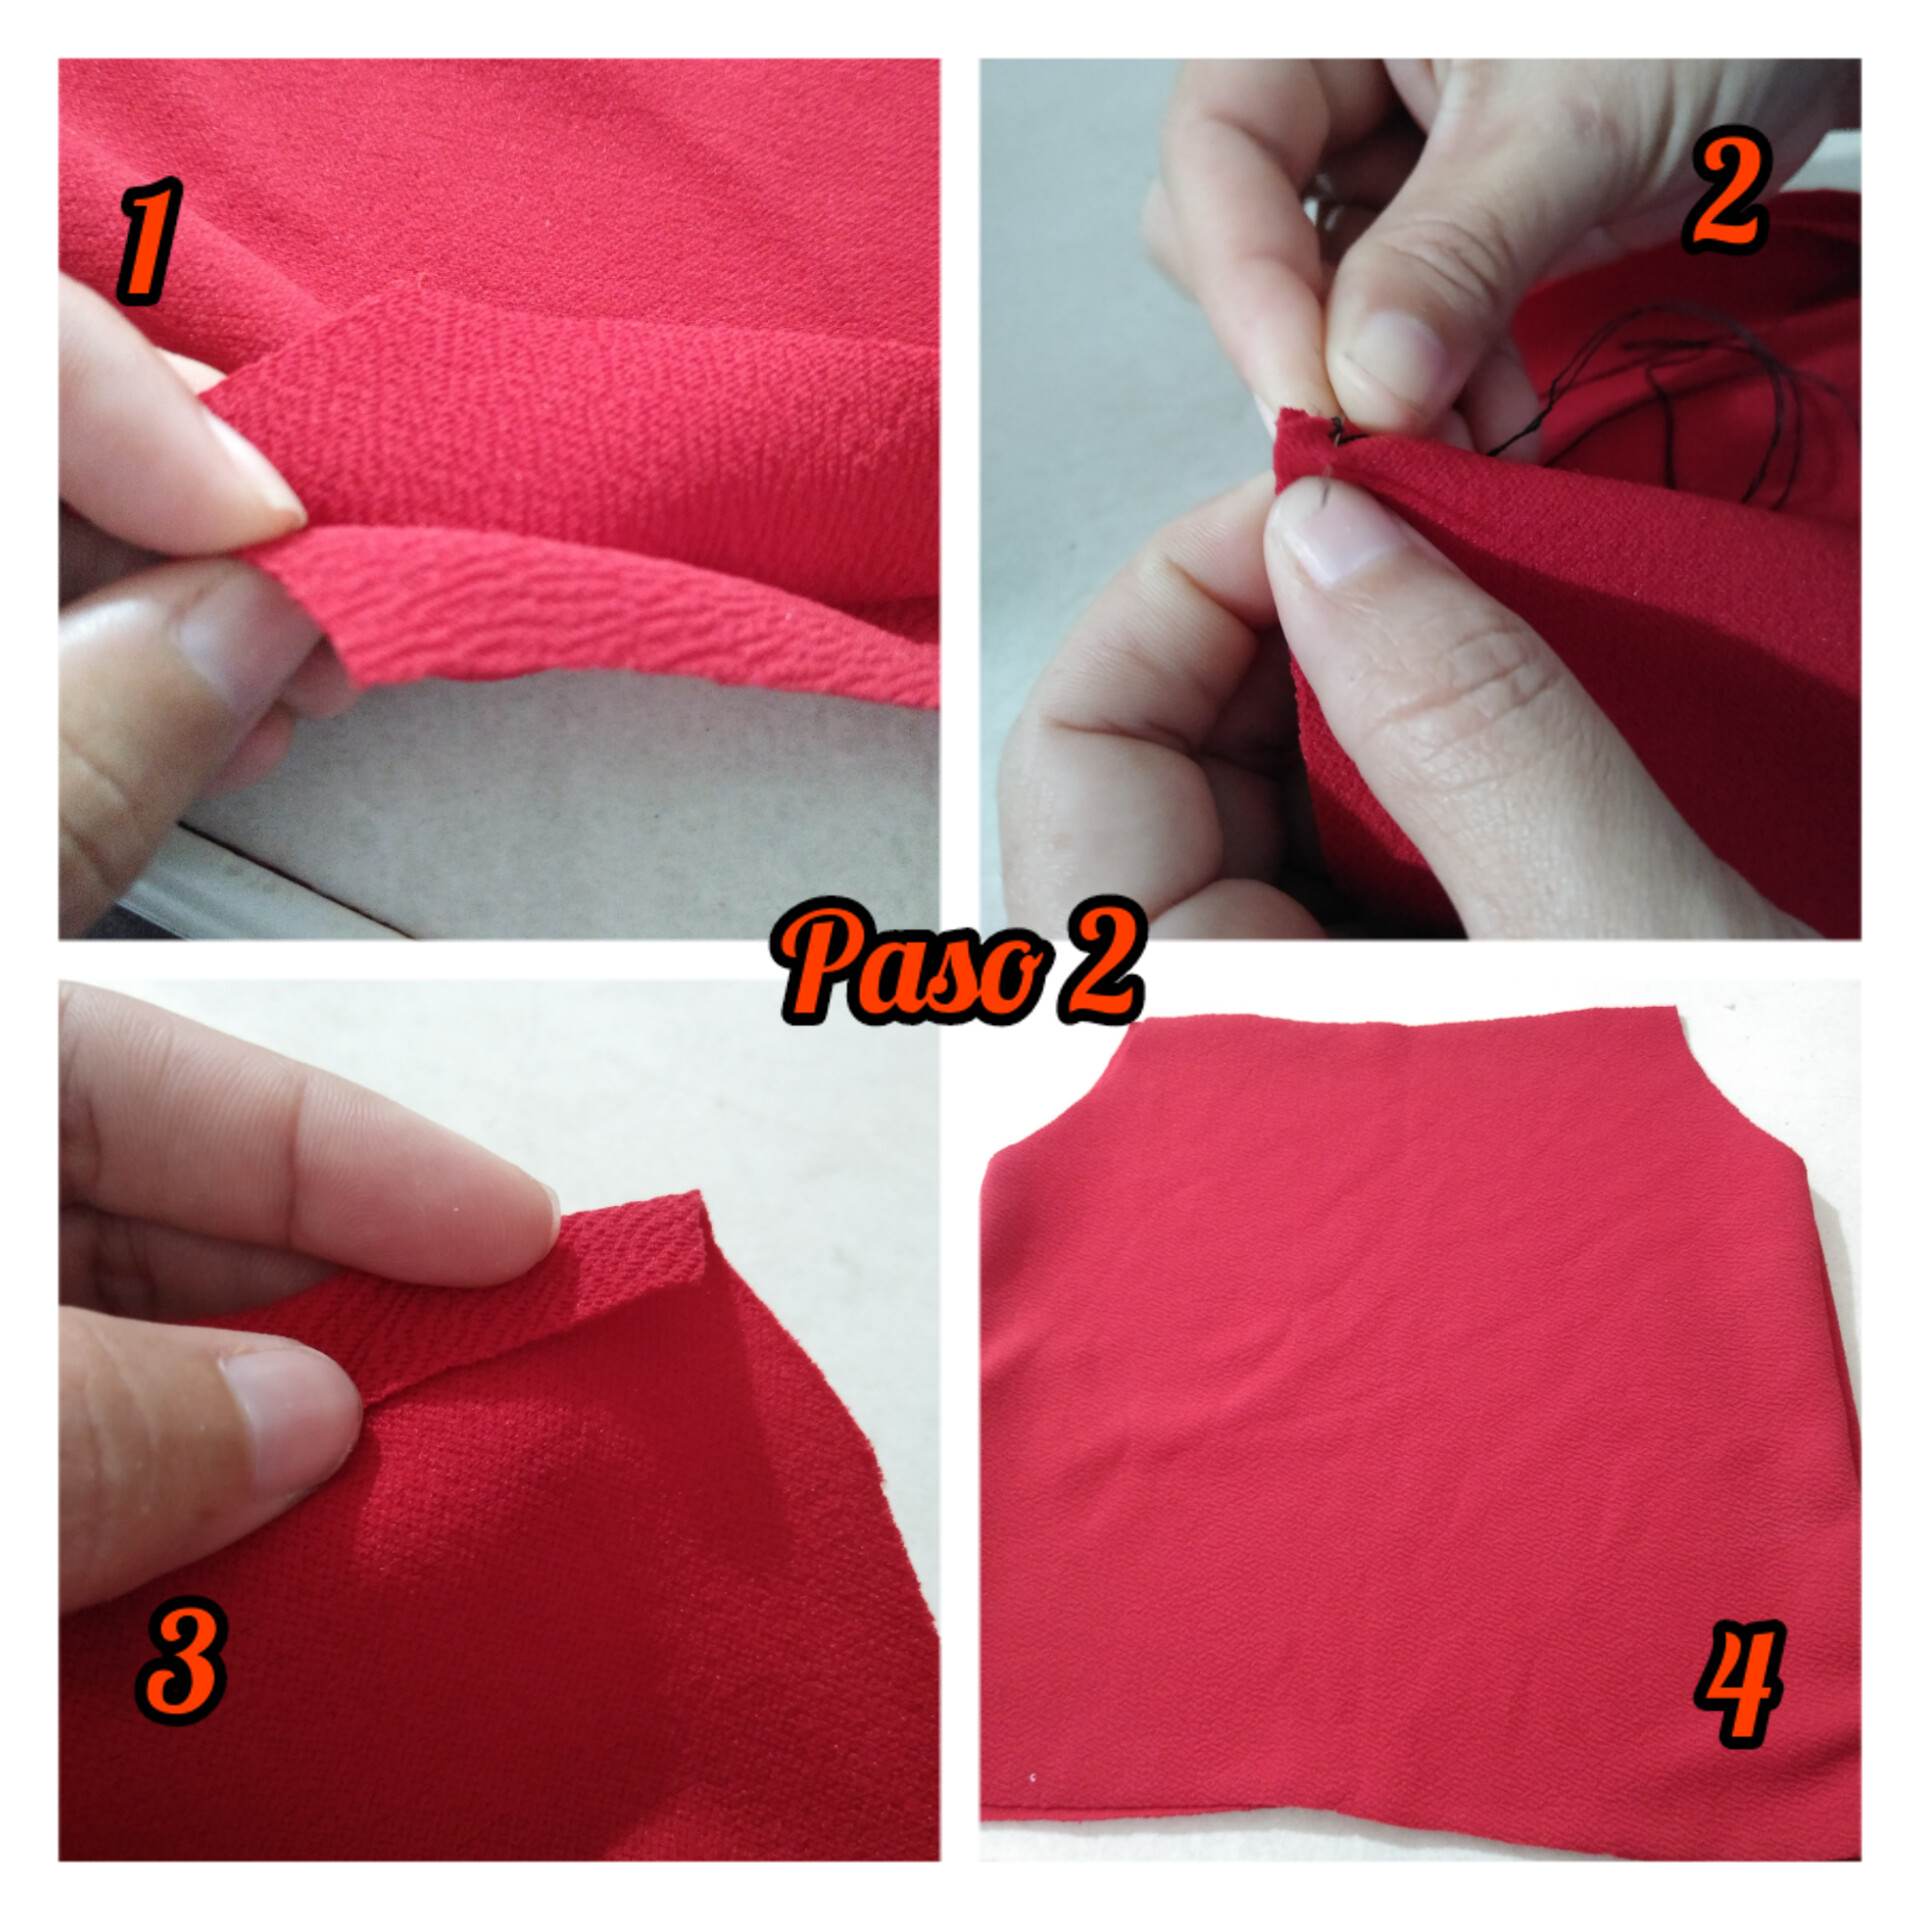
Paso 2: lo que procederemos a hacer será coser por dentro la parte delantera con la trasera, vamos a coser con un mínimo ruedito, cosiendo muy bien para que la costura quede muy bella, entonces Procederemos a coser los bordes laterales por dentro, dejando la parte de arriba y la de abajo sin coser, y aquí en la última foto pueden ver el resultado final.
Step 2: what we will proceed to do will be to sew inside the front part with the back part, we will sew with a minimum roll, sewing very well so that the seam is very beautiful, then we will proceed to sew the side edges on the inside, leaving the top and bottom without sewing, and here in the last photo you can see the final result.
.jpg)
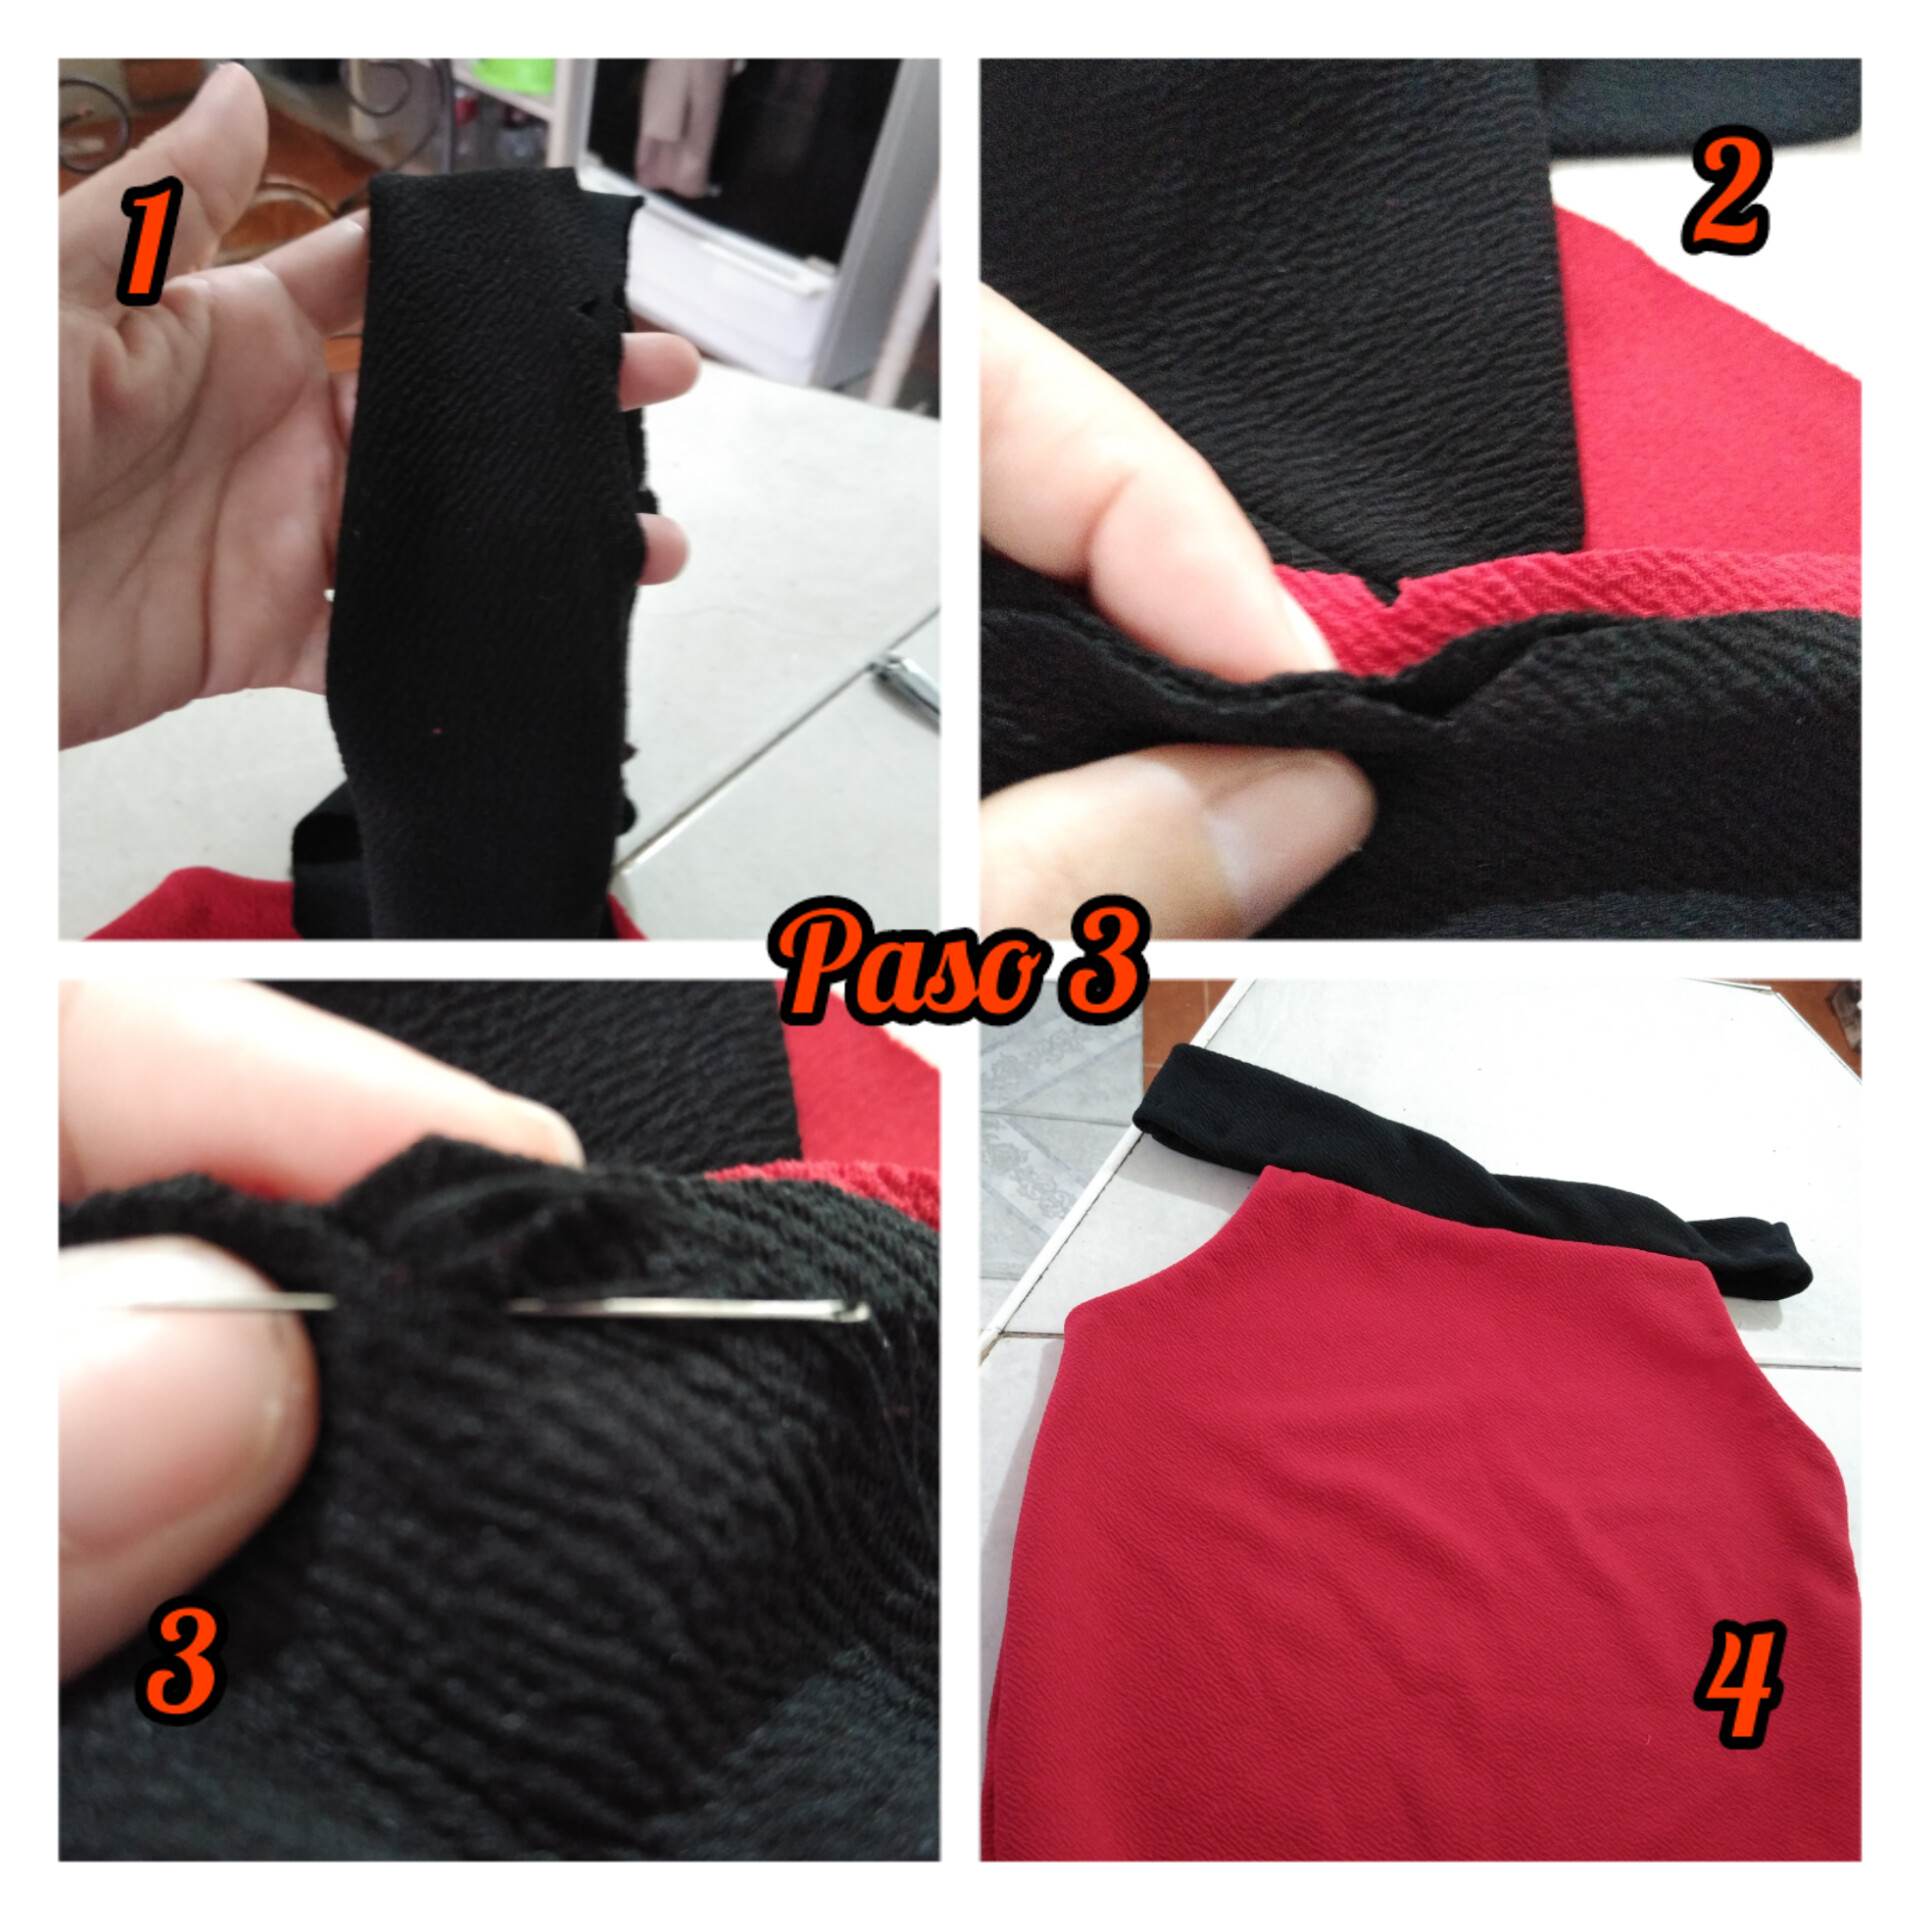
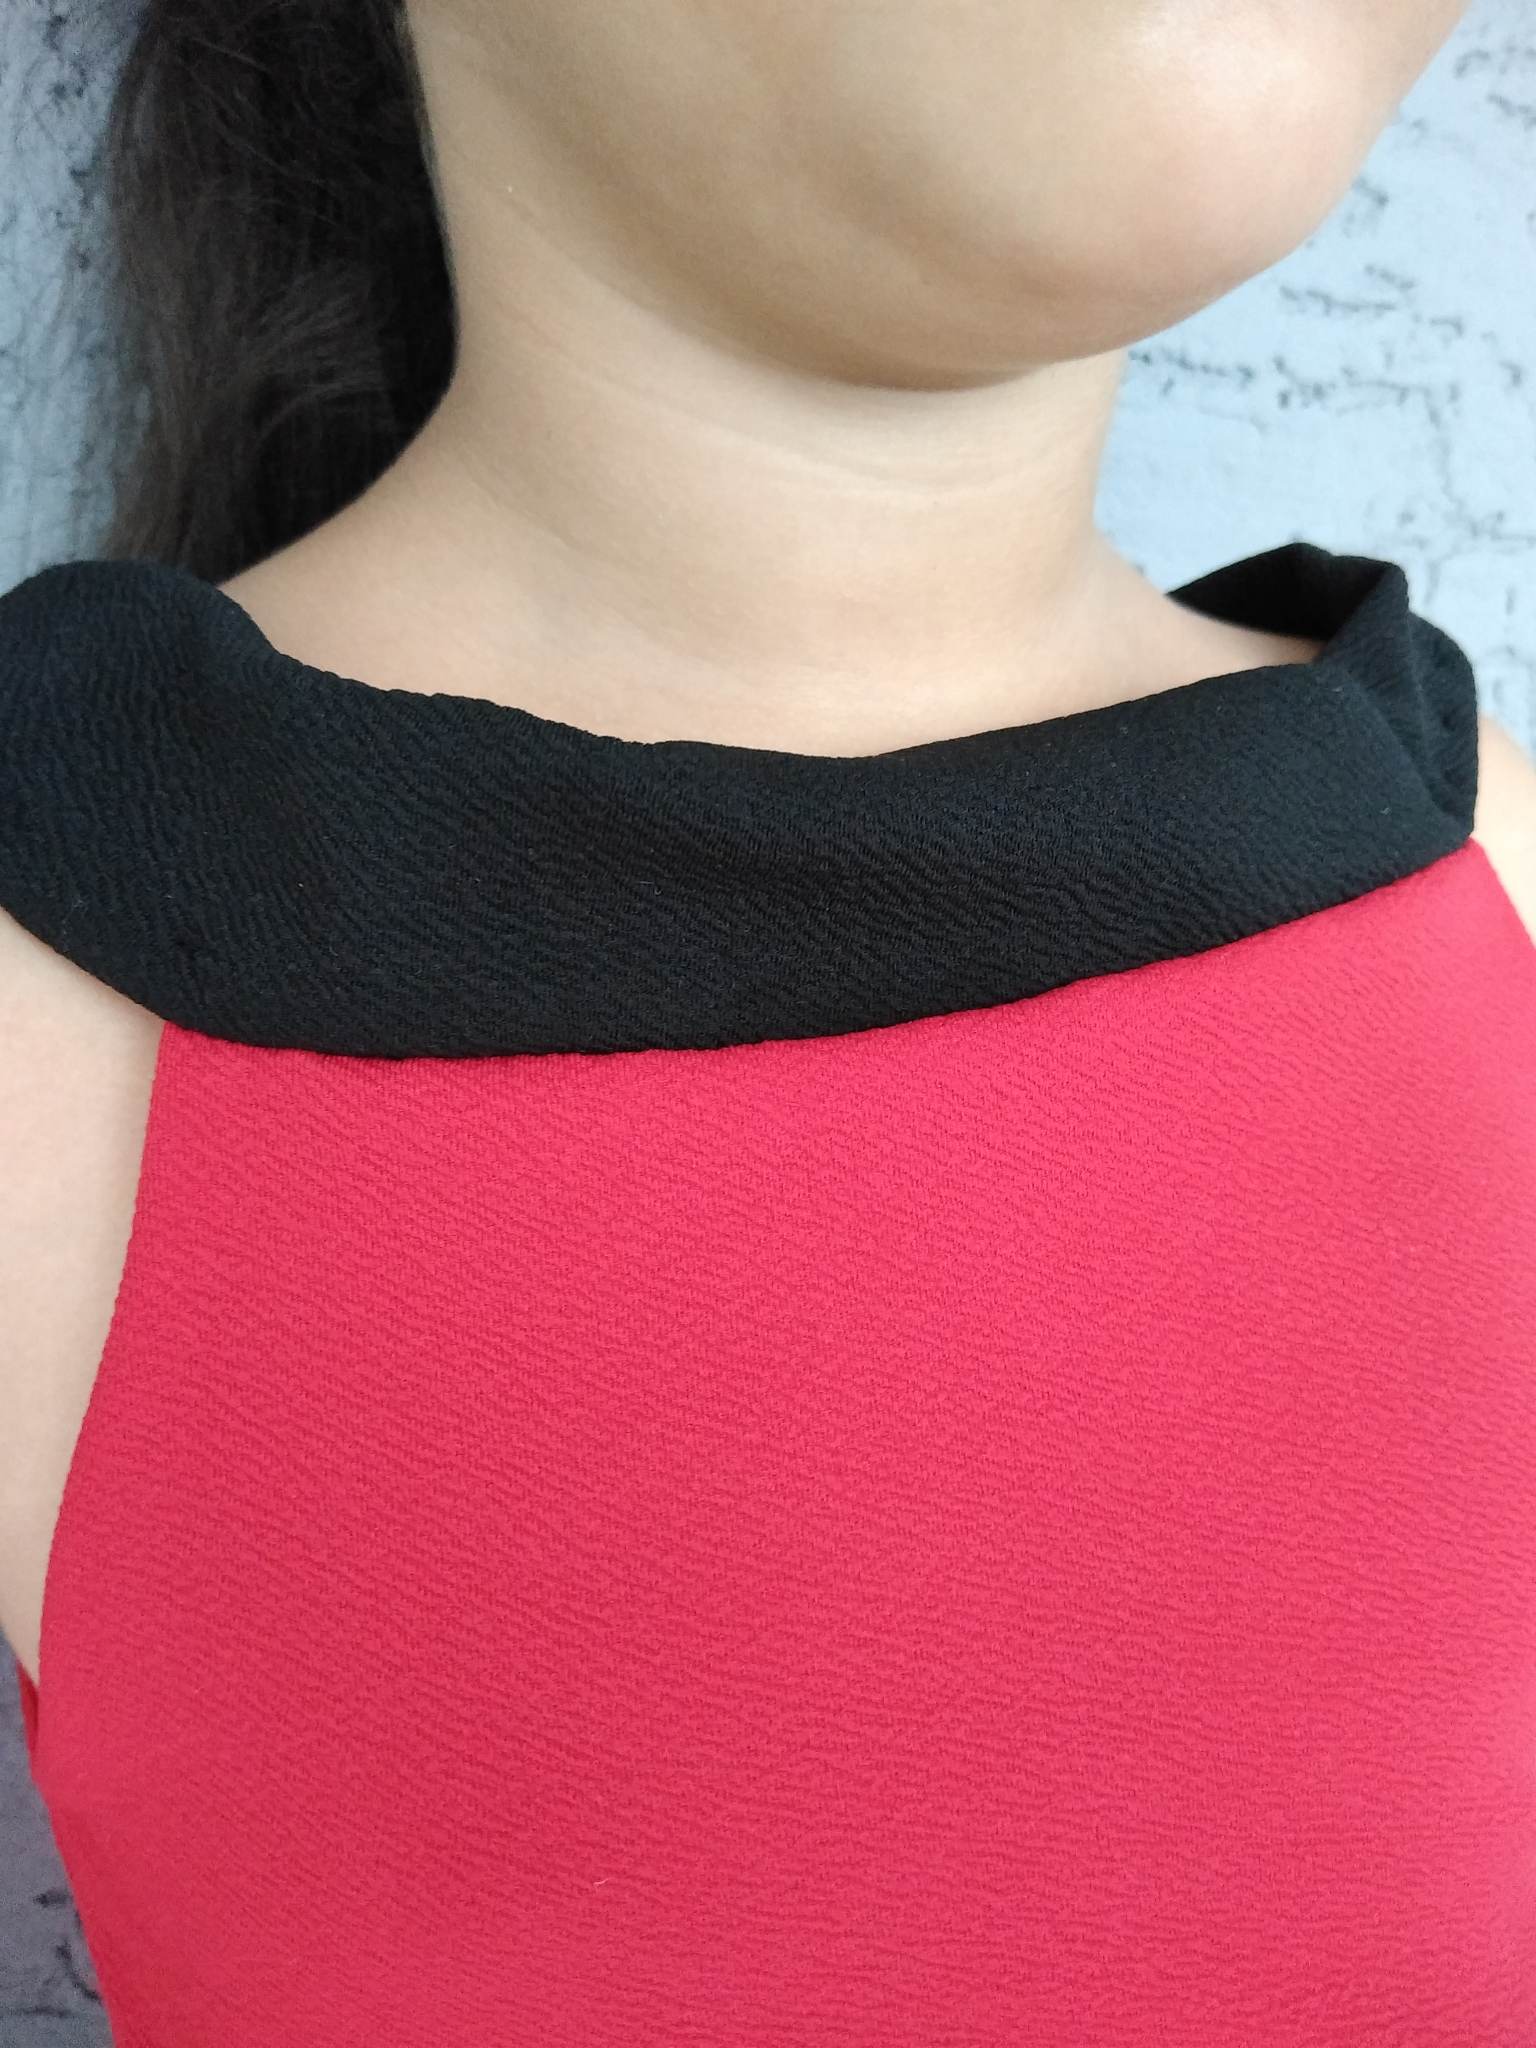
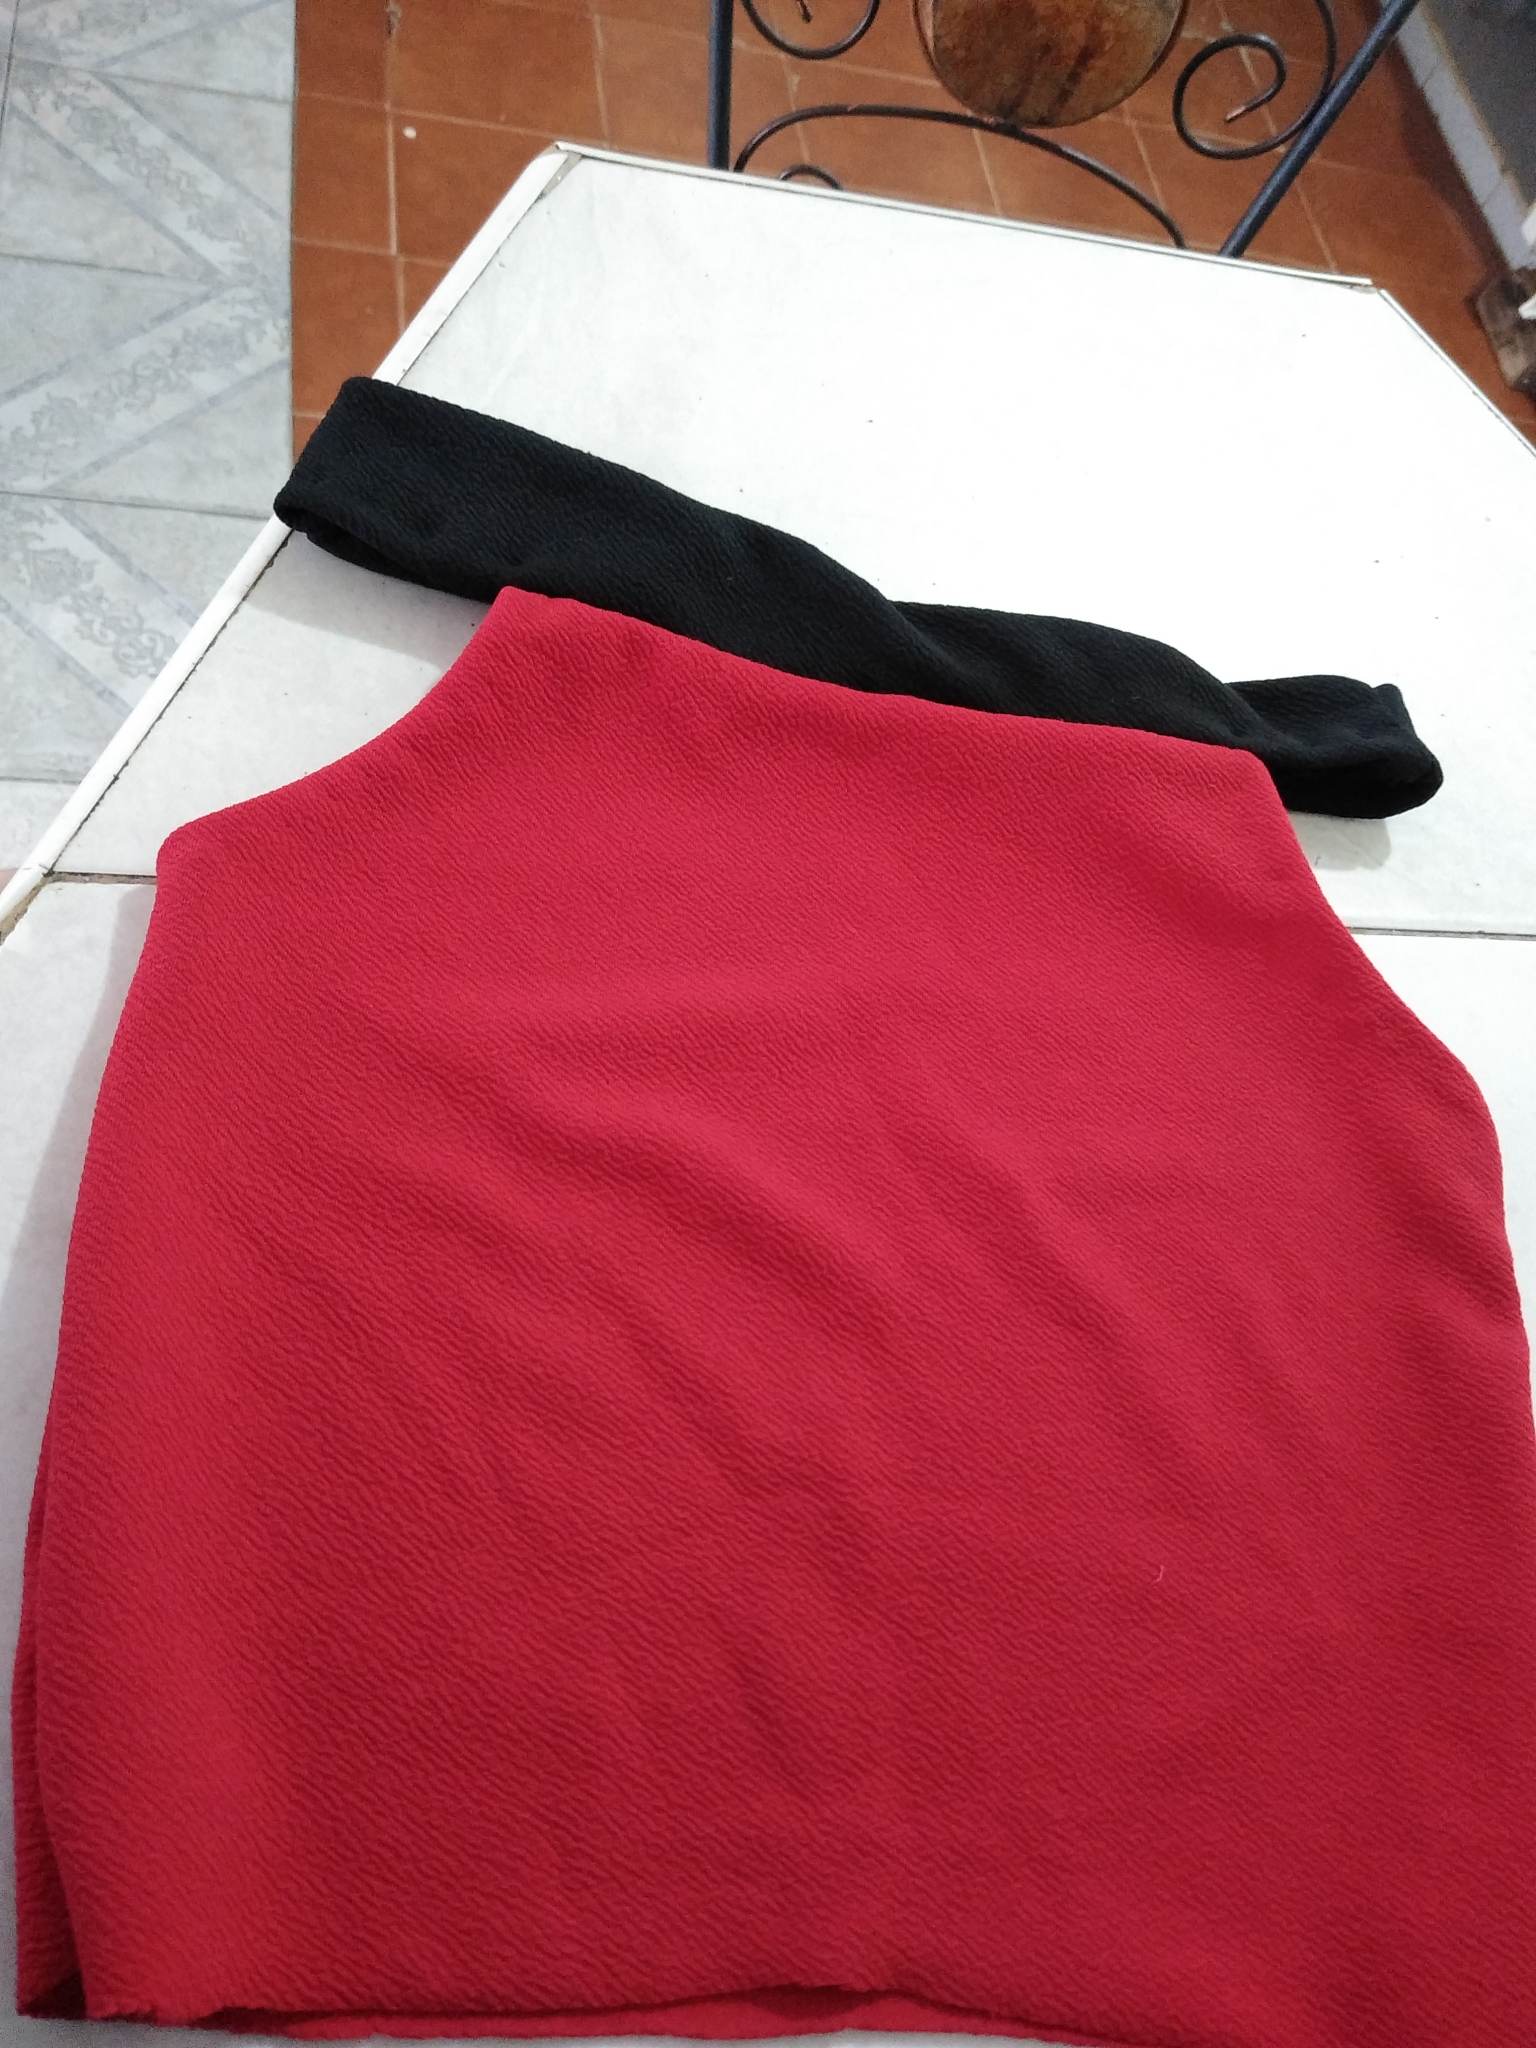
Paso 3: luego de haber terminado de coser la parte roja de la camisa, y luego de haberla terminado, lo que haremos ahora será coser la parte negra, la parte del cuello, será como una tira grueso que rodeará todo el cuello, es un diseño súper lindo la verdad, entonces coseremos muy bien delicadamente, asegurándonos de que sea muy buena la costura ya que es a mano y es necesario que quede bien para que la costura no se vaya después. De ésta manera terminé mi camisa hermosa así que pueden ver el resultado final, espero que les guste mucho.
Step 3: after having finished sewing the red part of the shirt, and after having finished it, what we will do now is to sew the black part, the neck part, it will be like a thick strip that will surround the whole neck, it is a super nice design, then we will sew very well delicately, making sure that the sewing is very good because it is by hand and it is necessary that it fits well so that the seam does not go away later. This is how I finished my beautiful shirt so you can see the final result, I hope you like it very much.
.jpg)
Final Result.
.jpg)

Thank you for sharing this post on HIVE!
Your content got selected by our fellow curator ashikstd & you just received a little thank you upvote from us for your great work! Your post will be featured in one of our recurring compilations which are aiming to offer you a stage to widen your audience within the DIY scene of Hive. Stay creative & HIVE ON!
Please vote for our hive witness <3
Saludos @betzy2, te quedó estupenda la franela , tu nena luce muy guapa, gracias por compartir.
Bendiciones!
Muchas gracias amiga, me alegra que te haya gustado, bendiciones y saludos.
The rewards earned on this comment will go directly to the people( @belkyscabrera ) sharing the post on Twitter as long as they are registered with @poshtoken. Sign up at https://hiveposh.com.
This is so cute, I love the combination of the two colors and how beautiful it looks on your little girl. Thanks for sharing @betzy25.