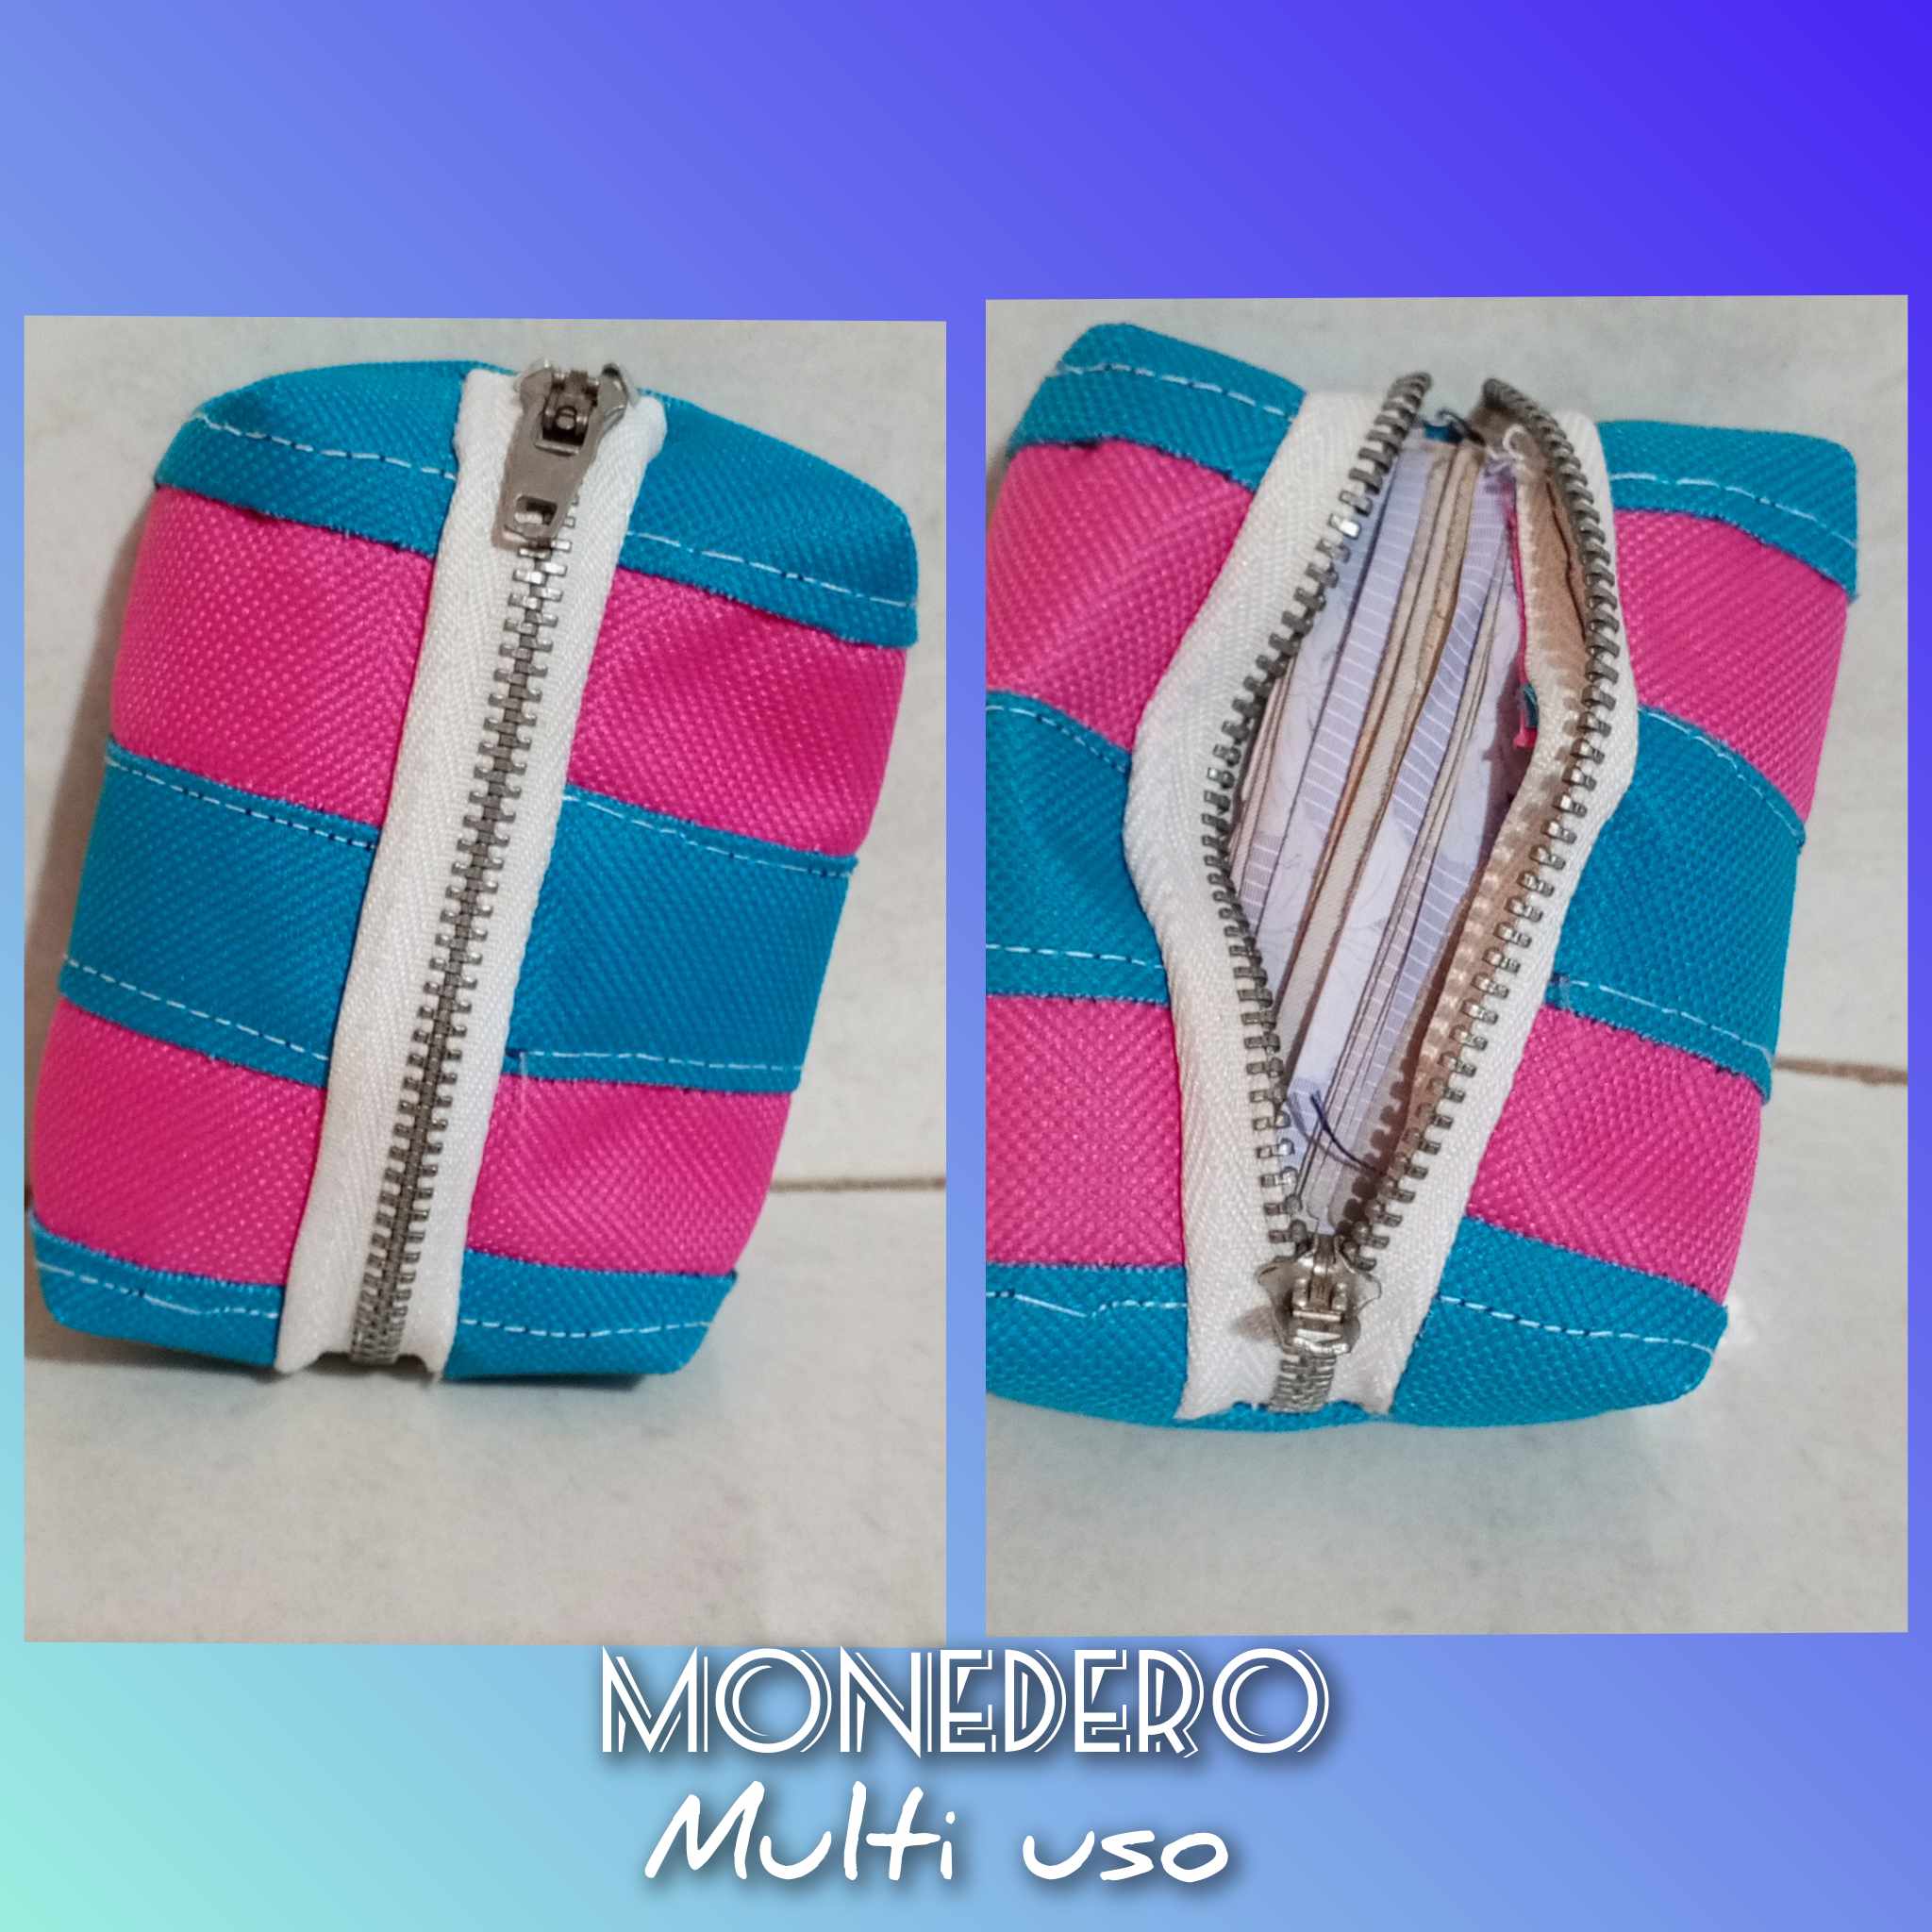
Good morning friends of hive. I am happy to be here again with all of you, it is really lovely to show you what we are able to create. I'm going to show you a tutorial on how to make a multipurpose purse that is necessary to be in our purses always. It will be super easy to make, I hope you too can make it at home so you can enjoy these practical services.
.jpg)
.jpg)
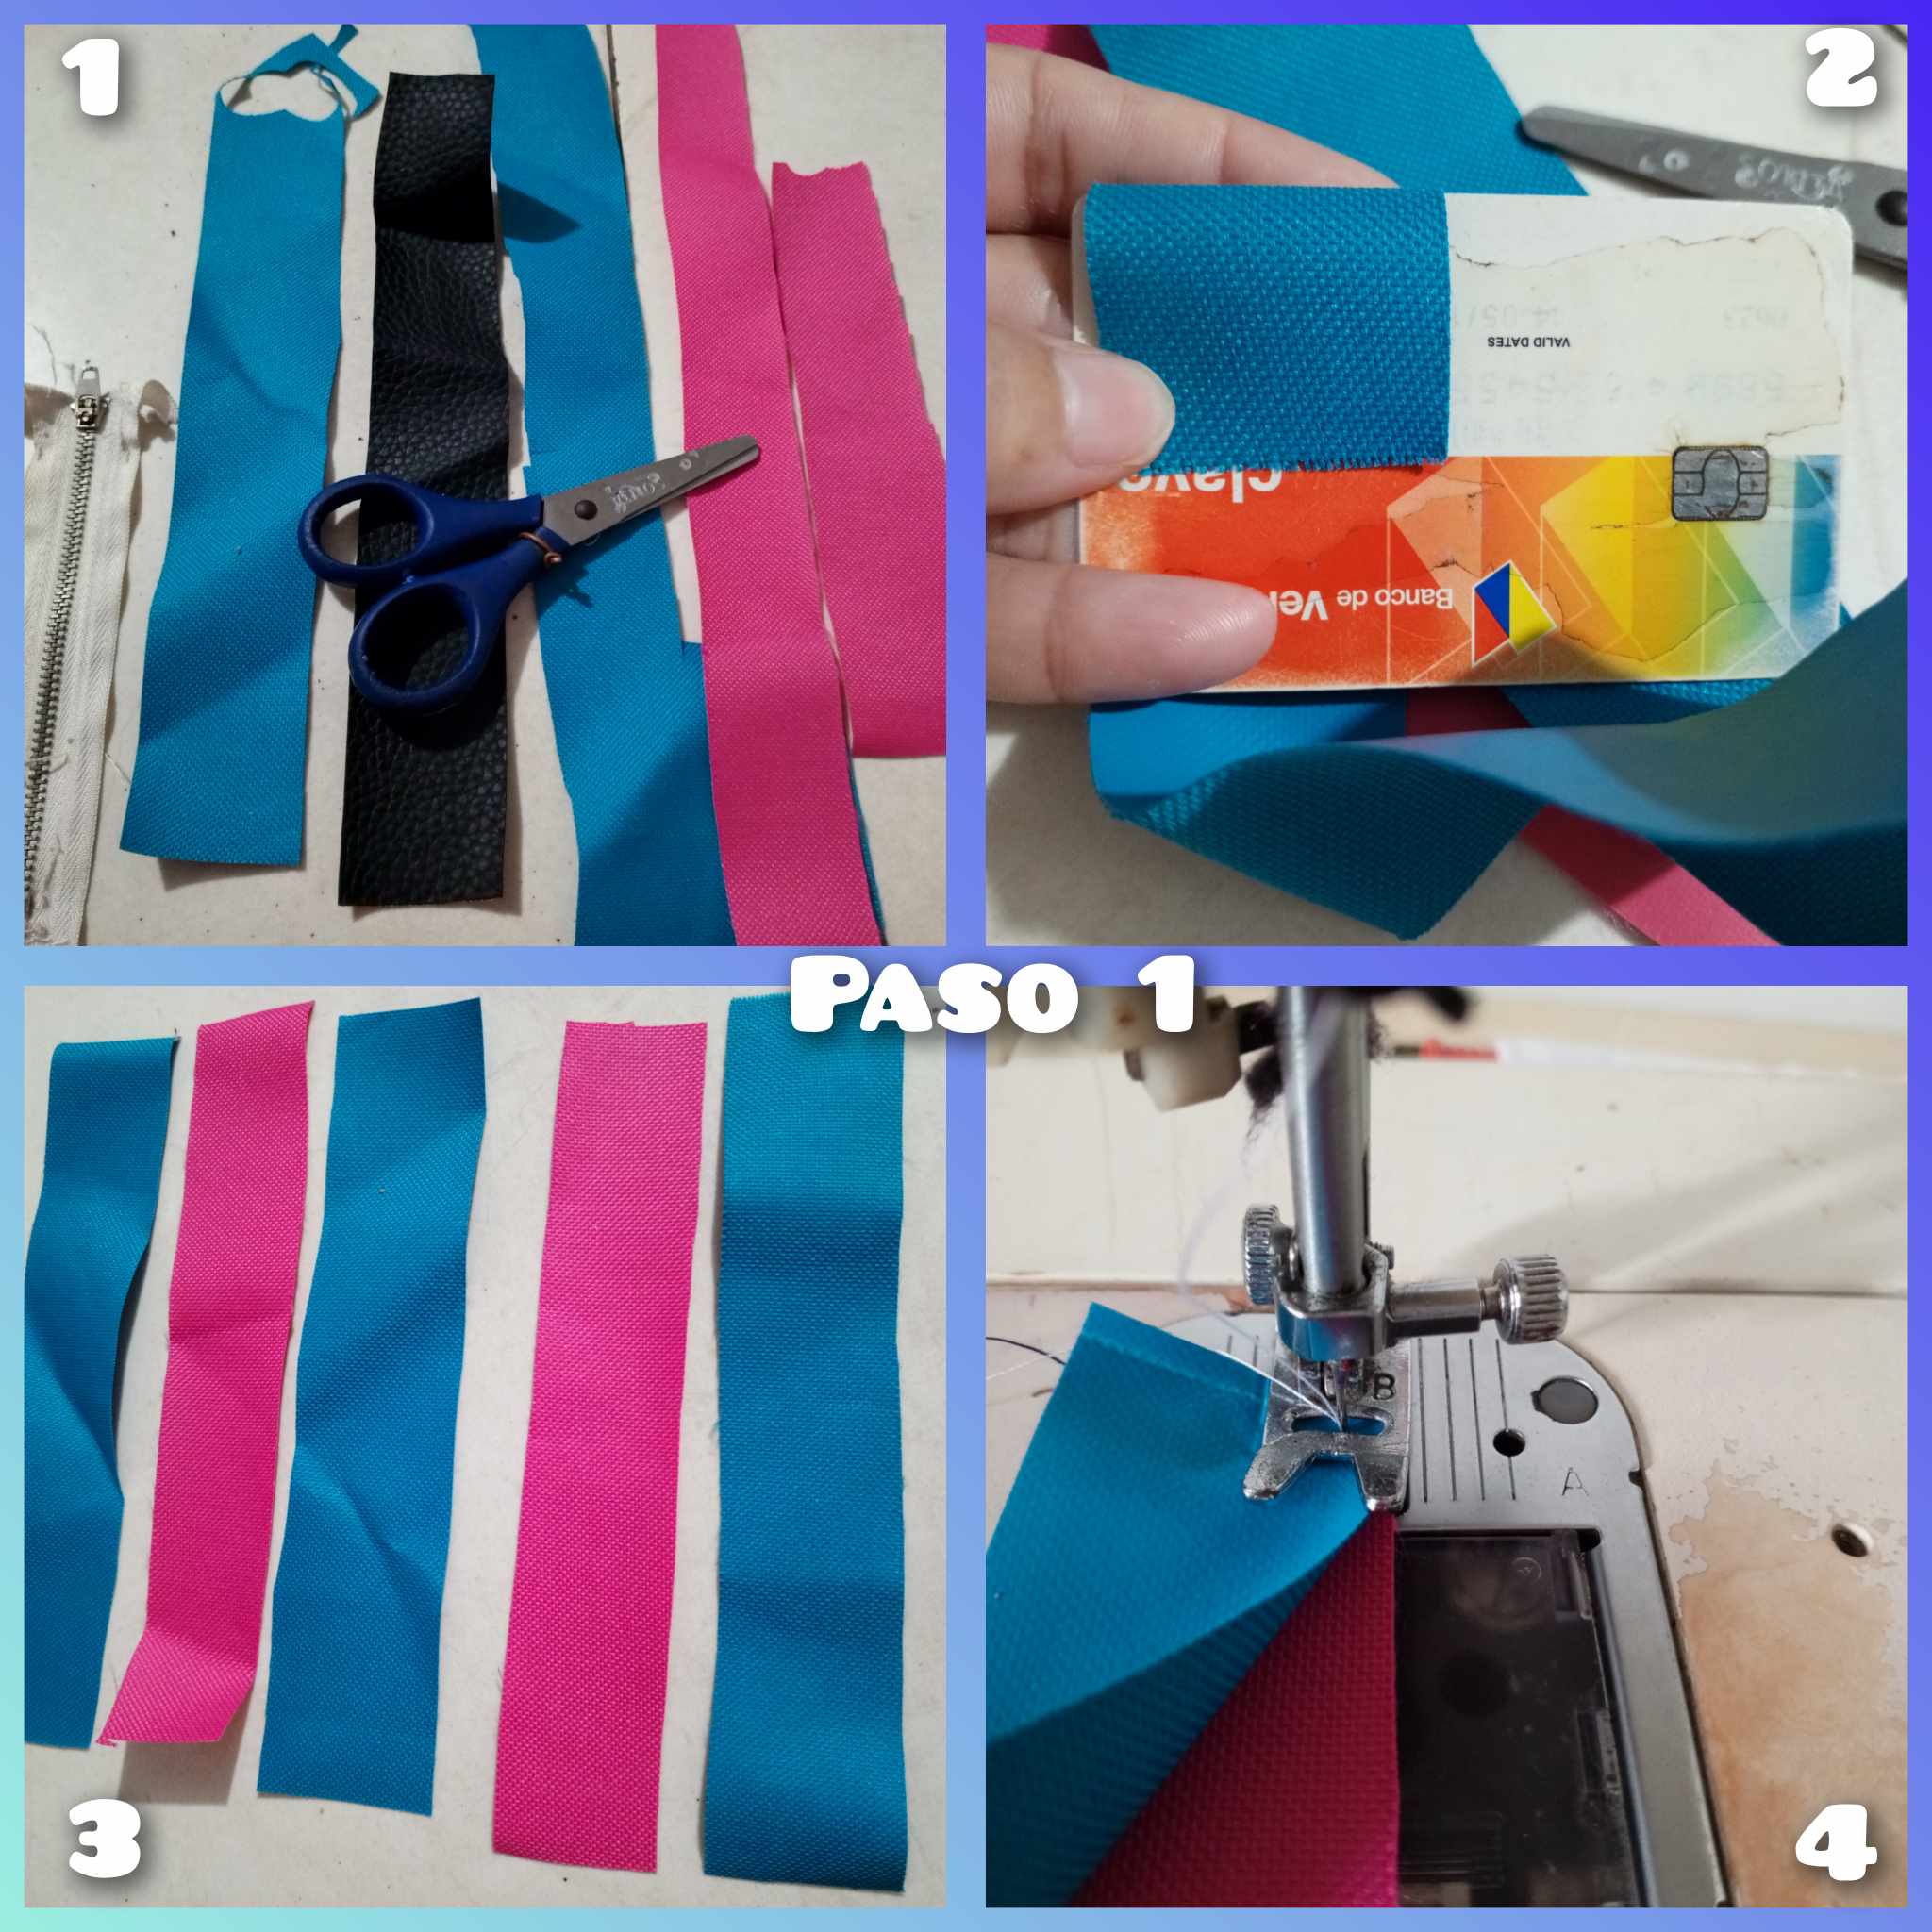
Paso 1: para realizar este monedero vamos a necesitar una tela con buen soporte, dura, que pueda mantener su forma normal, usaré dos colores, azul y rosado. Vamos a cortar tiras del tamaño que muestra la imágen, mediremos al rededor de la tarjeta para ver el tamaño de las tiras que necesitaremos. Y comenzaremos a coser, uniendo las tiras una al lado de la otra como aparece en la imagen.
Step 1: to make this purse we will need a fabric with good support, hard, that can keep its normal shape, I will use two colors, blue and pink. We will cut strips of the size shown in the image, we will measure around the card to see the size of the strips we will need. And we will start sewing, joining the strips side by side as shown in the image.
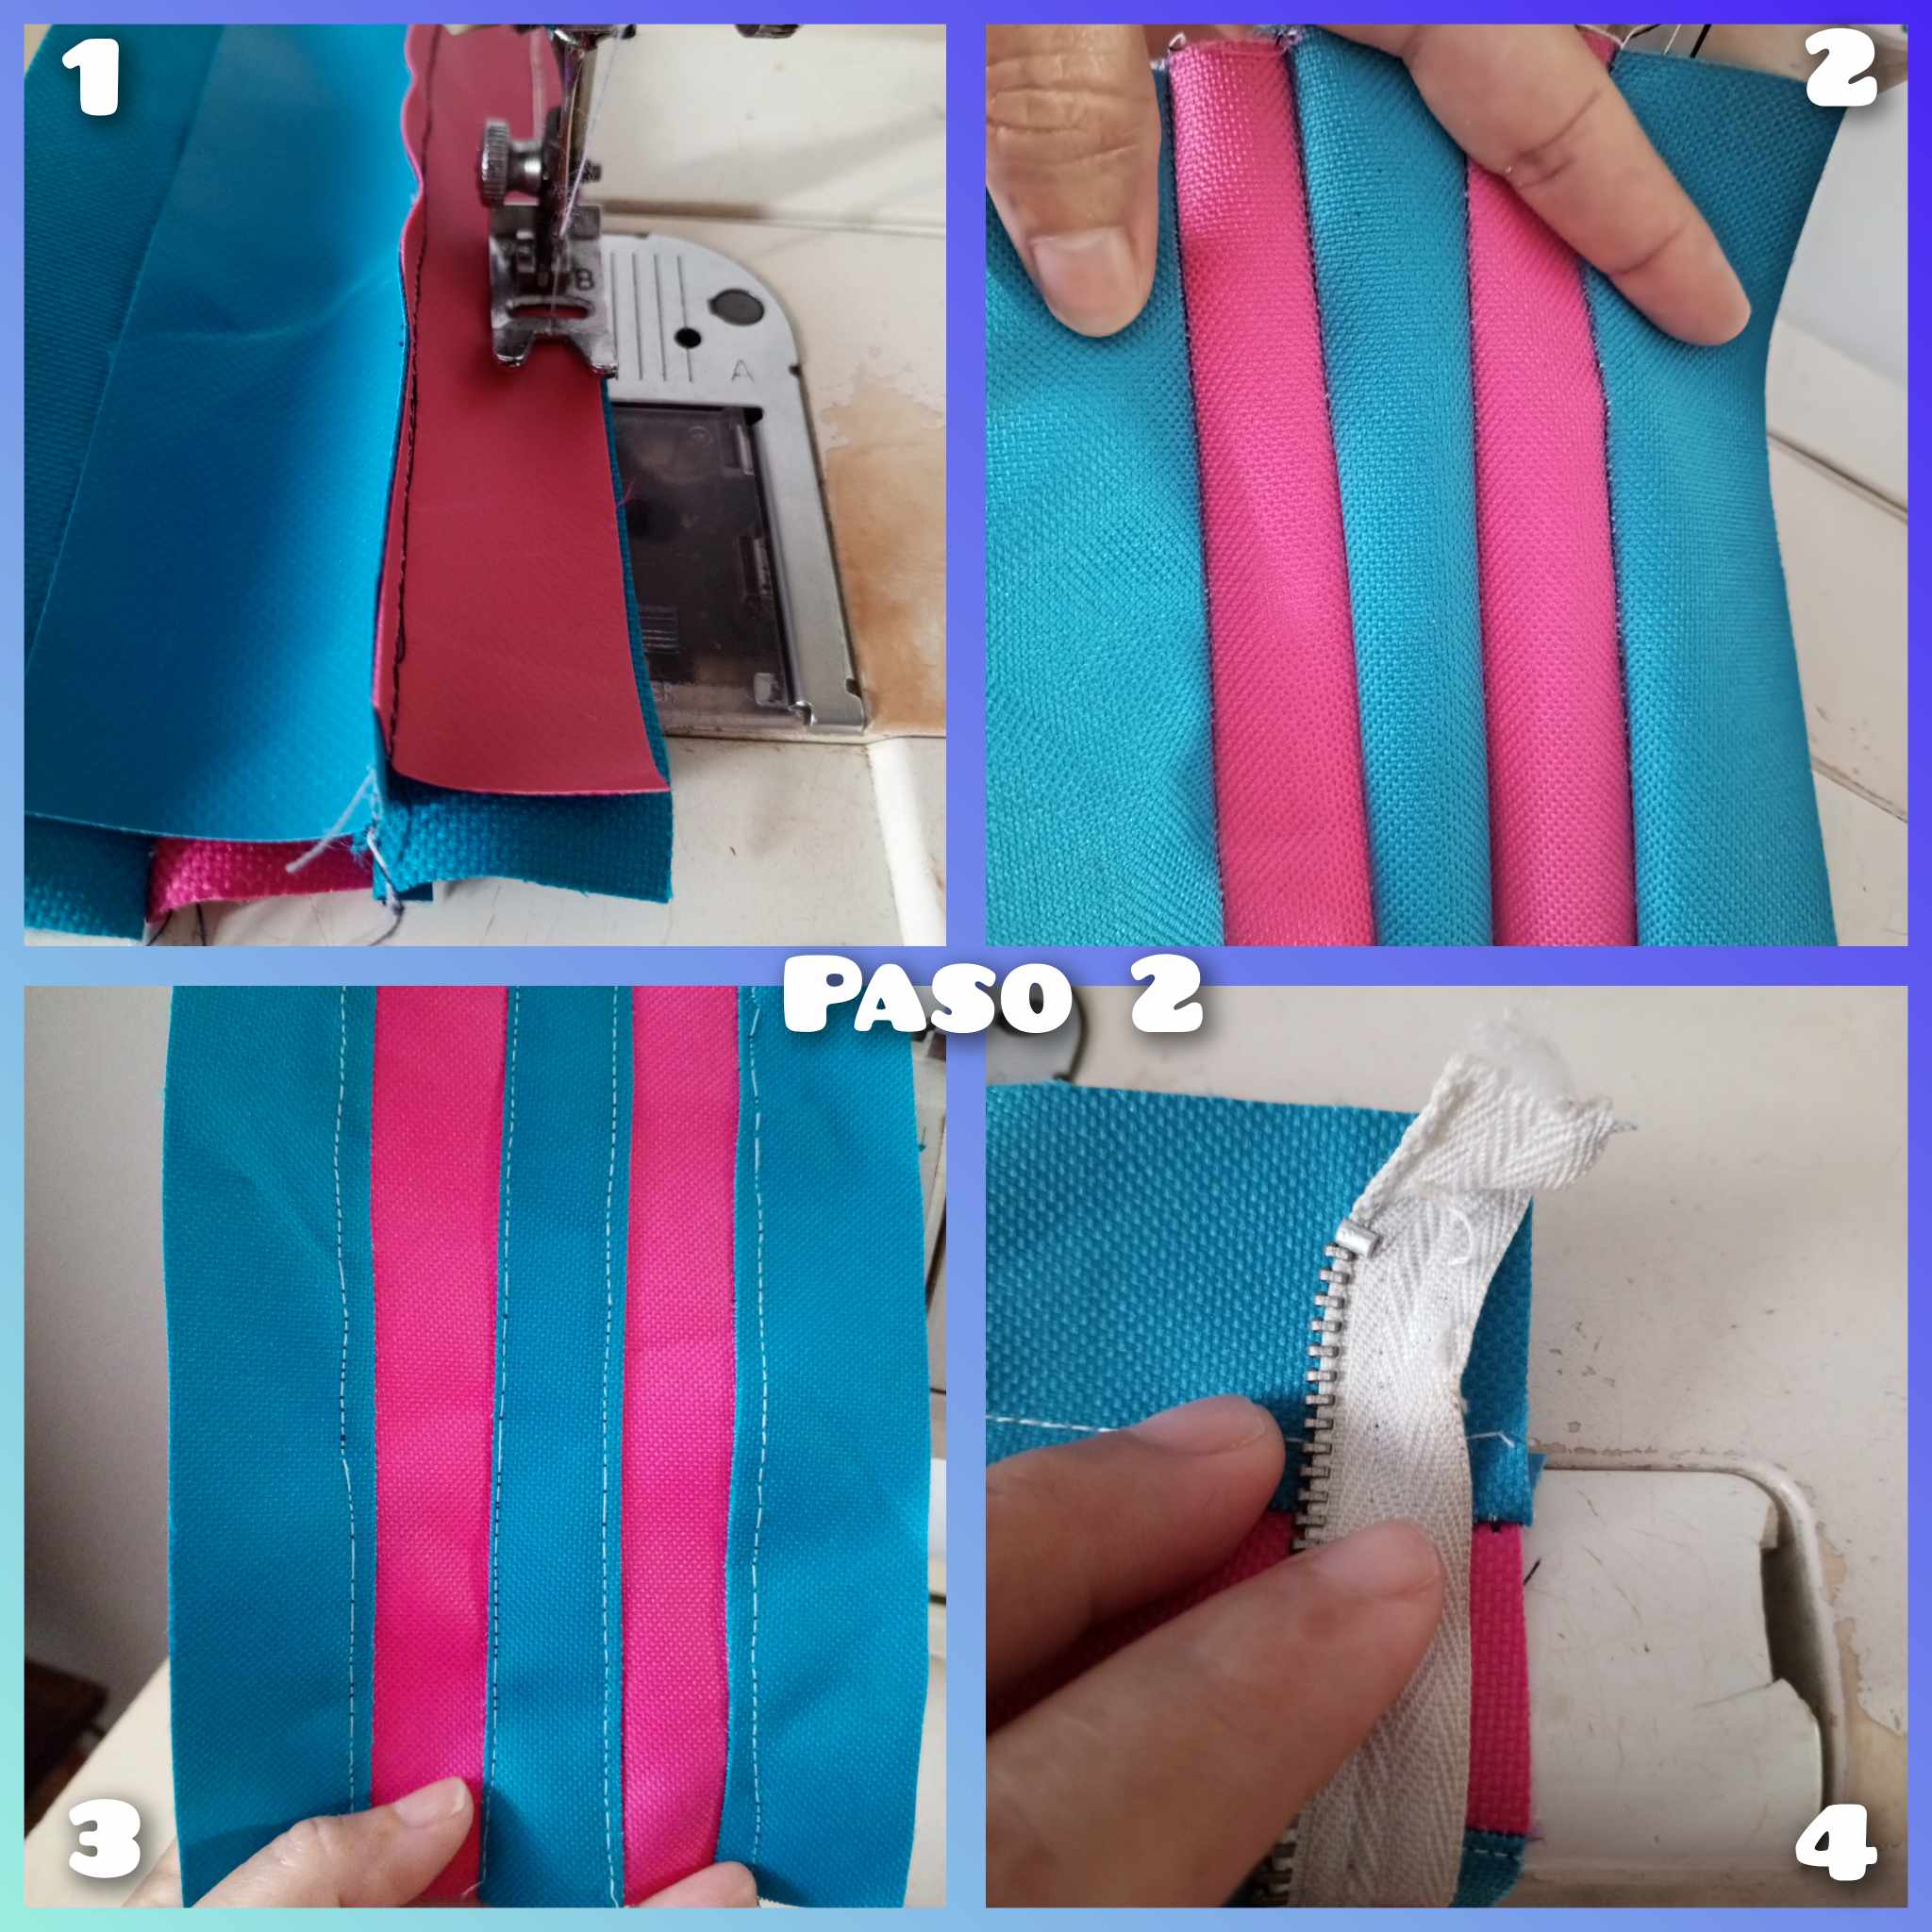
Paso 2: coseremos cuidadosamente para obtener un gran acabado. Miren como se ve luego de coserlos uno al lado de otro. Luego de haber cosido de esta manera procederemos a colocar el cierre para coserlo.
Step 2: we will sew carefully to get a great finish. Look how it looks like after sewing them side by side. After sewing in this way we will proceed to place the zipper to sew it.
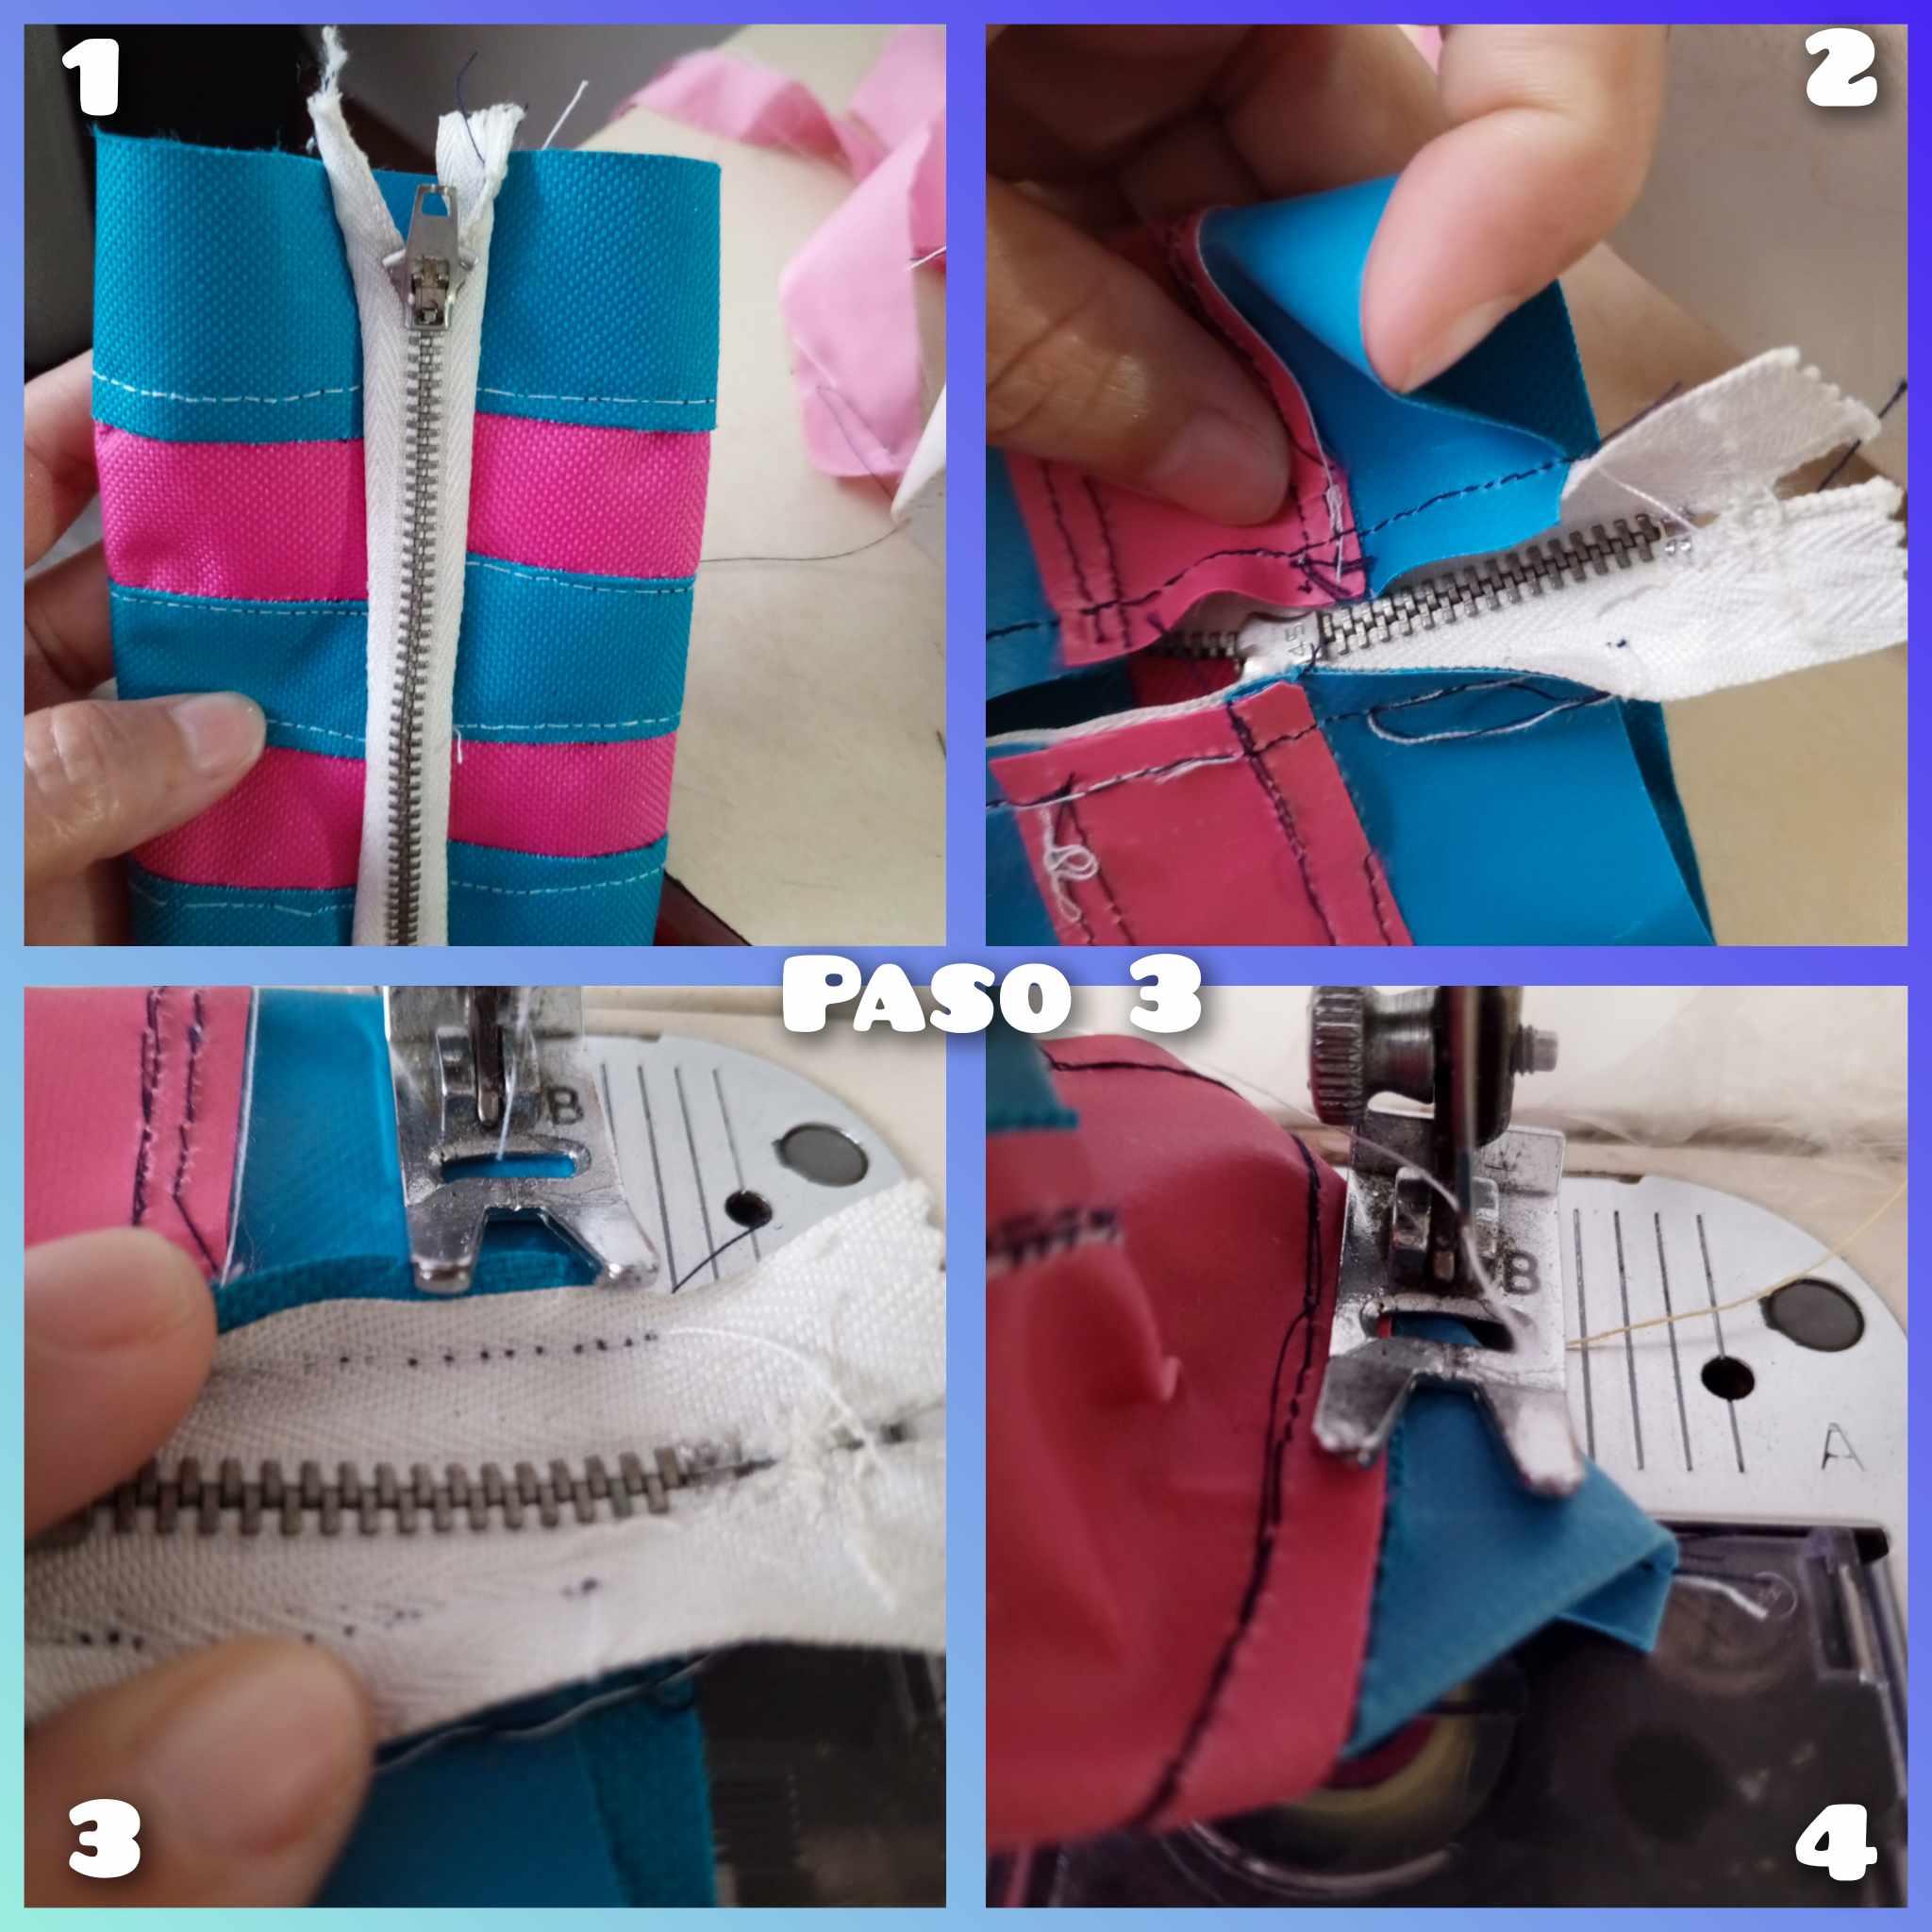
Paso 3: Luego de haber cosido el cierre de un lado lo doblamos para coserlo del otro lado. Así como aparece en la imagen. Coseremos cuidadosamente el cierre con tal de obtener un gran resultado. Coseremos luego del cierre la parte de abajo del monedero para que mantenga su forma ideal.
Step 3: After sewing the zipper on one side we fold it to sew it on the other side. As shown in the picture. We will carefully sew the zipper in order to get a great result. After the zipper we will sew the bottom of the purse so that it keeps its ideal shape.


Hola @eribetzi, me gustó mucho la idea de las franjas de dos colores y luego unirlas para crear este pequeño monedero. Gracias por compartir.