

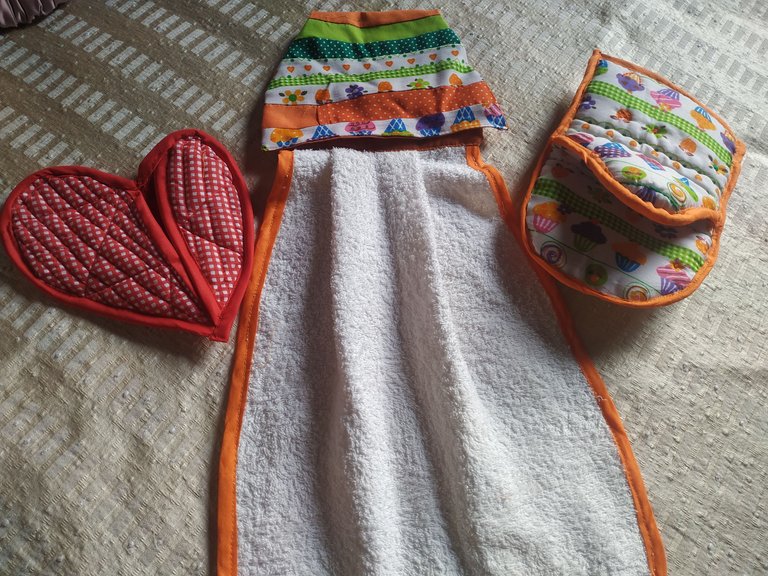
Hola mis queridos amigos de Hive, feliz lunes y feliz inicio de semana para todos. El día de hoy para el lunes de costura, quiero compartir con ustedes la elaboración de un set de cocina muy completo, en el cual tendremos un agarrador de ollas en forma de corazón, un agarrador de ollas en forma de boca de pato y un paño de cocina que a su vez, es decorativo. Así que se puede decir que vamos a trabajar con tres tutoriales en un sola publicación.
¡Comencemos!

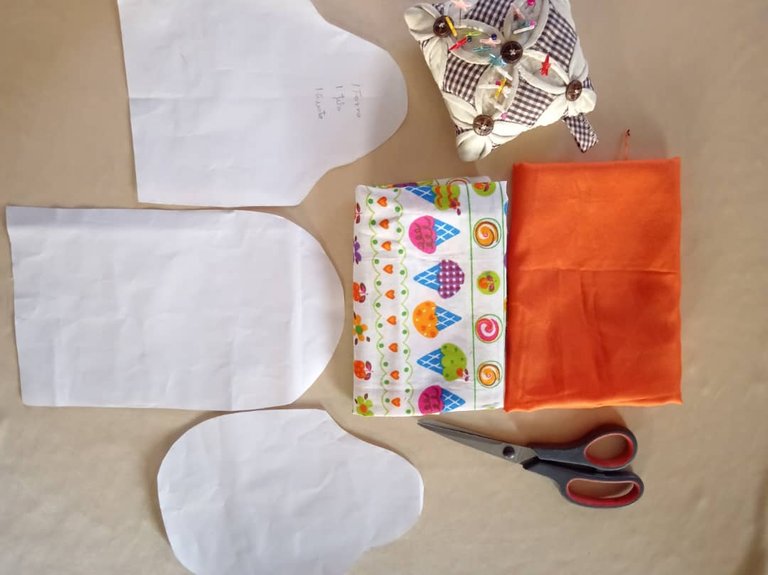
Para el agarrador de ollas de boca de pato:
- Tela rígida estampada.
- Sesgo rígido del ancho.
- Goma espuma.
- Aguja.
- Hilo.
- Tijeras
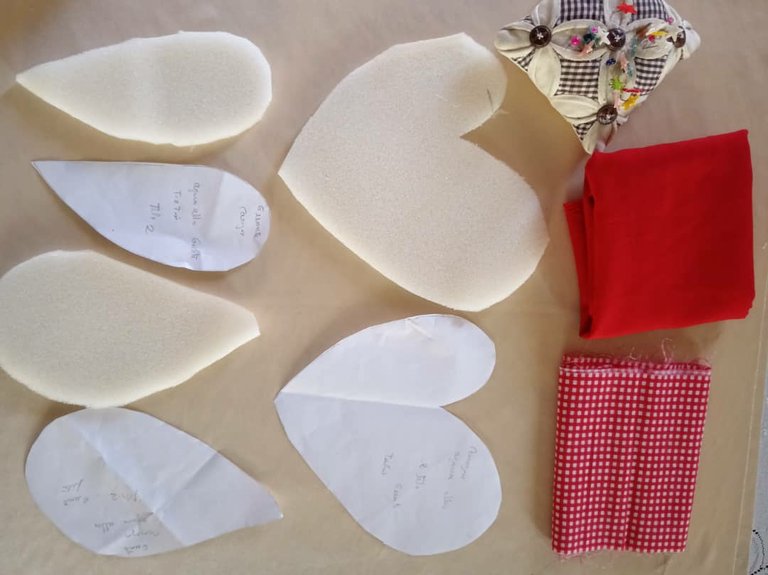
Guante en forma de corazón:
- Tela rígida.
- Forro.
- Guata o goma espuma.
- Hilo.
- Agujas y tijeras.
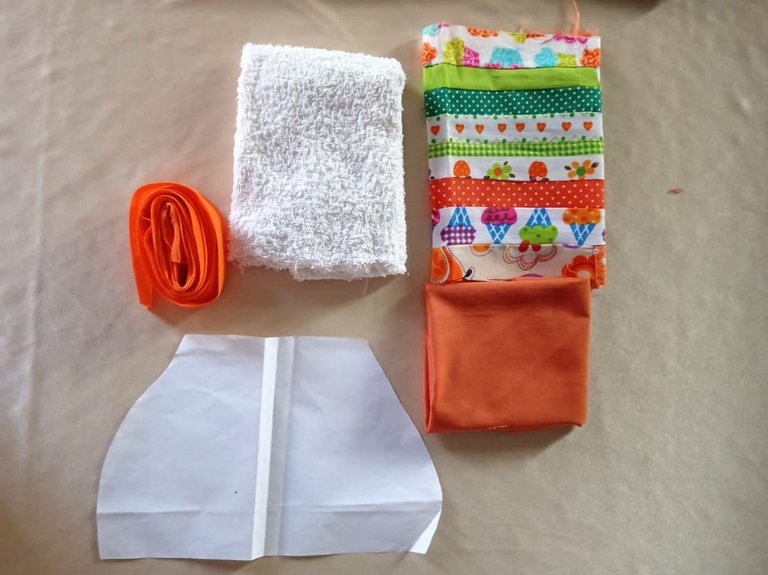
Paño de cocina:
- Tela de paño.
- Tela rígida.
- Hilo.
- Sesgo rígido.
- Tijeras.

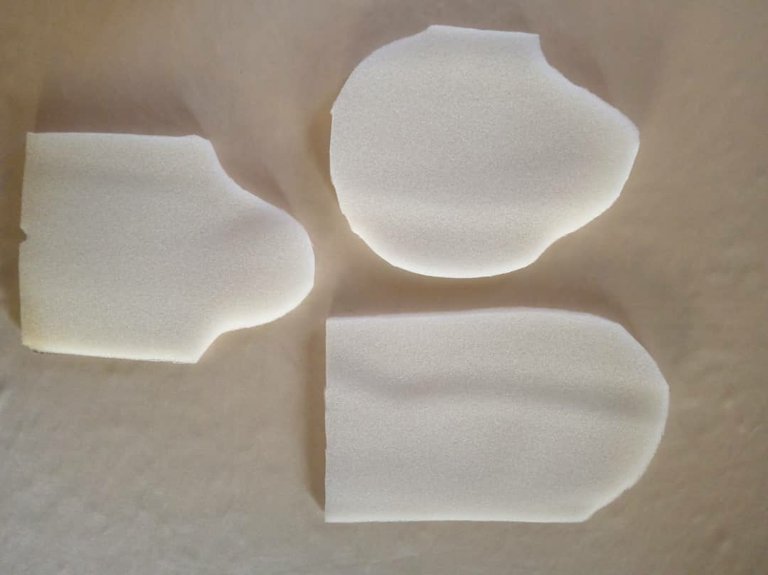
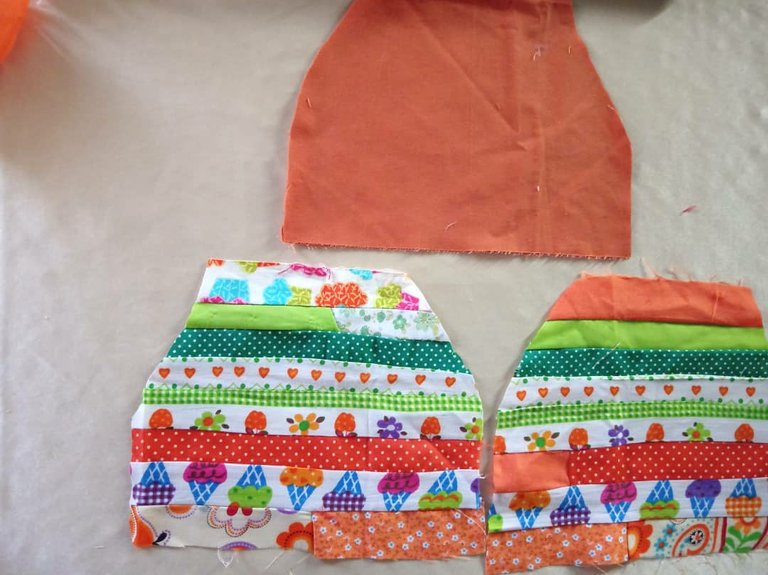
Del molde para hacer uno de los guantes, vamos a cortar una de tela, una para el forro y una de guata o goma espuma.
Procedemos a hilvanar cada una de las tres piezas por separado (tela , goma espuma y forro) y cada pieza se hilvana y después se acolcha (yo lo hice a mano).
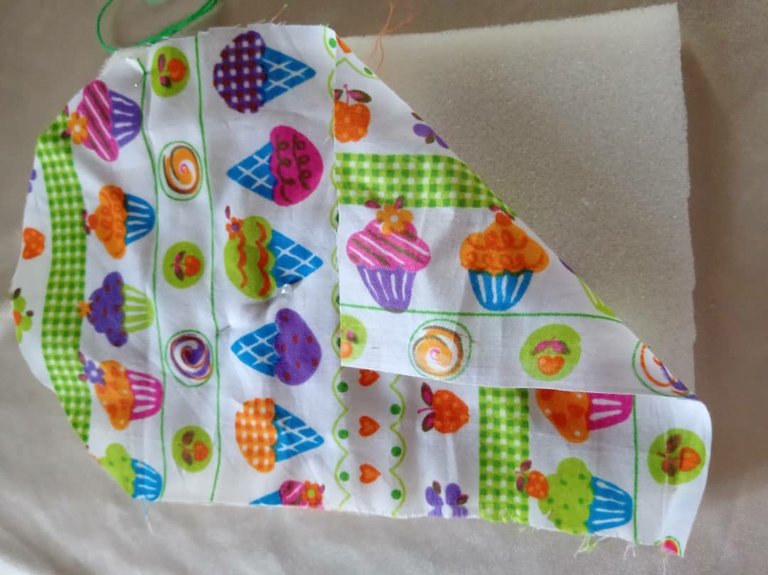
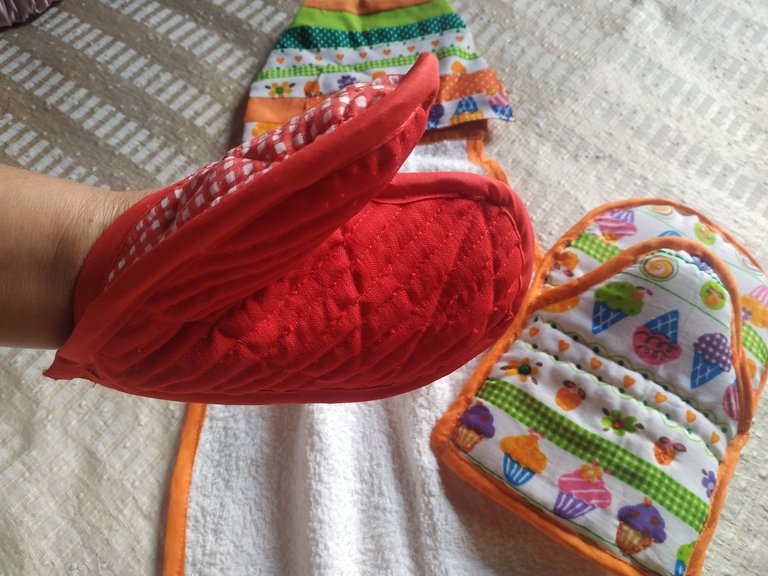
Después agarramos las piezas ya unidas y por la parte del pico colocamos sesgo para cerrar esa parte.

Continuamos pasamos sesgo por la parte donde entra la mano (es la parte cuadrada) y después de pegar el sesgo por todo el contorno del mismo, ya quedará listo. Este modelo de guante es muy práctico como agarrador de ollas pero también se puede usar como molde para hacer un títere (colocándole ojos).
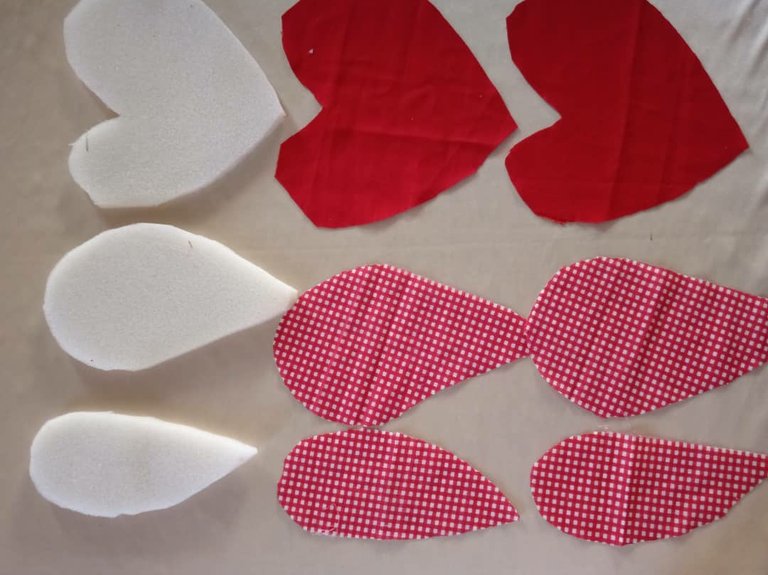
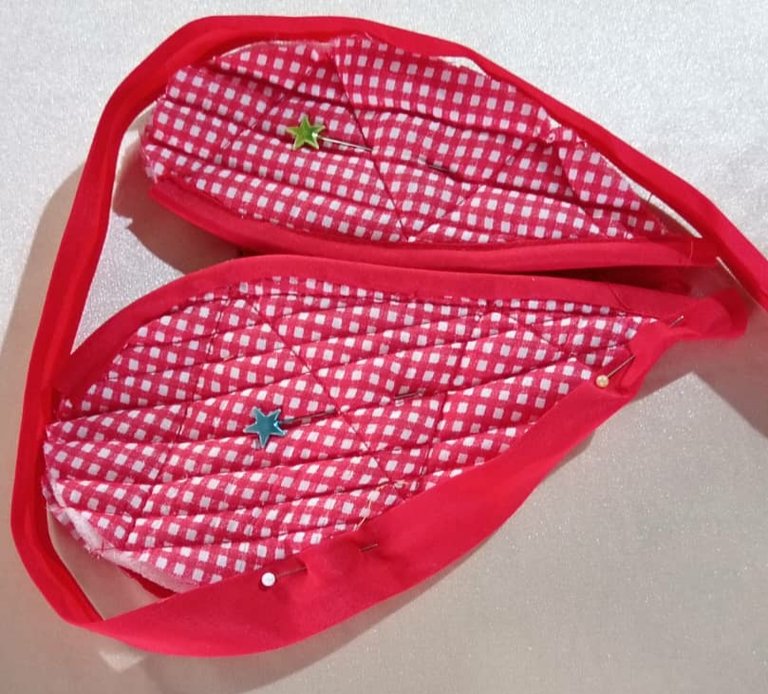
Continuamos con el agarrador en forma de corazón y para ello cortamos cada una de las partes en la tela, una de forro y una de goma espuma o guata
Luego hilvanamos y acolchamos del mismo modo que hicimos con el guante anterior.
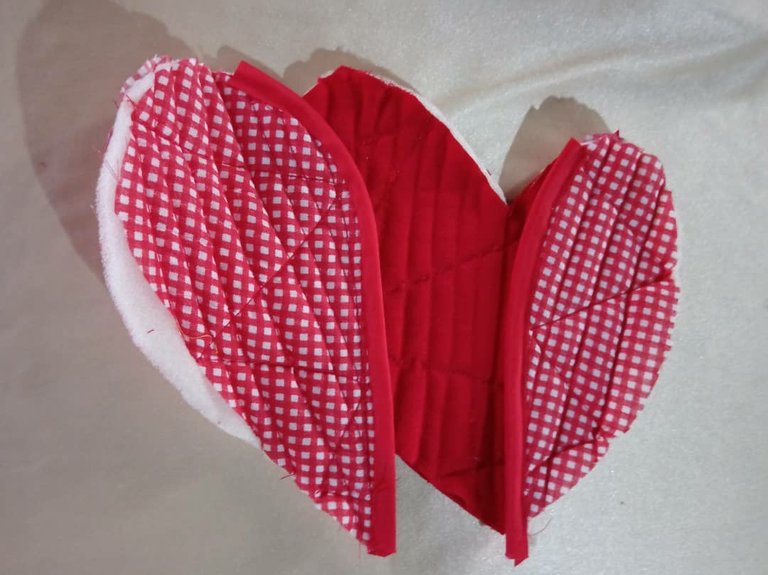
Continuamos colocando el sesgo en la parte delantera y luego unimos todas las partes hilvanadas y colocamos sesgo en todo el contorno del corazón y así que armado el agarra ollas.
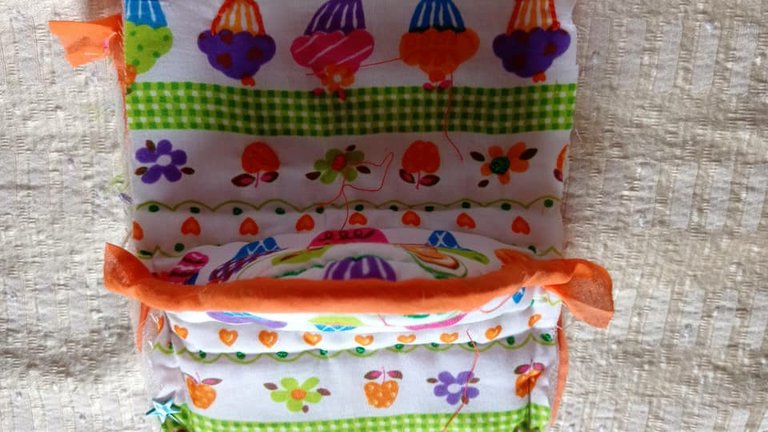
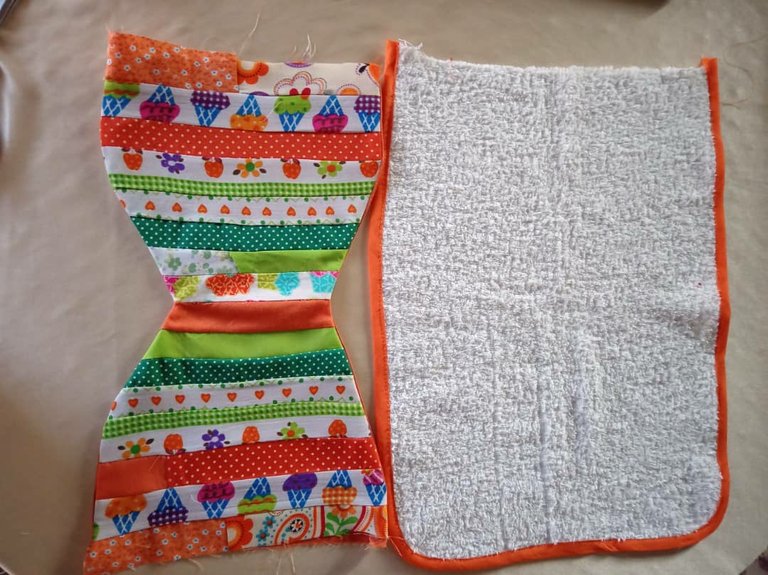
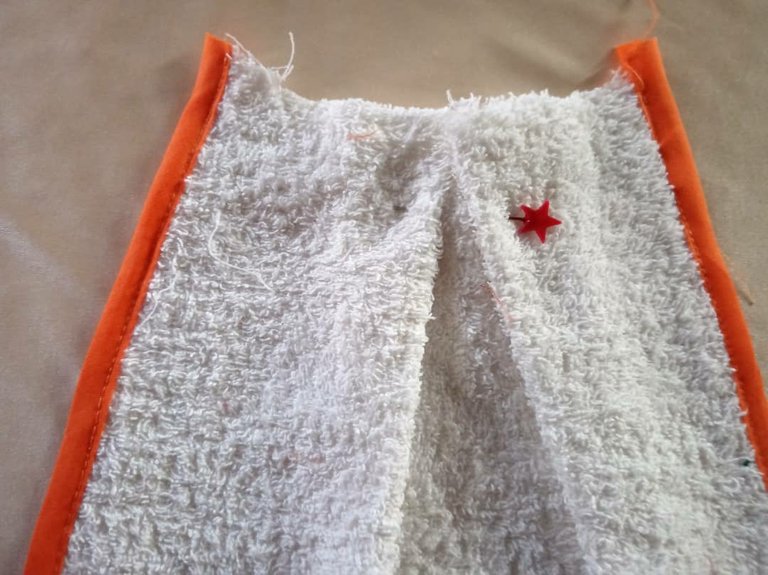
Por último el paño de cocina, para ello cortamos la parte superior a la que llamaremos camisa, cortamos dos piezas en tela y forro.
Cosemos al revés y luego procedemos a darle vuelta.
Al paño le colocamos sesgo por todo alrededor.
Luego en la parte de arriba recogemos de la mitad y se hace como una especie de pinza y luego cosemos.
Luego de esto, unimos la parte de la camisa al paño y pasamos costura. Y por último en la parte de atrás de la camisa colocamos cierre mágico o un broche que va hacer de la parte donde se coloca el aza de la cocina.
Y bueno amigos, hasta aquí mi publicación del día de hoy, espero les sirva de mucha ayuda y que puedan hacerlo en sus casas.
Déjenme saber en los comentarios que opinan al respecto, muchas gracias por llegar hasta aquí. Que tengan un feliz día y noche.

Hello my dear friends of Hive, happy Monday and happy start of the week to everyone. Today for Sewing Monday, I want to share with you the elaboration of a very complete kitchen set, in which we will have a heart-shaped pot holder, a duck mouth pot holder and a tea towel that is also decorative. So you could say that we are going to work with three tutorials in one post.
Let's get started!
For duck mouth pot holder:
- Stiff printed fabric.
- Rigid width bias.
- Foam rubber.
- Needle.
- Thread.
- Scissors
Heart-shaped glove:
- Stiff fabric.
- Lining.
- Wadding or foam rubber.
- Thread.
- Needles and scissors.
Kitchen towel:
- Cloth cloth.
- Stiff cloth.
- Yarn.
- Rigid bias.
- Scissors.
From the mold to make one of the gloves, we will cut one of fabric, one for the lining and one of wadding or foam rubber.
We proceed to baste each of the three pieces separately (fabric, foam rubber and lining) and each piece is basted and then quilted (I did it by hand).
Then we take the pieces already joined together and at the beak we place bias to close that part.
We continue by passing the bias around the part where the hand enters (it is the square part) and after gluing the bias all around the contour of the glove, it will be ready. This glove model is very practical as a pot holder, but it can also be used as a mold to make a puppet (with eyes).
We continue with the heart-shaped gripper and for this we cut each of the parts in the fabric, one for the lining and one for the foam or wadding.
Then we baste and quilt in the same way we did with the previous glove.
We continue placing the bias binding on the front part and then we join all the basted parts and we place bias binding all around the heart and so the pot holder is assembled.
Finally the dishcloth, for this we cut the upper part which we will call shirt, we cut two pieces in fabric and lining.
We sew inside out and then proceed to turn it inside out.
We place bias binding all around the cloth.
Then on the top part we gather from the middle and make a kind of clamp and then sew.
After this, we join the part of the shirt to the cloth and sew. And finally on the back of the shirt we place a magic clasp or a brooch that will make the part where the kitchen cup is placed.
.
And well friends, until here my publication of today, I hope you find it very helpful and that you can do it at home.
Let me know in the comments what you think about it, thank you very much for coming this far. Have a happy day and night.

Fotos tomadas de mi teléfono Xiaomi Redmi Note 6 Pro y mi teléfono Honor X8A || Photos taken from my Xiaomi Redmi Note 6 Pro phone and my Honor X8A phone.
Fuente del editor de imágenes || Image editor source
Muy bonito set de cocina, muy decorativas. Me gustó el de forma de corazón ❤️. Saludos 😍
Holaa, también fue mi favorito. Gracias por tu comentario, saludos
Todas estas piezas fundamentales y útiles en la cocina te quedaron muy bonitas.
Gracias por compartir.
Saludos 🤗
Si, quería compartir un juego de cocina que tuviese las piezas que se usan mucho, gracias Katty feliz semana
Que belleza y son tan útiles que no pueden faltar en la cocina, es un lindo trabajo que te servirá de gran ayuda por mucho tiempo. Saludos amiga, gracias por compartir.
Muchas gracias Laura, me alegra que te haya gustado. Saludos igualmente y feliz semana
Siempre debe haber en la cocina estos juegos de piezas que son de gran utilidad, aprecio su trabajo todo quedó muy bello.
Así es amiga, gracias y feliz semana
Un set de cocina muy útil y super lindo, la tela estampada me encantó y toda la combinación quedó muy bien. Hermoso trabajo. Felicidades.