Good morning everyone,
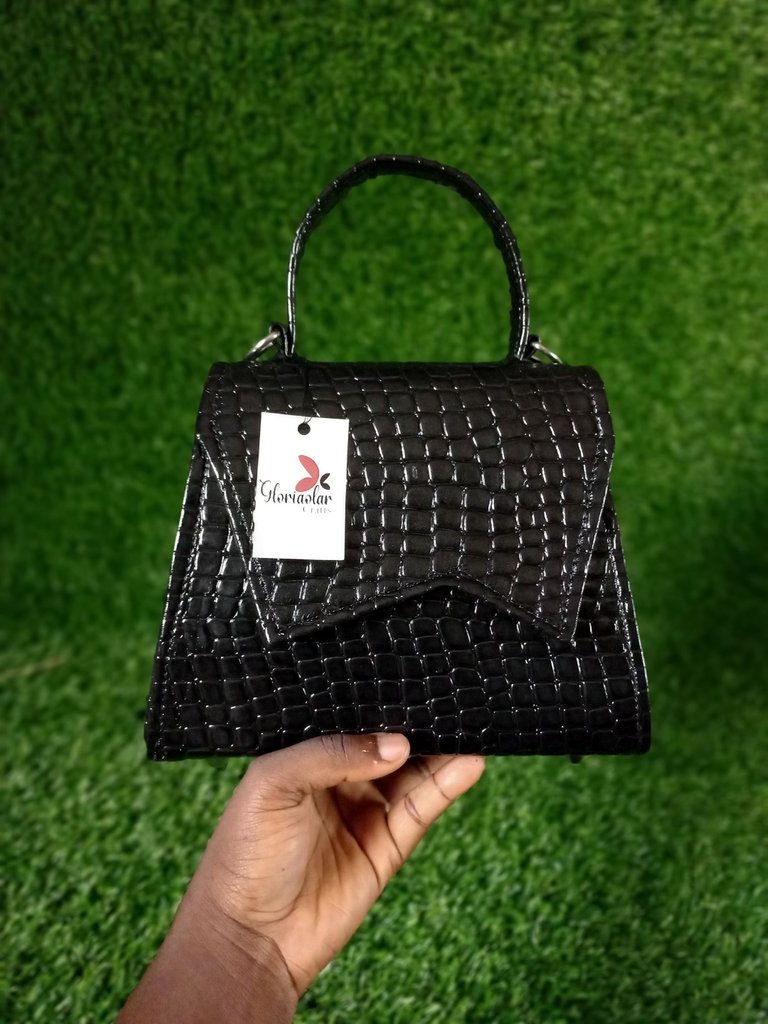
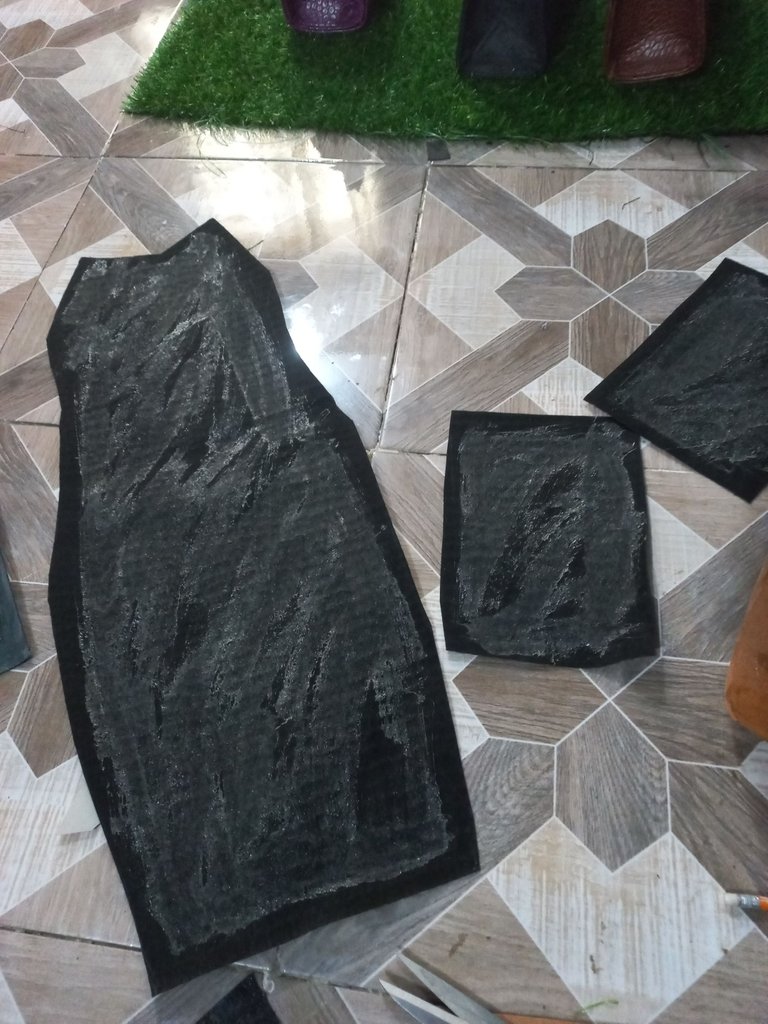
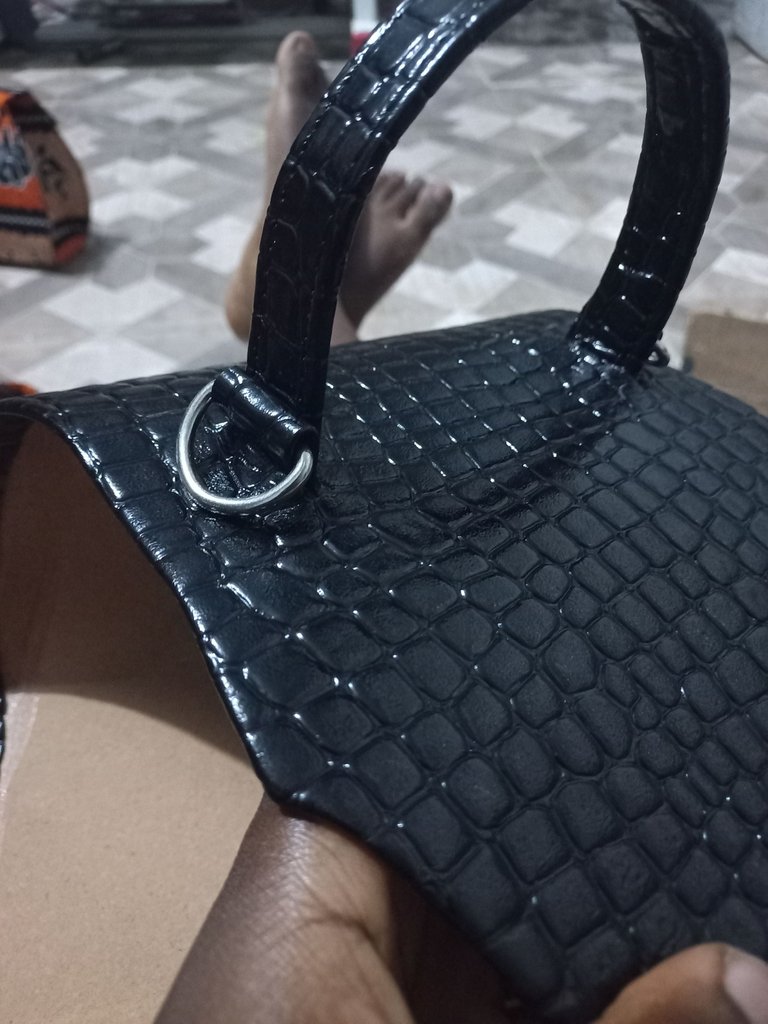
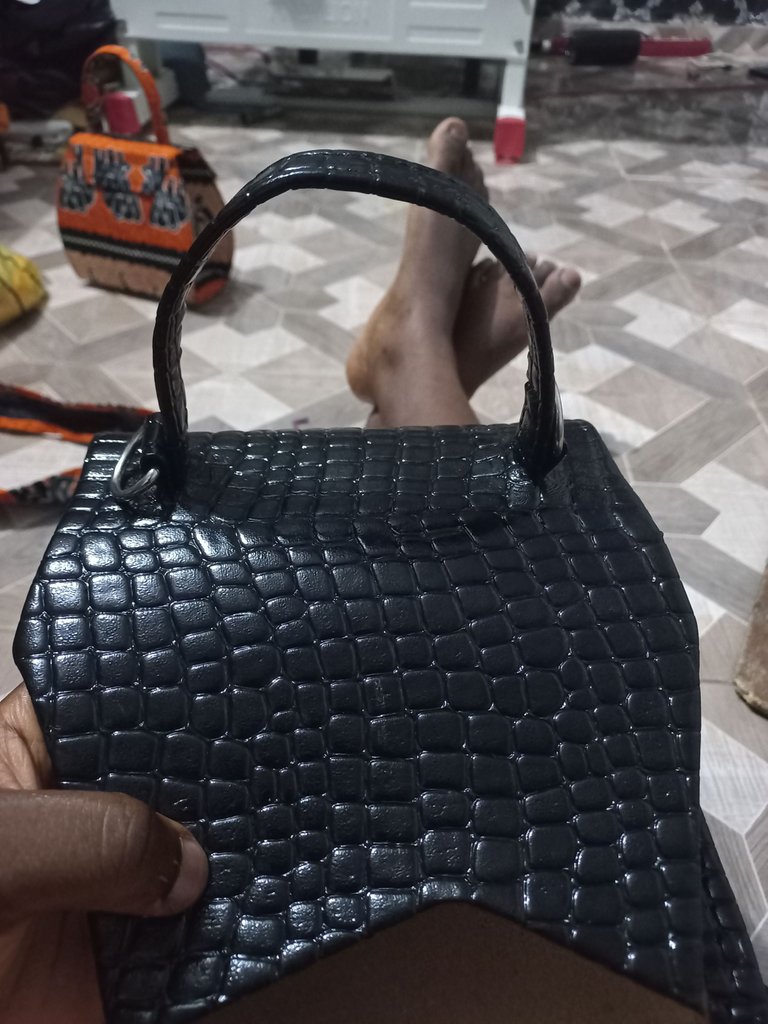
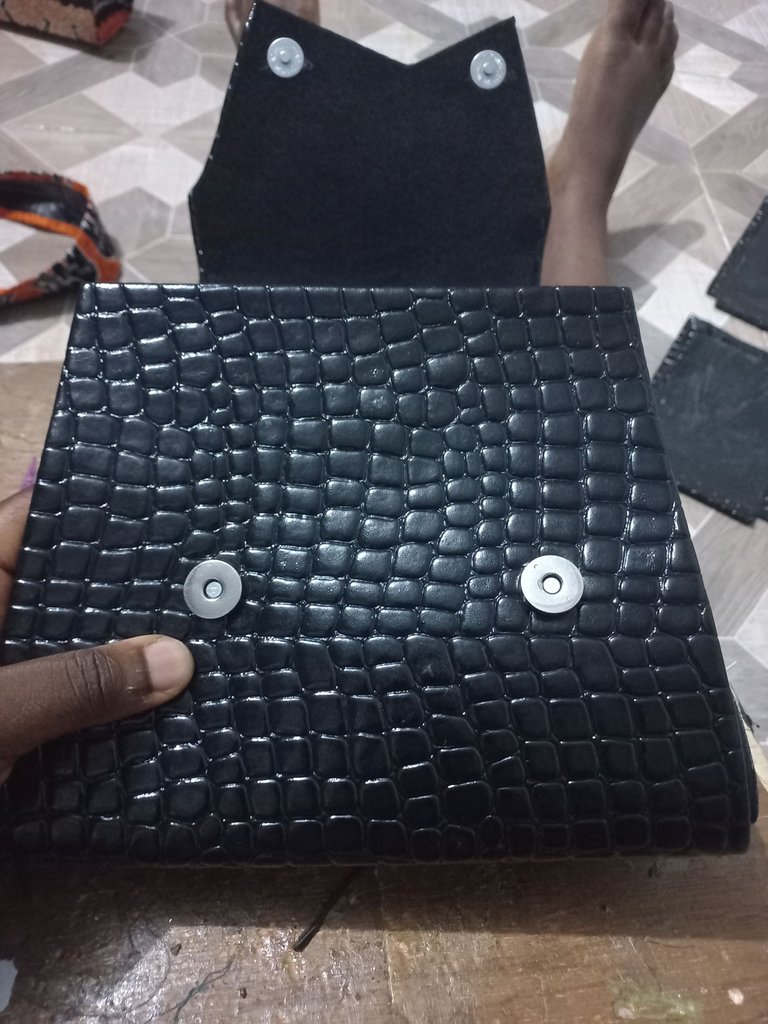
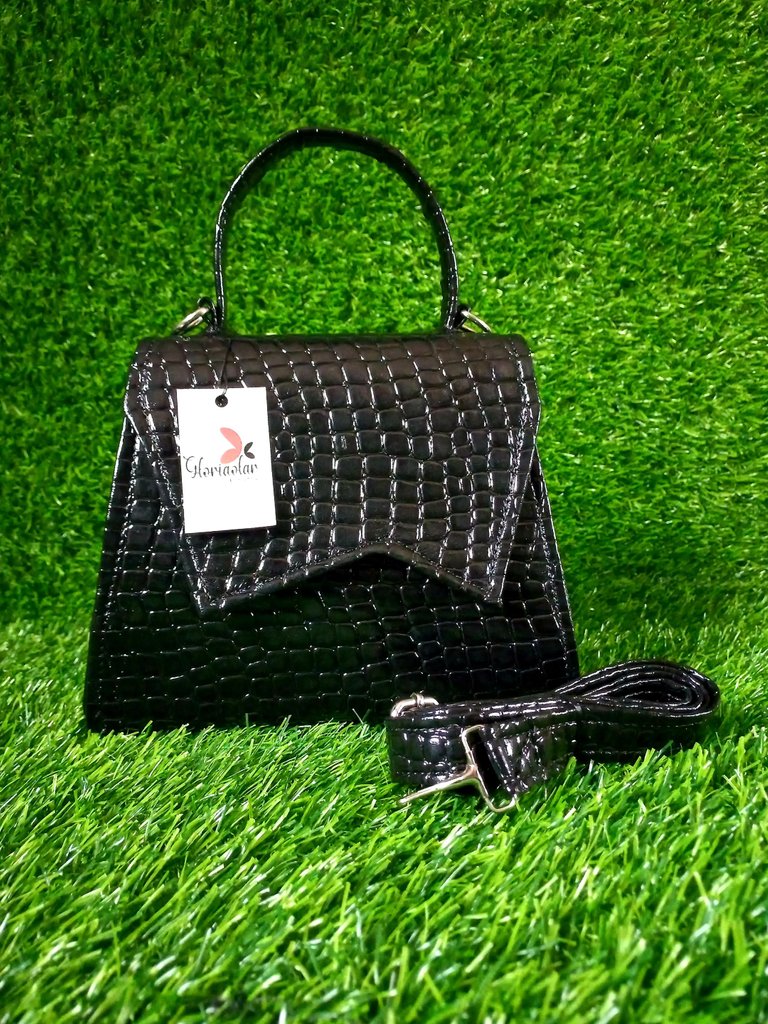
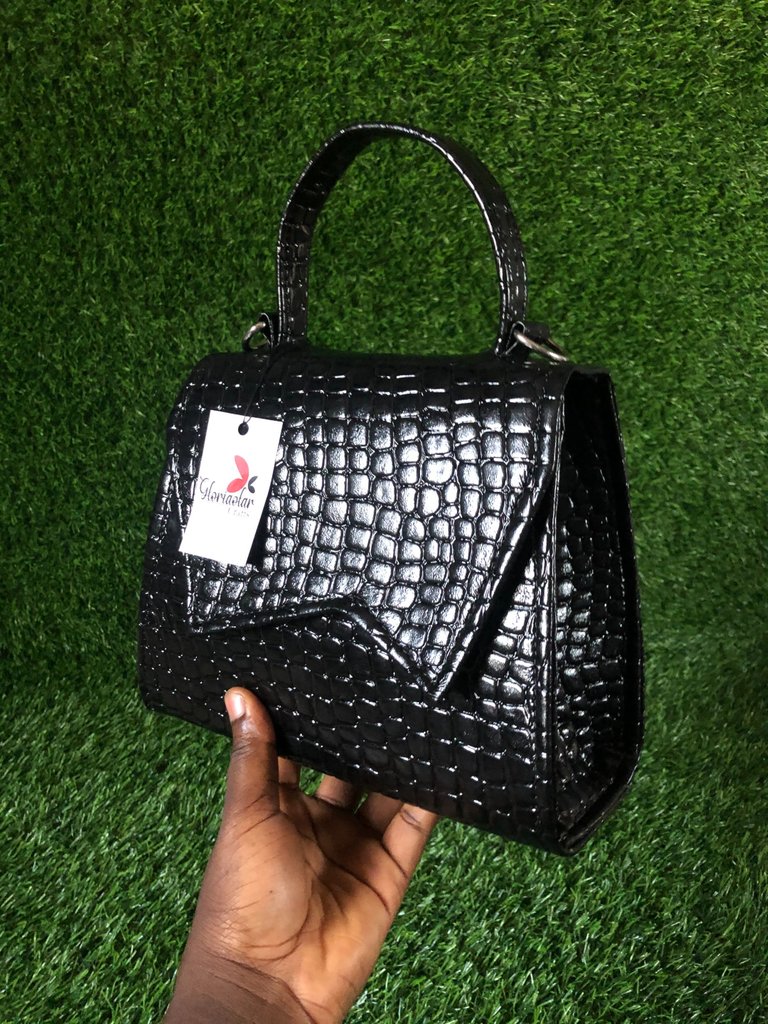
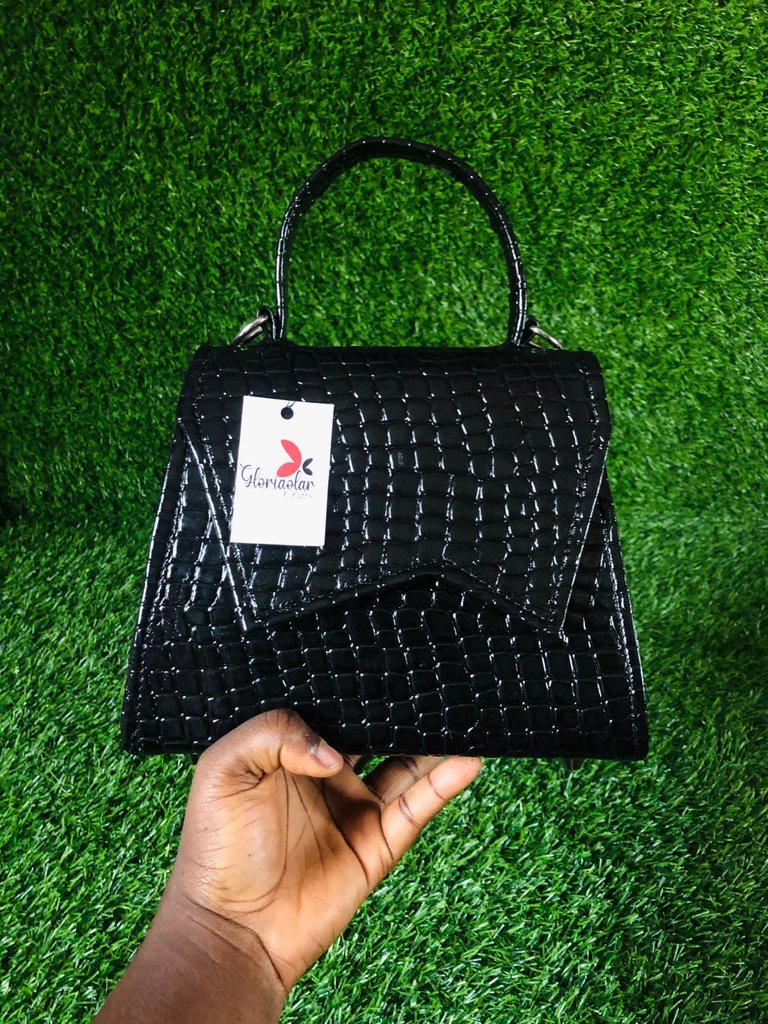
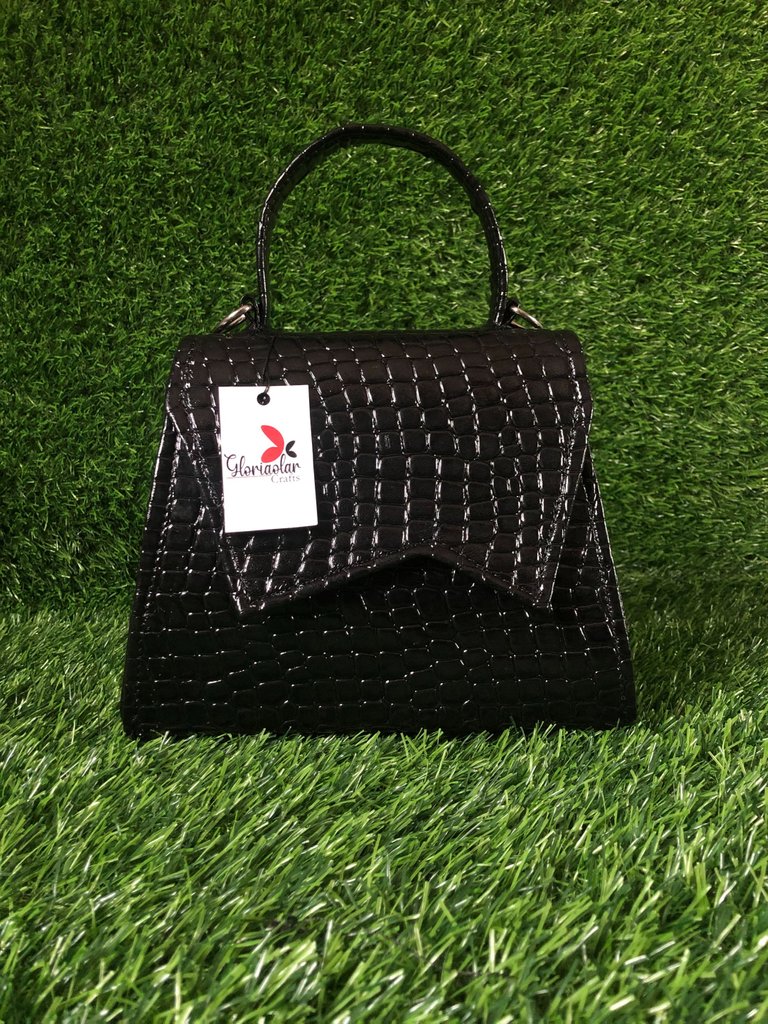
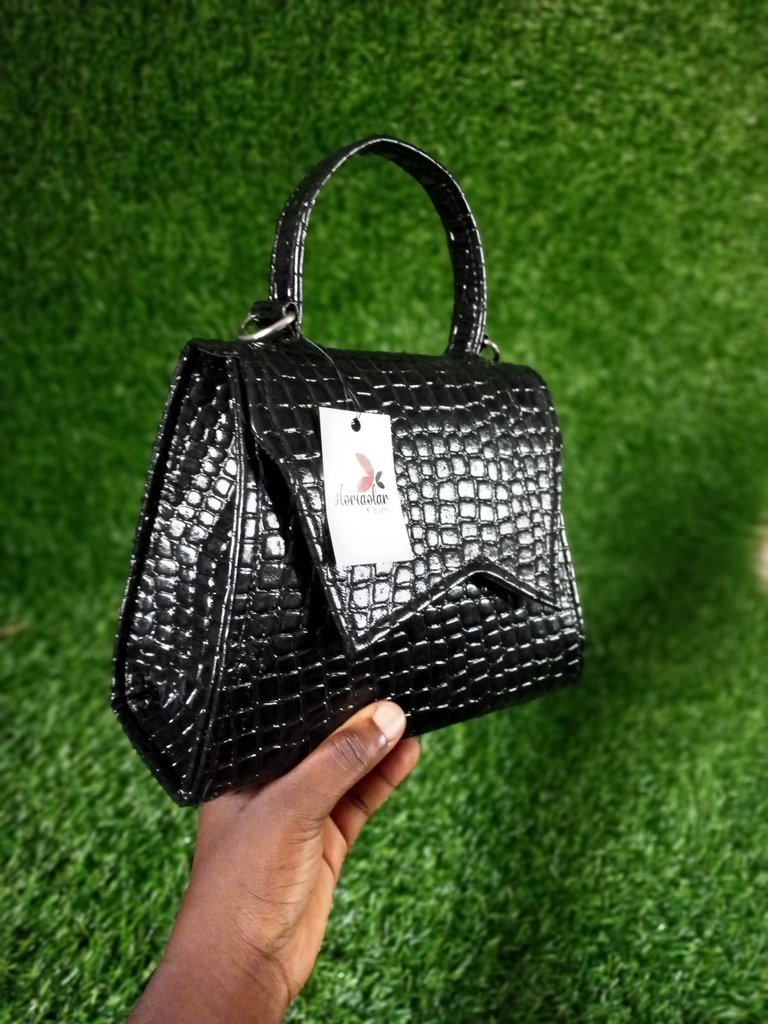
This morning I wanna share with us my latest bag design that I made yesterday. It is a new design and I decided to use a different short handle compared to my previous designs in this design and I'm happy it turned out well. The bag has a short handle and a longer handle which is detachable. I used simple materials for this bag like leather board and thick leather for the sides.
MATERIALS USED
- Leather-board
- Thick black leather for the sides
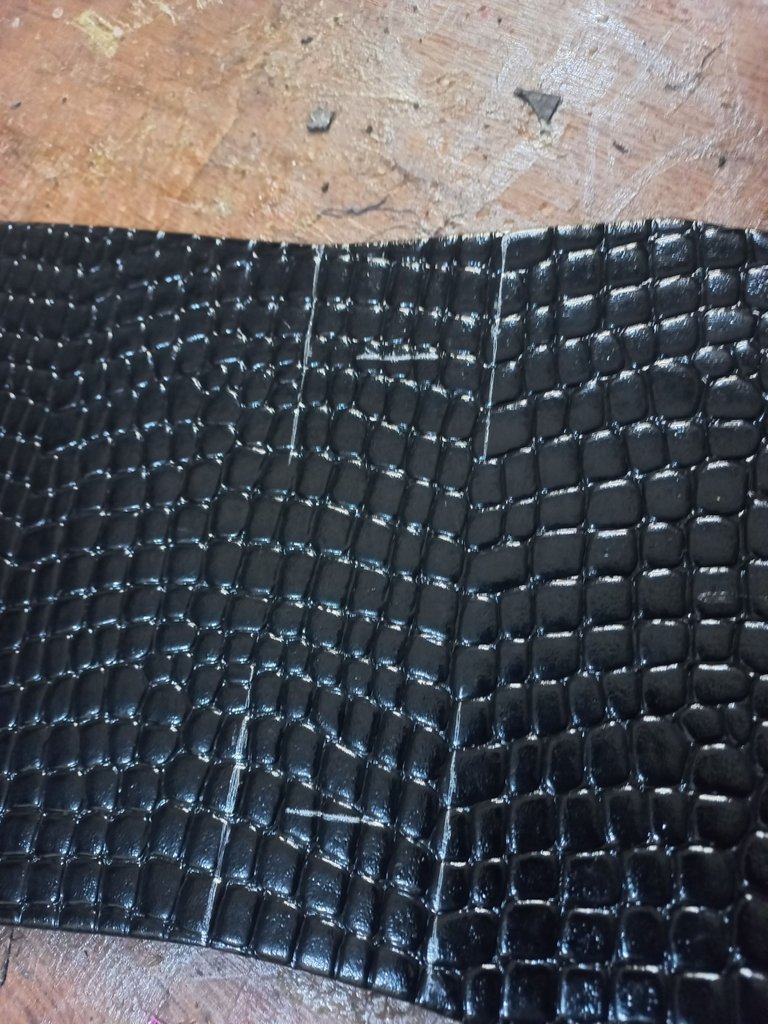
- Leather of choice
- D rings
- Bottom pins
- Gum
- Strong super glue
- Suade material for the lining
- A pair of magnets
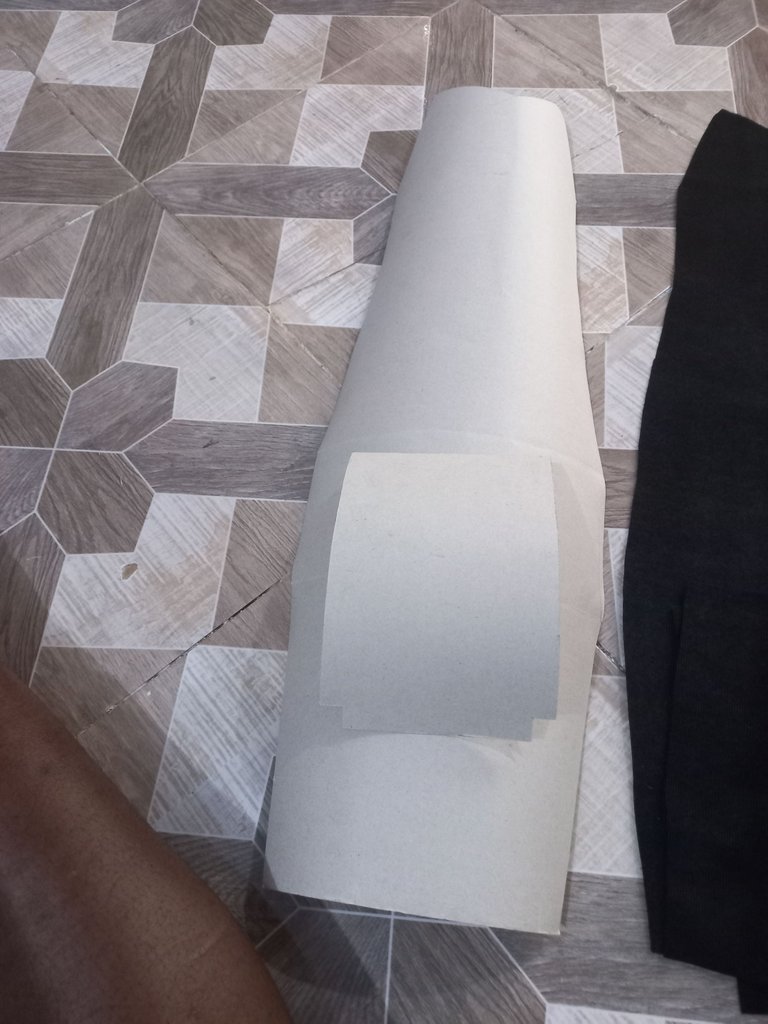
- Chip-board for the pattern
PROCESS
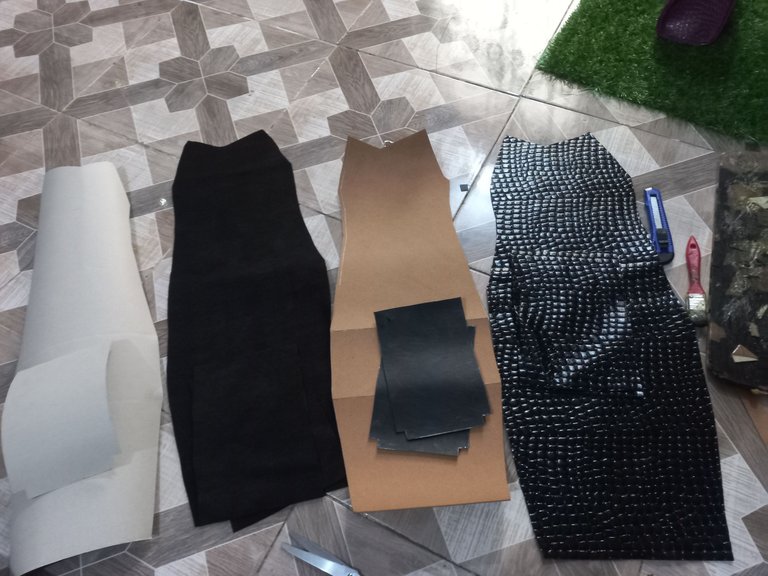
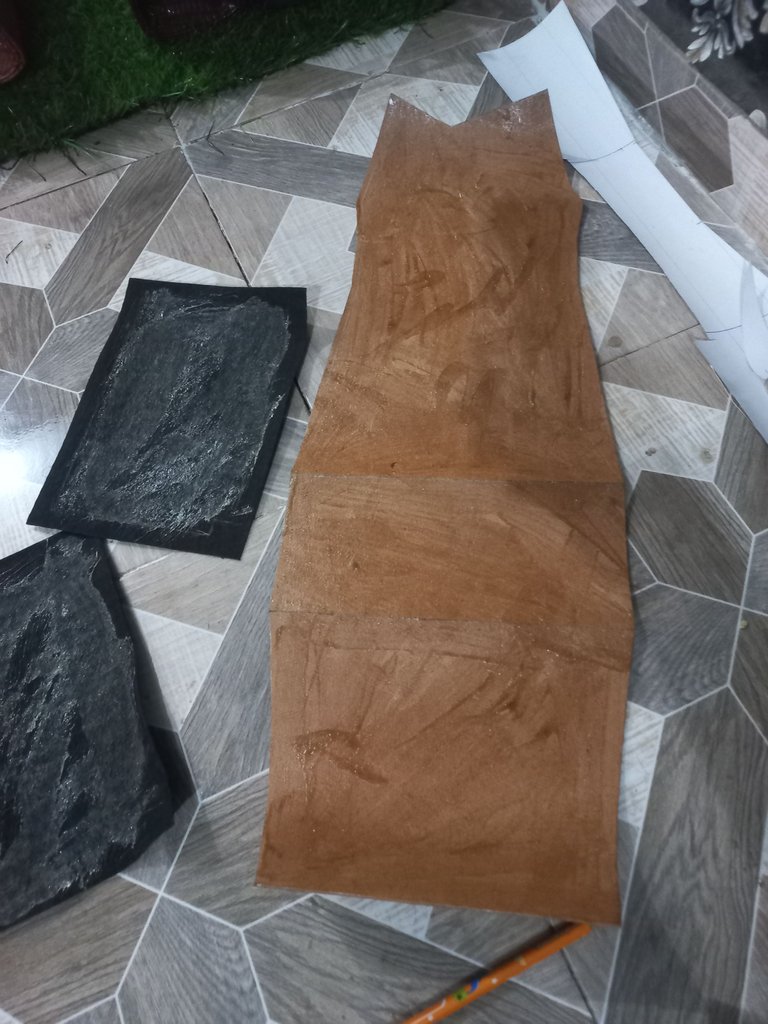
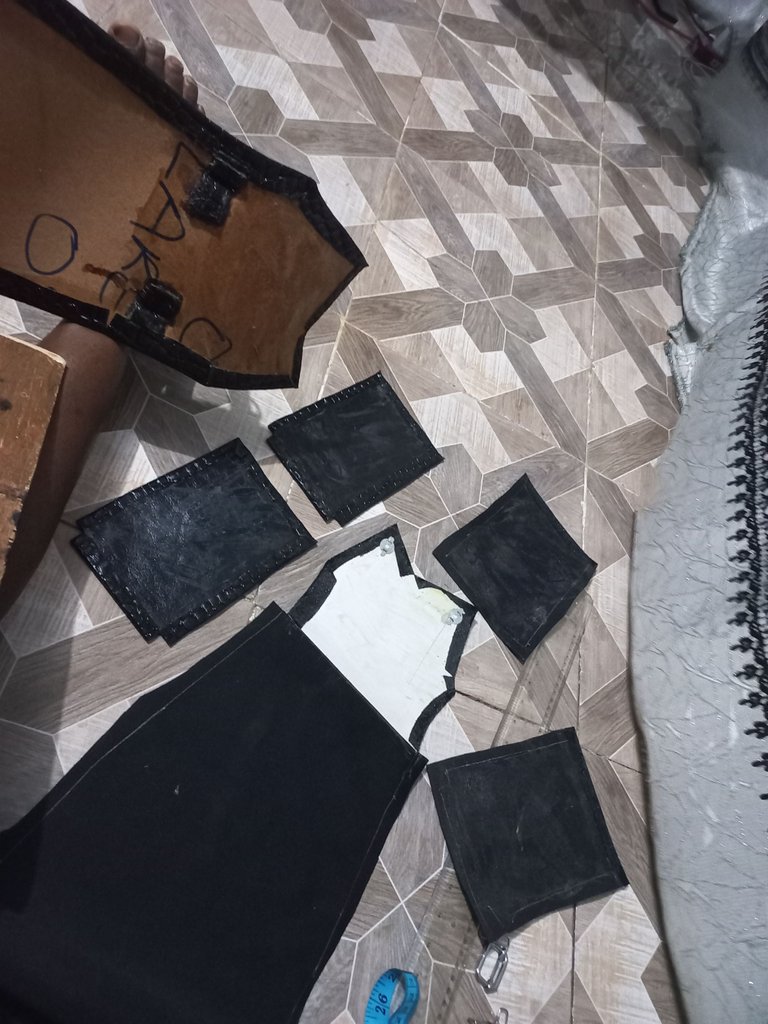
The first thing I did was to make the pattern of the bag and I did that on a chipboard. The measurements I used was 7 inches height for the front, 4 inches for the base, 7 inches for the back, 3 inches for the top and 5 inches for the flap. For the base, I used 9 inches width and top 7 inches width. That's why the bag was shaped in that manner.
Once the pattern was created, I marked it out on the Chip-board and on the leather of choice. Next I gummed them together and I made the short handle by wrapping a 12 by 0.7 inch leatherboard in the black leather with gum. Next I stiched both sides and fixed it on the top part of the main bag. Then I gummed it with a strong glue.
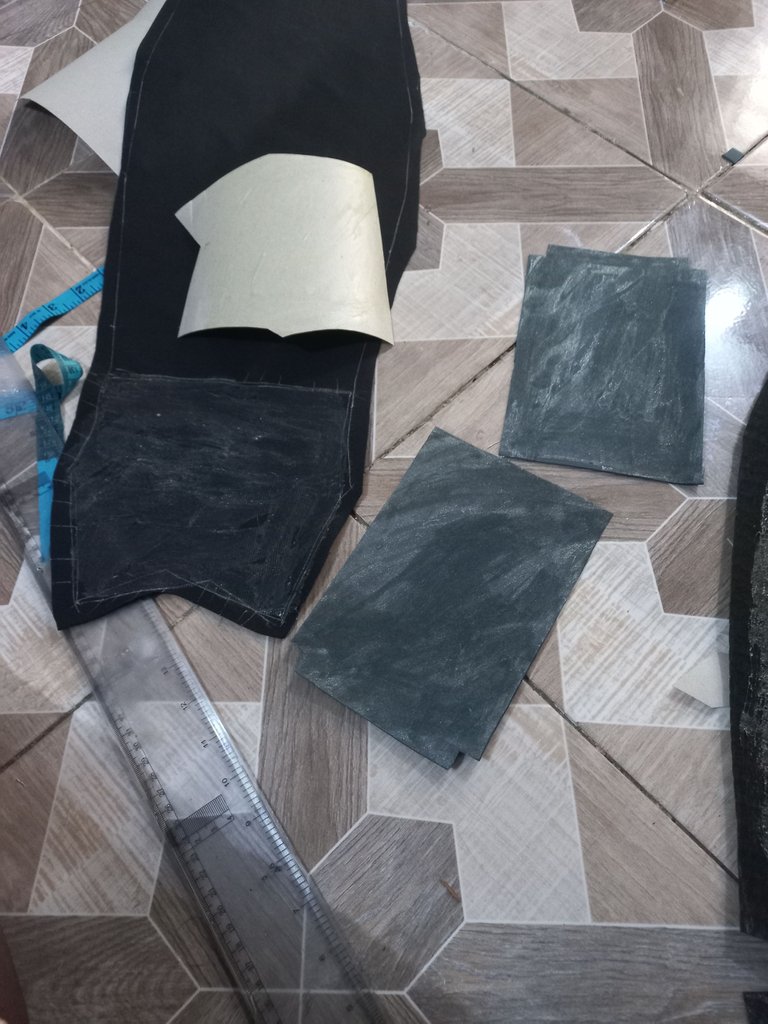
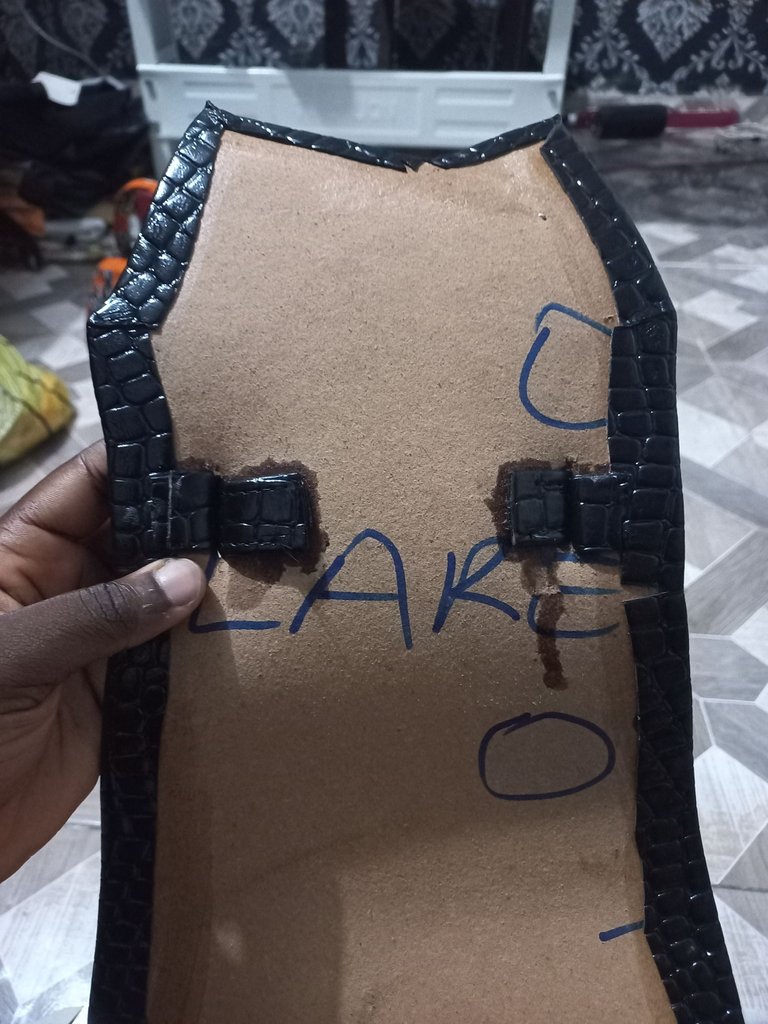
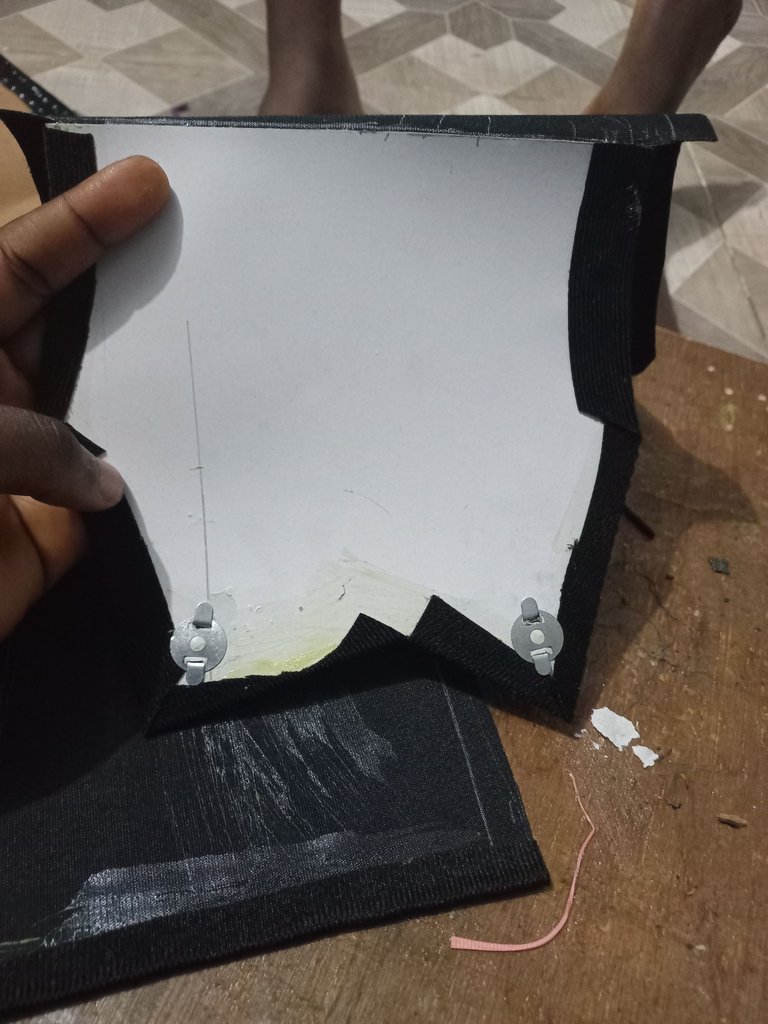
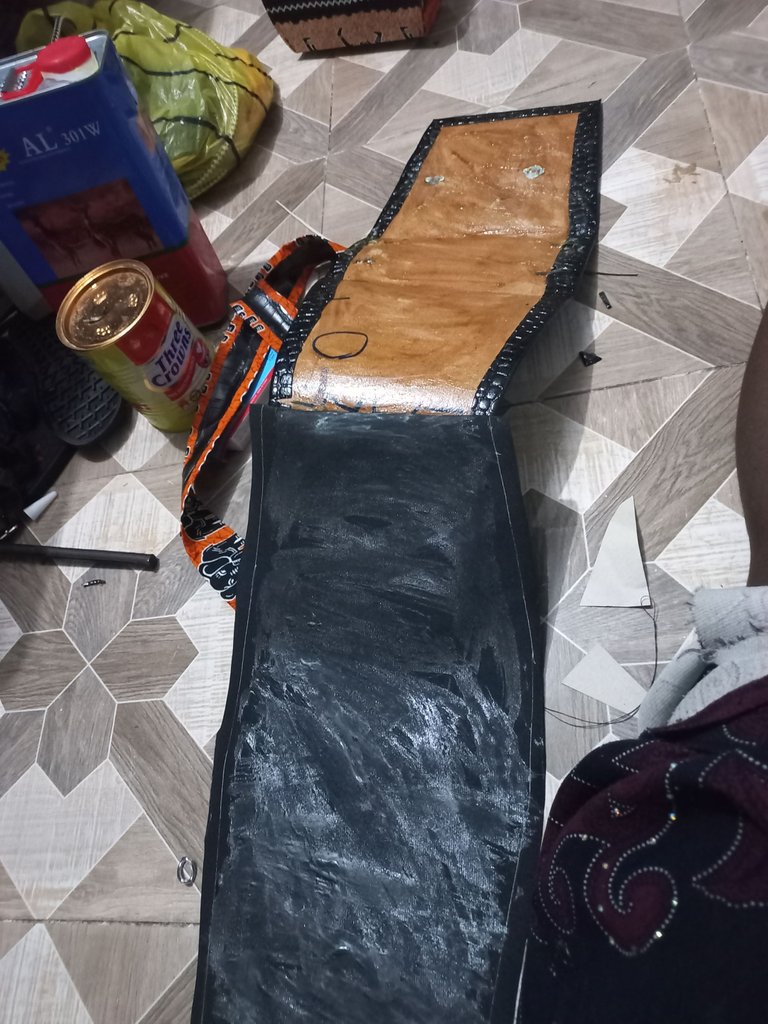
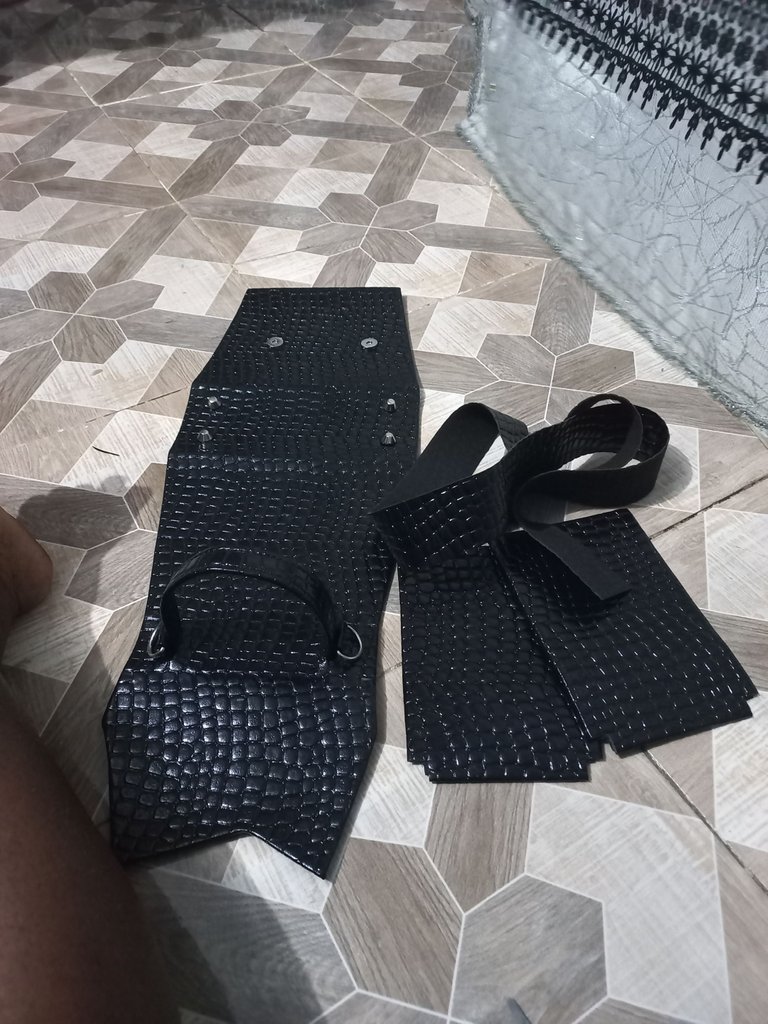
Next, I fixed the lining with Chip-board at the upper part, fixed the magnet and gummed it with the main part of the bag at the upper part. Then I fixed the other side of the magnet, fixed the bottom pins and gummed the rest of the lining with it. I did same for the sides and I stiched the sides together with the bag. Finally I stitched the longer handle and fixed the adjuster and ring anchor to it.
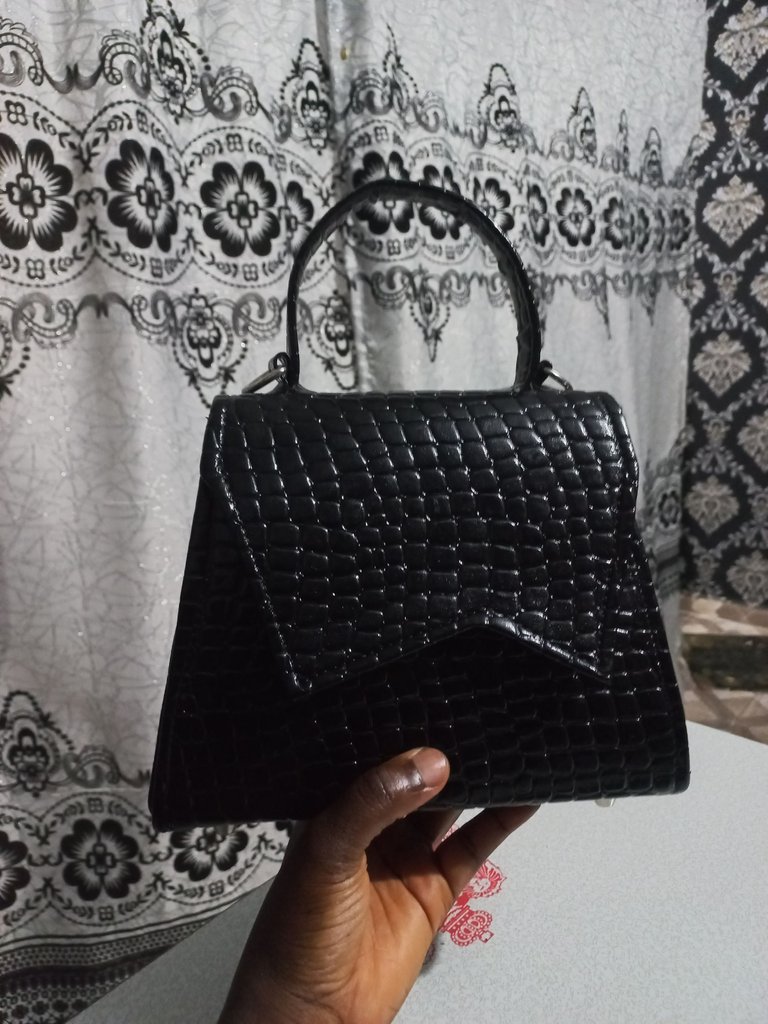
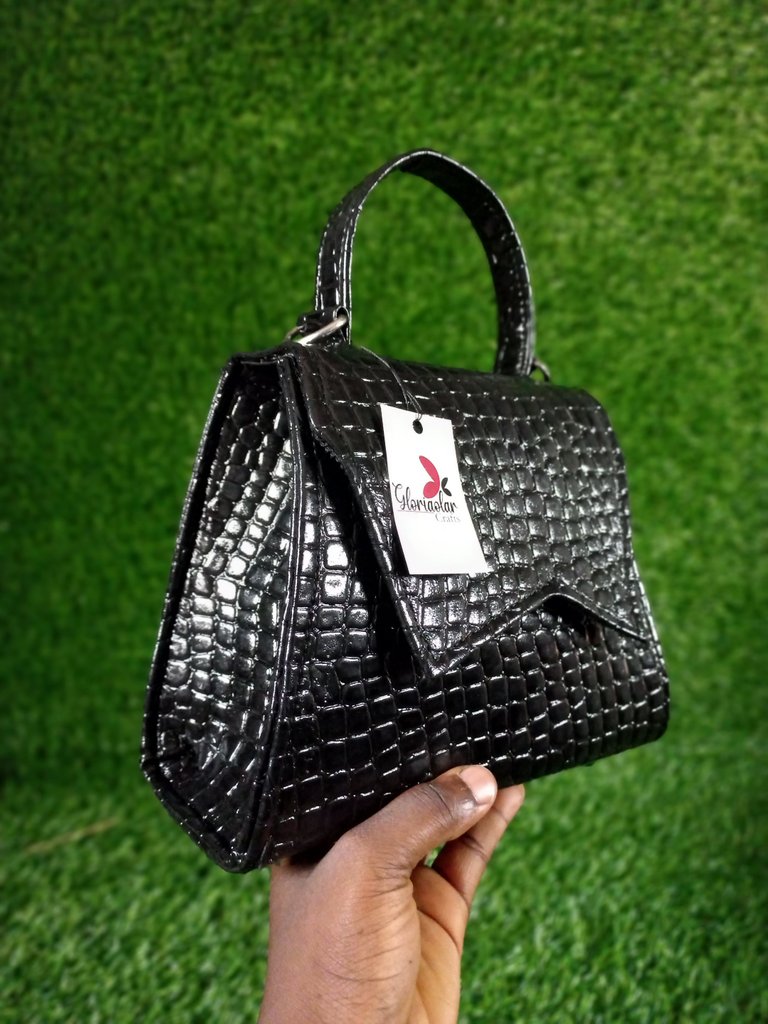
FINAL LOOK
Nice
Thank you so much.
That's a fancy bag you've made by hand
Very impressive :D
Thank you so much.
Your content has been voted as a part of Encouragement program. Keep up the good work!
Use Ecency daily to boost your growth on platform!
Support Ecency
Vote for Proposal
Delegate HP and earn more
Thank you for your support.
This is such a beautiful well crafted bag! Very nicely done! Love that shine :)
Thank you for showing us such a detailed process ~
Your comment means a lot to me. Thank you so much.
You’re welcome ~ ☺️😊
wonderful!!!! very beautiful work
Thank you so much.
Thank you for sharing this amazing post on HIVE!
Your content got selected by our fellow curator @kaerpediem & you just received a little thank you via an upvote from our non-profit curation initiative!
You will be featured in one of our recurring curation compilations and on our pinterest boards! Both are aiming to offer you a stage to widen your audience within and outside of the DIY scene of hive.
Join the official DIYHub community on HIVE and show us more of your amazing work and feel free to connect with us and other DIYers via our discord server: https://discord.gg/mY5uCfQ !
If you want to support our goal to motivate other DIY/art/music/homesteading/... creators just delegate to us and earn 100% of your curation rewards!
Stay creative & hive on!
Thank you.
Hello @gloriaolar! Your post was selected by our staff on behalf of the OCD Community Incubation Program and has received an OCD upvote! Congratulations!!! Please keep sharing these quality posts :)
Written by @crosheille for the NeedleWorkMonday Community ~
I'm so honored. Thank you so much.