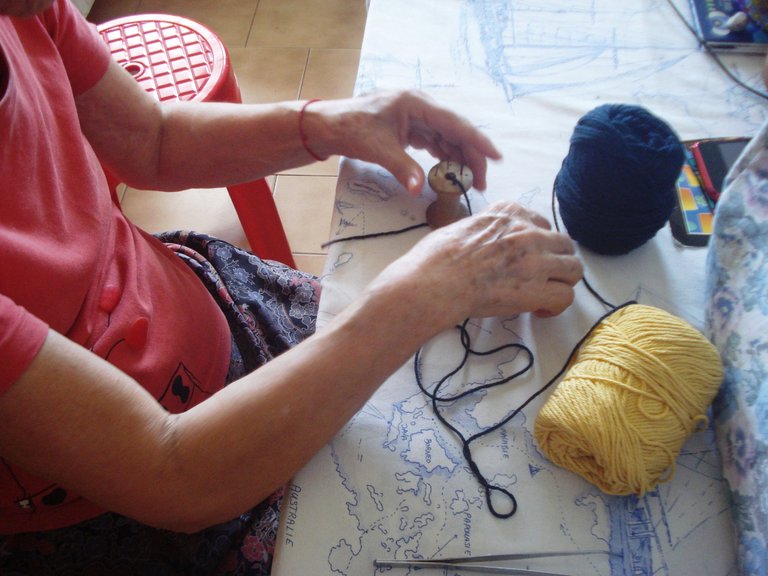
My regards to all the friends who like the art of weaving. I will show you something that I was taught when I was about fifteen years old. It was a lady who was an expert in making weaves of all kinds who taught me how to weave with a bobbin, I paid a lot of attention when she taught me how to do it. To do it, the materials are few:
- Una bobina de madera o plástica con orificio.
- 4 clavos pequeños.
- Hilos a su gusto de grosor mediano sin nudos.
- Una horquilla o un ganchillo N°2 para realizar el tejido
- Interés para hacerlo
- A wooden or plastic bobbin with a hole.
- 4 small nails.
- Threads to your liking of medium thickness without knots.
- A hairpin or a hook No. 2 to make the weave
- Interest to do it
Así se hace / How to do it
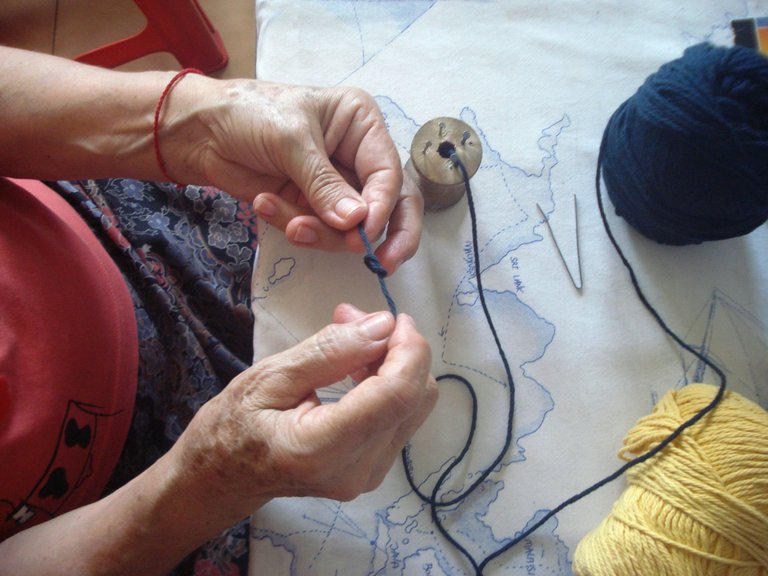
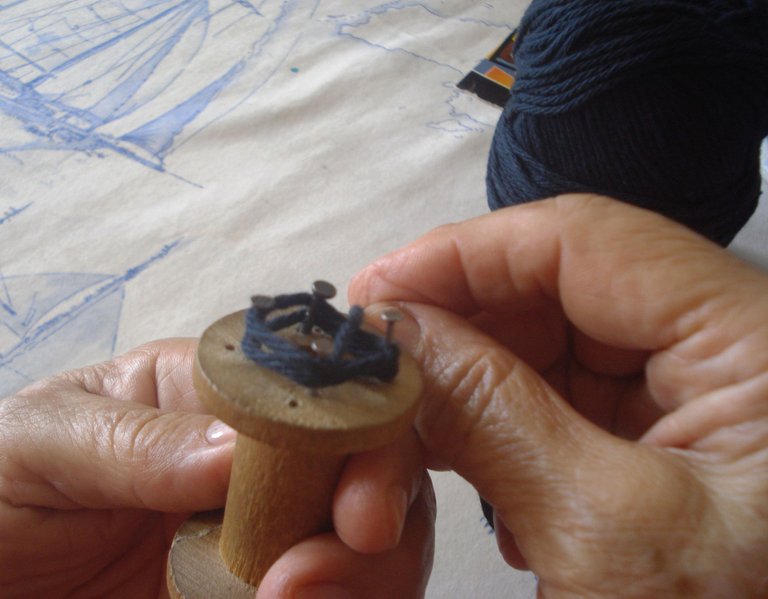
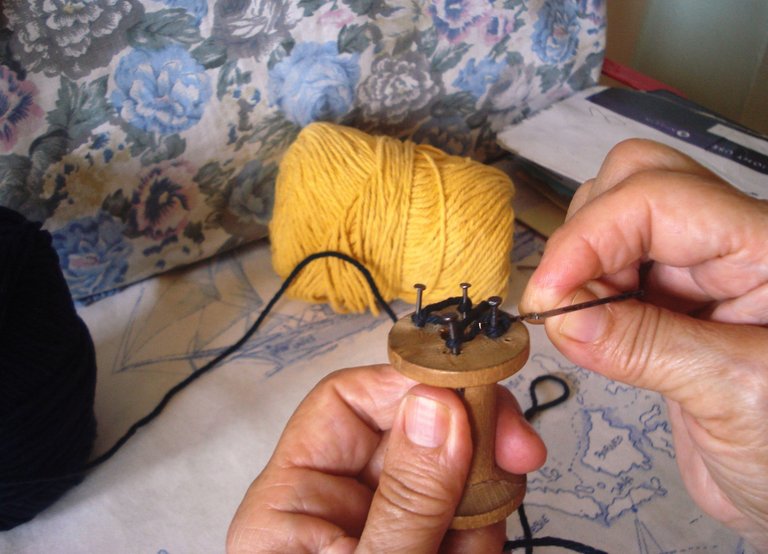
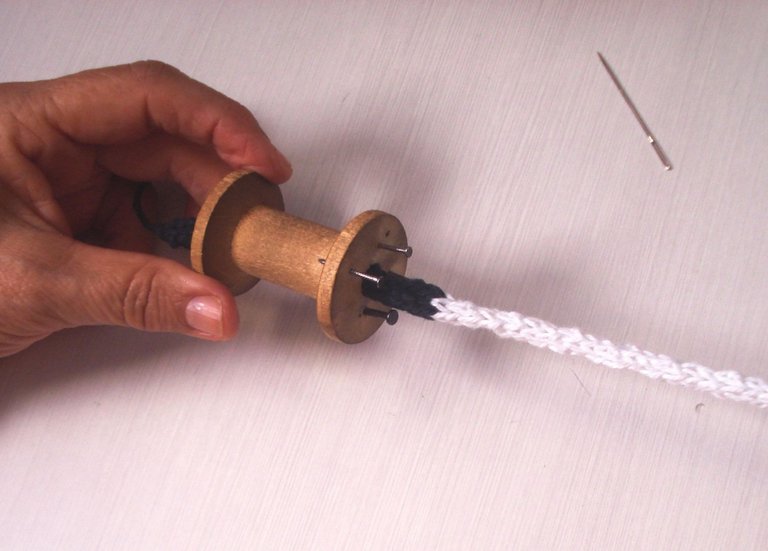
Clavar en la bobina los clavos a 1 cm de distancia entre uno y otro con cuidado de no romperla, los clavos deben sobresalir 1 cm, no más. El siguiente paso es pasar el hilo por el hueco y hacerle un nudo, como aún no hay tejido deben sostenerlo con la mano izquierda para que quede fijo y no se mueva.
Drive the nails into the bobbin 1 cm apart, taking care not to break it, the nails should protrude 1 cm, no more. The next step is to pass the thread through the hole and tie a knot, as there is still no weave, you must hold it with the left hand so that it is fixed and does not move.
Luego con la mano derecha van a darle dos vueltas a los clavos con el hilo de manera que quede uno arriba y el otro abajo (tipo ring de boxeo), y cruzan el hilo que viene del ovillo y lo sostienen con un dedo para que no se mueva.
Then with your right hand you are going to give the nails two turns with the thread so that one is on top and the other below (boxing ring type), and you cross the thread that comes from the ball and hold it with a finger so that it doesn't move.
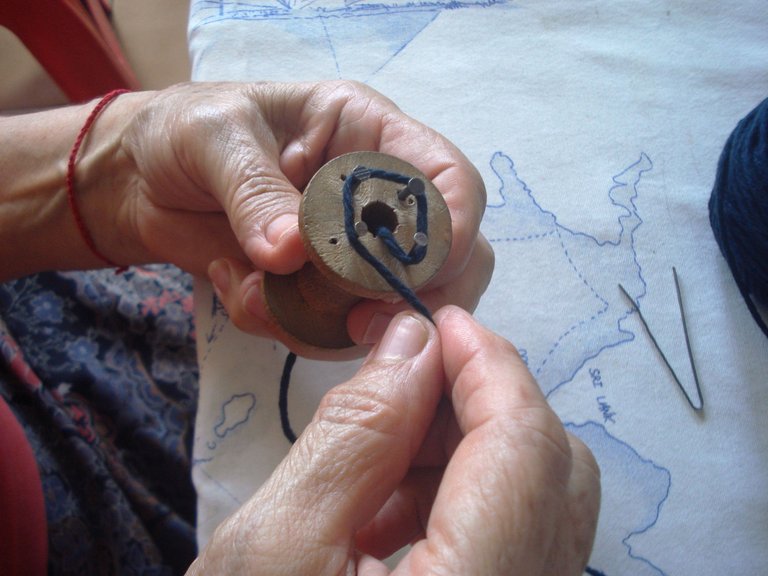
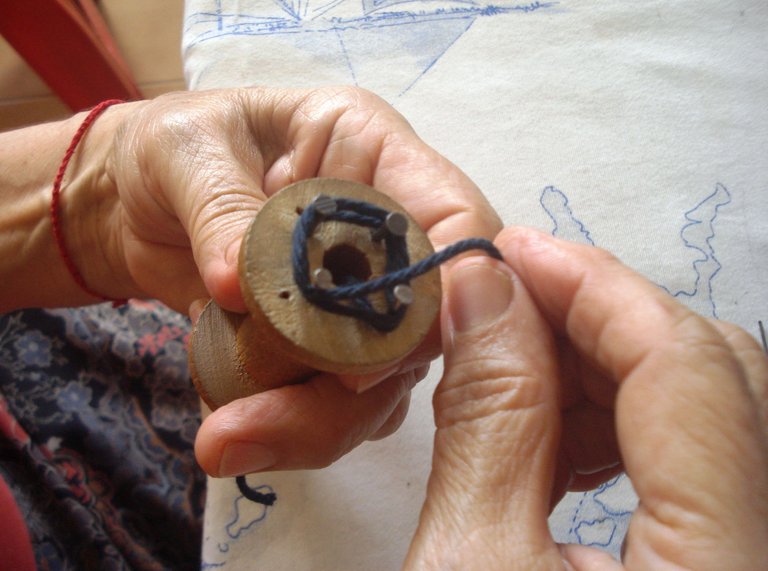
Ahora, con el ganchillo o la horquilla, se toma la parte inferior del hilo y se monta sobre la superior, se hace lo mismo con los hilos en los cuatro clavos.
Now, with the hook or the hairpin, the lower part of the thread is taken and mounted on the upper one, the same is done with the threads on the four nails.
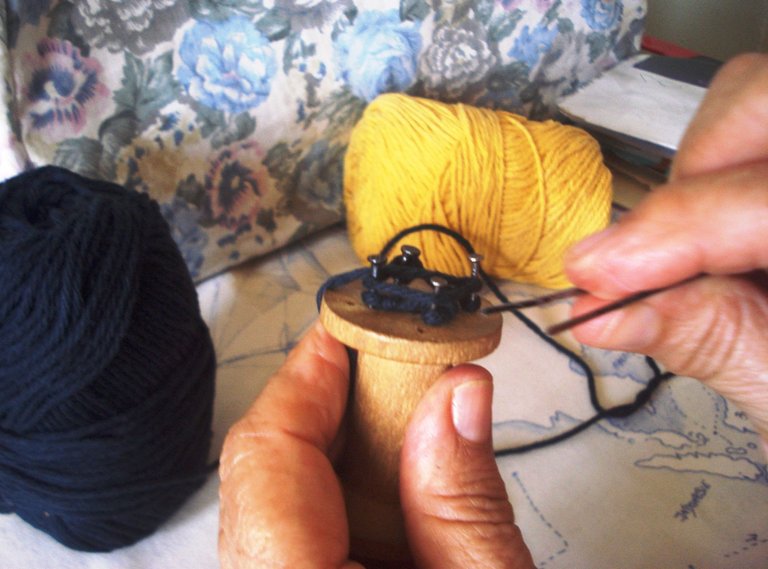
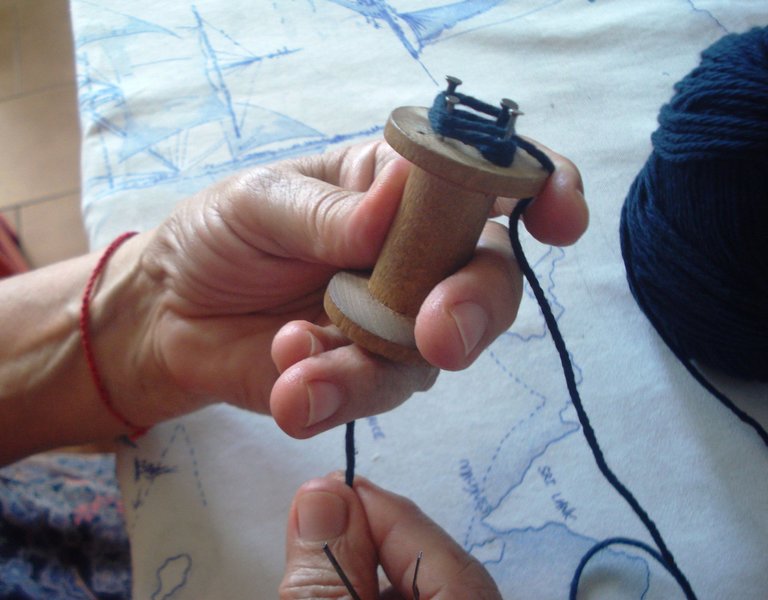
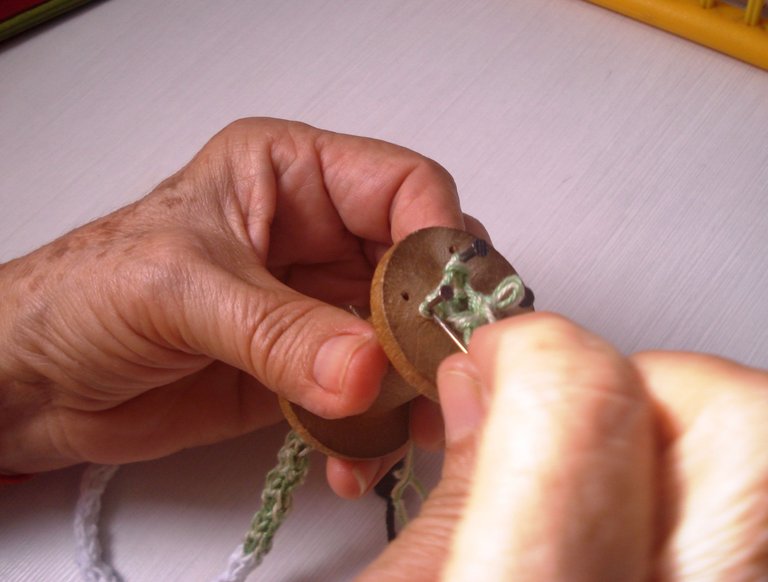
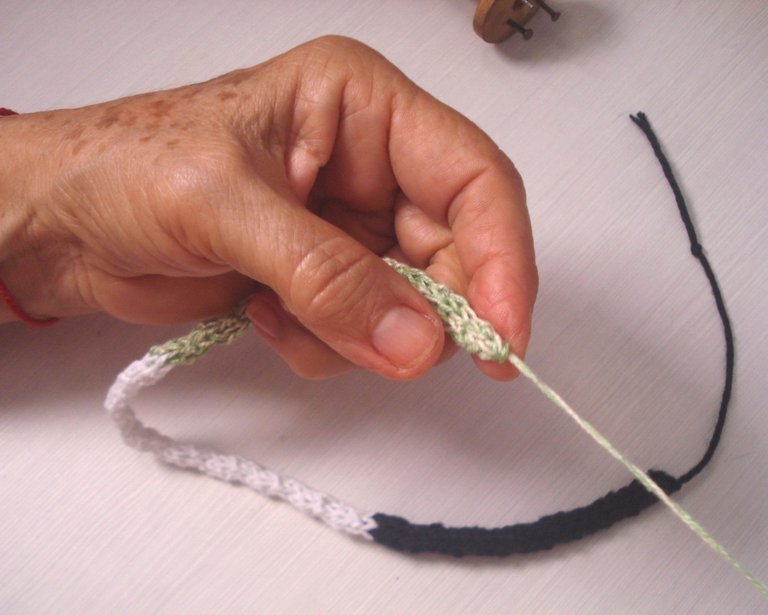
Ya aquí tienen la primera línea lista, de aquí en adelante, sólo van a darle una vuelta al hilo para hacer la parte superior y continúan con el mismo procedimiento, agarran la línea inferior y la montan sobre la superior, cada vez que terminan un giro van jalando suavemente el tejido que va saliendo por debajo de la bobina e irán viendo lo bello que es. Es importante que los ojales y las vueltas de hilo no queden muy tensos ya que se les hará difícil pasar el ojal de abajo hacia arriba. Si lo hacen de varios colores queda espectacular, el nudo de las uniones lo van escondiendo dentro del tejido en el centro del orificio. Van a hacer lo mismo hasta el final del trabajo que será según el largo que quieran que tenga el tejido.
Here you already have the first line ready, from now on, you are only going to give the thread one turn to make the upper part and continue with the same procedure, you grab the lower line and mount it on the upper one, each time you finish a turn. You will gently pull the weave that comes out from under the bobbin and you will see how beautiful it is. It is important that the buttonholes and loops of thread are not too tight as it will be difficult for you to pass the buttonhole from the bottom up. If you do it in several colors, it is spectacular, the knot of the joints is hidden inside the weave in the center of the hole. You will do the same until the end of the work, which will be according to the length you want the weave to have.
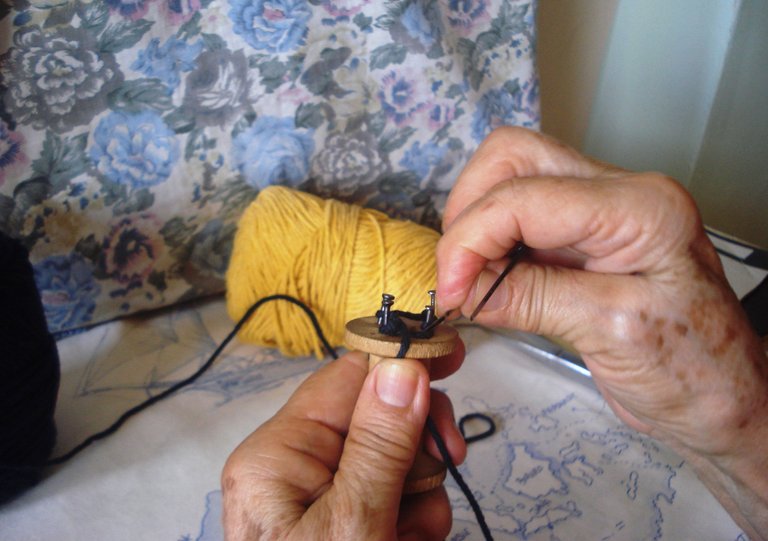
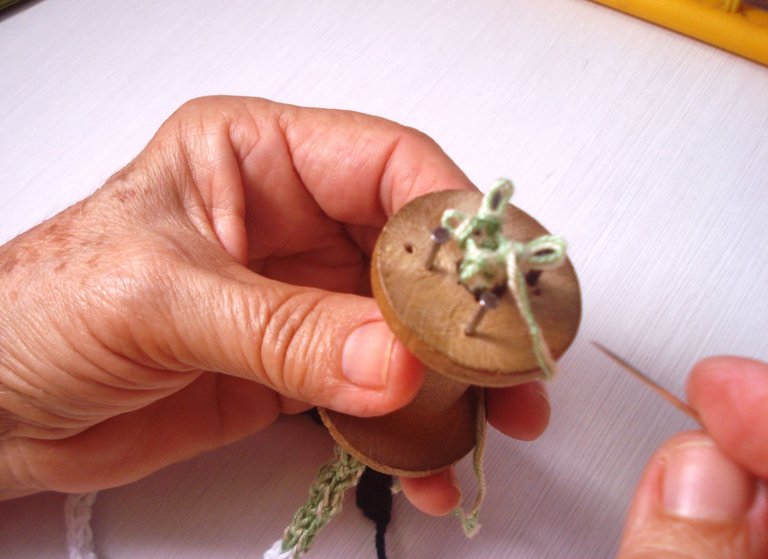
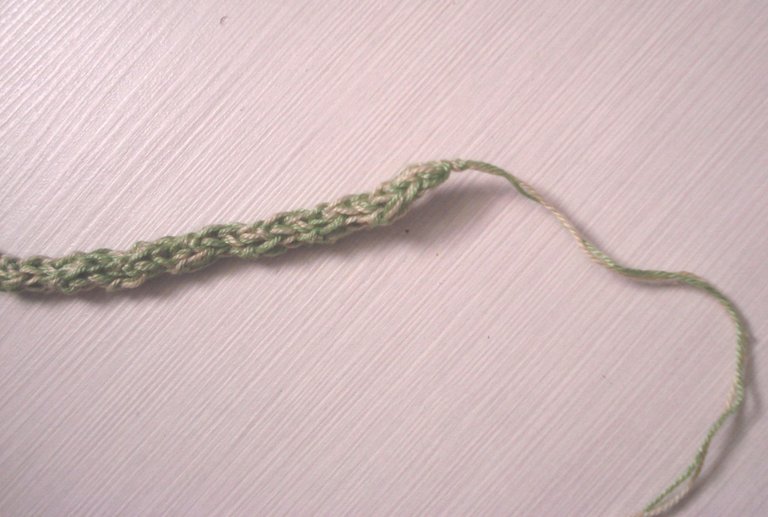
Al llegar al largo deseado para su proyecto, van a levantar cuidadosamente cada ojal hasta tener los cuatro ojales fuera de sus clavos. Sostienen la punta con cuidado para no perder los ojales y jalan todo el tejido hasta sacarlo de la bobina.
When you reach the desired length for your project, you will carefully lift each buttonhole until all four grommets are clear of their nails. You hold the tip carefully so as not to lose the grommets and pull all the weave out of the bobbin.
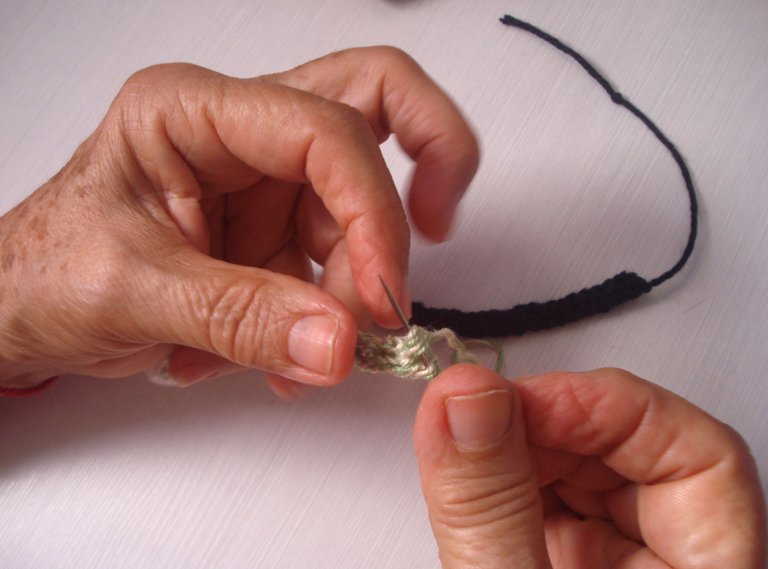
Cuando tengan los cuatro ojales fuera de los clavos van a enhebrar el hilo sobrante por una aguja de bordar gruesa, pasan la aguja a través de los cuatro ojales y la estiran hasta que formen uno solo, por último, le hacen un nudo sencillo para asegurar.
When you have the four buttonholes out of the nails, you will thread the excess thread through a thick embroidery needle, pass the needle through the four buttonholes and stretch it until you form one, finally, you make a simple knot to secure.
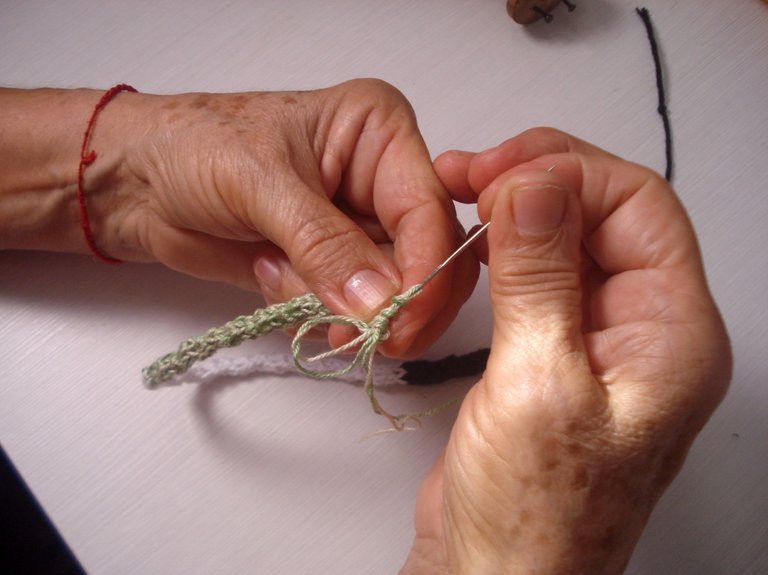

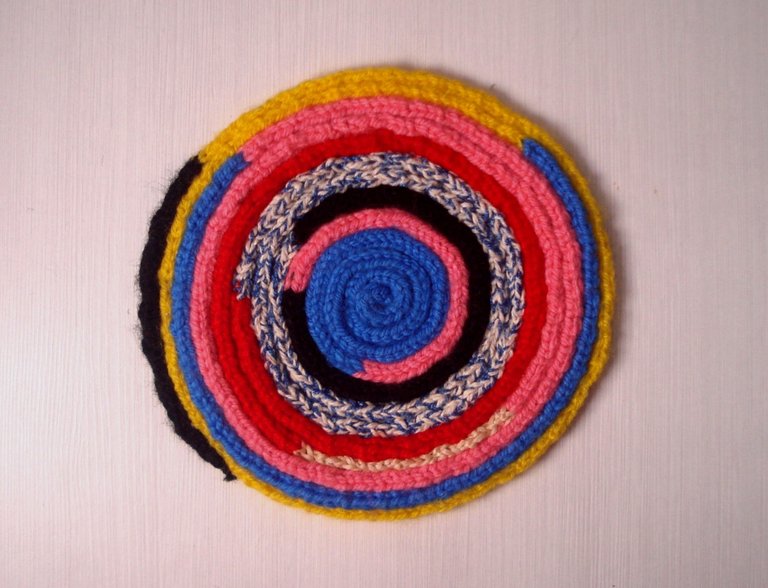
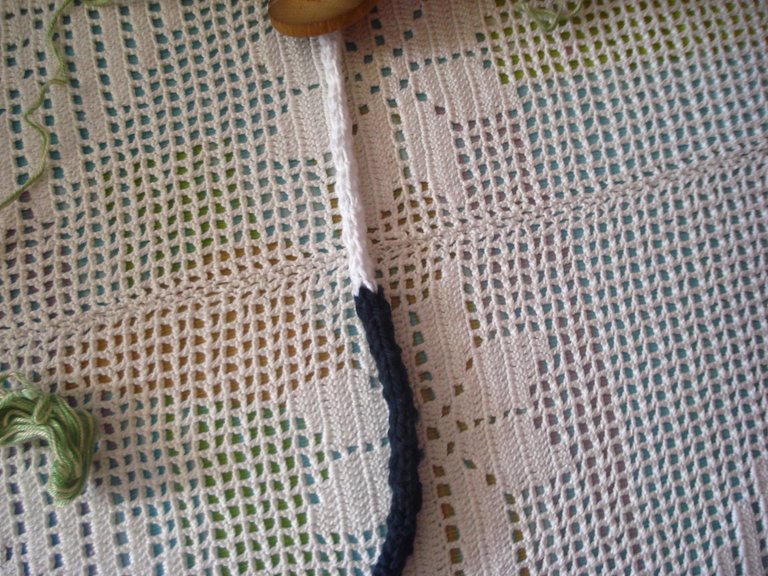
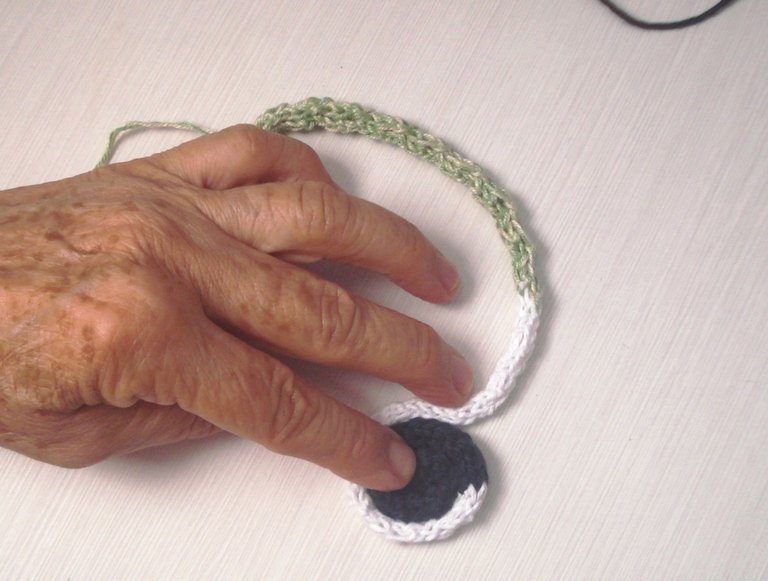
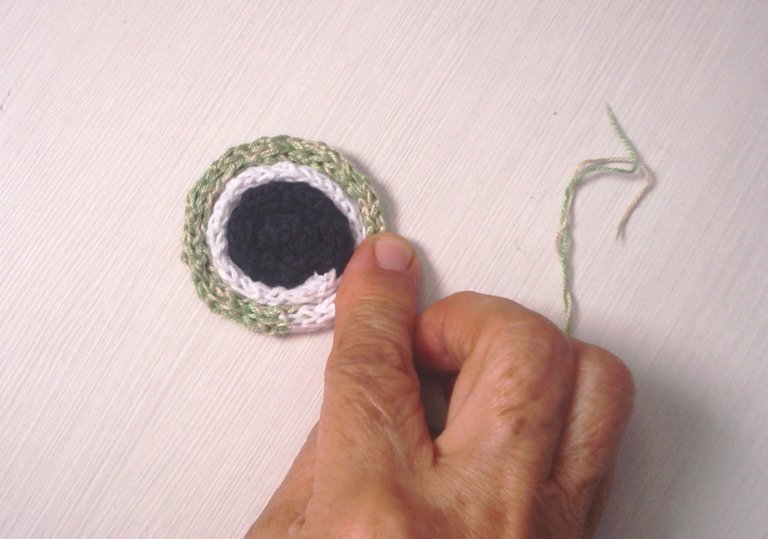
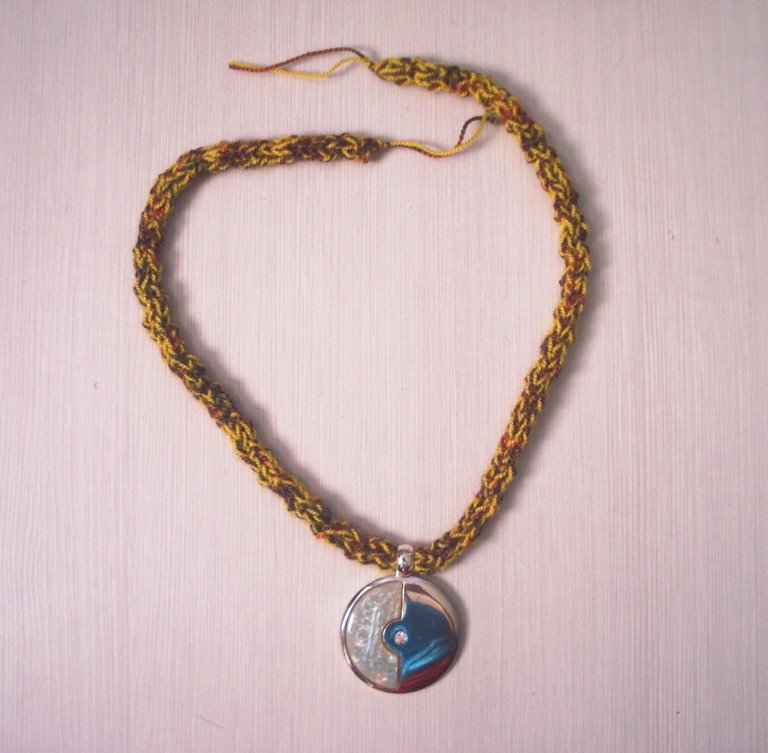
Al terminar el tejido del tamaño que desean, van a ir dándole forma de espiral si van a hacer una alfombra o un cojín y lo van a coser a mano con puntada invisible e hilo delgado de coser. Si lo que van a hacer es collares o pulseras, hagan las terminaciones según acostumbren, broche, amarre, nudo corredizo, etc.
When you finish the weave of the size you want, you will be giving it a spiral shape if you are going to make a rug or a cushion and you are going to sew it by hand with blind stitch and thin sewing thread. If what you are going to do is necklaces or bracelets, make the terminations as usual, clasp, tie, slip knot, etc.
Con un poco de atención y práctica es muy fácil. Este modo de tejer yo nunca lo he visto, por eso es muy original, les sorprenderá ver cuántas cosas llamativas pueden hacer con este sencillo modo, alfombras, collares, pulseras, cojines y el resto lo dejo a la imaginación y creatividad de ustedes. A mí me encanta y siempre que tengo tiempo lo hago, es muy relajante y altamente anti estrés.
With a little attention and practice it is very easy. I have never seen this way of weaving, that is why it is very original, you will be surprised to see how many striking things you can do with this simple way, rugs, necklaces, bracelets, cushions and the rest I leave to your imagination and creativity. I love it and whenever I have time I do it, it is very relaxing and highly stress-free.
Anímense a hacerlo amigas amantes del tejido y el resultado las atrapará. Hasta la próxima y mucho éxito. ¡Saludos!
Go ahead and make it friends who love weaving and the result will catch you. Until next time and much success. Greetings!
Todas las fotos son de mi propiedad / All photos are my property
Hola...Qué espectacular técnica! Me ha encantado. Seguramente, la estaré haciendo. Como tejedora me gusta pasearme por las diversas técnicas que me vayan llegando. Gracias por compartir. Saludos
¡Muchas gracias y me alegra mucho que te haya gustado mi trabajo! Espero que también lo puedas hacer
Que lindo! Muy original!
¡Gracias querida hija! Dios te bendiga
Amen!
I have these knitting spools in several sizes. My children loved to use them.
Hello! Where are you from? Because I don't know almost anyone who knows this technique
I live in North Carolina, USA. We had knitting spools when we were children, and they still sell them in craft stores around here. These spools are easier to find now that knitting looms are popular, since the technique is the same.
Great! The one that I have I have kept for many years, I have not found any place where they have them, although it can be done with a carpenter. Thanks for answering!
Welcome to the NeedleWorkMonday Community @ioanna-m!
Wow what a beautiful outcome! I love this technique. I can see my daughter making jewelry sets with this and me making beautiful rugs for our home. Thank you for sharing how to do this.
Every week needleworkers from around the globe get together to share our work, patterns, tips, ideas and shortcuts as we support one another. Our goal is to inspire the Hive blockchain to give crafting a try.
On Monday’s we use the #needleworkmonday tag and on all other days we use the #needlework tag without the word Monday attached. We share and post our work directly from the Community page.
We encourage our members to share the process of their work through photos (as you have done above). This not only validates your work but it takes us along the creative journey with you :)
For more information about what we do and for our posting guidelines please visit our FAQs.
Thank you ~
Thanks a lot! I am delighted that you liked it and to share my knowledge in this community :)
You are truly welcome ;)
¡Hermoso collar! Nunca había visto una de estas bobinas en acción. Parece muy sencillo. Gracias por compartir ❤
¡Muchas gracias! Es muy divertido, anímate a hacerlo :)
Congratulations @ioanna-m! You have completed the following achievement on the Hive blockchain and have been rewarded with new badge(s) :
Your next target is to reach 200 replies.
You can view your badges on your board and compare yourself to others in the Ranking
If you no longer want to receive notifications, reply to this comment with the word
STOPCheck out the last post from @hivebuzz:
Hello @ioanna-m! Your post was selected by our staff on behalf of the OCD Community Incubation Program and has received an OCD upvote! Congratulations!!! Please keep sharing these quality posts :)
Written by @crosheille for the NeedleWorkMonday Community ~