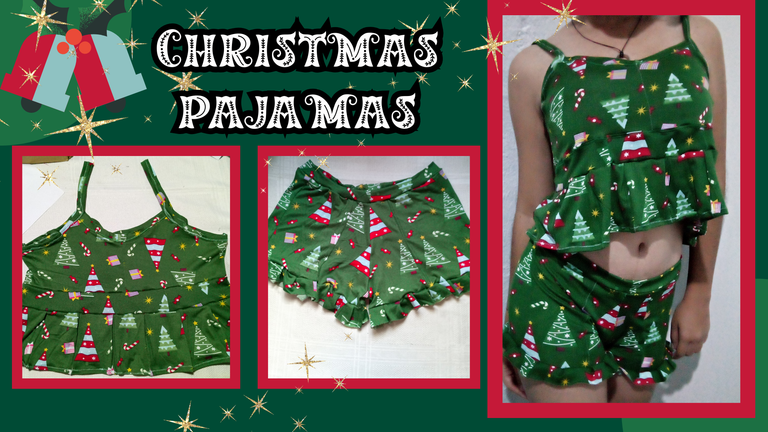
Hello creative friends, Happy needle Monday, I hope you have started a week full of enthusiasm, because that means that we are healthy and eager to continue achieving the goals that are ending this year, to start the ones we already have in mind for this coming year that is just a step away from being here.
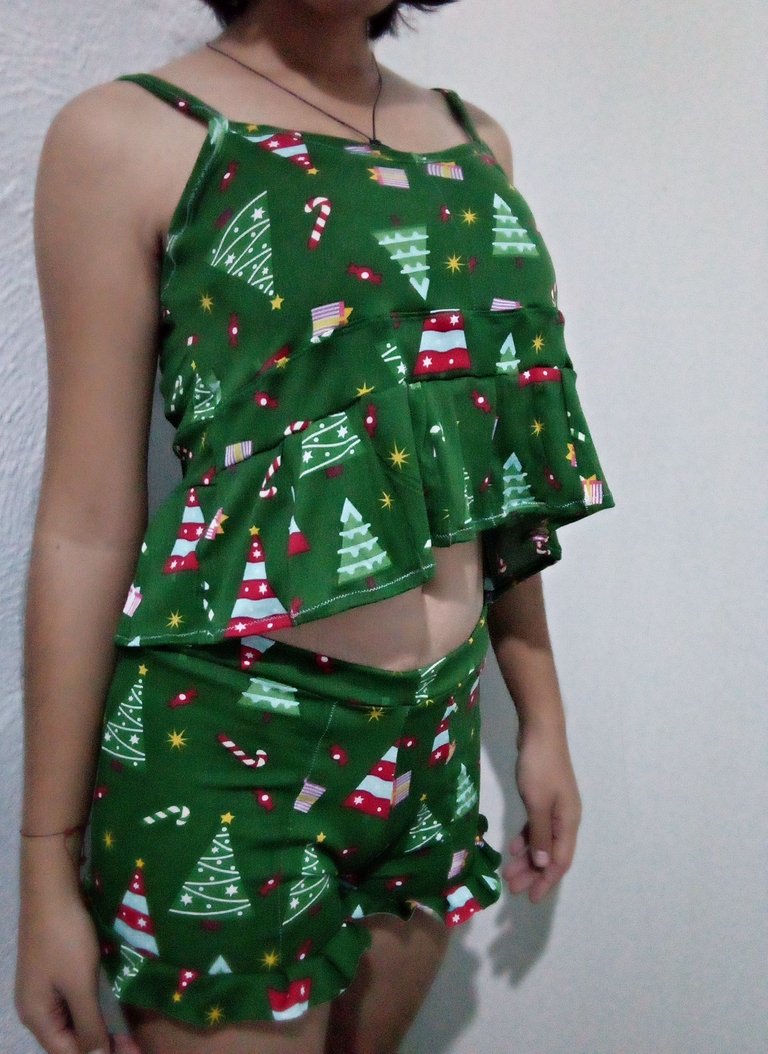
At this time of the year we are presented with an endless number of beautiful tasks in our home, we make preparations for dinner, we think about what clothes we will wear and even what clothes we will sleep in, this is the case of my daughter Maria Celeste, who has thought about what pajamas she will sleep in and described to me the design she wanted to use, because of the hurry with which the days go by, we went to look in stores for the pajamas with the design she wanted, but we did not get it that way, luckily we had scraps of Christmas peach skin fabric stored, and we immediately started to make her pajamas with these scraps of fabric.
It was not an easy job because we had to cut many pieces of fabric and put them together to form the pieces, but it was a very nice moment for both of us, there sharing the whole day.
The design was beautiful, just a little short for my daughter's taste, however, I convinced her to use it hahahahahah, and not to worry because it was only for sleeping, she was a little hesitant, but she liked it so much that she ended up convinced to use it.
I invite you to join me in this beautiful work.
The pictures you will see below were taken with my TECNO SPARK GO 2024.
Hola amigos creativos, Feliz lunes de agujas, espero que hayan comenzado una semana llena de entusiasmo, porque eso quiere decir que estamos sanos y con mucha ganas de seguir logrando los objetivos que están finalizando este año, para comenzar los que ya tenemos en mente para este venidero año que está a solo un paso de estar aquí.
En estas fechas se nos presenta un sin fin de tareas hermosas en nuestro hogar, hacemos preparativos para la cena, pensamos en que ropa usaremos y hasta con qué ropa vamos a dormir, este es el caso de mi hija María celeste, que ha pensado con qué pijama va a dormir y me describió el diseño que quería usar, por la prisa con la que van pasando los días, nos fuimos a buscar en tiendas esa pijama con el diseño que ella quería, pero no lo conseguimos así, por suerte teníamos retazos almacenados de tela piel de durazno navideña, y enseguida nos pusimos a confeccionar su pijama con estos restos de tela.
No fue un trabajo fácil porque hubo que cortar muchos trozos de tela y unirlos para formar las piezas, pero fue un momento muy bonito, para las dos, ahí compartiendo todo el día.
El diseño quedo precioso, solo un poco corto para el gusto de mi hija, sin embargo, la convencí para que la usara jajajaj, y que no se preocupara porque solo era para dormir, ella estaba un poco dudosa, pero le gusto tanto que termino convencida de usarla.
Los invito a que me acompañen en este lindo trabajo.
Las fotografías que verán a continuación, fueron tomadas con mi teléfono modelo TECNO SPARK GO 2024.

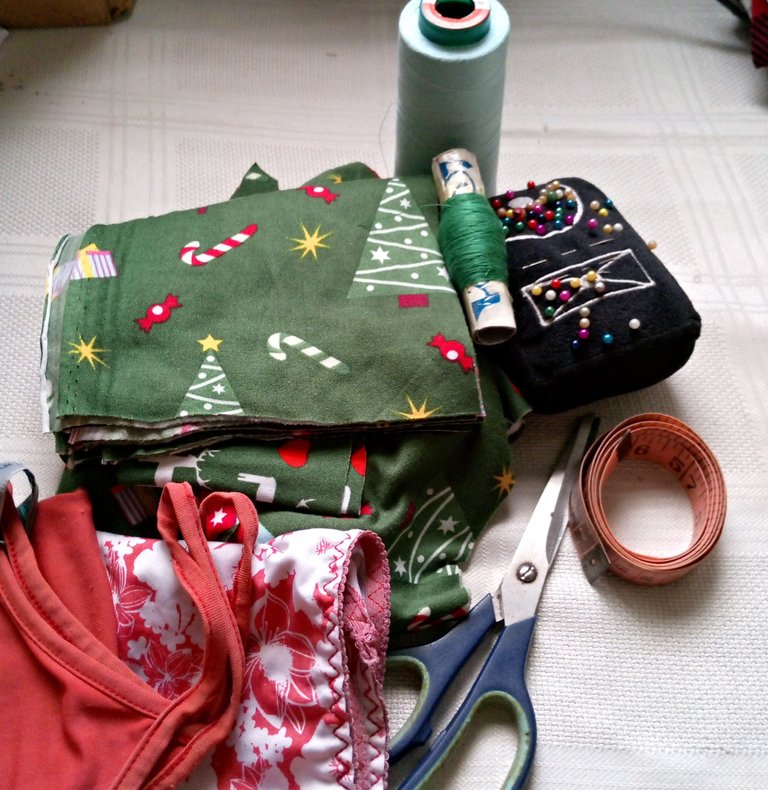
I will start by showing you the materials I used.
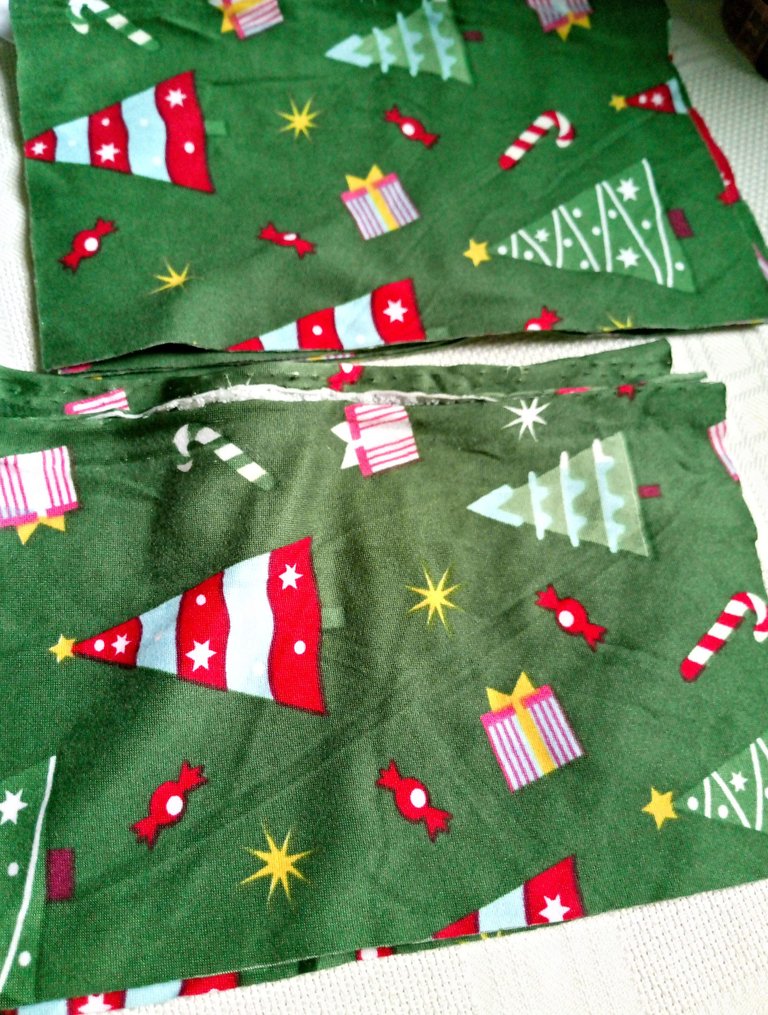
A good amount of scraps because you have to cut several pieces, measures or garments of comfortable and flexible use so that the size does not vary when cutting; however, I took only a guide garment, because I wanted to make it wider for comfort.
- 🌲Scissors
- 🌲Thread
- 🌲Tape measure
- 🌲Pins
- 🌲Sewing machine
Empezaré mostrándoles los materiales que utilice.
Una buena cantidad de retazos porque hay que cortar varios trozos, medidas o prendas de vestir de uso cómodo y flexibles para que no varíe la talla al cortar; sin embargo, tome solo una prenda guía, porque la quise hacer más amplia para mayor comodidad.
- 🌲Tijera
- 🌲Hilo
- 🌲Cinta métrica
- 🌲Alfileres
- 🌲Máquina de coser.

 |  |  |
|---|
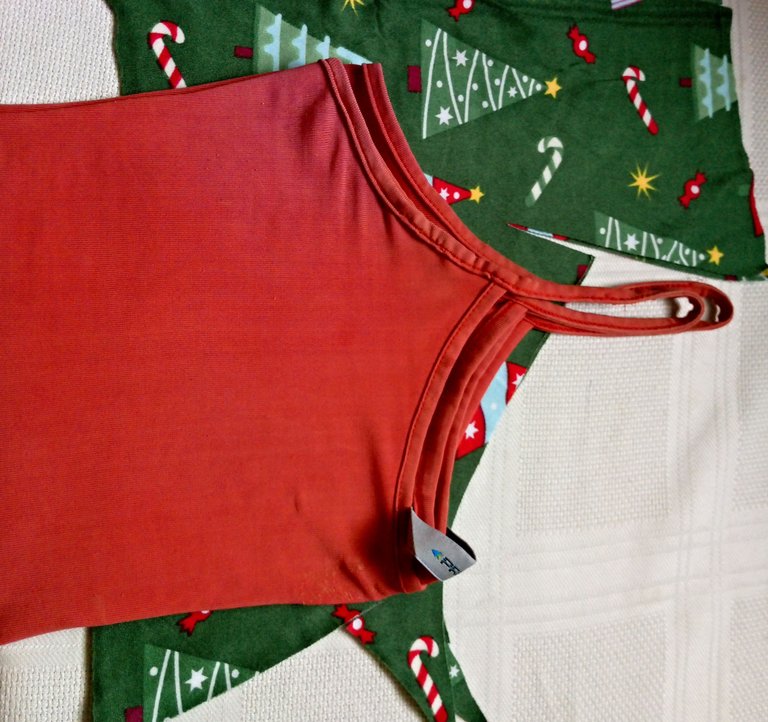
I have taken a tip, first start with the difficult and end with the easy, I started with the top, which for me was the most difficult, as I had to cut several pieces and especially the most complicated for me is to make the straps.
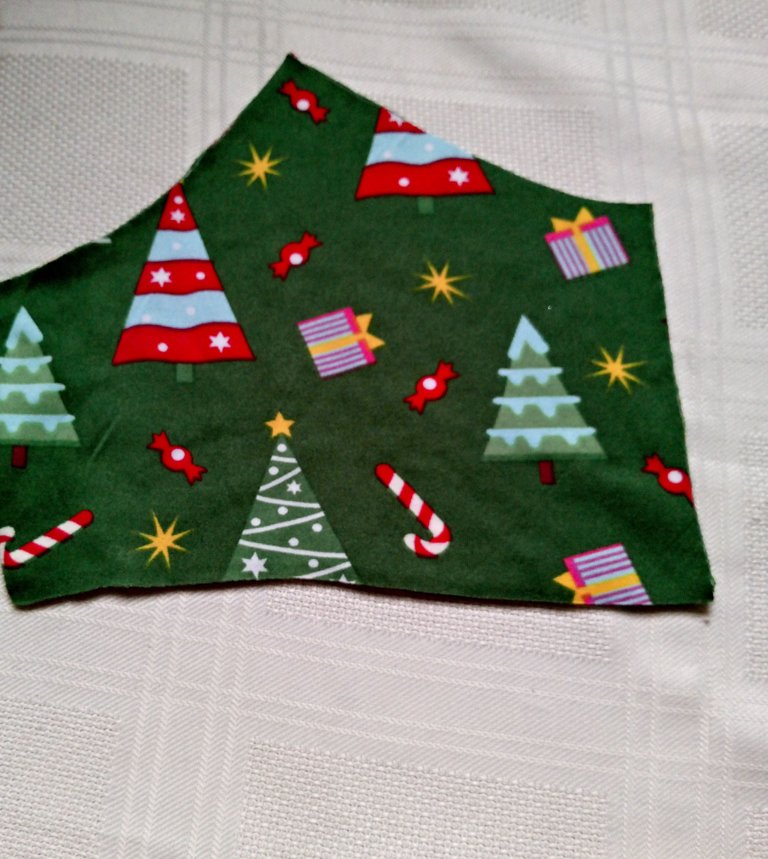
With the guide garment, and taking a piece of fabric, I cut 4 top pieces, 2 in the front and 2 in the back plus a ribbon to lengthen the waist.
I also cut several pieces of fabric for a little ruffle that goes at the bottom of the top.
He tomado un consejo, primero se empieza por lo difícil y se termina por lo fácil, empecé con el top, que para mí fue el más difícil, ya que tuve que cortar varias piezas y sobre todo lo más complicado para mí es hacer los tirantes.
Con la prenda guía, y tomando un trozo de tela, corte 4 piezas superiores, 2 delanteras y 2 traseras más una cinta para alargar el talle.
También corte varios trozos de tela para un voladito que va en la parte inferior del top.

 |  |  |
|---|
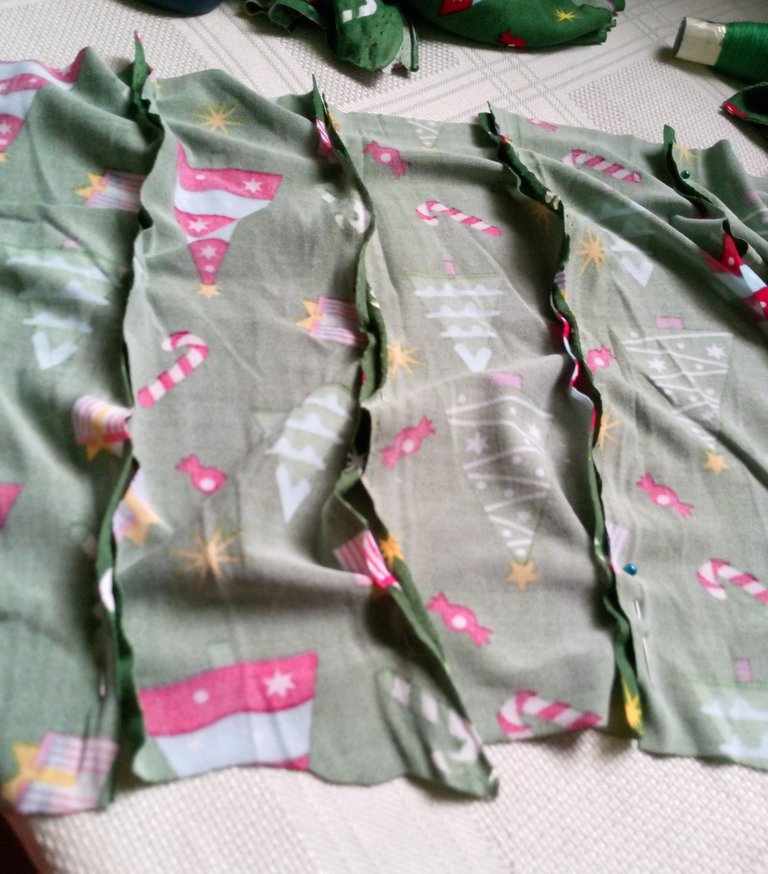
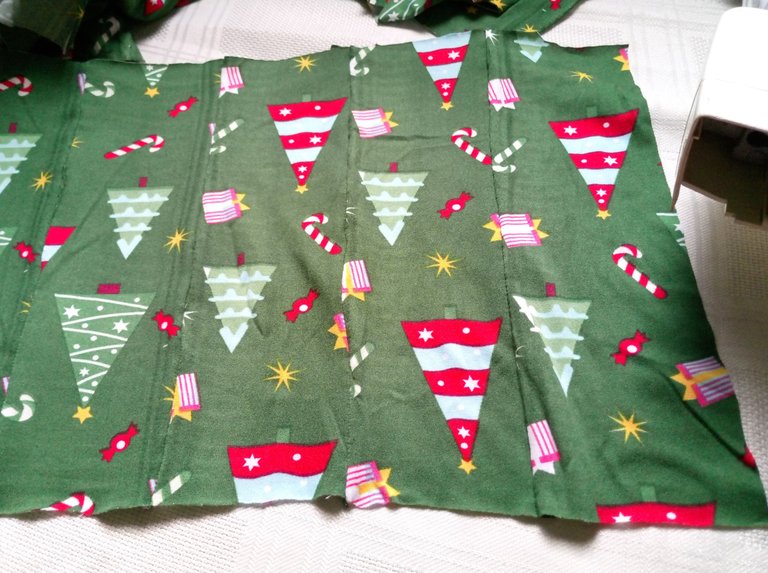
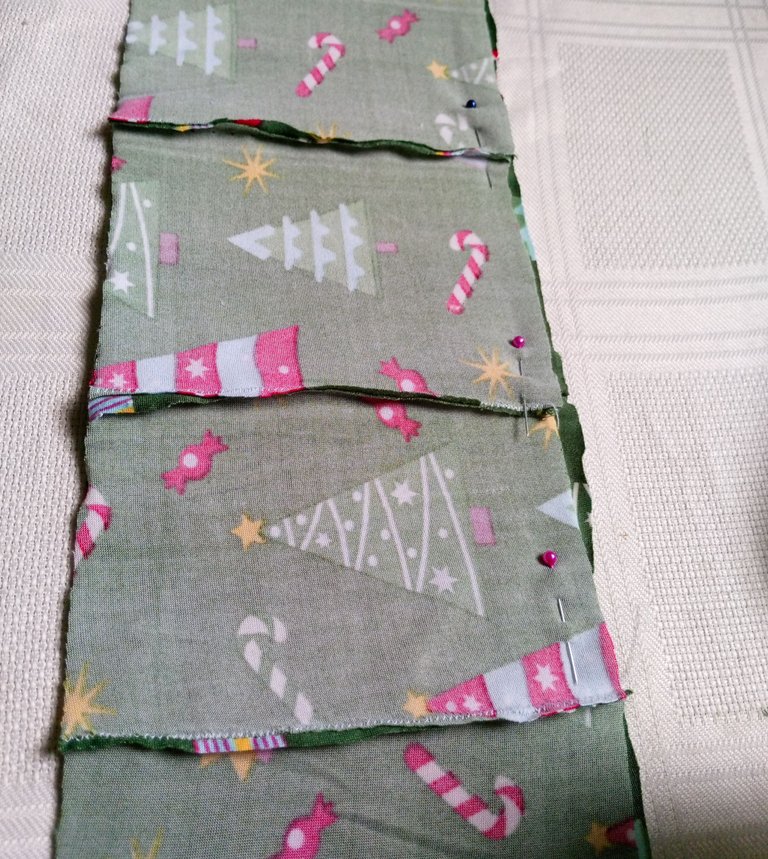
I joined the pieces of fabric with pins to sew, I sewed and it was a single fabric, all this work was done with zigzag stitching to avoid breaking the seam, then cut this fabric in half, to remove the ruffle of the top.
Uní los trozos de tela con alfileres para coser, cosí y quedó una sola tela, todo este trabajo lo hice con puntadas en zigzag para no romper la costura, luego corté esta tela por la mitad, para sacar el volante del top.

 |  |  |
|---|
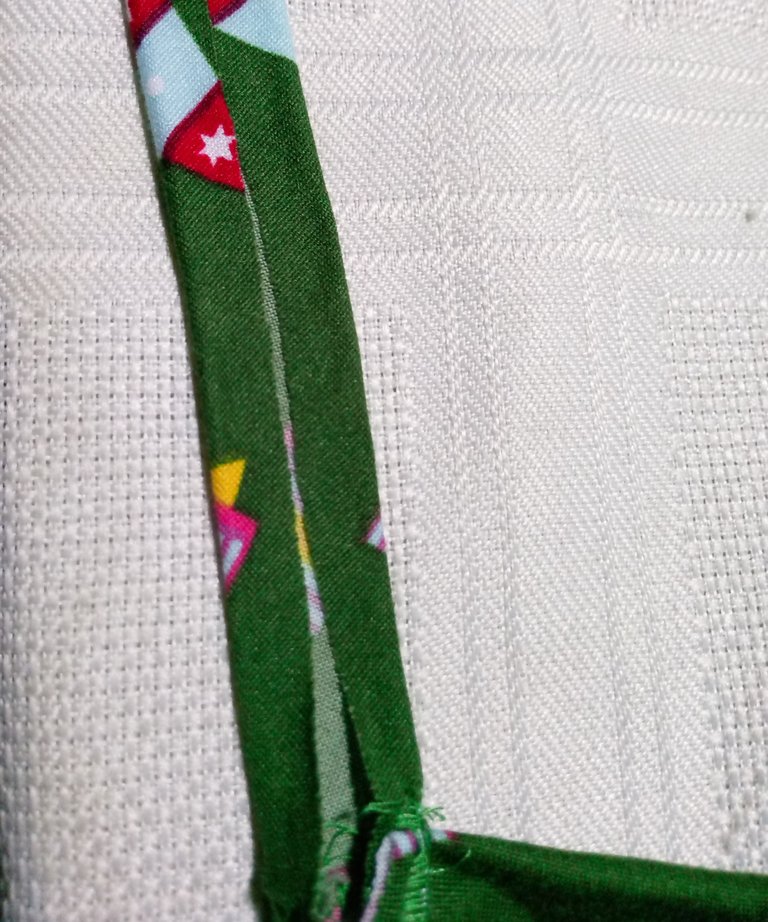
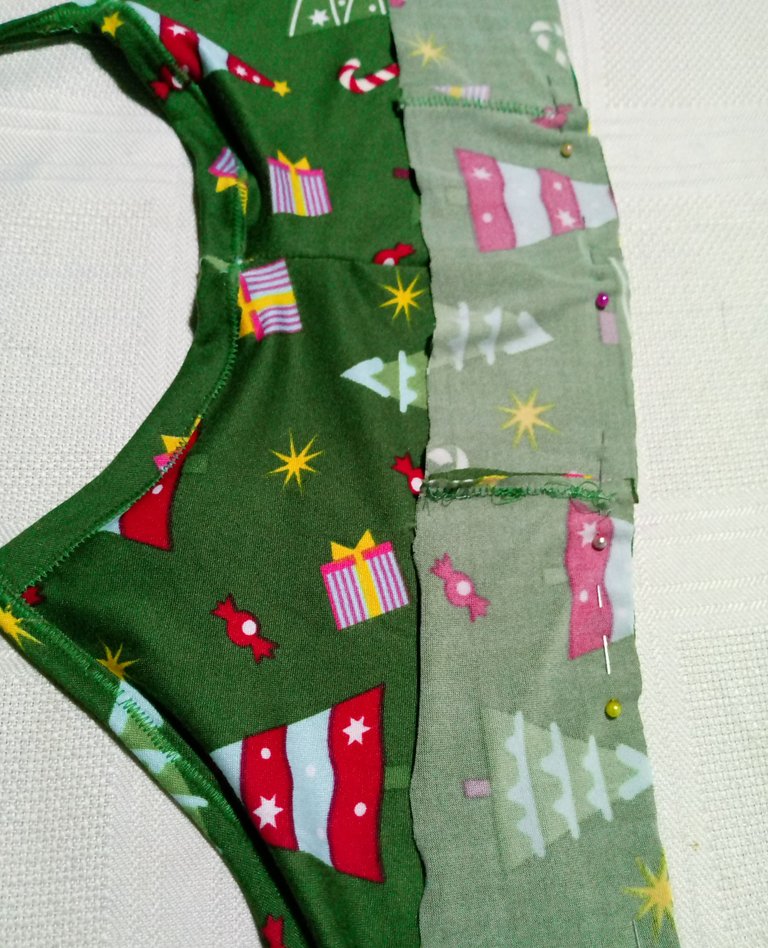
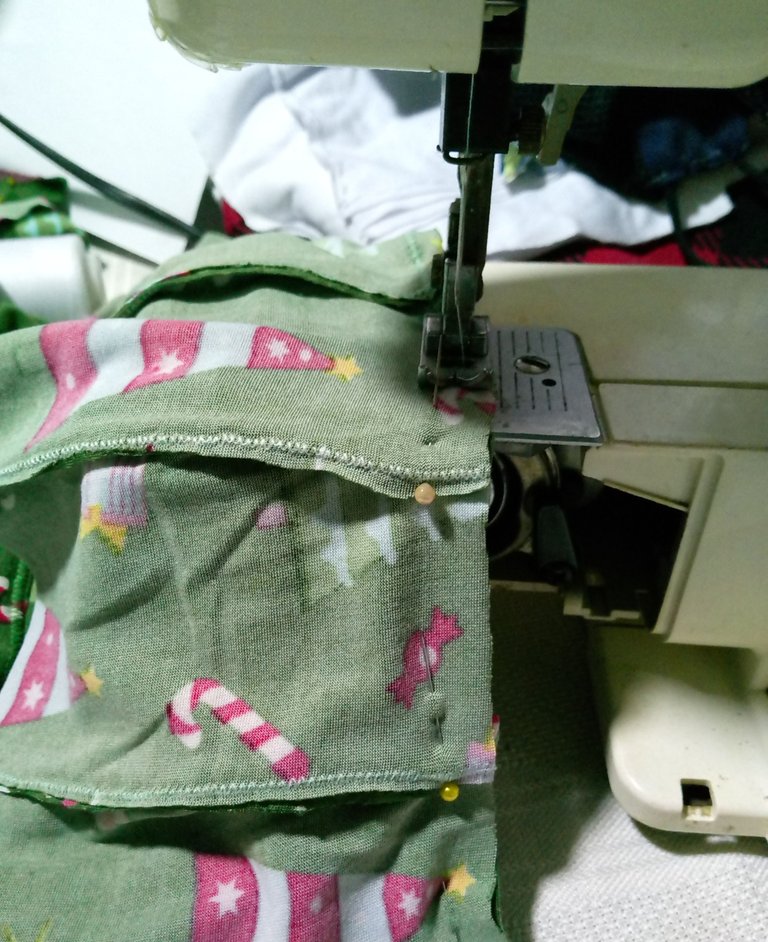
As the top was almost ready, I cut a 6 cm wide ribbon with a 20 cm strap, this step was my brake, because I could not get it right, it rolled when I sewed it, being twisted, luckily the top is wide and I only cut the whole strap, which I had sewn wrong, I did it again from scratch, this was only on one side, because the other side I had not sewn yet, I think that for the next one I will have learned a lot.
I finished sewing the straps and started sewing the ruffle at the bottom of the top.
Como ya estaba casi todo el top listo, corte una cinta de 6 cm de ancho con un tirante de 20 cm, este paso fue mi freno, porque no lograba hacerlo bien, se me rodó al coserlo, quedando torcido, por suerte el top es amplio y solo corte todo el tirante, que había cosido mal, lo volví hacer de cero, esto solo fue de un lado, porque el otro lado todavía no lo había cosido, creo que para el próximo habré aprendido mucho.
Terminando de coser los tirantes y empecé a coser el volado de la parte inferior del top.

 |  |
|---|
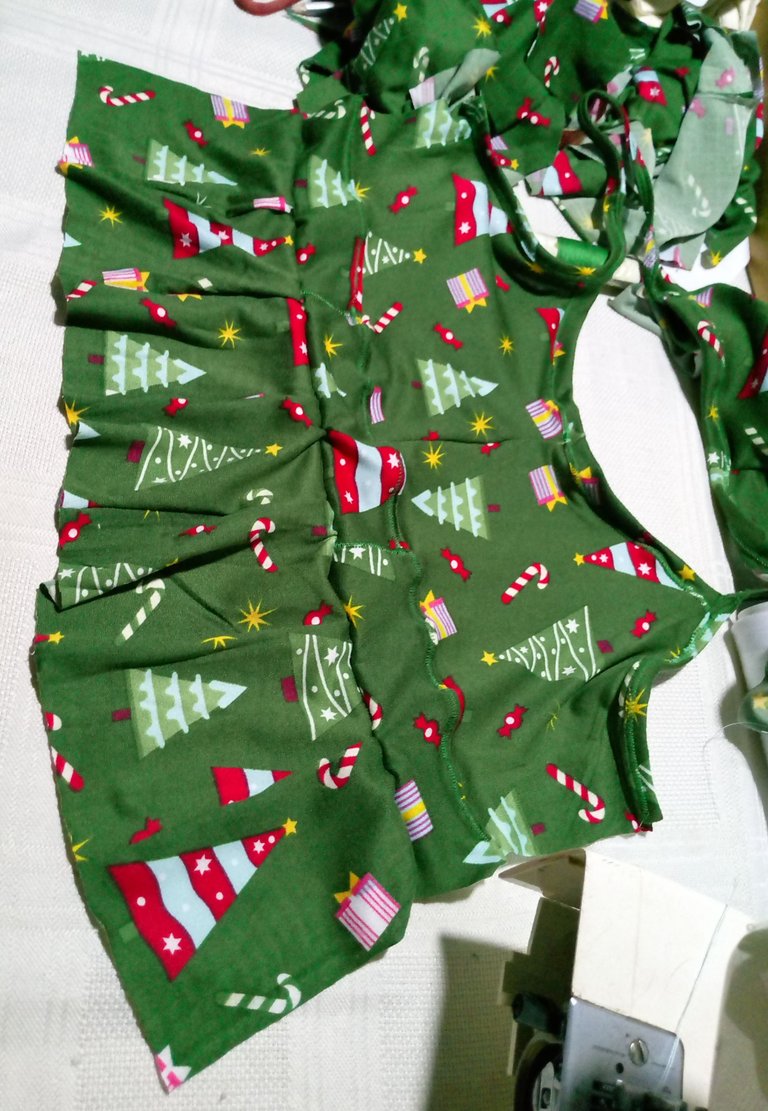
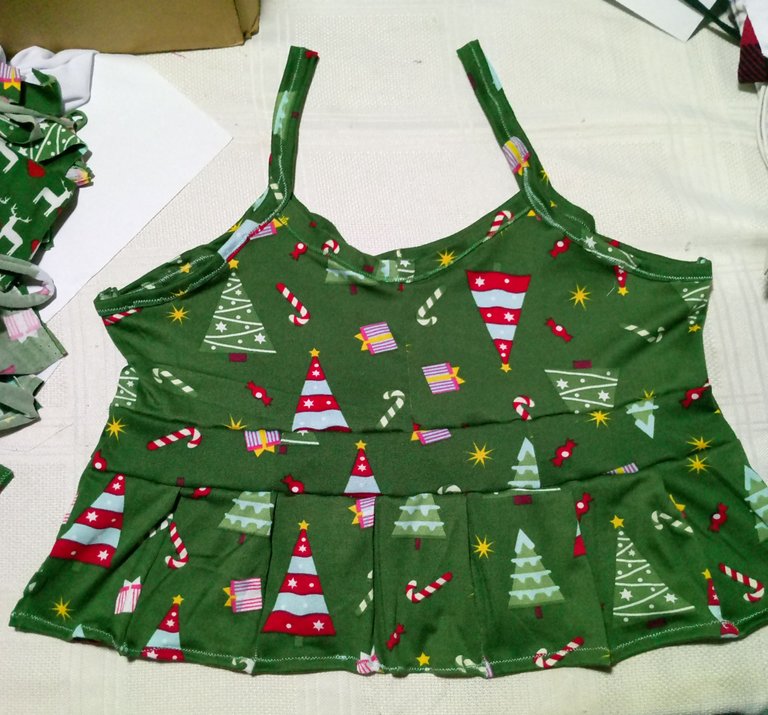
I made a beautiful top, but with the excitement I didn't realize how long it was, until my daughter tried it on, and I realized that I had overmeasured the length, so I left it, it looks comfortable to sleep, it is ideal, soft and frilly, hahahaha was what I told my daughter, hahahaha she loved it.
Logre un hermoso top, pero con la emoción no me percate del largo que había quedado, hasta que mi hija sé lo probo, y me di cuenta de que se me había pasado medir el largo, así lo deje, se ve cómodo para dormir, está ideal, suave y voladito, jajajaja fue lo que le dije a mi hija, jajajaja le encanto.

 |  |  |
|---|
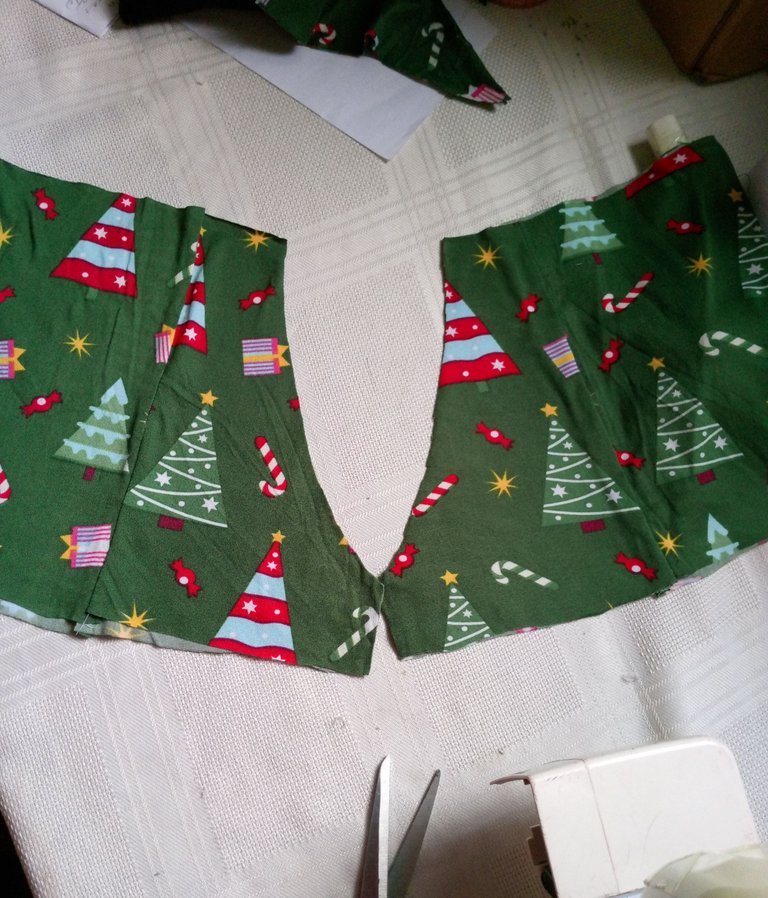
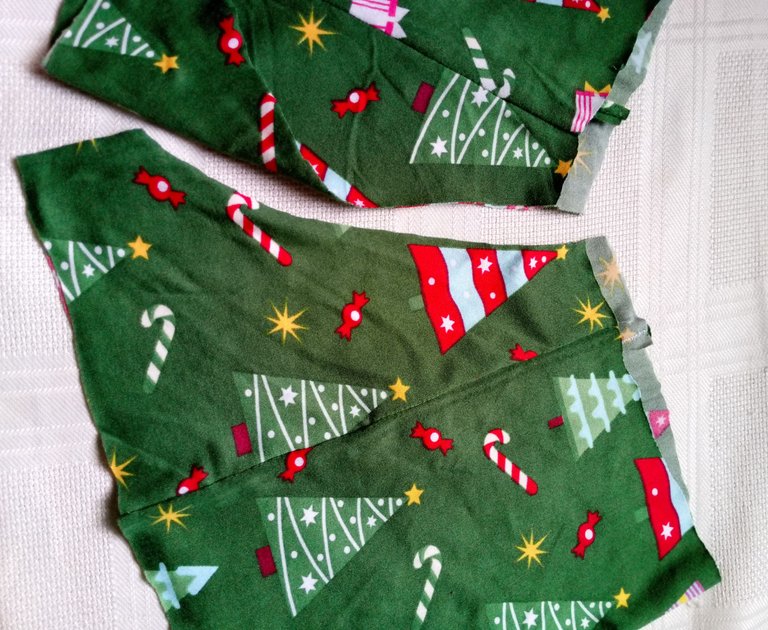
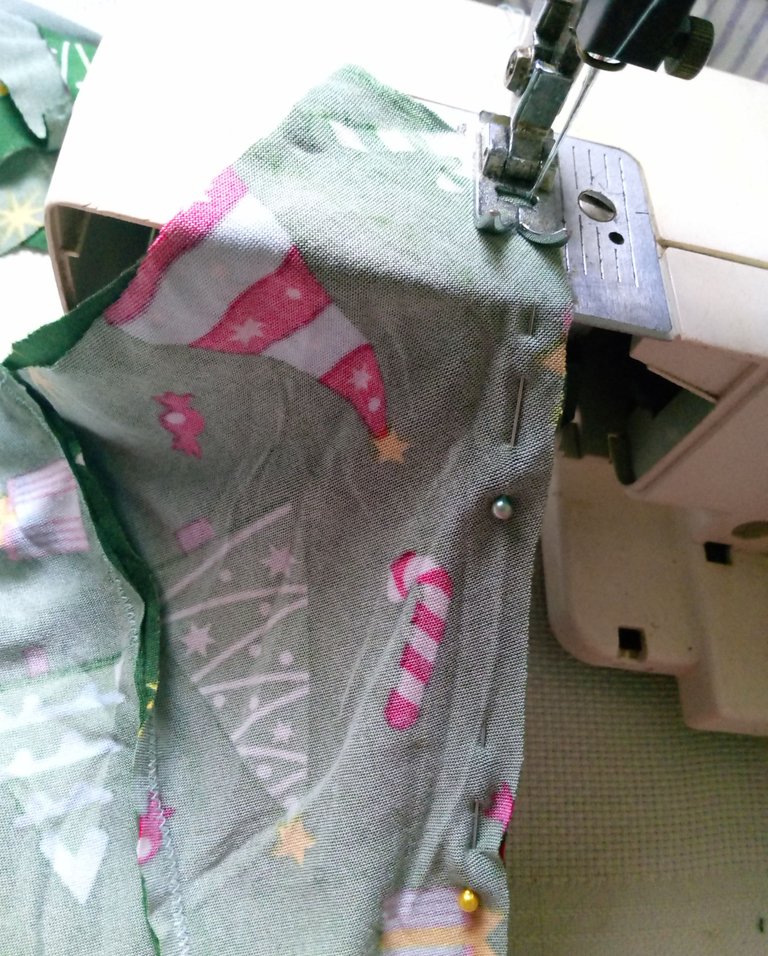
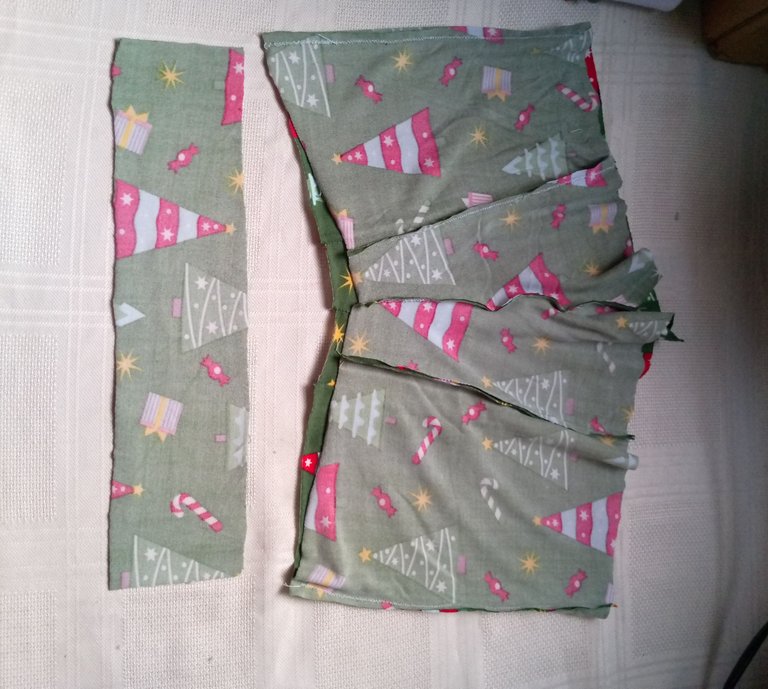
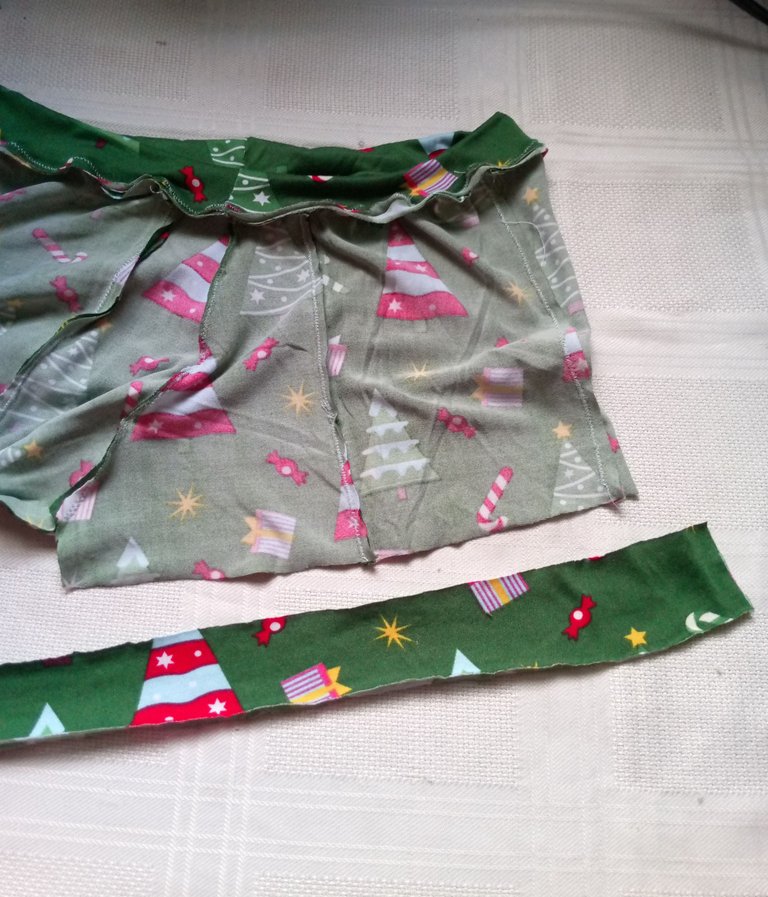
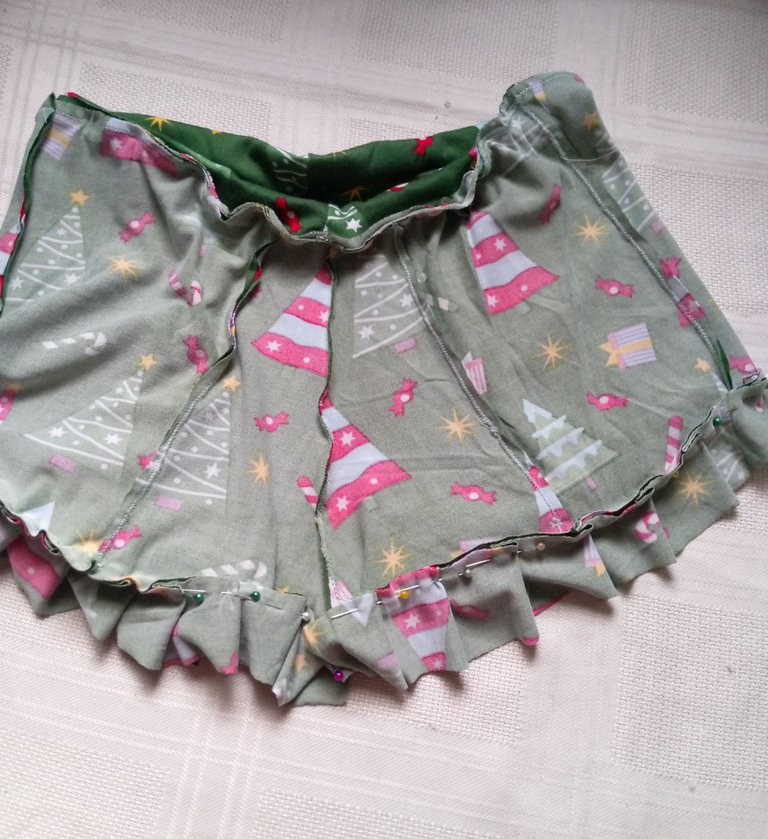
I started to make the shorts with 4 cut pieces, plus a ribbon for the leg ruffle and waistband, and started sewing the first 4 pieces.
Comencé a confeccionar el short con 4 piezas de corte, más una cinta para el volado de las piernas y la pretina, y comencé a coser las primeras 4 piezas.

 |  |  |
|---|
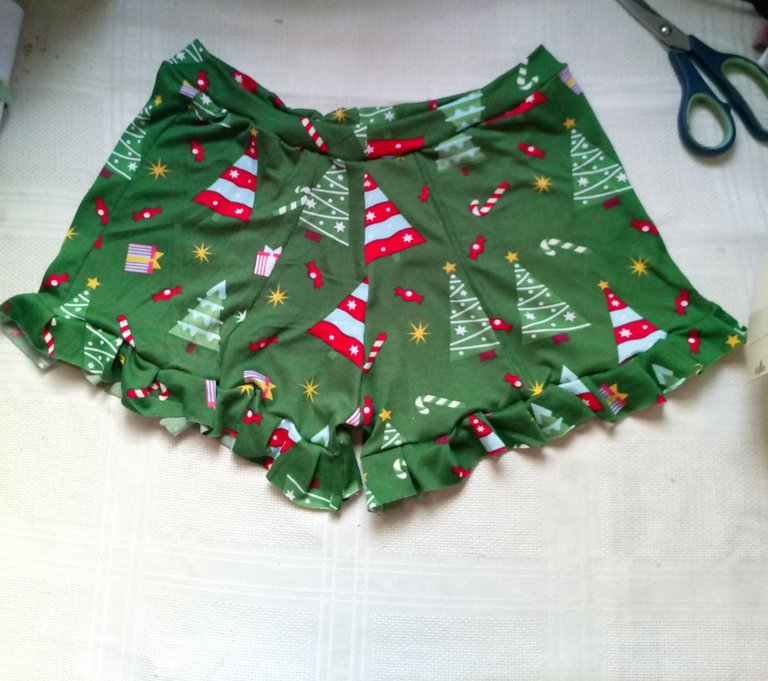
Completing the shape of the shorts, I made a cut on the front piece, then sewed the waistband, then sewed the ribbon for the ruffle in faralado.
At this point I had completed the 2 pieces of the pajamas, which my daughter will wear on the 24th to sleep.
I hope you like it and let me know with your motivating comments.
Completando la forma del short, hice un corte en la pieza delantera, luego cosi la pretina, despues cosi la cinta para el volado en faralado.
En este momento ya había completado las 2 piezas de la pijama, que va a usar mi hija el 24 para dormir.
Espero que les guste y me lo hagan saber con sus motivadores comentarios


social networks / redes sociales
Traductor Deepl
Translated Deepl
Ediciones Canva
Editions Canva


This looks really cute, the fabric and the style is really nice, and in line with the season we're in. Kudos to you!
Un trabajo precioso, le felicito por la creatividad.
Wow, this look so amazing, I love the fabric, the color and the style you created, greetings dear🙋🙋❤️
Congratulations @lauracraft! You have completed the following achievement on the Hive blockchain And have been rewarded with New badge(s)
Your next target is to reach 4750 replies.
You can view your badges on your board and compare yourself to others in the Ranking
If you no longer want to receive notifications, reply to this comment with the word
STOPCheck out our last posts:
This is absolutely beautiful, I love the pleated design made on it, it gave it a nice outcome, thanks for sharing.
Que bueno que apelar de que eran retazos te quedo la pijama muy bonita amiga.
Ese estampado y modelo esta lindo.
👍
You pleated it neatly.thos is awesome