Image designed by me with Canva and my photos
Hey beautiful people of Hive! I haven’t made a crochet post in a while. In fact, I haven’t completed the last project I introduced to you guys. That, I feel bad about. I haven’t dumped it though. I’ll definitely complete it and show you guys the final look.
My project today is something new that I haven’t tried before. A crochet bag! Actually, it wasn’t my plan to make the bag. It just happened that the yarn I got didn’t work well with the top I had in mind, so I decided to make a bag instead.
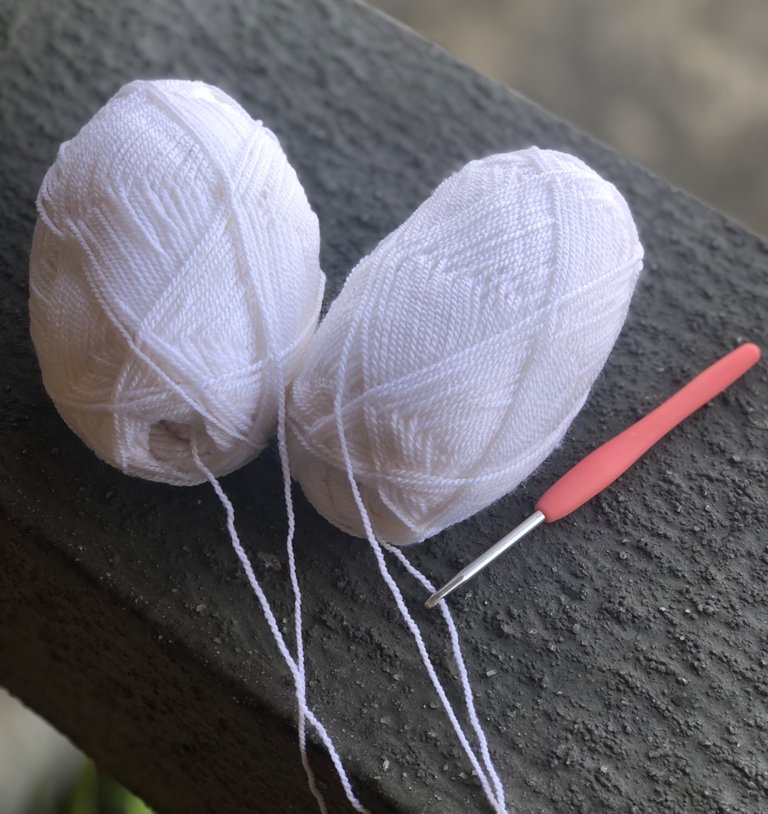
When I got to the shop to get yarn, I didn’t see white yarn of the brand I use, so I decided to try out another brand that I do not usually like to use. The yarn is strong and doesn’t stretch when crocheted. That’s why I don’t like it for making clothes. I only bought it because I was going to make the top with ribbing and I thought that it would definitely stretch with that. Well as you know, I was wrong. And I’d bought five balls. Since I’d been planning on crocheting a bag with that brand of yarn, I decided to just go right ahead and make a bag instead.
I worked with double crochet stitch using four strands of yarn at the same time in order to make it thick.
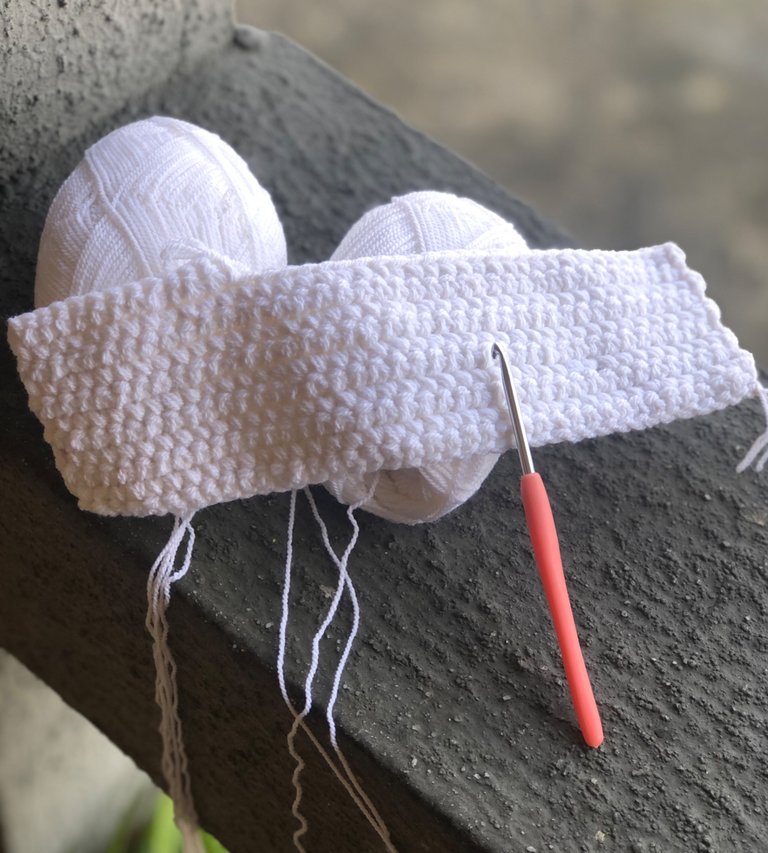
I made two rectangles — one for the front and another for the back. They were 39 stitches across with 27 rows.
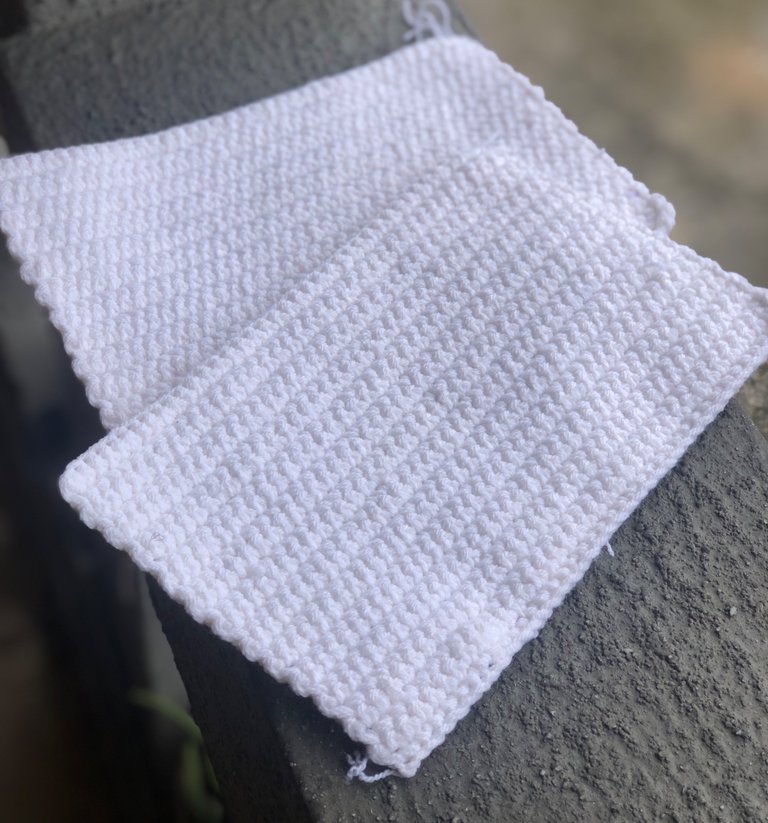
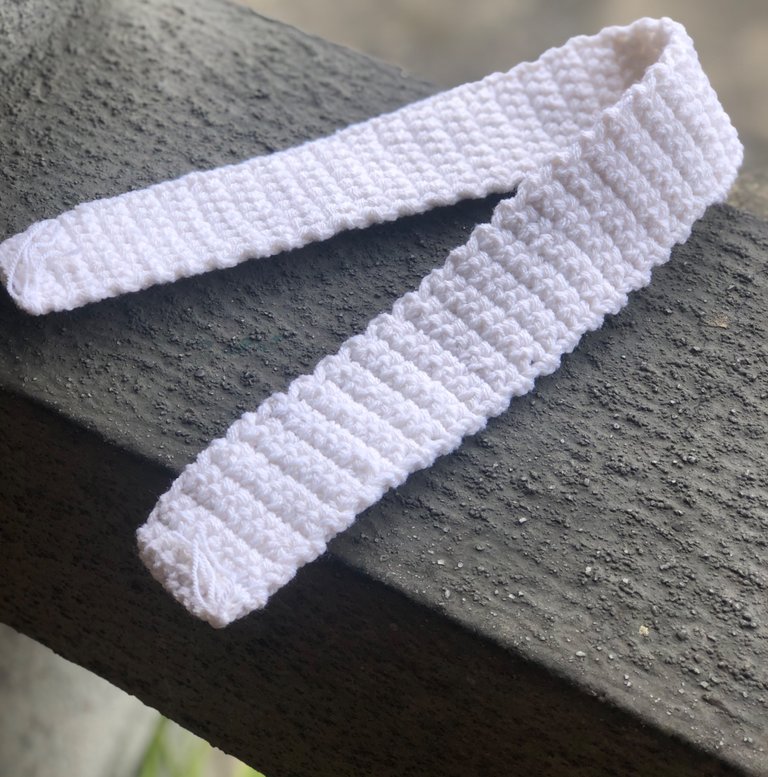
Then I made a long piece for the sides and bottom. I measured the sides of the rectangles to know how long the piece should be.
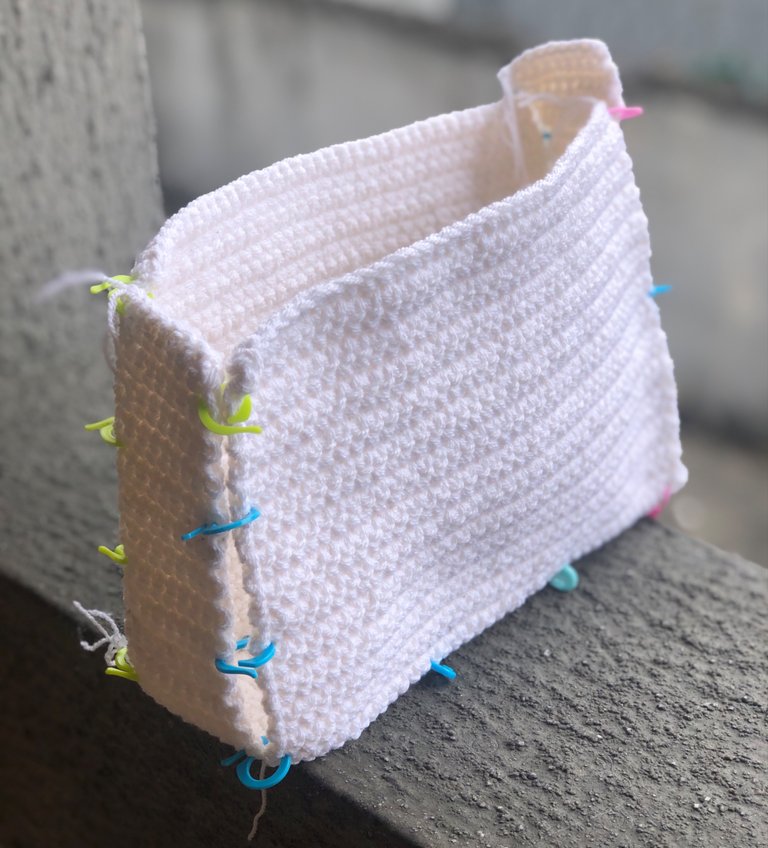
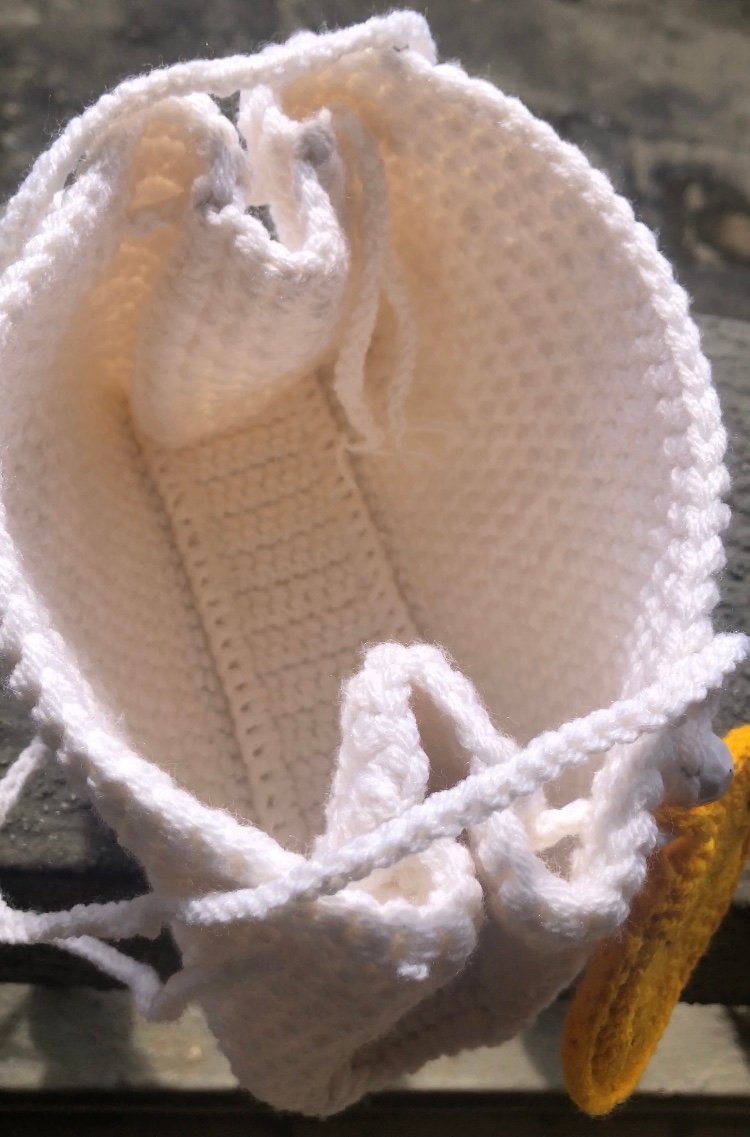
Then I joined the long piece to the two rectangles — front and back — using stitch markers so I could see if the length of the piece was good. It was actually longer than the front and back of the bag, but just a bit; so, I left it. The plan was to take out the excess rows when I’m joining them and I get there.
Then it was time to join them together. I took out the stitch markers to begin.
I used my crochet hook to join them together, not a darning needle. I crocheted one side of the long strip to the sides of one of the rectangles.
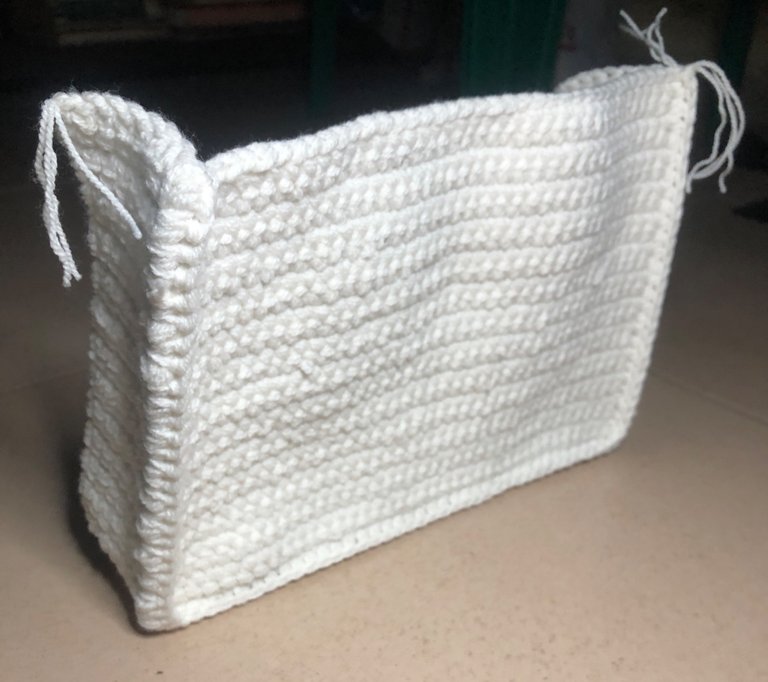
Then the other side of the strip to the sides of the second rectangle.
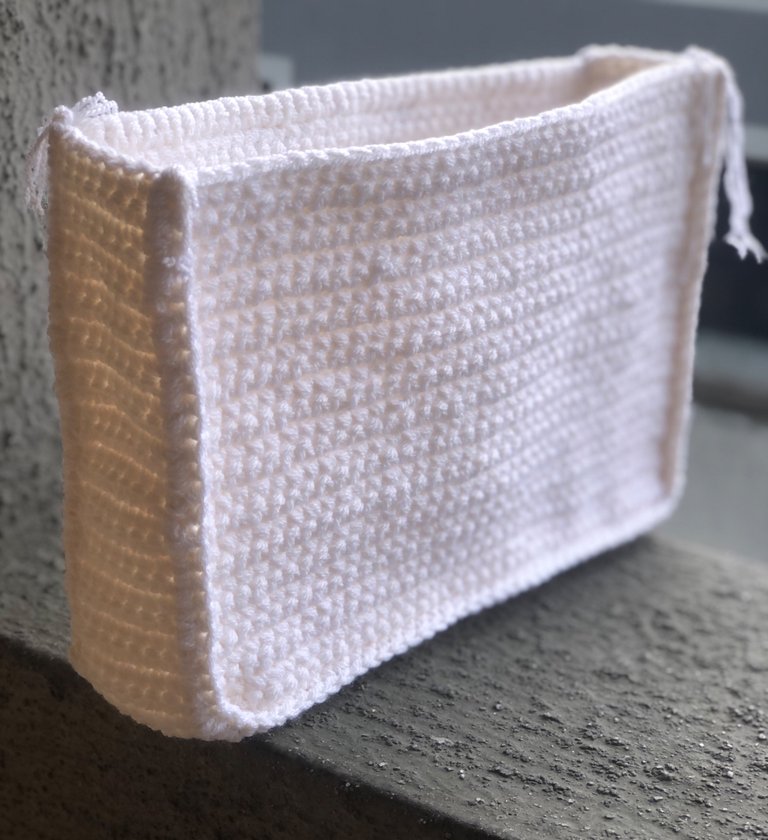
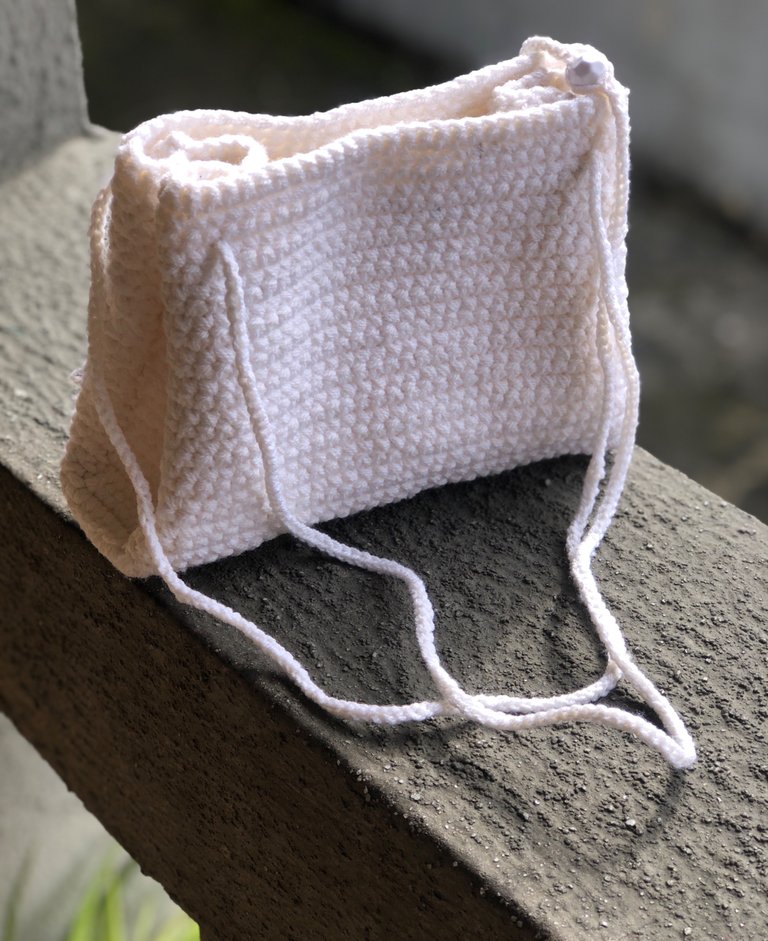
Having completed the joining, I turned the bag right side out. It was looking good!

Time for the straps! I made a long chord, adding a bead somewhere in the middle and then passed it through the body of the bag close to the top. The sides of the bag were pushed in and the way I fixed the straps kept that in place.
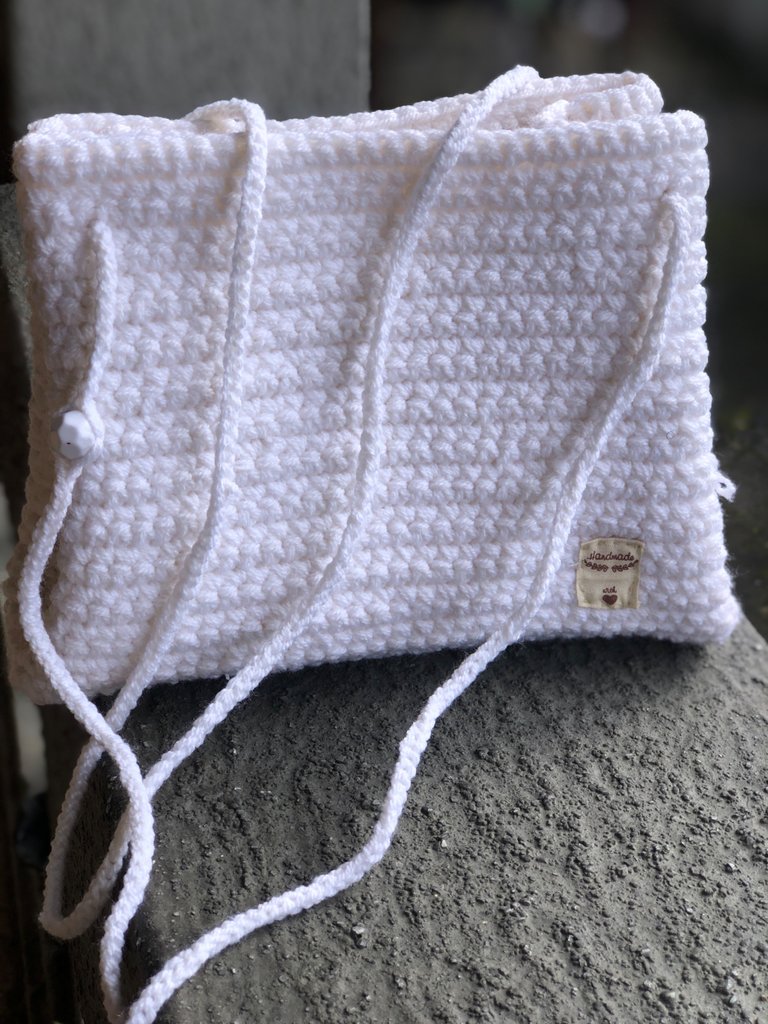
The ‘handmade with love’ cloth tags I’d ordered online had arrived about a week ago. Just in time for my project! I sewed a tag to the body of the bag at the bottom right corner.
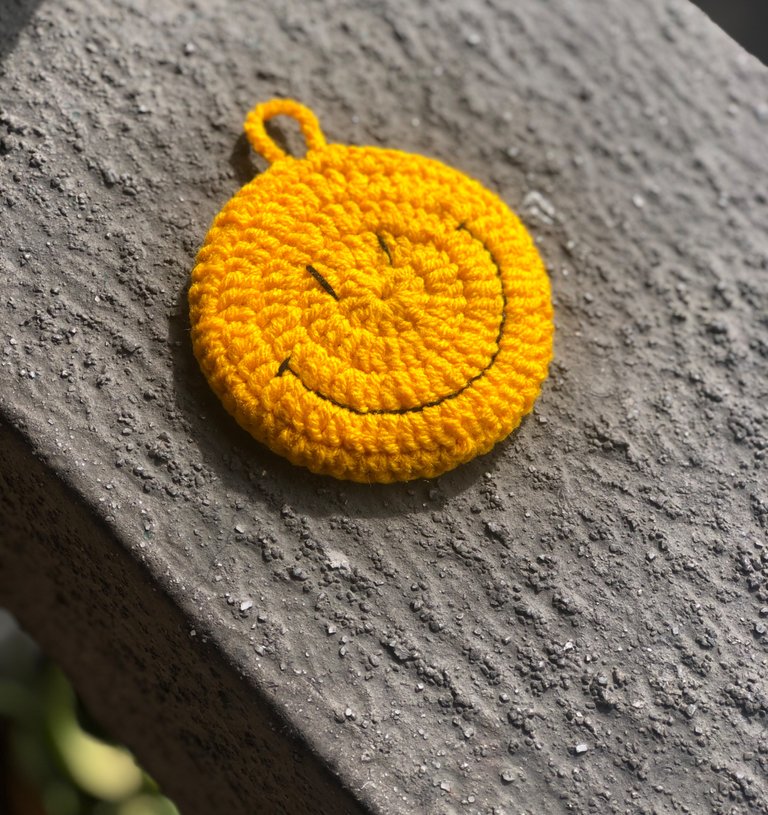
I spent the night crocheting a smiley to finish off the bag. I didn’t like the yellow yarn I’d bought because it looked kind of orange, but after crocheting the smile, I loved it! It looked so bright and sunny. I made the smiley by crocheting a circle and using black thread for the eyes and mouth. I didn’t get black yarn, so I used a couple of strands of sewing thread with a crochet hook.
I hung it on the strap at the left and let it drop down. And my bag was complete! How does it look, guys?
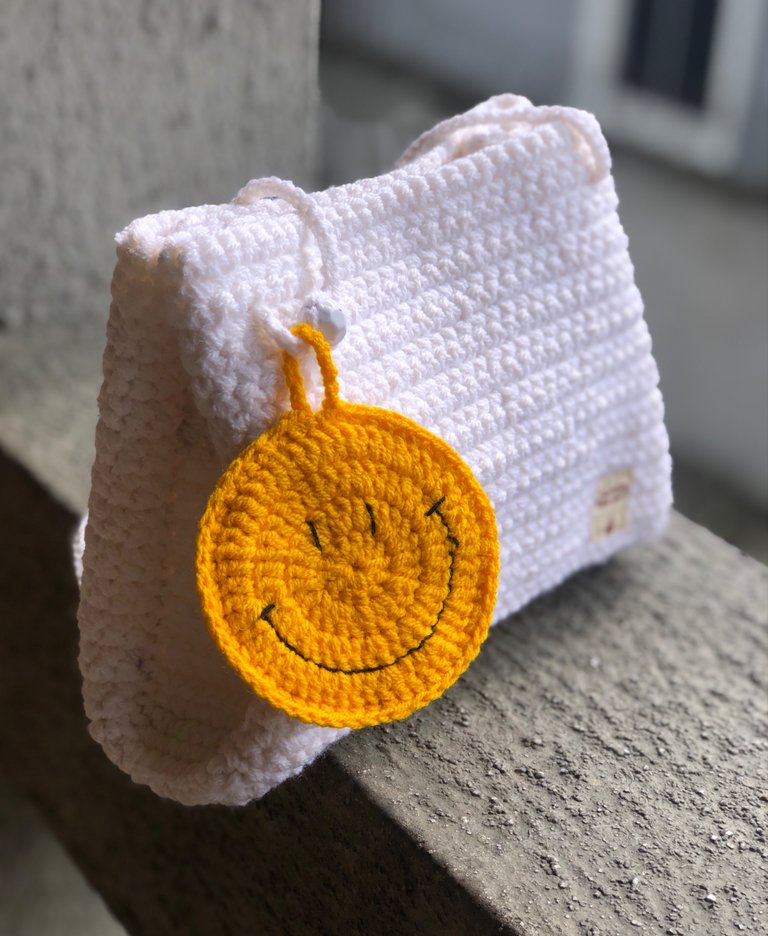
I spent three days on this project and used up four and a half balls of 40g yarn.For the bag and straps, I used a 4mm hook, while for the smiley, I used a 2.5’m hook.
There’s this feeling of satisfaction that comes when your creation comes out as good as you expected. It felt so good to see the finished look of my bag. I keep looking at the bag from time to time amazed at how pretty and fancy it look.
Thanks for staying till the end, guys. Till next time, ciao!
All images are mine, unless stated otherwise.
Wow this is such a beautiful bag you made, keep up the good work.
😊Thank you, Vickoly.
The bag is so cute, I love the smiley handle you attached to it❤️
😊Thank you @blezyn! The smiley made it come alive.
Thank you for sharing this amazing post on HIVE!
Your content got selected by our fellow curator tibfox & you just received a little thank you upvote from our non-profit curation initiative!
You will be featured in one of our recurring curation compilations which is aiming to offer you a stage to widen your audience within the DIY scene of Hive.
Make sure to always post / cross-post your creations within the DIYHub community on HIVE so we never miss your content. We also have a discord server where you can connect with us and other DIYers. If you want to support our goal to motivate other DIY/art/music/gardening/... creators just delegate to us and earn 100% of your curation rewards!
Stay creative & hive on!
Thank you!
@tipu curate 2
Upvoted 👌 (Mana: 15/55) Liquid rewards.
Thank you.
Sorry friend how can I use tipu
It's a very nice job :3 It's good that even though the initial purchase didn't go well, you were able to put the material to good use.
Yeah, that’s quite satisfying. Thank you so much @youyowi.
The bàg look so beautiful, I love the way you design it
😊Thank you so much @mosesessien!
It’s sooo cutee🥹🥰
I’d like one of those please lol
Awn … thank you, Kamarah. 😮U really want one?
Beautiful work, the light colored yarn always looks very elegant
Thank you so much. Yes, there’s just something about these colours!
Congratulations @philomenob! You have completed the following achievement on the Hive blockchain and have been rewarded with new badge(s):
Your next target is to reach 5000 upvotes.
You can view your badges on your board and compare yourself to others in the Ranking
If you no longer want to receive notifications, reply to this comment with the word
STOPCheck out the last post from @hivebuzz:
Support the HiveBuzz project. Vote for our proposal!