ENGLISH CONTENT
Hello to all the members of this community and sewing lovers! On this occasion I come to show you a perfect project for people who are sensitive when it comes to sleeping. Has it ever happened to you that you are sleeping peacefully and are woken up by the sun's rays coming through the window or the imprudent turning on of the light in the room? Well, don't suffer any longer and use a sleep mask 😊 I recommend them to you, since I started using them, I can't sleep without them and I have never been woken up by the action of light again.
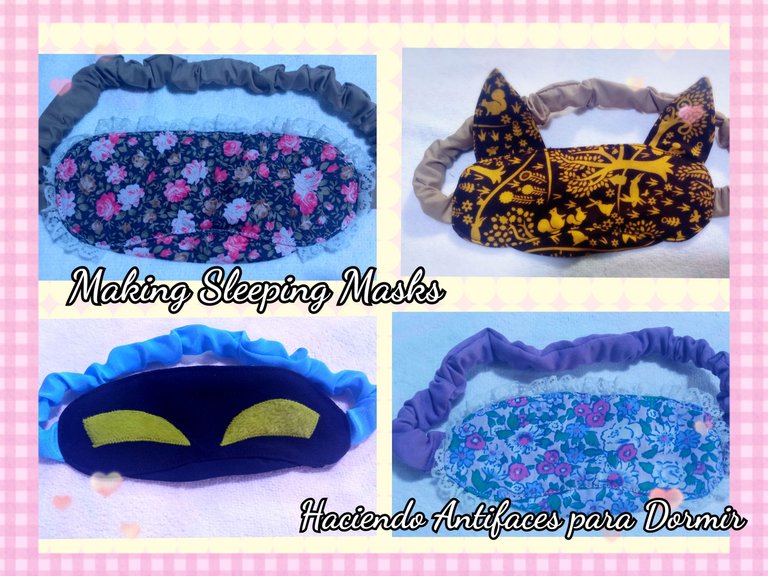
I made my mask several years ago, so I thought I would make a new one and, taking advantage of this, I also decided that I would make a few more to give as gifts. Looking through my fabrics, I found some with very pretty prints, as well as the rest of the materials I needed. I had already made these same masks in the past to give as gifts and to sell, so I have had the pattern ever since.
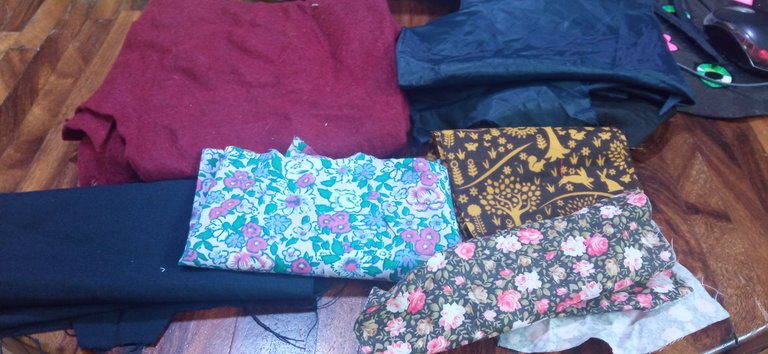
Well, to make the mask I cut three pieces in the same way: one in the fabric of my choice, another for lining and the other, in felt but without the seam allowances. This time I added an extra piece in an almost oval shape, of the printed fabric; I had not used this piece before, but I saw that some masks have it and I thought of adding it, since it prevents light from filtering through the area where the nose slopes.
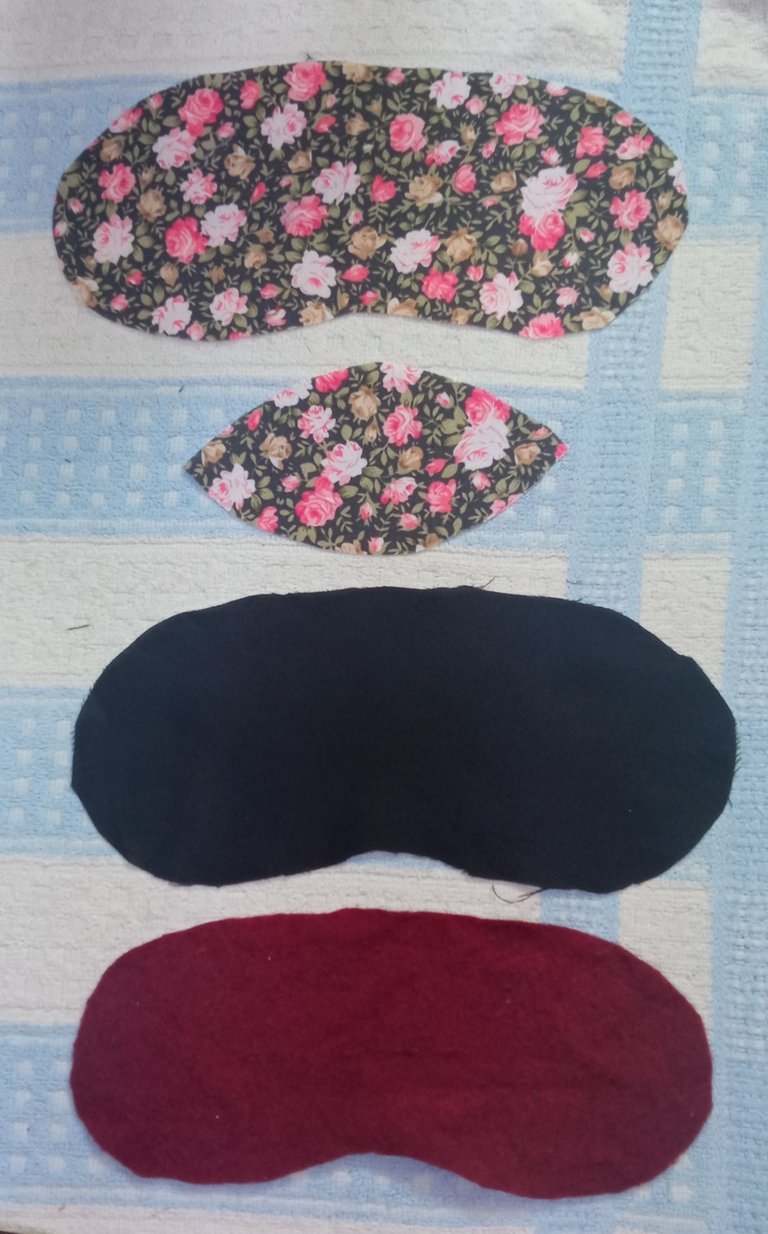
In addition to that, I cut a piece of rubber, long enough to cover half the contour of my head and a larger strip of fabric.

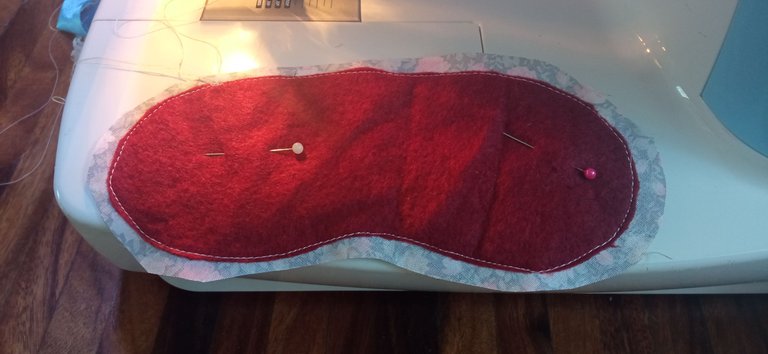
Once I had the fabric cut, I proceeded to assemble the mask. First I started by sewing the felt piece to the printed piece, all around the edge. I did this to secure the pieces and prevent the felt from moving during the whole process.
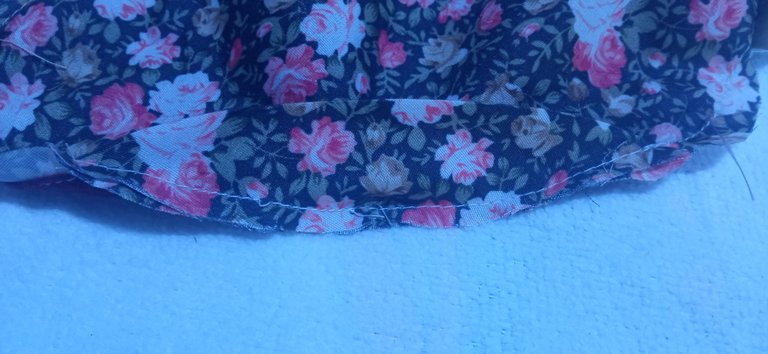
Then, I folded the small piece and ironed it, proceeding to sew it to the bottom of the mask as seen in the photo. As I mentioned, I know two versions of masks, those that have this piece and those that don't, so it's up to you to decide if you want to put it on, but I do confess that the little piece helps to keep the light from filtering into the area where the dark circles begin.
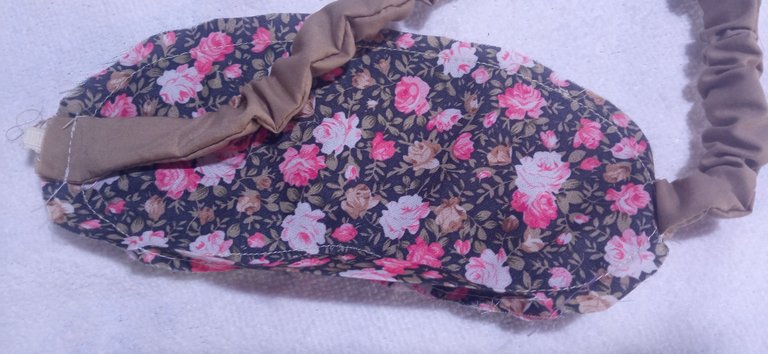
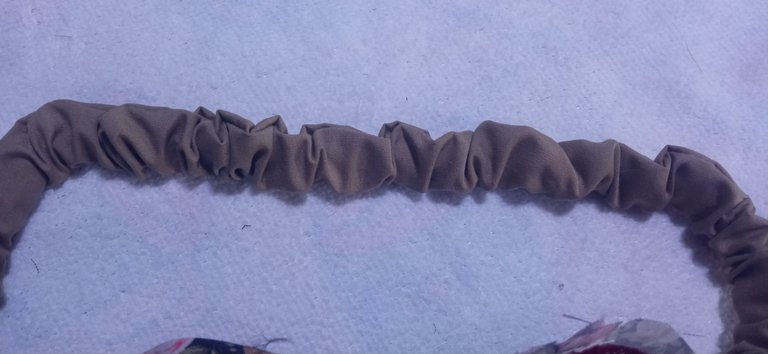
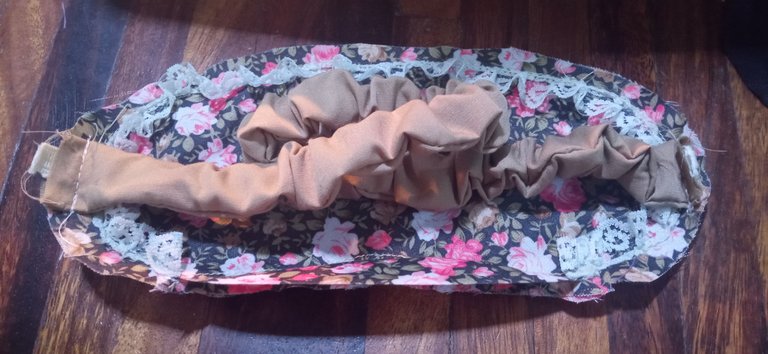
As for the long strip of fabric, I folded it and closed it to turn it over so I could insert the elastic, sewing both ends to the ends of the mask, as seen in the photos.
 |  |
|---|
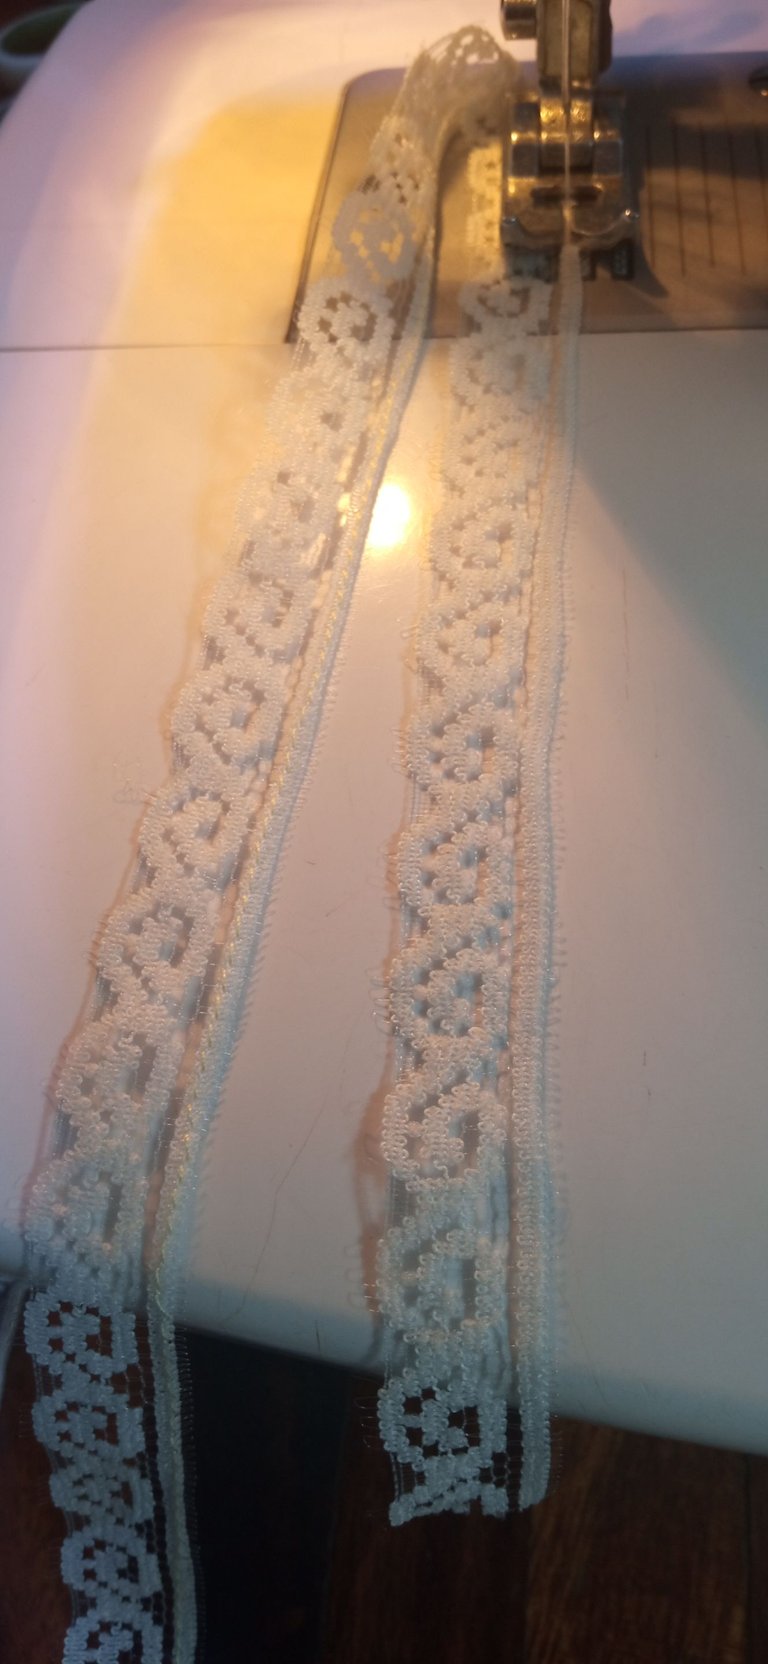
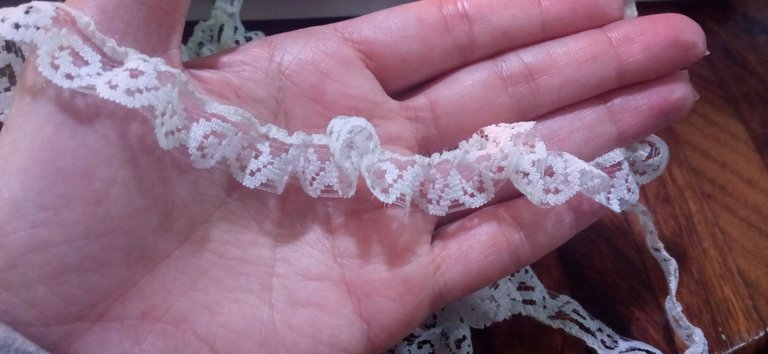
For decoration purposes, for this particular mask, I decided to use some lace, which I gathered by making a straight stitch around the entire edge and then pulling the thread through.
 |  |
|---|
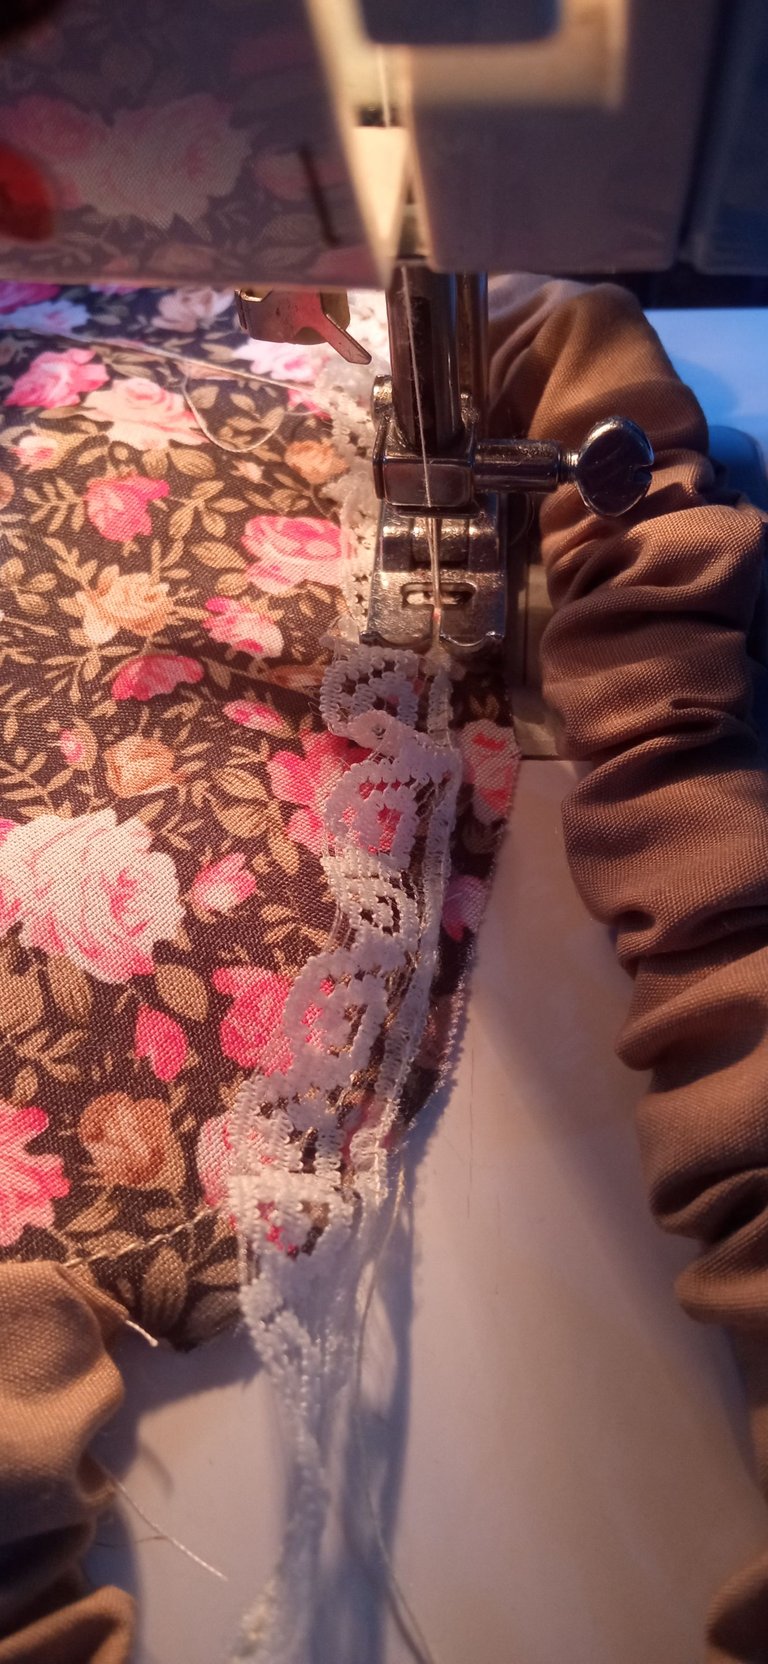
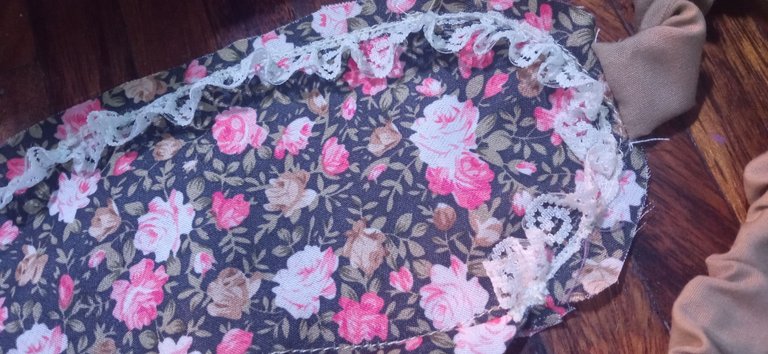
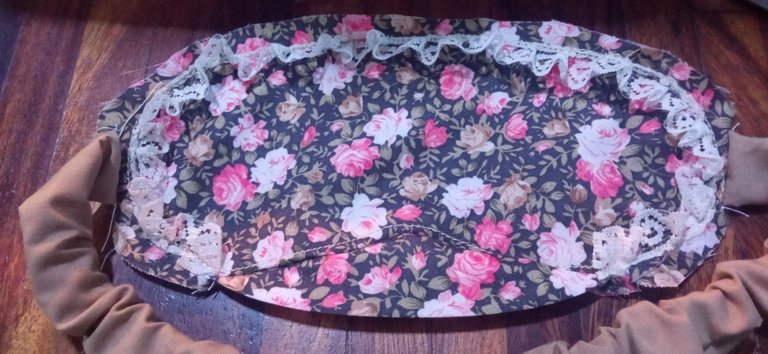
After this, I sewed the lace around the entire edge of the mask, following the seam I made when sewing the felt.
 |  |  |
|---|
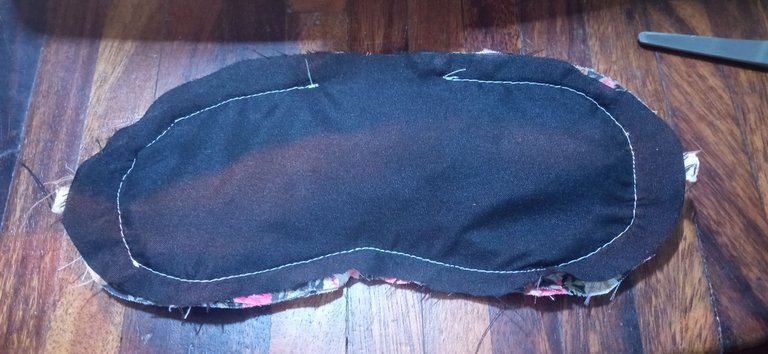
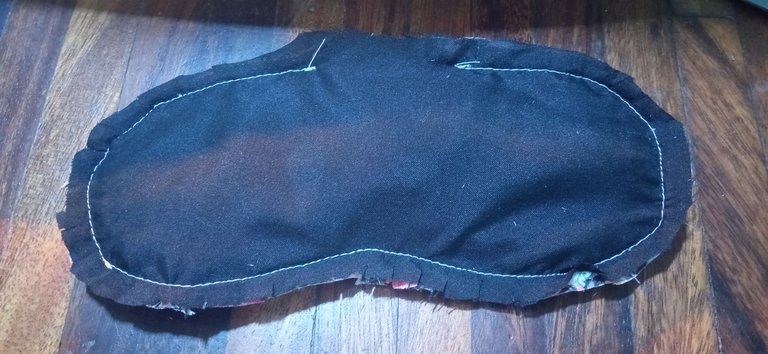
The next step was to sew the lining piece, making sure that the elastic part was well seated and leaving an opening so that the piece could be turned over. I used the same sewing guide that I used to sew the felt and lace. I cut off the excess fabric and made some notches in the curves so that the fabric would give when the piece was turned over.
 |  |  |
|---|
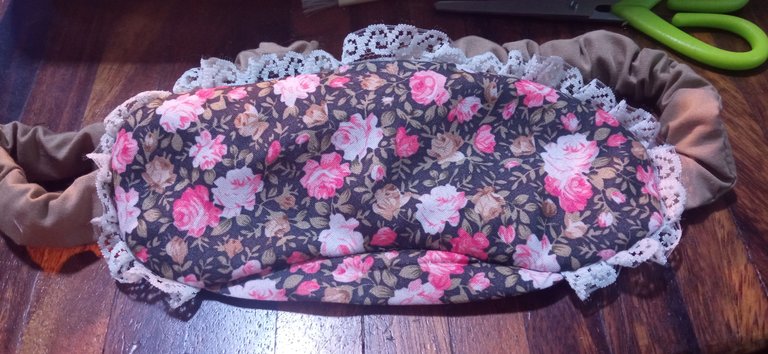
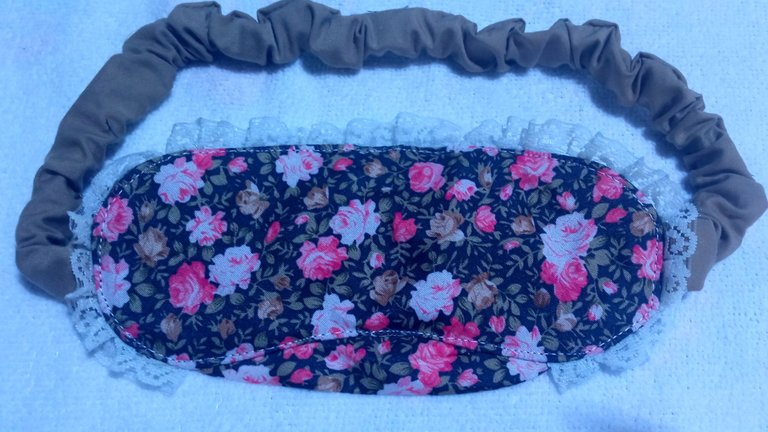
I turned the mask over and finally, I sewed a seam around the entire edge to close the opening I had left.
 |  |
|---|
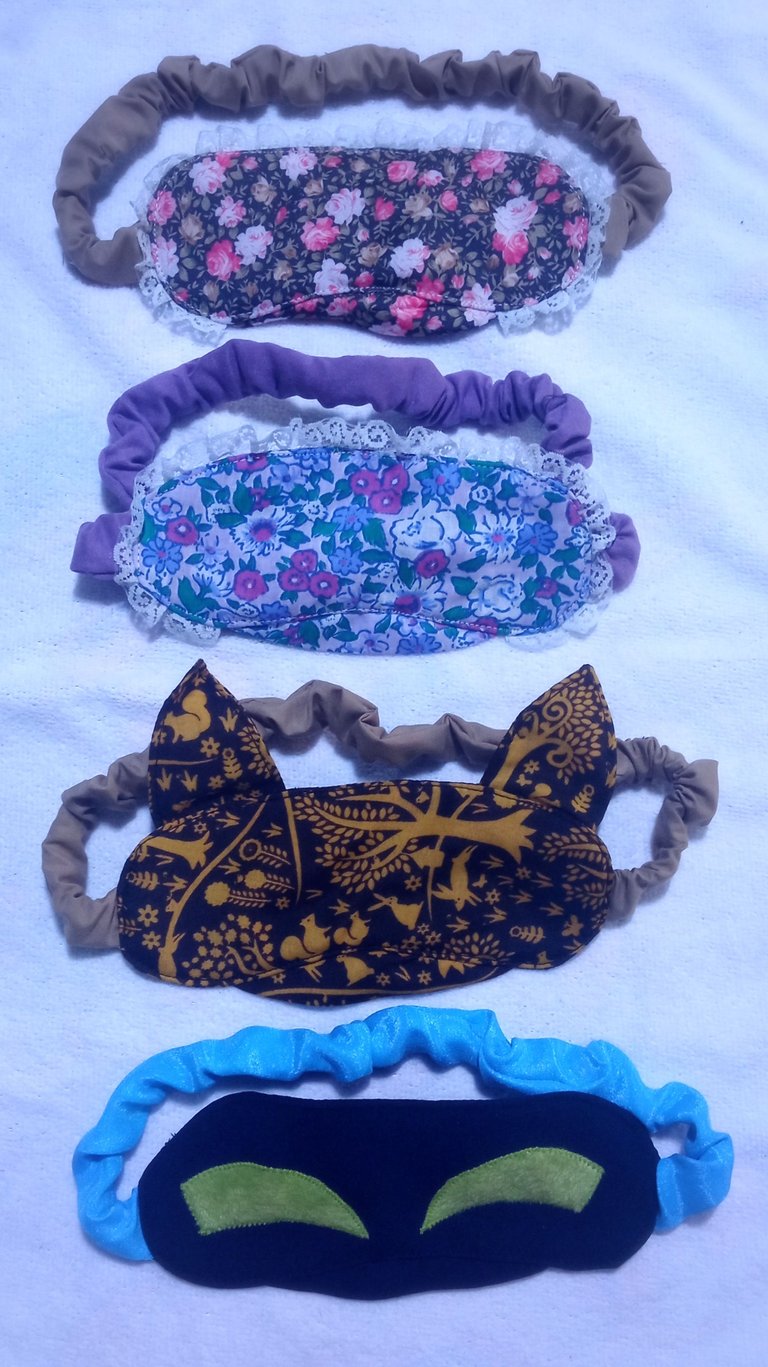
As you can see, it is a simple project and not only that, I can assure you that it is perfect for sleeping anywhere, regardless of the appearance of natural or artificial light, once you use it, you will love it 😉. As for its shape, you can decorate it to your liking, I made several, as I mentioned, and you can appreciate some design liberties:
Thank you very much for visiting my post. I hope you found it interesting.
💚 Until next time! 💚

CONTENIDO EN ESPAÑOL
¡Hola a todos los integrantes de ésta comunidad y amantes de la costura! En ésta ocasión les vengo a mostrar un proyecto perfecto para las personas que son sensibles a la hora de dormir ¿Les ha pasado que están durmiendo plácidamente y son despertados por los rayos del sol que se cuelan por la ventana o el encendido imprudente de la luz de la habitación? Pues, no siga sufriendo y utilice un antifaz para dormir 😊 Se los recomiendo, desde que comencé a usarlos, no puedo dormir sin ellos y nunca volví a ser despertada por acción de la luz.

Mi antifaz tenía ya varios años que lo hice, así que pensé en hacerme uno nuevo y aprovechando, también decidí que haría unos cuantos más para regalarlos. Buscando entre mis telas, hallé algunas con estampados muy lindos, así como el resto de materiales que necesitaba. Ya en el pasado había hecho de estos mismos antifaces para regalar y para la venta, así que el molde, lo tengo desde entonces.

Bien, para elaborar el antifaz yo corto tres piezas de la misma forma: una en la tela de mi preferencia, otra de forro y la otra, en fieltro pero sin los aumentos de costura. Ésta vez le anexé una piecita extra en forma casi ovalada, de la tela estampada; anteriormente no usaba ésta pieza, pero vi que algunos antifaces la traen y pensé en añadírsela, ya que evita que la luz se cuele por la zona del declive de la nariz.

Adicional a eso, corté un pedazo de goma, lo suficientemente largo para que cubriese el medio contorno de mi cabeza y una tira más grande de tela.

Ya teniendo la tela cortada, procedí a armar el antifaz. Primero comencé cosiendo la pieza de fieltro a la pieza estampada, por todo el borde. Esto lo hice para fijar las piezas y evitar que el fieltro, se moviese durante todo el proceso.

Luego, doblé la pieza pequeña y la planché, procediendo a coserla en la parte inferior del antifaz como se ve en la fotografía. Como les comenté, conozco dos versiones de antifaces, los que tienen esa pieza y los que no, así que ustedes deciden si se la colocan, pero si confieso que la piecita, ayuda a que no se filtre la luz en la zona del inicio de las ojeras.

En cuanto a la tira de tela larga, la doble y cerré para voltearla y así, poder introducirle la goma, cosiendo ambos extremos a los del antifaz, como se ve en las fotos.
 |  |
|---|
A modo de decoración, para éste antifaz en particular, decidí usar un poco de encaje, el cual fruncí al hacerle una costura recta en todo el borde y luego, jalando el hilo.
 |  |
|---|
Tras esto, cosí el encaje por todo el borde del antifaz, guiándome con la costura que hice al coser el fieltro.
 |  |  |
|---|
La siguiente parte, fue coser la pieza correspondiente al forro, procurando que la parte de la goma, estuviera bien acomodada y dejando una abertura para poder voltear la pieza. Usé de guía de costura, la que utilicé para coser el fieltro y el encaje. Corté el excedente de tela y le hice unos piquetes en las curvas, para que la tela cediese al voltearse la pieza.
 |  |  |
|---|
Volteé el antifaz y finalmente, le realicé una costura en todo el borde para cerrar la abertura que había dejado.
 |  |
|---|
Como pueden ver, se trata de un proyecto sencillo y no sólo eso, les puedo asegurar de que es perfecto para dormir en cualquier lugar, sin importar la aparición de la luz natural o artificial, una vez que lo usen, lo amarán 😉. En cuanto a su forma, se pueden decorar a nuestra preferencia, yo hice varios, como les mencioné y pueden apreciar algunas libertades de diseño:

Muchas gracias por haber visitado mi publicación. Espero que les haya parecido interesante.
💚 ¡Hasta una próxima oportunidad! 💚

The rewards earned on this comment will go directly to the people( @suezoe ) sharing the post on Reddit as long as they are registered with @poshtoken. Sign up at https://hiveposh.com. Otherwise, rewards go to the author of the blog post.
That's so cool! I have tried store sleeping masks, but I couldn't sleep in them because they were not so comfortable. Yours look super comfortable. Great work!
Oh! I've never had the chance to use a store-bought one... maybe the elastic was a bit pressed, which is what happens when the elastic is new 😆 or maybe it was the type of fabric 🤔 luckily, the ones I've made and given away, people have told me that they are comfortable and that they always wear them, so I'm glad to know that even in photos, they look comfortable 😊 Thank you very much for visiting my post and for commenting 😘💚
¿ᴺᵉᶜᵉˢᶦᵗᵃˢ ᴴᴮᴰ? ᵀᵉ ˡᵒ ᵖʳᵉˢᵗᵃᵐᵒˢ ᶜᵒⁿ @ruta.loans
This is so cool, instead of buying, you just created yours. As for me, I only use a hanky to cover my eyes. And covering the eyes when light is on is really helpful, it can make me sleep in a minute. I also have eye cover, but I never really use it.
Hehehe that's right, I'm used to trying to do the things I need (if possible 😆), the good thing is that, in these cases, you can have the things of the theme of your preference 😌 Oh... Why do you prefer a handkerchief? 😆 At least in my case, I move too much and a handkerchief is impossible to stay on my face all the time, not to mention that the mask also prevents you from rubbing your eyes when sleeping (sometimes I do that 🙃). Go ahead and try using the mask again 😉 Thank you very much for visiting my post and for telling me about your experience 🤗💚
Amazing you are really creative
Thank you very much, I'm glad you think so 😊💚
Congratulations, your post has been curated by @dsc-r2cornell. You can use the tag #R2cornell. Also, find us on Discord
Felicitaciones, su publicación ha sido votada por @ dsc-r2cornell. Puedes usar el tag #R2cornell. También, nos puedes encontrar en Discord
I've never made one like this, and it's about time I avoid the hassle of the light, I already want mine, so I'll take all this class to make me one very soon.😊❤️
Oh, try it! You don't need a lot of material, it's quick and easy to make, but the best thing of all is that it really works. It may seem strange to use at first, and that's normal, but once you get used to it, you can't sleep without using it 😆 Thank you very much for visiting my post and for commenting, I hope you can put it into practice 🤗💚
😃Thank you
Sues, está interesante el detalles que le agregaste para que no entre la luz. Los diseños están súper divertidos. ¡Gran trabajo!.
Y eso que el primer modelo que hallé hace años, no tenía esa pieza, pero ahora que la agregué, si noto que ayuda mucho más a evitar que la luz ingrese por la parte inferior del antifaz que en ocasiones, suele moverse un poco mientras dormimos 😌 jeje Tengo en mente hacer diseños nuevos más atrevidos para mis futuras creaciones 😜 Muchas gracias por haber visitado mi publicación y por comentar, me alegra que haya sido de tu agrado 😉💚
I definitely will try it out...thank you for sharing
I hope it really works for you 😌 Thank you very much for visiting my post and for commenting 🤗💚