What is a Folly anyway? In my last post, I talked about this folly I made for my friend Lisa and never really gave an explanation of the word. Well, a Folly is a piece of architecture in a garden purely for decorative purposes. Lisas one did have a use but not having a child at the time showed how young at heart she was. This is one of the things I like most about her, she also has brains to burn. She thought it would be fun and look cool. I am happy to say that it did. With this post, I wanted to talk you through the process of making it in case anyone out there would like to build similar and I'll explain some of the things I had to do to make it a reality.
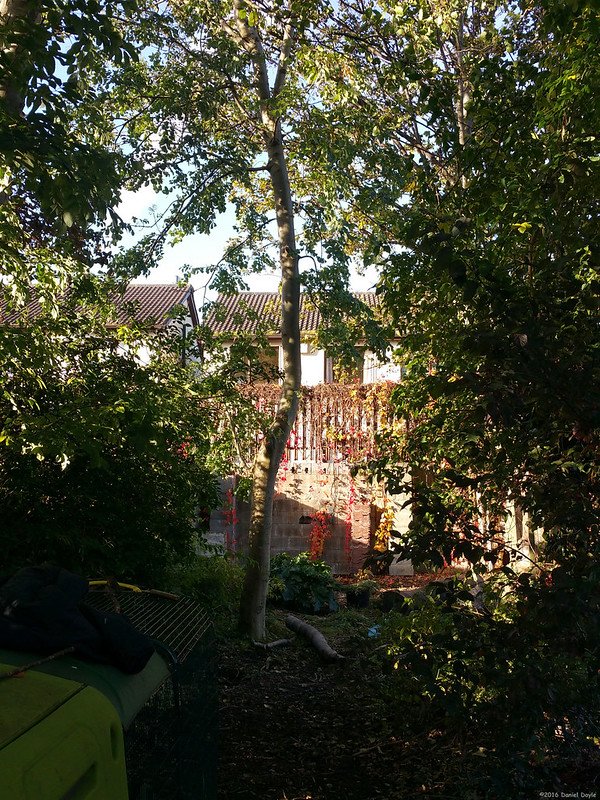
The area she wanted it made was a bit overgrown, beside a chicken coop in her garden. It was an old, unkempt garden with nature trying to pull it back to the bosom of mother earth.
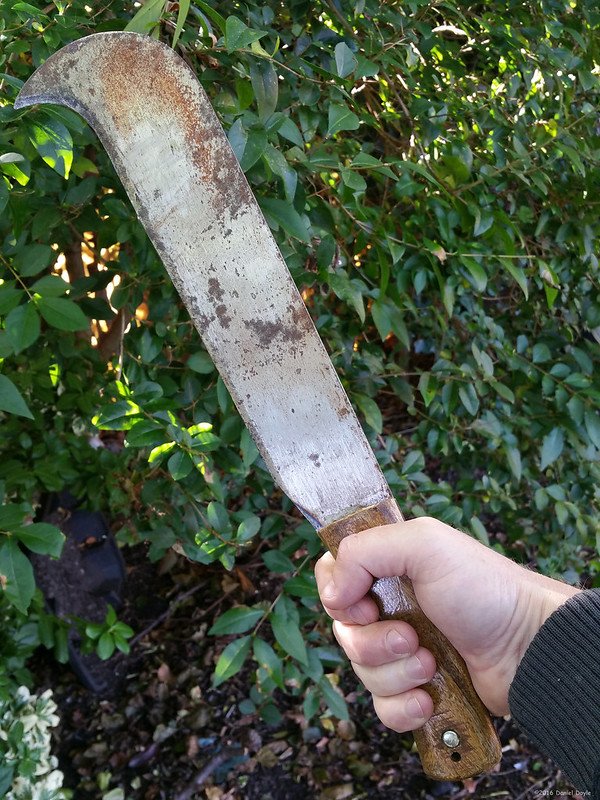
I wasn't going to let that happen. With my trusty machete, I attacked the weeds and made a clearing.
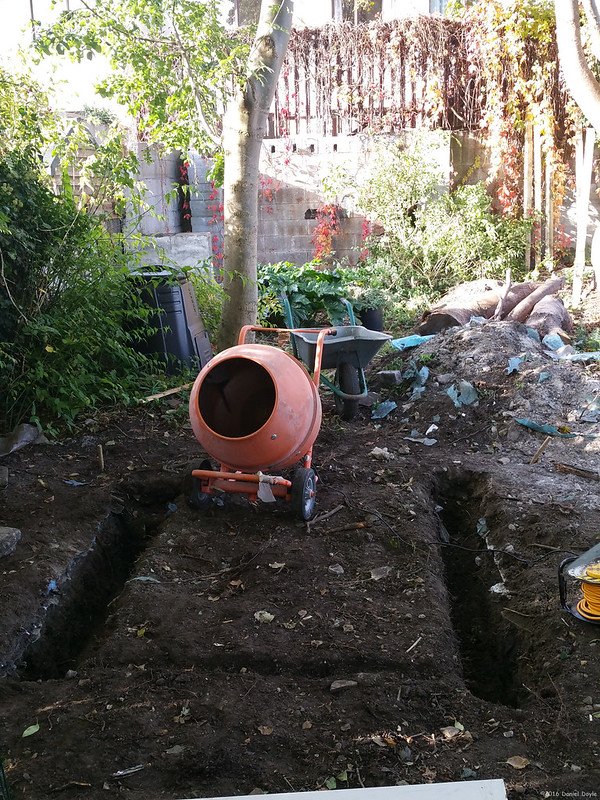
I knew that to make this structure I would need to start with some sort of foundation. The timber would surely rot if I built straight on top of the soil so, I began to dig two trenches.
This was in an old part of Dublin city and as I dug down I came across the remnants of old buildings long since gone. I had to dig through lots of rubbish and then a tiled floor I found beneath it. In the old days people would just dump their rubbish in a corner of the garden and there must have been an older building there at one point. Most had rotted away but there was still some broken porcelain and bits of metal.
I was like an archaeologist digging down through history until I could find a strong base to build upon.

Lisa's father gave me a loan of a cement mixer and I mixed up some concrete to fill the trenches. They were probably overkill in depth but I had to dig pretty deep till the ground become strong. I saved all the rocks I could to help my concrete stretch further even then, it was many mixes to get back up to ground level.
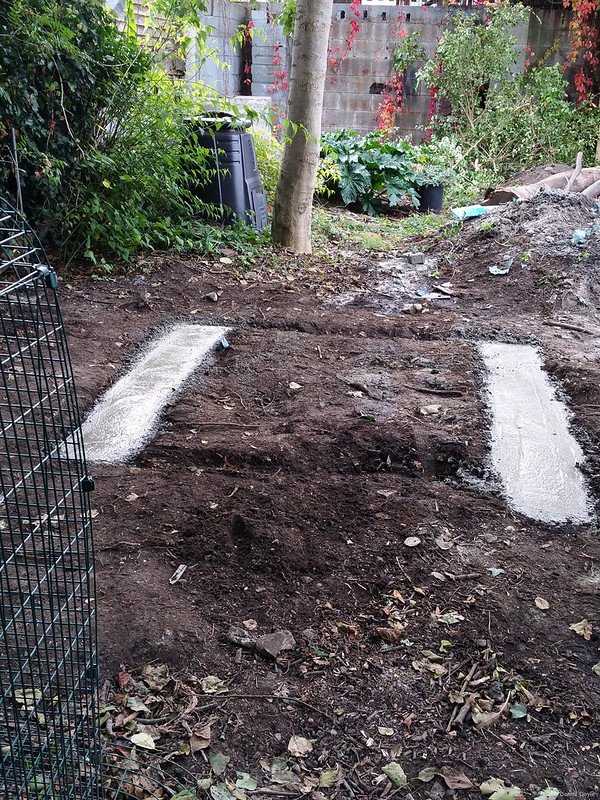
Many bags of cement, gravel and sand later and my foundations were finished. I levelled them to each other with a spirit level and then had to wait till the mix cured. I gave it two weeks. I figured it would be strong enough to start but from what I understand it would reach full strength after around 28 days.
This gave me time to design and get materials together.

I used Rhino Cad program as it was one I was familiar with. I have since moved to Blender because it is free and can do everything I want. It was a simple enough design but working out the joints to get the strength right was something I was not sure of. I always find it easier to engineer as I go with the materials in my hand.

I have uploaded this model to Sketchfab if you want a copy. It is a good base to start your design from. You will find it Here . I usually make a 3D model of things I am going to make to work out materials and see how joints will come together.
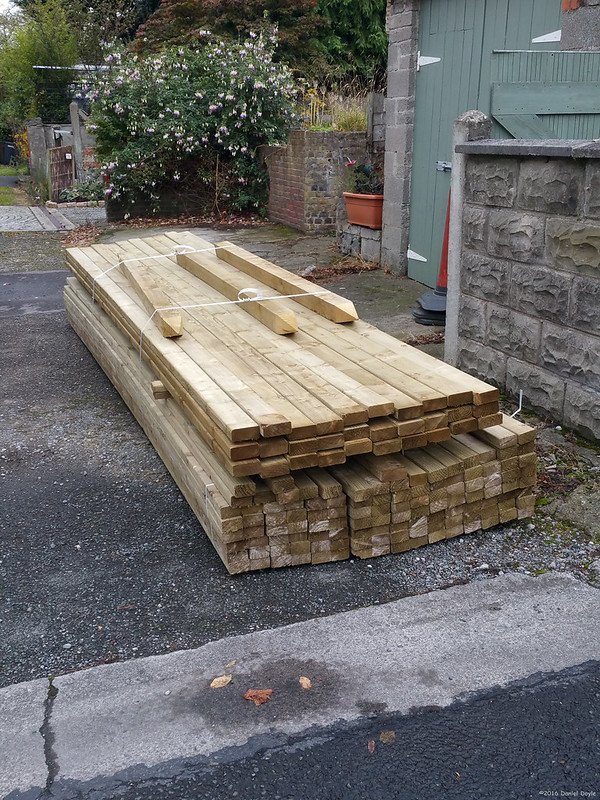
My wood finally arrived and for this, I used pressure-treated timber. I didn't want to paint it afterwards and this would give it a good few years of life.
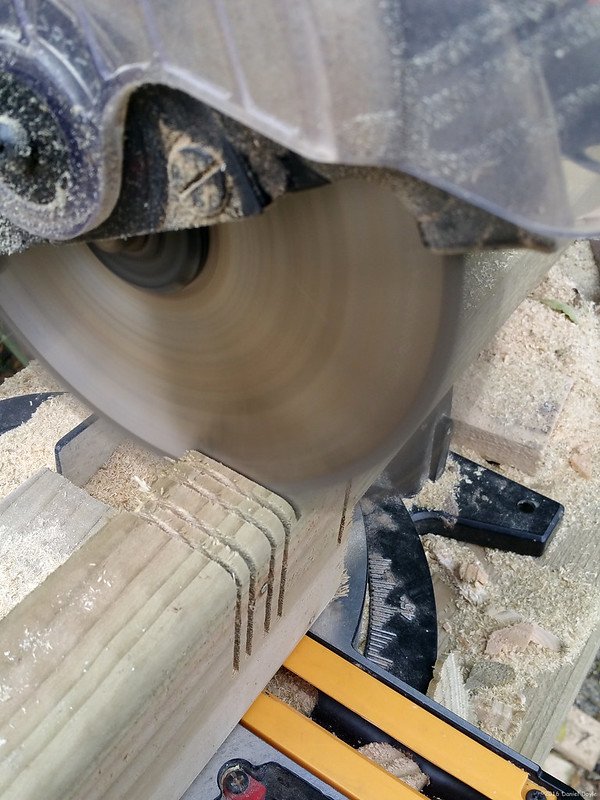
Then the cutting began. I used my cheapo chop-saw to do this and a chisel for the joints. Doing many cuts with the saw made it easier to knock out the half-lap joints.
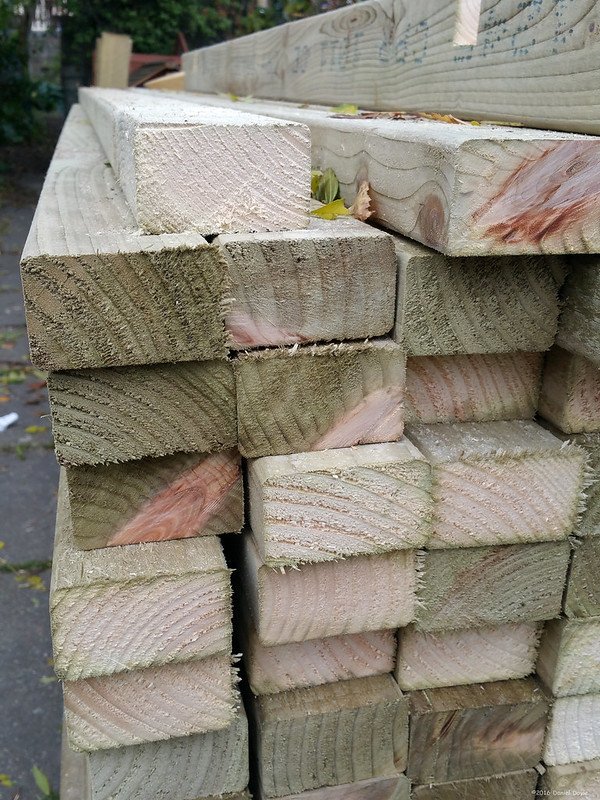
With all the bits cut to length, I could finally start building.

The first thing I needed to do was fix steel post shoes to the concrete. With my SDS drill, I made holes and fitted expanding bolts. These go deep into the concrete and then wedge into place when you tighten a bolt. The tighter you connect to them the stronger they become.

I was pleased with the consistency and strength of my concrete base and onto this I attached eight upright posts.
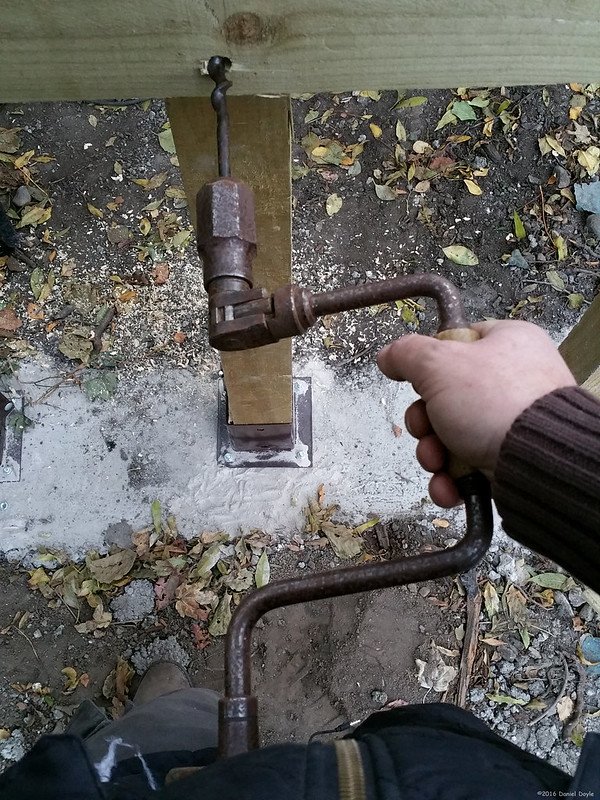
On these, the whole structure would sit and I connected some beefy 2 x 4 at the top. I wanted to place large bolts through holding everything together but I did not have a suitable drill bit. I went old school and used a brace and bit to get all the way through. These holes were around 1 inch 2.2 cm in diameter as I wanted to get the biggest bolts I could.
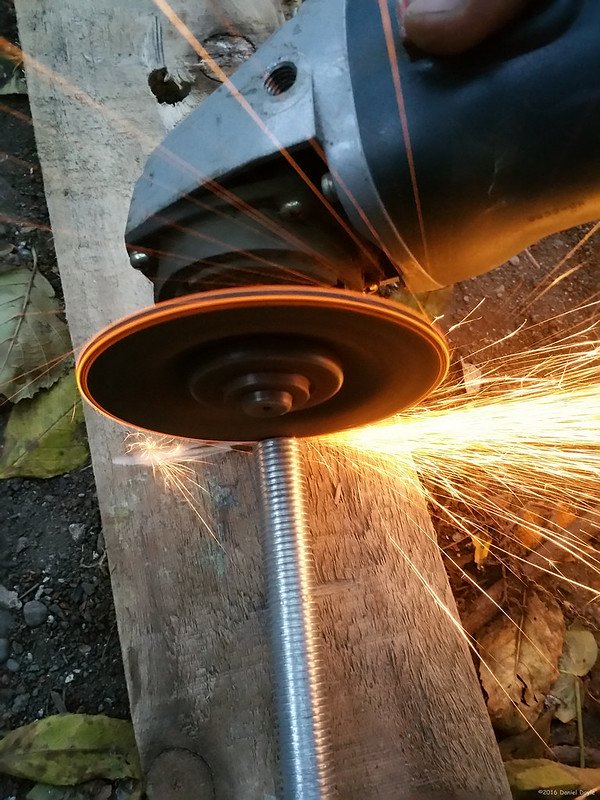
I could not find long enough ones so cut up sections of threaded bar and then used lock nuts at each end, sandwiching everything together.

The platform was taking shape nicely. Making sure this was level and strong would be crucial to the whole rest of the project.
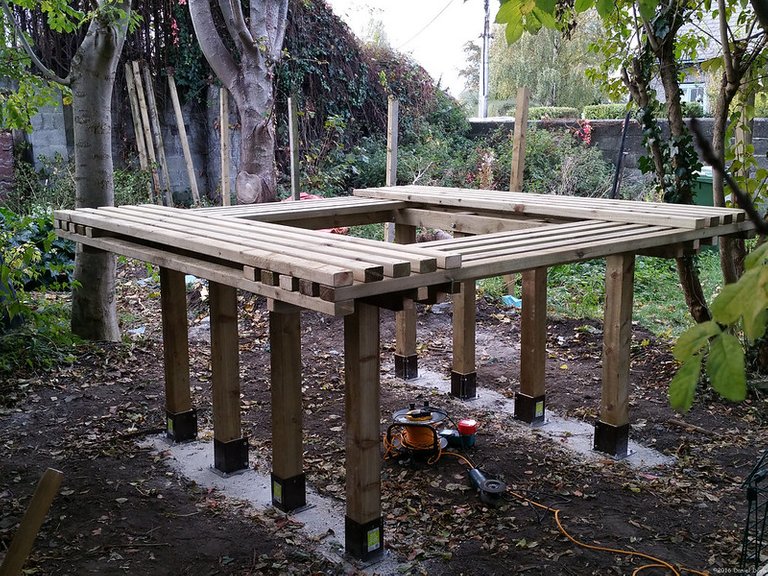
I could then start adding the seats and the walls. I wanted the whole thing to be a cube and this was governed by the thickness of my wood.
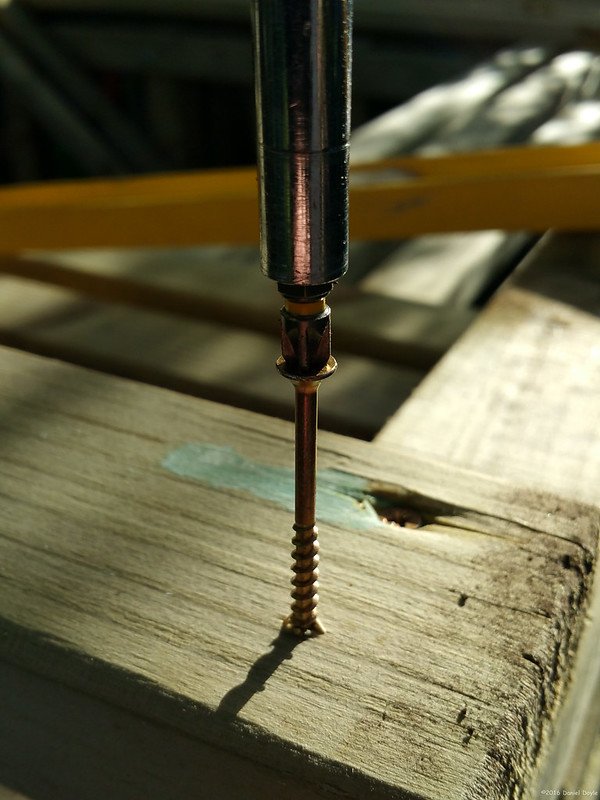
From then on I was just screwing around. Lots and lots of screws. For these, I chose Reisser cutter screws. They have a cut at the top which acts as a drill bit and means you can screw close to the end of a piece of wood without it splitting. I wrote a post all about them Here. They are my favorite way of screwing up.
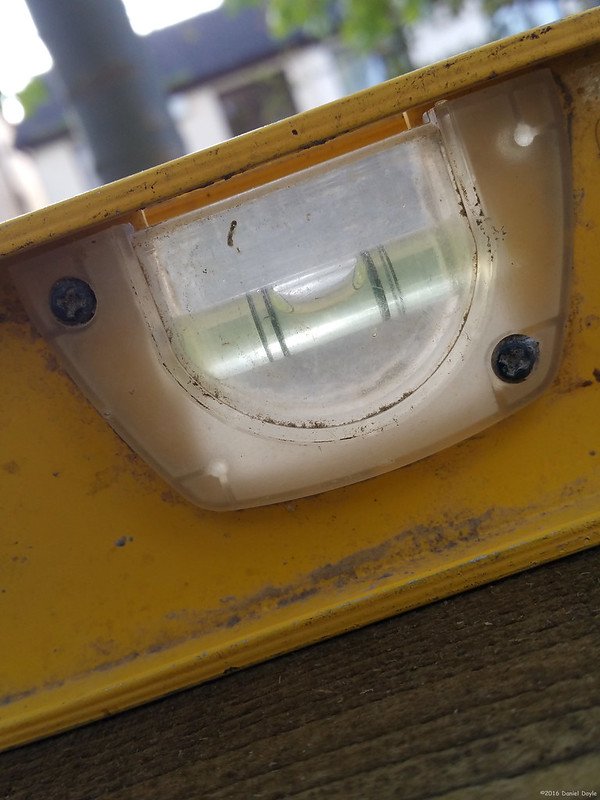
All the time I had my spirit level on hand to make sure I wasn't going astray. Having one you can trust is very important on a job like this.

A good framing square is also important. Buying wood in Ireland can be hit or miss. Each piece I had was bent and having two screws at each joint allowed me to pull them into square.
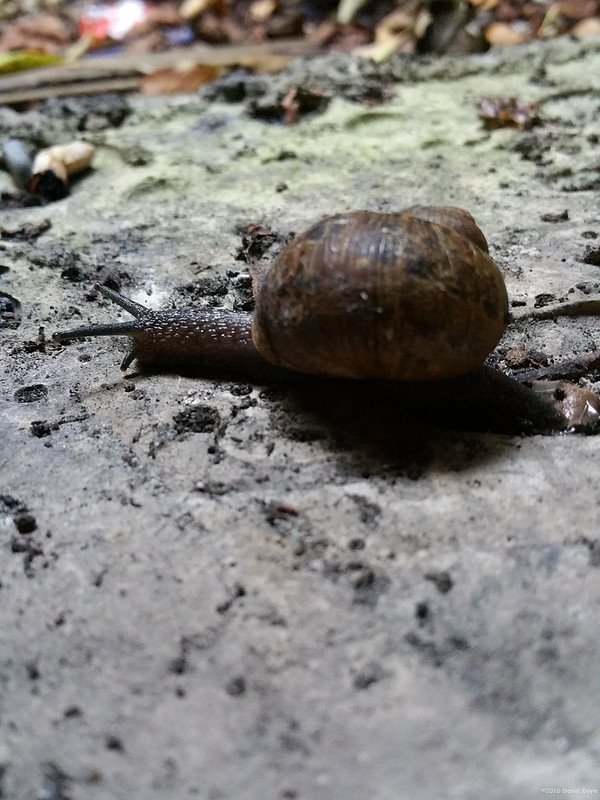
I say this guy do a lap of the garden while I was working.
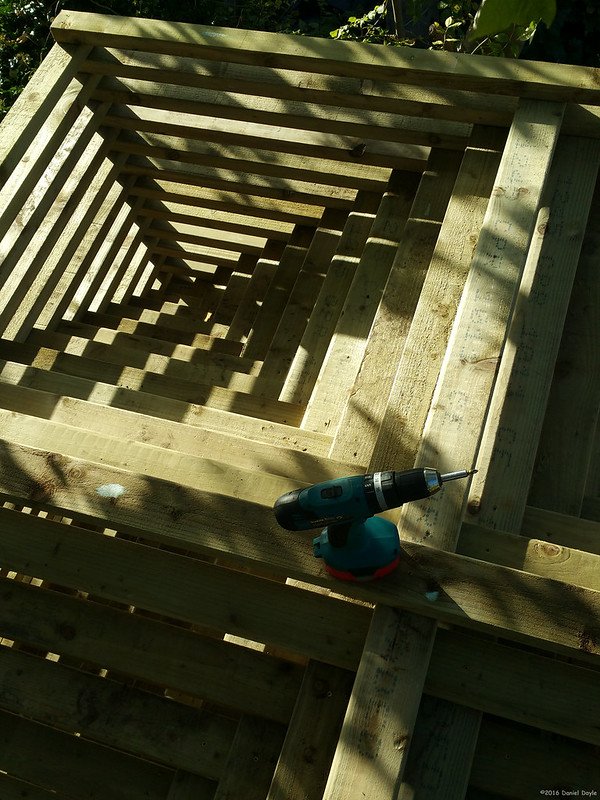
I placed another square design inside the lats. This was to add extra strength and to stop the wood from sagging. At the bottom, they were just blocks of wood evenly spaced and as I got to halfway up I started to run full lengths across the interior. They were to form a double-pitched roof.
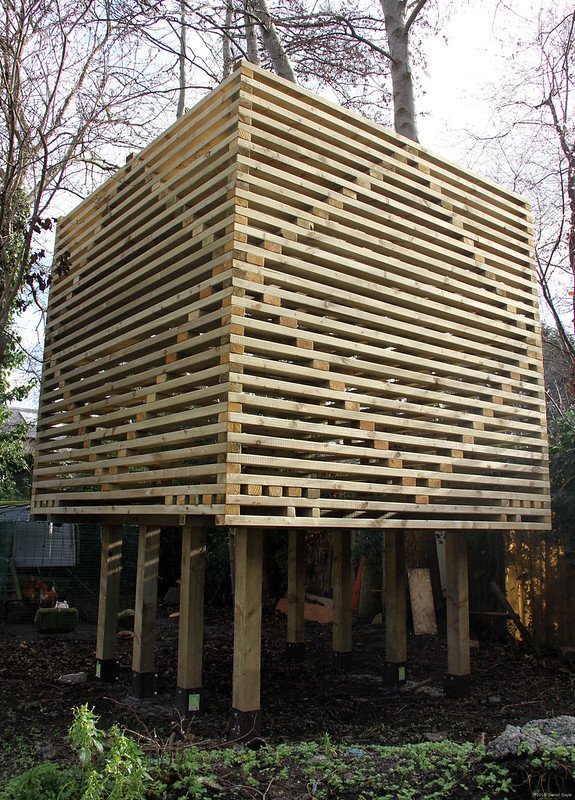
Fitting that last plank was a great sense of achievement. Everything had come together as I designed.
Interestingly I had really messed up on my calculations when it came to the wood I needed. It seems that my computer program had doubled up somehow and I could have gone on and made a whole separate one. Lisa wasn't phased and thought we could build something else with it. We already had some ideas and that blog post will come up soon.
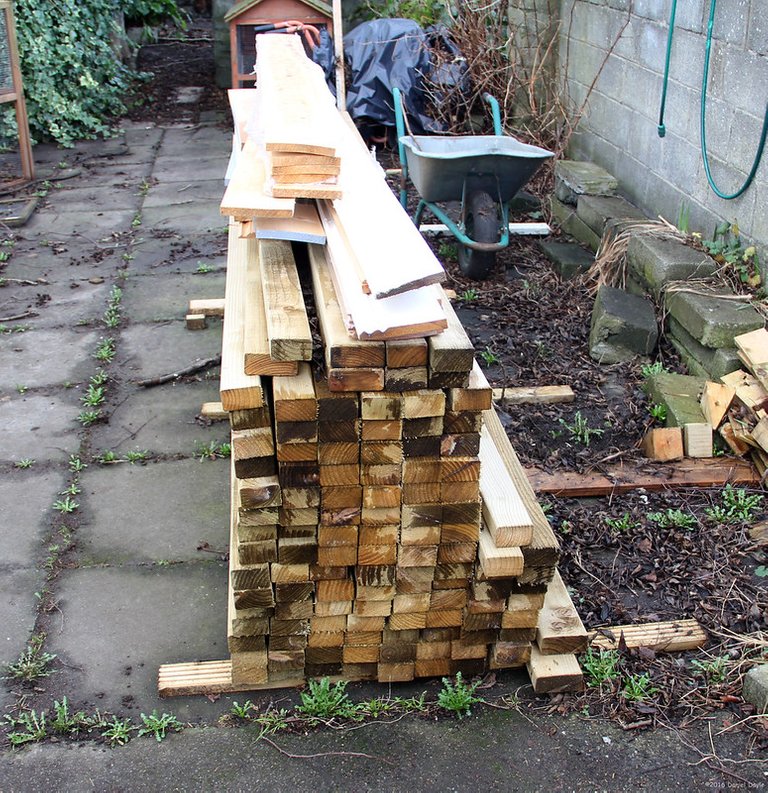
I learned not to trust computers so much when it comes to this sort of thing. You never know what the bits and bytes are doing behind the scenes.
So it's done and I must say I enjoyed my experience of sitting in it before I handed over the keys to Lisa. I know she had many a party in there with her friends and enjoyed watching many sunsets with a glass of wine as the shadows projected around its interior.
Would I change anything? Well, in hindsight I would have made metal braces at the corners to direct the weight of the walls onto the posts. This thing was heavy and although it has lasted till Lisa moved I could see some sagging at the corners on my visit. It was still safe but the squareness had gone a bit fisheyed.

Ps
Thanks for reading. I use PeakD to document my work as an ephemeral Sculptor of sand, snow and ice, amongst other things. This will hopefully give it a new life on the Hive Blockchain. Below you will find some of my recent posts.
Lisa's folly - Wood sculpture
Emulating Aardman - modelling clay sculpture
Iglu-Dorf USA - snow sculpture
I hope you'll join me again soon
@ammonite
I am also starting to create NFTs of my sculptures and welcome you to my gallery where you can own a bit of ephemeral sculpture history.



Amazing work of fine architectural art, straight wood look definitely strong, complete with tools used. Like post. Thank you.
Thank you. It was fun to make.
Incredible ingenuity! Wow! Thank you so much for sharing!
Thank you. It was a simple enough build once I worked out where to start.
I think it's fantastic! I'm pretty hopeless at building things, so I truly admire it in others <3
This is so cool, I love the design, I just want to get inside it to be honest, might have to shrink myself down though. Great job @ammonite xxxx
It was wonderful and peaceful in there and a fun project to make.
Keep up the #diy spirit champ!
Thank you, I will also try and post more to this community.
The rewards earned on this comment will go directly to the people( @ammonite ) sharing the post on Twitter as long as they are registered with @poshtoken. Sign up at https://hiveposh.com.
Congratulations @ammonite! You have completed the following achievement on the Hive blockchain and have been rewarded with new badge(s):
Your next target is to reach 90000 upvotes.
You can view your badges on your board and compare yourself to others in the Ranking
If you no longer want to receive notifications, reply to this comment with the word
STOPCheck out the last post from @hivebuzz: