.png) Hola mi Linda Familia de Hive, hoy quiero mostrarles que con pocos recursos y un poco de creatividad, podemos realizar Lindas Creaciones. Aprovechemos bien el tiempo en cosas que pueden desarrollar y Perfeccionar nuestro potencial e imaginación. Estas lindas Tobilleras fueron realizadas con pequeños retazos de telas, y obtuve un resultado gratificante y hermoso, Y quiero compartirlo con todos ustedes.
Hola mi Linda Familia de Hive, hoy quiero mostrarles que con pocos recursos y un poco de creatividad, podemos realizar Lindas Creaciones. Aprovechemos bien el tiempo en cosas que pueden desarrollar y Perfeccionar nuestro potencial e imaginación. Estas lindas Tobilleras fueron realizadas con pequeños retazos de telas, y obtuve un resultado gratificante y hermoso, Y quiero compartirlo con todos ustedes.
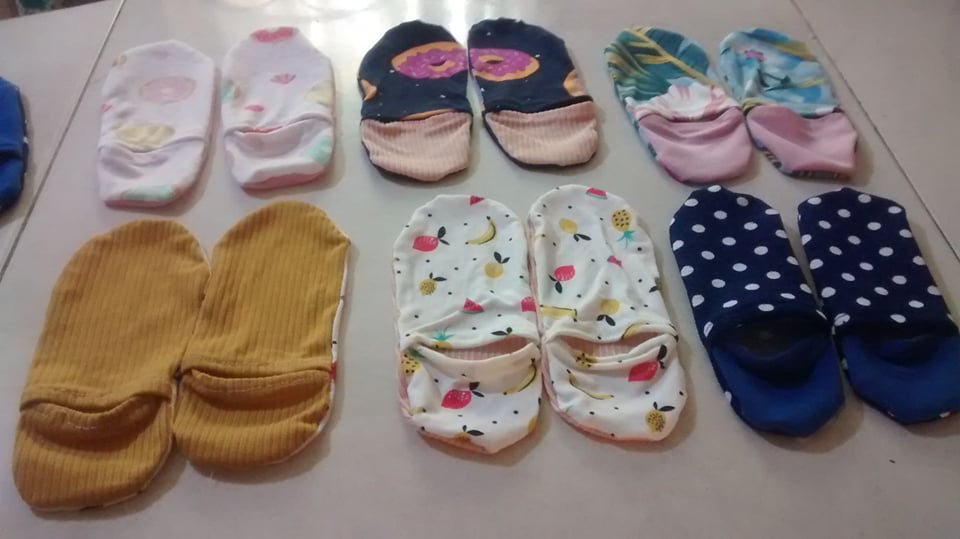
Hello my beautiful Hive Family, today I want to show you that with few resources and a little creativity, we can make Nice Creations. Let's make good use of time on things that can develop and Perfect our potential and imagination. These cute anklets were made with small scraps of fabrics small scraps of fabrics, and I got a rewarding and beautiful result, And I want to share it with all of you.
.png)
- Materiales:
1- Retazos de tela preferiblemente tela stress.
2- Tijeras.
3- Cartulina, para sacar los patrones.
4- Lápiz.
5- Hilos de coser, que combinen con las diferentes telas.
- Materials:
1- Fabric scraps preferably stress fabric.
2- Scissors.
3- Cardboard, to draw the patterns.
4- Pencil.
5- Sewing threads, to match the different fabrics.
 A continuación les dejare el paso a paso, para realizar esta increíble creación.
Below I will leave you the step by step, to make this incredible creation.
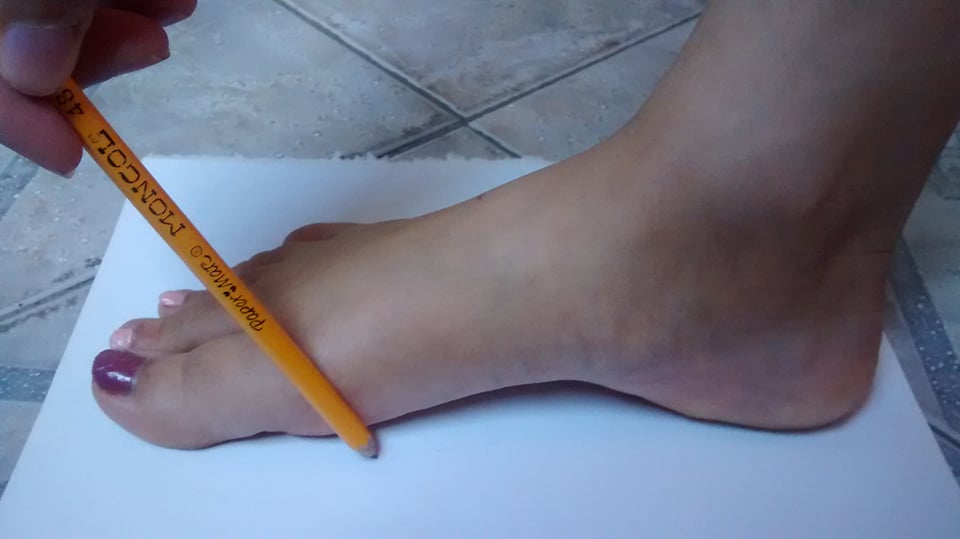 Paso 1: En la cartulina requerida, colocamos el pie que será la medida para tobillera deseada, con el lápiz dibujamos todo el contorno del pie, para nuestro patrón.
Step 1: On the required cardboard, we place the foot that will be the desired anklet size, with the pencil we draw all the contour of the foot, for our pattern.
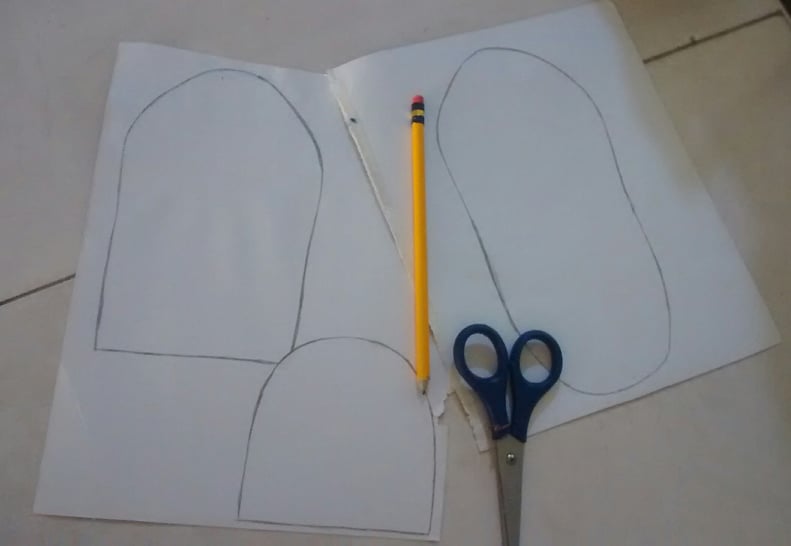
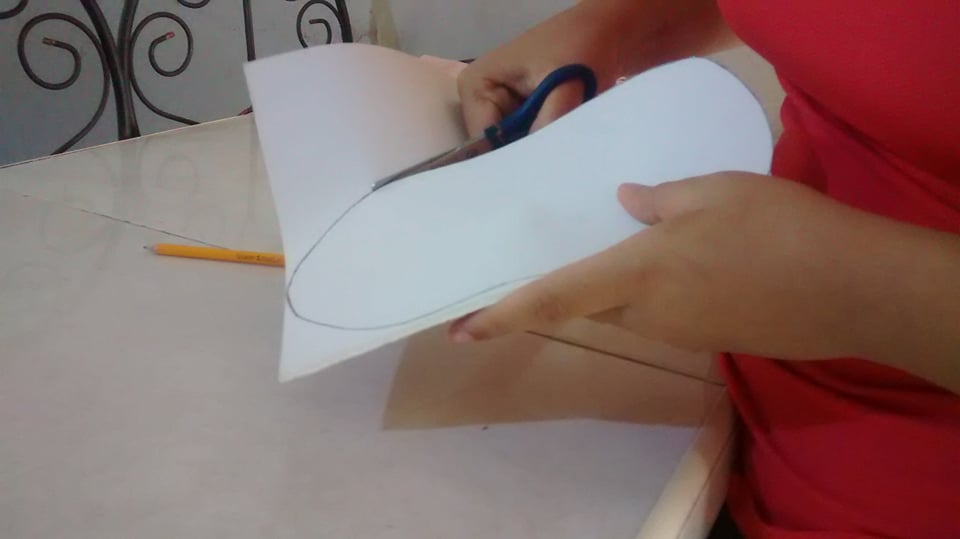 Paso 2: Luego de dibujar el contorno del pie, vamos a obtener 3 piezas, del mismo patrón, los cuales serían: La parte de la planta del pie, La parte superior del pie, y la parte del talón. Y luego recortamos cada uno de ellos.
Step 2: After drawing the outline of the foot, we are going to get 3 pieces, from the same pattern, which would be: The sole part of the foot, The top of the foot, and the heel part. And then we cut out each of them.
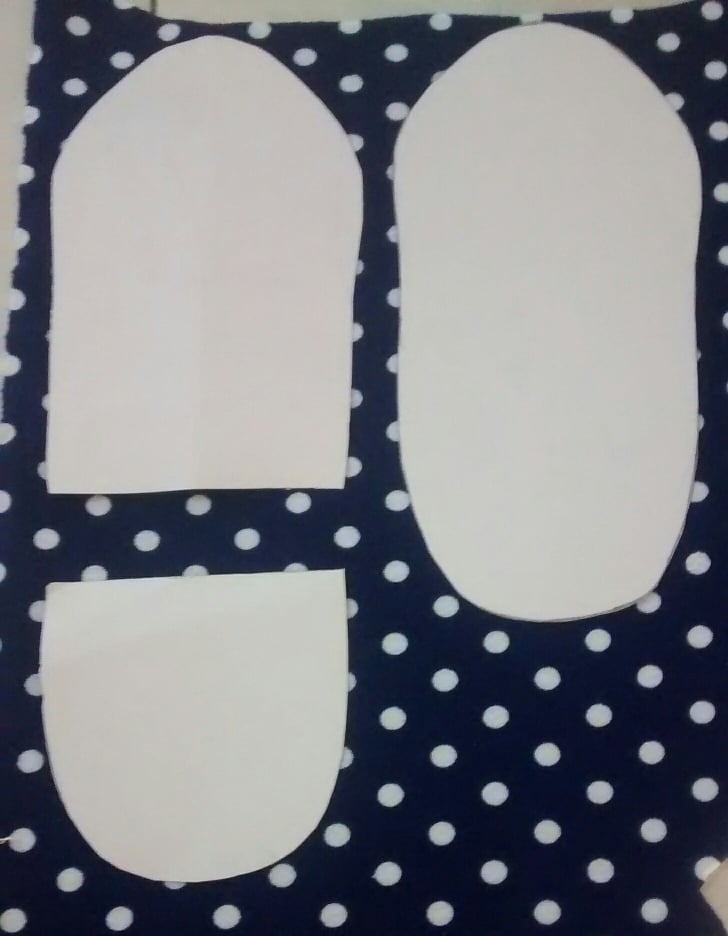
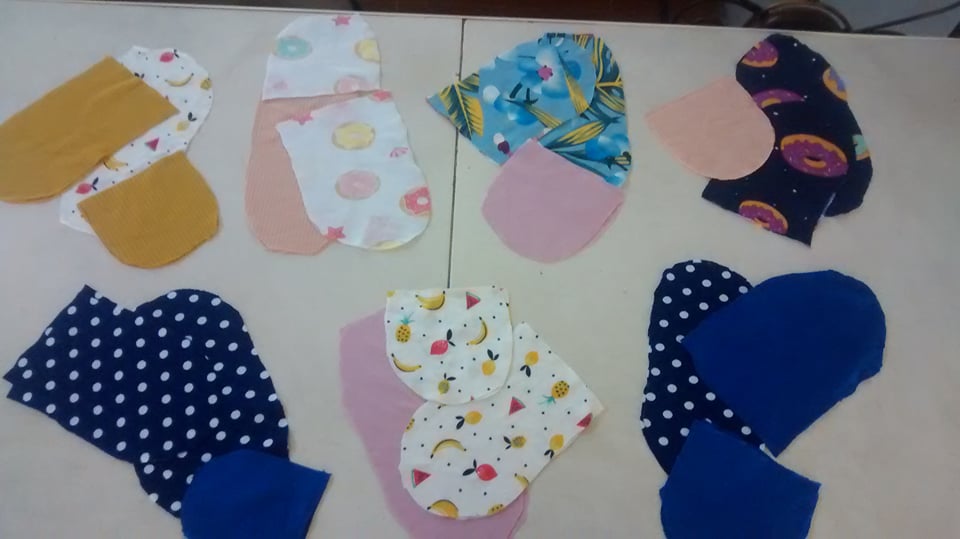
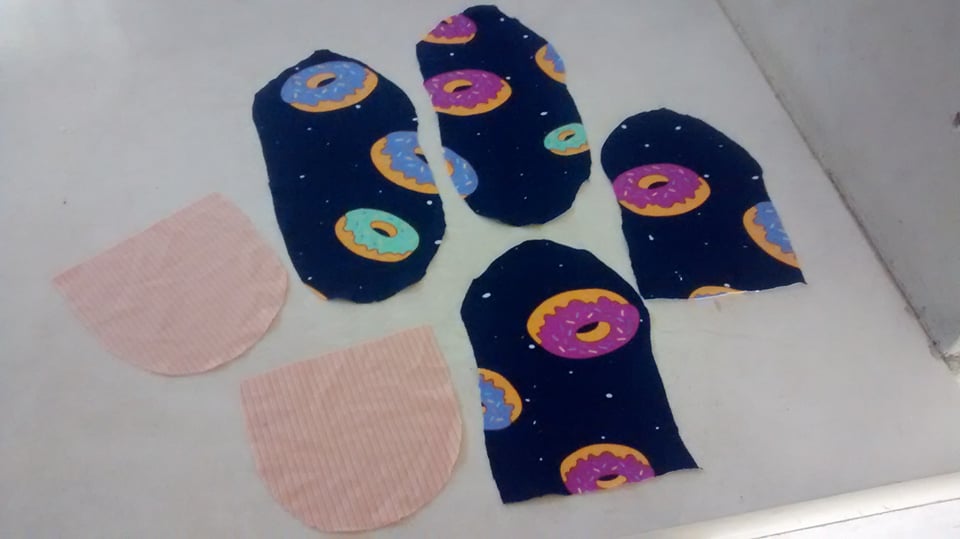 Paso 3: Colocamos nuestro patrón obtenido sobre la tela deseada, y cortamos. Aquí podemos jugar con nuestra creatividad al momento de combinar los colores, recordemos que son 2 piezas de cada patrón.
Step 3: We place our pattern obtained on the desired fabric, and cut. Here we can play with our creativity when combining the colors, remember that there are 2 pieces of each pattern.
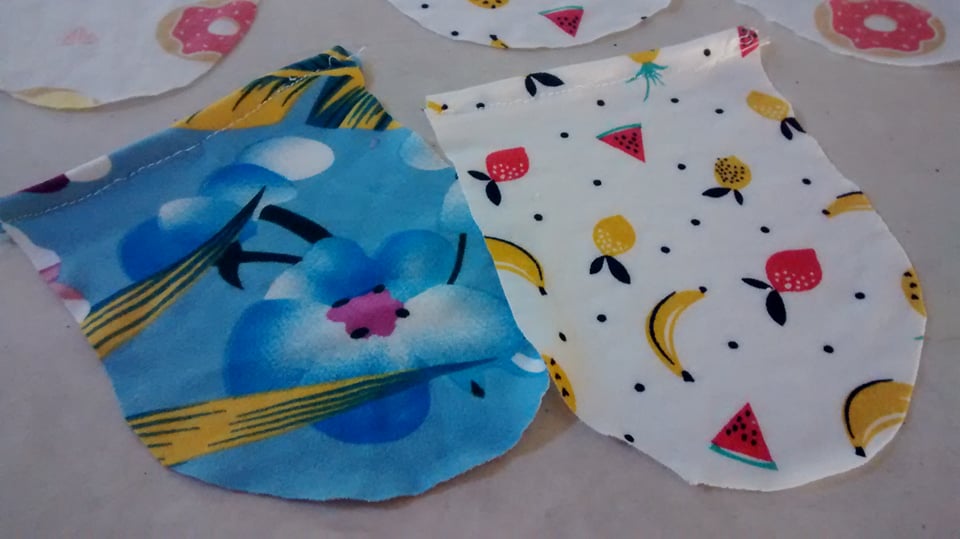 Paso 4: Tomamos las piezas de la parte superior del pie, y de la parte del tobillo, y le cosemos un mínimo ruedo en el borde superior.
Step 4: We take the pieces from the top of the foot, and from the ankle part, and sew a minimal roll at the top edge.
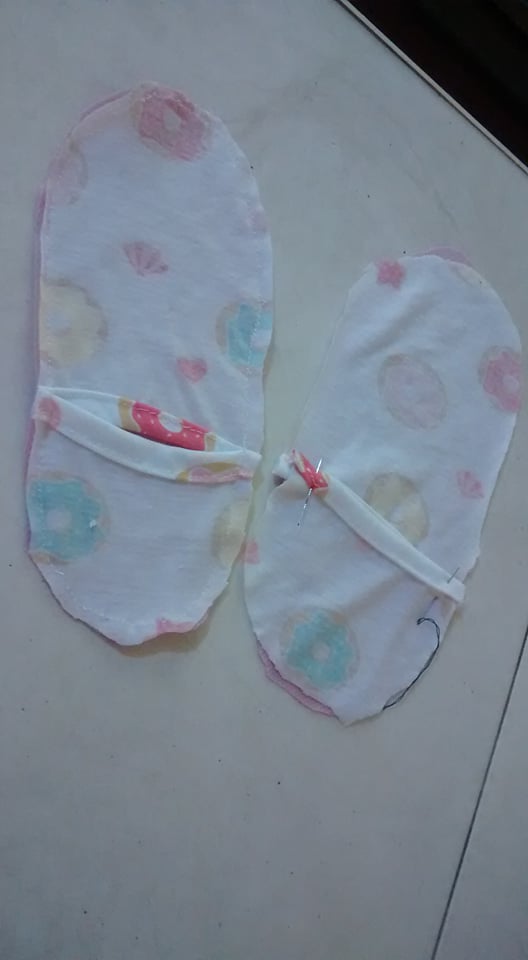 Paso 5: Ya cosido los bordes de la parte superior del pie, y de los tobillos, los colocamos encima de la pieza de tela, de la parte inferior del pie, derecho con derecho. Primero se coloca la pieza superior del pie, y luego se coloca la pieza del tobillo, luego se cose alrededor de la circunferencia del patrón.
Step 5: Once the edges of the top part of the foot and the ankles are sewn, we place them on top of the fabric piece of the bottom part of the foot, right sides together. First place the top piece of the foot, and then place the ankle piece, then sew around the circumference of the pattern.
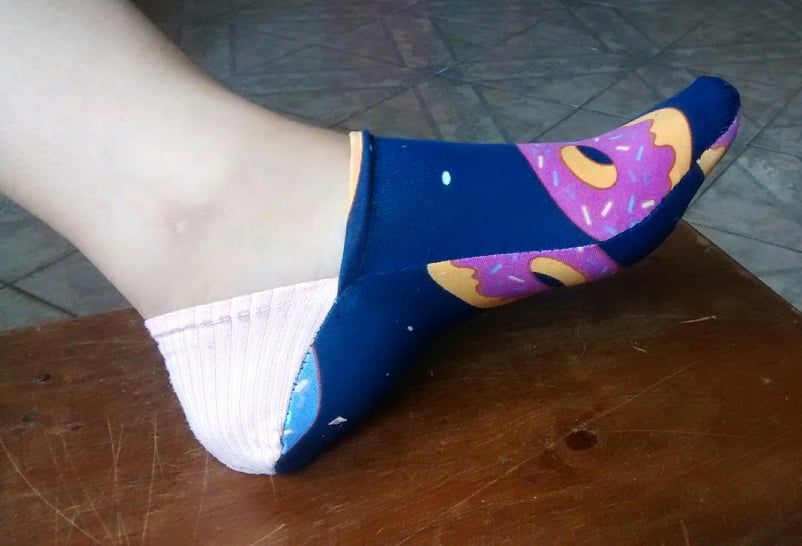
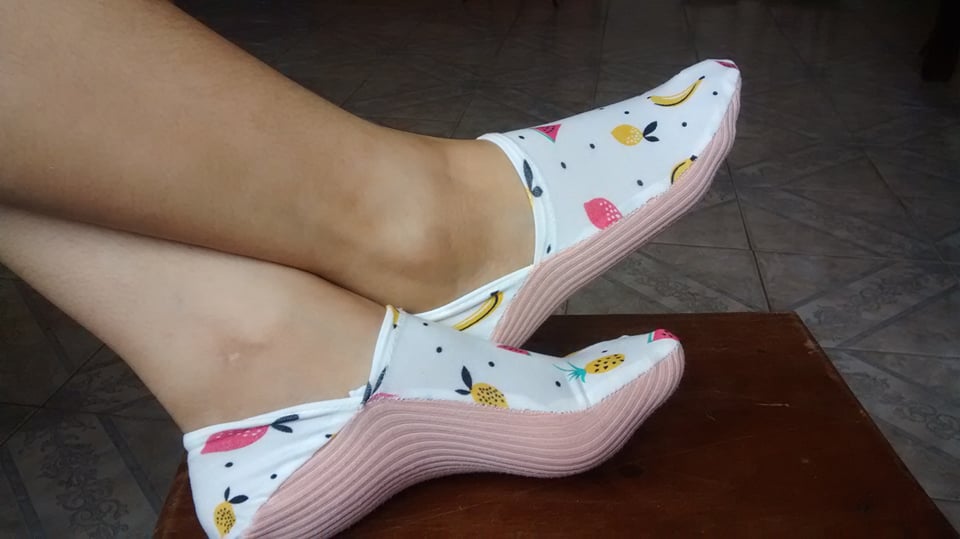
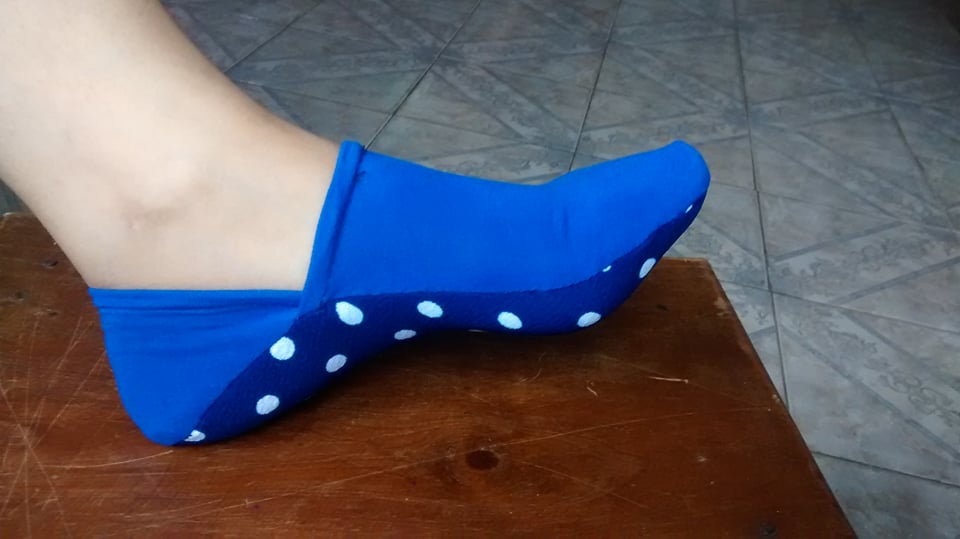
 Paso 6: Les damos la vuelta, y así obtendremos el resultado final.
Step 6: Turn them upside down to obtain the final result
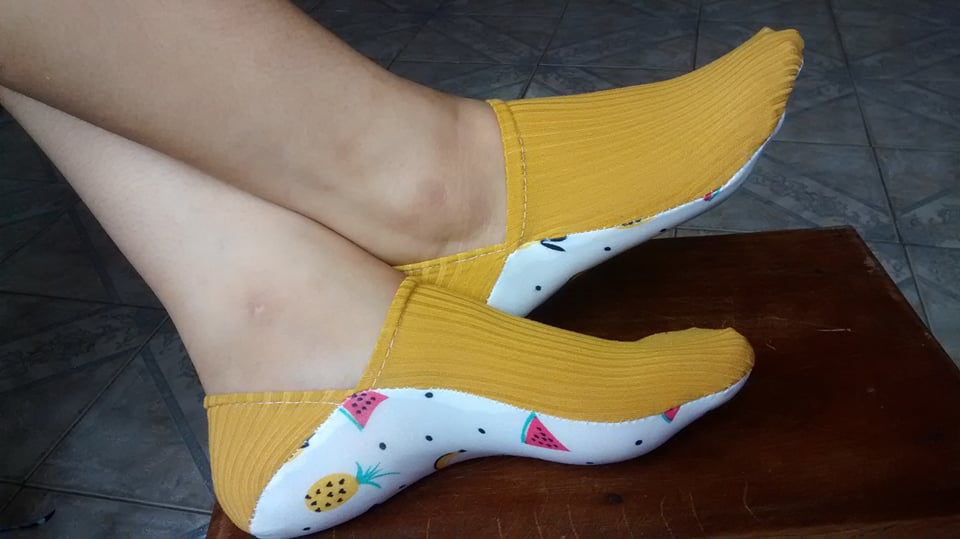
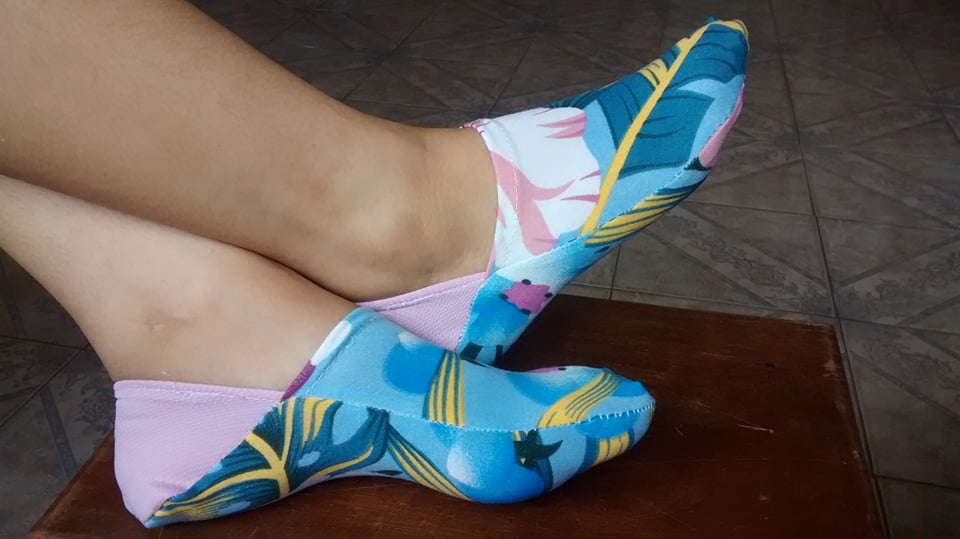
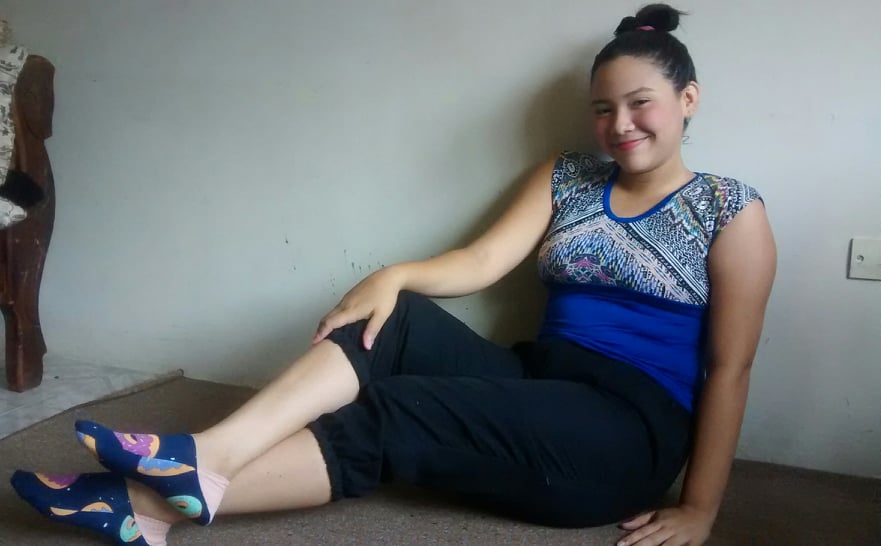
Este es el resultado Final, espero que sea de su agrado. Lo mas maravilloso de esta creación, es que la podemos coser a mano, o con la máquina de coser.
This is the final result, I hope you like it. The most wonderful thing about this creation, is that we can sew it by hand, or with the sewing machine.
 Todas las Fotos son de mi Autoría
All photos are my authorship.
.png)
Congratulations @eribetzi! You have completed the following achievement on the Hive blockchain and have been rewarded with new badge(s) :
Your next target is to reach 900 upvotes.
You can view your badges on your board and compare yourself to others in the Ranking
If you no longer want to receive notifications, reply to this comment with the word
STOPSupport the HiveBuzz project. Vote for our proposal!
que increible!!! me fascino tu idea!! en cuanto pueda voy a tratar de hacerlas!! de verdad te quedaron preciosas tus tobilleras! felicitaciones!! :D <3
Hola corazón, me alegra mucho que te hayan gustado, que feliz me siento, son súper lindas, debes hacerlas.
que increible!!! me fascino tu idea!! en cuanto pueda voy a tratar de hacerlas!! de verdad te quedaron preciosas tus tobilleras! felicitaciones!! :D <3