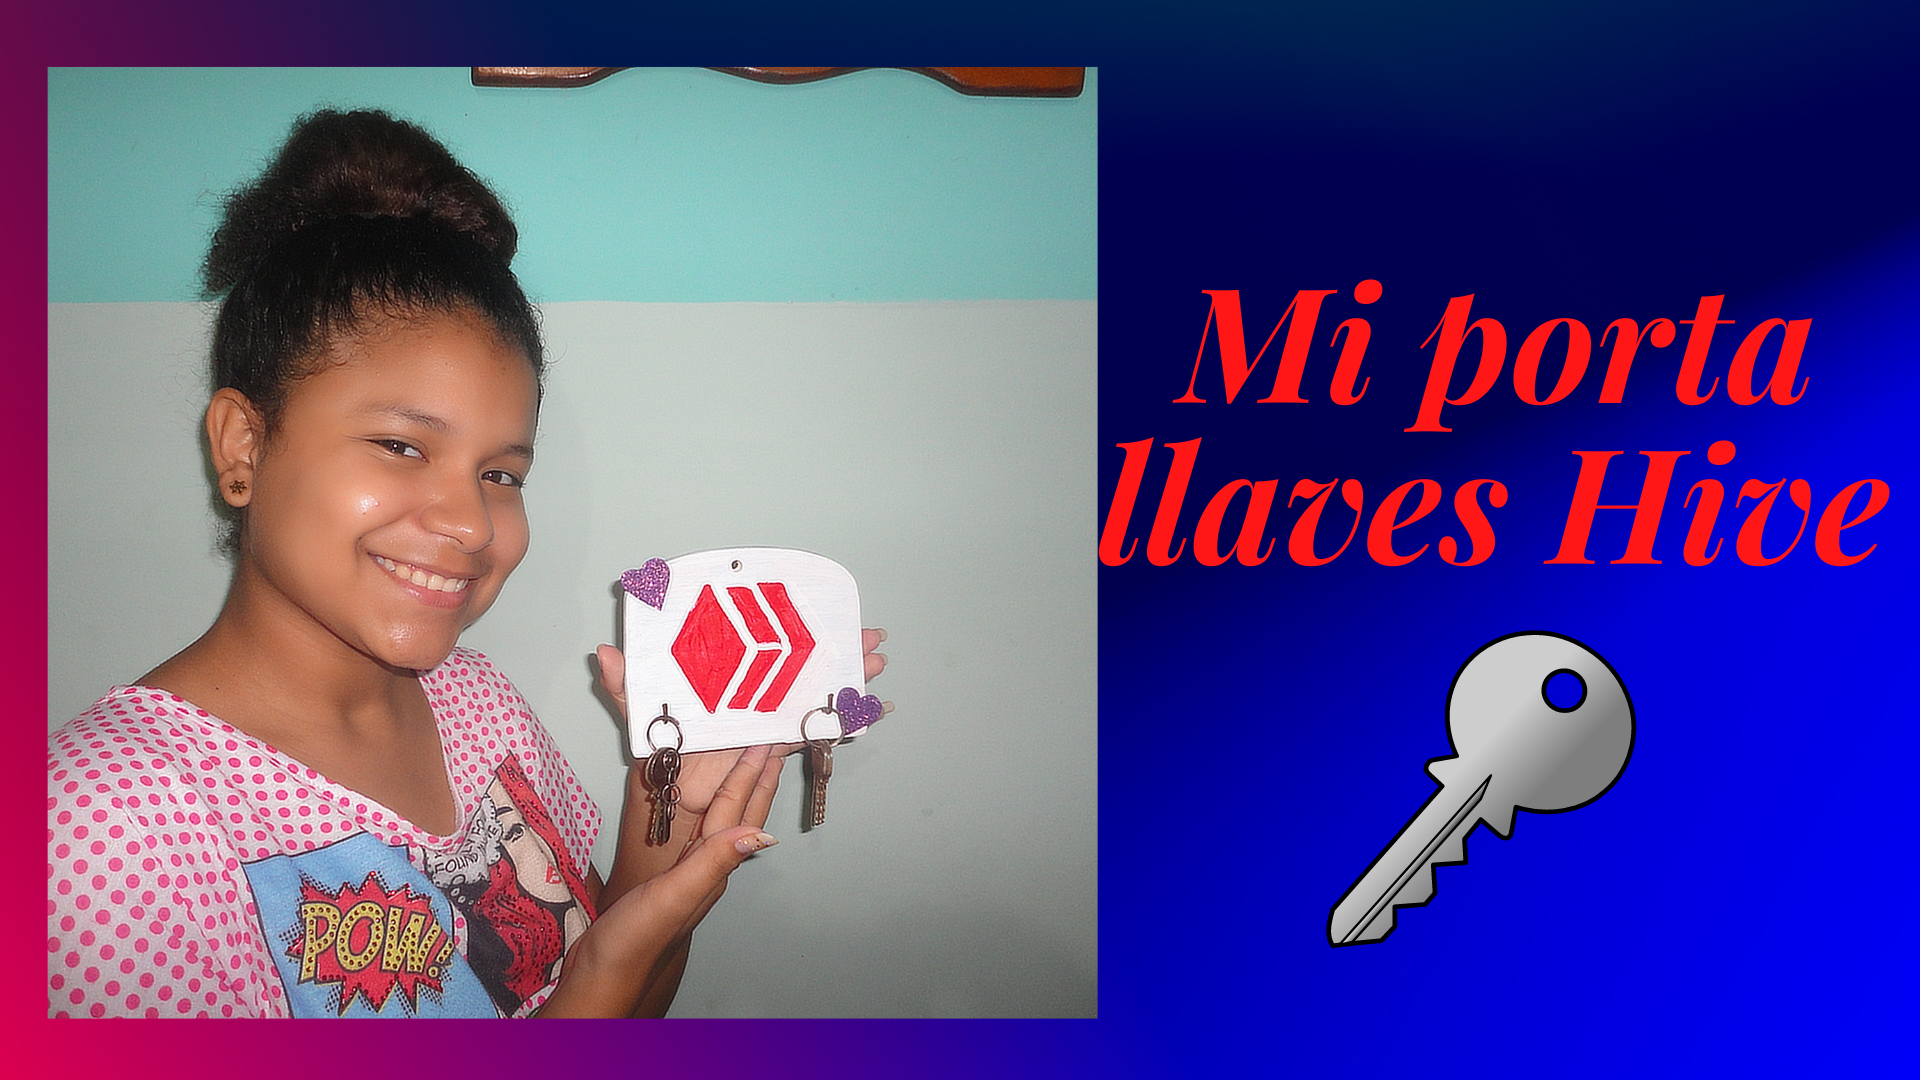
A big greeting and a thousand blessings to this beautiful community @Build-It that inspires people to show their skills, today is a pleasure for me to share with you "My nice Hive key holder" to have our keys in a place that we can see it and we do not lose it. Let's start with the step by step:

.png)
-Pintura al frio (Roja y blanca)
-Martillo
-2 clavos
-Una hoja
-Un lápiz
-Un pedazo de madera (del tamaño que desee)
-Pincel
-Tenaza
Materials:
-Cold paint (red and white).
-Hammer
-2 nails
-A sheet of paper
-A pencil
-A piece of wood (the size of your choice)
-Brush
-Pliers

.png)
Paso 1: Primero pintaremos la madera de color blanco, aplicándole varias capas para que pueda cubrir bien la madera. Y dejarla secar aproximadamente 20 minutos hasta que seque bien
Step 1: First we will paint the wood white, applying several coats so that it can cover the wood well. And let it dry approximately 20 minutes until it dries well.

.png)
Paso 2: Mientras se seca la pintura, haremos el logo de Hive en la hoja para luego recortarlo y usarlo como plantilla.
Step 2: While the paint dries, we will make the Hive logo on the sheet and then cut it out and use it as a template.

.png)
Paso 3: Luego procedemos a doblar los clavos con la tenaza de manera de que queden como la letra “L”
Step 3: Then we proceed to bend the nails with the pliers so that they look like the letter "L"

.png)
Paso 4: Ya teniendo listo la plantilla del logo Hive y los clavos doblados, esperando mientras se seca la pintura dibujaremos unos corazones para decorar nuestro porta llaves (La decoración se le hace al gusto de cada persona) Marcándolos en el foami y recortándolos.
Step 4: Once the Hive logo template and the bent nails are ready, while waiting for the paint to dry, we will draw some hearts to decorate our key holder (the decoration is done according to each person's taste) by marking them on the foami and cutting them out.

.png)
Paso 5: Ya seca la pintura, colocamos la plantilla del logo Hive y lo marcamos con el lápiz arriba de la madera. Para luego ser pintado con mucho cuidado procurando no salirse de las líneas, para tener un bonito acabado.
Step 5: Once the paint is dry, we place the Hive logo template and mark it with the pencil on top of the wood. Then it will be painted very carefully trying not to go out of the lines, to have a nice finish.

.png)
Paso 6: Por último martillamos los clavos en la parte inferior de la madera con cuidado para no lastimarnos, y lo decoramos con nuestros lindos corazones que realizamos.
Step 6: Finally we hammer the nails into the bottom of the wood carefully so as not to hurt ourselves, and decorate it with our cute hearts that we made.

.png)
This is my final result, I hope you liked it.

All photos are my property, and edited in canva.


Congratulations @hilmarys10! You have completed the following achievement on the Hive blockchain and have been rewarded with new badge(s) :
Your next payout target is 50 HP.
The unit is Hive Power equivalent because your rewards can be split into HP and HBD
You can view your badges on your board and compare yourself to others in the Ranking
If you no longer want to receive notifications, reply to this comment with the word
STOPCheck out the last post from @hivebuzz:
Support the HiveBuzz project. Vote for our proposal!