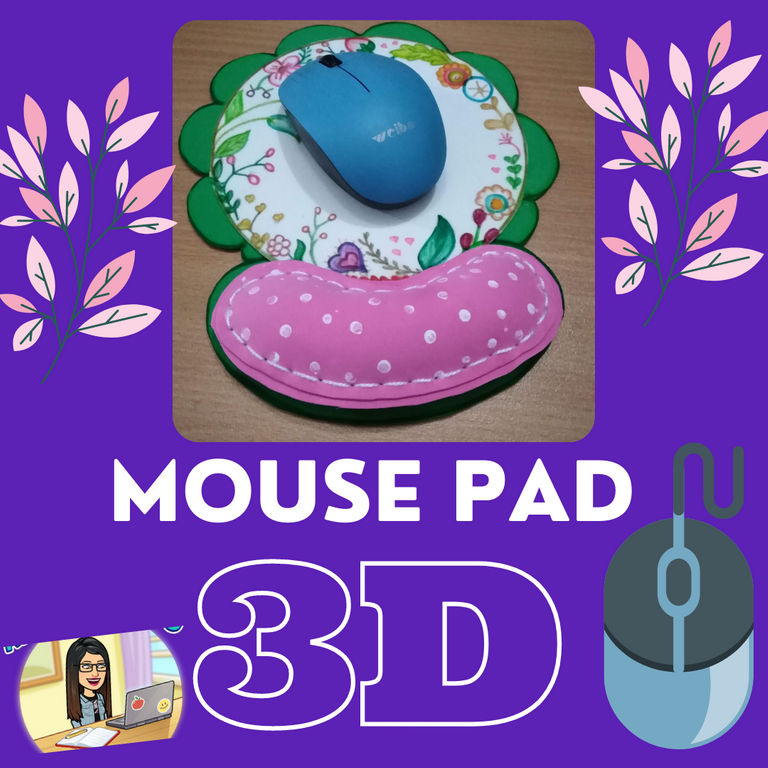
Today I have returned with great enthusiasm to show you the process of making a Foami Mouse Pad with a small built-in pad. This pad will help us to rest the wrist.
This project is something that I wanted to develop for a while because I really needed it.
The procedure is very simple and for me it turned out to be very relaxing since I love working with foami and it has been a long time since I did it this way.
Hola amigos de Buid-it espero se encuentren bien, ha pasado un tiempo desde la ultima vez que estuve publicando por aquí.
Hoy he vuelto con mucho animo para mostrarles el proceso para elaborar un Mouse Pad en foami con una pequeña almohadilla incorporada. Esta almohadilla nos servirá para reposar la muñeca.
Este proyecto es algo que quería elaborar desde hace un tiempo pues realmente lo necesitaba.El procedimiento es muy sencillo y para mi resulto ser muy relajante ya que me encanta trabajar con foami y hacía mucho tiempo que no lo hacía de esta manera.

MATERIALS / MATERIALES
- 3 sheets of Foami or Eva Rubber
- Scissors
- White Tempera
- Needle and thread
- Silicone gun
- Fine markers
- colored pencils
3 pliegos de Foami o Goma Eva
Tijeras
Tempera Blanca
Aguja e hilo
Pistola de silicón
Marcadores finos
lapices de colores

STEP BY STEP / PASO A PASO
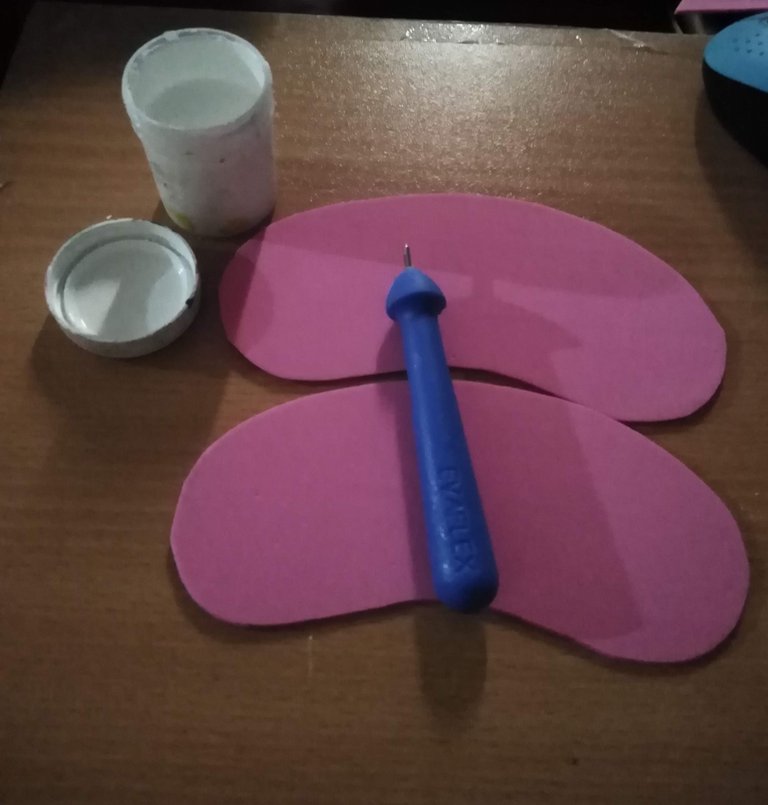
Lo primero que haremos será la almohadilla. Para ello sacaremos un molde en una hoja de papel para luego marcarlo en el foami y proceder a recortar. Recortaremos dos piezas iguales.
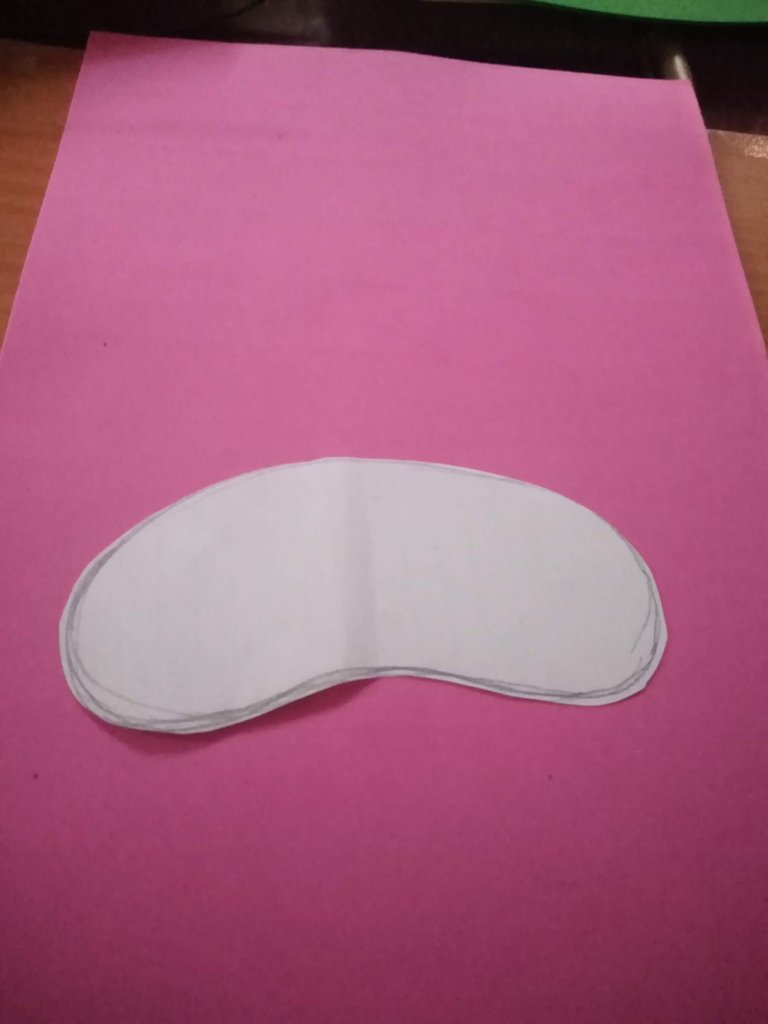
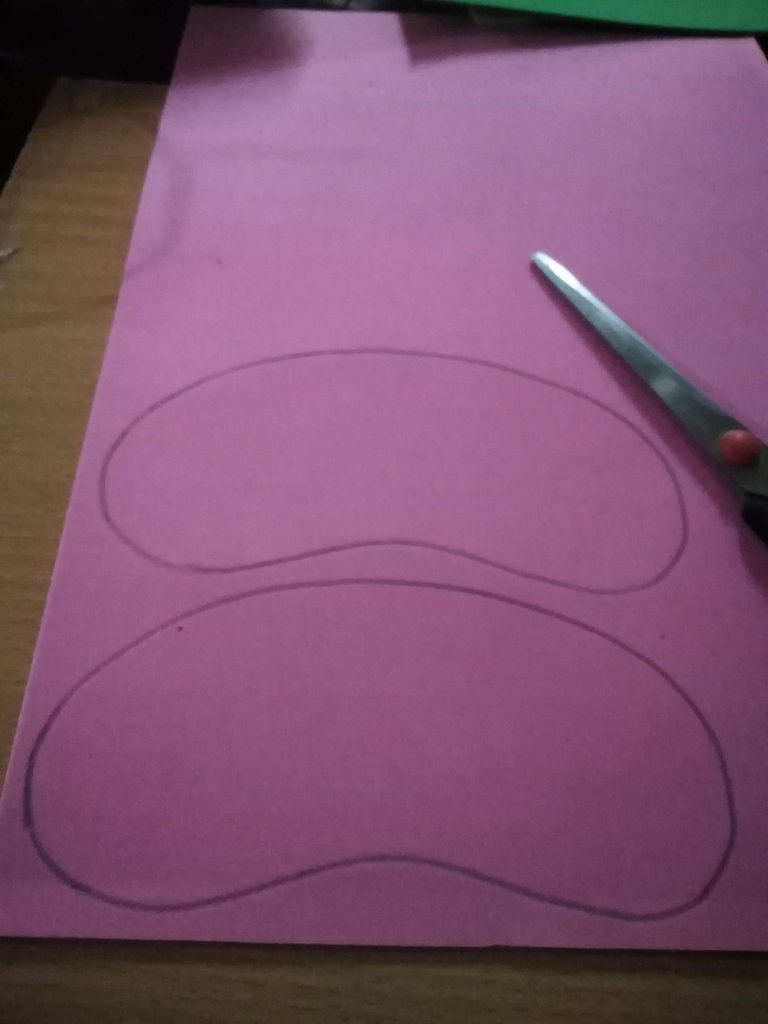
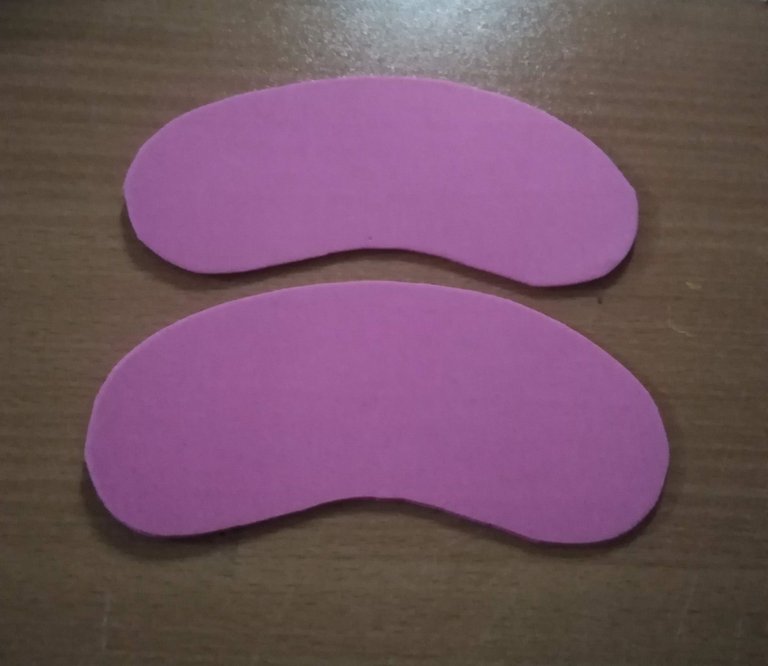
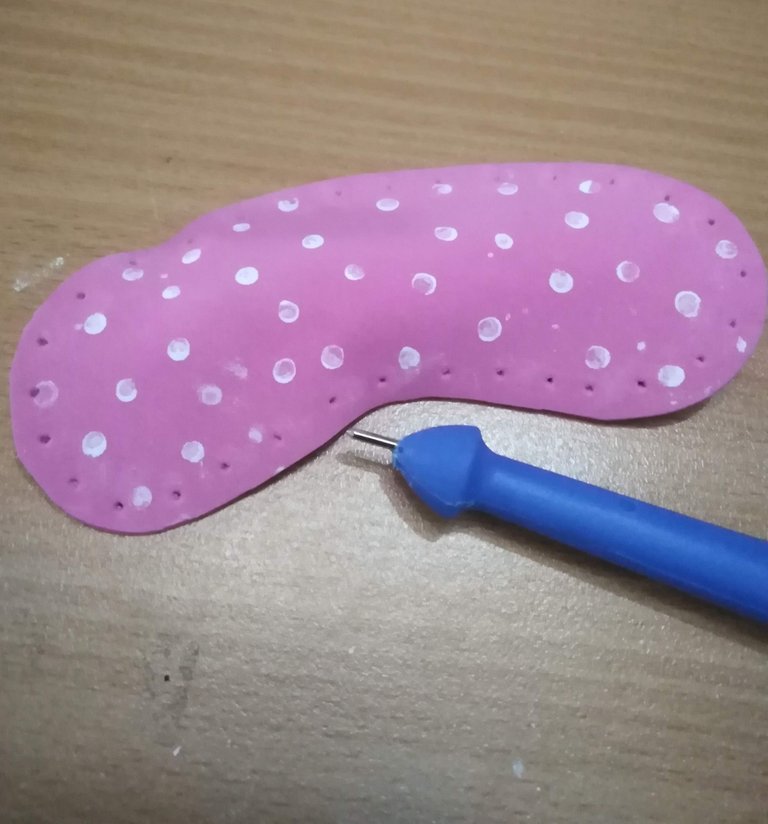
Luego decoramos una de las piezas de foami. haciendo unos puntos blancos con la tempera y un repujador.
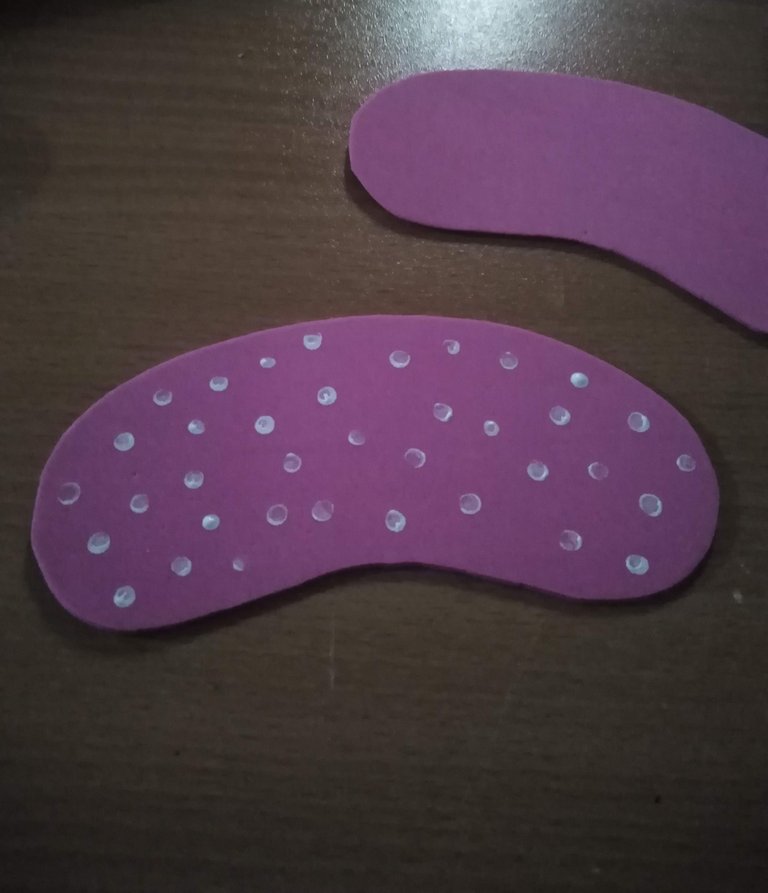
Con la ayuda de un encendedor, calentamos un poco una de las piezas de foami para darle una forma un poco abultada.
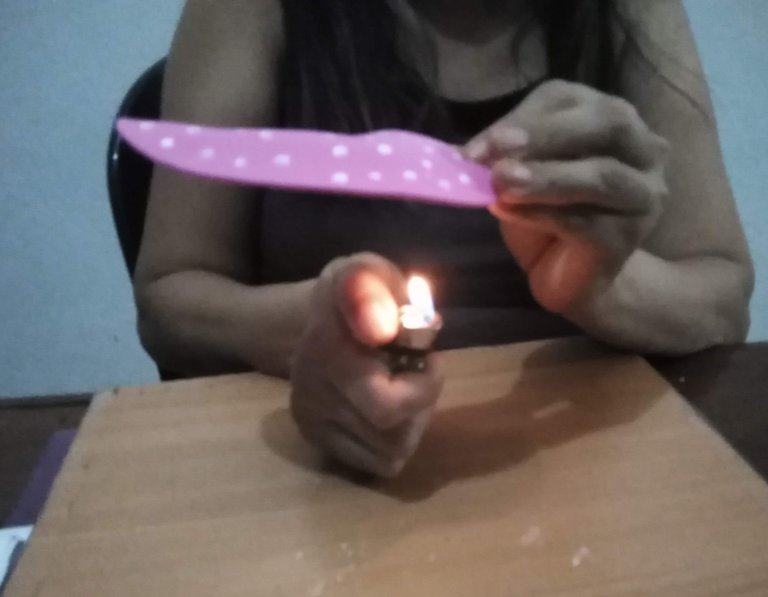
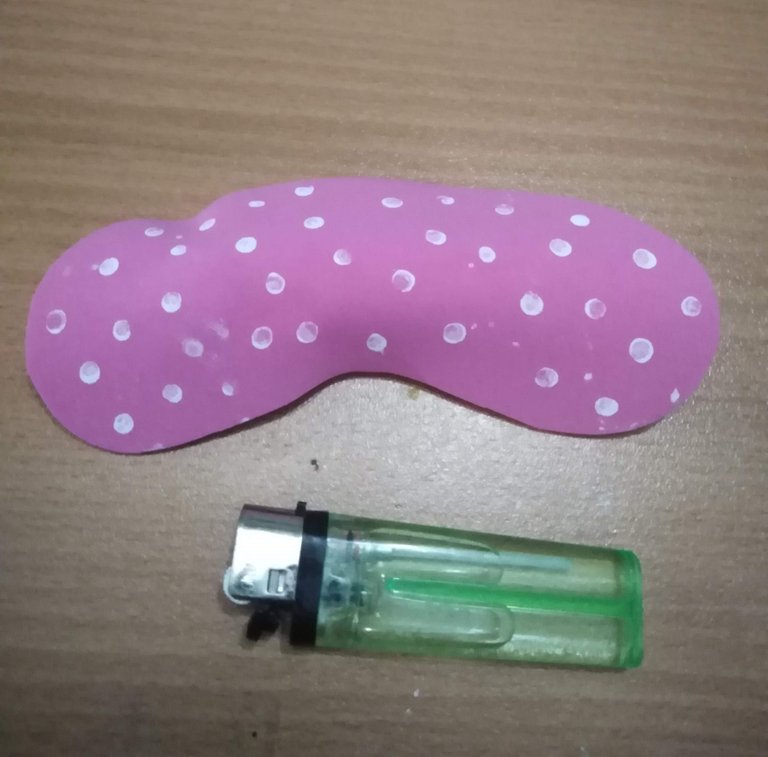
Con la ayuda del repujador, abrimos pequeños orificios al rededor de toda la pieza.
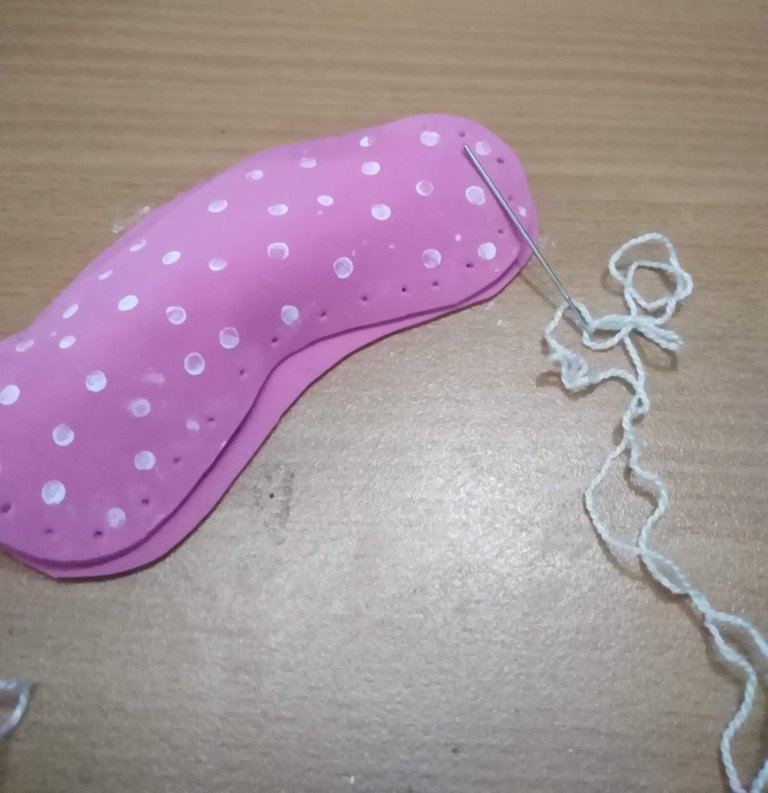
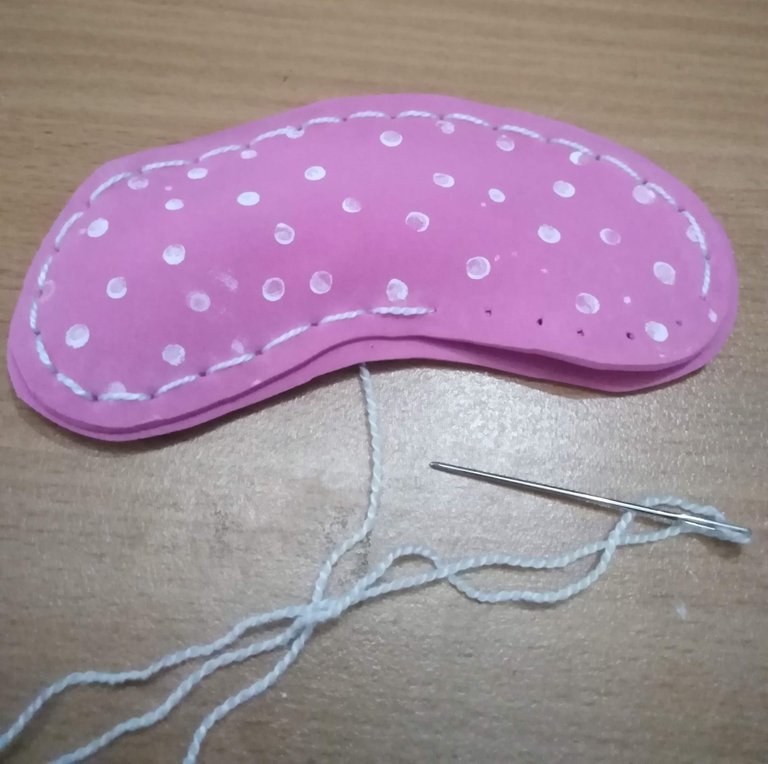
Con una aguja punta roma e hilo de tejer, cosemos por todo el borde, dejando una pequeña abertura por donde vamos a introducir un poco de relleno.
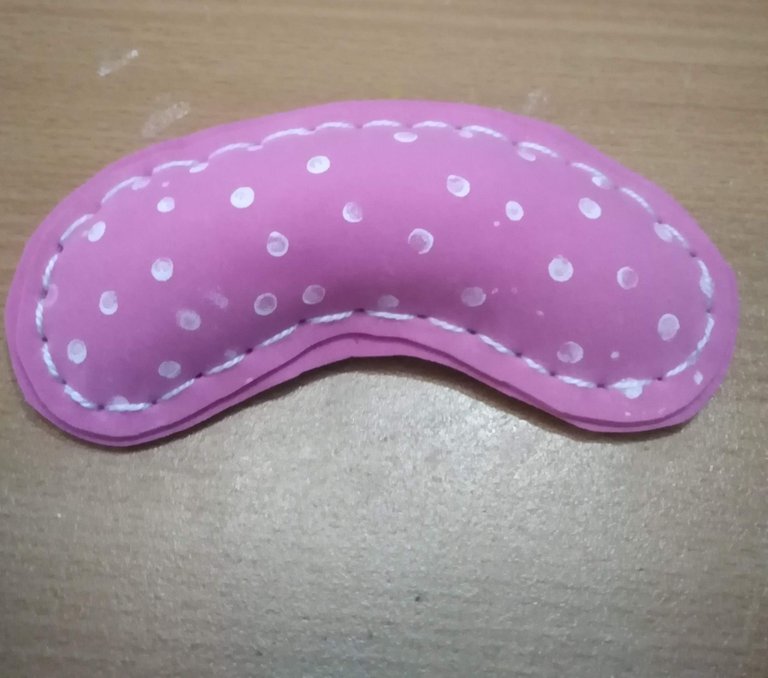
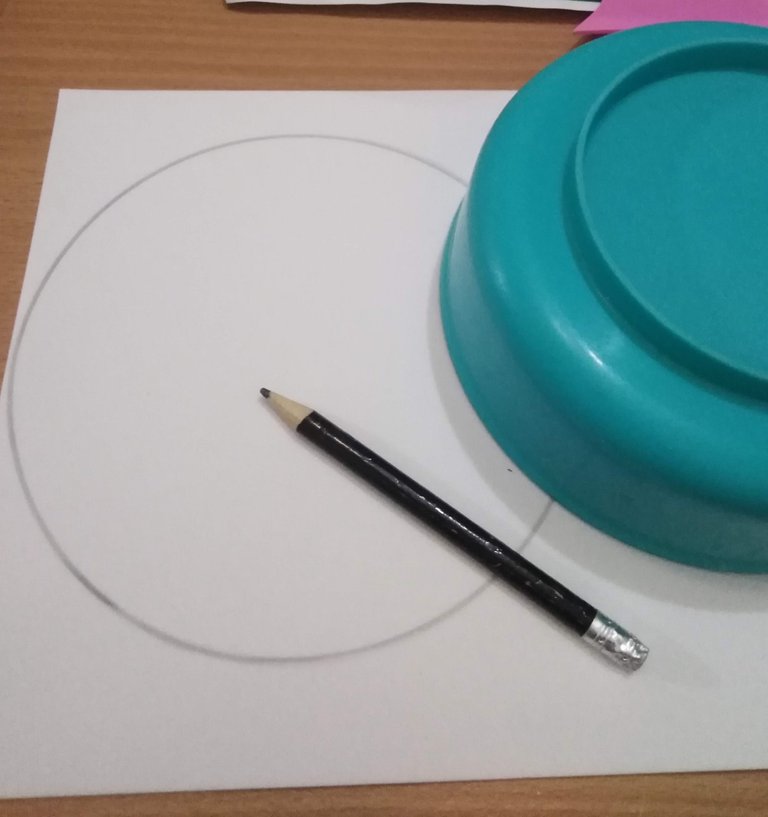
Con la almohadilla terminada, lo siguiente será elaborar el tapete para el mouse. Para ello marcamos una circunferencia, lo suficientemente grande en el pliego de foami blanco.
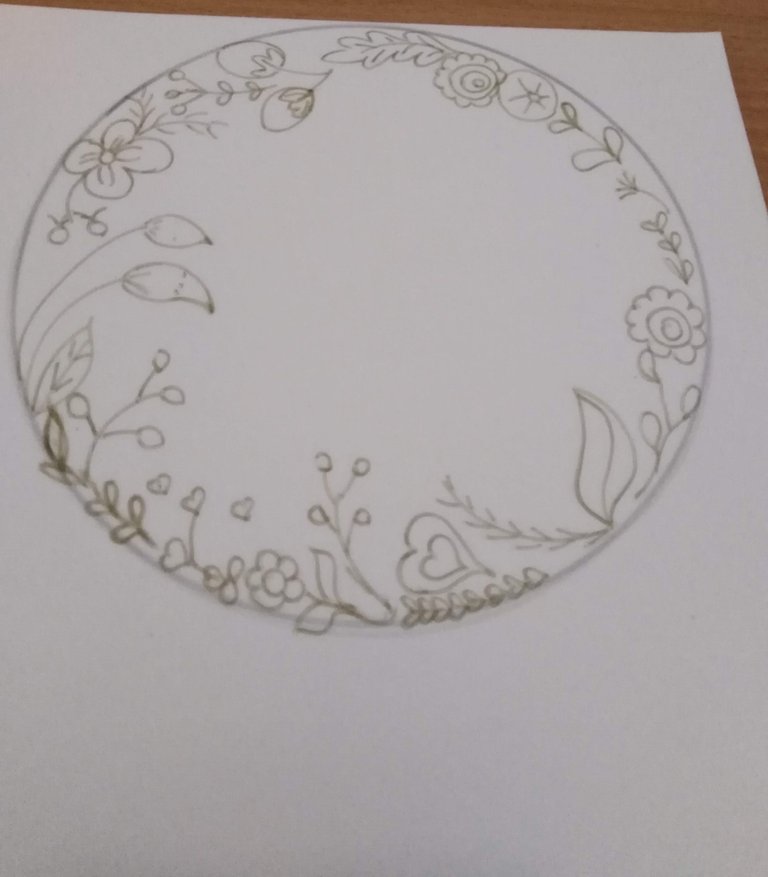
Con un lápiz dibujamos algunas ramas y flores que nos sirvan de decoración para darle un toque femenino y primaveral al mouse pad. La decoración será a gusto de la persona que lo usará. En mi caso, decidí dibujar flores ya que me gustan mucho.
Luego coloreamos el diseño usando lapices y marcadores de diferentes colores.
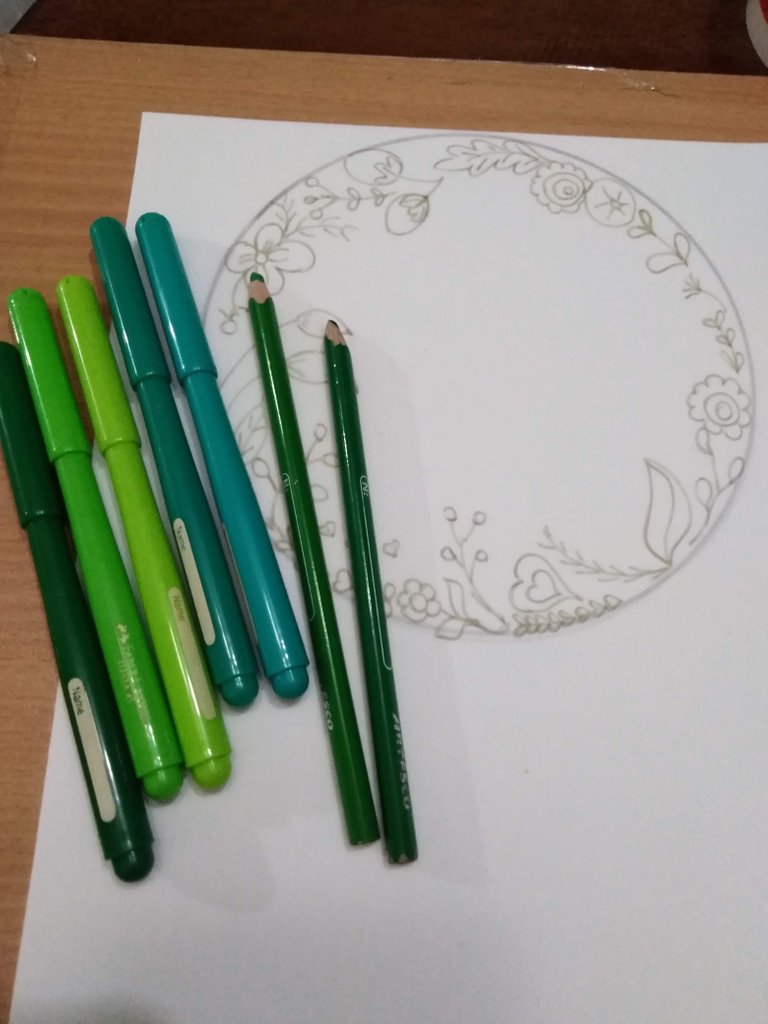
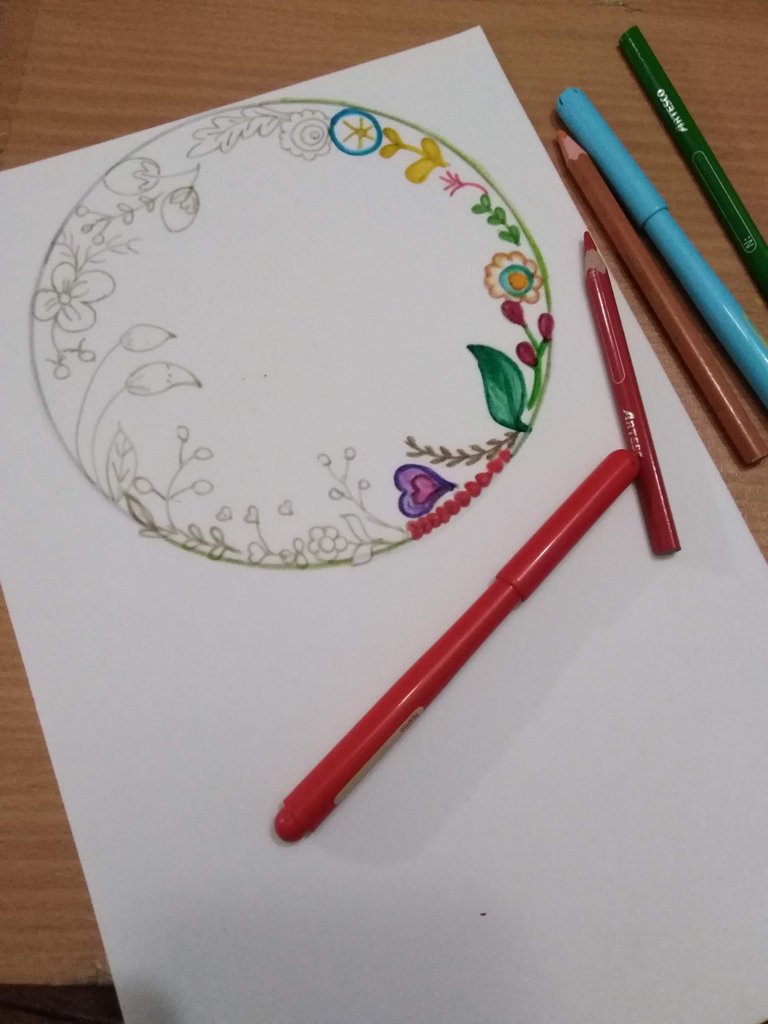
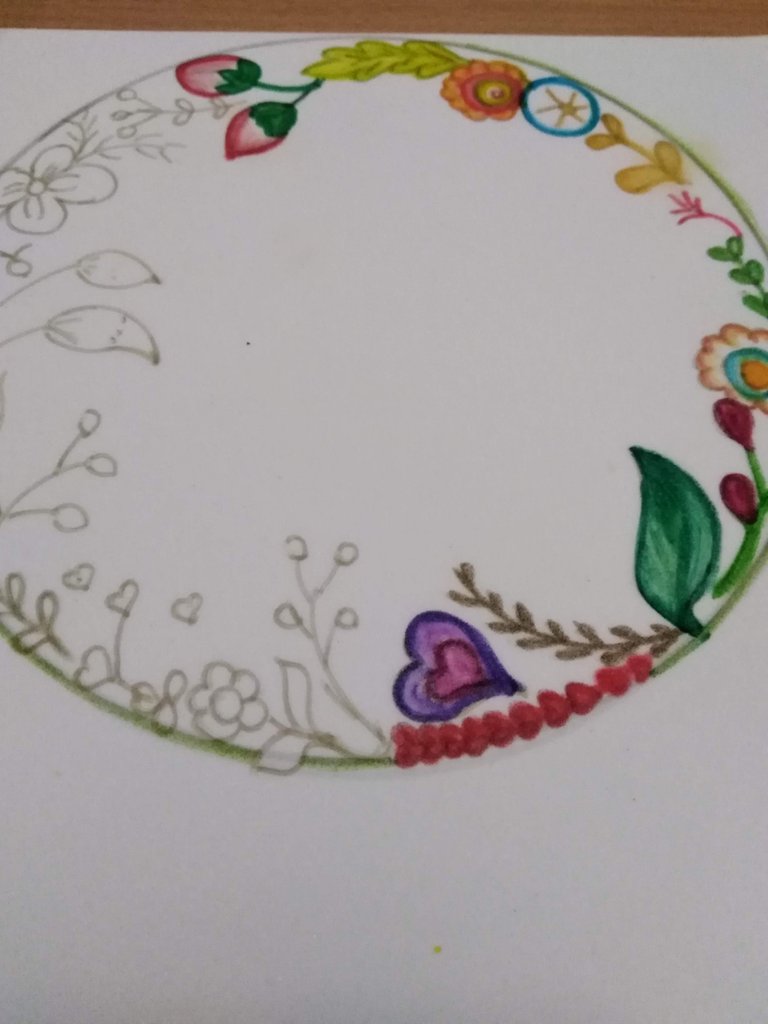
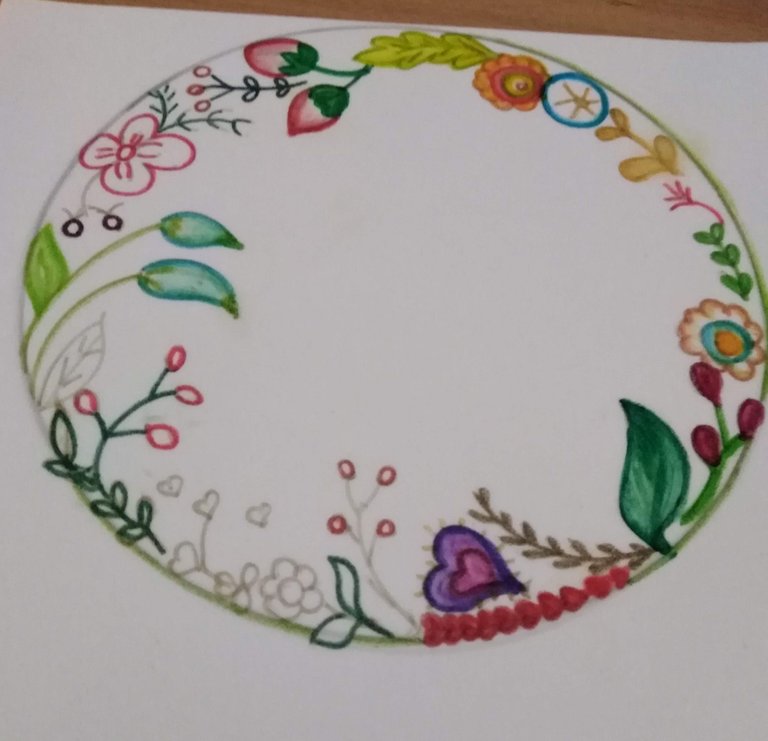
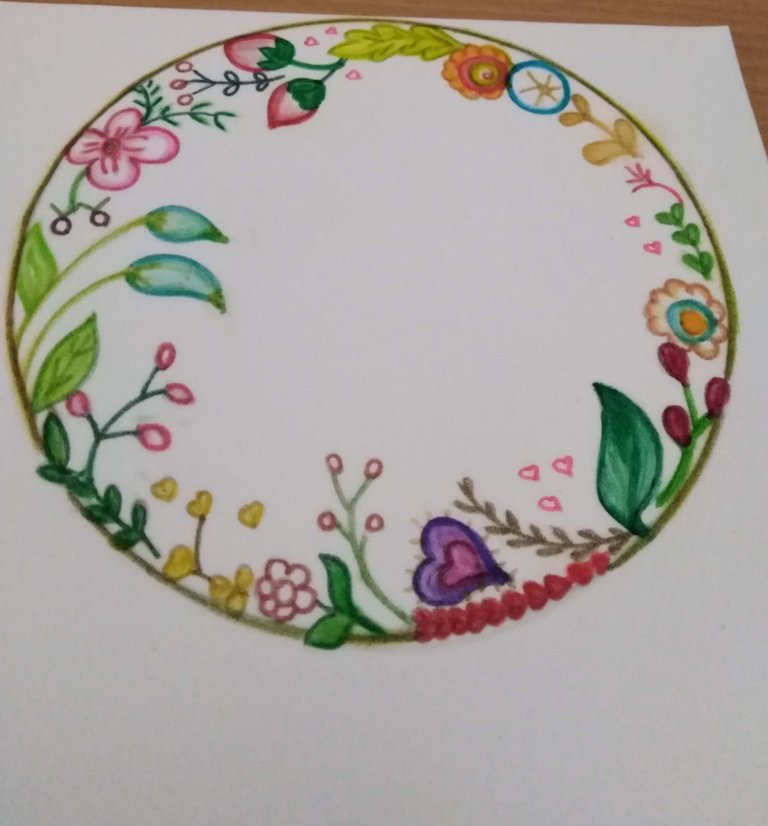
Después de haber decorado la circunferencia, la recortamos. Luego con el pliego de foami en color verde, marcamos una base en forma de flor que nos sirva para colocar el tapete del mouse y la almohadilla.
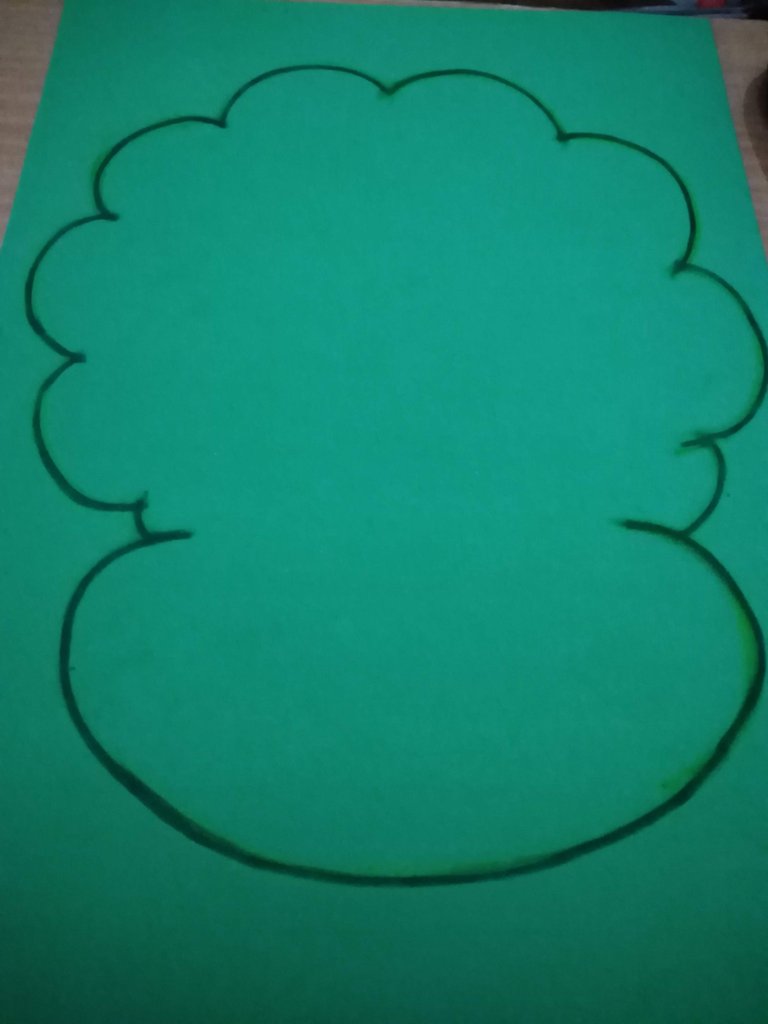
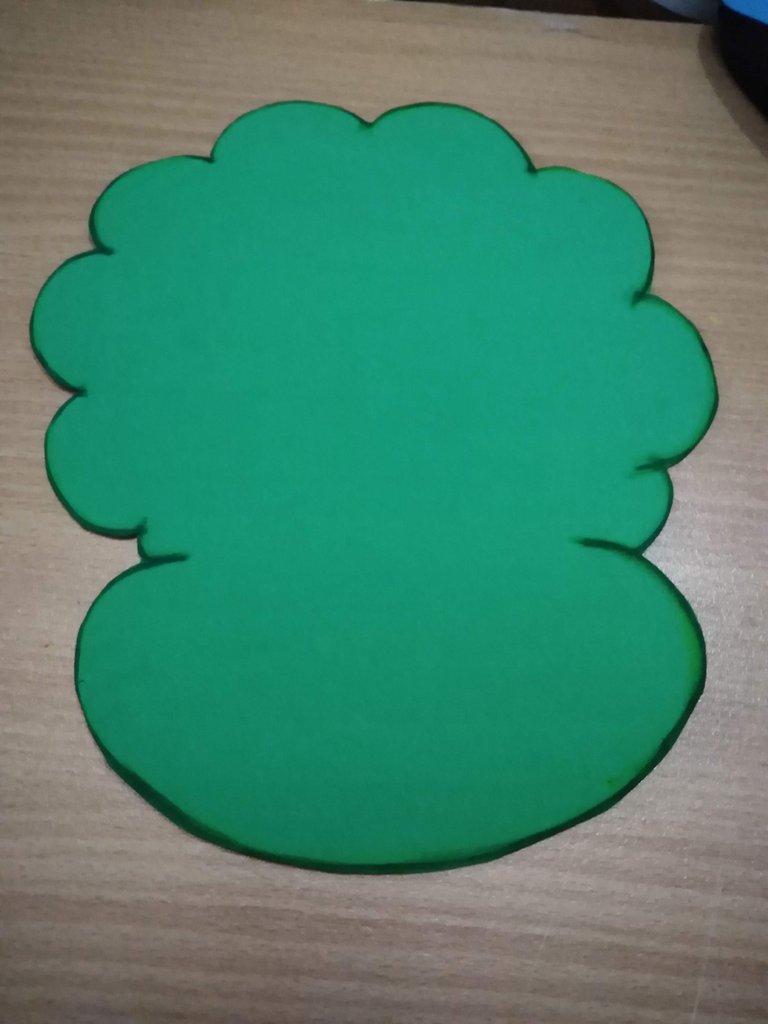
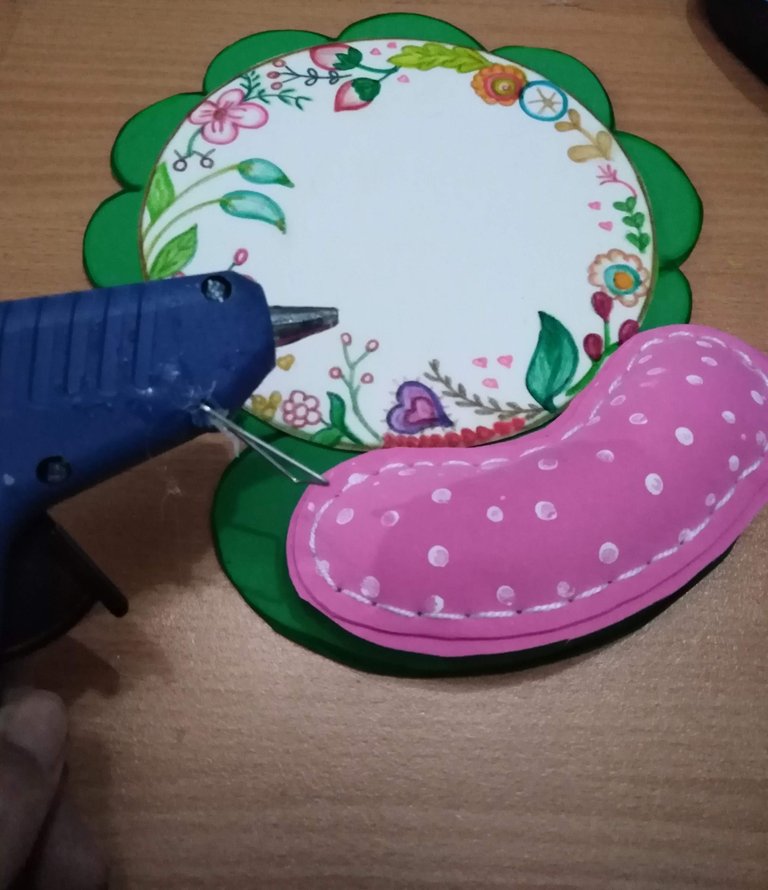
Finalmente, procedemos a unir todas la piezas usando la pistola de silicón.
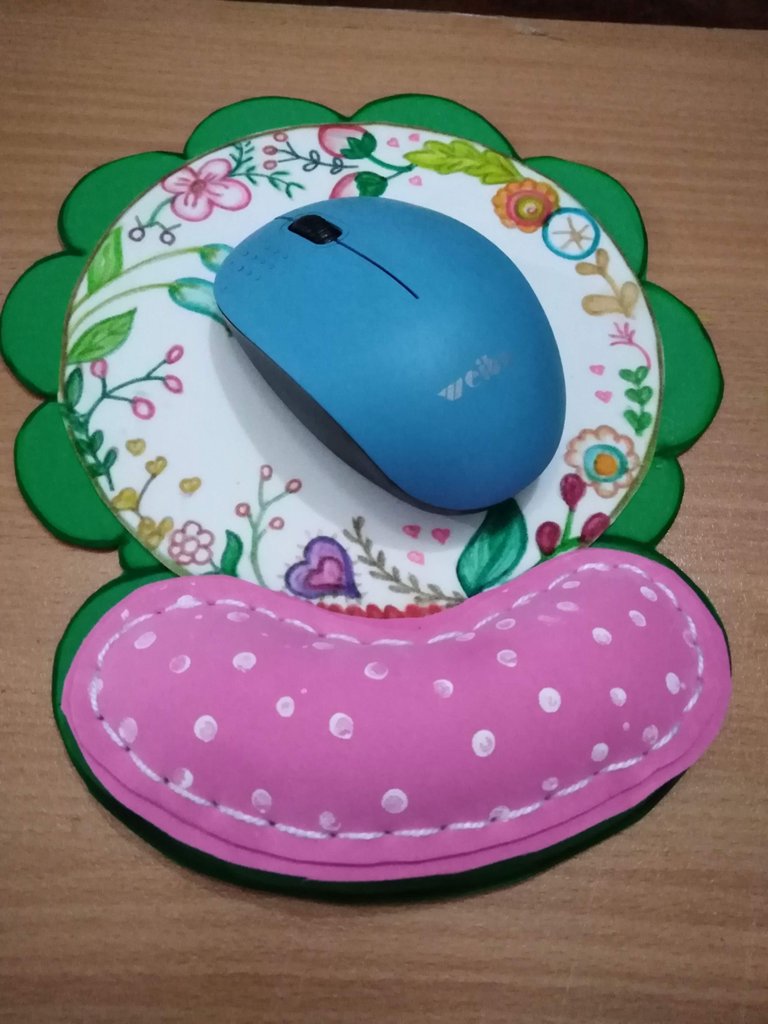
Y ya ha quedado terminado este lindo y Práctico Mouse Pad. Espero les haya gustado el resultado tanto como a mi. Disfrute mucho de mi tarde de manualidades y espero volver pronto con ideas nuevas para compartir en mi blog. gracias por leer, saludos y Bendiciones!
Todas las fotos fueron tomadas con mi teléfono celular Huawei Y7. Editadas con Canva.com

Que lindo, me encantó el diseño❤️
Hola gracias, me alegra que te gustara.
Wow, that's so cool, I never even thought about the fact that I could make a mousepad myself, never occurred to me. Thanks for sharing, loving it!
Hi, thank you so much to read and comment. I´m glad you like it.
You're welcome, it's very nice :)
Demasiado original
Gracias Mary, disfruté mucho elaborándolo, que bueno que te guste. Saludos!
Me gusto mucho esta manualidad, super creativa, y los colores del dibujo resaltan mucho te felicito.
Gracias, me alegra que te gustara, no dibujo muy bien pero me encanta hacerlo.
Congratulations, your post has been upvoted by @dsc-r2cornell, which is the curating account for @R2cornell's Discord Community.
Enhorabuena, su "post" ha sido "up-voted" por @dsc-r2cornell, que es la "cuenta curating" de la Comunidad de la Discordia de @R2cornell.
Hermoso trabajo. Votado y reblogueado. Saludos
Gracias por el apoyo amigo @felixgarciap.