Español
Hola Amigos en Hive… gusto en saludarles nuevamente, en especial a la comunidad creadora de @Build-It.
¿Quién no se emociona con la llegada de un bebé? Yo creo habrá muy pocas personas que no sientan la magia que envuelve la llegada de un bebé, hay tanta dulzura y tanto amor en todo lo que se hace o compra, que es mágico todo lo que eso implica, sean hijos propios o de terceros.
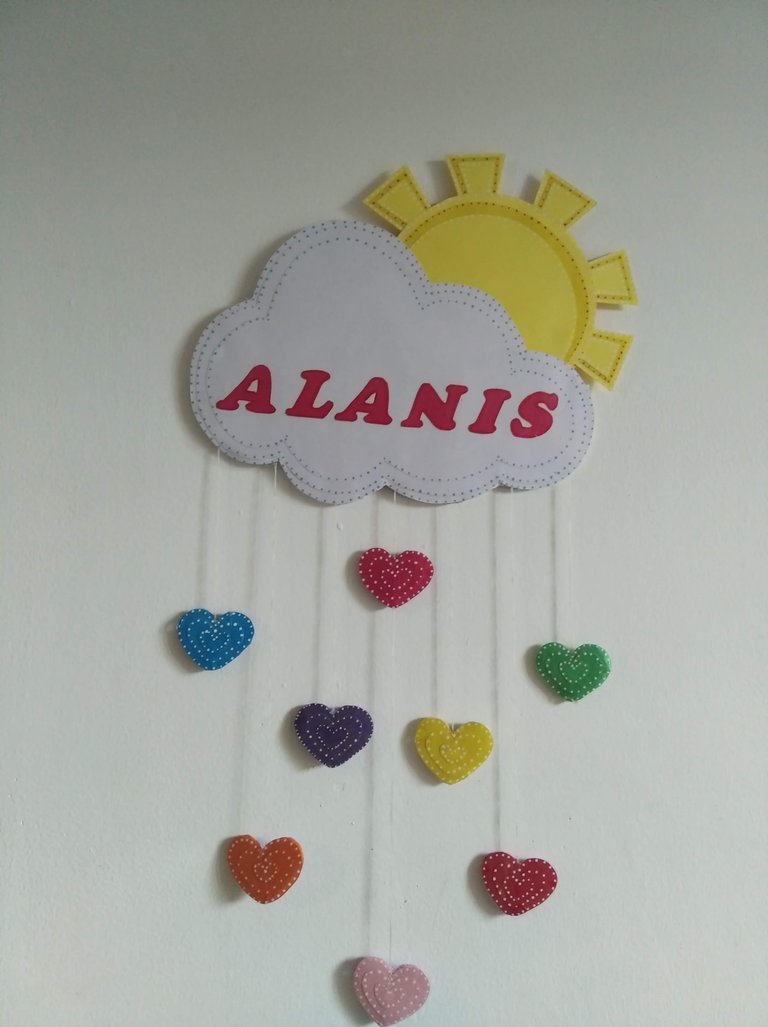
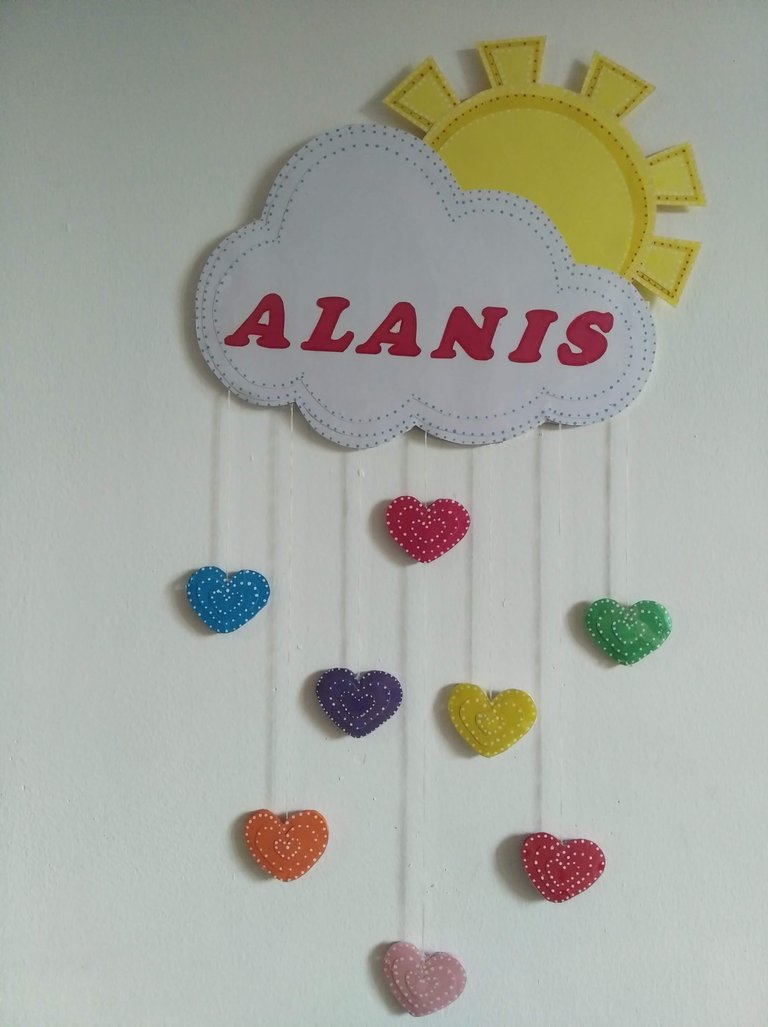
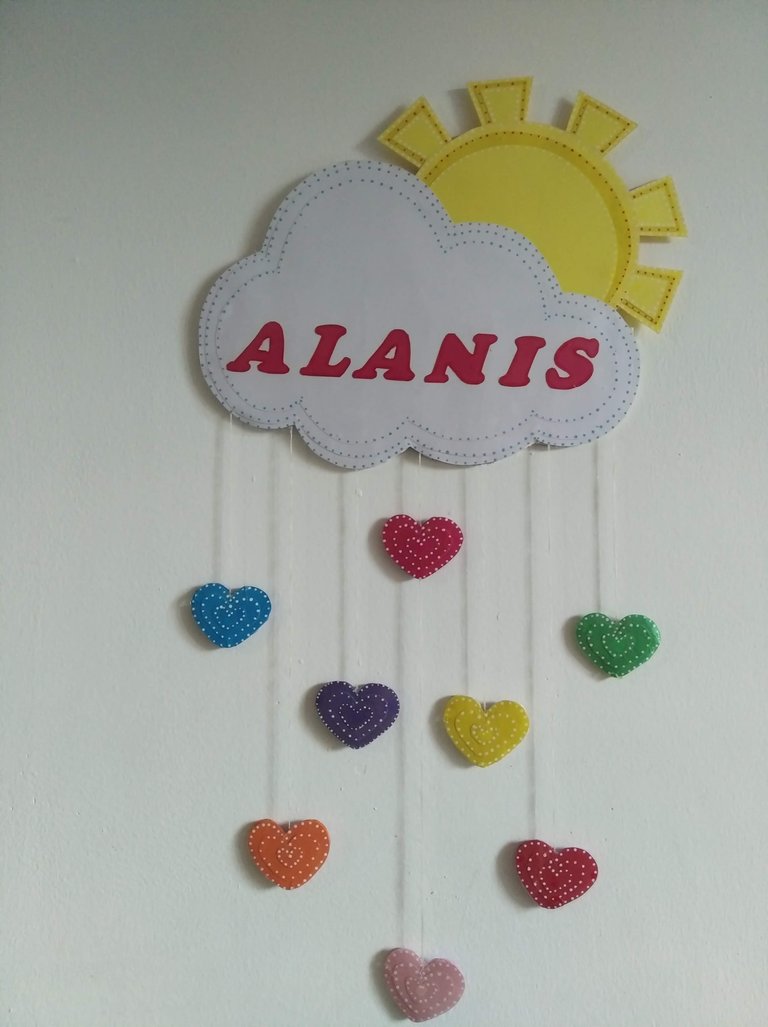
En esta oportunidad les muestro un pequeño detalle que se hizo para Alanis, una encantadora bebé que con su llegada emocionó la vida de muchas personas, en especial a sus papás… Este pequeño detalle es un móvil realizado con materiales súper económicos de conseguir y solo se requirió un dosis de amor extrema para que quedará hermoso y decorara de forma creativa la habitación principal de ella.
Les invito a revisar esta publicación y se animen a realizar algo parecido para algún familiar recién nacido..
Acá les dejo los materiales utilizados, el proceso y las imágenes del trabajo.
- Cartón duro o anime comprimido reciclado (para soporte de la nube y el sol)
- Cartulina de Colores para los corazones
- Cartulina Blanca para la nube
- Cartulina Amarilla para el sol
- Pabilo blanco, Hilo grueso blanco o Nailon (es a gusto personal)
- Pintura blanca al frio para los puntitos en los corazones o marcadores de colores
- Tijera
- Silicón Frio
- Mucho Amor...
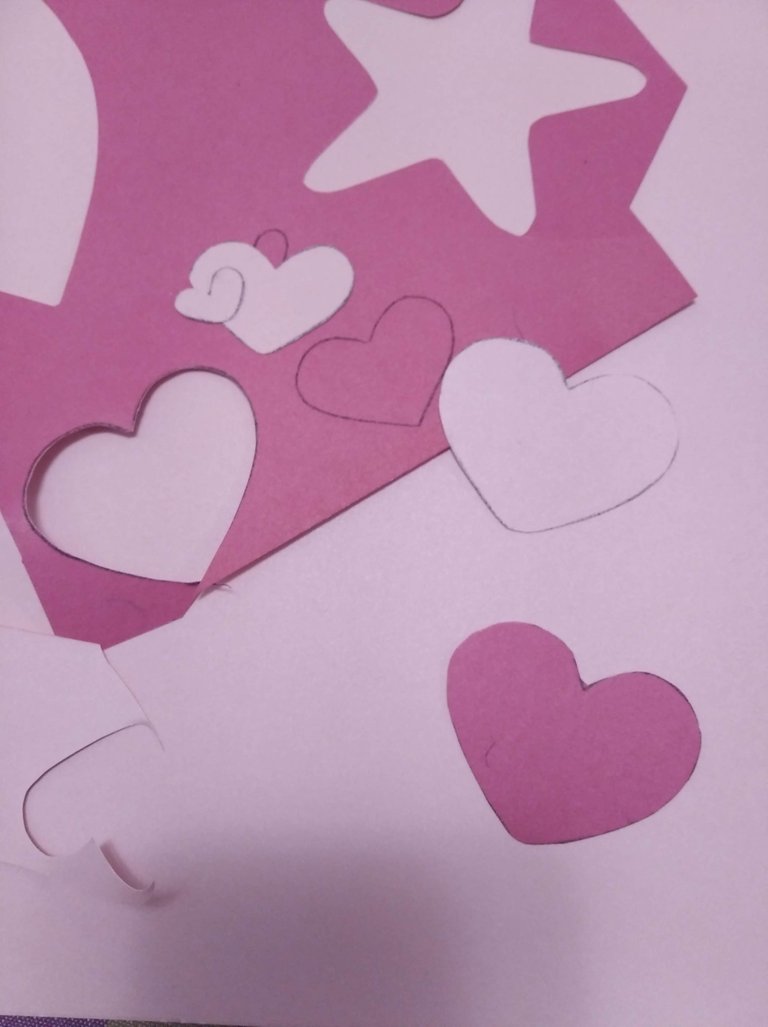
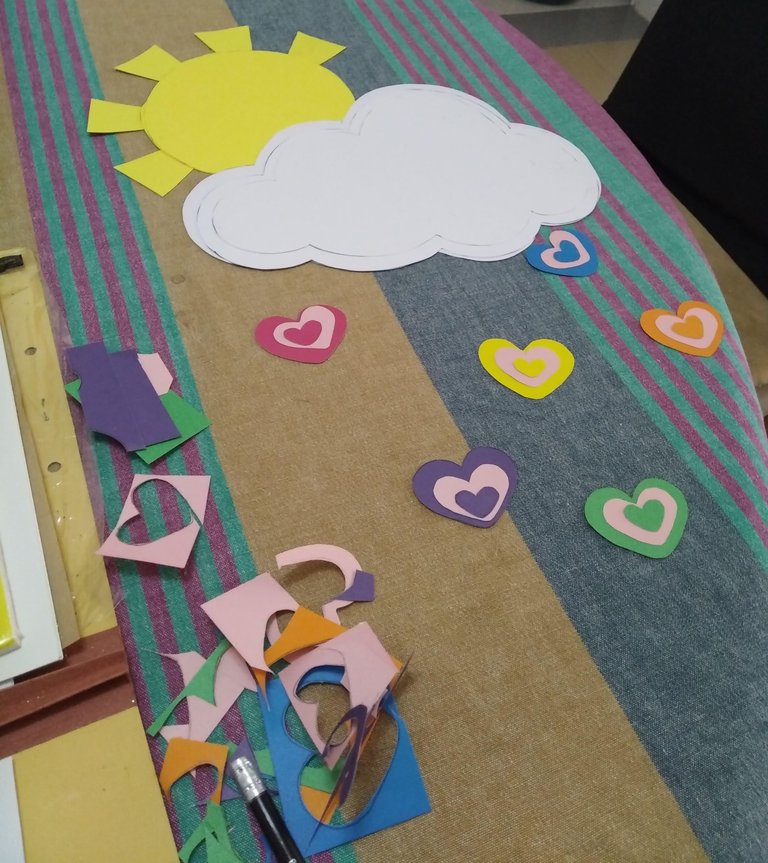
- Cortar los corazones ( al tamaño que se desee), por cada color se deberá cortar 3 tamaños (grande, mediano y pequeño)
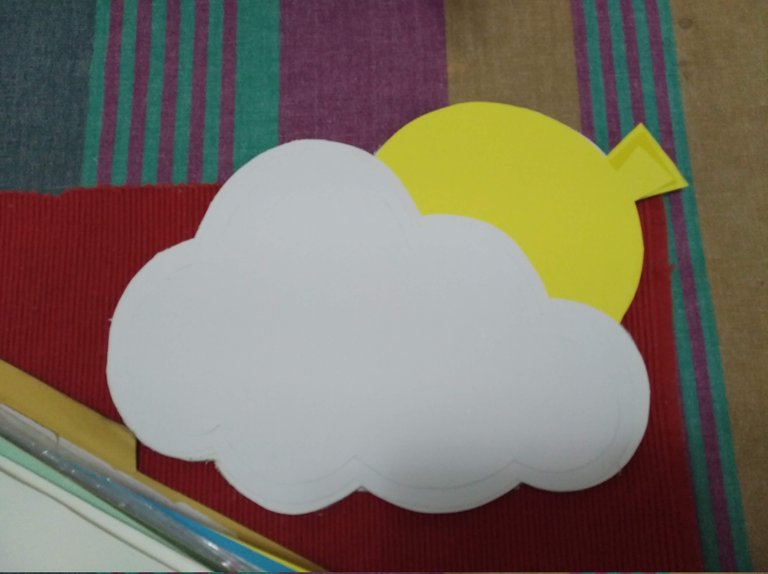
- Cortar la forma de la nube. Se deberá cortar 3 tamaños (grande, mediano y pequeño)
- Cortar la forma del Sol, en este caso los rayos se hicieron cuadrados pero es a gusto personal. Se deberá cortar 3 tamaños (grande, mediano y pequeño).
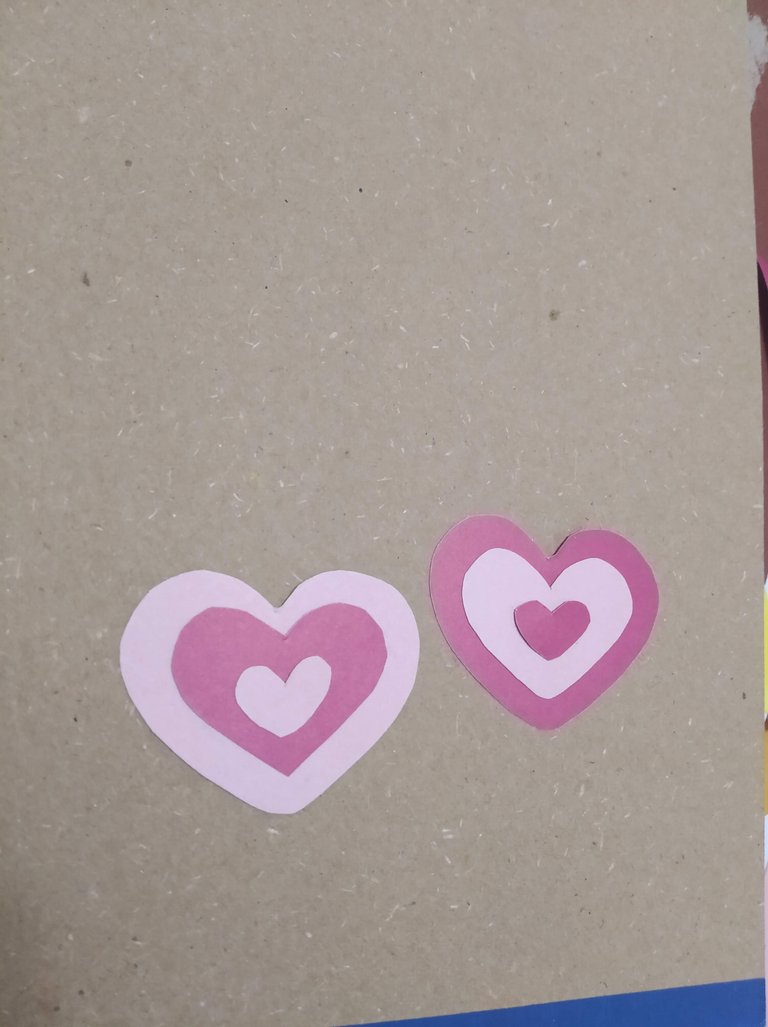
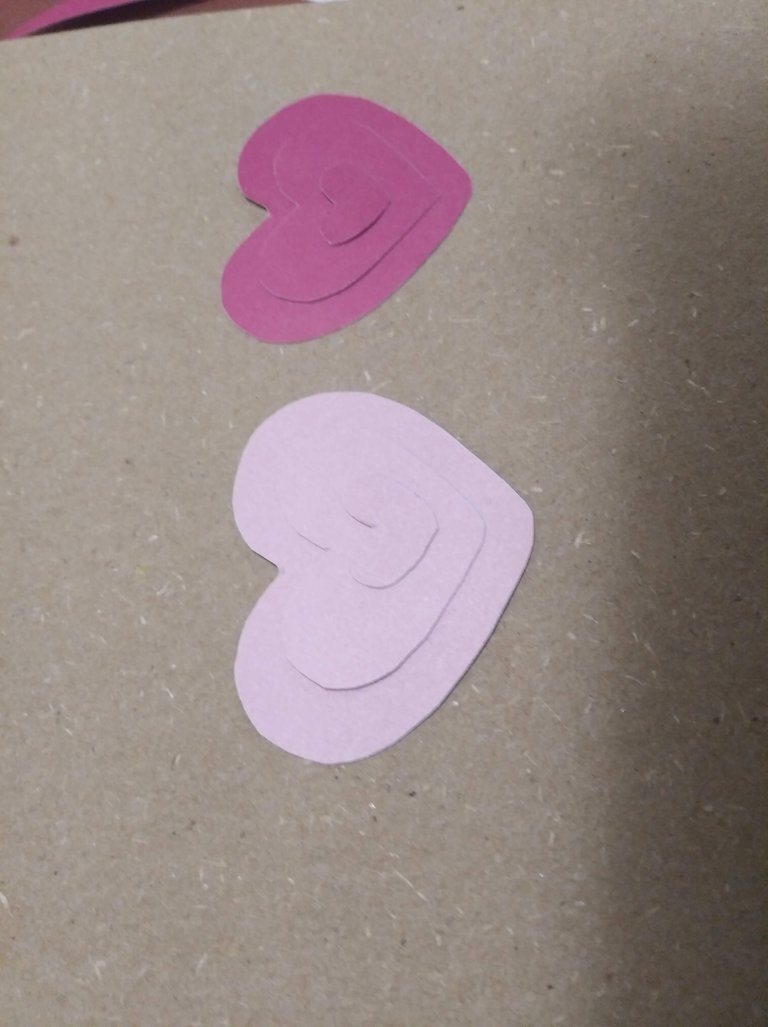
- Pegar las piezas con silicón frio (corazones, nube y sol)
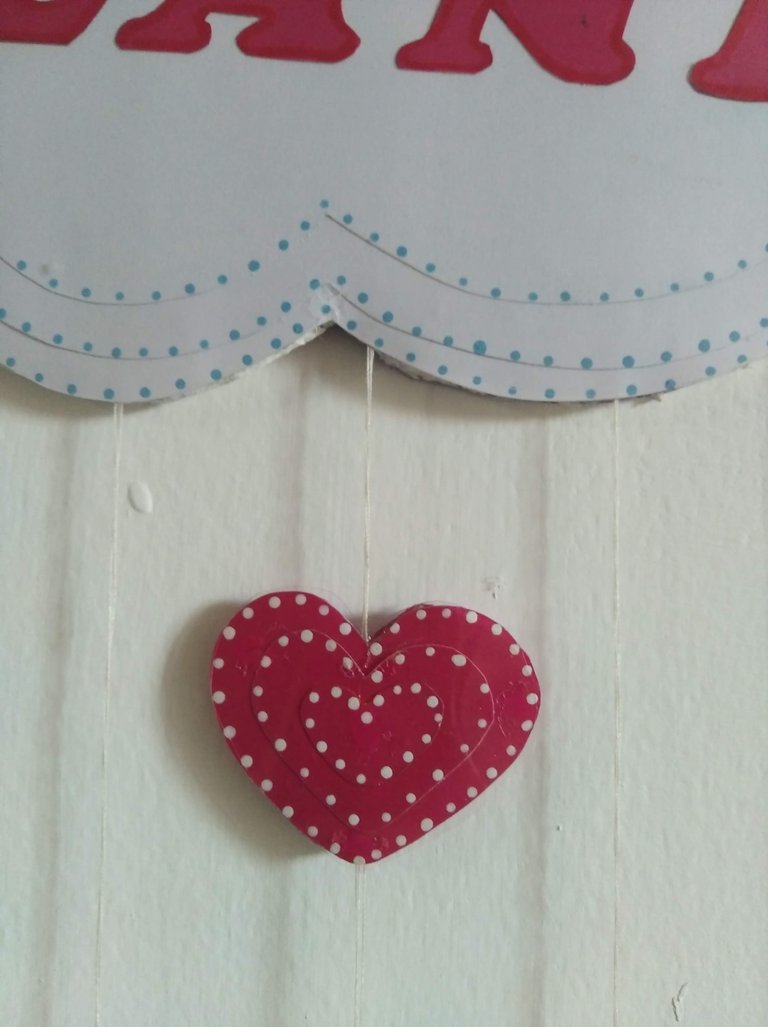
- A cada pieza decorar con puntos de colores ya sean de pinturas o marcadores (yo usé blanco en corazones, azul en las nubes y naranja en el sol)
- Una vez todas las piezas estén ensambladas ubicar la posición en la que se deseará queden los corazones .
- Pegar el hilo blanco grueso, de acuerdo al tamaño deseado.
- Proteger con acetato para mayor durabilidad y exposición al polvo., para eso se pican los pedazos de acuerdo a las formas y se fija con silicón.
- Listo a disfrutar de la magia de crear con amor.
Inglés
Hello Friends at Hive... nice to greet you again, especially the @Build-It creator community.
Who doesn't get excited about the arrival of a baby? I think there will be very few people who do not feel the magic that surrounds the arrival of a baby, there is so much sweetness and so much love in everything you do or buy that is magical all that implies, whether they are own children or third parties.
This time I show you a little detail that was made for Alanis, a lovely baby that with her arrival excited the lives of many people, especially her parents ... This little detail is a mobile made with super cheap materials and only required a dose of extreme love to make it beautiful and creatively decorate her main room.
I invite you to check out this publication and be encouraged to make something similar for a newborn family member.
Here are the materials used, the process and the pictures of the work.
- Hard cardboard or recycled compressed anime (to support the cloud and the sun).
- Colored cardboard for the hearts
- White cardboard for the cloud
- Yellow cardboard for the sun
- White wick, thick white thread or Nylon (it is up to personal taste)
- Cold white paint for the dots on the hearts or colored markers
- Scissors
- Cold Silicone
- Lots of love...
- Cut the hearts (to the size you want), for each color you should cut 3 sizes (large, medium and small).
- Cut the shape of the cloud. Cut 3 sizes (large, medium and small).
- Cut the shape of the sun, in this case the rays were made square but it is to personal taste. It should be cut 3 sizes (large, medium and small).
- Glue the pieces with cold silicone (hearts, cloud and sun).
- Decorate each piece with colored dots either from paints or markers (I used white for the hearts, blue for the clouds and orange for the sun).
- Once all the pieces are assembled, place the position where you want the hearts to be.
- Glue the thick white thread, according to the desired size.
- Protect with acetate for greater durability and exposure to dust, for this the pieces are chopped according to the shapes and fixed with silicone.
- Ready to enjoy the magic of creating with love.
As my native language is Spanish, I used the Deepl translator for this publication.
IMÁGENES / IMAGES

SALUDOS / REGARDS
Todas las Fotos fueron tomadas con mi teléfono Redmi 7A.
Contenido original de @keco (fotos y texto) - Todos los derechos reservados Publicado en HIVE así como en mi instagram : http://instagram.com/carton_pintura_algo_mas
All Photos were taken with my Redmi 7A phone.
Original content from @keco (photos and text) - All rights reserved Posted on HIVE as well as on my instagram: http://instagram.com/carton_pintura_algo_mas
Lo amé, tengo una bebita de 5 meses se lo haré muchas gracias por esta idea fácil y económica bella @keco.
Si, seria genial intentalo, segura estoy te quedará hermoso.
SAludos
Quedó precioso 🤩🤩🤩 me encantaaaa
Hola @mariajcastro28 , gracias... me alegra te gustara, es súper fácil y si, queda realmente lindo.
Saludos
Hi @mariajcastro28 , thanks... I'm glad you liked it, it's super easy and yes, it looks really nice.
Regards
@keco Que lindo te quedó☺️
Wow at first glance it looked as if it were made with fabric. That’s amazing that you used cardboard and construction paper. Really nice work, it’s so cute!